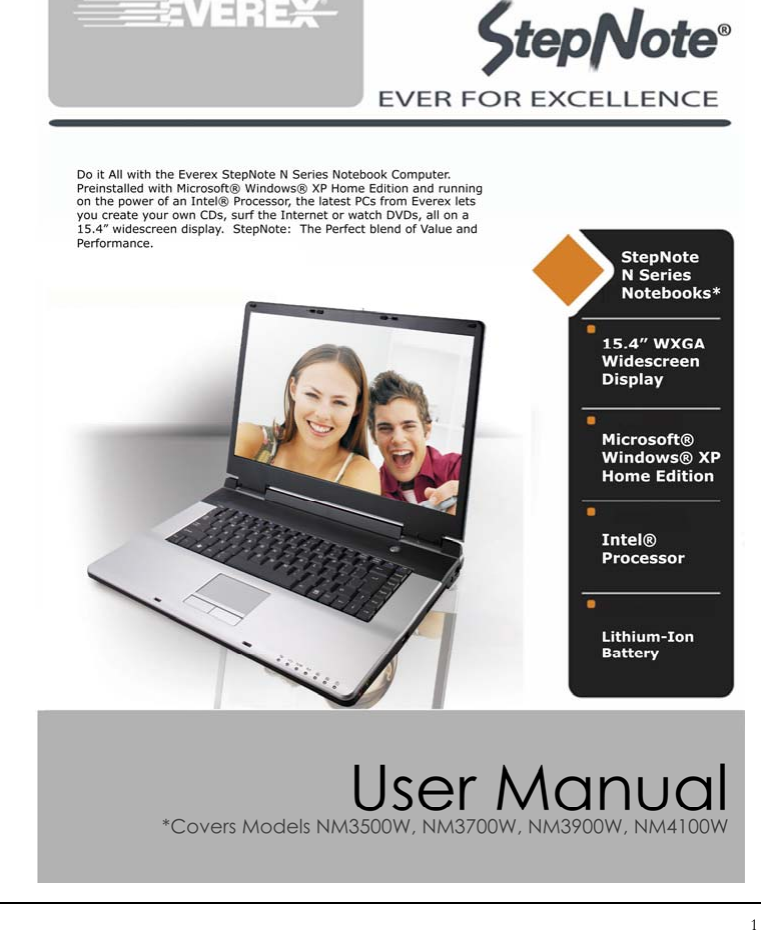
First Computer LM13WL Notebook User Manual
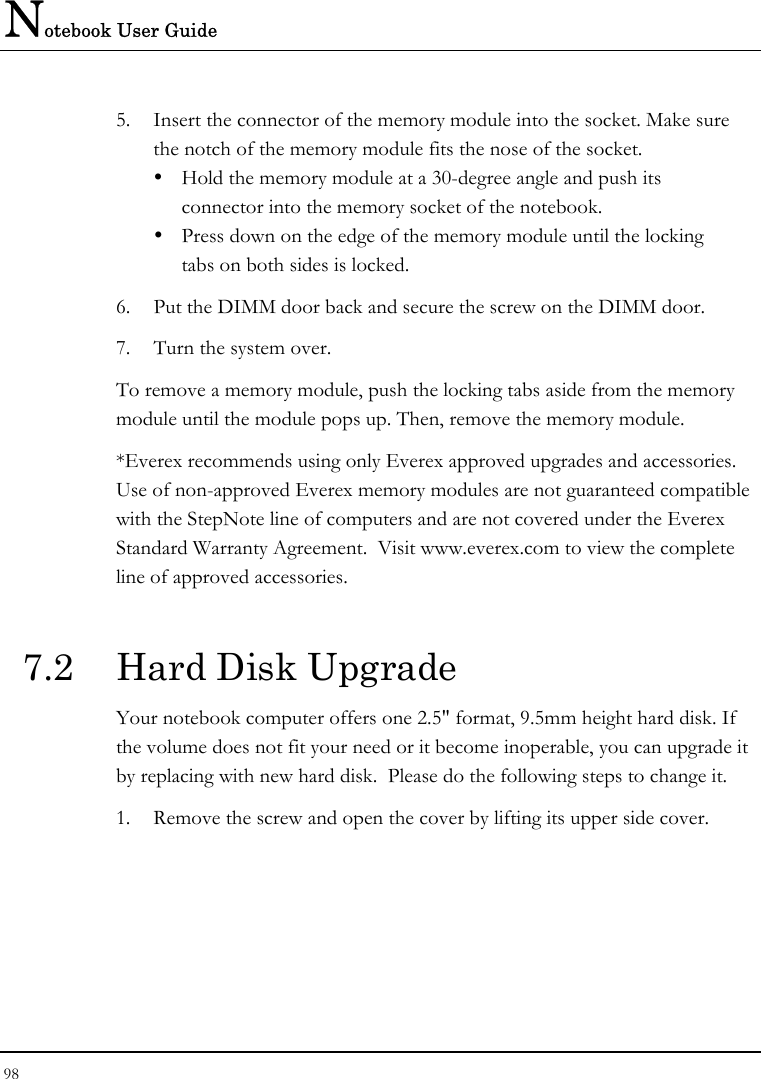
First International Computer Inc Notebook Users Manual
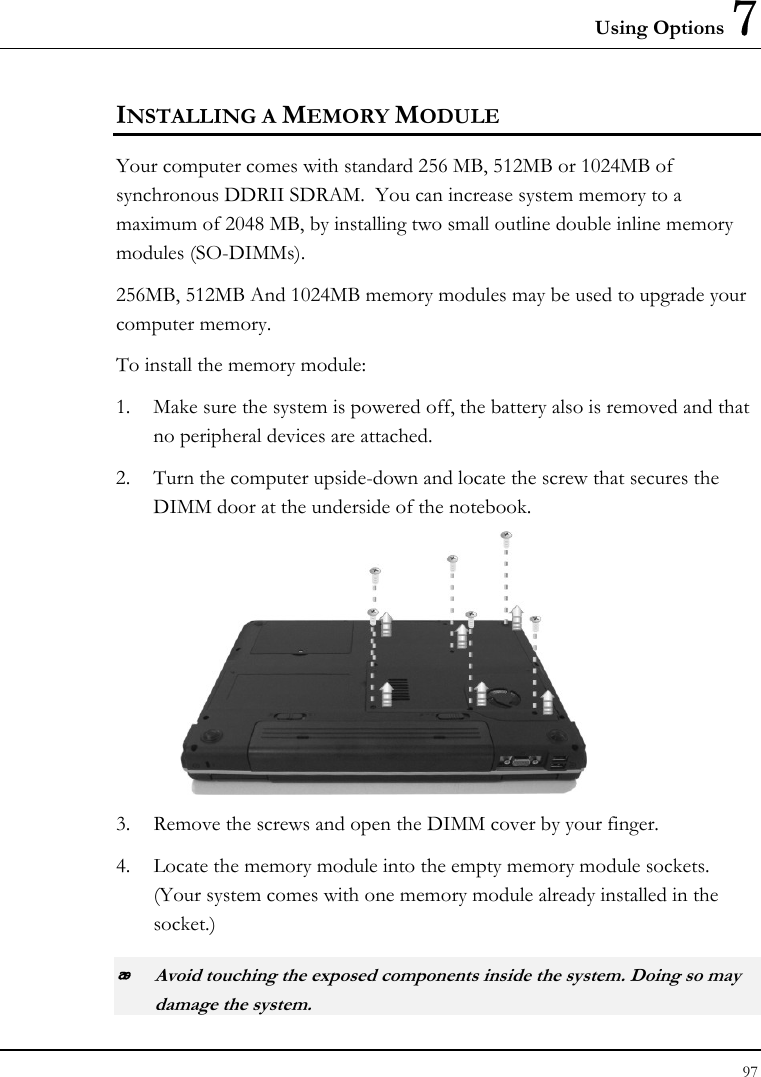
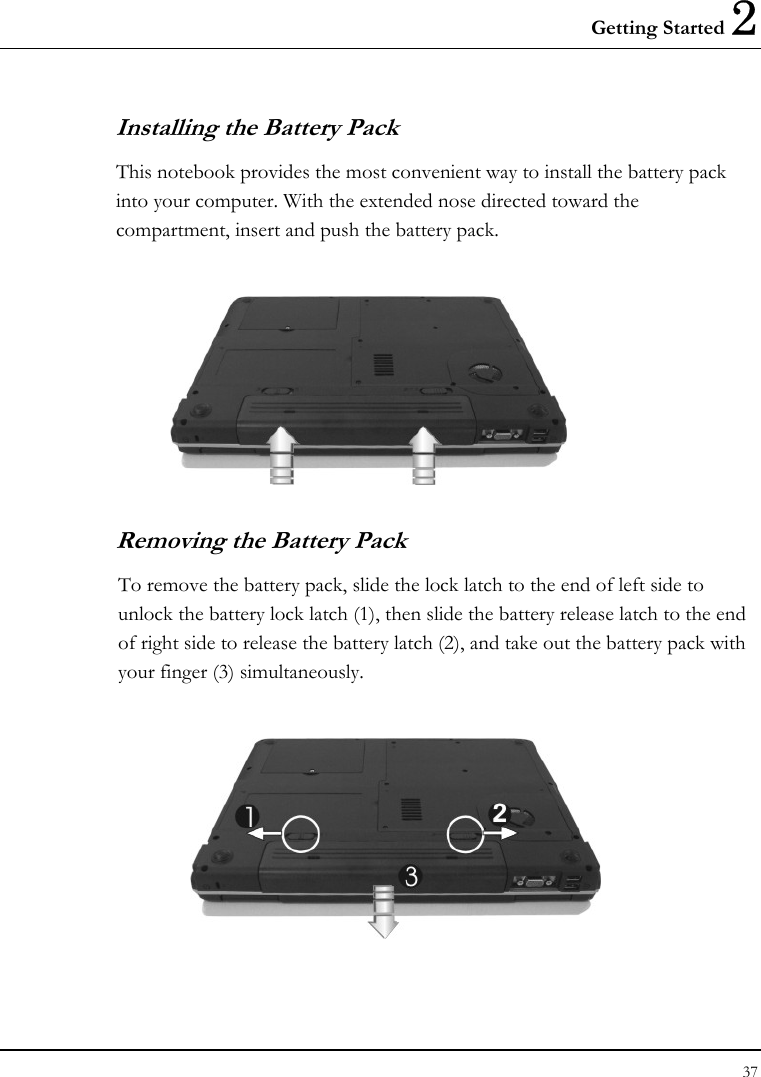
UserManual.wiki
>
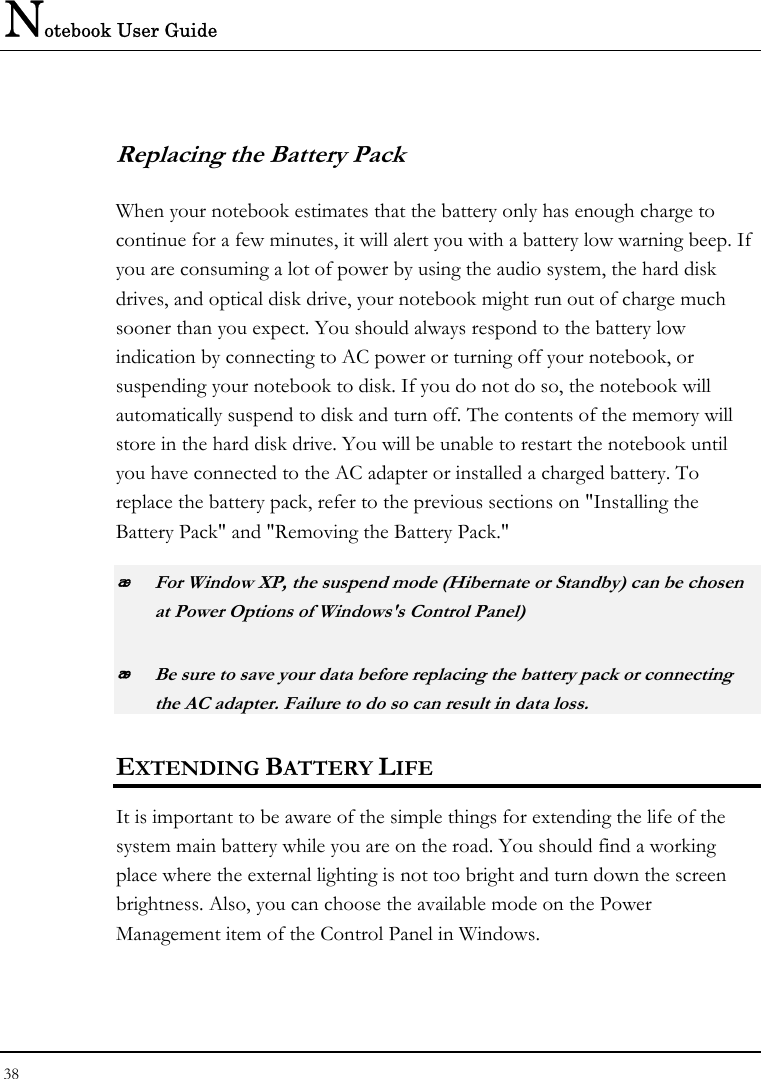
First Computer
>
LM13WL User Manual
Users Manual
Navigation menu
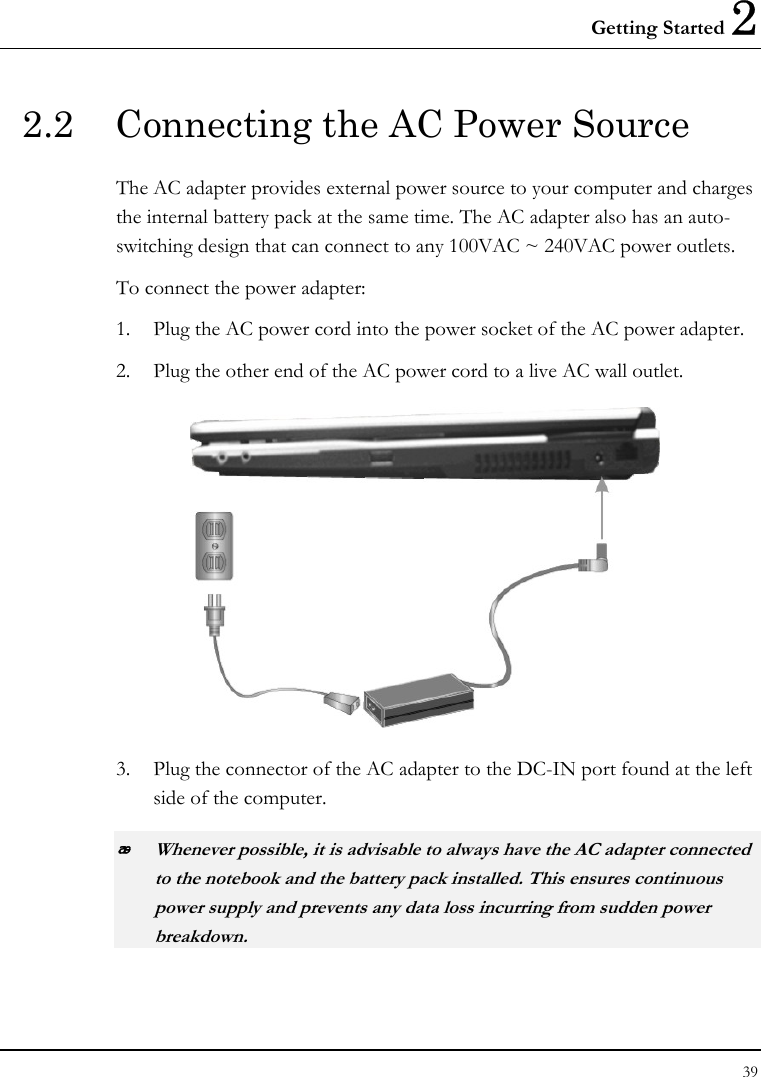
Upload a User Manual
Namespaces
Wiki Guide
HTML
PDF
Info
Views
User Manual
Discussion / Help
Navigation
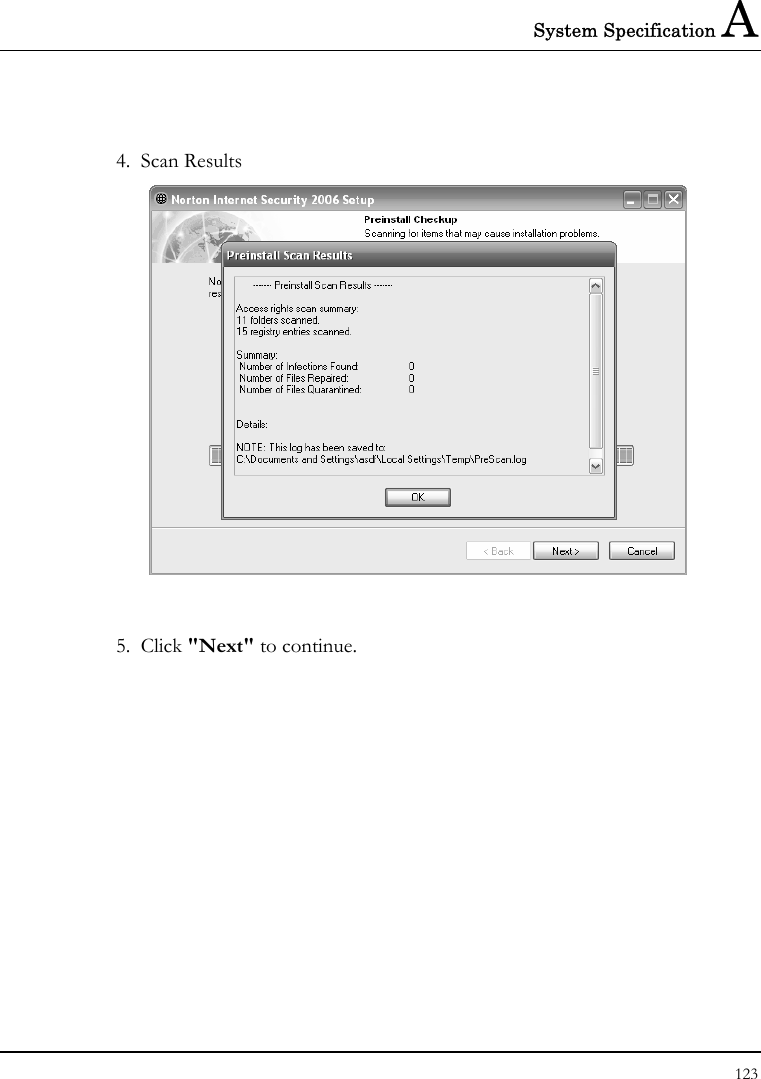
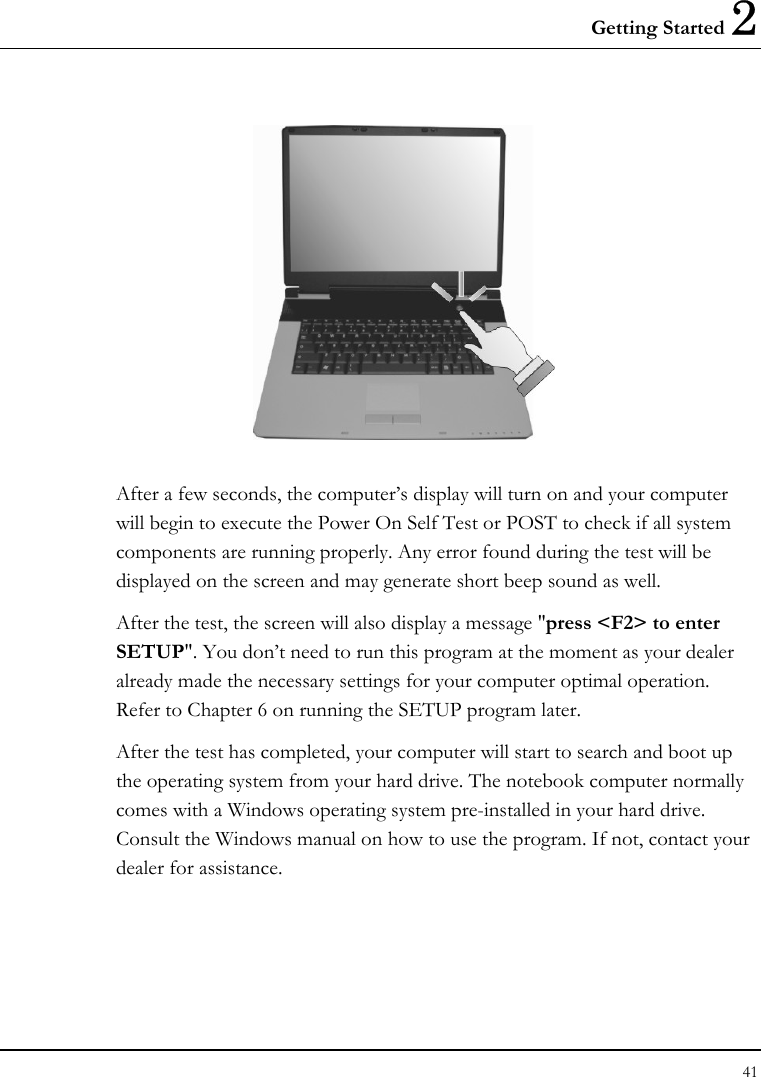
![Notebook User Guide 6 any radio or television interference caused by unauthorized modification of this device, or the substitution of the connecting cables and equipment other than manufacturer specified. It is the responsibility of the user to correct any interference caused by such unauthorized modification, substitution or attachment. Manufacturer and its authorized resellers or distributors will assume no liability for any damage or violation of government regulations arising from failing to comply with these guidelines. IMPORTANT NOTE (CO-LOCATION) FCC RF Radiation Exposure Statement: This equipment complies with FCC RF radiation exposure limits set forth for an uncontrolled environment. This device and its antenna must not be co-located or operating in conjunction with any other antenna or transmitter. IMPORTANT NOTE (CO-LOCATED EVALUATION PERFORMED) This transmitter has been demonstrated co-located operation compliance requirement with [PRODUCT DESCRIPTION/BRAND/MODEL#]. This transmitter must not be co-located or operating in conjunction with any other antenna or transmitter. Canadian Department of Communications Compliance Statement This Class B digital apparatus meets all requirement of the Canadian Interference-Causing Equipment Regulations. Shielded Cables Notice All connections to other computing devices must be made using shielded cables to maintain compliance with FCC regulations.](https://usermanual.wiki/First-Computer/LM13WL/User-Guide-675299-Page-6.png)


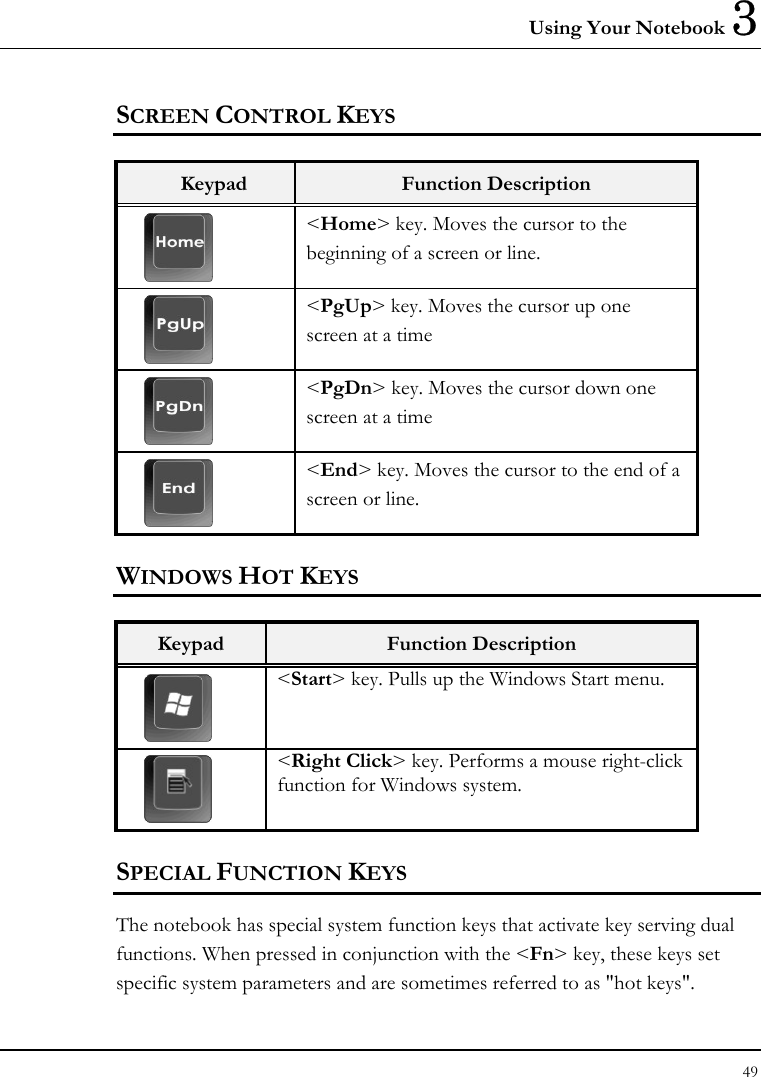


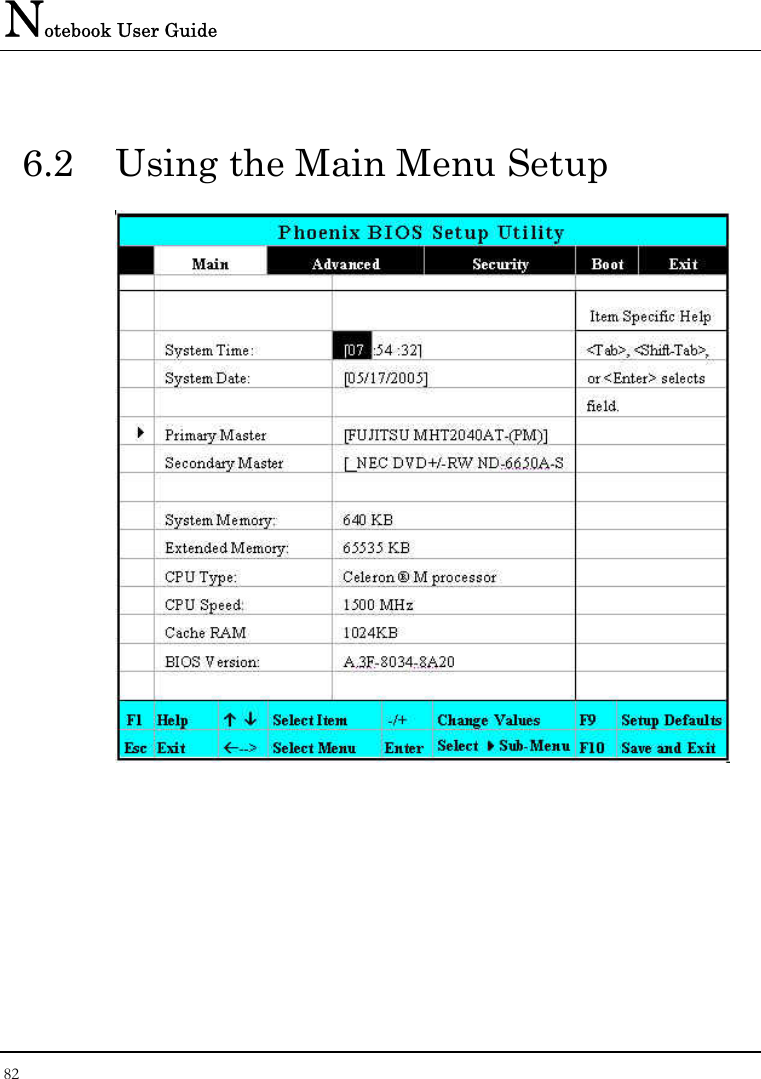
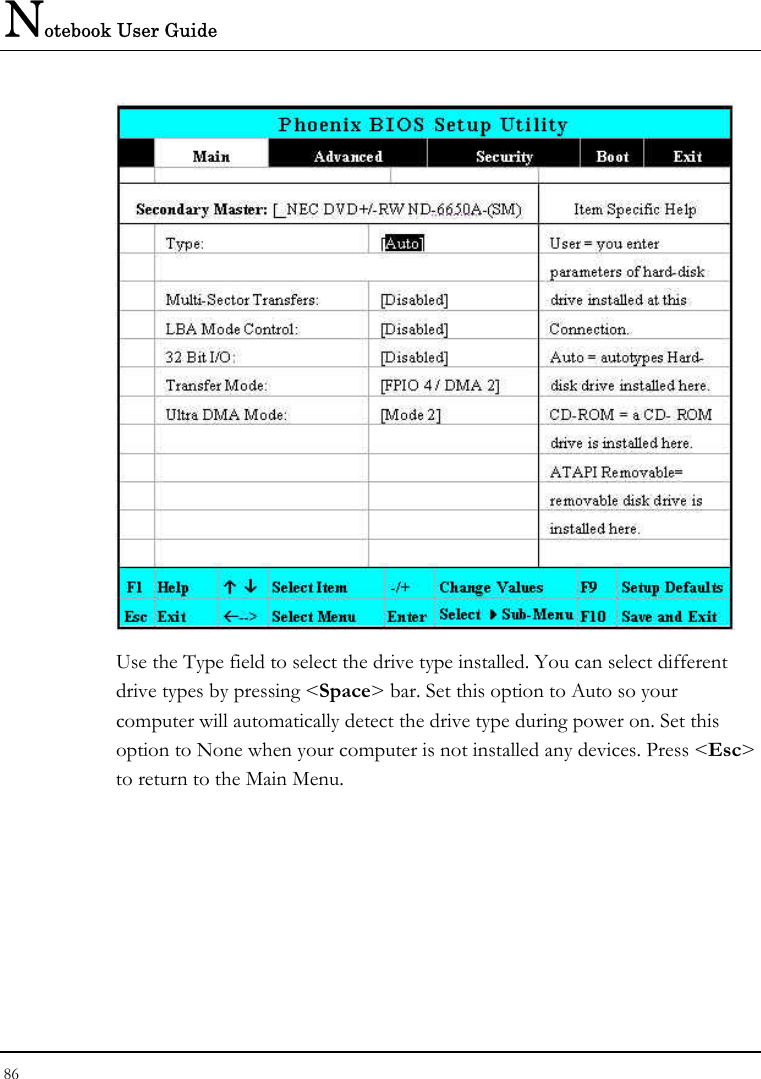
![Customizing Your Notebook 6 83 • System Time Allows you to change the system time using the hour:minute:second format of the computer. Enter the current time for reach field and use the <Tab>, <Shift>+<Tab>, or <Enter> key to move from one field or back to another. You can also change the system time from your operating system. • System Date Allows you to set the system date using the month/date/year format. Enter the current time for reach field and use the <Tab>, <Shift>+<Tab>, or <Enter> key to move from one field or back to another. You can also change the system time from your operating system. • Primary Master This field display various parameters for the hard disk drive. If type [Auto] is selected, the system automatically sets these parameters. If type [User] is selected, Cylinders, Heads and Sectors and other value can be edited. • Secondary Master This field is for information only as the BIOS automatically detects the optical drive. • System Memory This field reports the amount of base (or conventional) memory found by the BIOS during Power-On Self-Test (POST). • Extended Memory This field reports the amount of extended memory found by the BIOS during Power-On Self-Test (POST).](https://usermanual.wiki/First-Computer/LM13WL/User-Guide-675299-Page-83.png)
![Customizing Your Notebook 6 87 6.3 Using the Advanced CMOS Setup • Quiet Boot Lets you specify the boot screen to Logo screen or POST screen by choosing Disabled or Enabled, respectively. • Summary Screen Displays system configuration on boot. • UMA Frame Buffer Size Lets you reserve memory space [32MB]/[64MB]/[128MB] for UMA frame buffer for video devices. The default value is [32MB].](https://usermanual.wiki/First-Computer/LM13WL/User-Guide-675299-Page-87.png)