Franklin Technology R850 LTE Mobile Router User Manual
Franklin Technology Inc. LTE Mobile Router Users Manual
UserManual.wiki
>
Franklin Technology
>
R850 User Manual
Users Manual
Navigation menu
Upload a User Manual
Namespaces
Wiki Guide
HTML
PDF
Info
Views
User Manual
Discussion / Help
Navigation
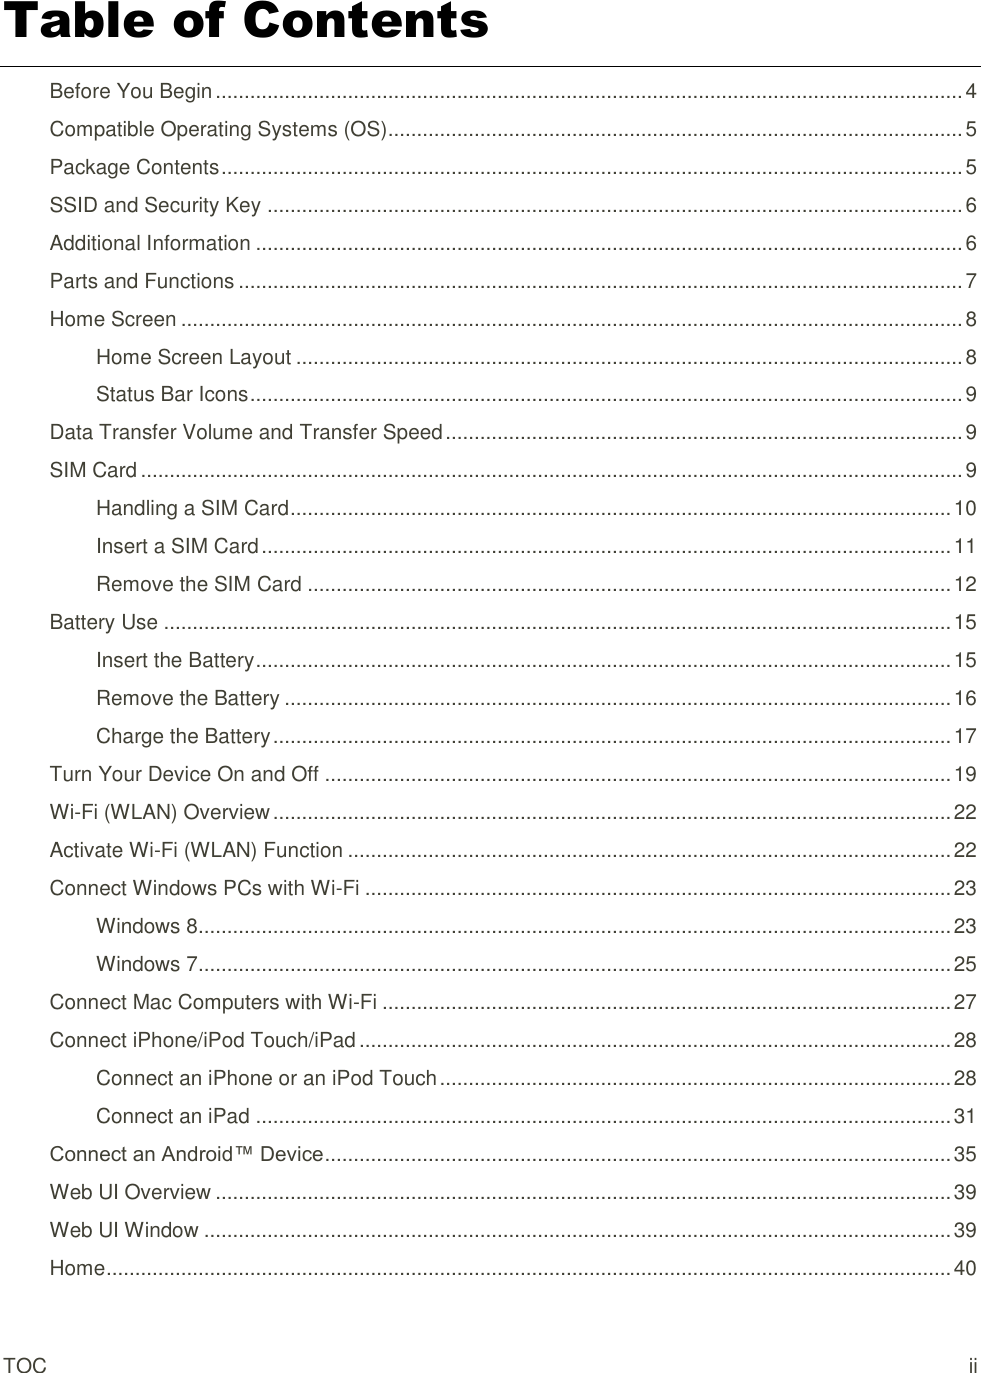
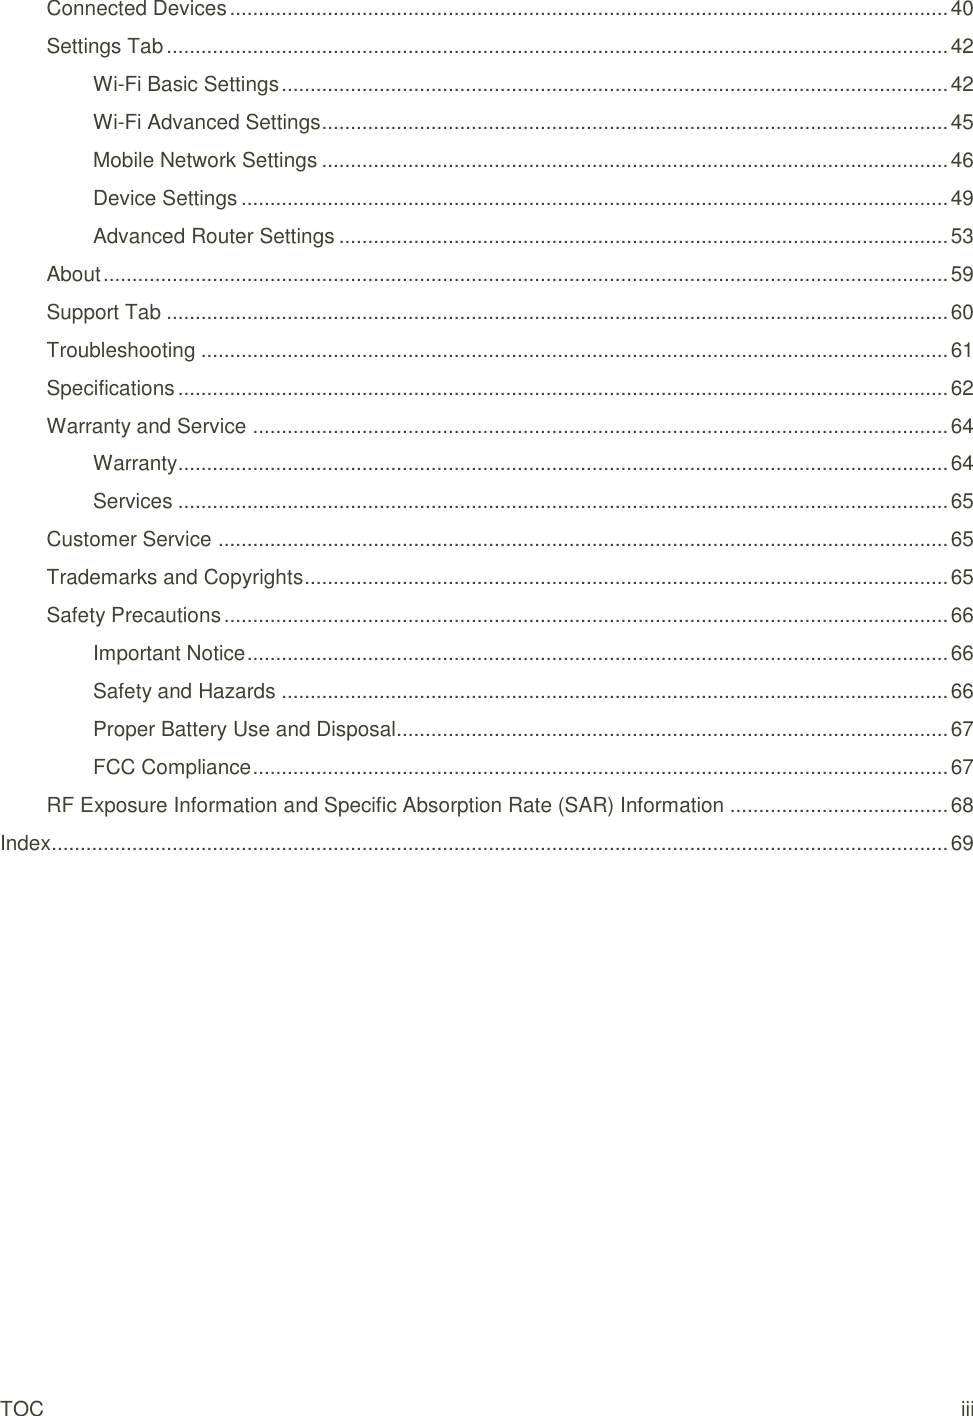
![TOC i R850 Mobile Hotspot User Guide UG _ temp version [Version 1.3.1] [Sprint_Franklin_Wireless_R850_english_113015_v1.3.1]](https://usermanual.wiki/Franklin-Technology/R850/User-Guide-2838245-Page-1.png)
![Index 5 Compatible Operating Systems (OS) The table below outlines the compatible operating systems (OS) for your device. Use outside these environments may affect performance. Additional factors (hardware, connected peripherals, installed applications, etc.) may also affect performance. ● For computer support, OS version upgrade information, etc., see the corresponding manufacturer's product support documentation. ● [Feb. 20`5]. Check [Compatible OS] for the latest information in regards to operating environment. Item Description Compatible operating systems (OS) Windows 7, 8, 10 MacOS 10.5 or later Android 2.1 or later Compatible browsers Chrome 36.0 or later Internet Explorer 8.0 or later Firefox 3.1 or later Safari 5.0 or later Package Contents See below for details on everything you will find in the box for your R850. ● R850 Mobile Hotspot ● Battery Cover ● Rechargeable Battery ● AC Adapter ● Get Started Guide ● Important Information Booklet](https://usermanual.wiki/Franklin-Technology/R850/User-Guide-2838245-Page-5.png)


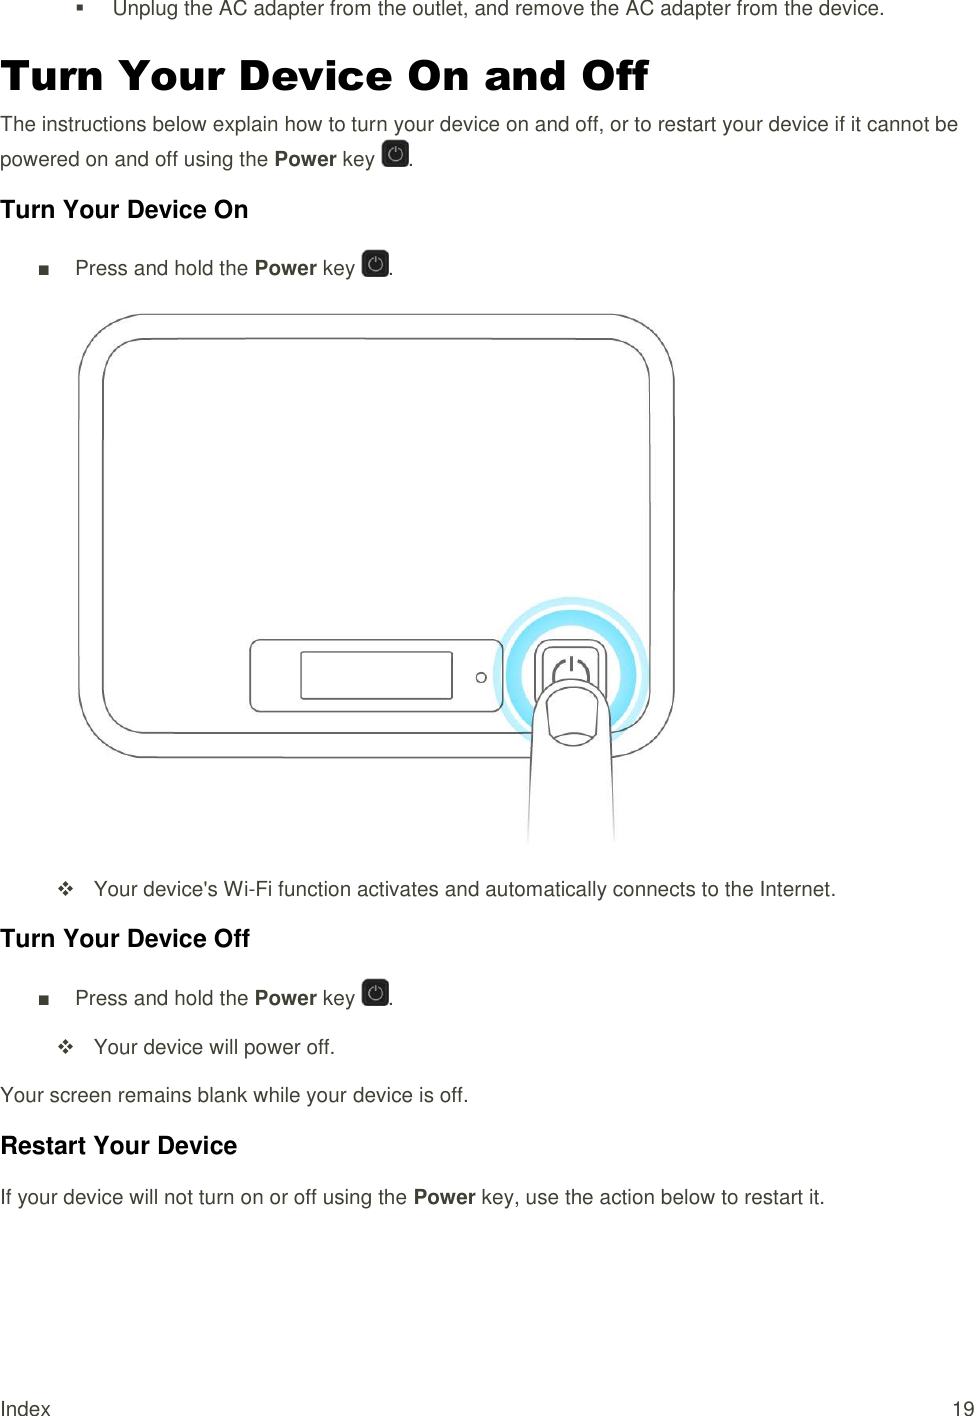

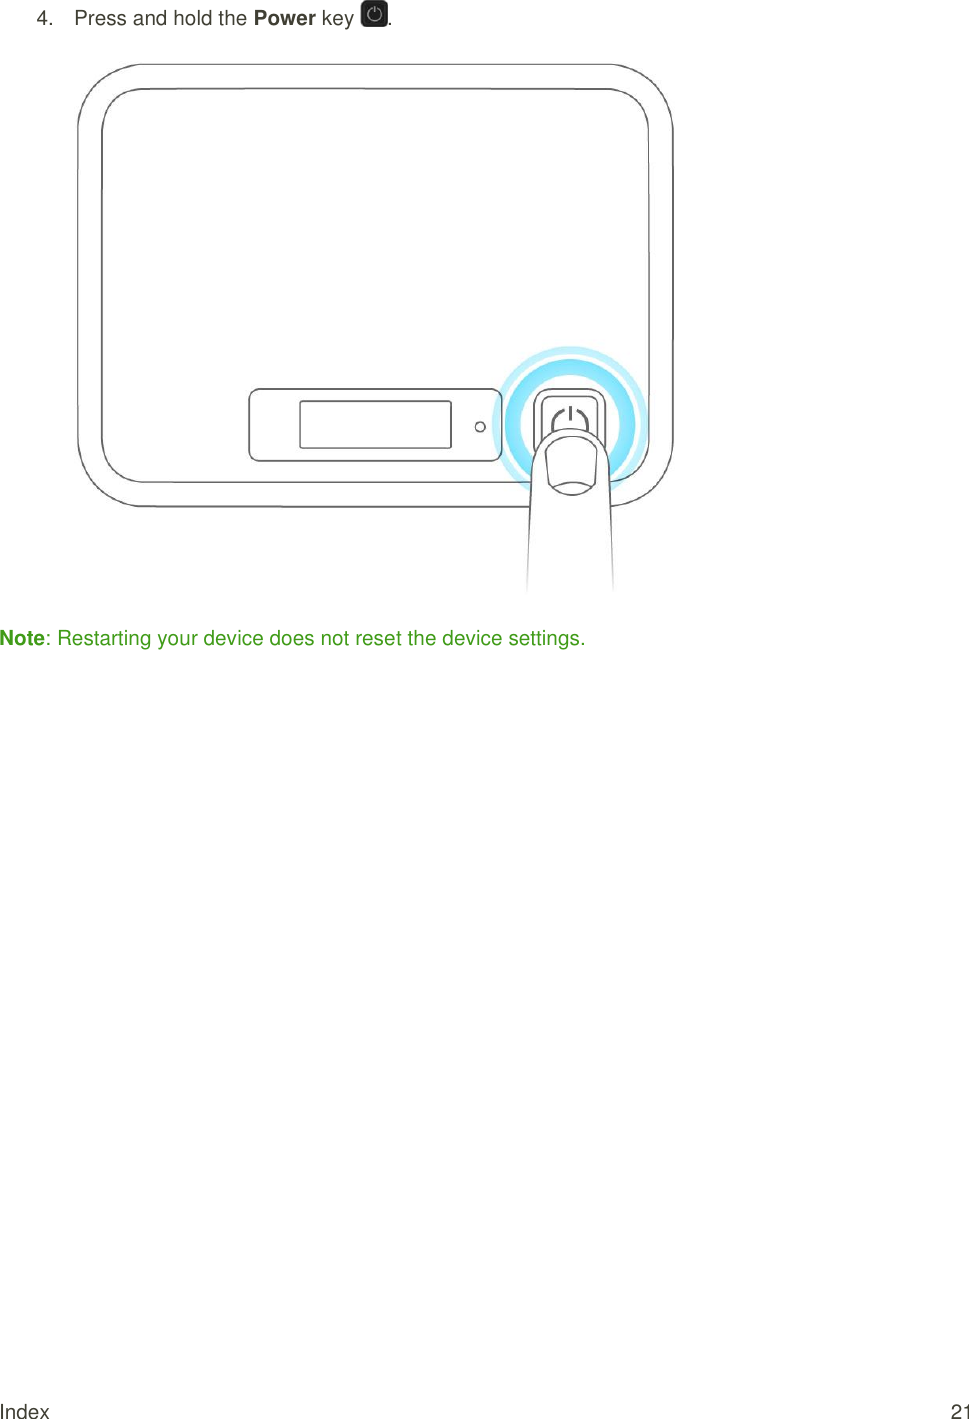
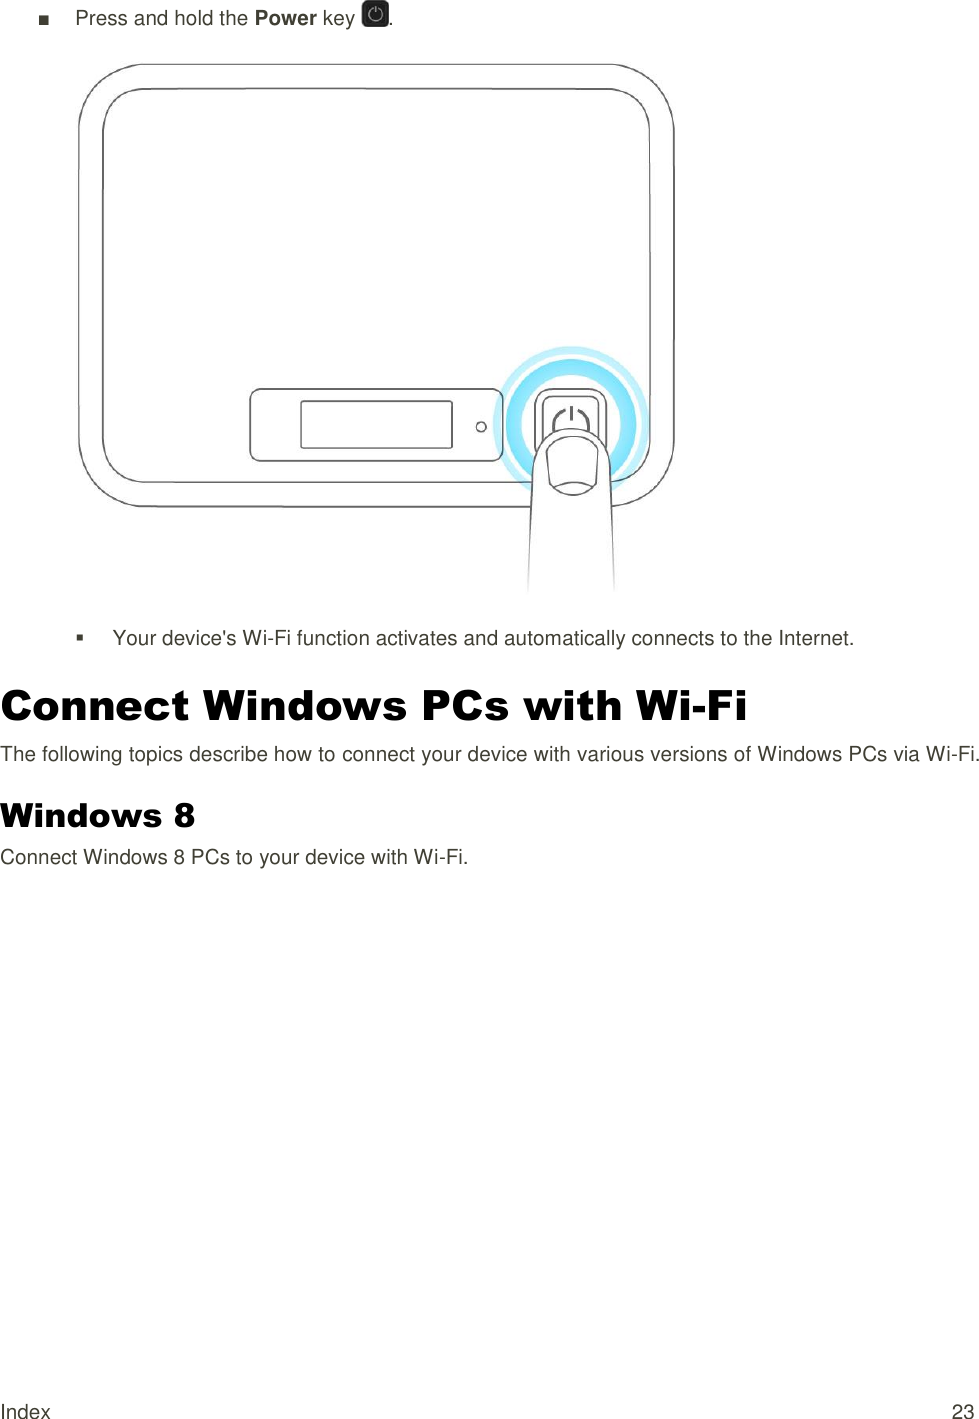
![Index 24 1. Press and hold the Power key . Your device's Wi-Fi function activates and automatically connects to the Internet. 2. Activate your PC's Wi-Fi function. Consult your PC's operation manual for details on activating Wi-Fi. 3. On your PC, move the cursor to the upper-right or lower-right corner (or swipe from the right side on a touchscreen PC) and select > Network . [illustration]](https://usermanual.wiki/Franklin-Technology/R850/User-Guide-2838245-Page-24.png)
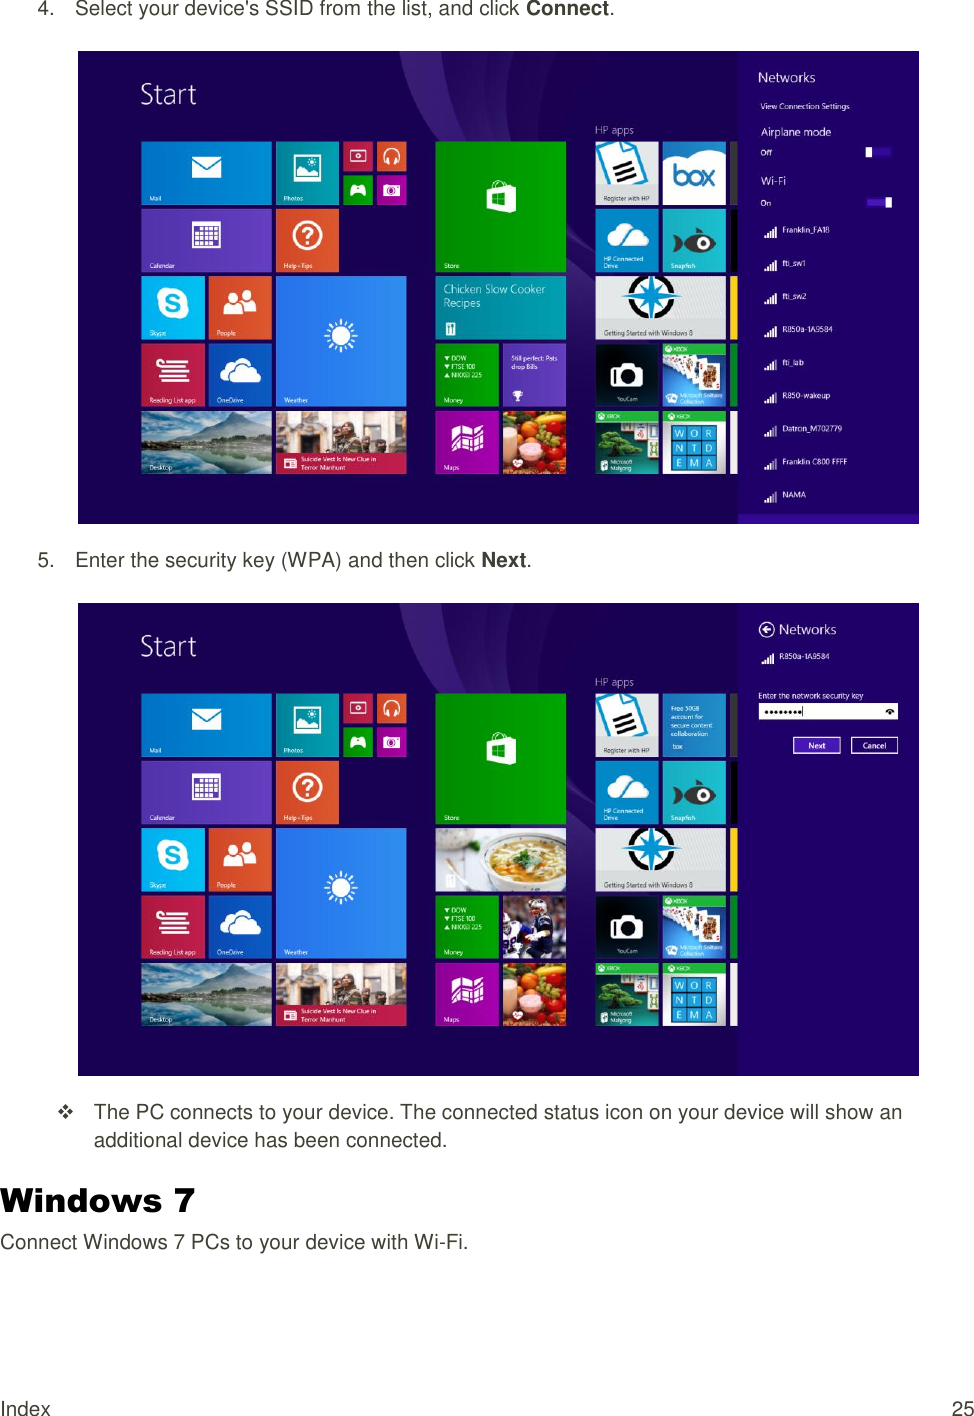
![Index 26 1. Press and hold the Power key . Your device's Wi-Fi function activates and automatically connects to the Internet. 2. Activate your PC's Wi-Fi function. Consult your PC's operation manual for details on activating Wi-Fi. 3. On your PC, click Start > Control Panel > Network and Internet > Network and Sharing Center. [illustration] 4. Click Connect to a network. [illustration] 5. Select your device's SSID from the list, and click Connect. [illustration] 6. Enter the security key (WPA) and then click OK. [illustration] The PC connects to your device. The connected status icon on your device will show an additional device has been connected.](https://usermanual.wiki/Franklin-Technology/R850/User-Guide-2838245-Page-26.png)
![Index 27 Connect Mac Computers with Wi-Fi Follow the instructions below to connect a Mac computer to your device via Wi-Fi. Note: The operations depicted are based on Mac OS X 10.xx, with Wi-Fi security set to [xxx]. 1. Press and hold the Power key . Your device's Wi-Fi function activates and automatically connects to the Internet. 2. On your Mac, in the Apple menu, click System Preferences… > Network. [illustration] 3. Click Wi-Fi > Turn Wi-Fi On. [illustration] Your computer's Wi-Fi function activates. 4. Select your device's SSID from the Network Name pulldown list. [illustration] 5. Enter the security key (WPA) in the Password field, check Remember this network, and then click Join. [illustration]](https://usermanual.wiki/Franklin-Technology/R850/User-Guide-2838245-Page-27.png)
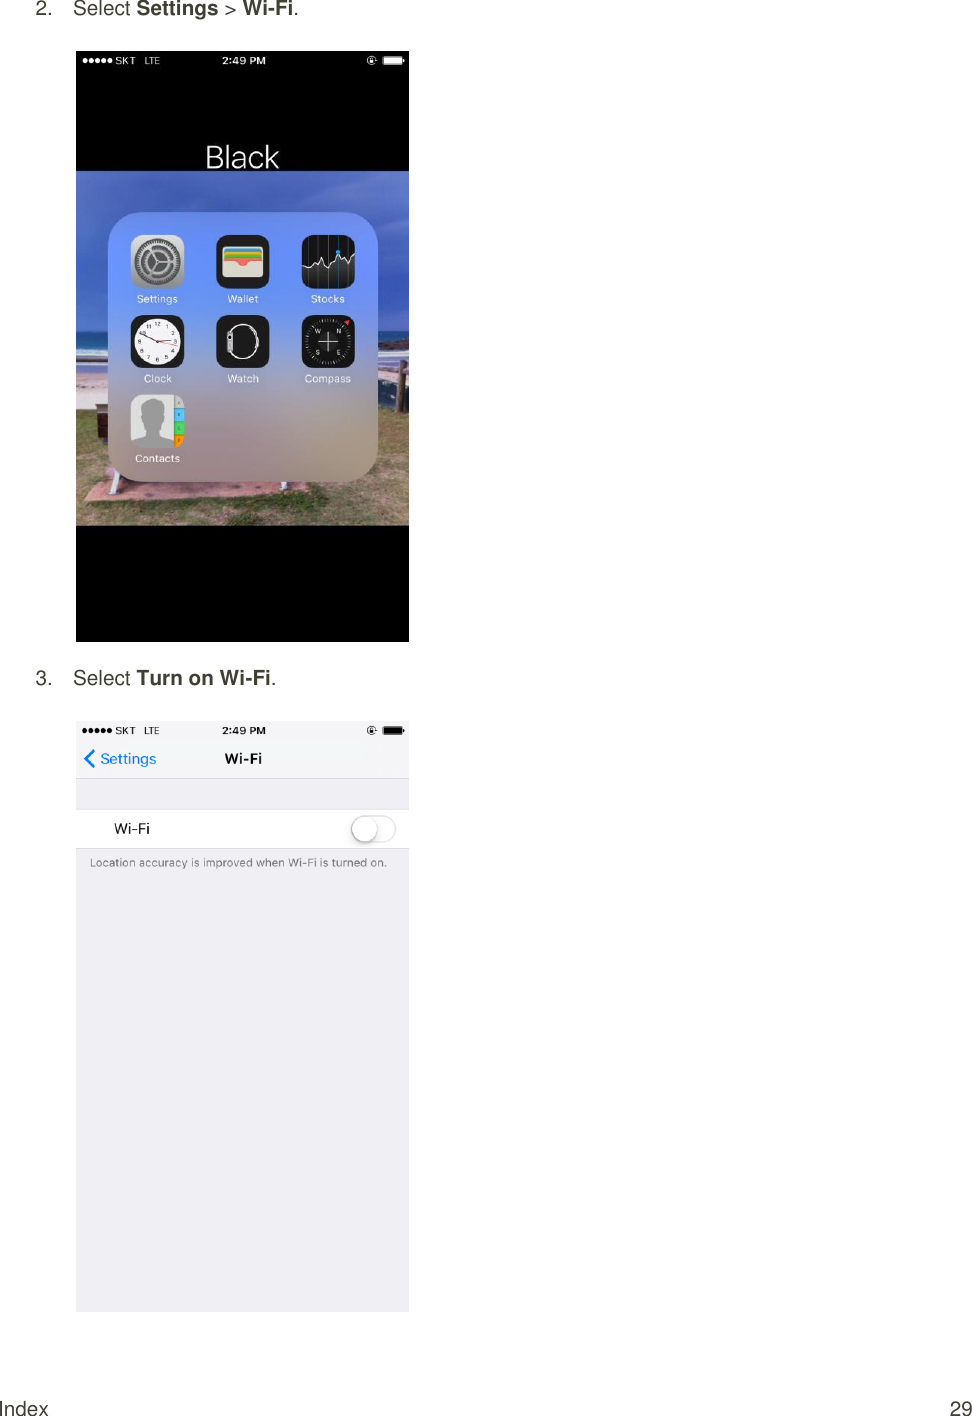
![Index 28 The computer connects to your device. The connected status icon on your device will show an additional device has been connected. Connect iPhone/iPod Touch/iPad The following topics outline how to connect your iPhone, iPod Touch, or iPad to your device via Wi-Fi. Connect an iPhone or an iPod Touch Follow the instructions to connect your iPhone or iPod Touch to your device using Wi-Fi. Note: The operations below are based on your iPhone or iPod Touch Wi-Fi security set to [xxx]. 1. Press and hold the Power key . Your device's Wi-Fi function activates and automatically connects to the Internet.](https://usermanual.wiki/Franklin-Technology/R850/User-Guide-2838245-Page-28.png)
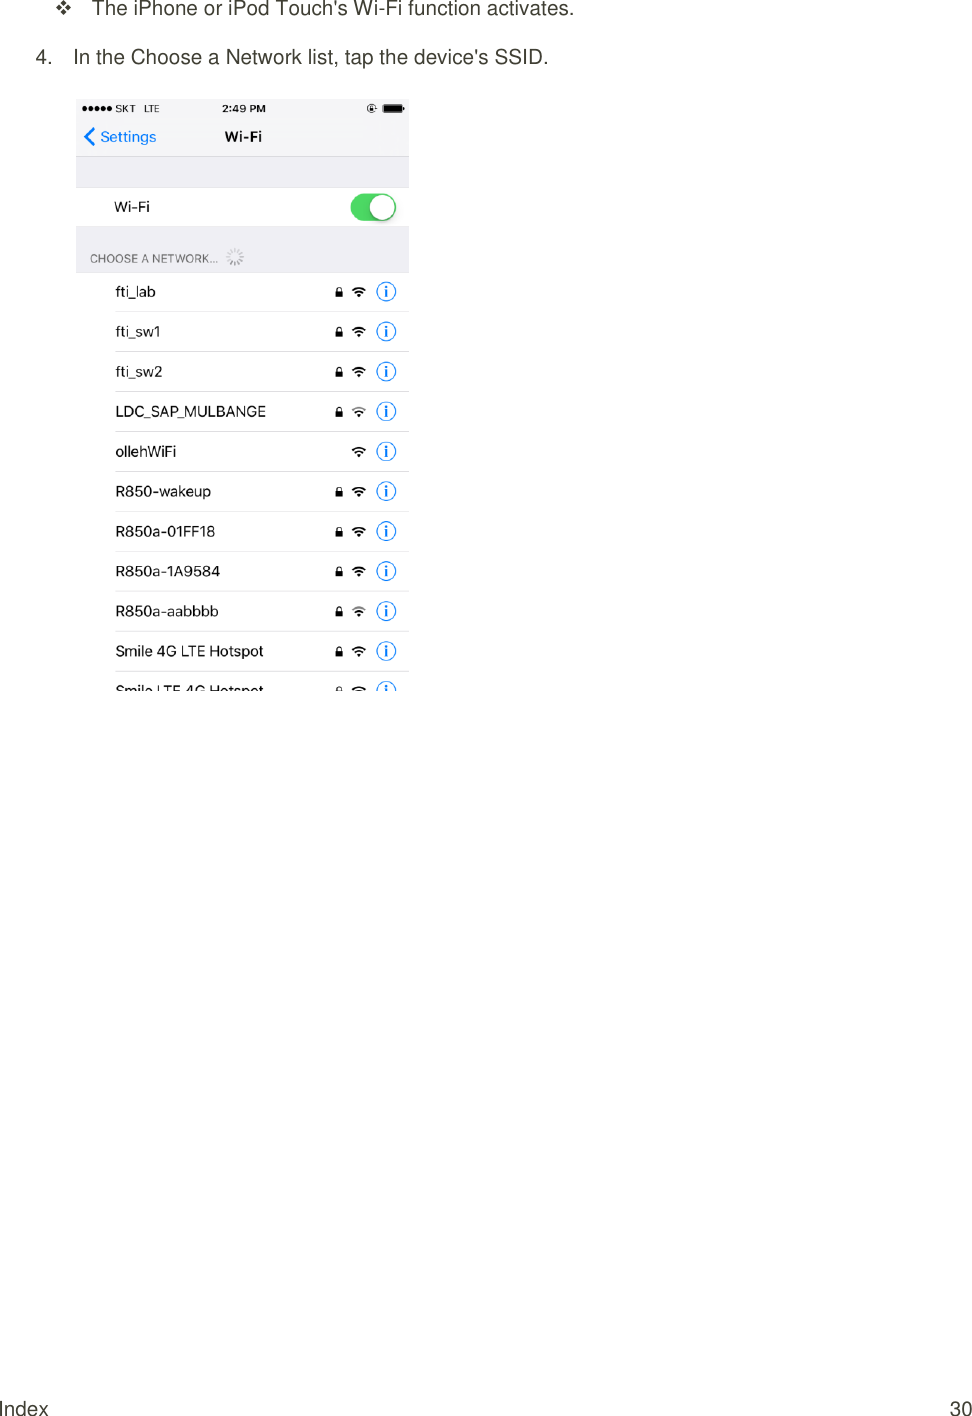
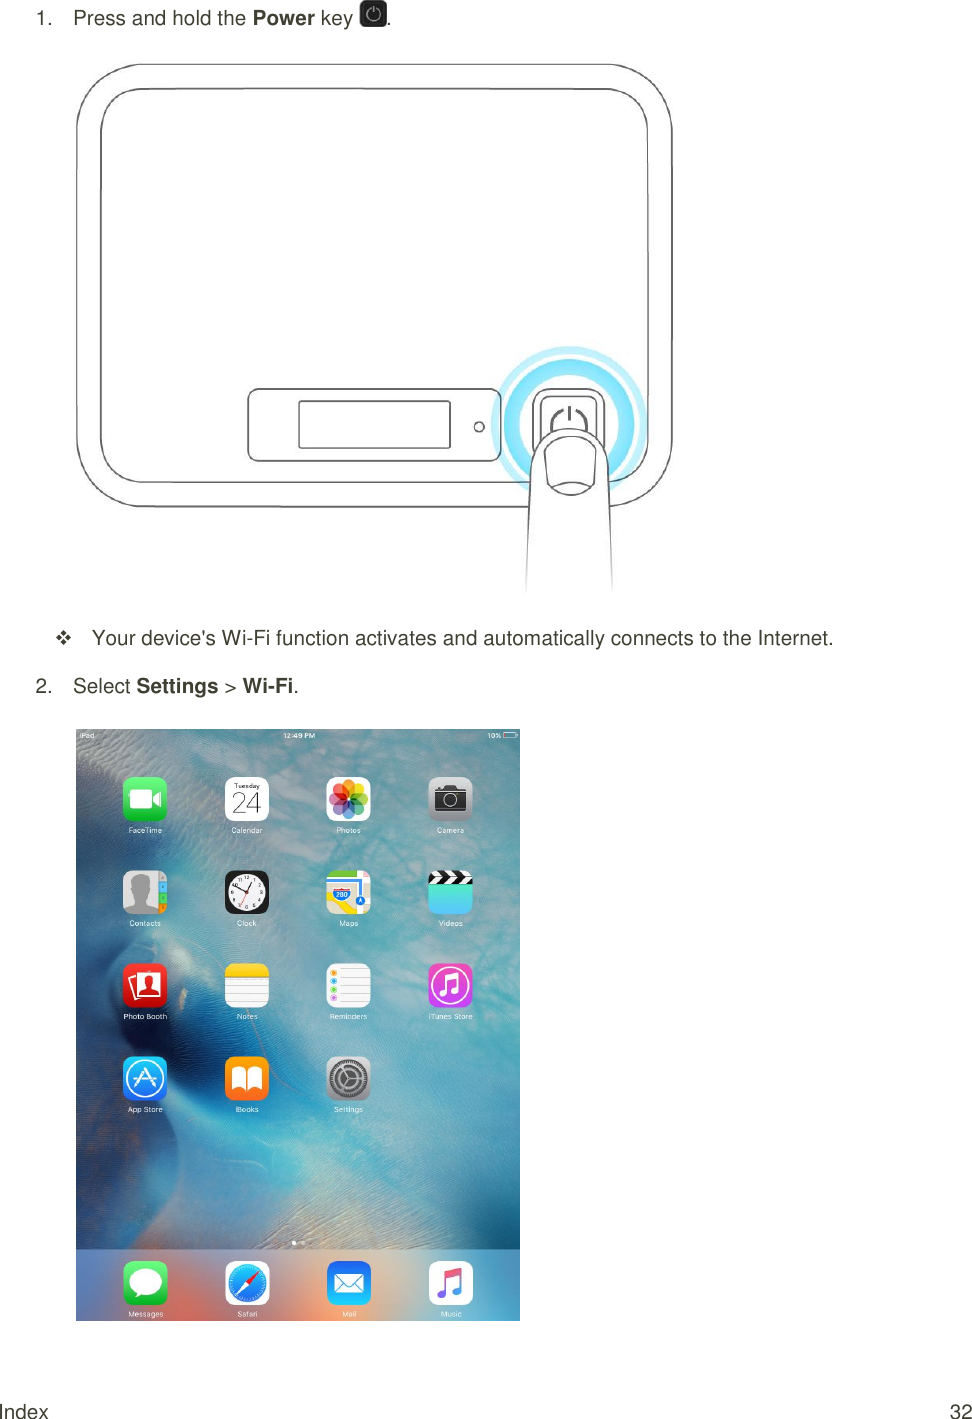
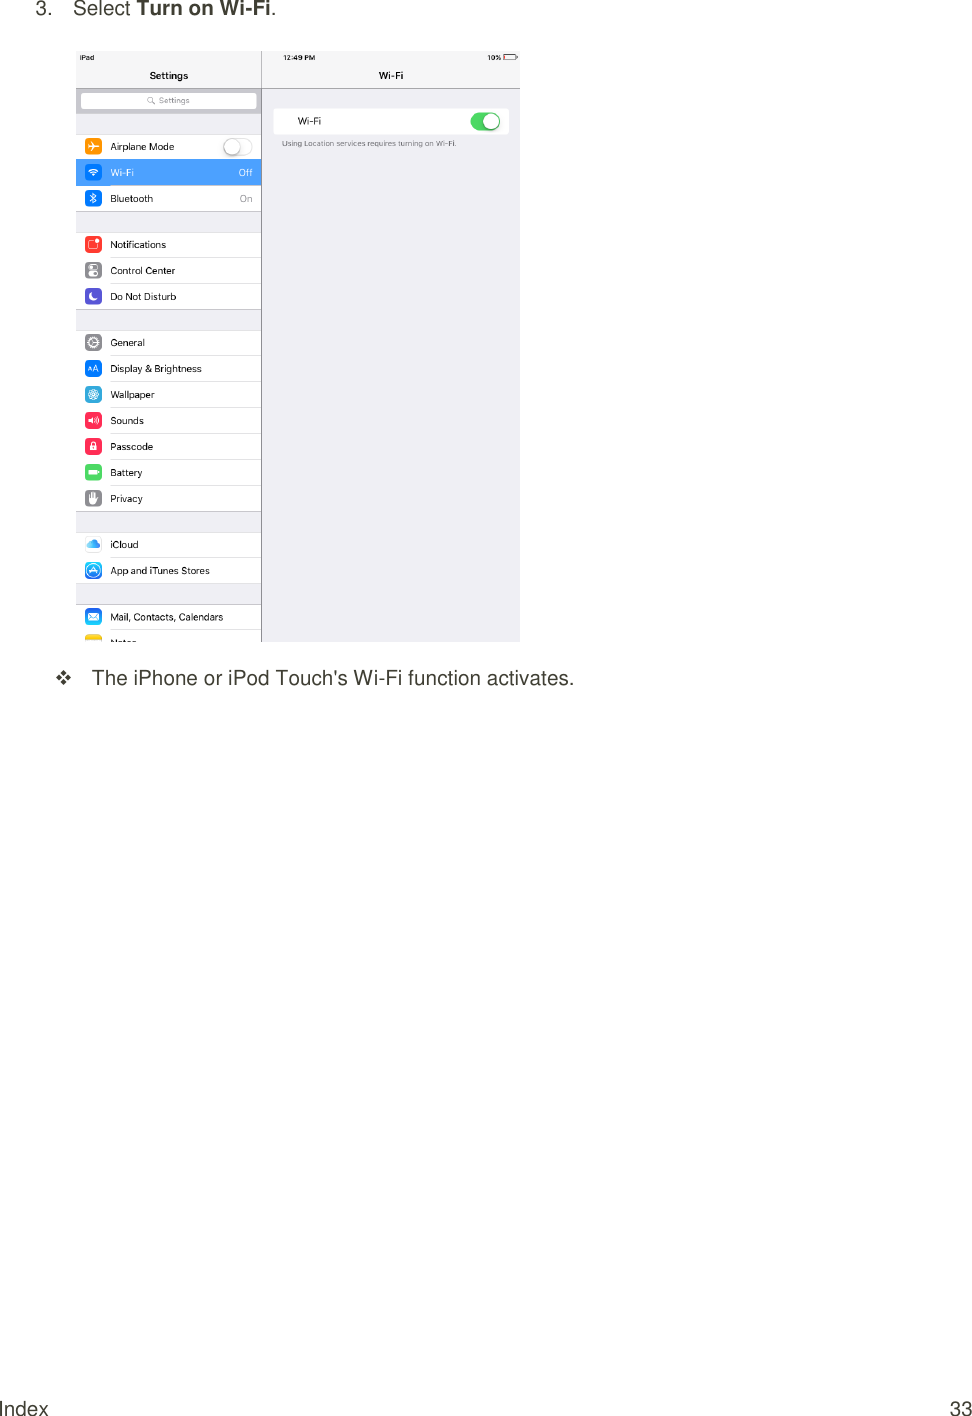
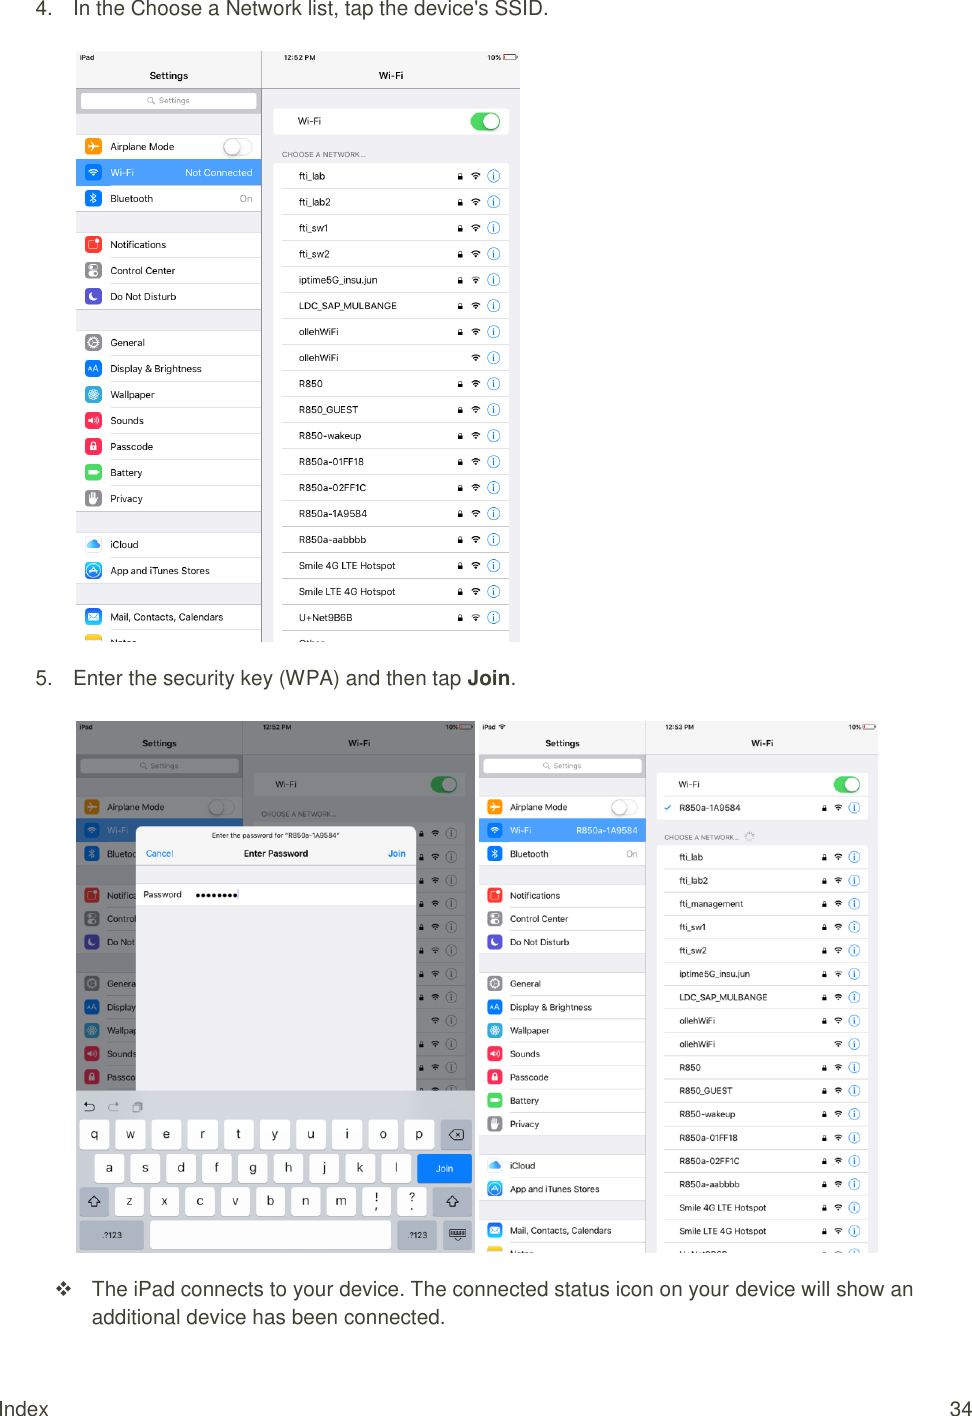
![Index 31 5. Enter the security key (WPA) and then tap Join. The iPhone or iPod Touch connects to your device. The connected status icon on your device will show an additional device has been connected. Connect an iPad Follow the instruction to connect your iPad to your device using Wi-Fi. Note: The operations below are based on your iPad Wi-Fi security set to [xxx].](https://usermanual.wiki/Franklin-Technology/R850/User-Guide-2838245-Page-31.png)
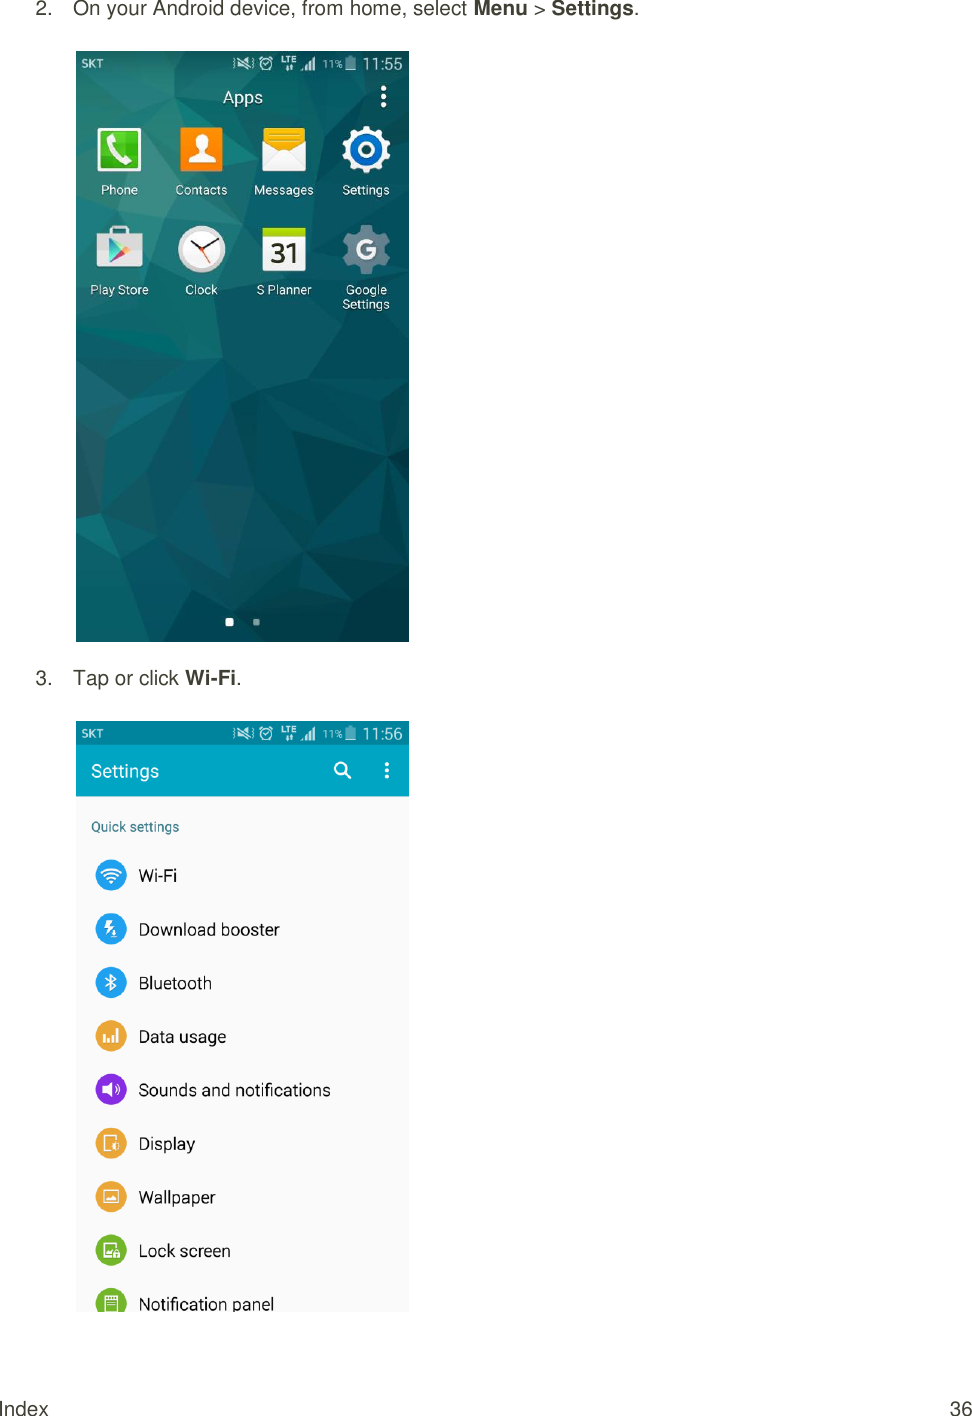
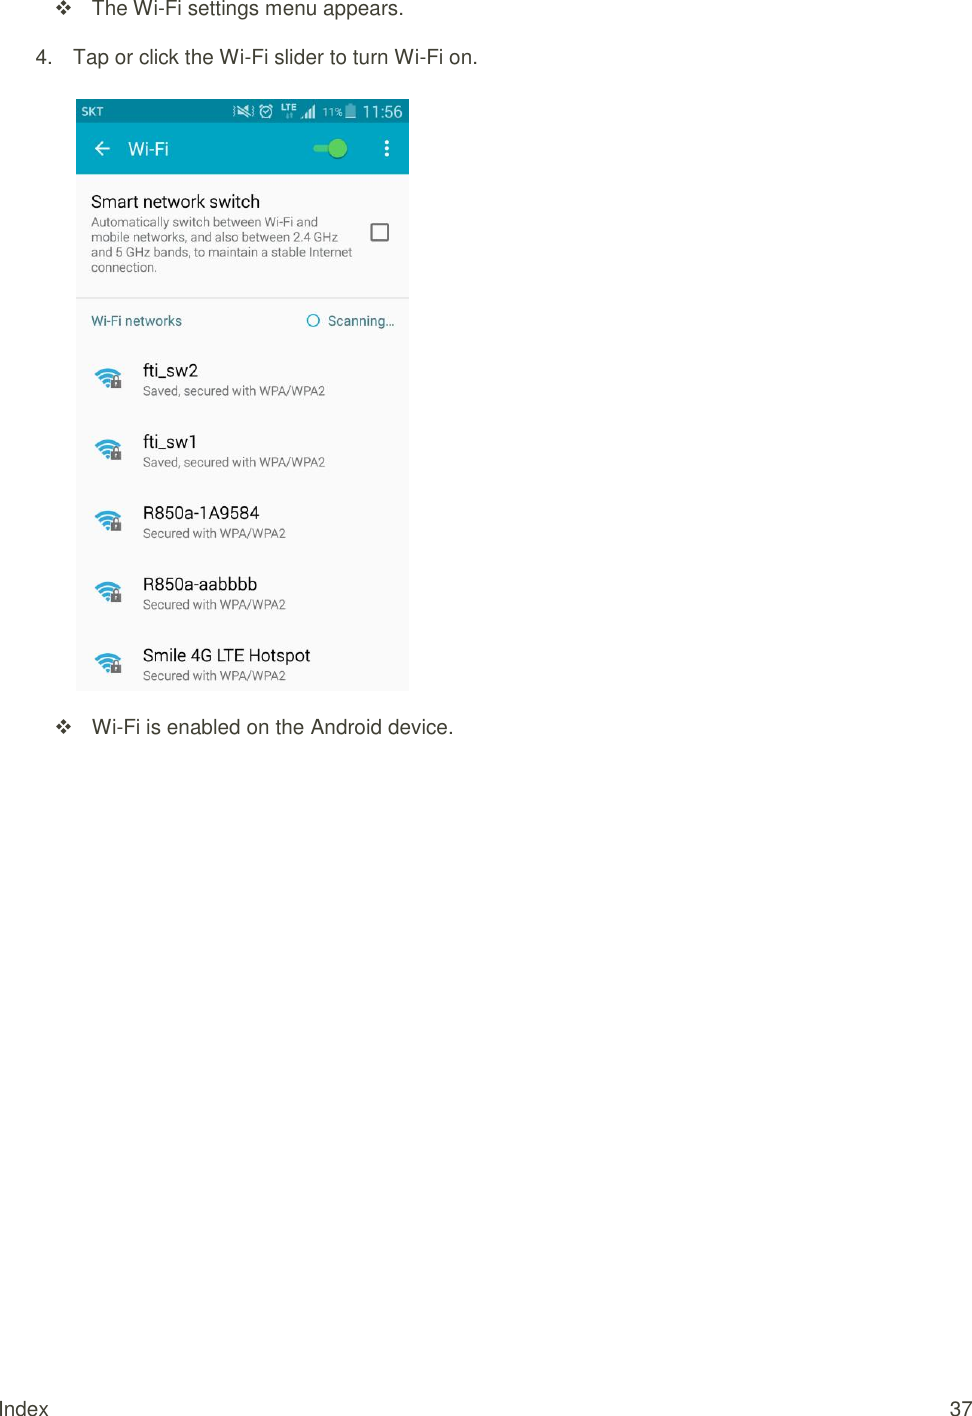
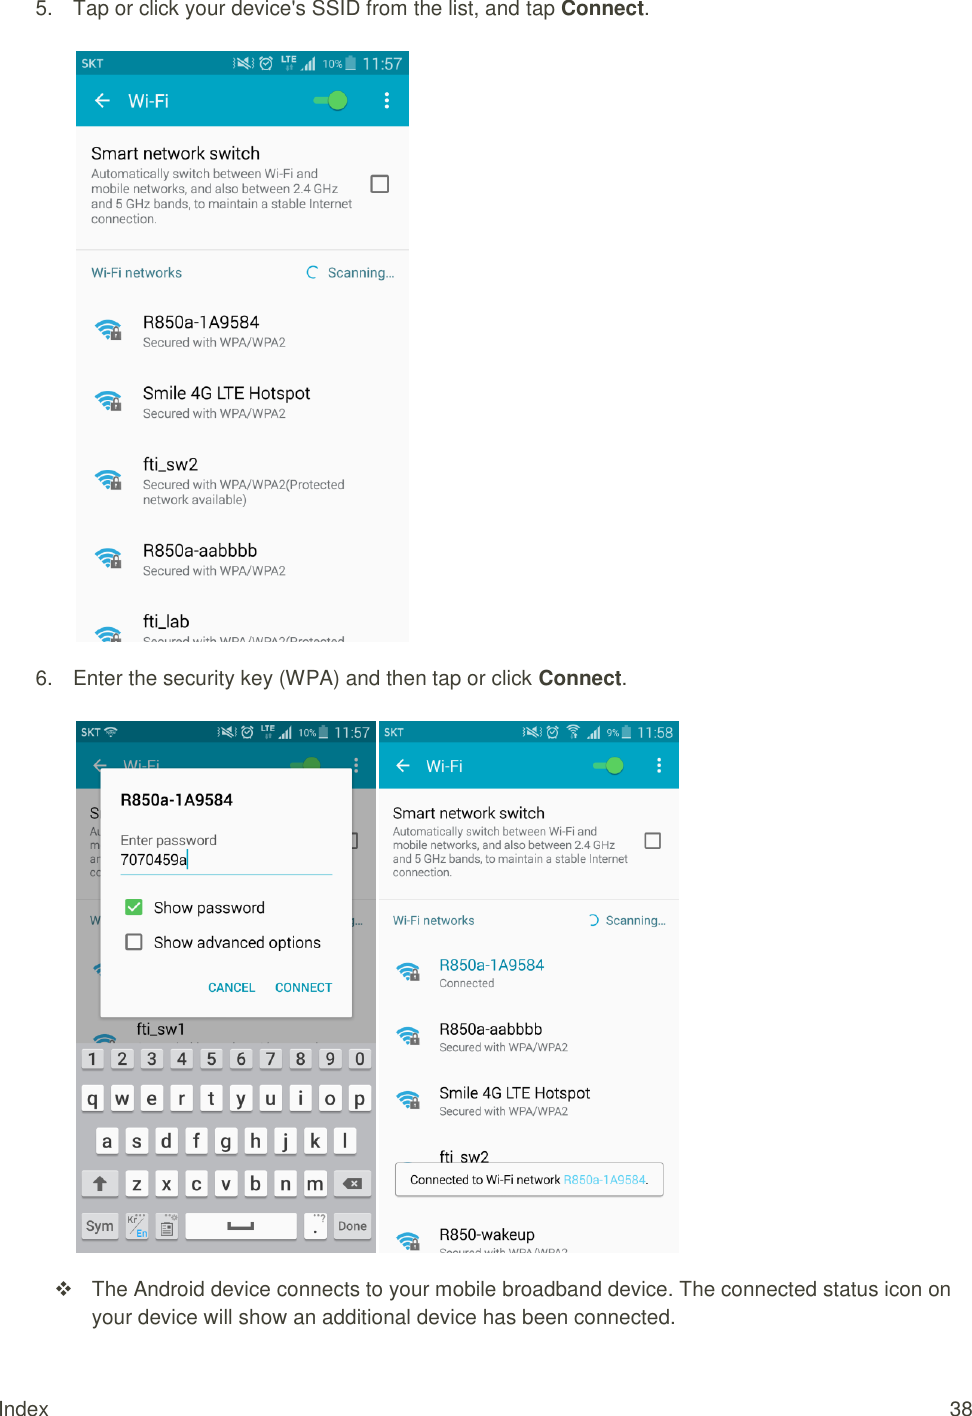
![Index 35 Connect an Android™ Device You can share your device's connection with compatible Android devices, such as wireless phones, tablets, and Chromebook computers. Note: The operations below are based on generic Android devices with Wi-Fi security set to [xxx]. Operation may vary depending on Android device type. See your Android device user guide for details. 1. Press and hold the Power key . Your device's Wi-Fi function activates and automatically connects to the Internet.](https://usermanual.wiki/Franklin-Technology/R850/User-Guide-2838245-Page-35.png)