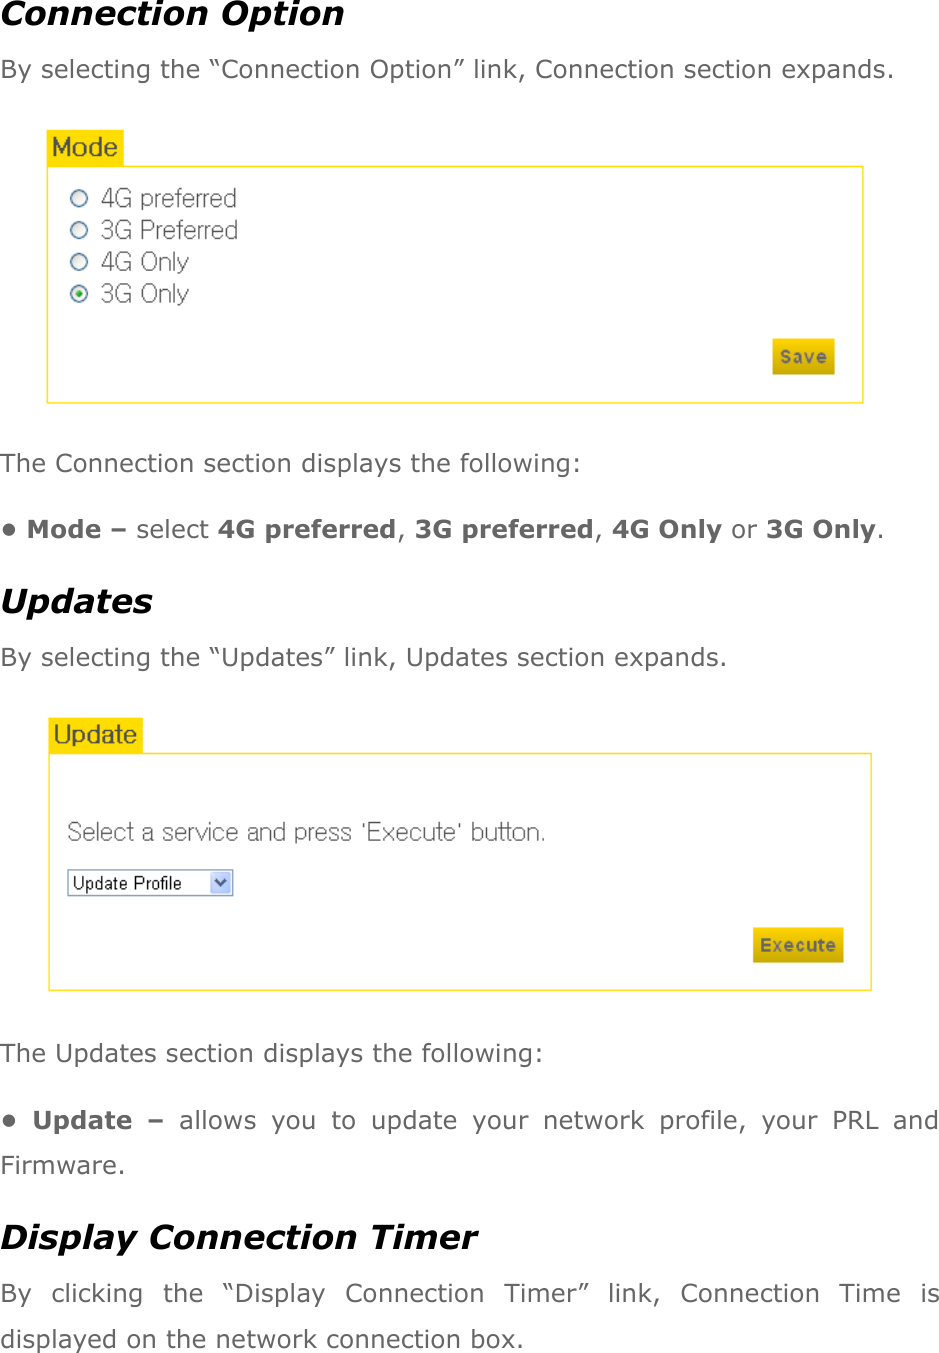
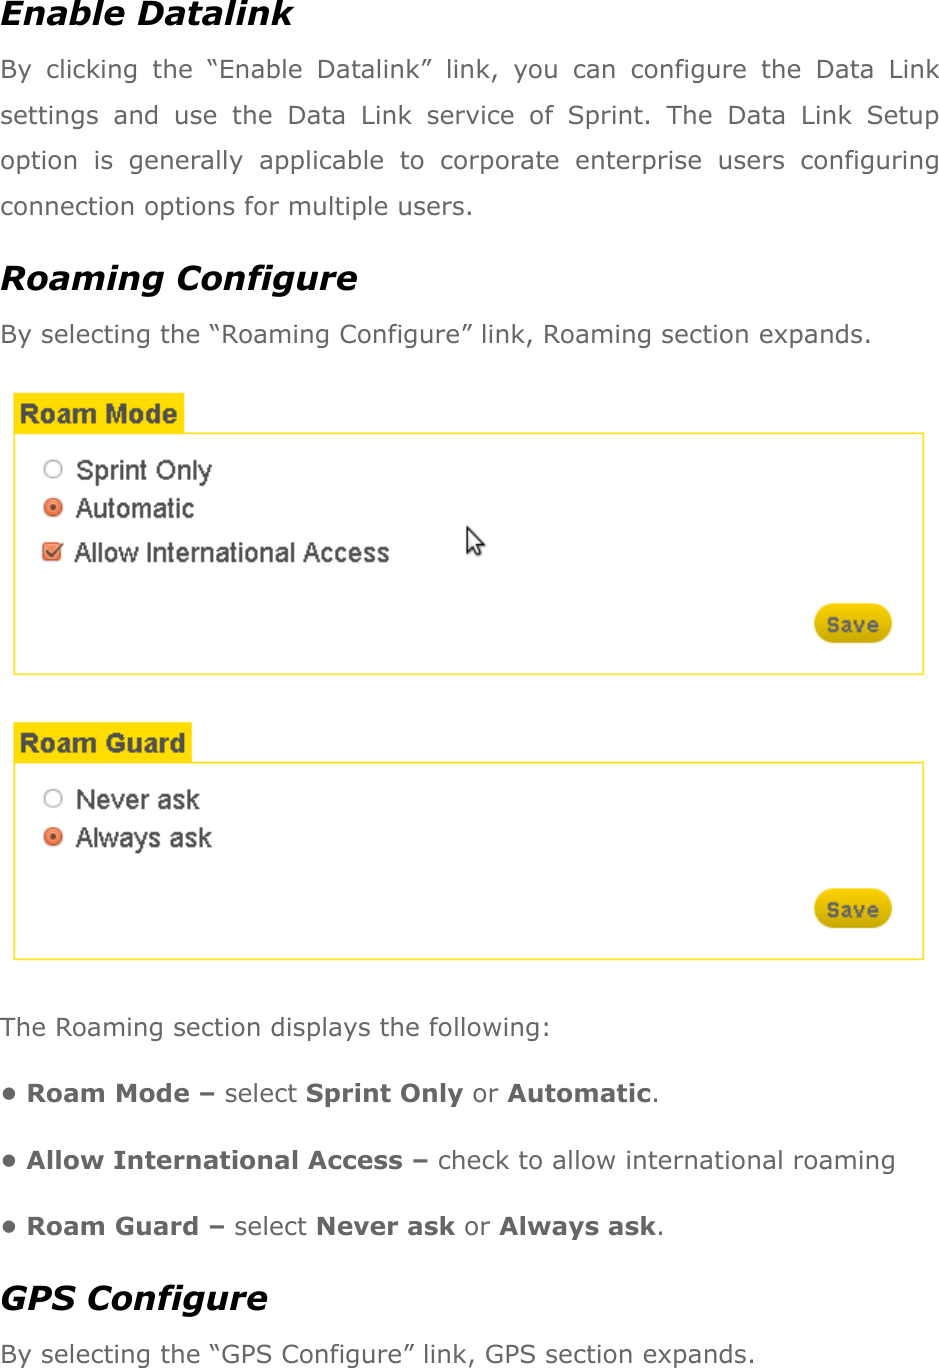
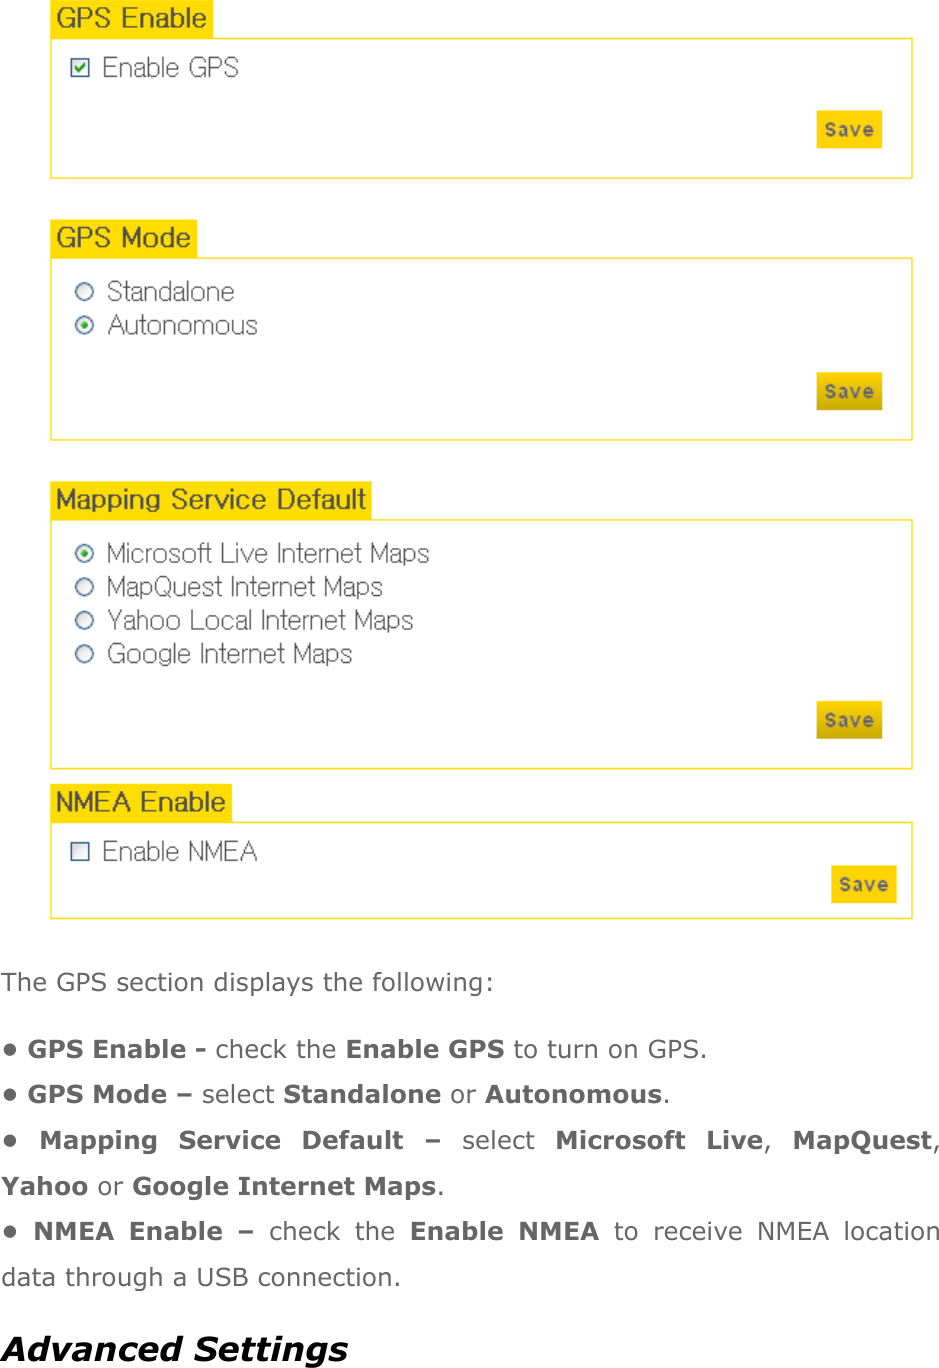
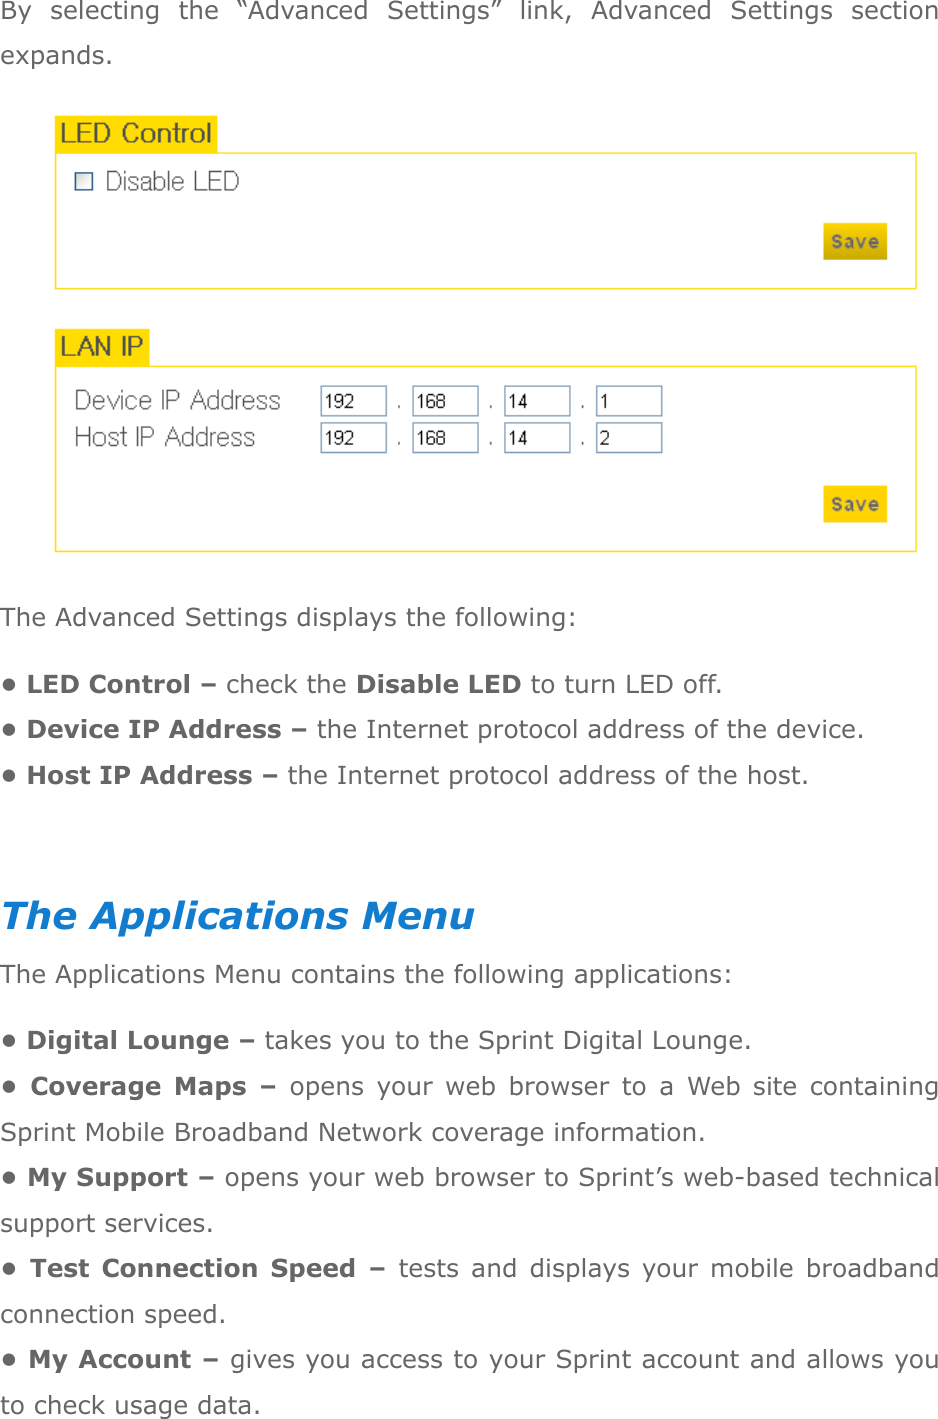
Franklin Technology U602 CDMA / Wimax USB Modem User Manual
Franklin Technology Inc. CDMA / Wimax USB Modem
UserManual.wiki
>
Franklin Technology
>
U602 User Manual
User Manual
Navigation menu
Upload a User Manual
Namespaces
Wiki Guide
HTML
PDF
Info
Views
User Manual
Discussion / Help
Navigation


![the U602 into the USB port as it may cause damage to the modem and/or the port. • Keep the U602 in a dry and clean place. (Storage temperature: -22°F to 149°F [- 30°C to 65°C]). Keep your device away from liquids, dust and excessive heat. Configuration To use the U602 on your computer, you need to install the Remote NDIS driver included in the modem memory and configure the U602 USB device. See the next section for more information on driver installation and USB device configuration. The following section is for Windows XP users. The Windows Vista or higher users should ignore the following section.](https://usermanual.wiki/Franklin-Technology/U602/User-Guide-1592002-Page-6.png)
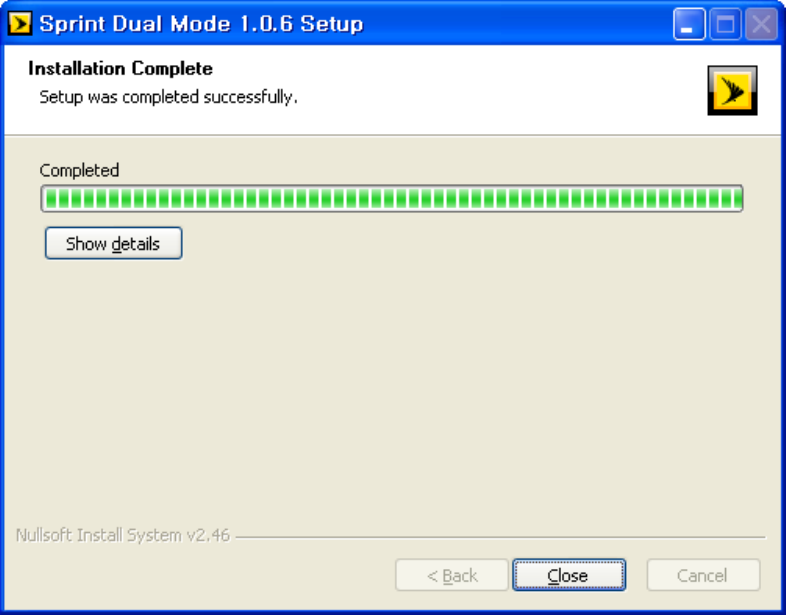
![② Insert the U602 modem into your USB port. ③ Your computer will recognize U602 modem and install the Remote NDIS driver automatically. If the program does not launch automatically, go to my computer and select the „FranklinCD‟ drive and double click „dm-install.exe‟ program. ④ Follow the steps in the next section. Windows Vista or higher Setup Remote NDIS – for Windows STEP 1: The “Welcome to the Sprint Dual Mode 1.0.6 Setup Wizard” screen appears. Click the [Install] button to continue with the installation process. STEP 2: Installation of U602 Remote NDIS is now complete. Click the [Close] button to leave the U602 Remote NDIS setup program.](https://usermanual.wiki/Franklin-Technology/U602/User-Guide-1592002-Page-8.png)