Franklin Technology X720 Express Card User Manual
Franklin Technology Inc. Express Card
UserManual.wiki
>
Franklin Technology
>
X720 User Manual
user manual
Navigation menu
Upload a User Manual
Namespaces
Wiki Guide
HTML
PDF
Info
Views
User Manual
Discussion / Help
Navigation
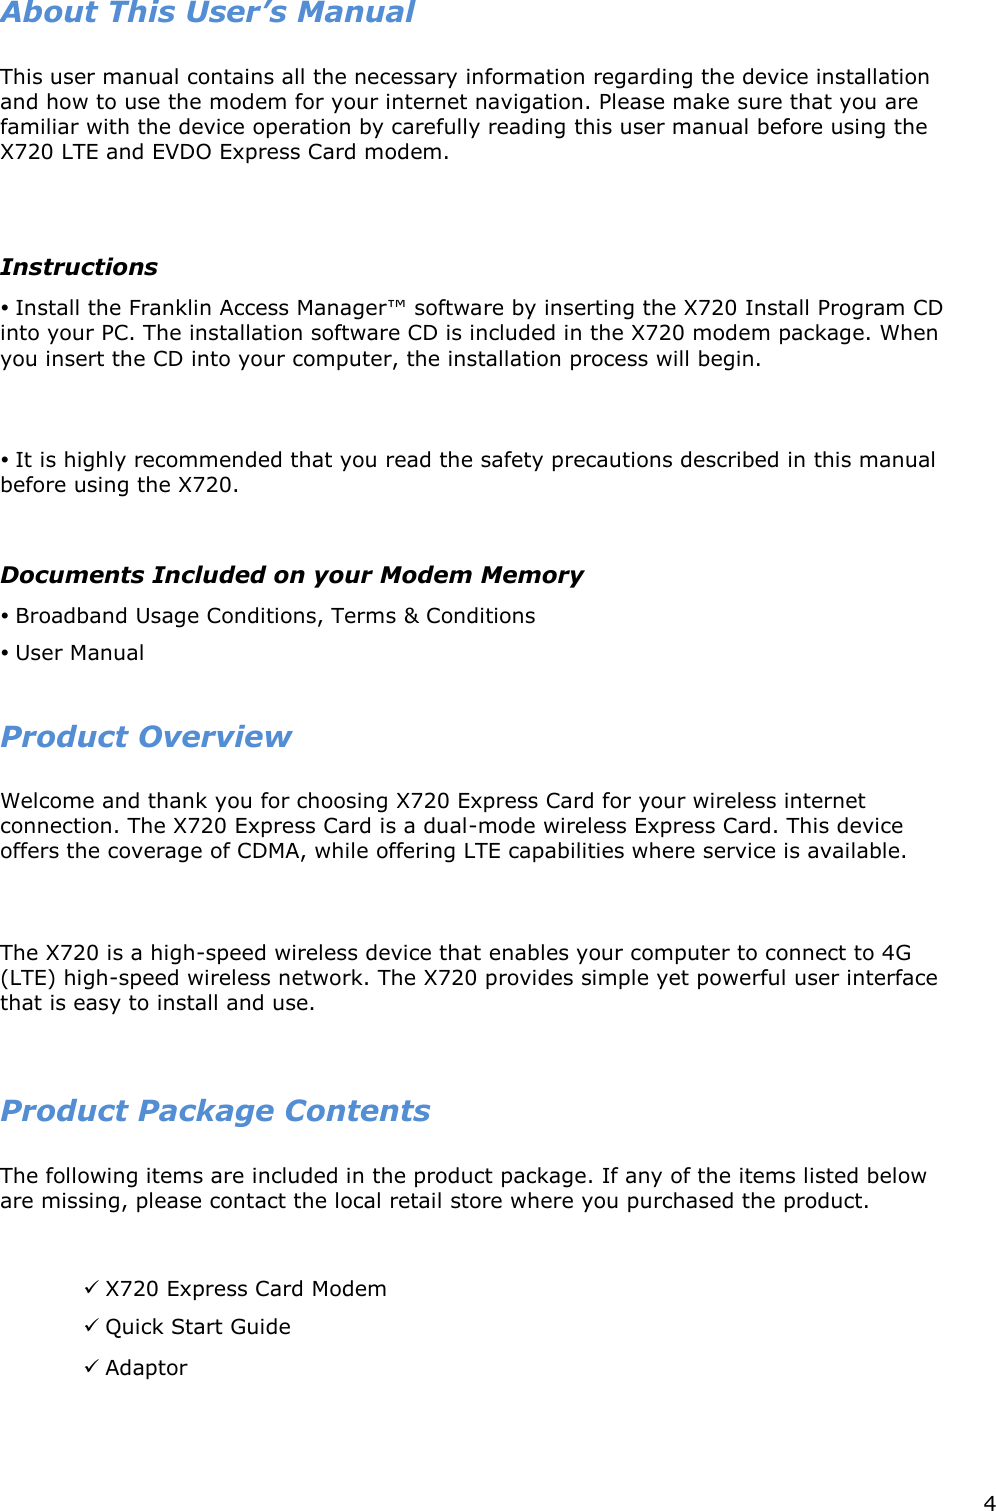
![5 Introduction to X720 Express Card The X720 is designed for the Express Card slot on your computer, which is available in most PC models. The X720 allows you to Access the Internet, Send and receive SMS and e-mail Access your corporate network through VPN With X720, you are always connected whether you are away from home, on the road, or wherever wired Internet access is not readily available. Product Specifications Power management: The X720 utilizes power management and system overhead reduction functions provided by the Express Card interface for maximum power savings. Antenna design: Its efficient and innovative design optimizes data transfer rate and sensitivity to network signals. Product handling Do not place any adhesive labels on the Express Card. It may leave a sticky residue that can cause problems inside the PC Express Card slot. The X720 Express Card should easily slide into the PC Express Card slot. Do not force the X720 into the Express Card slot as it may cause damage to the modem and/or the port. Keep the X720 in a dry and clean place. (Storage temperature: -22°F to 149°F [- 30°C to 65°C]). Keep your device away from liquids, dust and excessive heat. Express Card slot interface. Offers the coverage of CDMA, while offering LTE capabilities where service is available. (CDMA: Supports Cellular-800MHz bands.) Utilizes Qualcomm MDM9600 chipset Supports high-speed network technologies Support Windows XP, Vista, 7 and Apple Macintosh systems with installed Franklin Access Manager™ connection manager software and driver.](https://usermanual.wiki/Franklin-Technology/X720/User-Guide-1636742-Page-5.png)


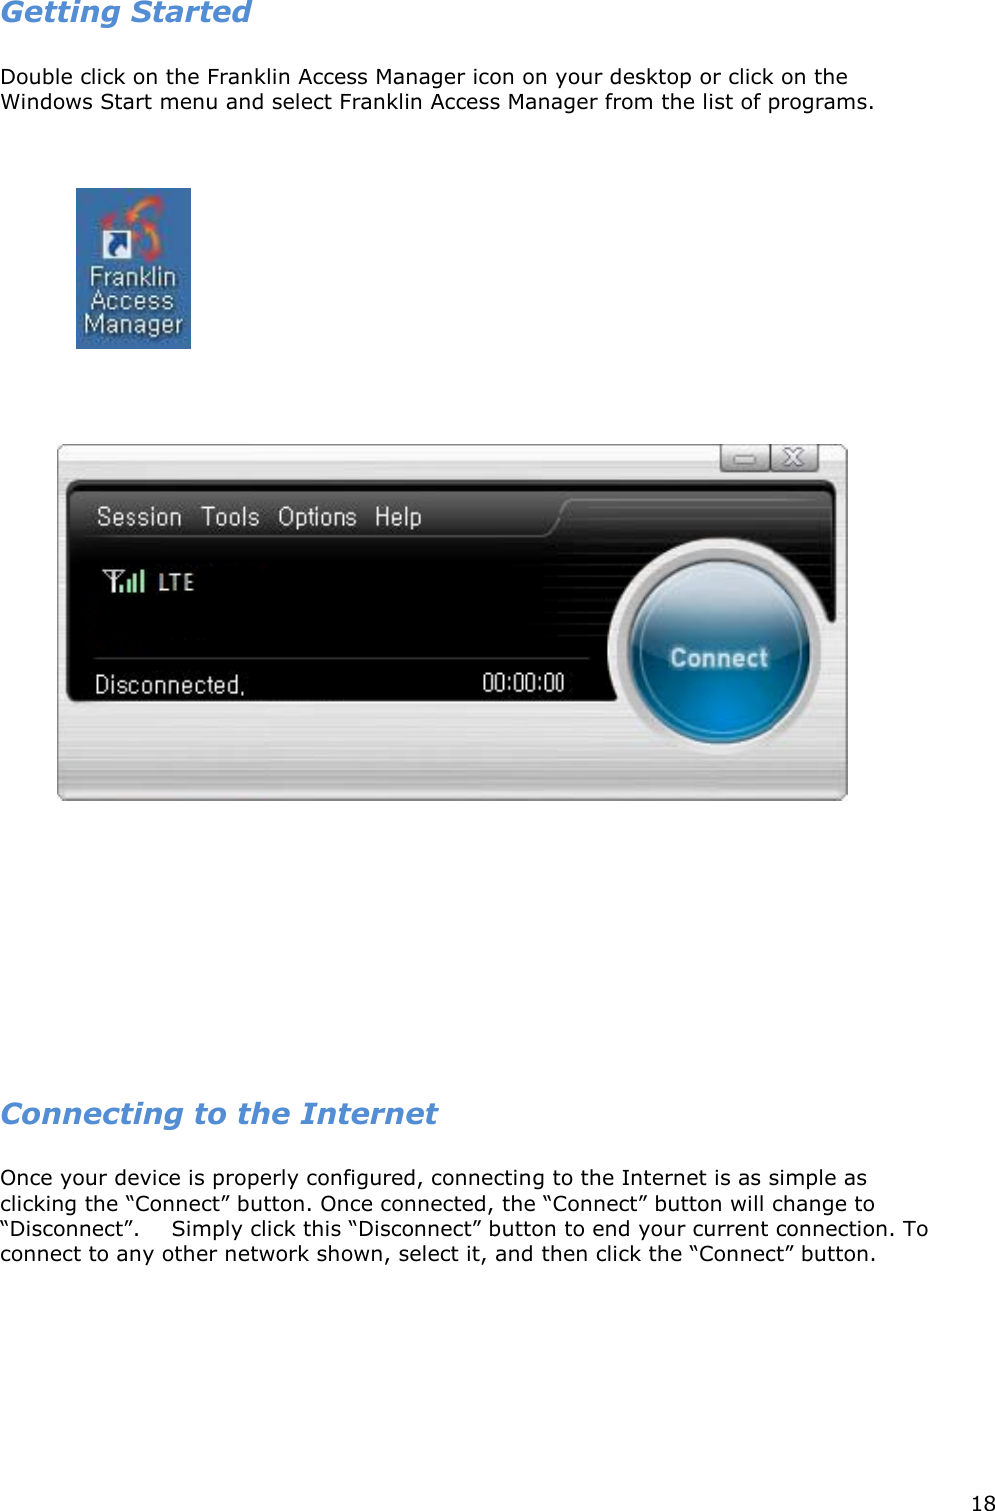
![9 Setup Program for Windows STEP 1: The “Welcome to the Franklin Access Manager Setup Wizard” screen appears. Click the [Next] button to continue with the installation process. .](https://usermanual.wiki/Franklin-Technology/X720/User-Guide-1636742-Page-9.png)
![10 STEP 2: You are now ready to select the location on your computer where Franklin Access Manager™ will be installed. It is recommended that you do not modify the default destination folder. Click the [Next] button to continue.](https://usermanual.wiki/Franklin-Technology/X720/User-Guide-1636742-Page-10.png)
![12 STEP 4: Installation of Franklin Access Manager is now complete. Click the [Close] button to leave the Franklin Access Manager setup program and begin using your new software. ※ The setup program will automatically create a Franklin Access Manager shortcut on your desktop. STEP 5: Please wait while X720 is installed and ready to use.](https://usermanual.wiki/Franklin-Technology/X720/User-Guide-1636742-Page-12.png)
![13 Setup Program for Mac OS X STEP 1: Insert X720 into the PC, then X720 CD disk drive should be automatically mounted. Double click X720 CD icon on the Desktop. Double click the Franklin Access Manager Setup icon to launch the installer. STEP 2: Click [Continue] button in the welcome window to proceed with the installation.](https://usermanual.wiki/Franklin-Technology/X720/User-Guide-1636742-Page-13.png)
![14 STEP 3: The Read Me file appears. Click the [Continue] button. STEP 4: Click “Install” to begin the standard installation on system volume STEP 5: Finally, the Setup Wizard shows confirm window, click the [OK] button to continue. Enter the Name/Password used to log into the computer then click „OK‟.](https://usermanual.wiki/Franklin-Technology/X720/User-Guide-1636742-Page-14.png)


![24 The Options Menu [Preferences] (1) General Tap Starting Options Run Connection Manager at Startup: If this option is checked the Franklin Access Manager starts automatically when Windows starts. Show Splash Window: Display splash window when Franklin Access Manager starts. Minimize Application into Tray: When you minimize the application it will now appear in the Windows task bar. To restore the application click on Franklin Access Manager tray icon, and select[Open].](https://usermanual.wiki/Franklin-Technology/X720/User-Guide-1636742-Page-24.png)
![28 (5) Update settings This feature allows Franklin Access Manager software to check for software updates and it can be updated manually or automatically. Update Option Manually: If you choose this option, the software will only check for update when you select “Update Now” button or select “Help”, then “Check for updates” from main screen. Automatically: You can allow the software to automatically check for updates, daily, weekly, or monthly. It only checks when the application is running and when it detects that you are connected and able to access the Internet. [Language] You can change language setting between English and Spanish.](https://usermanual.wiki/Franklin-Technology/X720/User-Guide-1636742-Page-28.png)