Fujitsu Transaction Solutions IPAD100INT Hand Held Computer User Manual CERTIFICATE OF COMPLIANCE
Fujitsu Transaction Solutions Inc. Hand Held Computer CERTIFICATE OF COMPLIANCE
UserManual.wiki
>
Fujitsu Transaction Solutions
>
IPAD100INT User Manual
Manual
Navigation menu
Upload a User Manual
Namespaces
Wiki Guide
HTML
PDF
Info
Views
User Manual
Discussion / Help
Navigation
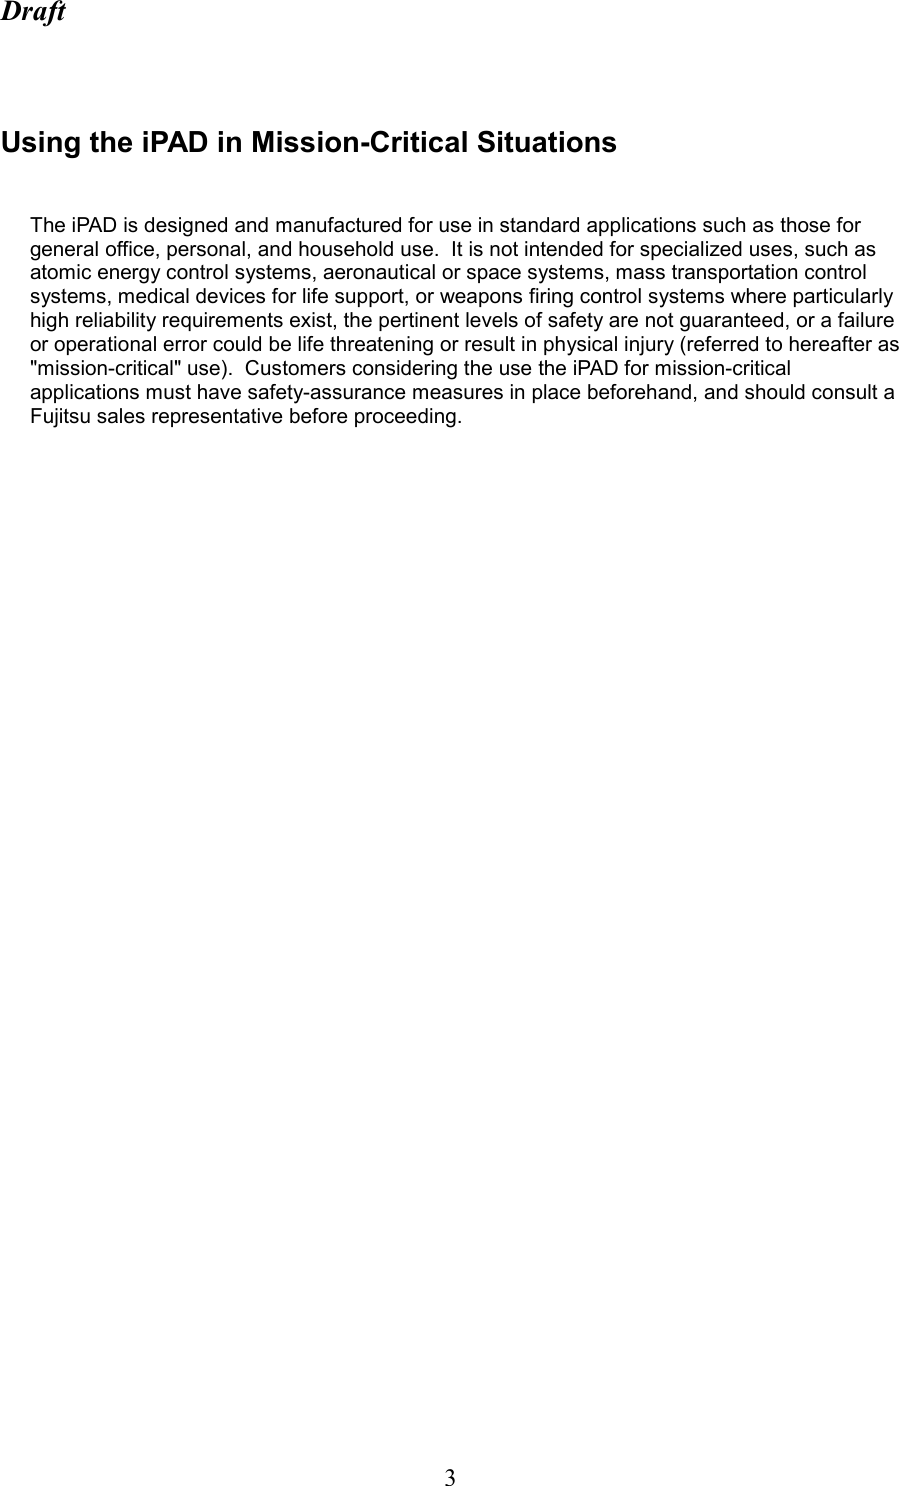
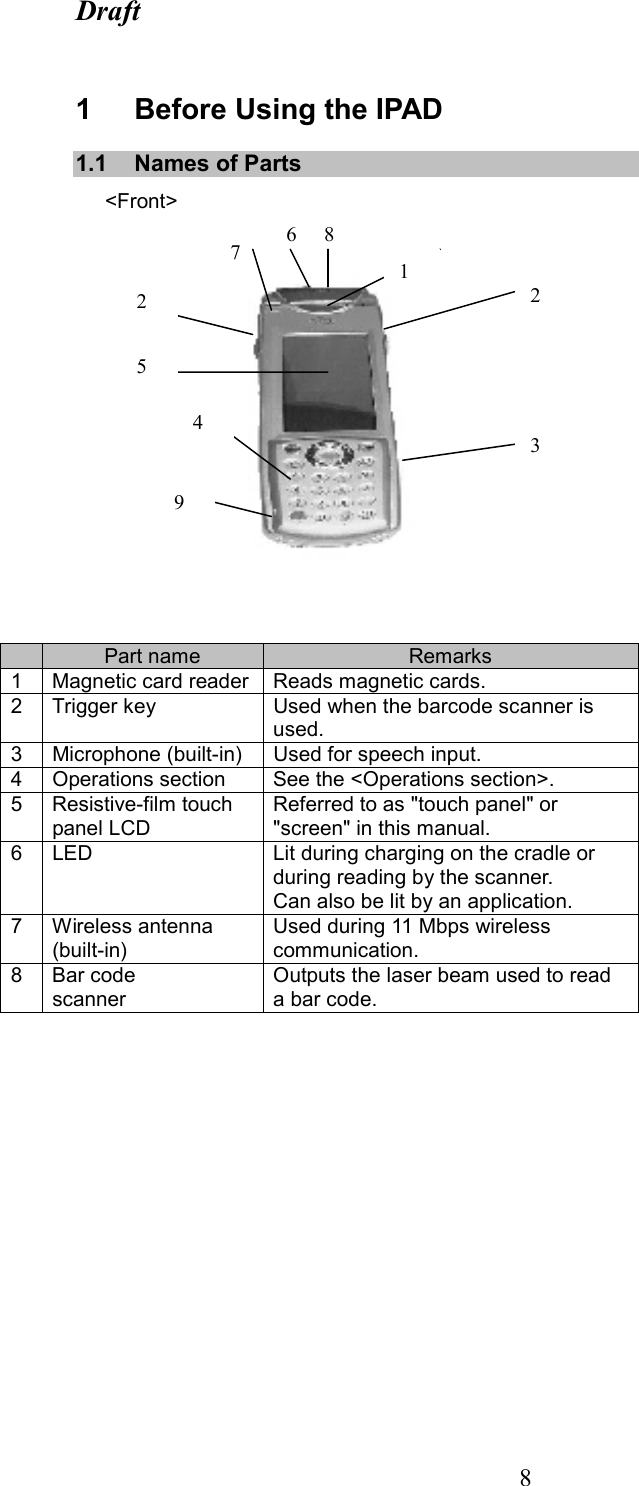
![Draft 11 <Operations section> 1 3 4 5 2 8 9 10 11 12 6 7 NO. Part name Remarks 1 Cursor key Moves the cursor. 2 Function key 1 Invokes a function defined by an application. 3 Function key 2 Invokes a function defined by an application. 4 Clear key [CLR] key in this manual. 5 Shift key [SFT] key in this manual. 6 Enter key [ENT] key in this manual. 7 Cancel key [CAN] key in this manual. 8 Power key - 9 Numeric/character keys - 10 × / and . (decimal point) keys - 11 Set key - 12 PIN LED Lights when a payment PIN is input.](https://usermanual.wiki/Fujitsu-Transaction-Solutions/IPAD100INT/User-Guide-282731-Page-12.png)
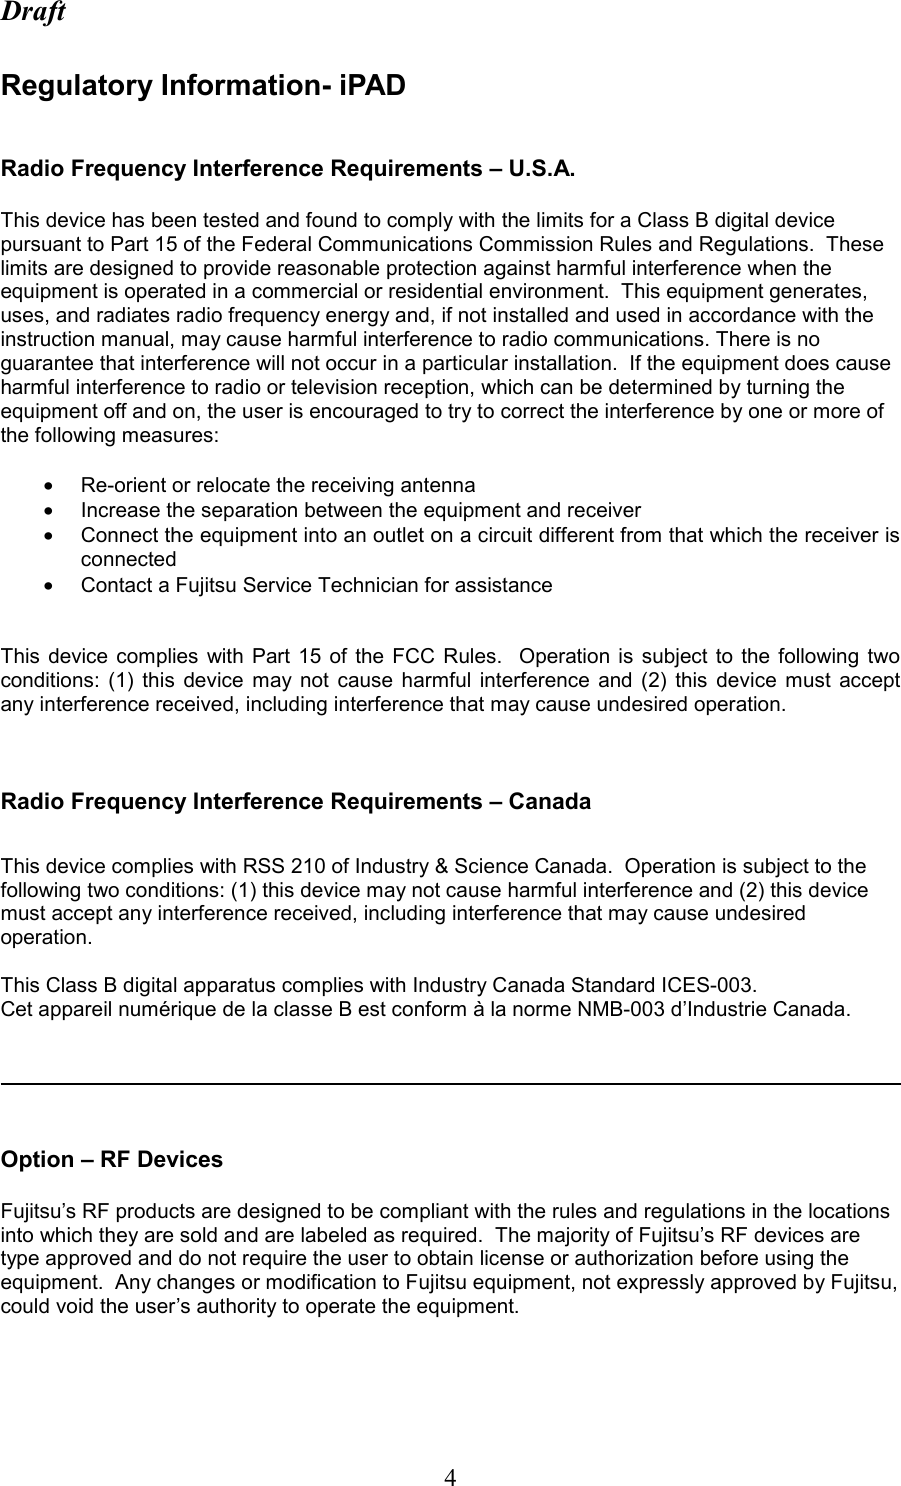
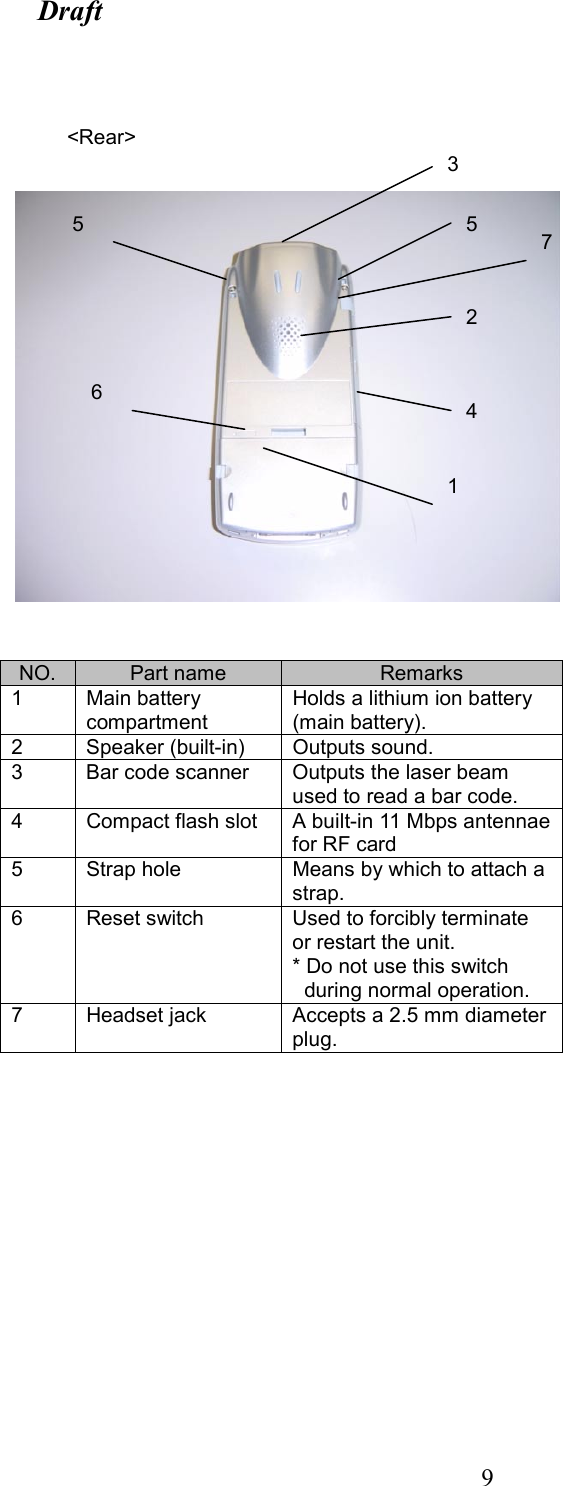
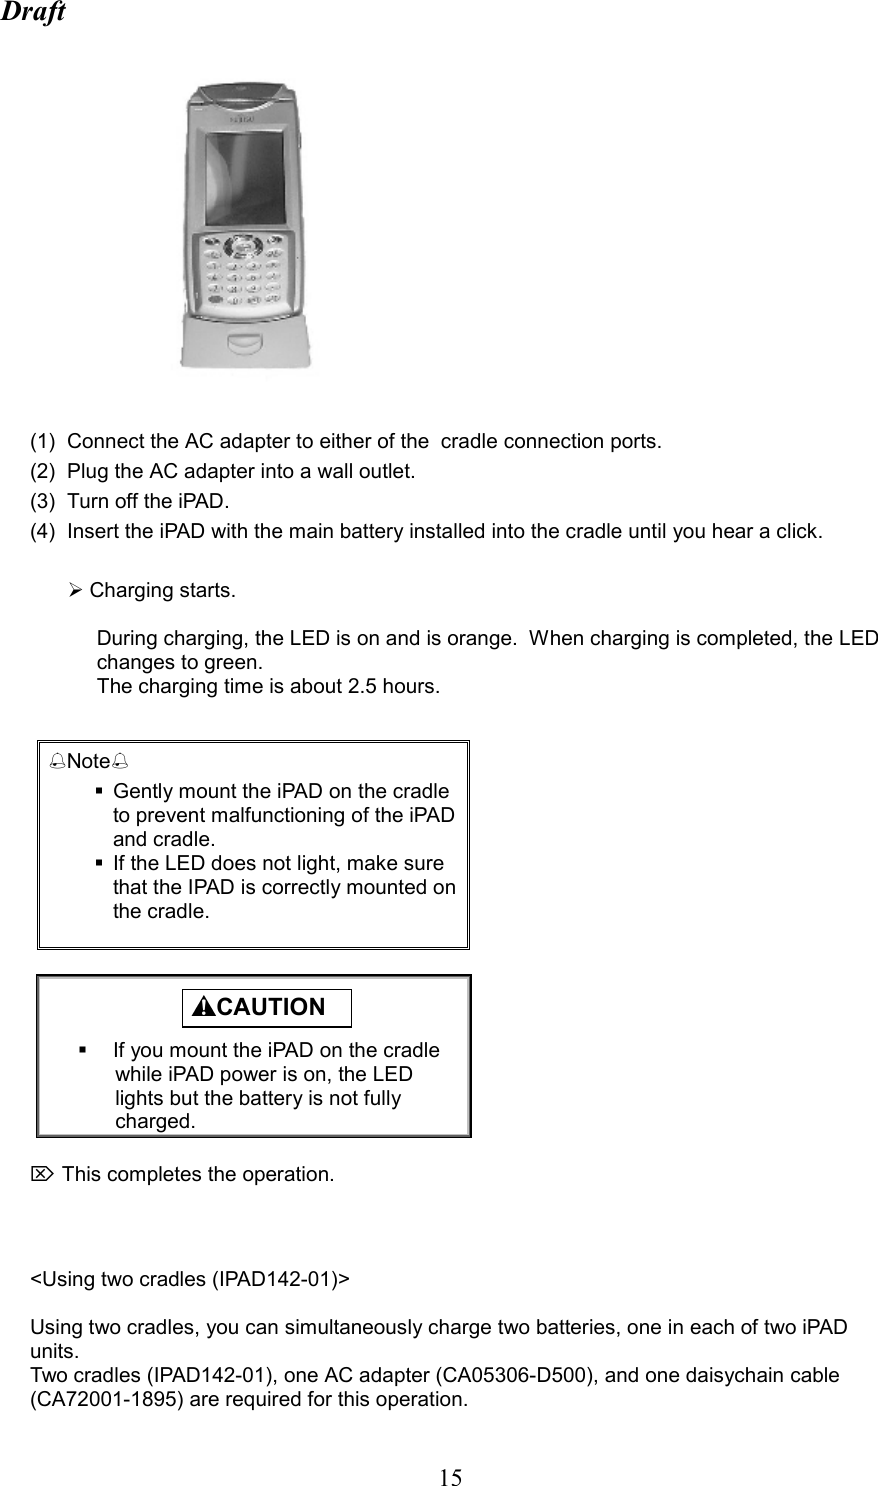
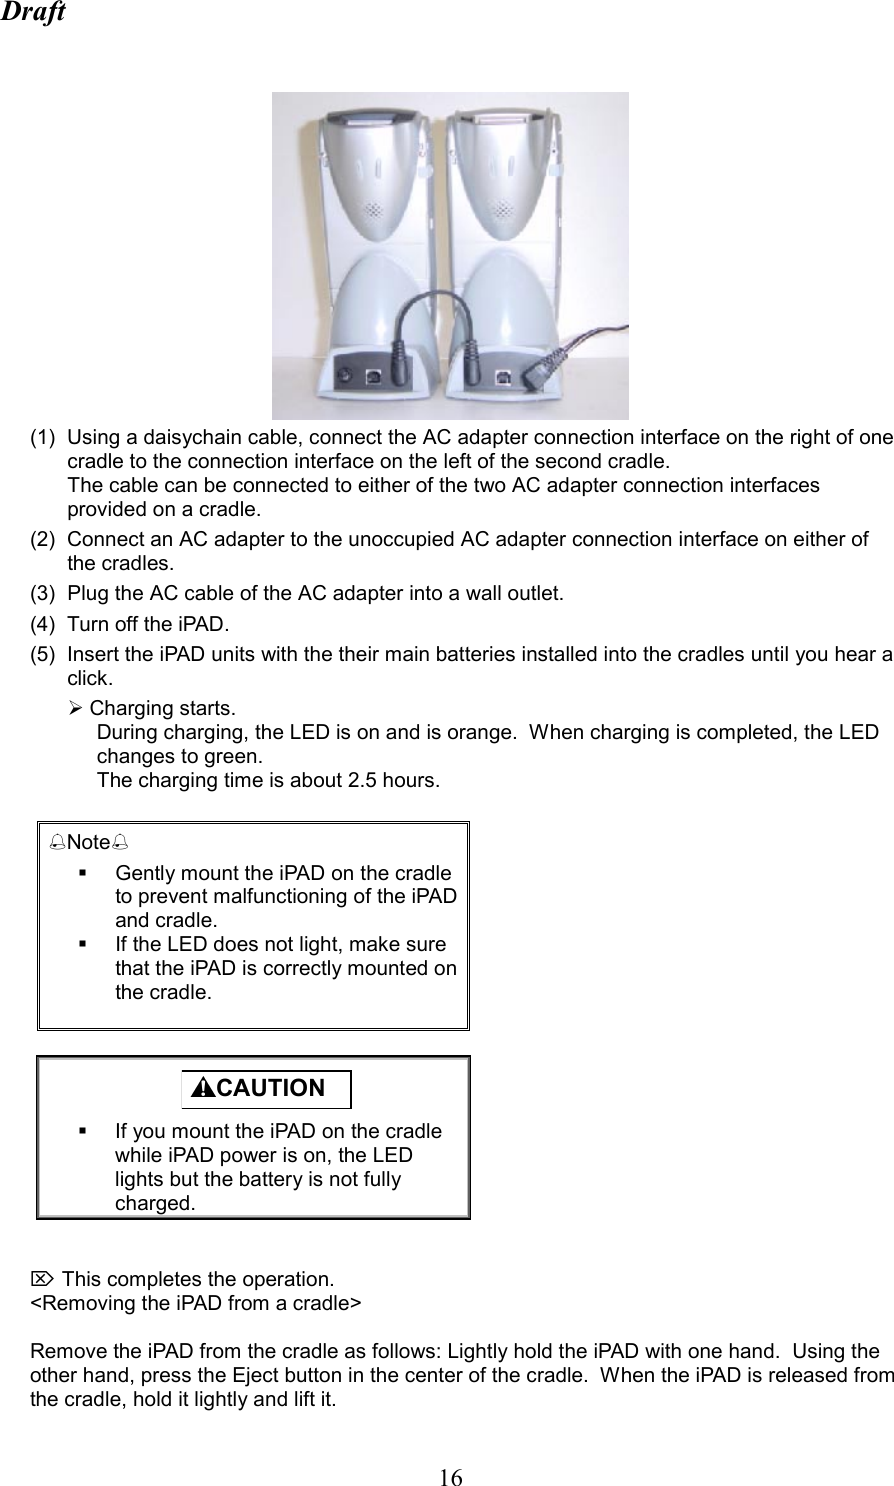
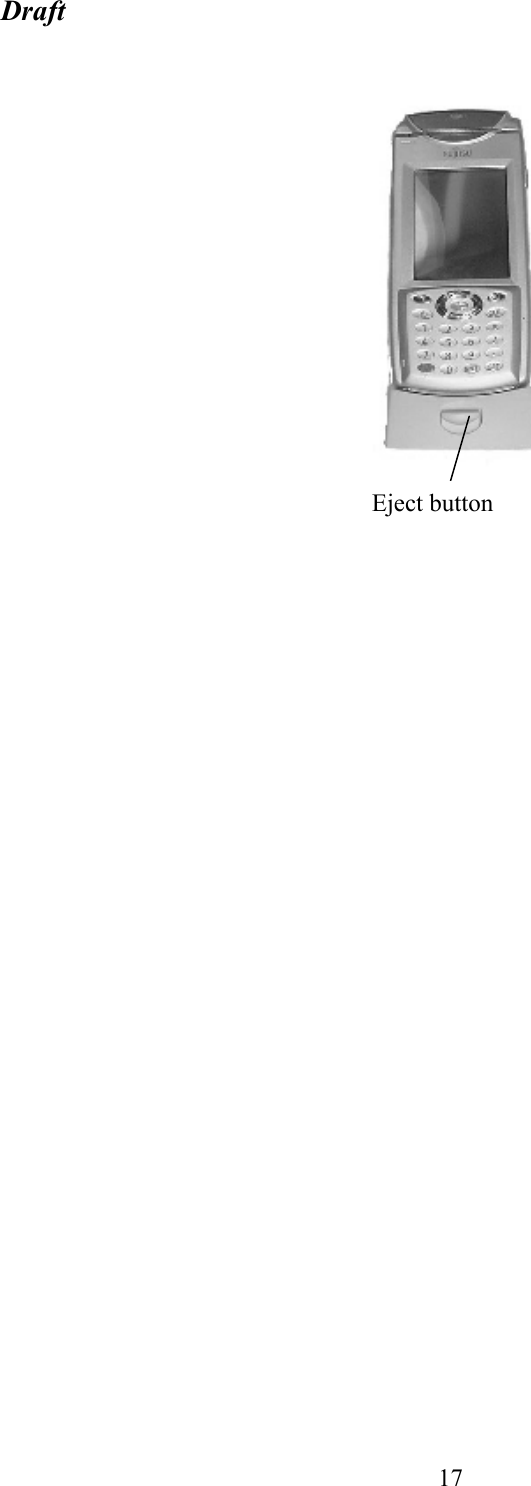
![Draft 12 <Operating style> The iPAD is designed so that you can either hold it in one hand and operate it with your thumb or hold it in one hand and operate it with the other hand. The two styles shown in Figures 1 and 2. Operate the iPAD as shown in the figures. [Figure 1] [Figure 2] <Using the neck strap>](https://usermanual.wiki/Fujitsu-Transaction-Solutions/IPAD100INT/User-Guide-282731-Page-13.png)

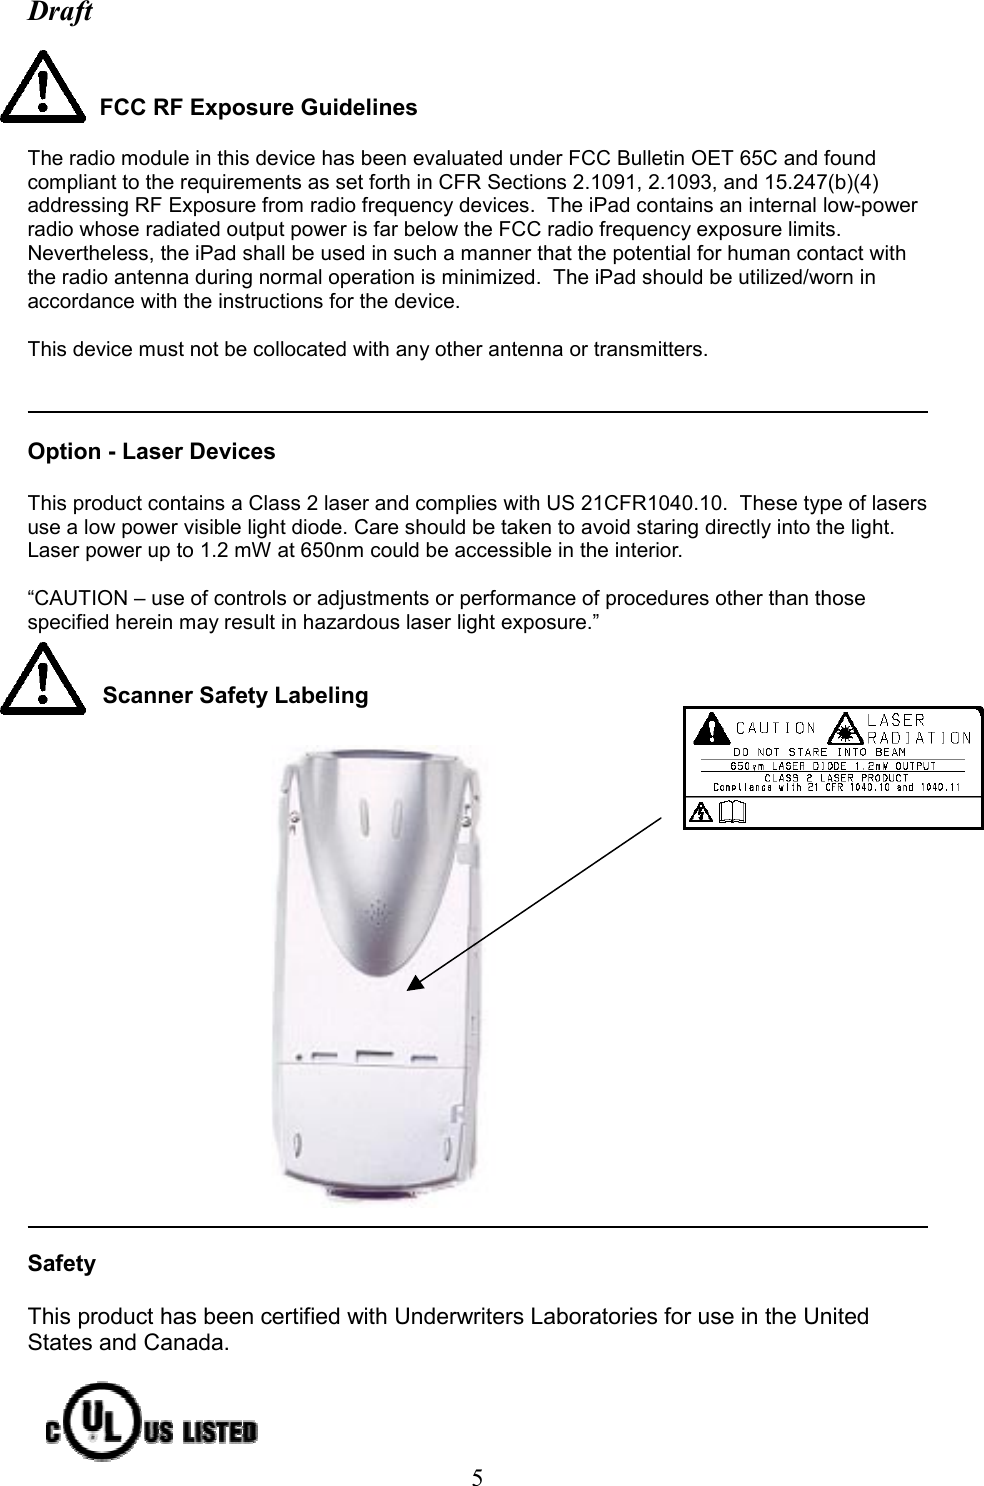
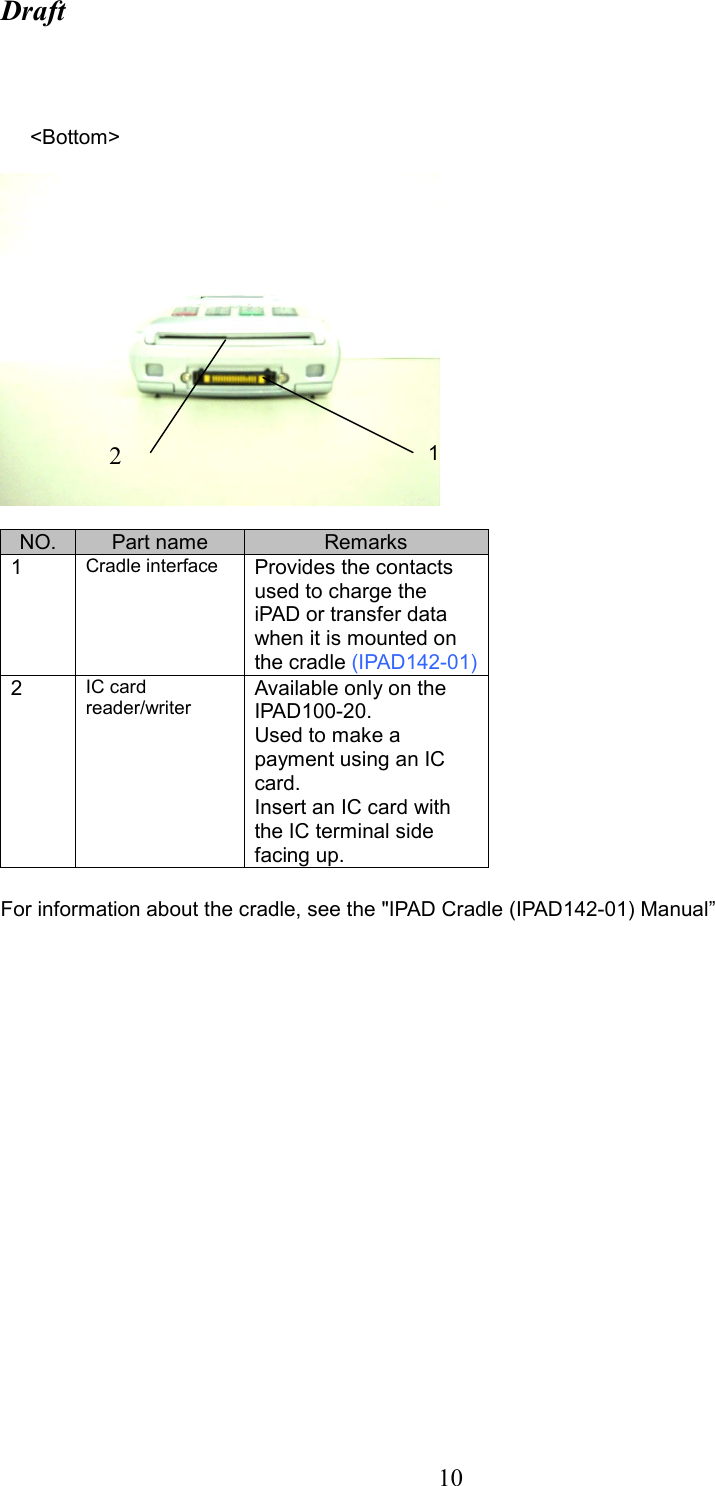
![232 Setup After the iPAD has been removed from its packaging, set it up. (1) When you turn on the iPAD for the first time, the initial installation screen shown below appears. To start the setup process, press the [CAN] key while holding down the [SFT] key. (2) The touch panel correction screen appears. Follow the instructions on the screen. >>Reference>> Section 3.5, "Correcting the Coordinates on the Touch Screen" (3) Date/Time Properties is activated. For information about Date/Time Properties, see the "iPAD (IPAD100-xx) Systems Users Guide." (4) After Date/Time Properties have been set, the setup tool program is activated. When " Bringing up the Setup Tool Menu" is displayed, install the applications. For information about installing an application, see the "iPAD (IPAD100-xx) Systems Users Guide." CAUTION The iPAD is not shipped with the main battery installed and charged. Perform setup either with the iPAD connected to the cradle or after you have charged the main battery and installed it in the iPAD. >>Reference>> Section 1.2, "Using the Battery" The auxiliary battery is installed in the iPAD, Is this the initial installation?](https://usermanual.wiki/Fujitsu-Transaction-Solutions/IPAD100INT/User-Guide-282731-Page-24.png)
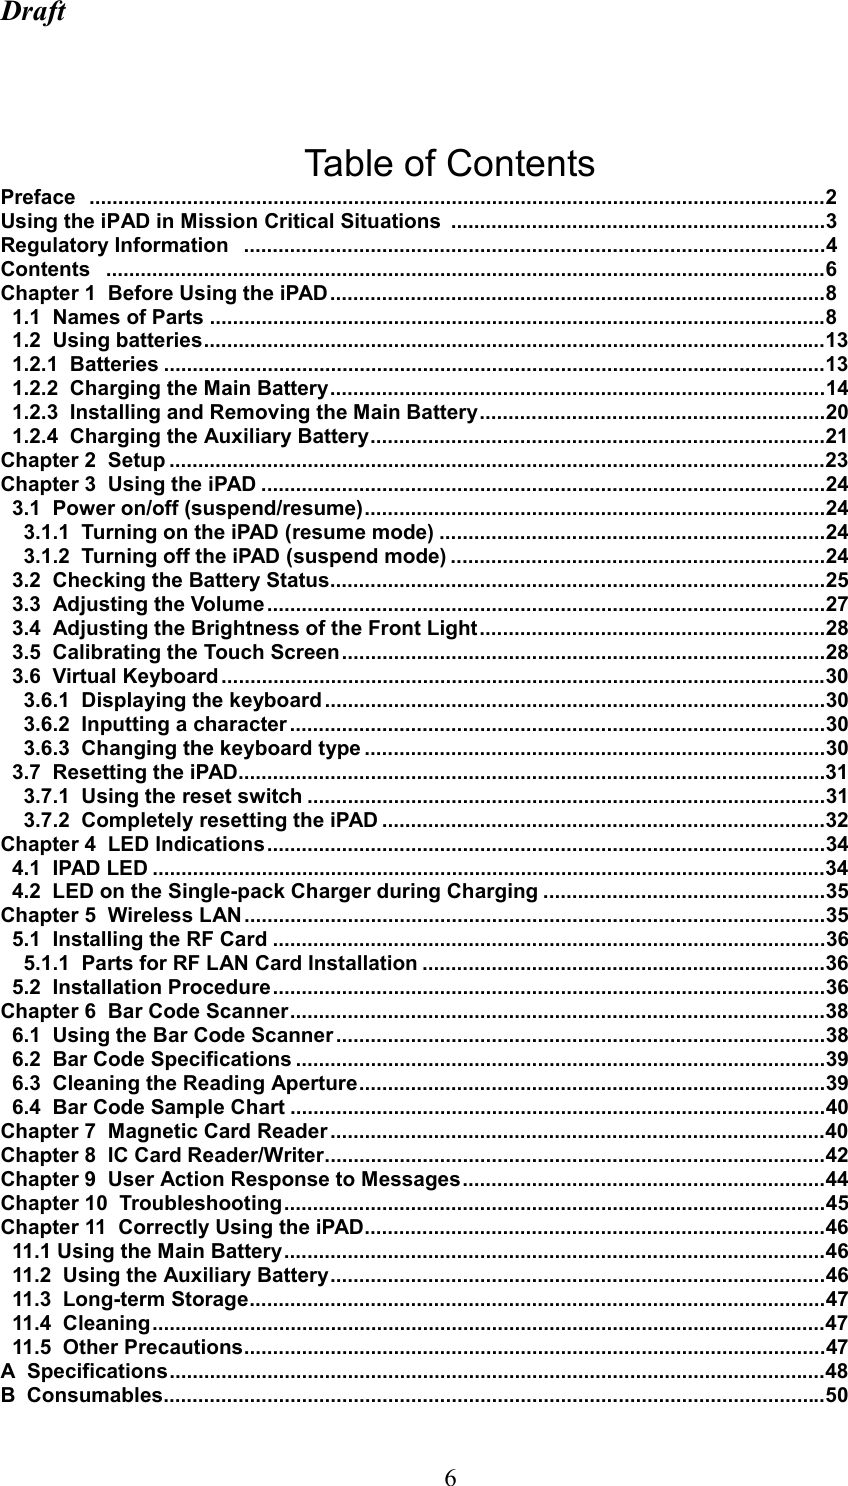
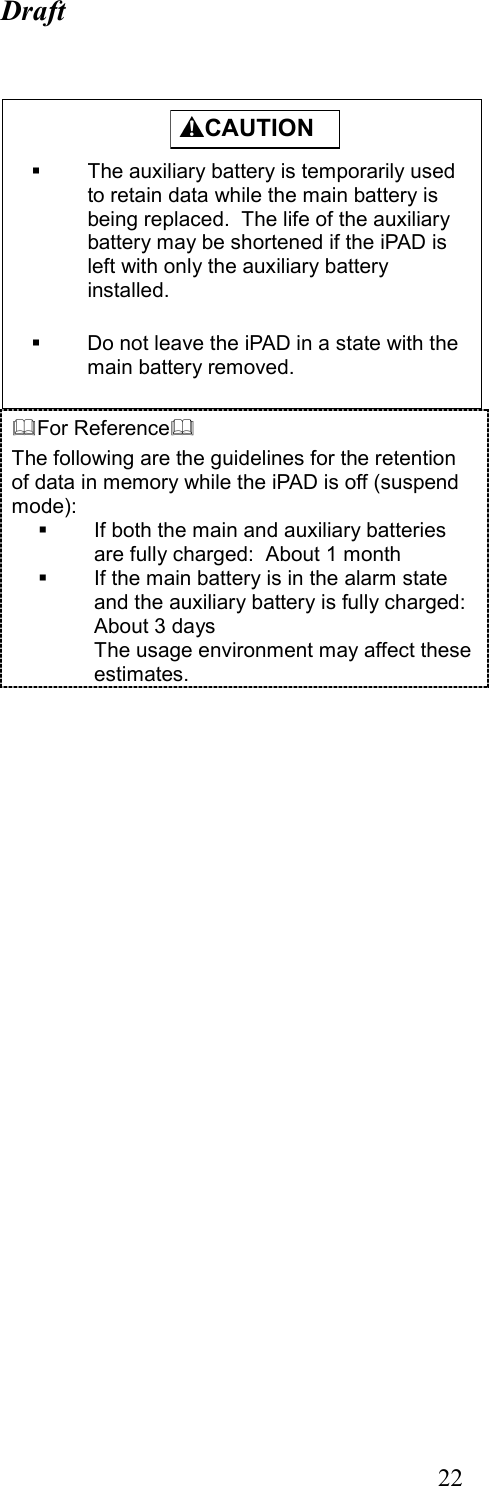
![25 CAUTION Do not unlock and remove the main battery from the iPAD until power has been turned off. Doing so may cause the data in memory to be lost. Do not turn off the iPAD in the following state: • Data is being backed up or restored. (The hourglass icon is displayed.) For Reference You can also turn off the iPAD as follows: Tap the [Start] button, then the [Suspend] button. When power is on, the iPAD has a function that automatically turns itself off if no action is performed for a certain length of time (automatic power-off function). For more information, see the "iPAD (IPAD100-xx) Systems Users Guide." An application may prevent power from being turned off while the iPAD is operating. If you are using such an application, turn off the iPAD with an instruction from the application. 3.2 Checking the Battery Status You can check the battery status. While the iPAD is on, press the [ENT] key while holding down the [SFT] key. The [System Information] window opens.](https://usermanual.wiki/Fujitsu-Transaction-Solutions/IPAD100INT/User-Guide-282731-Page-26.png)
![26 System Information × Main battery Status: External power source Remaining charge Auxiliary battery Status : Normal 1. Volume and brightness settings 2. Touch screen calibration Battery voltage: 3.87 V Battery information Check the battery status in [Battery Information]. The items in [Battery Information] have the following meanings: Main battery Status −−−− External power source Indicates that the iPAD is mounted on the cradle. −−−− Normal Indicates that the battery can be used. −−−− Insufficient charge Indicates that the main battery charge is too low. Either charge or replace the main battery. Remaining battery charge The current main battery charge is shown as one of five levels.](https://usermanual.wiki/Fujitsu-Transaction-Solutions/IPAD100INT/User-Guide-282731-Page-27.png)
![27Note If [Insufficient charge] is displayed, the remaining battery charge is too low. Either charge the battery or replace it with a spare battery. If the charge is too low, a message is displayed on the screen and the iPAD is automatically turned off after a while. Either charge or replace the battery. After checking the battery status, tap the [×] button on the window to close it. ⌦ This completes the operation. Auxiliary battery Status Indicates the auxiliary battery status. The displayed status is one of the following: −−−− Normal Indicates that memory backup is allowed. −−−− Insufficient charge Indicates that the charge is not sufficient for memory backup. Charge the battery. Note If [Insufficient charge] is displayed, the auxiliary battery charge is too low. Charge the auxiliary battery. After checking the battery status, tap the [×] button on the window to close it. ⌦ This completes the operation. CAUTION The data in memory may be lost if you remove the main battery while the auxiliary](https://usermanual.wiki/Fujitsu-Transaction-Solutions/IPAD100INT/User-Guide-282731-Page-28.png)
![28battery has an insufficient charge. >>Reference>> For information about charging the auxiliary battery, see Section 1.2.4, "Charging the auxiliary battery." 3.3 Adjusting the Volume While the iPAD is on, press the [ENT] key while holding down the [SFT] key to bring up the [System Information] window. Next, tap [1. Volume and brightness settings]. Volume and Brightness Volume Low High Front light Dark Bright OFF The [Volume and Brightness] window opens. (1) In the [Volume] area, adjust the speaker volume. (2) Tap the and buttons to adjust the volume. The order of choices from the left is low, somewhat low, somewhat high, and high. (3) Tap the [×] button on the window to close it. ⌦ This completes the operation. < >](https://usermanual.wiki/Fujitsu-Transaction-Solutions/IPAD100INT/User-Guide-282731-Page-29.png)
![29 3.4 Adjusting the Brightness of the Front Light While the iPAD is on, press the [ENT] key while holding down the [SFT] key to bring up the [System Information] window. Next, tap [1. Volume and brightness settings]. Volume and Brightness Volume Low High Front light Dark Bright OFF (1) In the [Front light] area, specify the brightness. Tap the and buttons to select the brightness level. The order of choices from the left is off, somewhat dark, somewhat bright, and bright. (2) Tap the [×] button on the window to close it. ⌦ This completes the operation. For Reference The front light automatically goes off if the remaining battery charge is too low. 3.5 Calibrating the Touch Screen The coordinates on the touch panel are misaligned if the touch panel does not respond when you tap the screen and a location different from where you tapped is entered. If this situation occurs, correct the misaligned coordinates on the touch panel. This operation is called "touch screen calibration." < >](https://usermanual.wiki/Fujitsu-Transaction-Solutions/IPAD100INT/User-Guide-282731-Page-30.png)
![30 Perform touch screen calibration as follows: While the IPAD is on, press the [ENT] key while holding down the [SFT] key to bring up the [System Information] window. Next, tap [2. Touch screen calibration] key on the screen or press the [2] key to bring up the following touch screen calibration screen. (1) As directed on the screen, tap the center of the crosshairs (+) using a stylus. You will need to tap the center and the four corners of the screen. (2) After you have tapped all the correct locations, the crosshairs disappear and the message "Calibration settings have been measured" is displayed. Press the [ENT] key to register the correction settings. To cancel the operation, press the [CLR] key while holding down the [SFT] key. Note If you tap a location away from the crosshairs, you will be required to start the operation again from the beginning. Do not press the Power key while the touch panel correction tool is running. Doing so will nullify the touch panel correction settings, and the touch panel correction will have to be done again. If the battery loses its charge during touch panel correction, charge or replace the battery, then perform touch panel correction Use the stylus to press the center of the crosshairs for about one second. Lift the stylus and the crosshairs will move. Repeat the same procedure. To cancel this operation, press the [SFT] and [CLR] keys.](https://usermanual.wiki/Fujitsu-Transaction-Solutions/IPAD100INT/User-Guide-282731-Page-31.png)
![31again. Use a stylus. Do not tap the screen with a pencil, ballpoint pen, or any other pointed object. Doing so may scratch or crack the screen. Do not touch the screen with your palm while you are tapping the screen. ⌦ This completes the operation. 3.6 Virtual Keyboard The screen keyboard is the keyboard that is displayed on the screen. 3.6.1 Displaying the keyboard Open and close the screen keyboard as follows: (1) To open the screen keyboard, press the [0] key while holding down the [SFT] key. The screen keyboard appears on the lower part of the screen. (2) To close the screen keyboard, press the [0] key while holding down the [SFT] key, as you did to open it. The screen keyboard disappears from the lower part of the screen. ⌦ This completes the operation. 3.6.2 Inputting a character To input a character, tap the input field to make it ready for input (the cursor is displayed). When the field is ready for input, tap a character on the screen keyboard. The character is entered in the input field. ⌦ This completes the operation. 3.6.3 Changing the keyboard type There are three types of screen keyboard: keyboard (Figure 1), extended keyboard (Figure 2), and](https://usermanual.wiki/Fujitsu-Transaction-Solutions/IPAD100INT/User-Guide-282731-Page-32.png)
![32handwriting (Figure 3). (Figure 1) (Figure 2) (Figure 3) You can change the keyboard type as follows: (1) Double-tap the [Input Panel] icon in [Control Panel]. (2) When [Input Panel Properties] is displayed, select a keyboard type in [Current Input Method]. (3) Tap the [OK] button. CAUTION The setting will not change if you close the screen by tapping the [×] button instead of using the [OK] button. HandwritingEm-sizeRecog-nizeSpaceNumberConvert Em/en Kata kana Sym-bol Hira gana Back space Enter Space](https://usermanual.wiki/Fujitsu-Transaction-Solutions/IPAD100INT/User-Guide-282731-Page-33.png)

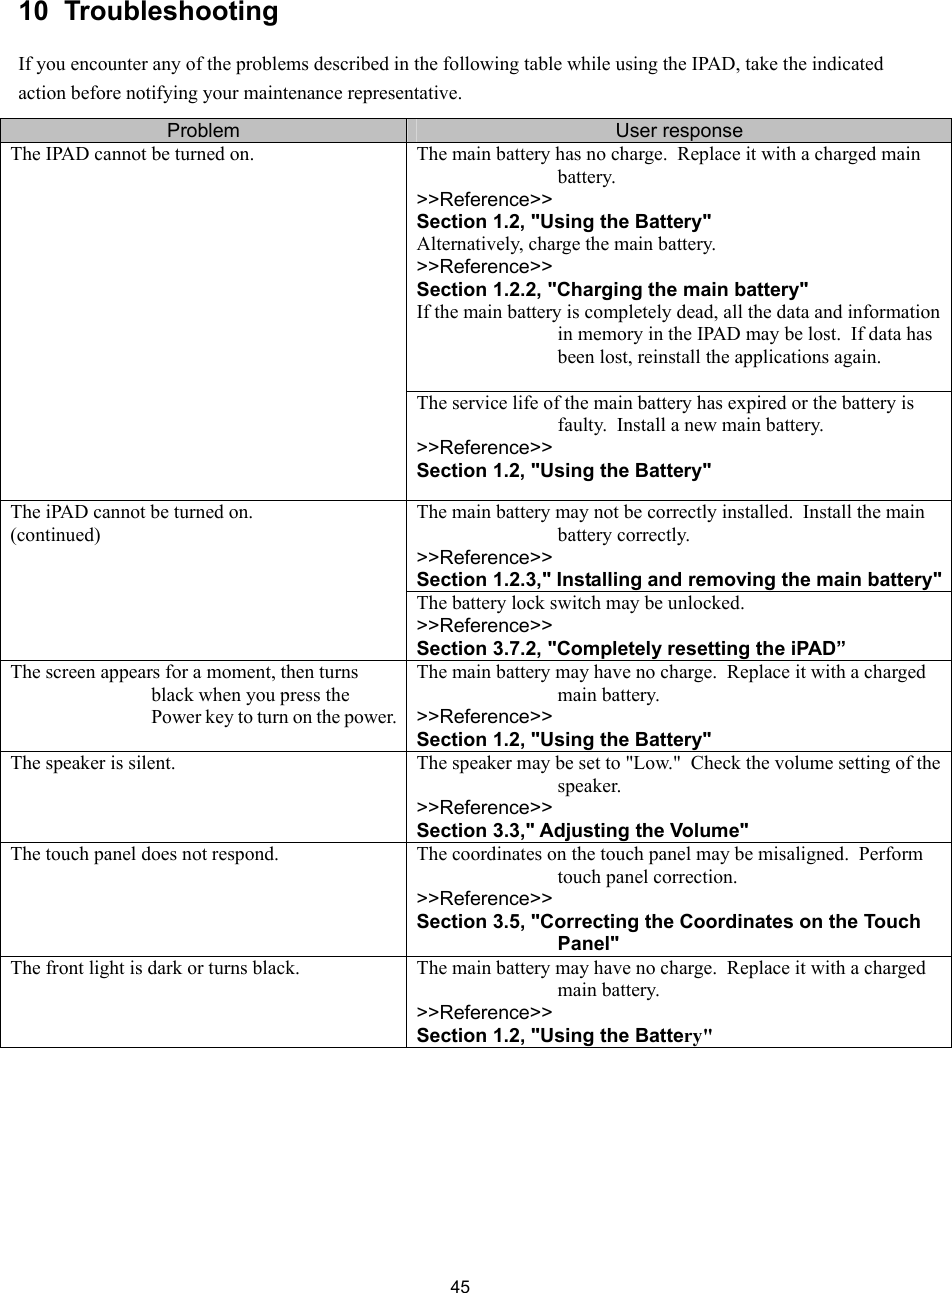
![44 9 User Action in Response to Messages If any of the following messages are displayed, take the action described in the following table. Message Cause User response Main battery alarm The front light is off. The main battery charge is too low. Either replace the main battery or charge the main battery using the battery charger or cradle. >>Reference>> Section 1.2.2, "Charging the main battery" Section 1.2.3, "Installing and removing the main battery" Auxiliary battery alarm The auxiliary battery charge is too low. Charge the auxiliary battery. >>Reference>> Section 1.2.4, "Charging the auxiliary battery" Is this the initial installation? No application programs have been installed. Press the [SFT] and [CAN] keys simultaneously to install application programs. >>Reference>> "IPAD Systems Users Guide" A power failure may have occurred. The memory data was deleted because, for example, the battery charge was too low. Press the [SFT] and [CAN] keys simultaneously to automatically recover the application programs. >>Reference>> "iPAD Systems Users Guide" An error was detected on the flash disk. An error occurred in the system information storage area of the flash ROM. Tap the [OK] button to initialize the flash ROM and then reinstall the application programs. >>Reference>> "iPAD Systems Users Guide"](https://usermanual.wiki/Fujitsu-Transaction-Solutions/IPAD100INT/User-Guide-282731-Page-46.png)