GE Healthcare 6961-MON Novii Intrapartum Maternal/Fetal monitor User Manual Novii FHR Gaps Troubleshooting Guide 107 PT 008 USRev1
GE Healthcare Novii Intrapartum Maternal/Fetal monitor Novii FHR Gaps Troubleshooting Guide 107 PT 008 USRev1
Contents
- 1. 107-PT-005-ENrevP-Novii IFU
- 2. 100-TF-056 rev1 UC Guide
- 3. 107-PT-006 USrev2_Novii - Getting Started Guide
- 4. 107-TF-100-USrev7_Novii Technical Datasheet
- 5. MH Novii 6pp Brochure -107-TF-102-ENrevA
- 6. Novii - FHR Gaps Troubleshooting Guide 107-PT-008-USRev1
Novii - FHR Gaps Troubleshooting Guide 107-PT-008-USRev1
FHR Gaps Troubleshooting Guide
SKIN PREPARATION GOOD
REPEAT SKIN PREP
REPEAT SKIN PREP
DO NOT BYPASS
2.4"/6cm
1"/2-3cm
1"/2-3cm
FHR
MHR
UA
1
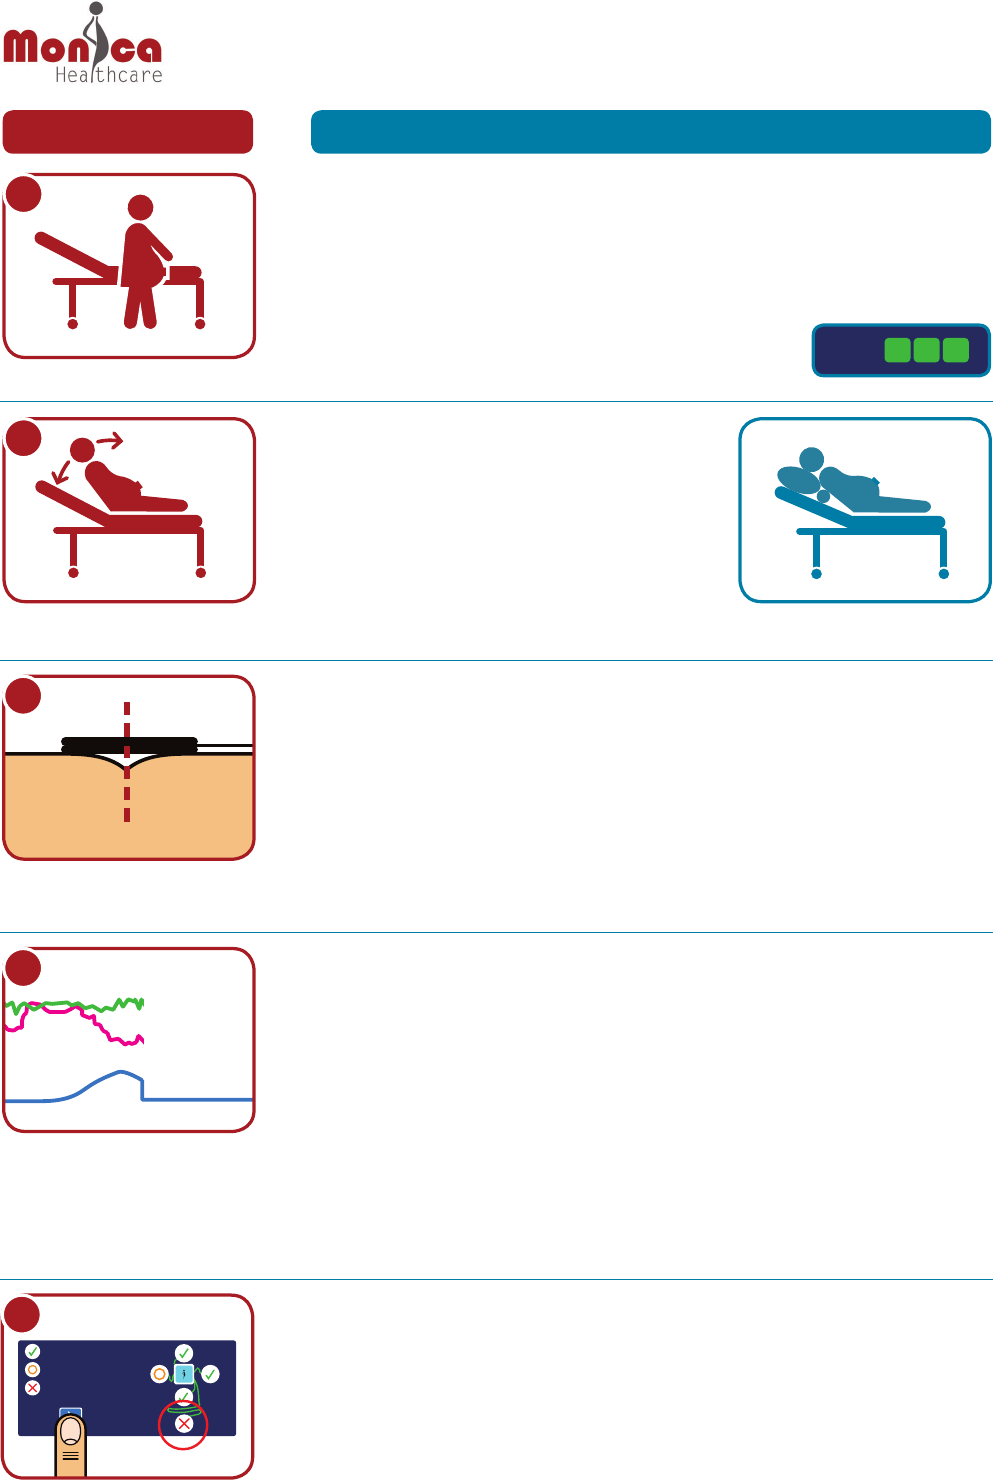
The patient is ambulating
POSSIBLE CAUSE ACTION & SOLUTION1
HELP/TIP
Electrode ‘detached’ or makes
poor contact with skin
SKIN PREPARATION GOOD
REPEAT SKIN PREP
REPEAT SKIN PREP
DO NOT BYPASS
2.4"/6cm
1"/2-3cm
1"/2-3cm
FHR
MHR
UA
2
Patient position/posture
SKIN PREPARATION GOOD
REPEAT SKIN PREP
REPEAT SKIN PREP
DO NOT BYPASS
2.4"/6cm
1"/2-3cm
1"/2-3cm
FHR
MHR
UA
3
SKIN PREPARATION GOOD
REPEAT SKIN PREP
REPEAT SKIN PREP
DO NOT BYPASS
2.4"/6cm
1"/2-3cm
1"/2-3cm
FHR
MHR
UA
4
Lost MHR and UA
as well as FHR
SKIN PREPARATION GOOD
REPEAT SKIN PREP
REPEAT SKIN PREP
DO NOT BYPASS
2.4"/6cm
1"/2-3cm
1"/2-3cm
FHR
MHR
UA
5
Bypassed red X on
electrode/skin checkscreen
l Return patient to bed
l Consider using a maternity belt to support pannus during
ambulation or upright position
a) Allow 1015 minutes of monitoring before starting ambulation.
b) The patient should not be encouraged to ambulate unless the FHR
trace is good and the signal indicator on the Novii Interface shows
3 green squares.
l Use a pillow behind back or head
to make patient more comfortable
l Return patient to a position where
Novii worked well
l Encourage patient to lie on left or right
l If patient on side, support abdomen with
a pillow/rolled blanket to re-position
abdomen so that the Patch is centred
over the uterus
l Check electrodes and move or stick back down
l Re-position Patch or electrode to avoid the skin problem
a) The Interface will alert user with a visual message, but only when electrode is fully detached.
b) Check electrodes after a shower, clinical procedure, ambulation or position change.
c) Electrode(s) should not be placed over a skin lesion, skin fold, umbilicus, stretch mark,
pronounced linea nigra.
d) If necessary use a strip of micropore tape to prevent electrode lifting or detachment.
l Check Interface for help message
l Interface is o
l Exfoliate skin under ‘bad’ electrode
l Restart the monitoring session if location of ‘bad’ electrode not known
SKIN PREPARATION GOOD
REPEAT SKIN PREP
REPEAT SKIN PREP
DO NOT BYPASS
2.4"/6cm
1"/2-3cm
1"/2-3cm
FHR
MHR
UA
a) If Interface has lost power Bluetooth pairing with POD is lost.
Remove POD from Patch, place in charging bay and start new monitoring
episode when power is returned.
b) Interface does not have a battery back-up.
l Start-Screen is displayed
POD has switched o – remove POD from Patch and place in charging well.
Start new monitoring session with other POD.
a) Peel the X electrode back, remove excess gel from skin and inish with alcohol wipe.
Wait until skin is dry then exfoliate skin and reapply electrode.
b) May need to use micropore tape to hold in place.
Remove POD from Patch, place in charging bay and start new monitoring episode.
HELP/TIP
HELP/TIP
HELP/TIP
HELP/TIP
HELP/TIP
l Faulty ‘Y’ Connector - replace
Signal
SKIN PREPARATION GOOD
REPEAT SKIN PREP
REPEAT SKIN PREP
DO NOT BYPASS
2.4"/6cm
1"/2-3cm
1"/2-3cm
FHR
MHR
UA
6
Lower electrode is not
2.4"/6cm above the
symphysis pubis
POSSIBLE CAUSE ACTION & SOLUTION1
HELP/TIP
Lower electrode may not
be optimally placed2
SKIN PREPARATION GOOD
REPEAT SKIN PREP
REPEAT SKIN PREP
DO NOT BYPASS
2.4"/6cm
1"/2-3cm
1"/2-3cm
FHR
MHR
UA
7
SKIN PREPARATION GOOD
REPEAT SKIN PREP
REPEAT SKIN PREP
DO NOT BYPASS
2.4"/6cm
1"/2-3cm
1"/2-3cm
FHR
MHR
UA
8
None of the above
l Re-position electrode
a) Peel the electrode back, remove excess gel from skin and inish with alcohol wipe.
Wait until skin is dry then exfoliate skin again and reapply electrode in correct position.
b) May need to use micropore tape to hold in place.
l Remove electrode and place it lower or higher on the abdomen
l Alternatively place electrode just below the point where
the surface curves back on itself ensuring that the electrode
is not folded
l Plug in US transducer for short
FHR ‘illing’ and reassurance
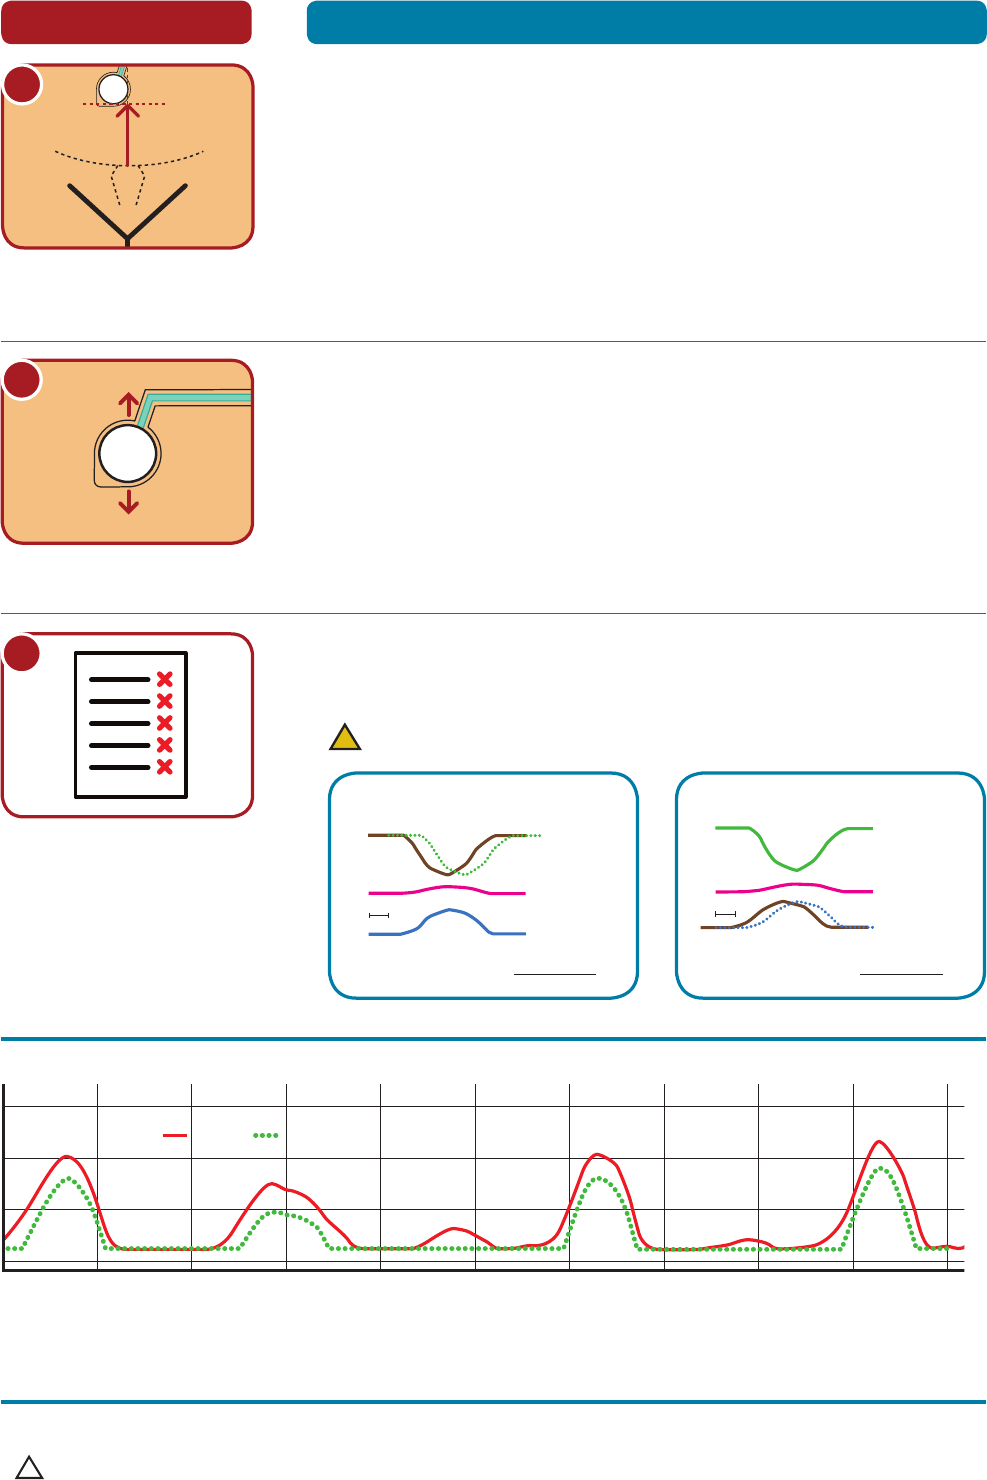
WARNING: Novii UA/MHR delayed
10 seconds (5mm) from US FHR - see panels below
HELP/TIP
l Swap back to conventional
monitoring modality
10 Second Trace Example
Notes:
This troubleshooting guide assumes that the patient is supine or semi-supine during Patch placement and Novii set-up.
1. CAUTION: any intervention will take 10 seconds before its impact will be seen on the trace.
2. The user is familiar with the placement of Patch and lower mid-line electrode in high BMI patients with a pannus.
!
!
6 Second Trace Example
High/Low UA Sensitivity Explained
Selecting UA Low sensitivity from the Novii display will decrease the UA trace amplitude, suppressing unwanted low amplitude
UA, but it will also reduce the contraction duration. There will be no change to the location of the peak.
Low amplitude UA is considered to be due to artefact from fetal/maternal movement and unsynchronised myometrial activity.
Using US FHR with Novii UA could
make a late deceleration appear early
Novii FHR/MHR/UA are synchronised
but all trace 5mm (10 sec) behind US FHR trace.
Using TOCO UA with Novii FHR could
make an early deceleration appear late
Novii FHR/MHR/UA are synchronised
but all trace 3 mm (6 sec) behind TOCO UA trace.
Novii FHR
(6 sec delay)
Novii MHR
(6 sec delay)
TOCO/IUPC UA –
real-time
Novii UA
(6 sec delay)
10 sec
Novii FHR
(10 sec delay)
US FHR
Novii MHR
(10 sec delay)
Novii UA
(10 sec delay)
10 sec
Novii FHR
(6 sec delay)
Novii MHR
(6 sec delay)
TOCO/IUPC UA –
real-time
Novii UA
(6 sec delay)
10 sec
Novii FHR
(10 sec delay)
US FHR
Novii MHR
(10 sec delay)
Novii UA
(10 sec delay)
10 sec
UA High
8 9 10 11 18171615141312
UA Low
Data (minutes)
Pannus covering Symphysis Pubis
107-PT-008-USRev1