Garmin 01074 LOW POWER COMMUNICATIONS TRANSMITTTER User Manual 190 00697 00 0A indd
Garmin International Inc LOW POWER COMMUNICATIONS TRANSMITTTER 190 00697 00 0A indd
UserManual.wiki
>
Garmin
>
01074 User Manual
USERS MANUAL
Navigation menu
Upload a User Manual
Namespaces
Wiki Guide
HTML
PDF
Info
Views
User Manual
Discussion / Help
Navigation
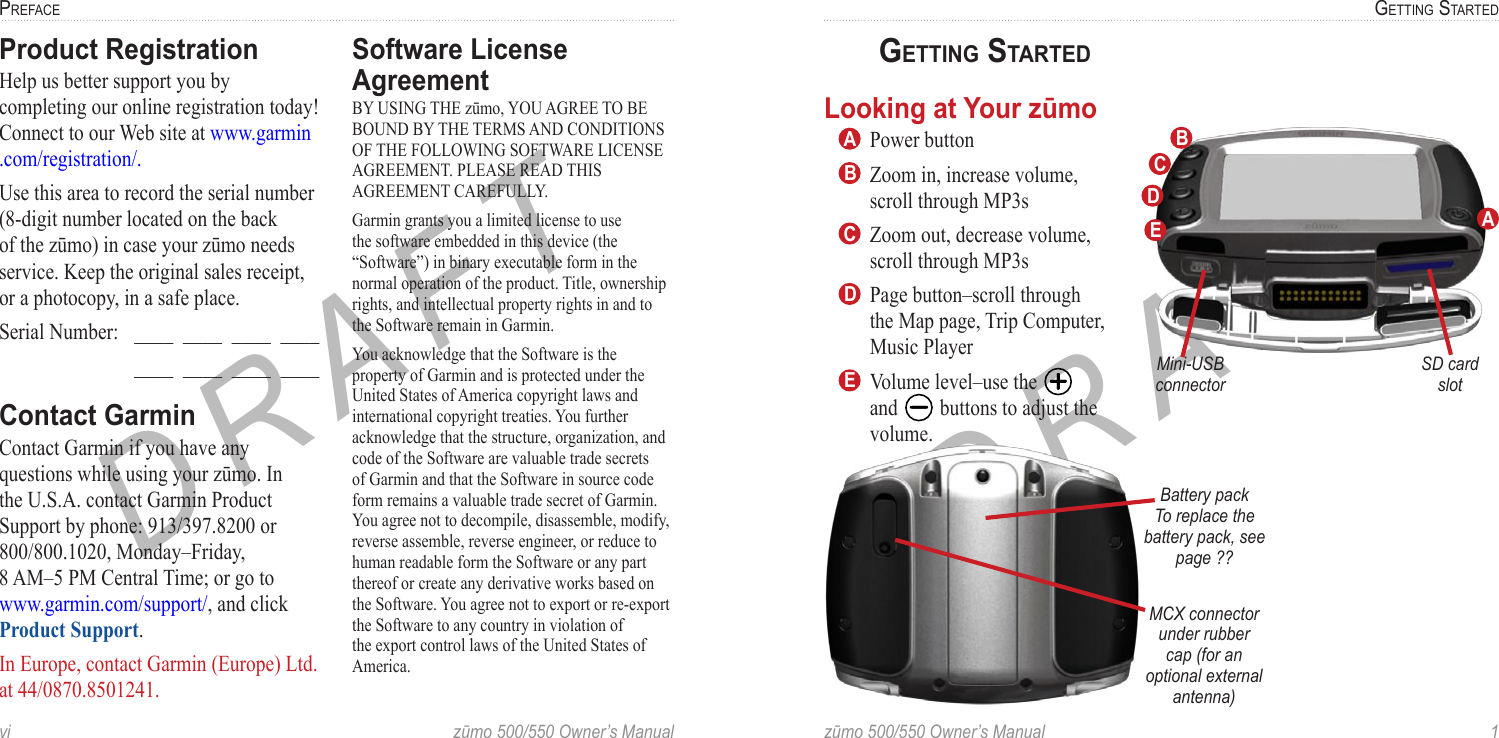
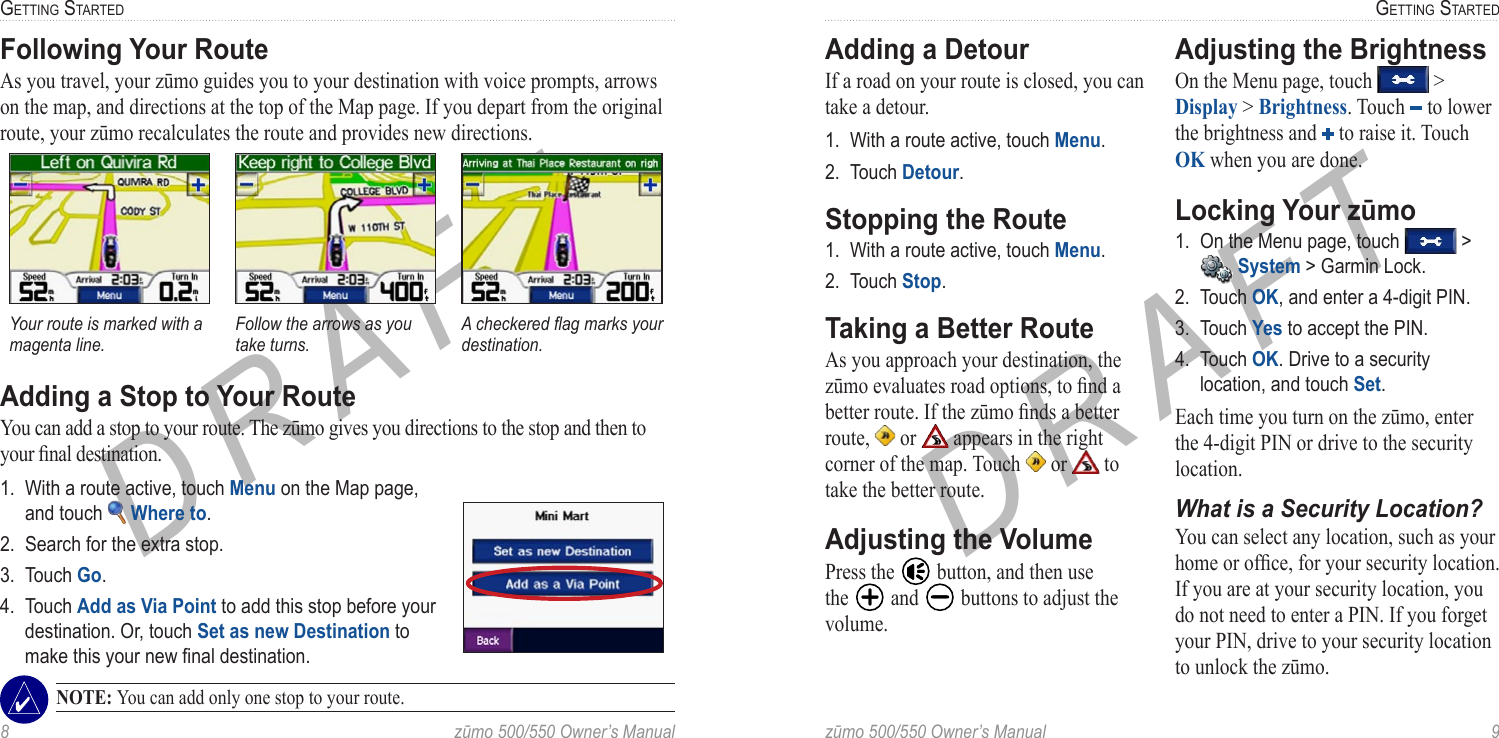
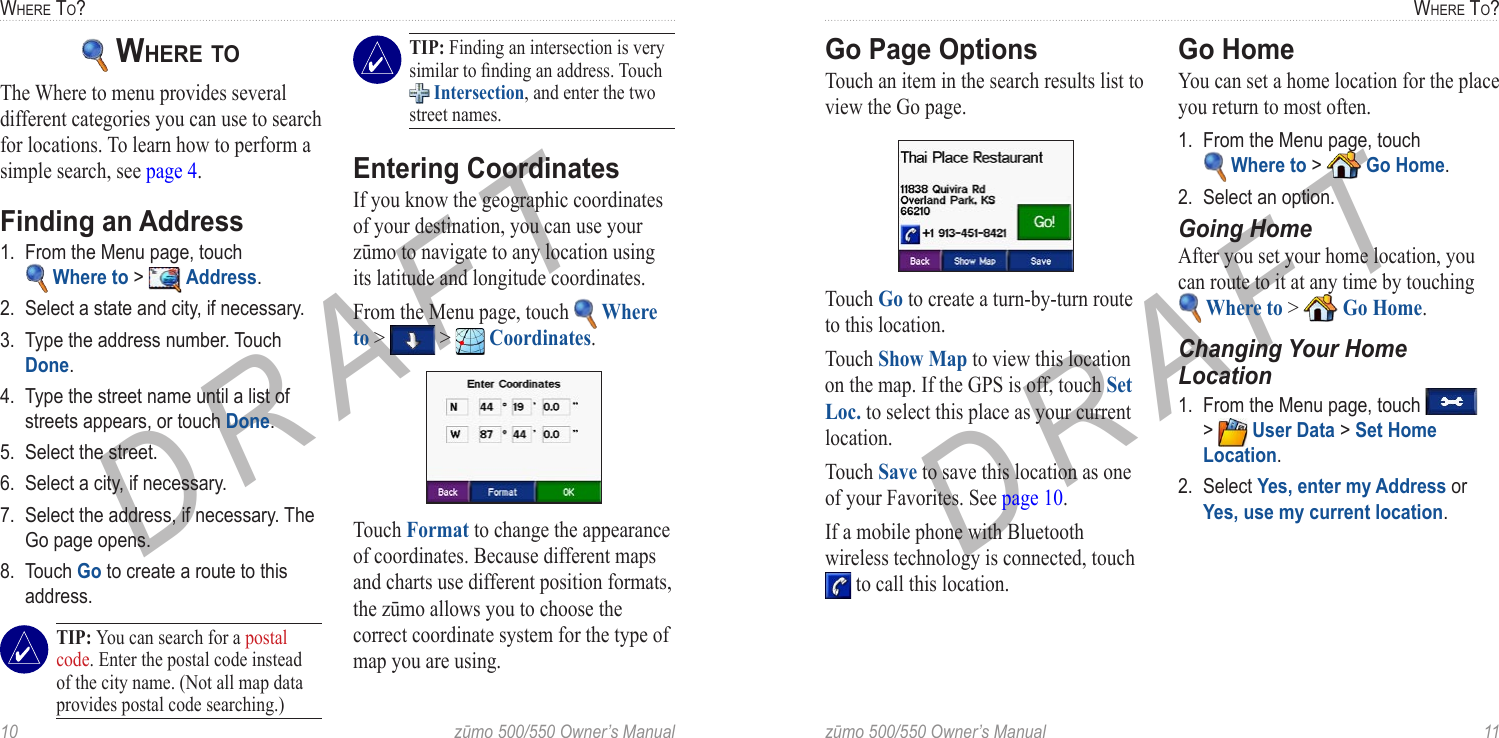
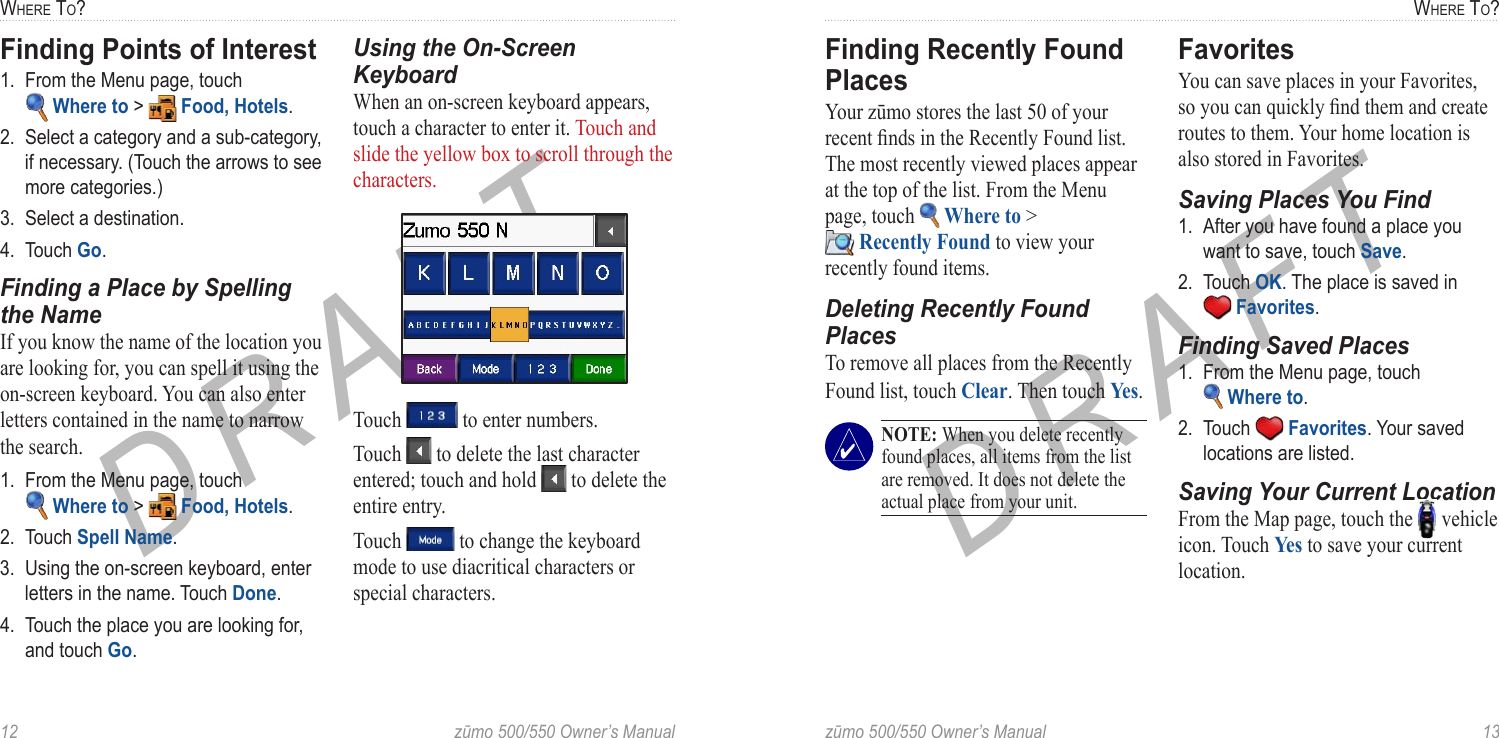
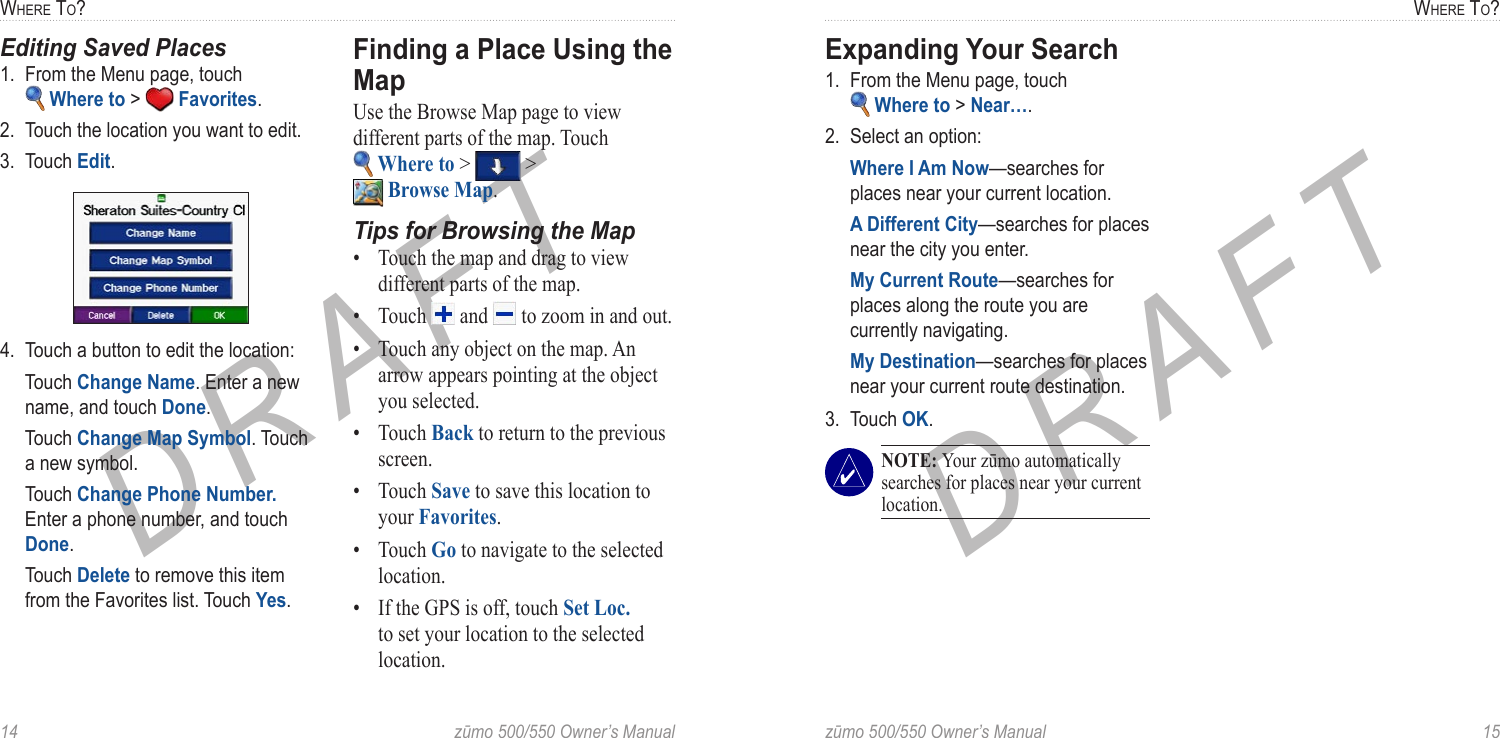
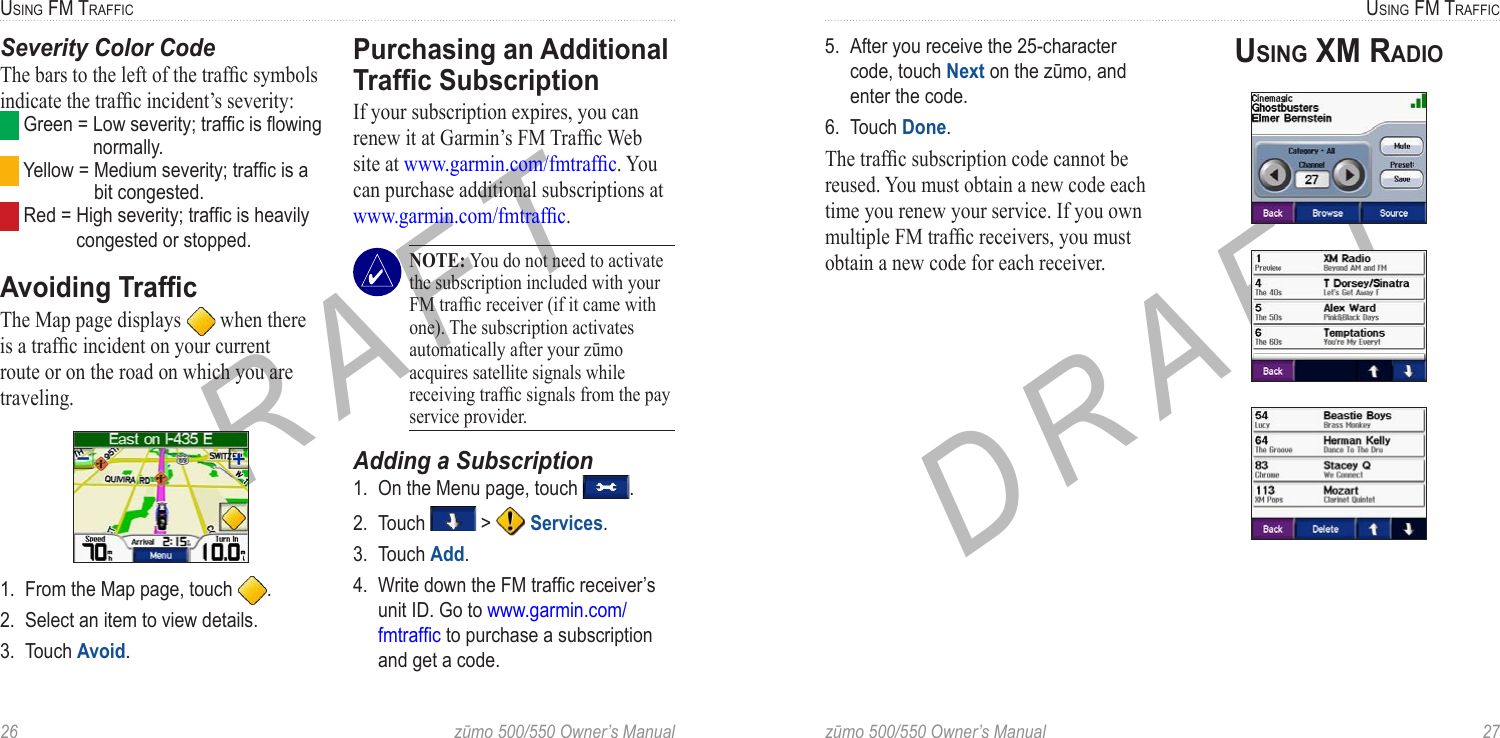
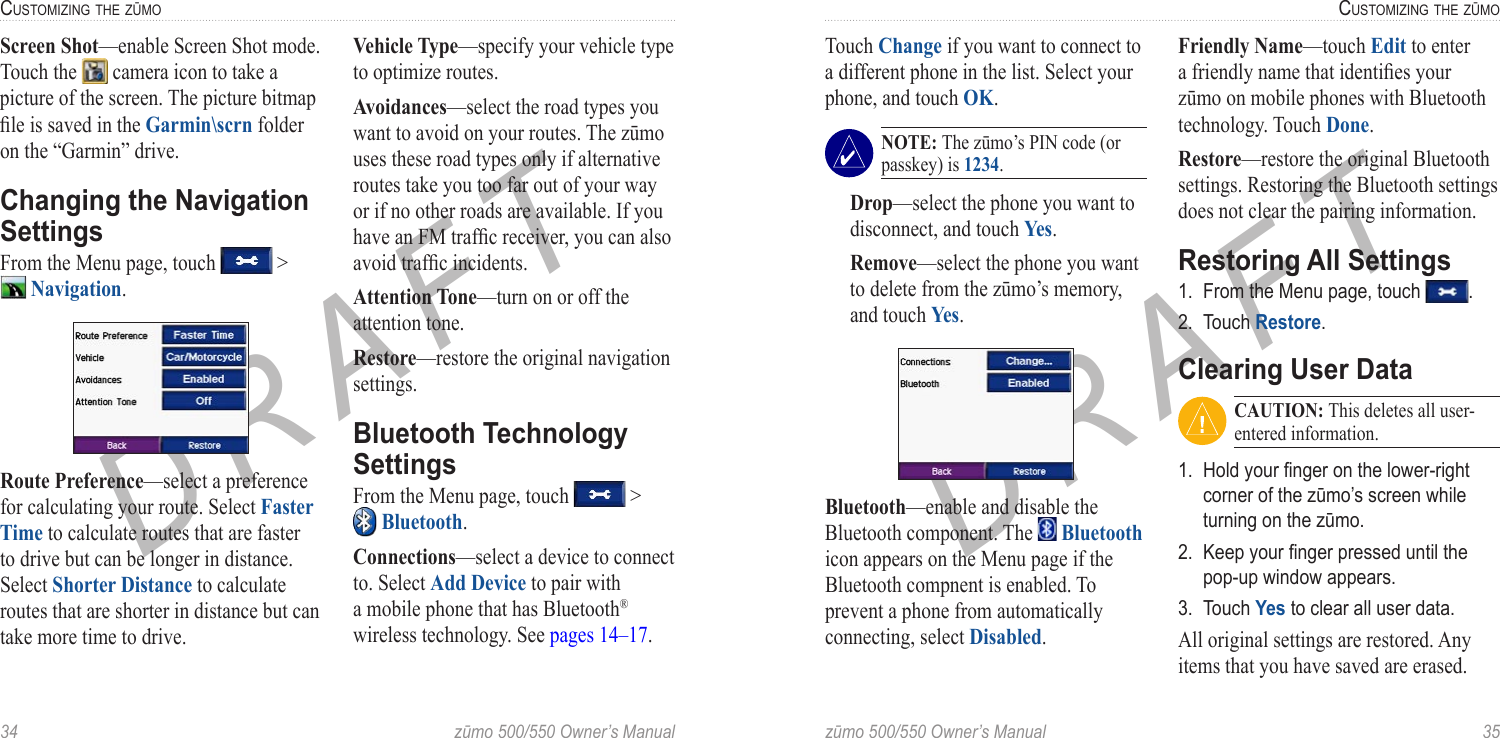
![24 zūmo 500/550 Owner’s ManualUSING HANDS-FREE FEATURESDRAFTzūmo 500/550 Owner’s Manual 25USING FM TRAFFICDRAFTPlacing Calls Using Voice Dial NOTE: Voice dial is only available if your phone supports voice dialing.You can place calls by speaking the contact’s name. 1. On the Menu page, touch . 2. Touch Voice Dial. 3. Speak the contact name. NOTE: You may need to “train” your mobile phone to recognize your voice commands. Refer to your phone’s instructions. USING FM TRAFFICYour zūmo can receive and use traffic information using an optional FM TMC traffic receiver (such as the GTM 20™) or an XM Smart Antenna (such as the GXM 30™ XM Smart Antenna). When a traffic message is received, your zūmo displays the incident on the map and can change your route to avoid the traffic incident. [Add XM info]To purchase an FM TMC traffic receiver, go to www.garmin.com/products/zumo500 or www.garmin.com/products/zumo550, and then click Accessories. For coverage areas, refer to at www.garmin.com/fmtraffic. NOTE: The FM traffic receiver and zūmo must be in data range of an FM station transmitting TMC (Traffic Message Channel) data to receive traffic information. NOTE: Garmin is not responsible for the accuracy of the traffic information. The FM traffic receiver simply receives signals from the traffic service provider and shows that information on your zūmo. NOTE: You can only access the traffic information if the zūmo is connected to an FM traffic receiver. Viewing Traffic Incidents1. On the Menu page, touch to show a list of traffic incidents.2. Select an item to view details.3. Select an option.Traffic SymbolsNorth American Meaning InternationalRoad conditionRoad constructionCongestionAccidentIncidentInformation](https://usermanual.wiki/Garmin/01074/User-Guide-685896-Page-17.png)