Garmin 02401 Low Power Transmitter (2400-2483.5 MHz) User Manual
Garmin International Inc Low Power Transmitter (2400-2483.5 MHz)
Garmin >
USERS MANUAL
O4AHGD00
Quick Start Manual
December 2013 190-01702-01_0A Printed in Taiwan
Introduction
WARNING
See the Important Safety and Product
Information guide in the product box for
product warnings and other important
information.
Getting Started
When using your device the first time, you
should complete these tasks to set up the
device and get to know the basic features.
1Install the batteries (page 3).
2Turn on the device (page 5).
3Register the device (page 9).
4Acquire satellites (page 5).
5Select to view the status page
(page 10).
6Mark a waypoint (page 6).
Device Overview
ÀInternal GPS/GLONASS antenna
ÁKeys
ÂPower key
ÃMini-USB port (under weather cap)
ÄMCX connector for GPS antenna (under
weather cap)
ÅmicroSD™ card slot (under batteries)
ÆBattery compartment
ÇMounting spine
ÈBattery cover D-ring
2
Battery Information
WARNING
The temperature rating for the device may
exceed the usable range of some
batteries. Alkaline batteries can rupture at
high temperatures.
Do not use a sharp object to remove
batteries.
CAUTION
Contact your local waste disposal
department to properly recycle the
batteries.
NOTICE
Alkaline batteries lose a significant
amount of their capacity as the
temperature decreases. Use lithium
batteries when operating the device in
below freezing conditions.
Installing the NiMH Battery Pack
The device operates using the optional
NiMH battery pack or two AA batteries
(page 4).
1Turn the D-ring counter-clockwise,
and pull up to remove the cover.
2Locate the battery pack À that came
in the product box.
3Insert the battery pack, observing
polarity.
4Gently press the battery pack into
place.
5Replace the battery cover, and turn
the D-ring clockwise.
Charging the Battery Pack
NOTICE
To prevent corrosion, thoroughly dry the
mini-USB port, the weather cap, and the
surrounding area before charging or
connecting to a computer.
Do not attempt to use the device to
charge a battery that was not provided by
Garmin®. Attempting to charge a battery
that was not provided by Garmin can
damage the device and void the warranty.
3

Before you can connect the straight
connector of the USB cable to your
device, you may have to remove optional
mount accessories.
NOTE: The battery will not charge when
outside the temperature range of 32° to
122°F (0° to 50°C).
You can charge the battery using a
standard wall outlet or a USB port on your
computer.
1Pull up the weather cap À from the
mini-USB port Á.
2Plug the small end of the USB cable
into the mini-USB port.
3Plug the USB end of the cable into the
AC adapter or a computer USB port.
4Plug the AC adapter into a standard
wall outlet.
When you connect the device to a
power source, the device turns on.
5Charge the battery completely.
Installing Batteries
The handheld device operates using two
AA batteries (not included). Use NiMH or
lithium batteries for best results.
1Turn the D-ring counter-clockwise,
and pull up to remove the cover.
2Insert two AA batteries, observing
polarity.
3Replace the battery cover, and turn
the D-ring clockwise.
4Hold .
5Select Setup > System > AA Battery
Type.
4
6Select Alkaline, Lithium, Traditional
NiMH, or Precharged NiMH.
Turning On the Device
Hold .
Acquiring Satellite Signals
It may take 30 to 60 seconds to acquire
satellite signals.
1Go outdoors to an open area.
2If necessary, turn on the device.
3Wait while the device searches for
satellites.
A question mark flashes while the
device determines your location.
4Select to open the status page.
shows the GPS/GLONASS signal
strength.
When the bars are green, the device has
acquired satellite signals.
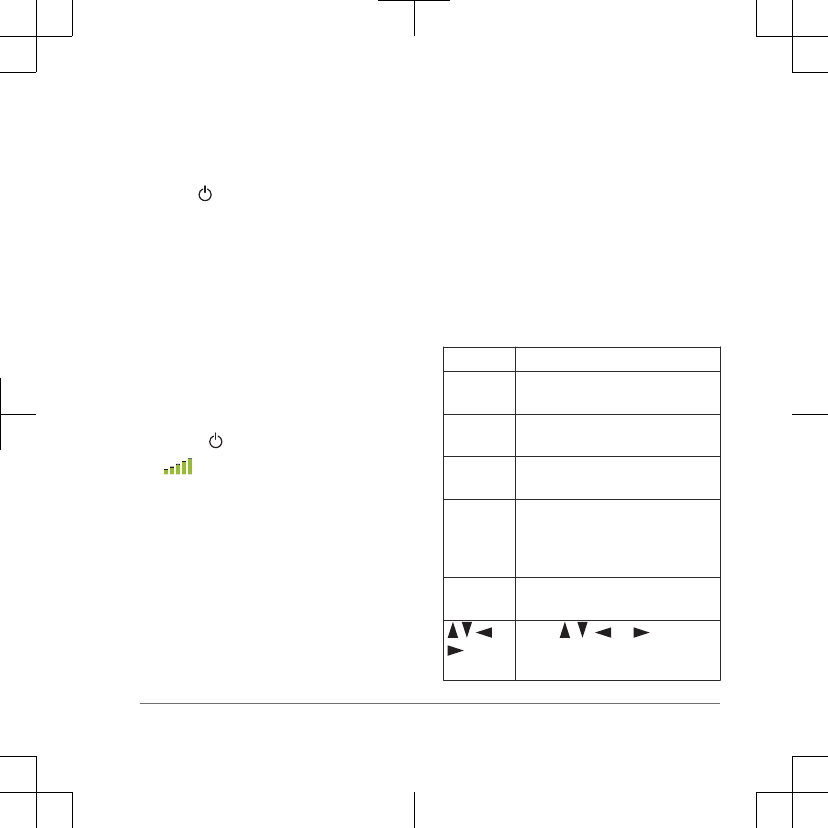
Keys
FIND Select to open the search menu.
MARK Select to save your current
location as a waypoint.
QUIT Select to cancel or return to the
previous menu or page.
ENTER Select to select options and
acknowledge messages.
MENU Select to open the options menu
for the page that is currently
open. Select twice to open the
main menu (from any page).
PAGE Select to scroll through the main
pages.
Select , , , or to select
menu options and move the map
cursor.
5

IN Select to zoom in on the map.
OUT Select to zoom out on the map.
Waypoints
Waypoints are locations you record and
store in the device.
Creating a Waypoint
You can save your current location as a
waypoint.
1Select MARK.
2If necessary, select a field to make
changes to the waypoint.
3Select Done.
Navigating to a Waypoint
1From the main menu, select FIND >
Waypoints.
2Select a waypoint.
3Select Go.
Editing a Waypoint
Before you can edit a waypoint, you must
create a waypoint.
1Select Waypoint Manager.
2Select a waypoint.
3Select an item to edit, such as the
name.
4Enter the new information, and select
Go.
Deleting a Waypoint
1Select Waypoint Manager.
2Select a waypoint.
3Select MENU > Delete.
Routes
A route is a sequence of waypoints or
locations that leads you to your final
destination.
Creating a Route
1Select Route Planner > Create
Route > Select First Point.
2Select a category.
3Select the first point in the route.
4Select Use.
5Select Select Next Point to add
additional points to the route.
6Select QUIT to save the route.
Navigating a Saved Route
Before you can navigate using a saved
route, you must create a route.
1Select FIND > Routes.
2Select a route.
6

3Select Go.
Tracks
A track is a recording of your path. The
track log contains information about
points along the recorded path, including
time, location, and elevation for each
point.
Viewing the Current Track
1From the main menu, select Track
Manager > Current Track.
2Select an option:
•To show the current track on the
map, select View Map.
• To show the elevation plot for the
current track, select Elevation
Plot.
Navigating a Saved Track
Before you can navigate a saved track,
you must save a track.
1Select FIND > Tracks.
2Select a saved track.
3Select Go.
Map
represents your location on the map. As
you travel, moves and leaves a track
log (trail). Waypoint names and symbols
appear on the map. When you are
navigating to a destination, your route is
marked with a colored line on the map.
Changing the Map Orientation
1From the map, select MENU.
2Select Setup Map > Orientation.
3Select an option:
• Select North Up to show north at
the top of the page.
• Select Track Up to show your
current direction of travel at the top
of the page.
• Select Automotive Mode to show
an automotive perspective with the
direction of travel at the top.
Measuring Distance on the Map
You can measure the distance between
two locations.
1From the map, select a location.
2Select MENU > Measure Distance.
7
3Move the pin to another location on
the map.
Compass
When navigating, points to your
destination, regardless of the direction
you are moving. When points toward
the top of the electronic compass, you are
traveling directly toward your destination.
If points any other direction, turn until it
points toward the top of the compass.
Calibrating the Compass
NOTE: You must calibrate the electronic
compass outdoors. Do not stand near
objects that influence magnetic fields,
such as cars, buildings, or overhead
power lines.
The device has a 3-axis electronic
compass. You should calibrate the
compass after moving long distances,
experiencing temperature changes, or
changing the batteries.
1From the compass, select MENU.
2Select Calibrate Compass > Start.
3Follow the on-screen instructions.
Navigating with Sight 'N Go
You can point the device at an object in
the distance, lock in the direction, and
navigate to the object.
1Select Sight 'N Go.
2Point the device at an object.
3Select Lock Direction > Set Course.
4Navigate using the compass.
Calibrating the Barometric
Altimeter
You can manually calibrate the barometric
altimeter if you know the correct elevation
or the correct barometric pressure.
1Go to a location where the elevation
or barometric pressure is known.
2Select Tools > Elevation Plot >
MENU > Calibrate Altimeter.
3Follow the on-screen instructions.
Trip Computer
The trip computer displays your current
speed, average speed, maximum speed,
trip odometer, and other helpful statistics.
You can customize the trip computer
layout, dashboard, and data fields.
8

Customizing the Data Fields
You can customize the data fields
displayed on each main page.
1Open the page for which you will
change the data fields.
2Select MENU.
3Select Change Data Fields.
4Select the new data field.
5Follow the on-screen instructions.
Registering Your Device
Help us better support you by completing
our online registration today.
•Go to http://my.garmin.com.
• Keep the original sales receipt, or a
photocopy, in a safe place.
Support and Updates
Garmin Express™ provides easy access
to these services for Garmin devices.
Some services may not be available for
your device.
• Product registration
• Product manuals
• Software updates
• Map updates
• Vehicles, voices, and other extras
Setting Up Garmin Express
1Plug the small end of the USB cable
into the port on the device.
2Plug the larger end of the USB cable
into an available USB port on your
computer.
3Go to www.garmin.com/express.
4Follow the on-screen instructions.
Getting More Information
You can find more information about this
product on the Garmin website.
• Go to www.garmin.com/outdoor.
• Go to www.garmin.com
/learningcenter.
• Go to http://buy.garmin.com, or
contact your Garmin dealer for
information about optional accessories
and replacement parts.
Getting the Owner's Manual
You can get the latest owner's manual
from the web.
1Go to www.garmin.com/support.
2Select Manuals.
9
3Follow the on-screen instructions to
select your product.
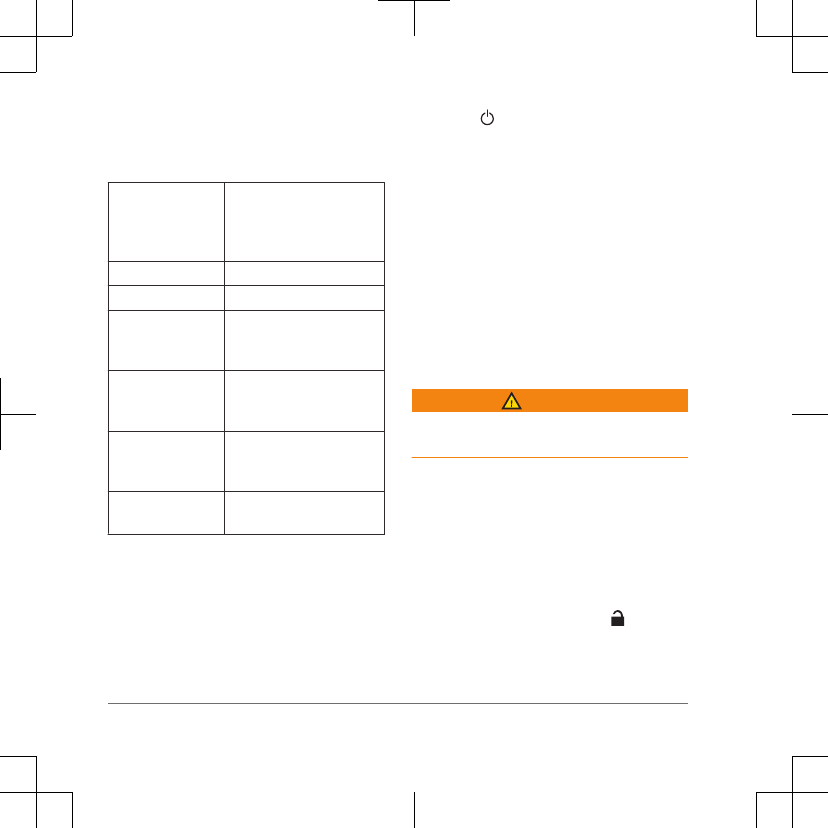
Specifications
Battery type NiMH battery pack or two
AA batteries (1.5 V or
lower alkaline, NiMH, or
lithium)
Battery life Up to 16 hours
Water resistance IEC 60529 IPX7
Operating
temperature
range
From -4° to 158°F (from
-20° to 70°C)
Charging
temperature
range
From 32° to 104°F (from
0° to 40°C)
Radio frequency
and protocols
2.4 GHz
Compass-safe
distance
7 in. (17.5 cm)
Adjusting the Backlight Brightness
Extensive use of screen backlighting can
significantly reduce battery life. You can
adjust the backlight brightness to
maximize the battery life.
NOTE: The backlight brightness may be
limited when the battery is low.
1Select .
2Use the slider to adjust the backlight
level.
The device may feel warm when the
backlight setting is high.
Selecting the Battery Type
1From the main menu, select Setup >
System > AA Battery Type.
2Select Alkaline, Lithium, Traditional
NiMH, or Precharged NiMH.
Installing a Memory Card
WARNING
Do not use a sharp object to remove user-
replaceable batteries.
You can install a microSD memory card in
the handheld device for additional storage
or pre-loaded maps.
1Turn the D-ring counter-clockwise,
and pull up to remove the cover.
2Remove the battery.
3Slide the card holder À to and lift
up.
4Place the memory card with the gold
contacts facing down.
10

5Close the card holder.
6Slide the card holder to to lock it.
7Replace the battery and cover.
Attaching the Wrist Strap
1Insert the loop of the wrist strap
through the slot in the device.
2Thread the other end of the strap
through the loop, and pull it tight.
Attaching the Carabiner Clip
1Position the carabiner clip À in the
slots on the mounting spine Á of the
device.
2Slide the carabiner clip up until it locks
in place.
Removing the Carabiner Clip
Lift up on the bottom of the carabiner
clip, and slide the carabiner clip off the
mounting spine.
11
www.garmin.com/support
913-397-8200
1-800-800-1020
0808 238 0000
+44 (0) 870 8501242
1-866-429-9296 +43 (0) 820 220230
+ 32 2 672 52 54 +385 1 5508 272
+385 1 5508 271
+420 221 985466
+420 221 985465 + 45 4810 5050
+ 358 9 6937 9758 + 331 55 69 33 99
+ 39 02 36 699699 (+52) 001-855-792-7671
0800 0233937 +47 815 69 555
00800 4412 454
+44 2380 662 915 (+35) 1214 447 460
+386 4 27 92 500 0861 GARMIN (427 646)
+27 (0)11 251 9999
+34 93 275 44 97 +49 (0)180 6 427646
20 ct./Anruf. a. d.
deutschen Festnetz,
Mobilfunk max. 60 ct./Anruf
+ 46 7744 52020
Garmin International, Inc.
1200 East 151st Street
Olathe, Kansas 66062, USA
Garmin (Europe) Ltd.
Liberty House, Hounsdown Business Park
Southampton, Hampshire, SO40 9LR UK
Garmin Corporation
No. 68, Zhangshu 2nd Road, Xizhi Dist.
New Taipei City, 221, Taiwan (R.O.C.)
Garmin®, the Garmin logo are trademarks of
Garmin Ltd. or its subsidiaries, registered in the USA and other
countries. Garmin Express™ are trademarks of Garmin
Ltd. or its subsidiaries. These trademarks may not be used without
the express permission of Garmin.
microSD™ and the microSDHC logo are trademarks of SD-3C, LLC.
Other trademarks and trade names are those of their respective
owners.
© 2013 Garmin Ltd. or its subsidiaries