Garmin 02540 Low Power Transmitter 2402-2480 MHz User Manual
Garmin International Inc Low Power Transmitter 2402-2480 MHz
Garmin >
Contents
- 1. Users Manual
- 2. User Manual
User Manual
Quick Start Manual
April 2015 Printed in Taiwan 190-01836-01_0A
DRAFT
Introduction
WARNING
See the Important Safety and Product
Information guide in the product box for
product warnings and other important
information.
Device Overview
ÀPower key
ÁMini-USB port (under weather cap)
ÂBattery cover D-ring
ÃmicroSD™
card slot (under battery door)
Installing AA Batteries
The handheld device operates on two AA
batteries (not included). Use NiMH or
lithium batteries for best results.
1Turn the D-ring counter-clockwise, and
pull up to remove the cover.
2Insert two AA batteries, observing
polarity.
3Replace the battery cover, and turn the
D-ring clockwise.
Battery Information
WARNING
The temperature rating for the device may
exceed the usable range of some
batteries. Alkaline batteries can rupture at
high temperatures.
Do not use a sharp object to remove
batteries.
2 Introduction
DRAFT
CAUTION
Contact your local waste disposal
department to properly recycle the
batteries.
NOTICE
Alkaline batteries lose a significant amount
of their capacity as the temperature
decreases. Use lithium batteries when
operating the device in below freezing
conditions.
Turning On the Device
Hold .
Acquiring Satellites Signals and
Recording a Track
Before you can use the GPS navigation
features, such as recording a track, you
must acquire satellite signals. The device
may need a clear view of the sky to
acquire satellite signals.
For more information about GPS, go to
www.garmin.com/aboutGPS.
1Hold .
2Wait while the device locates satellites.
The time and date are set
automatically based on the GPS
position.
3Select an activity.
4Walk around to record a track
(page 5).
5Select an option:
• Select Map to view your track on
the map.
•Select Compass to view the
compass and customizable data
fields.
• Select Trip Computer to view your
current speed, distance, and other
helpful statistics.
Introduction 3
DRAFT
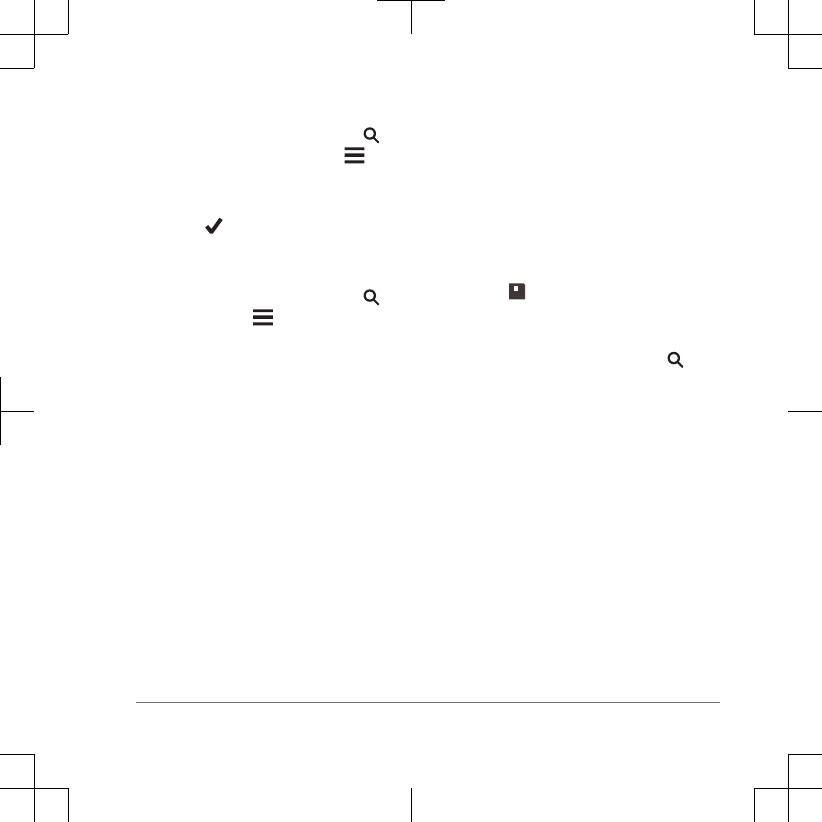
Main Menu
ÀActivity
ÁWhere To?
ÂActivity settings
Using the Touchscreen
• Tap the screen to select an item.
• Drag or swipe your finger across the
screen to pan or scroll the screen.
• Pinch two fingers together to zoom
out.
•Spread two fingers to zoom in.
• Make each touchscreen selection a
separate action.
• Select to save your changes and
close the page.
• Select to return to the previous
page.
• Hold to return to the main menu.
• Select to view specific menu items
for the page you are viewing.
Waypoints
Waypoints are locations you record and
store in the device.
Creating a Waypoint
You can save a location as a waypoint.
1From the map, tap the screen at your
preferred location.
2If necessary, select a field to make
changes to the waypoint.
3Select Save.
Where To? Menu
You can use the Where To? menu to find
a destination to navigate to. Not all Where
To? categories are available in all areas
and maps.
4 Waypoints
DRAFT
Finding a Location by Name
1From an activity screen, select >
Where To? > Waypoints > >
Spell Search.
2Enter the name or part of the name.
3Select .
Finding a Location Near Another
Location
1From an activity screen, select >
Where To? > > Search Near.
2Select an option.
3Select a location.
Tracks
A track is a recording of your path. The
track log contains information about points
along the recorded path, including time,
location, and elevation for each point.
Recording a Track Log
1Select an activity.
2When GPS is acquired, select Start.
The activity control bar appears.
3When the GPS is acquired, swipe the
activity control bar down.
4After your activity, swipe the screen
left, then swipe up from the bottom of
the screen.
5Select Stop.
The data summary page appears.
Scroll vertically to see all the data.
TIP: You can tap the name of the track
to edit the track name.
6Select .
Navigating to a Destination
1From an activity screen, select >
Where To?.
2Select a category.
3Select a destination.
4Select Go.
The map opens with your route
marked with a magenta line.
5Navigate using the map (page 5) or
compass (page 6).
Navigating with the Map
1Begin navigating to a destination
(page 5).
2Select Map.
Tracks 5
DRAFT
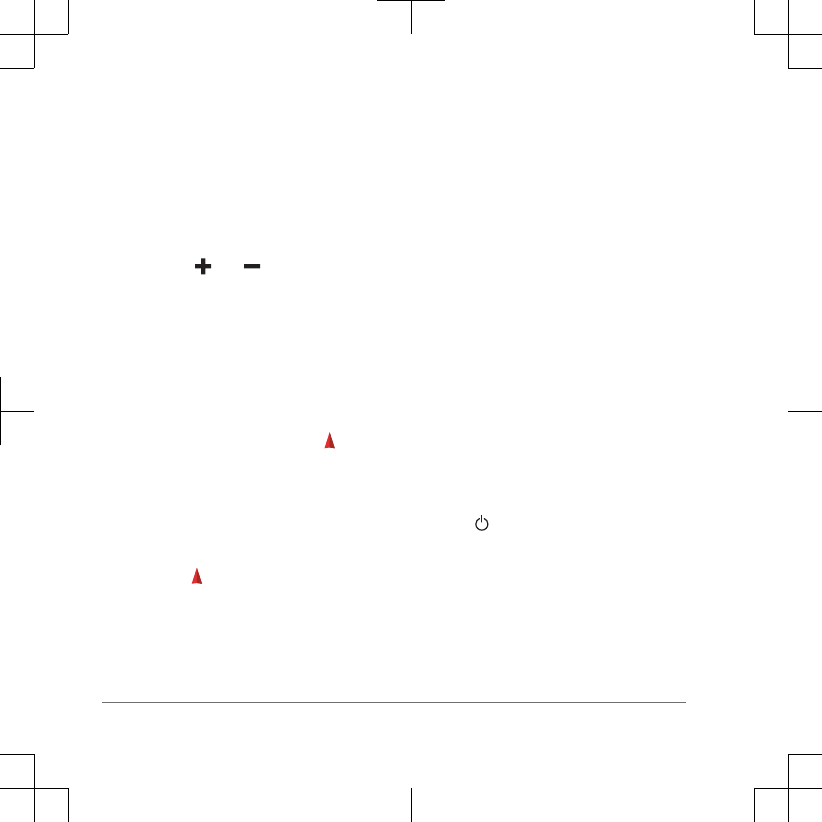
A blue triangle represents your
location on the map. As you travel, the
blue triangle moves and leaves a track
log (trail).
3Complete one or more actions:
• Drag the map to view different
areas.
• Select and to zoom in and
out of the map.
• Select a location on the map
(represented by a pin), and select
the information bar at the top of the
screen to view information about
the selected location.
Navigating with the Compass
When navigating to a destination, points
to your destination, regardless of the
direction you are moving.
1Begin navigating to a destination
(page 5).
2Select Compass.
3Turn until points toward the top of
the compass, and continue moving in
that direction to the destination.
Downloading Geocaches
1Connect the device to your computer
using a USB cable.
2Go to www.garmin.com/geocaching.
3If necessary, create an account.
4Sign in.
5Follow the on-screen instructions to
find and download geocaches to your
device.
Customizing the Device
Adjusting the Backlight Brightness
Extensive use of screen backlighting can
significantly reduce battery life. You can
adjust the backlight brightness to
maximize the battery life.
NOTE: The backlight brightness may be
limited when the battery is low.
1Select .
2Use the slider to adjust the backlight
level.
The device may feel warm when the
backlight setting is high.
6 Downloading Geocaches
DRAFT
Customizing the Main Menu
• Hold any icon on the main menu or
application drawer, and drag it to a
new location.
• Open the application drawer, and drag
an icon up to the main menu.
• Select Setup > Main Menu, and follow
the on-screen instructions.
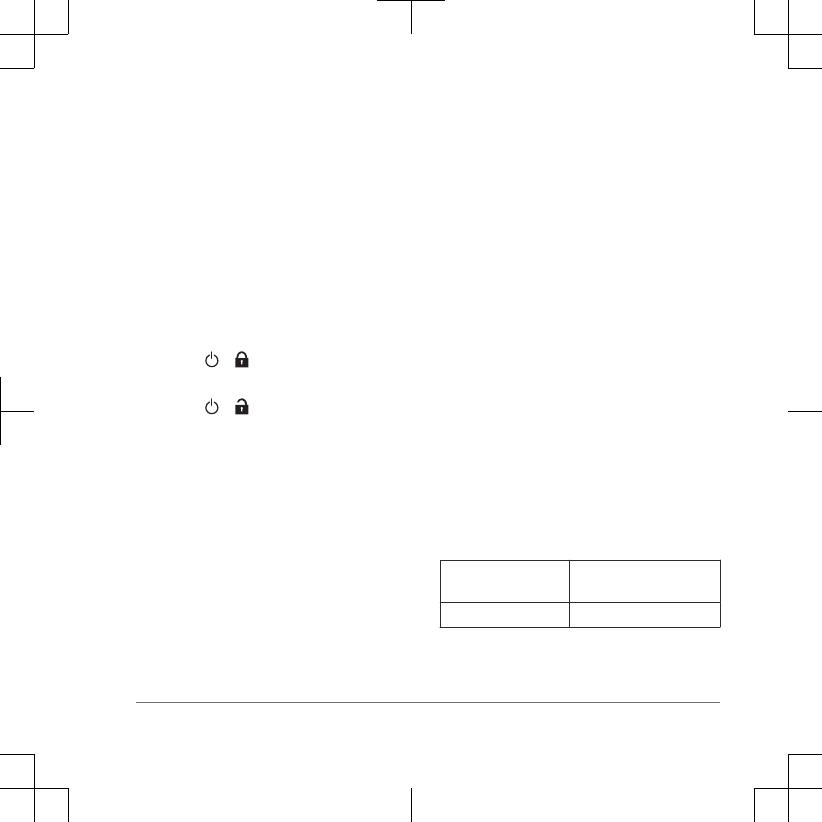
Locking the Touchscreen
You can lock the screen to prevent
inadvertent screen touches.
Select > .
Unlocking the Touchscreen
Select > .
Troubleshooting
Resetting the Device
If the device stops responding, you may
need to reset it. This does not erase any of
your data or settings.
1Remove the batteries.
2Reinstall the batteries.
Registering Your Device
Help us better support you by completing
our online registration today.
• Go to http://my.garmin.com.
• Keep the original sales receipt, or a
photocopy, in a safe place.
Getting More Information
You can find more information about this
product on the Garmin® website.
• Go to www.garmin.com/outdoor.
• Go to http://buy.garmin.com, or contact
your Garmin dealer for information
about optional accessories and
replacement parts.
Getting the Owner's Manual
You can get the most recent owner's
manual from the web.
1Go to www.garmin.com/manuals
/.
2View or download the full owner's
manual in your preferred format.
Device Information
Specifications
Operating
temperature range
From -20° to 70°C (from
-4° to 158°F)
Water rating IEC 60529 IPX7*
*The device withstands incidental
exposure to water of up to 1 m for up to
Troubleshooting 7
DRAFT

30 min. For more information, go to
www.garmin.com/waterrating.
Support and Updates
Garmin Express™
provides easy access to
these services for Garmin devices.
• Product registration
•Product manuals
• Software updates
• Map, chart, or course updates
Setting Up Garmin Express
1Connect the device to your computer
using a USB cable.
2Go to www.garmin.com/express.
3Follow the on-screen instructions.
Attaching the Wrist Strap
1Insert the loop of the wrist strap
through the slot in the device.
2Thread the other end of the strap
through the loop, and pull it tight.
Getting More Information
You can find more information about this
product on the Garmin website.
•Go to www.garmin.com/outdoor.
• Go to http://buy.garmin.com, or contact
your Garmin dealer for information
about optional accessories and
replacement parts.
8 Device Information
DRAFT