Garmin 03139 Digital Transmission System 2412-2462 MHz User Manual
Garmin International Inc Digital Transmission System 2412-2462 MHz
Garmin >
Contents
- 1. User Manual
- 2. User Manual Parts 1
- 3. User Manual Part 1
User Manual
CONFIDENTIAL
This drawing and the specifications contained herein are the property of
GARMIN Ltd. or its subsidiaries and may not be reproduced or used in whole or
in part as the basis for manufacture or sale of products without written
permission.
Garmin Ltd. or its subsidiaries
C/O Garmin International, Inc.
1200 E. 151st Street
Olathe, Kansas 66062 USA
Sheet 1 of 1
Specification Control Document
Drawing Number:
Description:
Revision:
Drawn By:
190-02141-01
A03139 (EN-US) A
KEG 10/21/16
Revision History
Rev.
Date
Description of Change
ECO No.
A
10/21/16
Production Release
----
Printing Specifications
Tolerance:
±0.0787" (±2 mm)
Material:
80-lb woodfree. Approved equivalents allowed.
Color:
Black ink.
Bindery:
Not applicable
Folds:
One Vertical Fold
Trimmed Dimensions:
13 x 10 in.
Finished Dimensions:
6.5x10 in.
Notes:
This part shall comply with Garmin Banned & Restricted Substances (GPN 001-00211-00).
Content Management System (CMS) Details
GUID:
GUID-06EF8A62-B6B1-4F15-A7C4-ABEAB7432311
Version:
2
Language(s):
EN-US
Notes
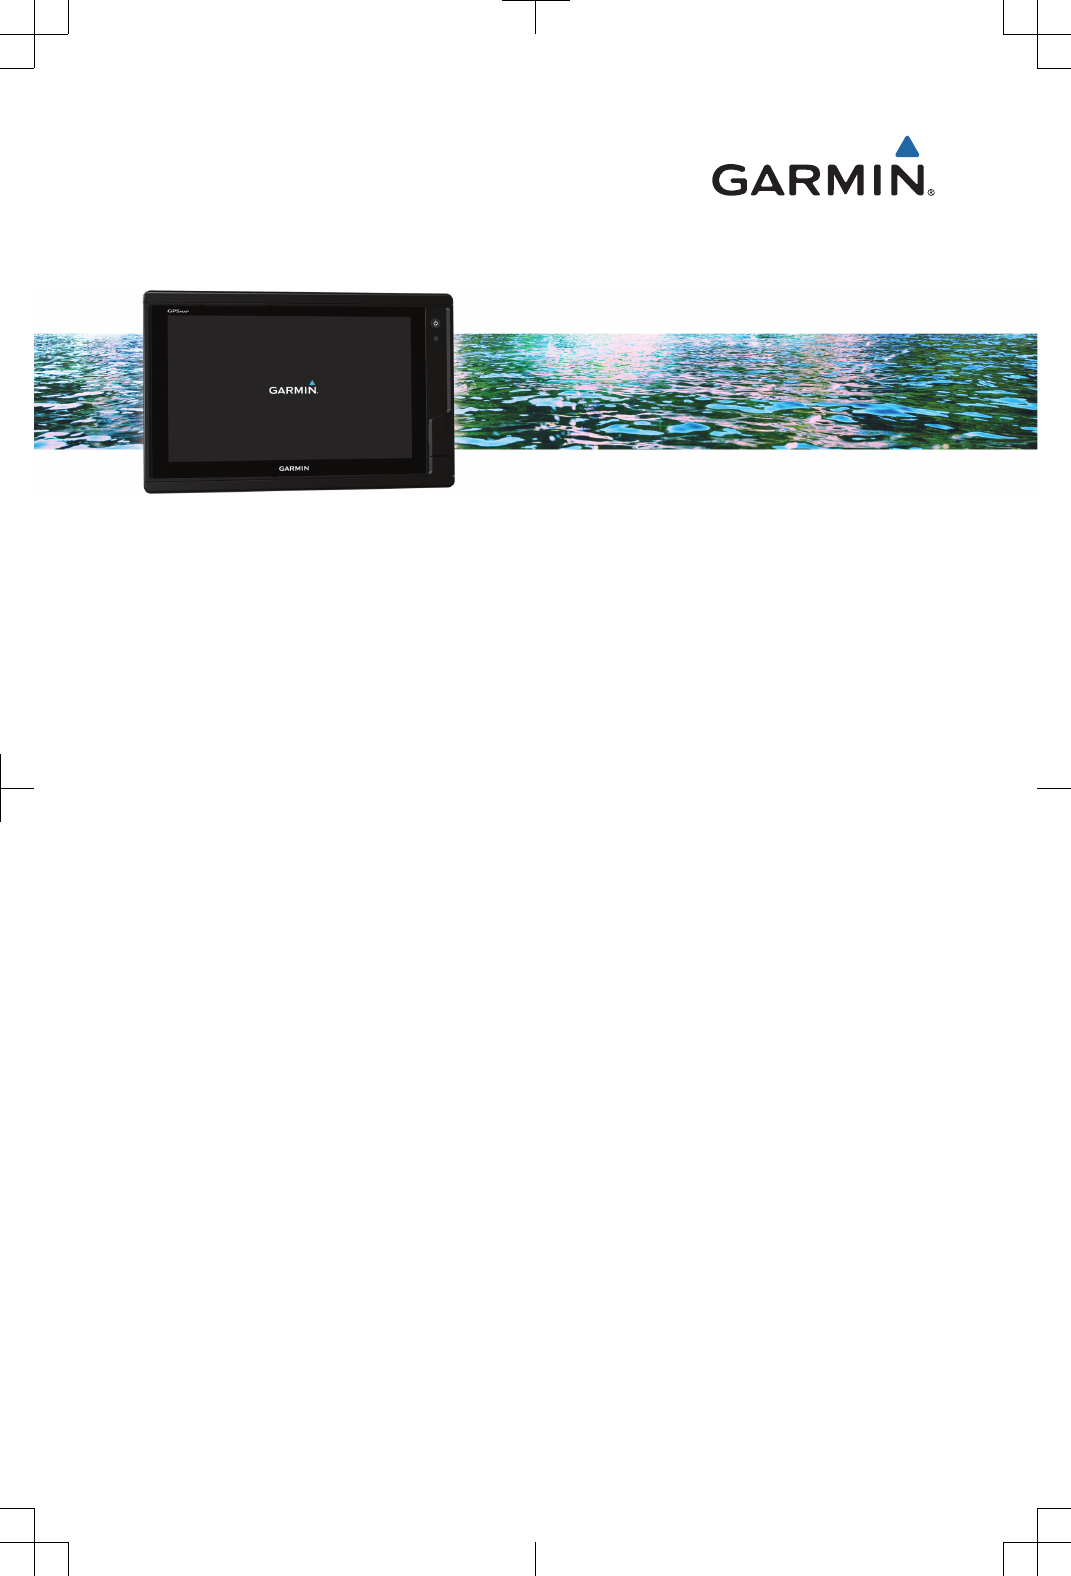
A03139 Series
Quick Start Manual

Introduction
WARNING
See the Important Safety and Product Information guide in
the product box for product warnings and other important
information.
Not all features are available on all models.
Device Overview
ÀPower key
ÁAutomatic backlight sensor
ÂmicroSD® memory card slot
Tips and Shortcuts
• Press to turn the chartplotter on.
• Select Home from any screen to return to the Home
screen.
• Select Menu to access additional settings about that
screen.
• Select Menu to close the menu when finished.
• Press to open additional options, such as adjusting
the backlight and locking the touchscreen.
• Press and select Power Off to turn the chartplotter
off.
Using the Touchscreen
• Tap the screen to select an item.
• Drag or swipe your finger across the screen to pan or
scroll.
• Pinch two fingers together to zoom out.
• Spread two fingers apart to zoom in.
Adding an Item to Favorites
1From the home screen, select a category from the right.
2Hold a button on the left.
The item is added to the Favorites home screen
category.
Accessing Owner's Manuals on the Chartplotter
1Select Info > Owner's Manual.
2Select a manual.
3Select Open.
Downloading the Manuals
You can get the latest owner's manual and translations of
manuals from the web.
TIP: To quickly open this web page, scan this code:
2Download the manual.
Software Update
You may need to update the device software when you
install the device or add an accessory to the device.
Loading the New Software on a Memory Card
1Insert a memory card into the card slot on the
computer.
2Go to www.garmin.com/support/software/marine
.html.
3 Select Download next to A03139 Series with SD
Card.
4Read and agree to the terms.
5Select Download.
6Select Run.
7Select the drive associated with the memory card, and
select Next > Finish.
Updating the Device Software
Before you can update the software, you must obtain a
software-update memory card or load the latest software
onto a memory card.
1Turn on the chartplotter, and wait for the home screen
to appear.
NOTE: In order for the software update instructions to
appear, the device must be fully booted before the card
is inserted.
2Open the memory card door À.
3Insert the memory card Á, and press it in until it clicks.
4Close the door.
5Follow the on-screen instructions.
6Wait several minutes while the software update
process completes.
The device returns to normal operation after the
software update process is complete.
7Remove the memory card.
NOTE: If the memory card is removed before the
device restarts fully, the software update is not
complete.
Basic Operation
Marking Your Present Location as a Waypoint
From any screen, select Mark.
Creating a Waypoint on the Sonar Screen
1From a sonar view, drag the screen or select .
2Select a location.
3Select New Wpt or .
2 Quick Start Manual
4If necessary, edit the waypoint information.
Creating a Waypoint on the Chart
1From a chart or a 3D chart view, select a location or
object.
2Select Create Waypoint or .
Marking an MOB or SOS Location
1From any screen, select SOS.
2Follow the on-screen instructions.
Navigating to a Point on the Chart
1From the Navigation chart or Fishing chart, select a
location.
2If necessary, select Navigate To.
3Select an option:
• To navigate directly to the location, select Go To or
.
• To create a route to the location, including turns,
select Route To or .
• To use Auto Guidance, select Auto Guidance or
.
NOTE: Auto Guidance is available with premium
charts, in some areas.
4Review the course indicated by the magenta line.
NOTE: When using Auto Guidance, a gray segment
within any part of the magenta line indicates that Auto
Guidance cannot calculate part of the Auto Guidance
line. This is due to the settings for minimum safe water
depth and minimum safe obstacle height.
5Follow the magenta line, steering to avoid land, shallow
water, and other obstacles.
Copying Waypoints, Routes, and Tracks to a
Memory Card
1Insert a memory card into the card slot.
2Select Info > User Data > Data Transfer > Save to
Card.
3If necessary, select the memory card to copy data to.
4Select an option:
• To create a new file, select Add New File, and
enter a name.
• To add the information to an existing file, select the
file from the list.
Showing Tracks
From a chart or a 3D chart view, select Menu > Chart
Menu > Waypoints and Tracks > Tracks > On.
A trailing line on the chart indicates your track.
Configuring the Recording Interval of the Track
Log
You can indicate the frequency at which the track plot is
recorded. Recording more frequent plots is more accurate
but fills the track log faster. The resolution interval is
recommended for the most efficient use of memory.
1Select Info > User Data > Tracks > Active Track
Options > Interval > Interval.
2Select an option:
• To record the track based on a distance between
points, select Distance > Change, and enter the
distance.
• To record the track based on a time interval, select
Time > Change, and enter the time interval.
• To record the track plot based on a variance from
your course, select Resolution > Change, and
enter the maximum error allowed from the true
course before recording a track point. This is the
recommended recording option.
Selecting a Map
If your product has both BlueChart® g2 and Garmin
LakeVü™ HD built-in maps, you can select which map to
use. Not all models have both types of built-in maps.
1From the Navigation chart, select Menu > Built-In
Map.
2Select an option:
• When you are on an inland lake, select LakeVü™
HD.
• When you are offshore, select BlueChart® g2.
Quick Start Manual 3
www.garmin.com/support
1800 235 822 +43 (0) 820 220230
+ 32 2 672 52 54 0800 770 4960
1-866-429-9296 +385 1 5508 272
+385 1 5508 271
+420 221 985466
+420 221 985465 + 45 4810 5050
+ 358 9 6937 9758 + 331 55 69 33 99
+ 39 02 36 699699 (+52) 001-855-792-7671
0800 427 652 0800 0233937
+47 815 69 555 00800 4412 454
+44 2380 662 915
+35 1214 447 460 +386 4 27 92 500
0861 GARMIN (427 646)
+27 (0)11 251 9800 +34 93 275 44 97
+ 46 7744 52020 +886 2 2642-9199 ext 2
0808 238 0000
+44 870 850 1242
+49 (0) 89 858364880
zum Ortstarif - Mobilfunk
kann abweichen
913-397-8200
1-800-800-1020
© 2016 Garmin Ltd. or its subsidiaries
Garmin®, the Garmin logo, and A03139® are trademarks of Garmin Ltd. or its
subsidiaries, registered in the USA and other countries.
The NMEA 2000® logo is a registered trademark of the National Marine
Electronics Association. microSD®, the microSD logo, and the SD logo are
trademarks of SD-3C, LLC.
Printed in Taiwan
October 2016
190-02141-01_0A