Garmin 03187 Digital Transmission System User Manual
Garmin International Inc Digital Transmission System
Garmin >
Contents
- 1. User Manual 1
- 2. User Manual
User Manual

RVFOTAINMENT SYSTEM
2
Quick Start Manual
A03187
A03187 Quick Start Manual
Getting Started
WARNING
See the Important Safety and Product Information guide in the product box for
product warnings and other important information.
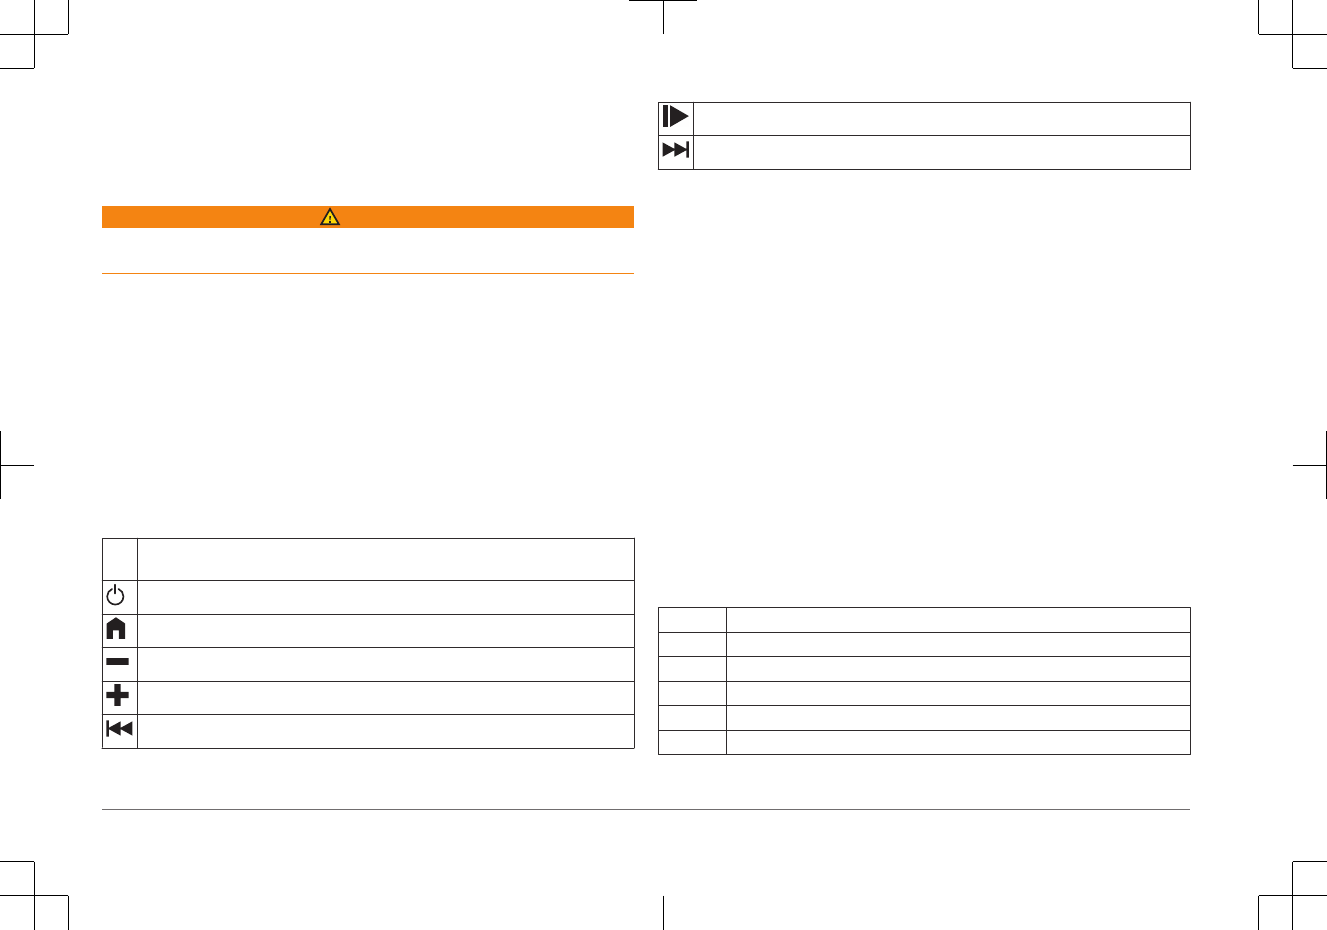
À
Magnetic dock for remote. Charges the remote and sets the remote user
interface to docked mode.
Power. Select to mute or unmute. Hold to turn the system on or off.
Home. Select to return to the home screen while the remote is docked.
Volume down
Volume up
Previous track
Pause and resume
Next track
ÀPower key
ÁMicrophone
ÂVolume keys
ÃmicroSD® memory card slot
ÄHeadphone jack
Åmicro USB port
2 Quick Start Manual
Docking the Remote
The remote provides a touchscreen interface for the system. It can
control the system while docked or undocked.
1Place the bottom edge of the remote into the dock.
2Tilt the top of the remote toward the dock until the magnets pull the remote
into the correct position.
•
The remote switches to the vehicle profile.
• The remote home screen switches to docked mode.
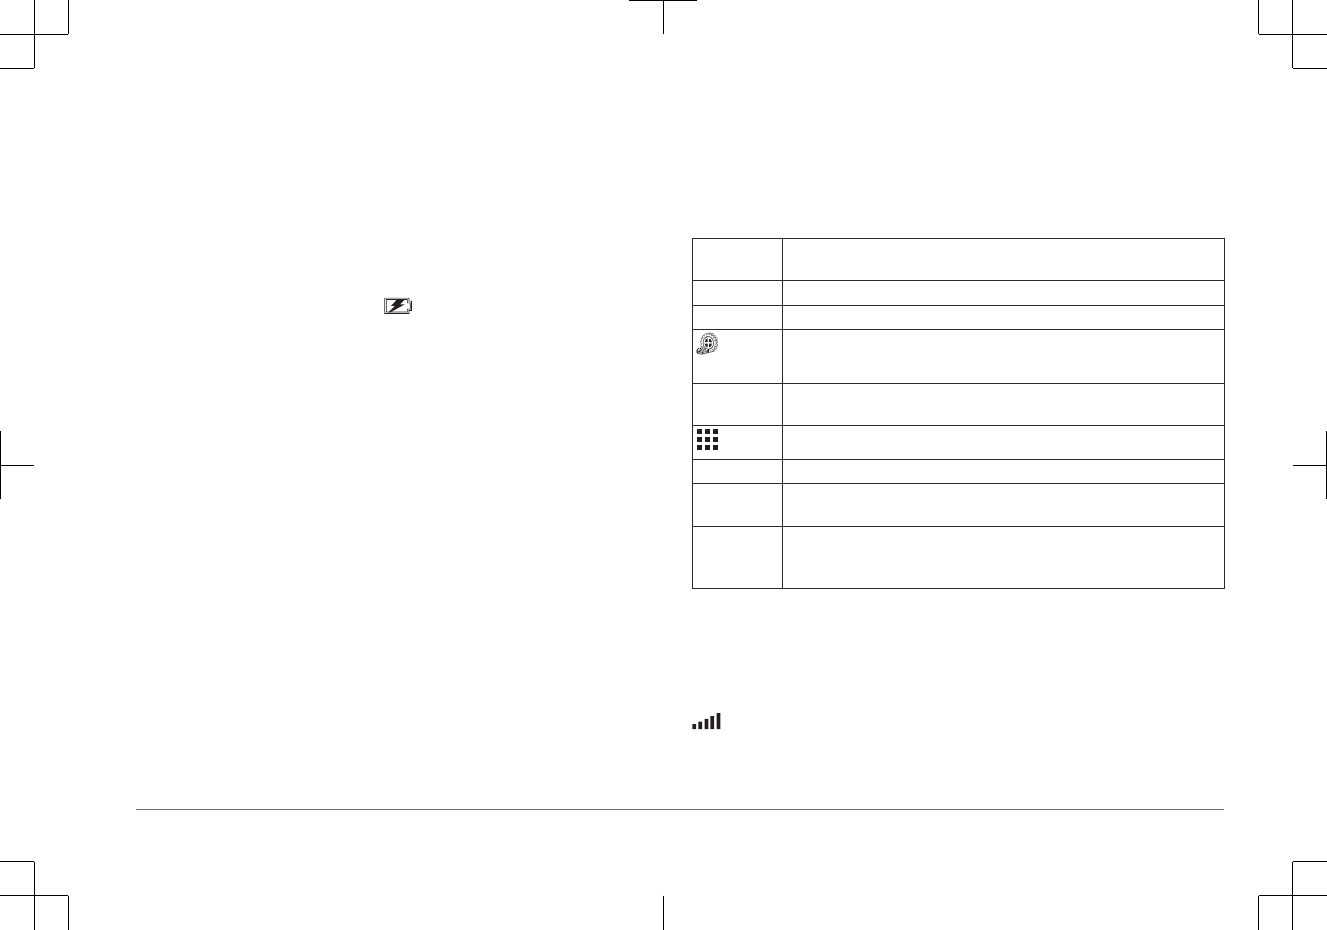
• The dock charges the remote. in the status bar indicates the battery
charge level.
Undocking the Remote
1Tilt the remote toward you by pressing the bottom edge of the remote inward
while pulling the top edge of the remote toward you.
This method keeps the bottom of the remote seated in the dock and helps to
prevent dropping the remote.
2After the remote releases from the magnet, carefully remove the remote from
the mount.
The remote home screen switches to undocked mode.
Home Screen
The remote home screen changes depending on whether the remote is docked
or undocked.
While docked À, the home screen provides quick access to core media and
navigation features and restricts access to some features that require significant
user interaction.
While undocked Á, the home screen provides access to the app drawer,
notifications, and customizable widgets and shortcuts. While undocked, you can
swipe left or right to switch home screen pages.
Music Select to play media (page 4). Available in the app drawer while
undocked.
Where To? Select to find a destination and start a route.
View Map Select to view navigation instructions or view your location on the map.
Settings
Select to change the device settings.
Camera Select to view the backup camera. Available in the app drawer while
undocked.
Select to view all apps and widgets. Available only while undocked.
Date and time Select to set the time, alarms, or timer.
Phone Select to place a phone call using hands-free calling. This feature requires
a paired phone. Available in the app drawer while undocked.
Status bar Displays status icons and notification icons.
While the device is undocked, swipe up to view notifications and quick
settings.
Acquiring GPS Signals
1Turn on the device.
2Wait while the device locates satellites.
3If necessary, go to an open area, away from tall buildings and trees.
in the status bar indicates the satellite signal strength. When at least half the
bars are filled, the device is ready for navigation.
Quick Start Manual 3

Playing Media
1Select Music.
2Select an option to choose a source:
• While the remote is docked, select a source from the row of icons along
the bottom of the screen.
•While the remote is undocked, select , and select a source.
TIP: Some sources, such as USB or iPod, appear only when a device is
connected.
3Select an option to control playback:
• While the remote is docked, use the media keys on the dock to control
playback.
• While the remote is undocked, use the on-screen media buttons to control
playback.
4Select for more options, such as browsing the media on this source,
saving or recalling presets, or changing playback and sound
settings (optional).
Playing Media from a USB Device
You can play media from a connected USB flash drive or compatible portable
media player.
1Locate the media USB port in your vehicle.
2Connect the USB device to the USB port.
3Select an option:
• To play media from an Apple® device, select Music > iPod.
• To play media from another portable media player or USB flash drive,
select Music > USB.
Changing the Radio Station
1From the music player, select AM or FM.
2Select to switch between auto and manual tuning mode (optional).
Auto tuning mode automatically finds frequencies with clear broadcast
signals. Manual tuning mode allows you to tune a specific frequency.
3Select or to tune a radio station or a frequency.
Pairing Your Phone or Media Player
Using Bluetooth® wireless technology, you can pair your phone or portable media
player with the dock. This allows you to listen to audio from the phone or media
player using the BT source. When pairing a phone, you can also use the system
to make hands-free phone calls.
1 Place the remote in the dock.
2 Place your phone or media player within 3 m (10 ft.) of the dock.
3 On the remote, select Settings > Bluetooth, and select the
Discoverable check box.
4On your phone or media player, open the Bluetooth settings, and search for
available devices.
5 From the list of nearby devices, select the A03187 device.
6Follow the on-screen instructions to complete the pairing process.
SiriusXM® Satellite Radio
Only SiriusXM brings you more of what you love to listen to, all in one place. Get
over 140 channels, including commercial-free music plus the best sports, news,
talk, comedy and entertainment. Welcome to the world of satellite radio. A
SiriusXM Vehicle Tuner and subscription are required. For more information, go
to www.siriusxm.com.
To learn more about activation or operation of the SiriusXM tuner, see the
A03187 Owner's Manual.
Hands-Free Calling
NOTE: While most phones are supported and can be used, it cannot be
guaranteed that a particular phone can be used. All features may not be available
for your phone.
4 Quick Start Manual

Using Bluetooth wireless technology, your device can connect to your mobile
phone to become a hands-free device. While connected, you can place or
receive calls using your device.
Placing a Call
1Select Phone.
2Select an option:
• To dial a number, select Dialpad, enter the phone number, and select .
• To call a recently dialed or received phone number, select Call Logs, and
select a number.
• To call a contact from your phone book, select Contacts, and select a
contact.
Receiving a Call
When you receive a call, select Answer or Decline.
Navigation
Finding a Location by Category
1Select Where To?.
2Select a category, or select Categories.
3If necessary, select a subcategory.
4Select a location.
Finding an Address
NOTE: The order of the steps may change depending on the map data loaded on
your device.
1Select Where To?.
2If necessary, select Searching near: to change the search area (page 5).
3Select Address.
4Follow the on-screen instructions to enter address information.
5Select the address.
Changing the Search Area
By default, the device searches near your current location. You can also search
other areas, such as near your destination, near another city, or along your active
route.
1Select Where To?.
2Select Searching near:.
3Select an option.
Starting a Route
1Select Where To?, and search for a location.
2Select a location.
3Select Go!.
Adding a Location to a Route
Before you can add a location to your route, you must be navigating a route.
You can add locations to the middle or end of your route. For example, you can
add a fuel station as the next destination in your route.
1From the map, select Where To?.
2Search for a location.
3Select a location.
4Select Go! > Add to Active Route.
5If necessary, drag the points to change the order of the points in the route.
6Select Done.
The device recalculates the route to include the added location and guides you to
the destinations in order.
Quick Start Manual 5

Your Route on the Map
As you travel, the device guides you to your destination using voice prompts and
information on the map. Instructions for your next turn or exit, or other actions
appear across the top of the map.
ÀNext action in the route. Indicates the next turn, exit, or other action and the lane in
which you should travel, if available.
ÁDistance to the next action.
ÂName of the street or exit associated with the next action.
ÃRoute highlighted on the map.
ÄNext action in the route. Arrows on the map indicate the location of upcoming actions.
ÅVehicle speed.
ÆName of the road on which you are traveling.
ÇEstimated arrival time.
TIP: You can touch this field to change the information it shows.
Stopping a Route
From the map, select > Stop.
More Information
Garmin® Support Center
Go to support.garmin.com for help and information, such as product manuals,
frequently asked questions, videos, and customer support.
Getting the Owner's Manual
The owner's manual includes instructions for using device features and
accessing regulatory information.
Go to garmin.com/manuals/A03187.
Product Updates
On your computer, install Garmin Express™ (www.garmin.com/express).
This provides easy access to these services for Garmin devices:
• Software updates
• Map updates
• Product registration
6