General Dynamics Itronix IX325-AC860IWL Rugged Tablet PC w/802.11b/g & GSM/GPRS/EDGE/UMTS User Manual Sample Text
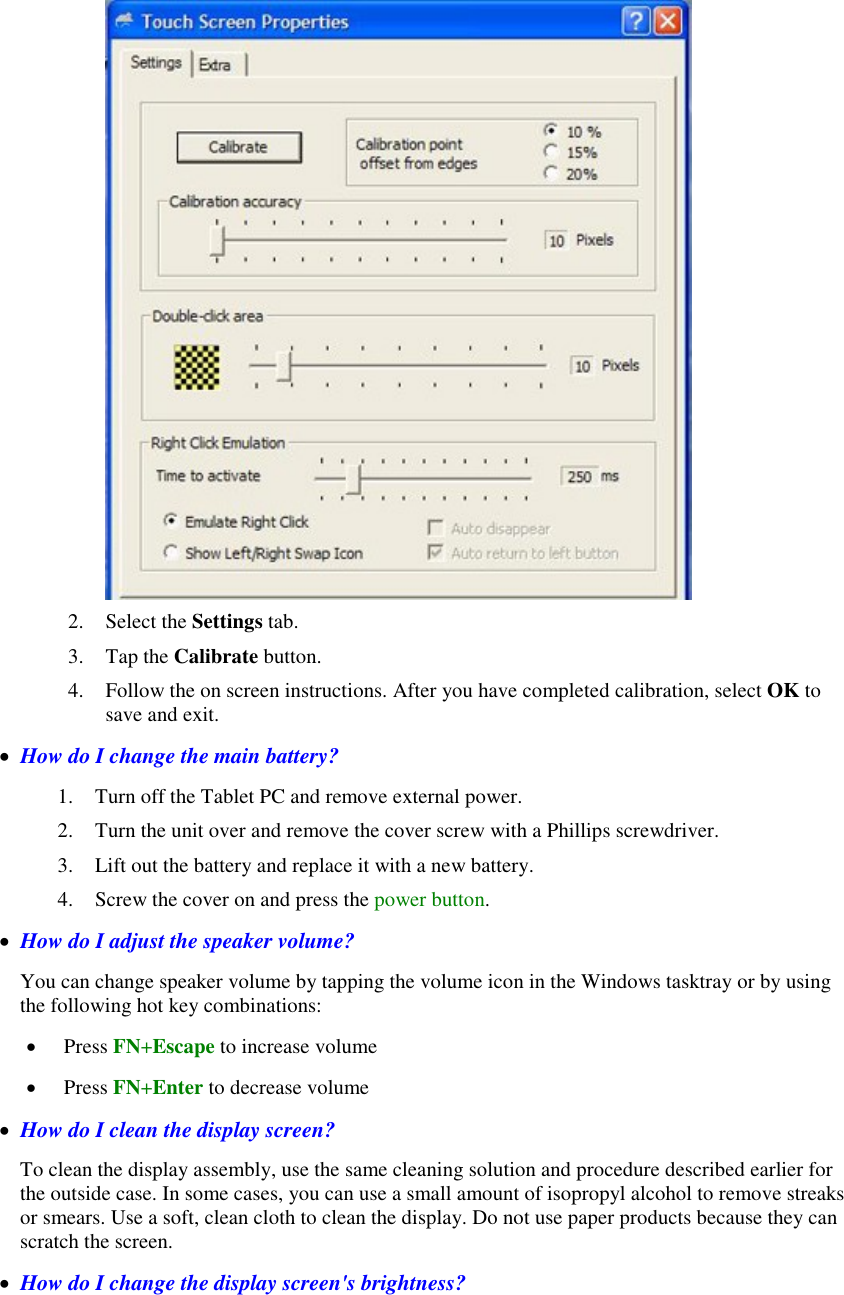
General Dynamics Itronix Corporation Rugged Tablet PC w/802.11b/g & GSM/GPRS/EDGE/UMTS Sample Text
Contents
- 1. users manual
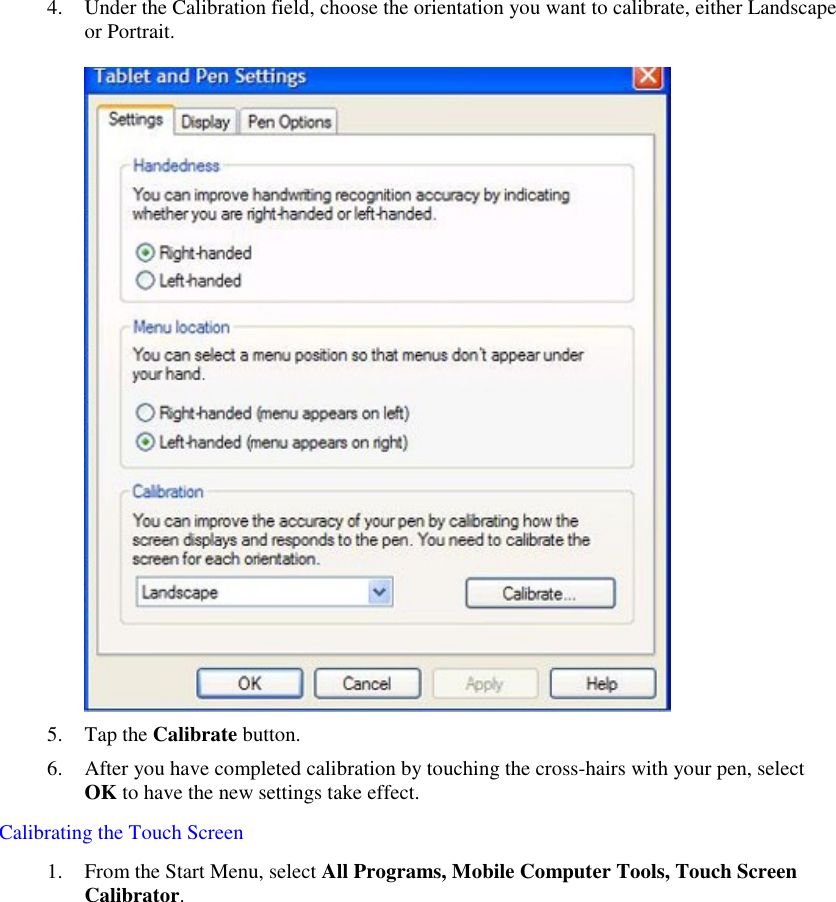
- 2. radio specifc safety information
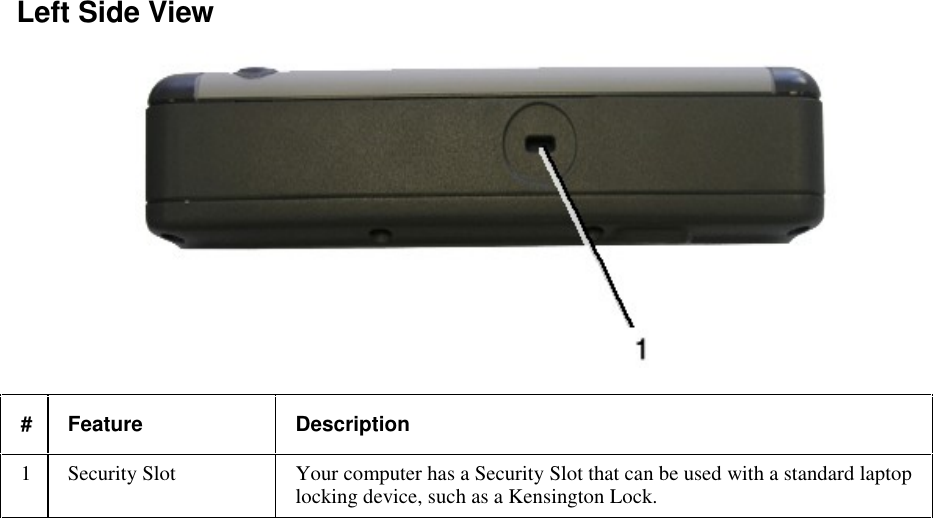
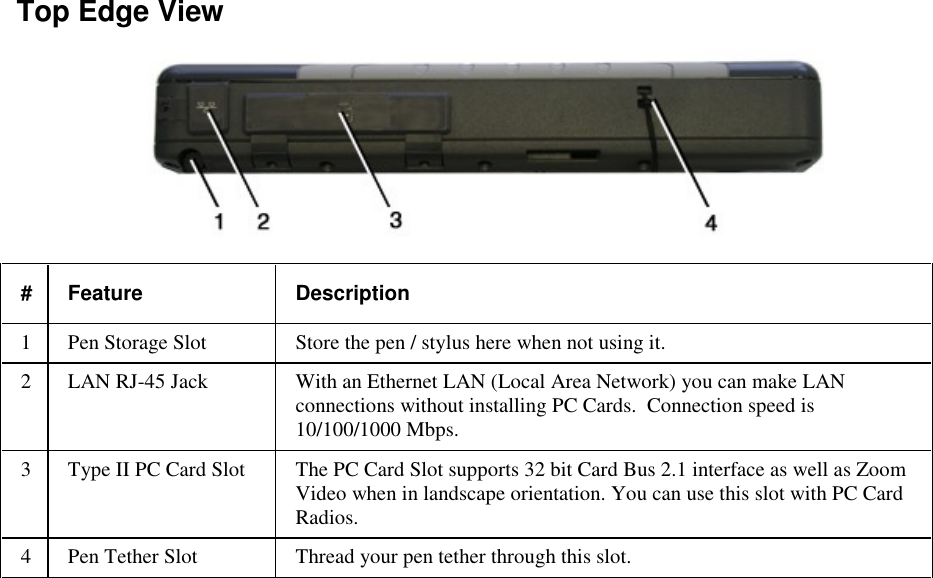
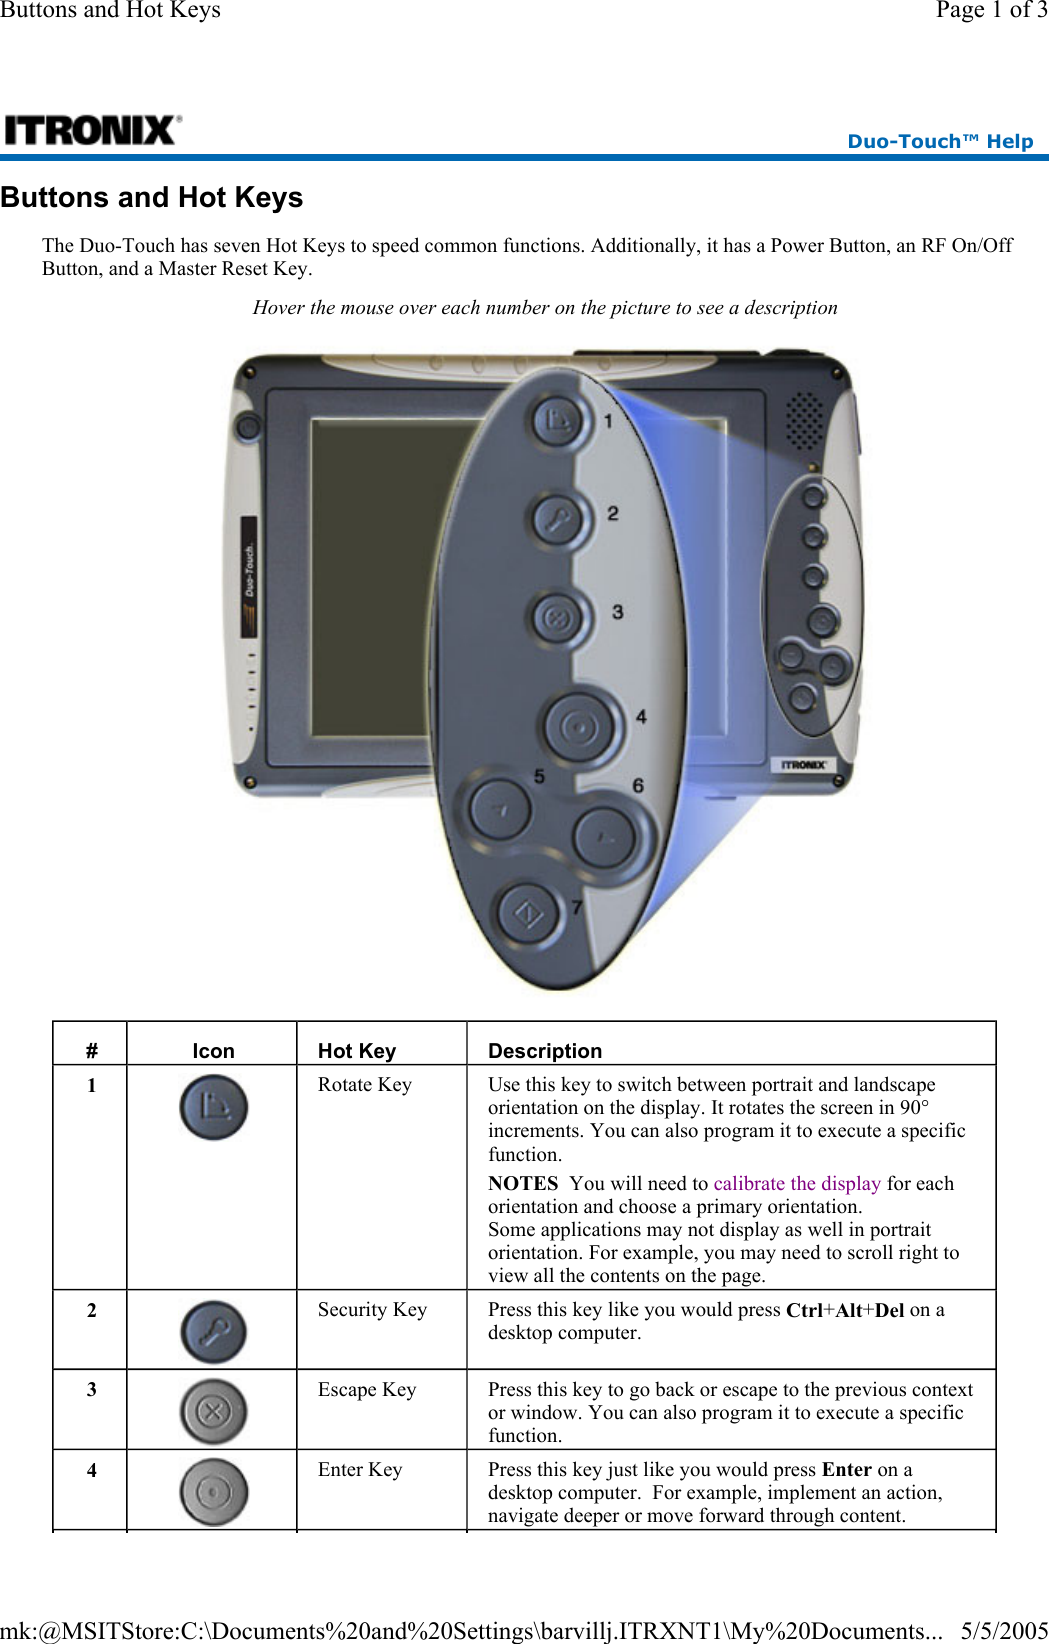
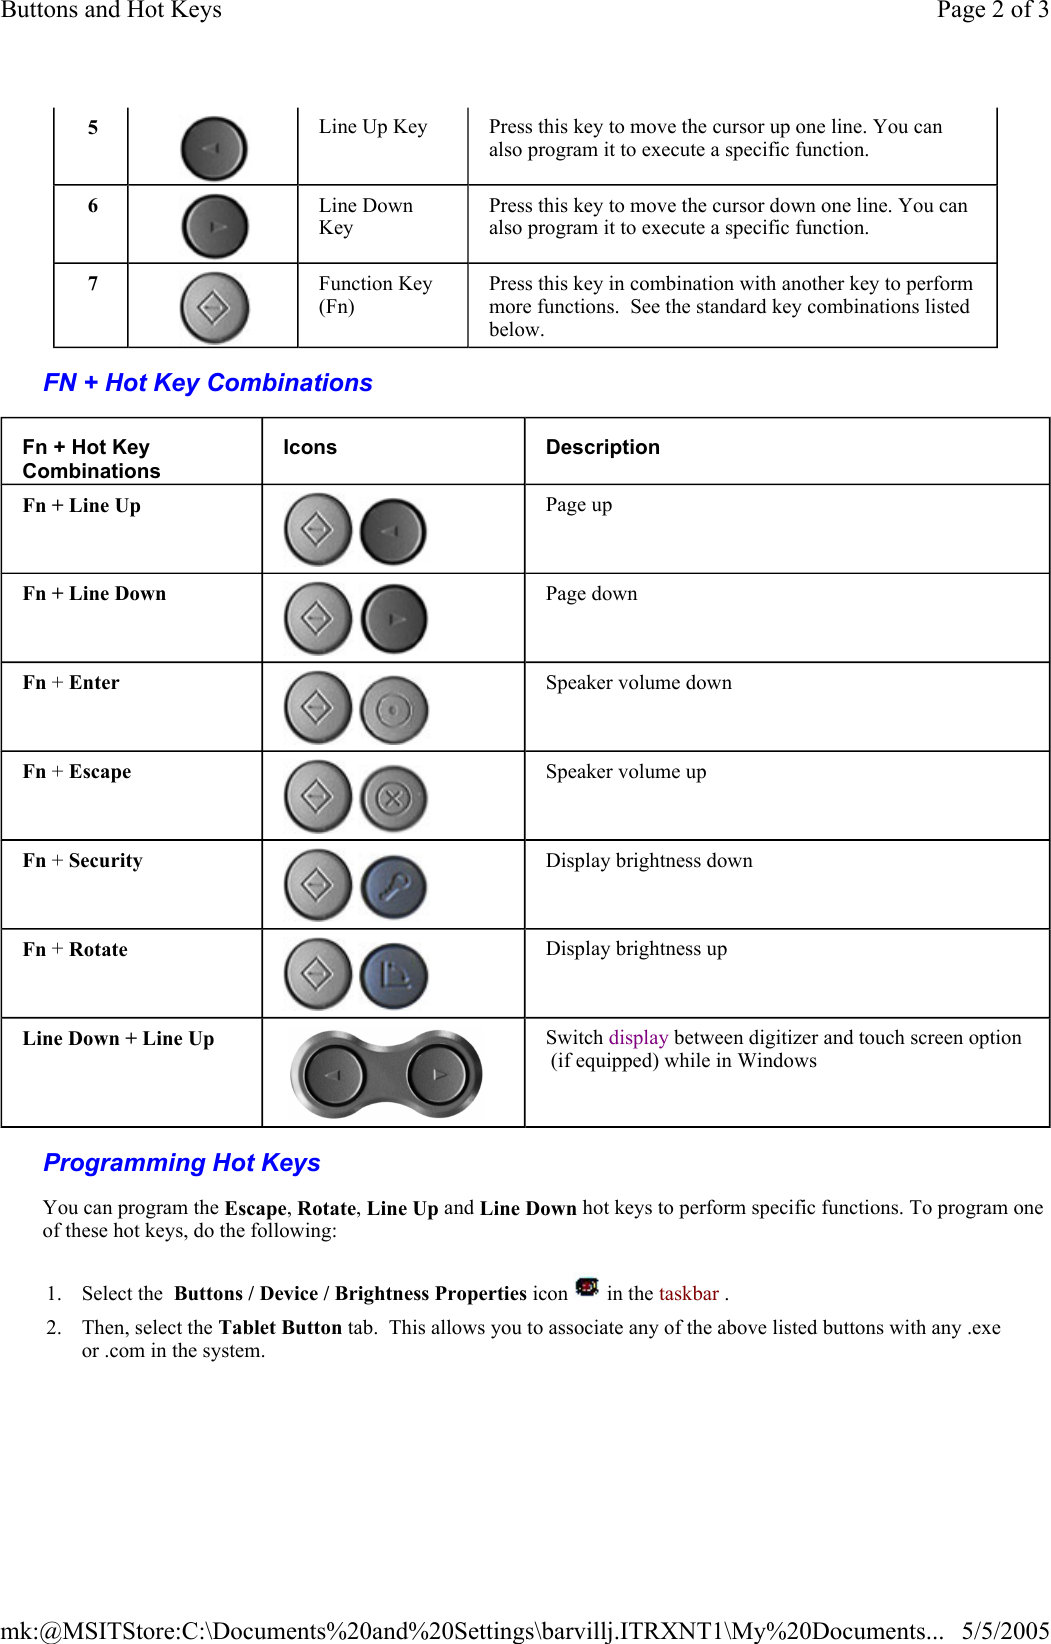
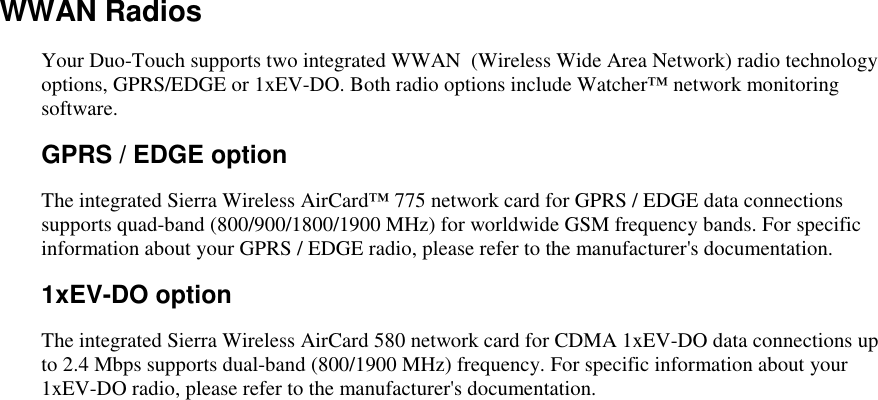
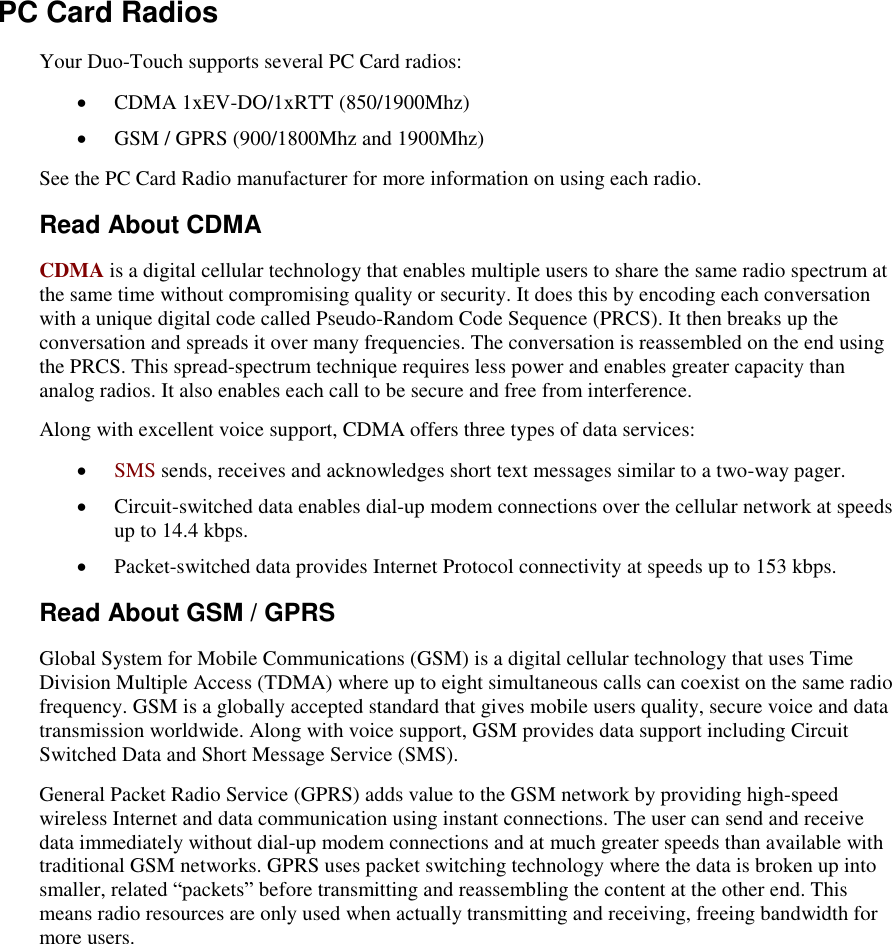
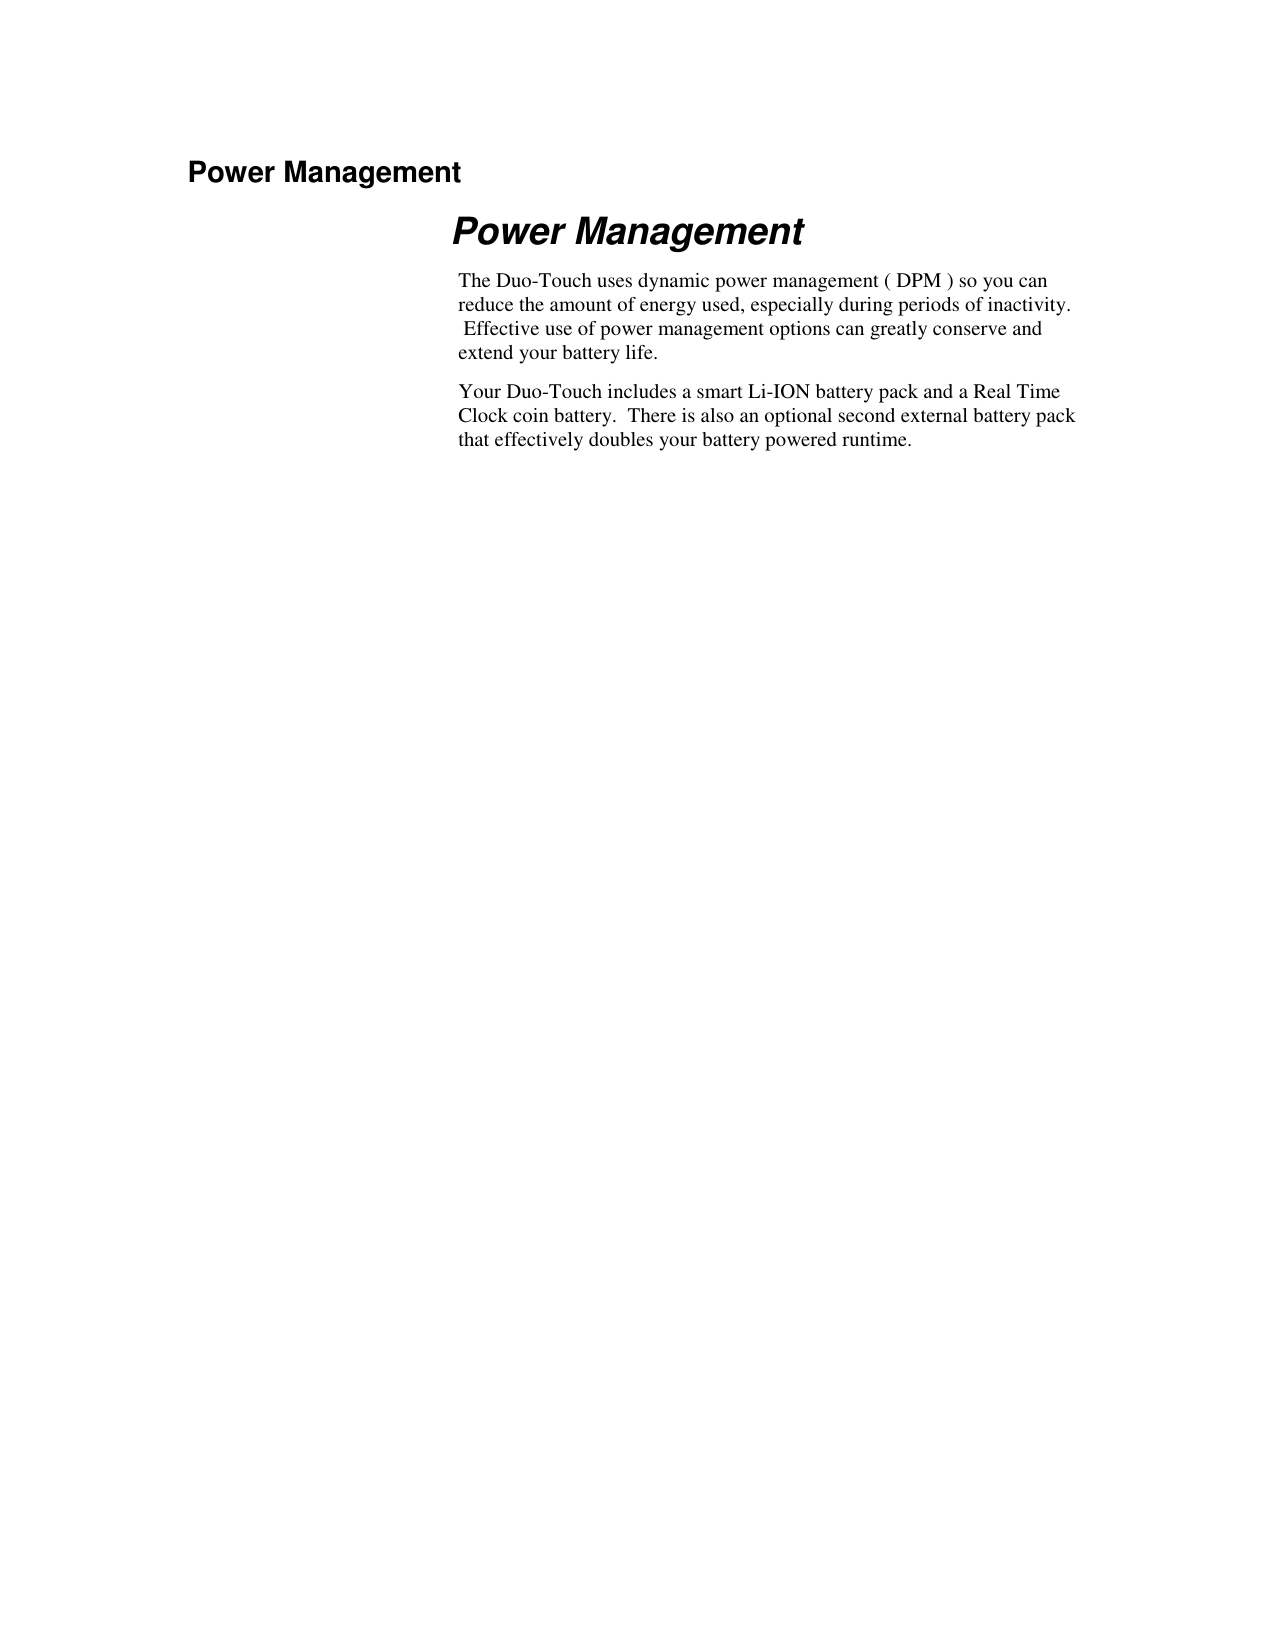
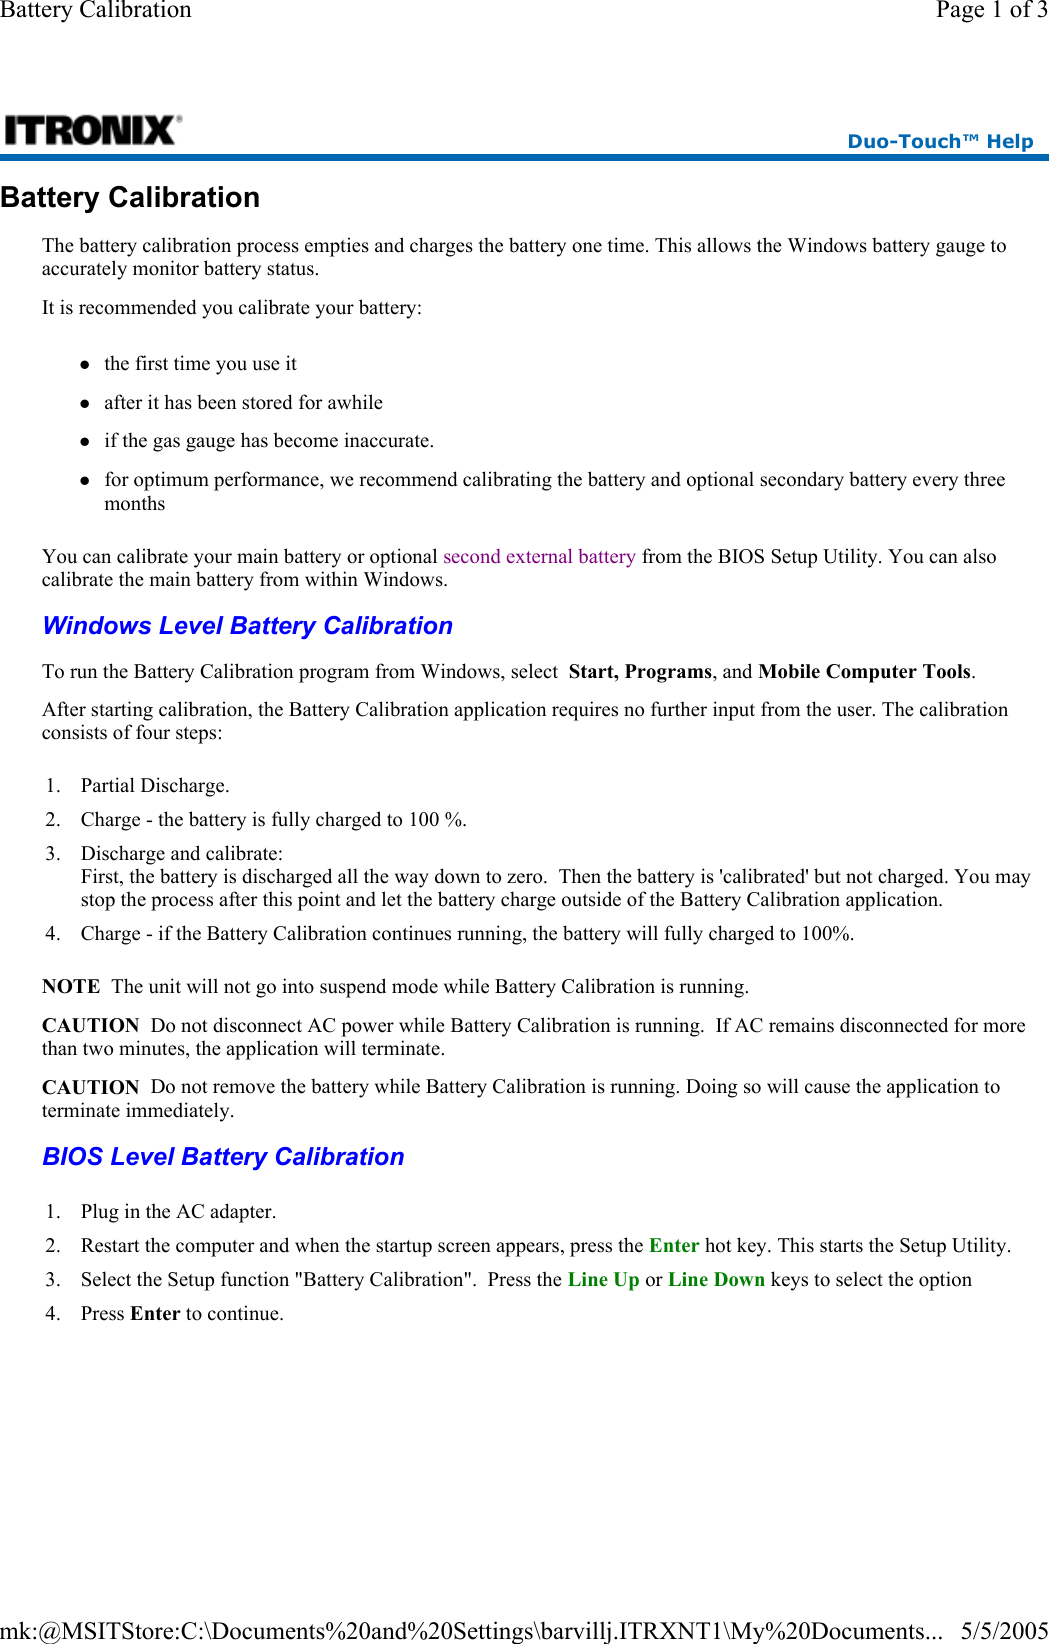
users manual


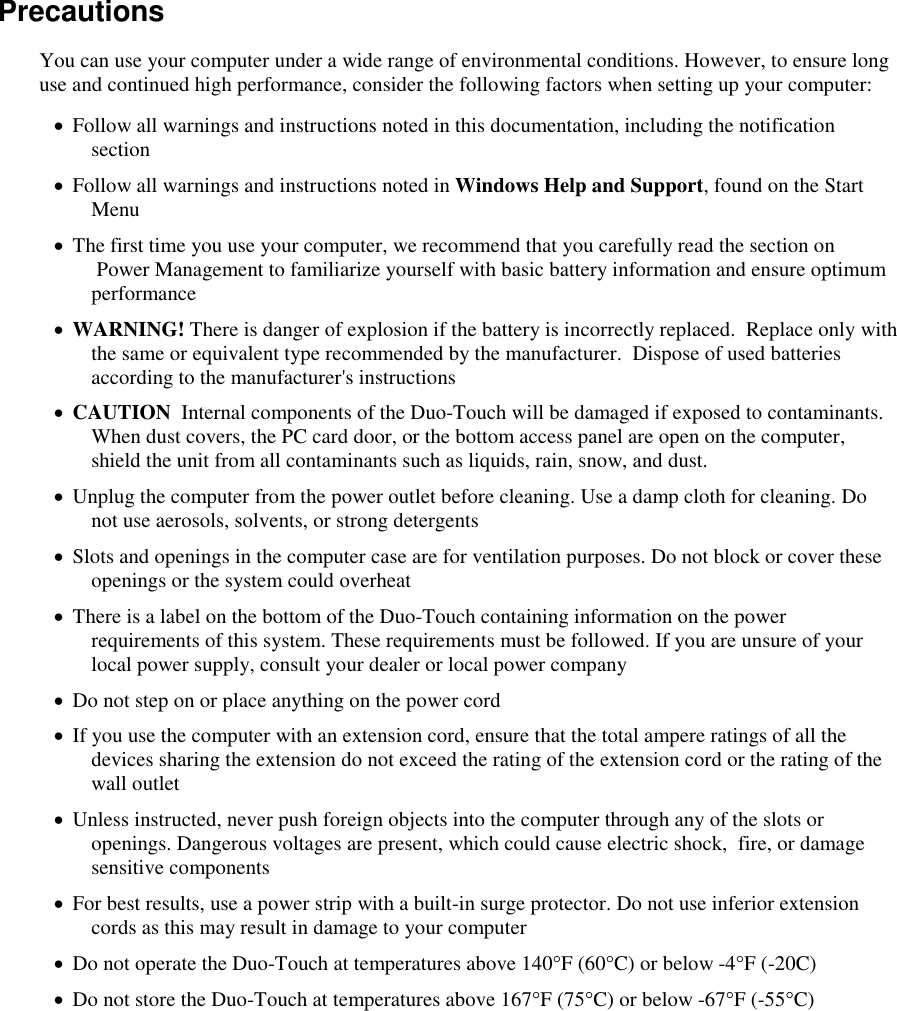


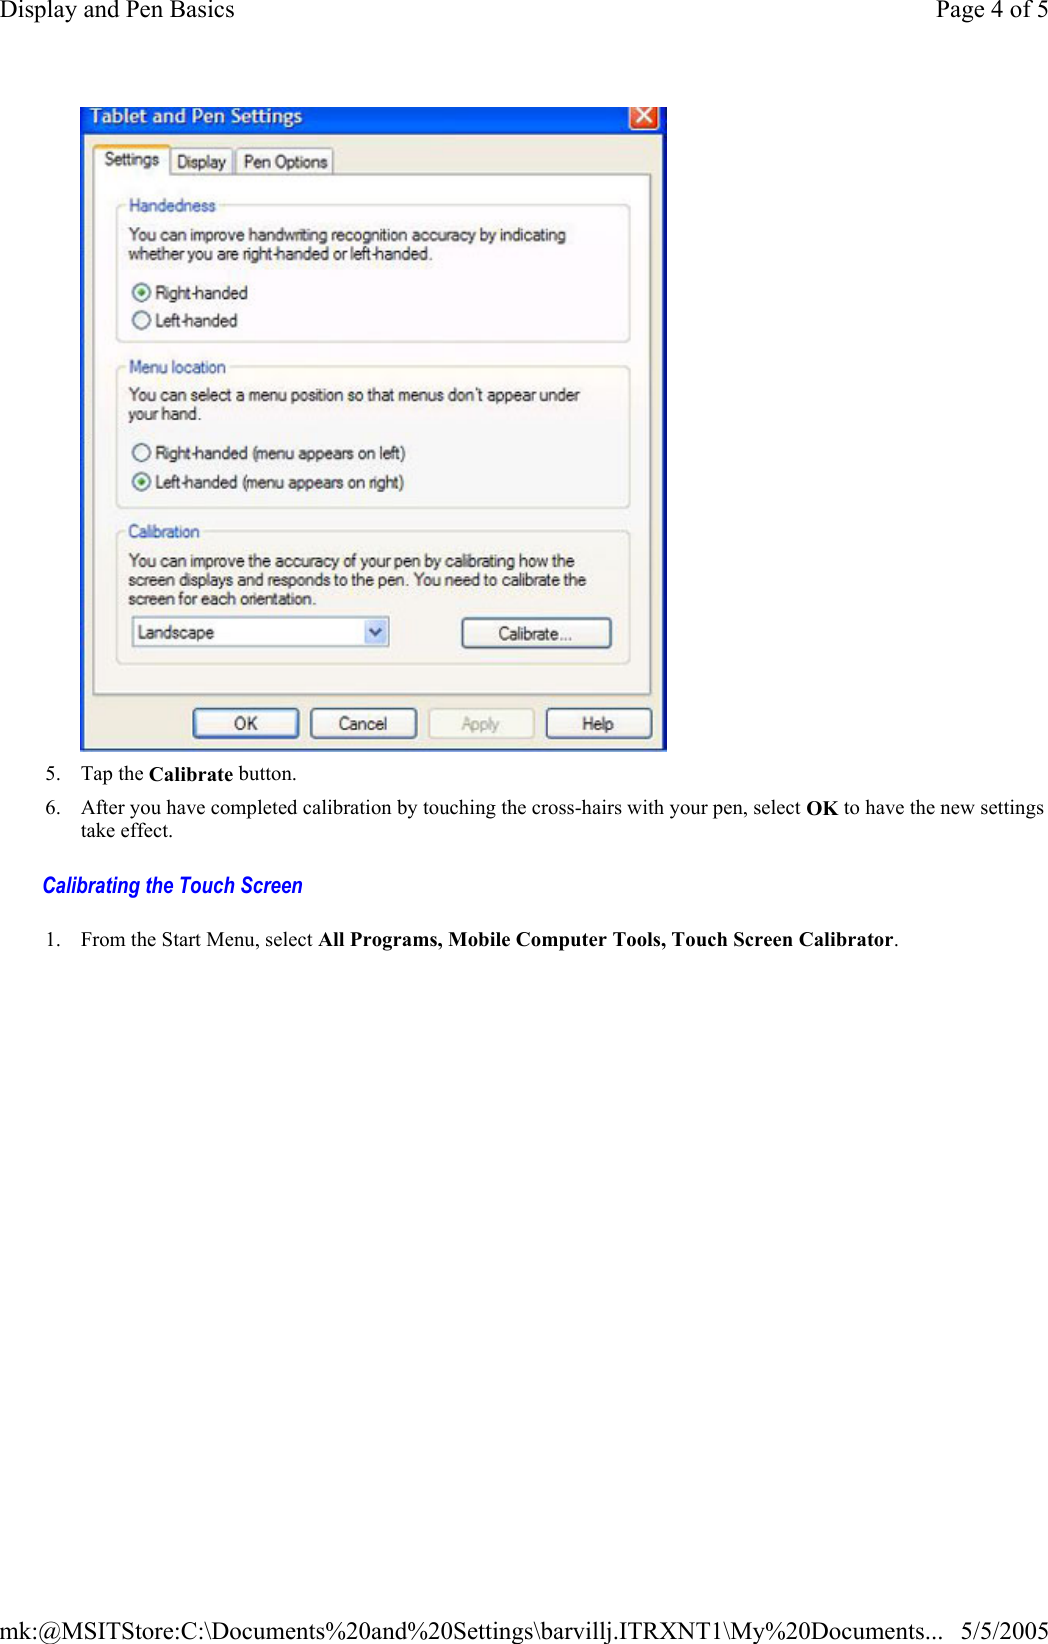


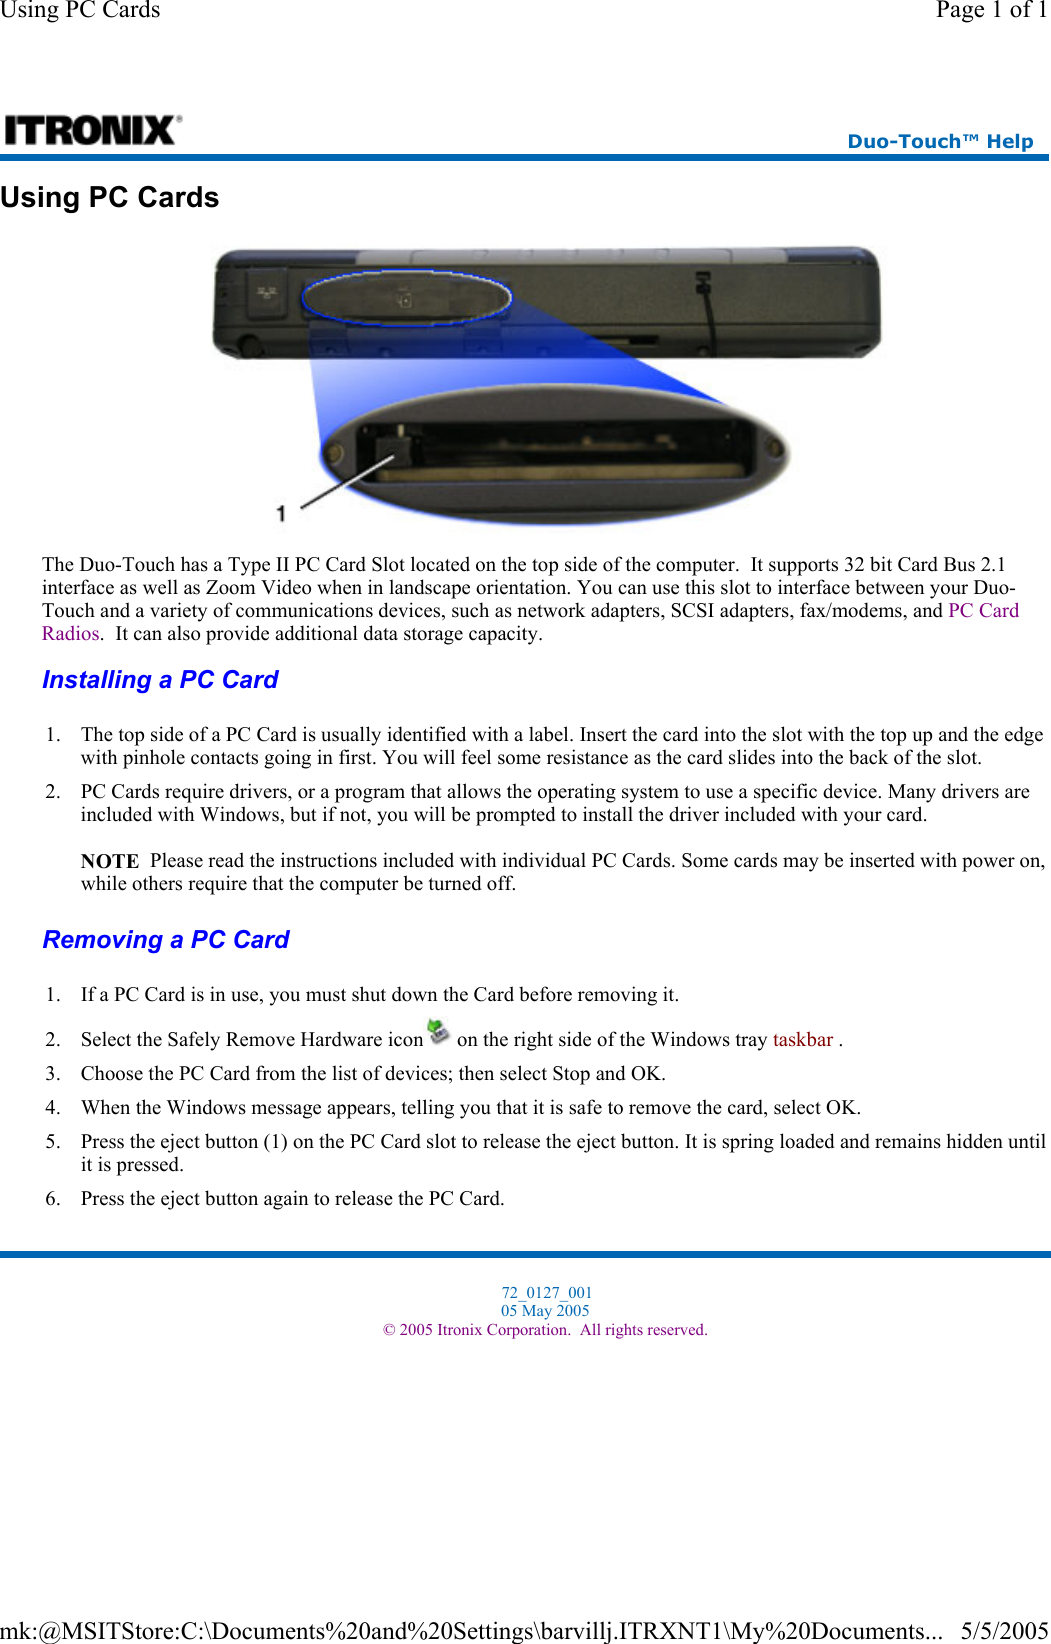


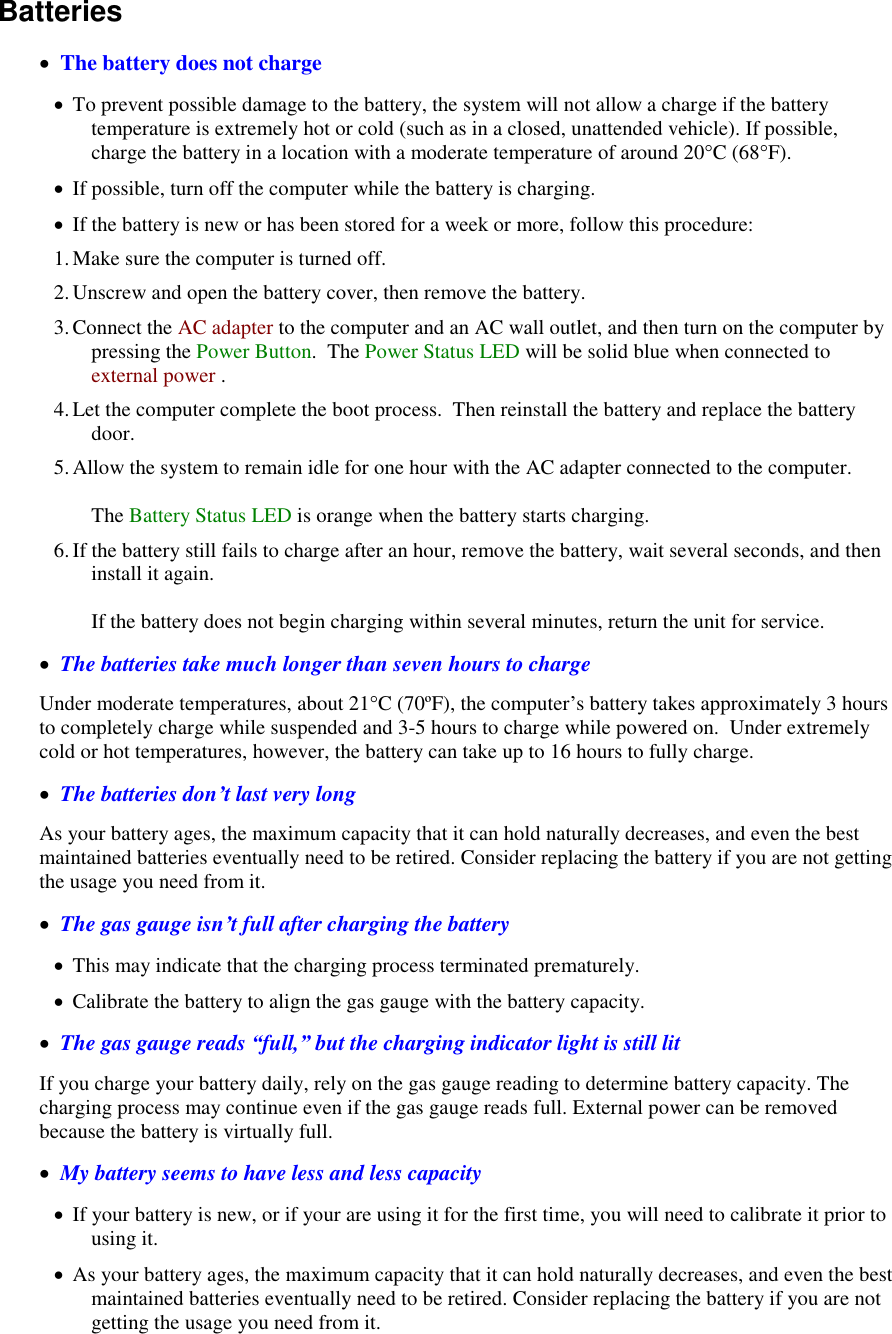

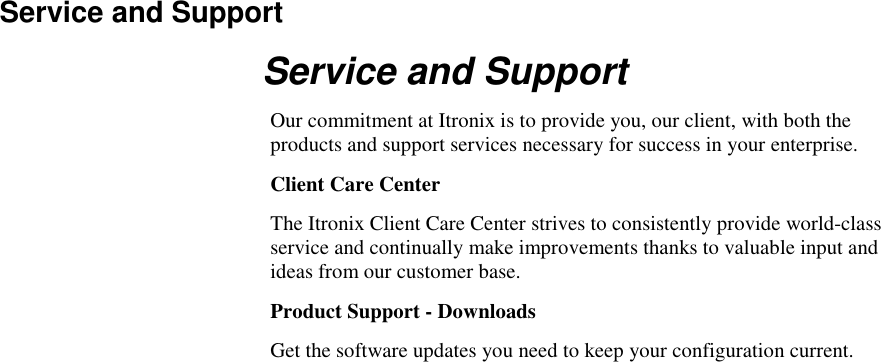
![PC Cards I can’t remove the PC card Press the ejector button located inside the PC card door on the side of the computer. The button will pop out. Press the ejector button again to eject the PC card. Slide the card out. If the ejector button malfunctions when you press it, release the button and then press it again. Diskette Read Error Any card in the PC Card socket except for a properly formatted memory card will cause this error since it is trying to read the PC Card. The system does not recognize the PC Card CD-ROM when it is inserted into the PC Card socket There is a delay of 10 to 15 seconds before the CD-ROM drive is recognized. Drivers may not be installed. Contact your organization’s help desk for assistance. The computer locks up when I remove the PC card Before you remove the card, select the PC card icon on the taskbar (in the tray area near the clock in the lower right corner), and choose “Stop [card name] card.”](https://usermanual.wiki/General-Dynamics-Itronix/IX325-AC860IWL.users-manual/User-Guide-719212-Page-89.png)


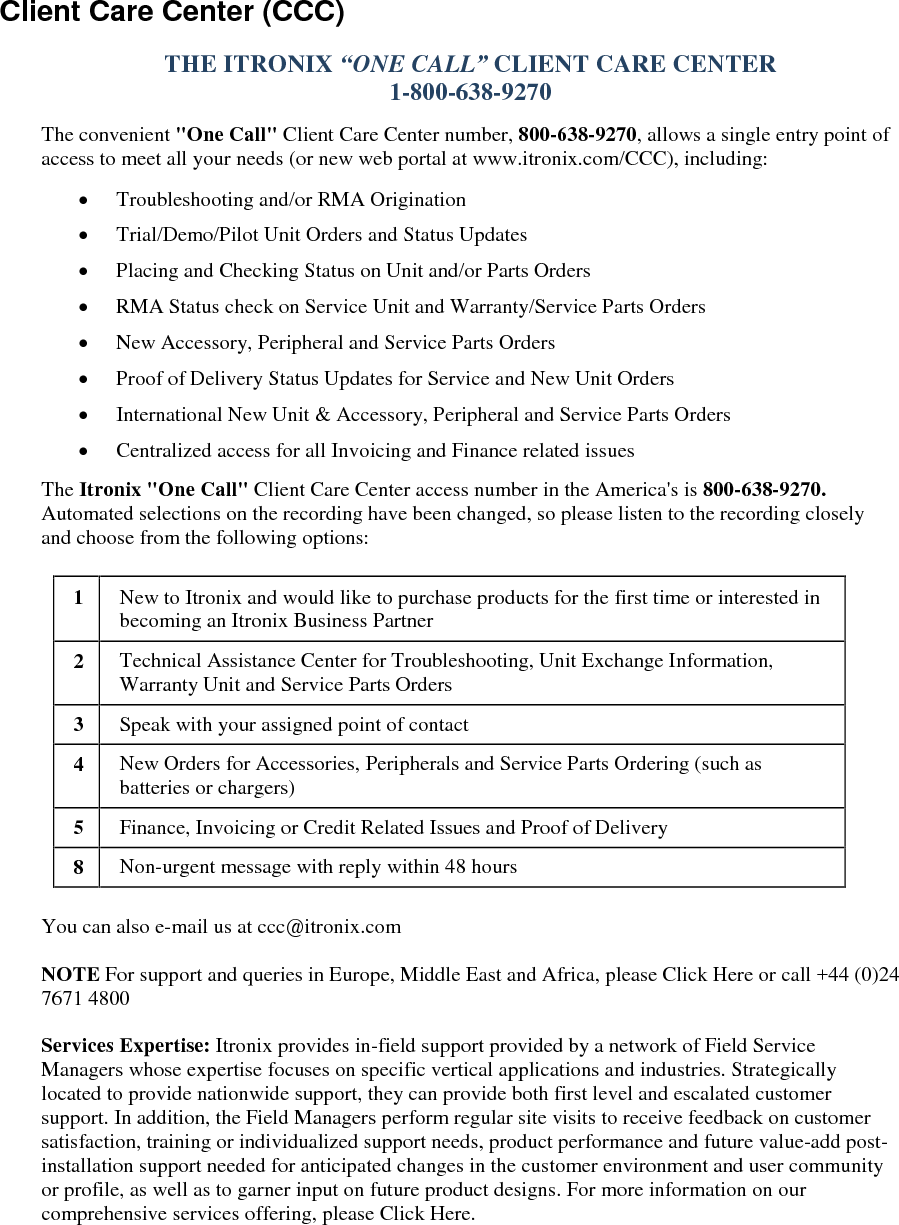


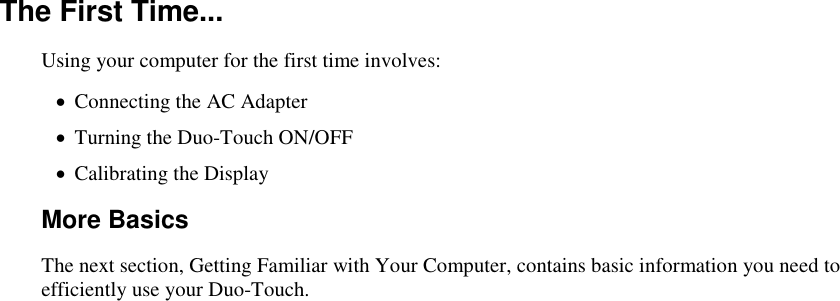
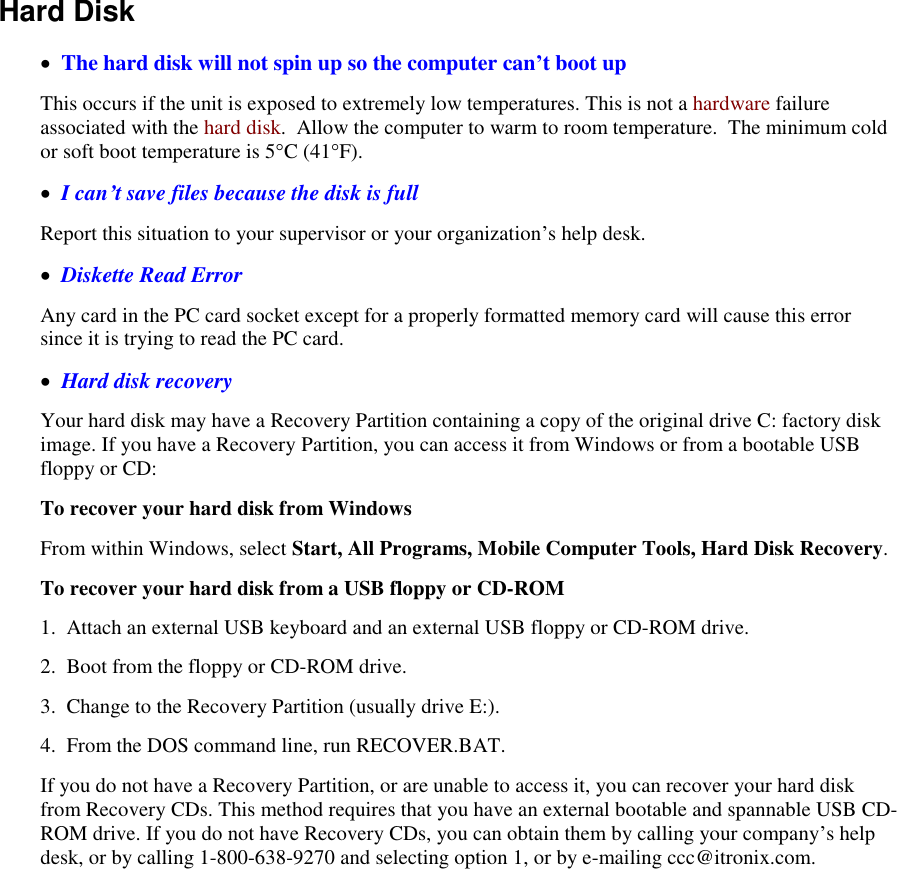
![This device may contain a WLAN radio transmitter, a WAN radio transmitter and a Bluetooth radio transmitter. To comply with FCC RF exposure requirements when using the WAN radio transmitter, a minimum separation distance of 20 cm must be maintained between the external dipole antenna and all users/bystanders. When using the WLAN transmitter, a minimum separation distance of 20 cm must be maintained between the top center edge of the LCD display and all users/bystanders. When using the Bluetooth transmitter, a minimum separation distance of 20 cm must be maintained between the left side edge of the LCD display and all users/bystanders. The WAN radio, WLAN transmitter, and the Bluetooth should be turned off before carrying the Tablet PC order to comply with FCC RF exposure requirements "The equipment has been approved to [Commission Decision "CTR21"] for pan-European single terminal connection to the Public Switched Telephone Network (PSTN). However, due to differences between individual PSTNs provided in different countries the approval does not, of itself, give an unconditional assurance of successful operation on every PSTN network termination point. In the event of problems, you should contact your equipment supplier in the first instance. Safety Information Enclosed with each IX325 Tablet PC is the Radio Specific Safety information. Do not proceed with out reviewing the information provided on that document. Do not proceed beyond a WARNING or CAUTION until the indicated conditions are fully understood and met. 20 May 2005 © 2005 Itronix Corporation. All rights reserved.](https://usermanual.wiki/General-Dynamics-Itronix/IX325-AC860IWL.users-manual/User-Guide-719212-Page-106.png)