General Dynamics Itronix T5200RIM801D ARDIS Radio Modem with DOC approved Rugged Laptop PC User Manual Copyrt
General Dynamics Itronix Corporation ARDIS Radio Modem with DOC approved Rugged Laptop PC Copyrt
UserManual.wiki
>
General Dynamics Itronix
>
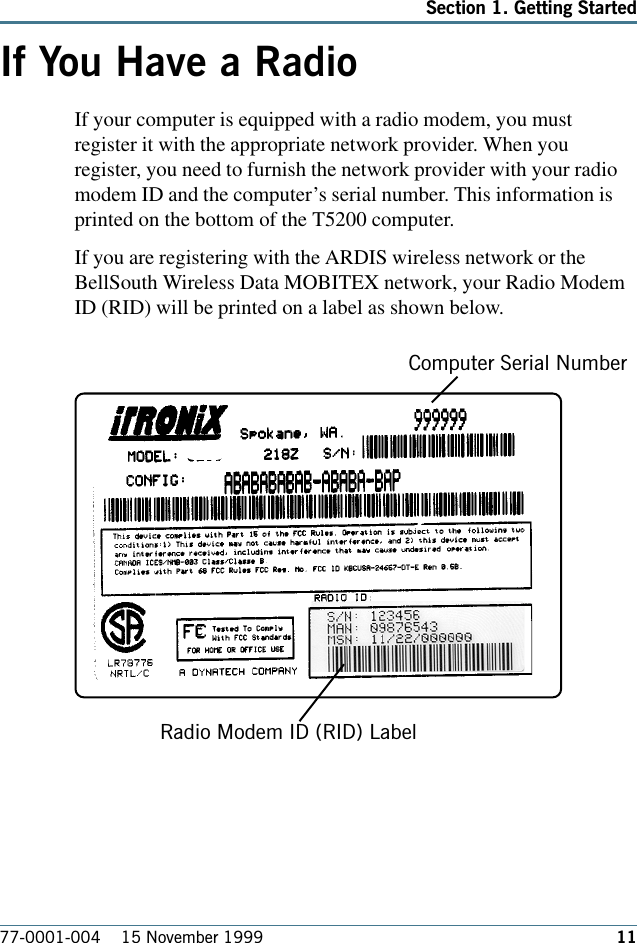
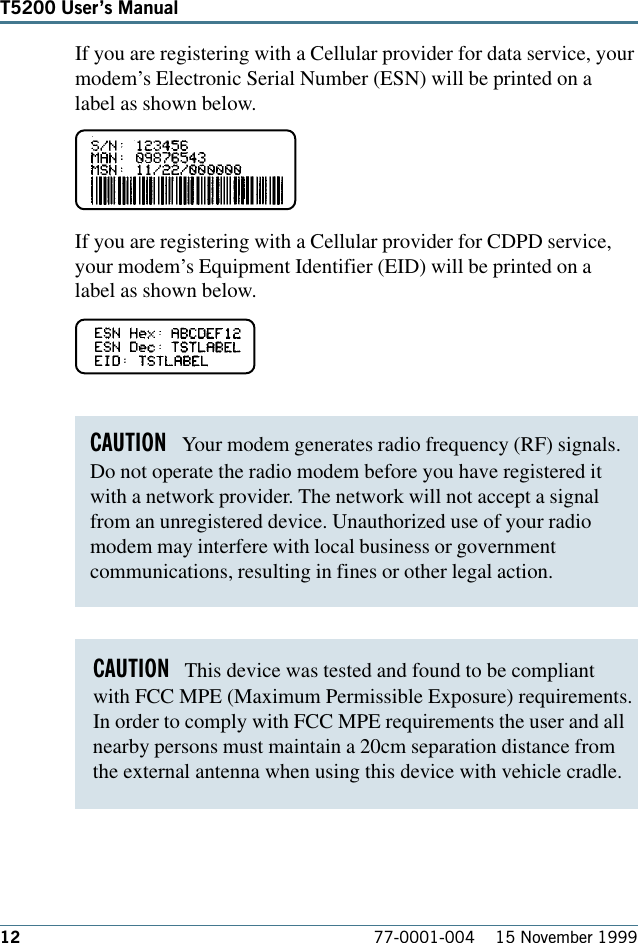
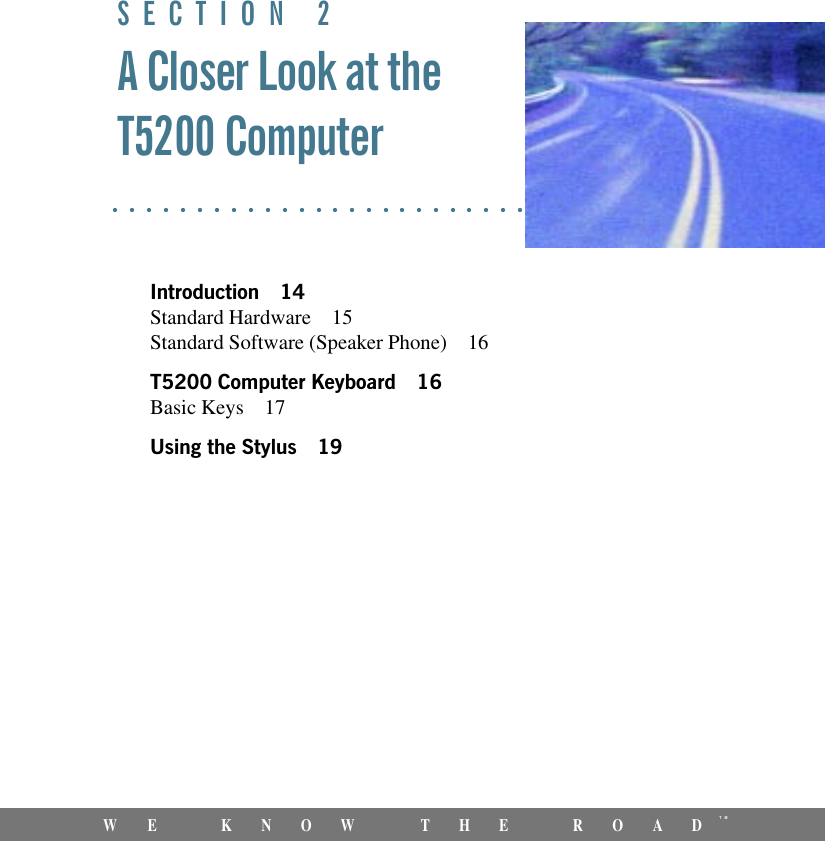
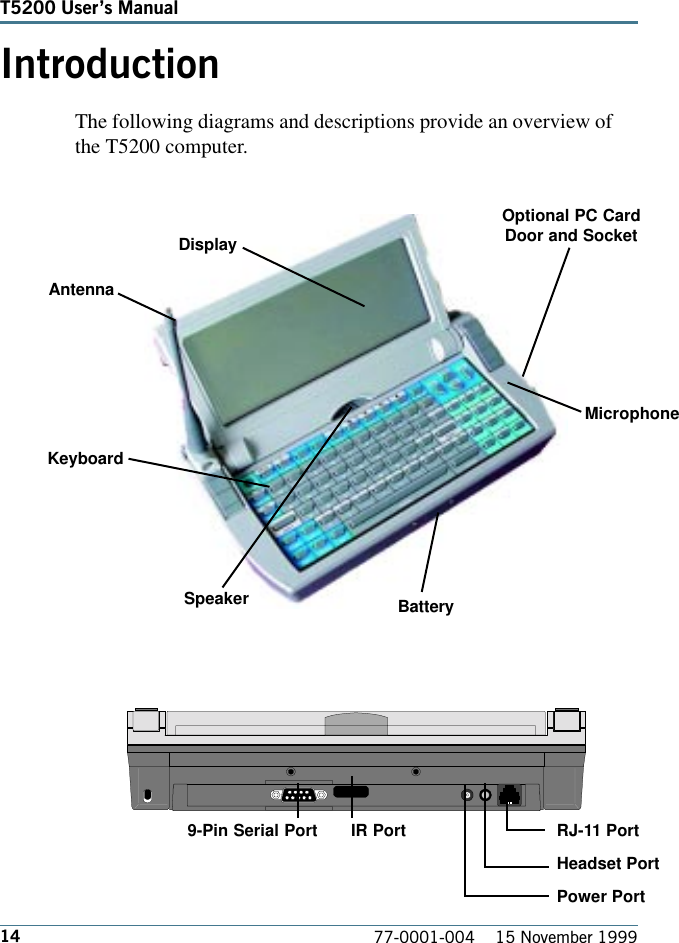
T5200RIM801D User Manual
Users Manual
Navigation menu
Upload a User Manual
Namespaces
Wiki Guide
HTML
PDF
Info
Views
User Manual
Discussion / Help
Navigation