Getac Technology E100AVL2 Rugged PC User Manual
Getac Technology Corporation Rugged PC Users Manual
UserManual.wiki
>
Getac Technology
>
E100AVL2 User Manual
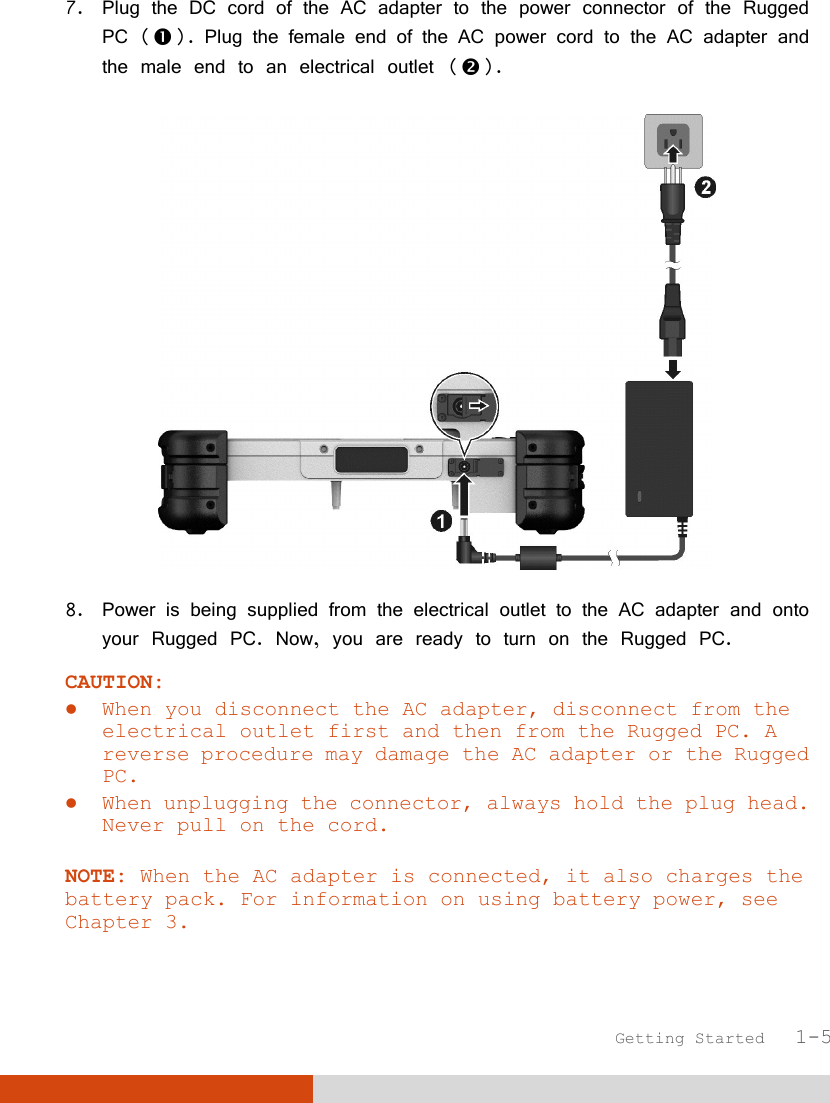
>
Users Manual
Contents
1.
Users Manual
2.
Users manual
Users Manual
Navigation menu
Upload a User Manual
Namespaces
Wiki Guide
HTML
PDF
Info
Views
User Manual
Discussion / Help
Navigation


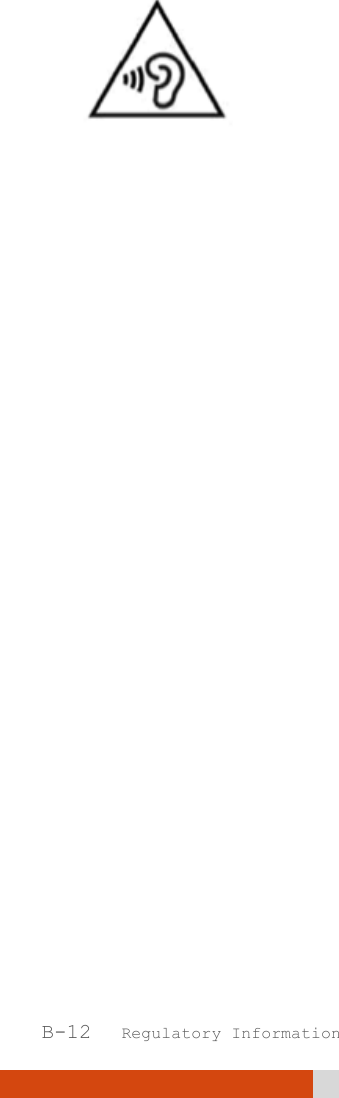
![Regulatory Information B-11 Polski Niniejszym Getac oświadcza, że E100-AVL jest zgodny z zasadniczymi wymogami oraz pozostałymi stosownymi postanowieniami Dyrektywy 1999/5/EC. Portuguê Getac declara que este E100-AVL está conforme com os requisitos essenciais e outras disposições da Directiva 1999/5/CE. Slovensko Getac izjavlja, da je ta E100-AVL v skladu z bistvenimi zahtevami in ostalimi relevantnimi določili direktive 1999/5/ES. Slovensky Getac týmto vyhlasuje, že E100-AVL spĺňa základné požiadavky a všetky príslušné ustanovenia Smernice 1999/5/ES. Suomi Getac vakuuttaa täten että [type of equipment = laitteen tyyppimerkintä] tyyppinen laite on direktiivin 1999/5/EY oleellisten vaatimusten ja sitä koskevien direktiivin muiden ehtojen mukainen. Svenska Härmed intygar Getac att denna [utrustningstyp] står I överensstämmelse med de väsentliga egenskapskrav och övriga relevanta bestämmelser som framgår av direktiv 1999/5/EG. This device have been tested to comply with the Sound Pressure Level requirement laid down in the applicable EN 50332-1and/or EN 50332-2 standards. Permanent hearing loss may occur if earphones or headphones are used at high volume for prolonged periods of time. Logo](https://usermanual.wiki/Getac-Technology/E100AVL2.Users-Manual/User-Guide-2499991-Page-54.png)