Gigaset Communications S450-E450 UPCS Base Station User Manual S450
Gigaset Communications GmbH UPCS Base Station S450
UserManual.wiki
>
Gigaset Communications
>
S450-E450 User Manual
>
User Manual Gigaset S450
Contents
1.
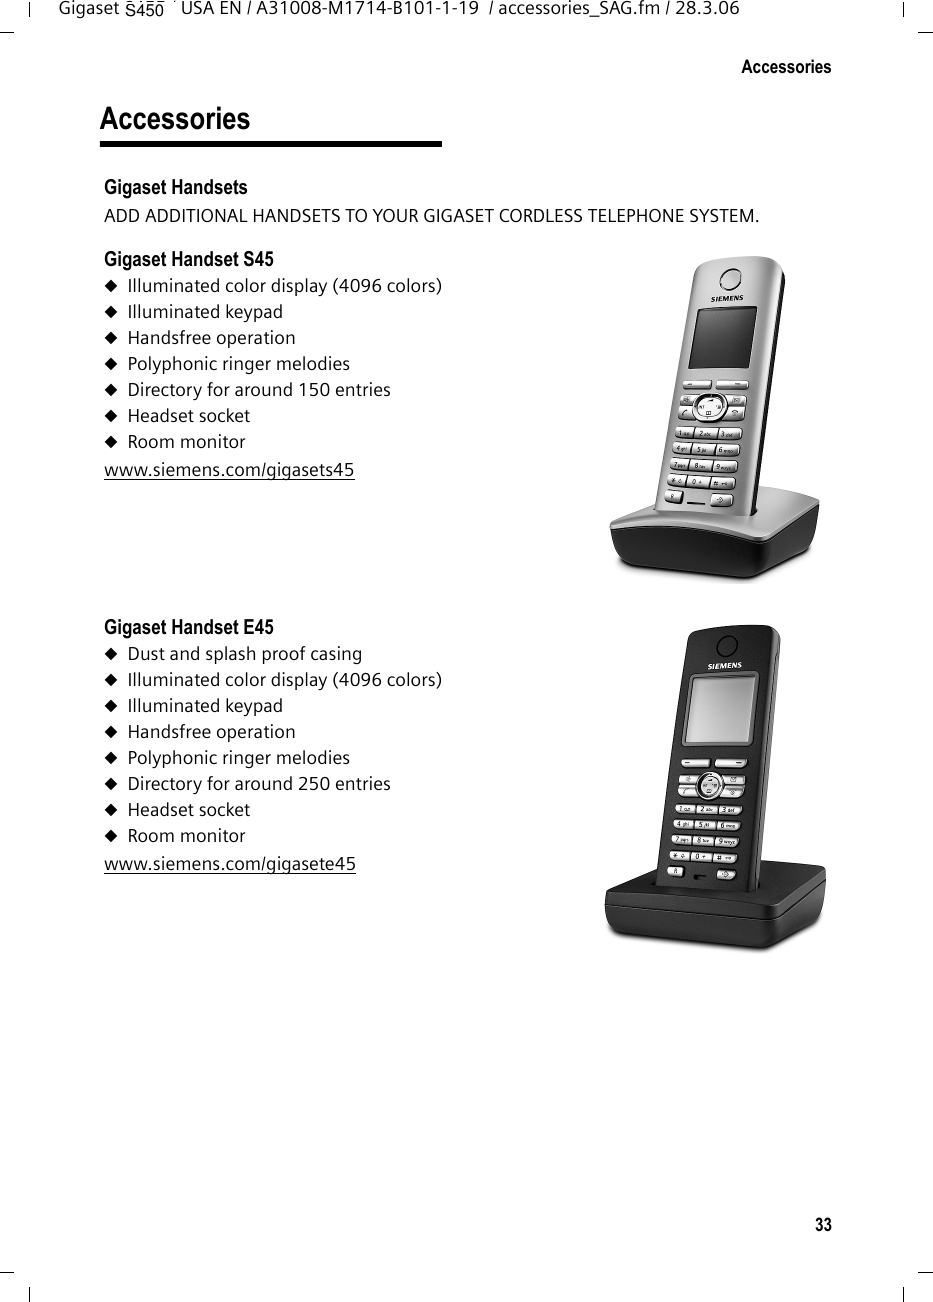
User Manual Gigaset E450
2.
User Manual Gigaset S450
User Manual Gigaset S450
Navigation menu
Upload a User Manual
Namespaces
Wiki Guide
HTML
PDF
Info
Views
User Manual
Discussion / Help
Navigation
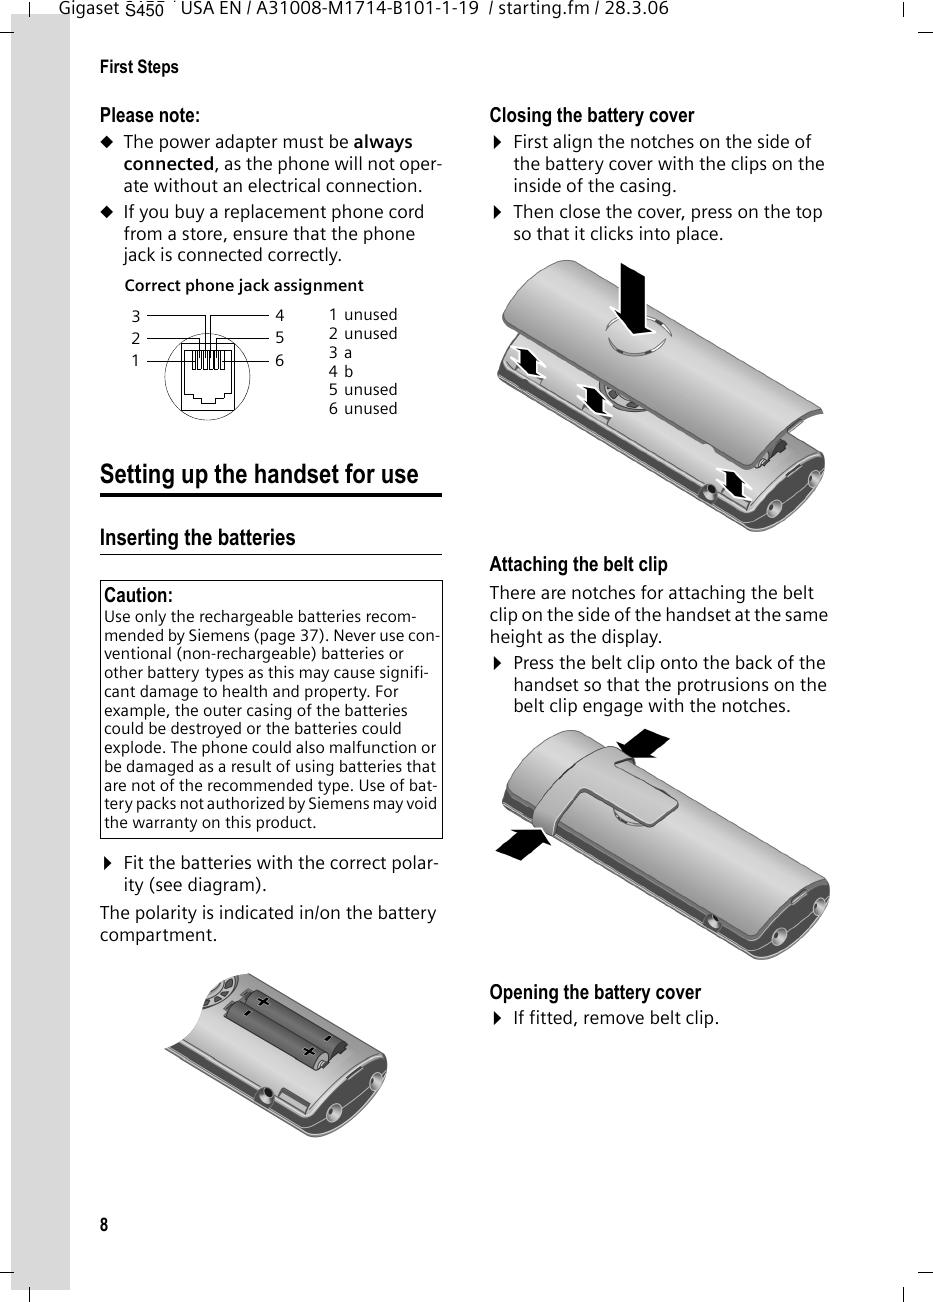


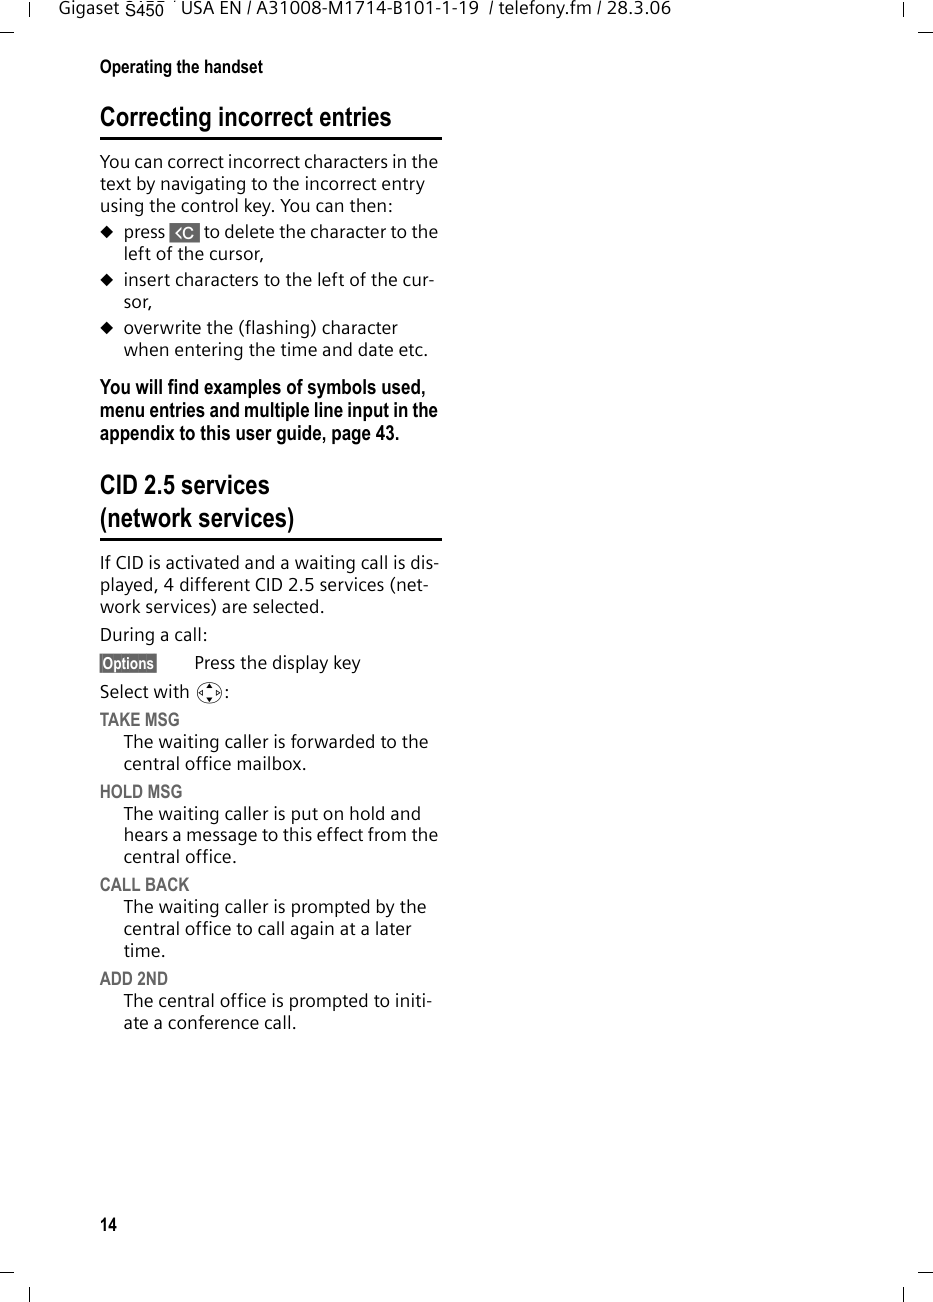
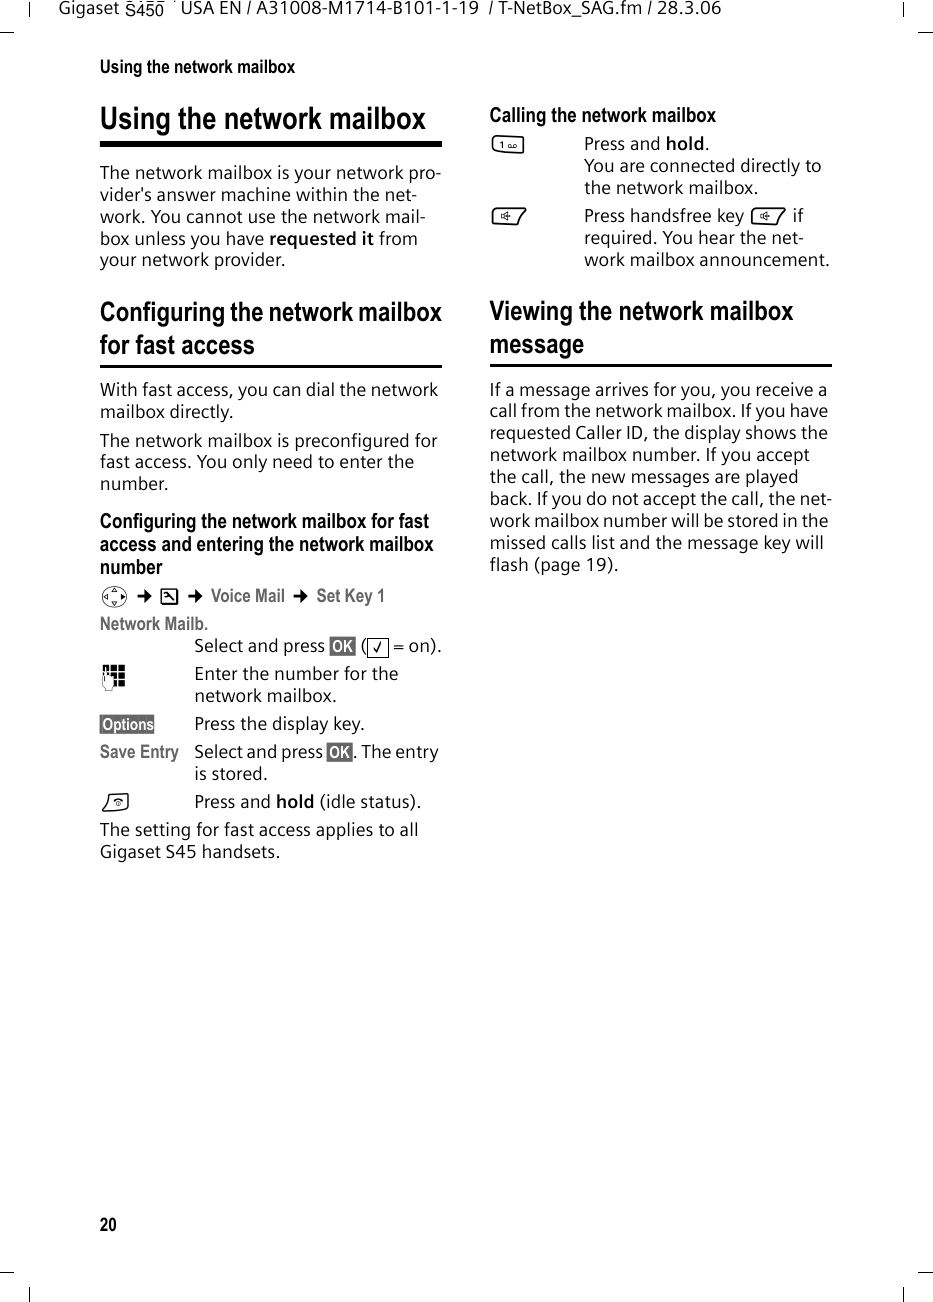
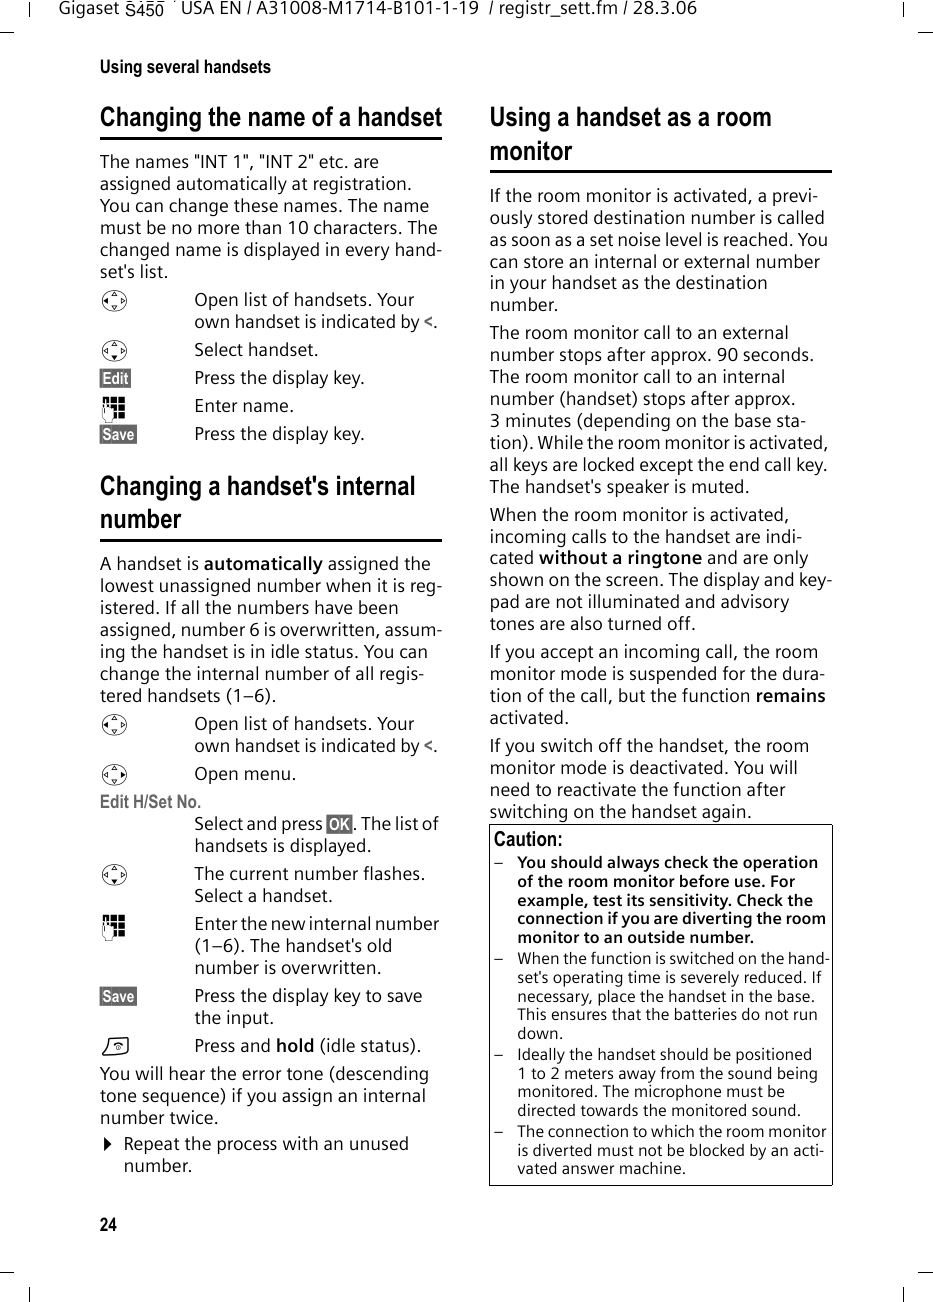
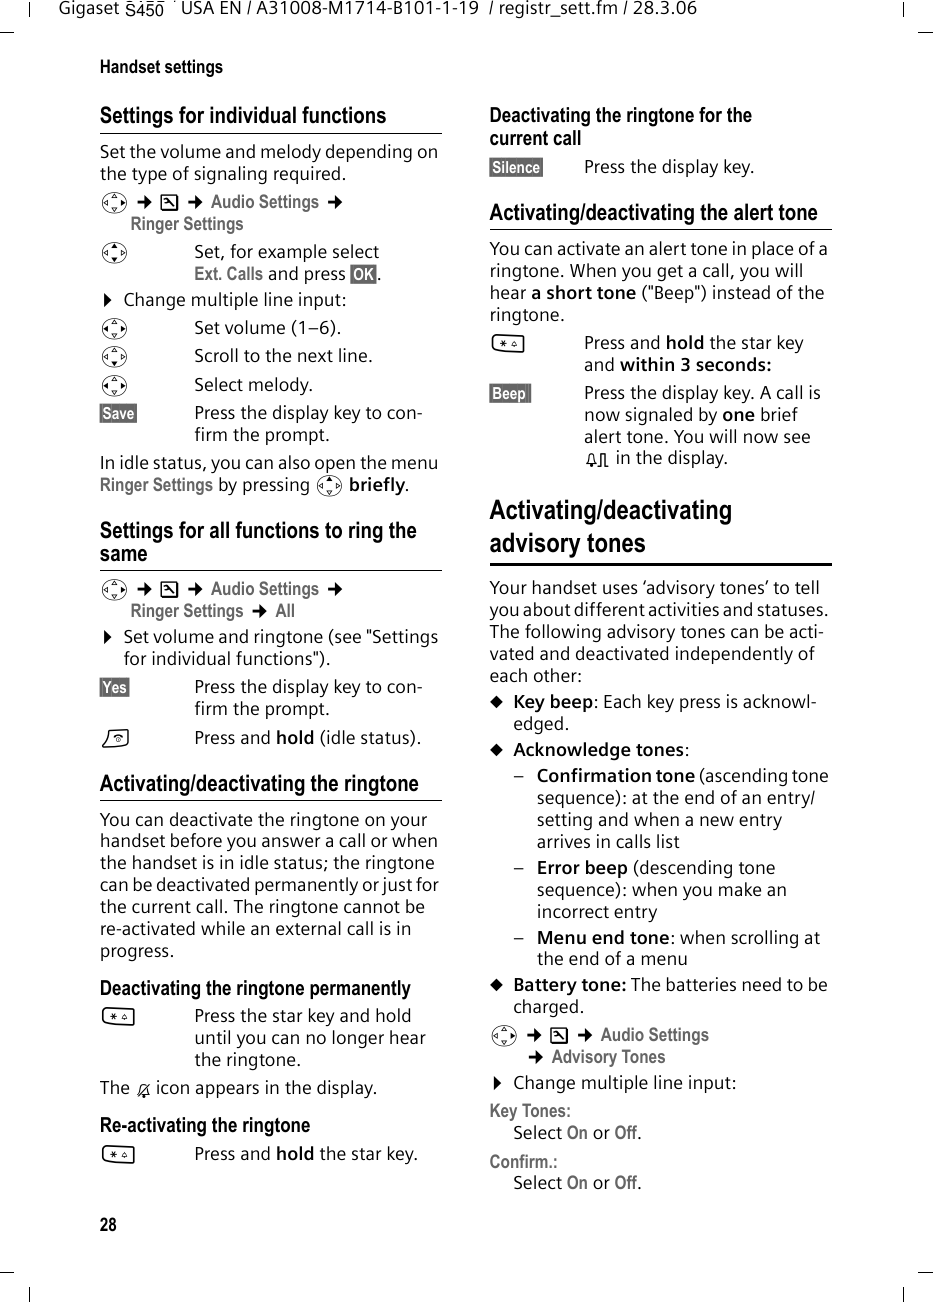
![18Using the directory and listsGigaset S455 / USA EN / A31008-M1714-B101-1-19 / direct_charges.fm / 28.3.06Opening lists with the message key The message key will illuminate after each missed call whether the caller left a voice mail message or not. You can use the mes-sage key f to open the following lists:uNetwork mailbox If your network provider supports this function and the network mailbox is configured for fast access (page 20).uCalls listAn advisory tone sounds as soon as a new entry appears on a list. The f key flashes (it will go off when the key is pressed). In idle status, the display shows an icon for the new message. The number of new entries is shown beneath the corresponding icon. Only the lists that contain messages are shown (exception: network mailbox). Lists with new messages are shown first and identified in bold. The number of new or old messages contained are each shown in brackets.Select the list with q. To open, press §OK§.Calls list Requirement: Caller ID Presentation (CIP, page 11)Depending on the type of list set, the calls list contains uaccepted calls ( )umissed calls (e.g. [3] means: 3rd caller)The numbers of the last 30 incoming calls are stored. Multiple missed calls from the same number are only stored once (the last call).Setting list type for calls listv ¢Ð ¢Base ¢Calls List TypeMissed Calls / All Calls Select and press §OK§ (=on).a Press and hold (idle status). The entries in the calls list are retained when you change the list type.Icon New message... à ... in network mailboxÁ ... in calls list‰‰S450](https://usermanual.wiki/Gigaset-Communications/S450-E450.User-Manual-Gigaset-S450/User-Guide-650047-Page-18.png)
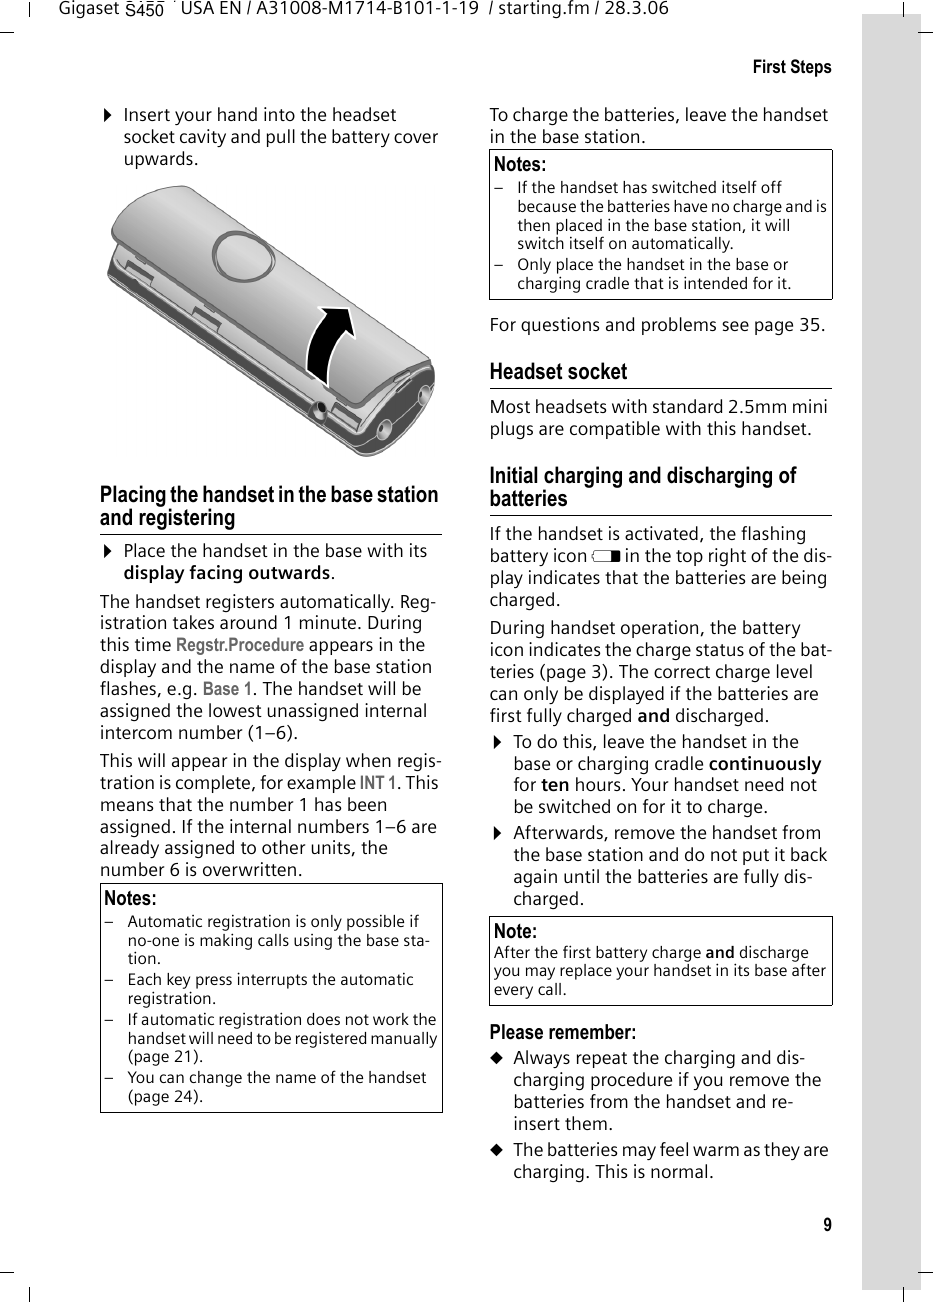
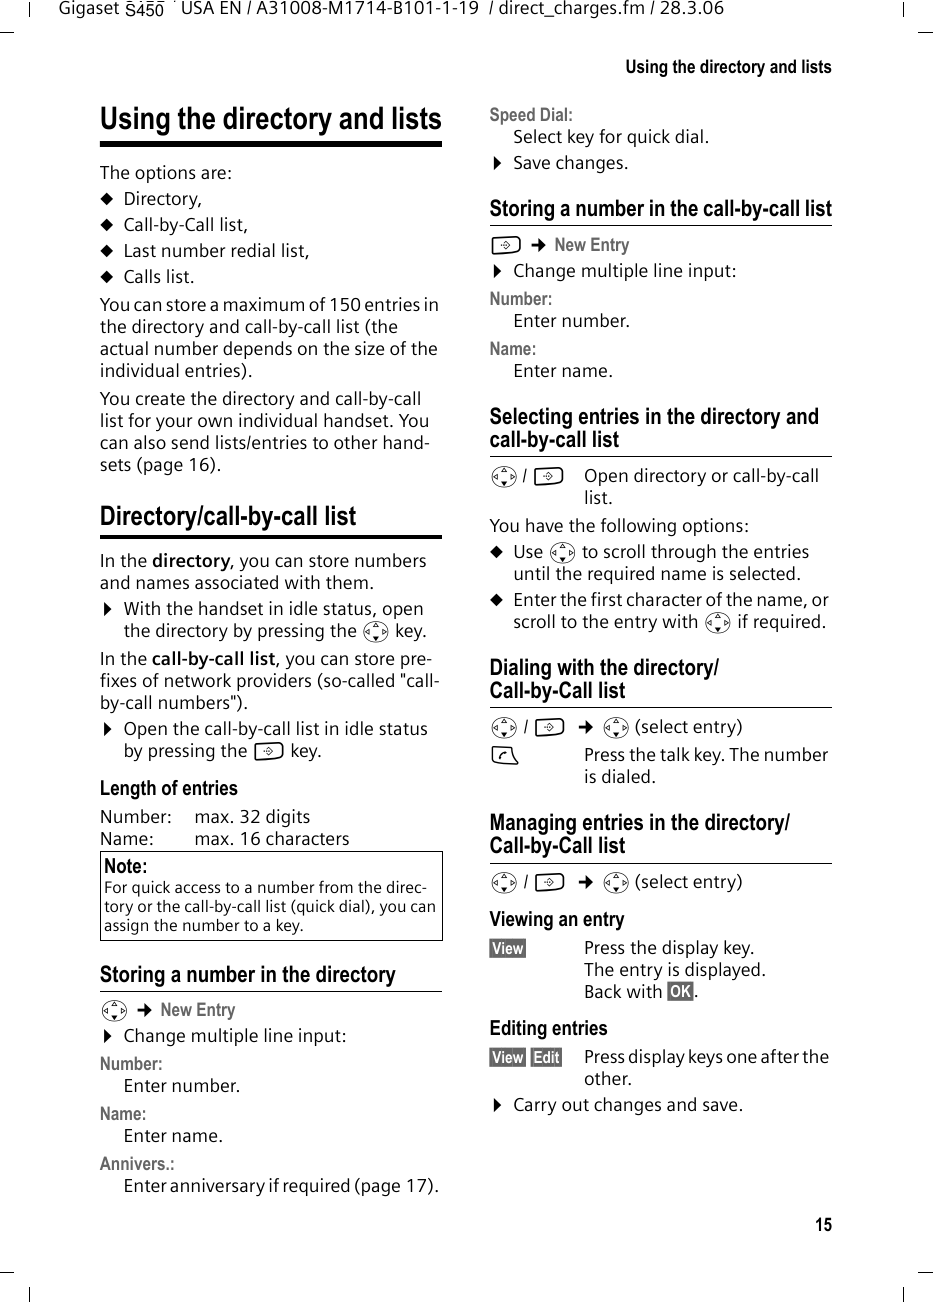
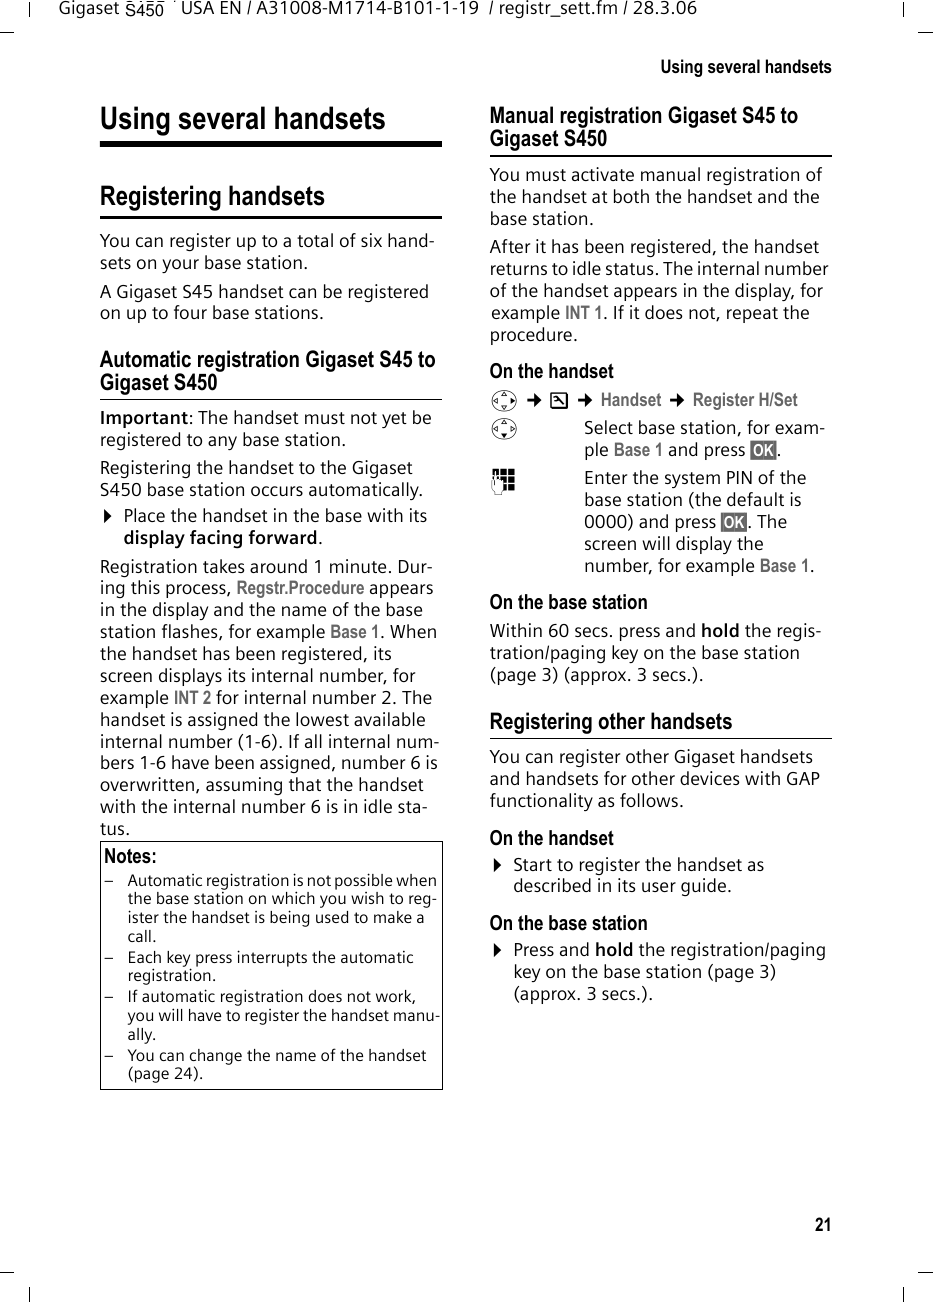
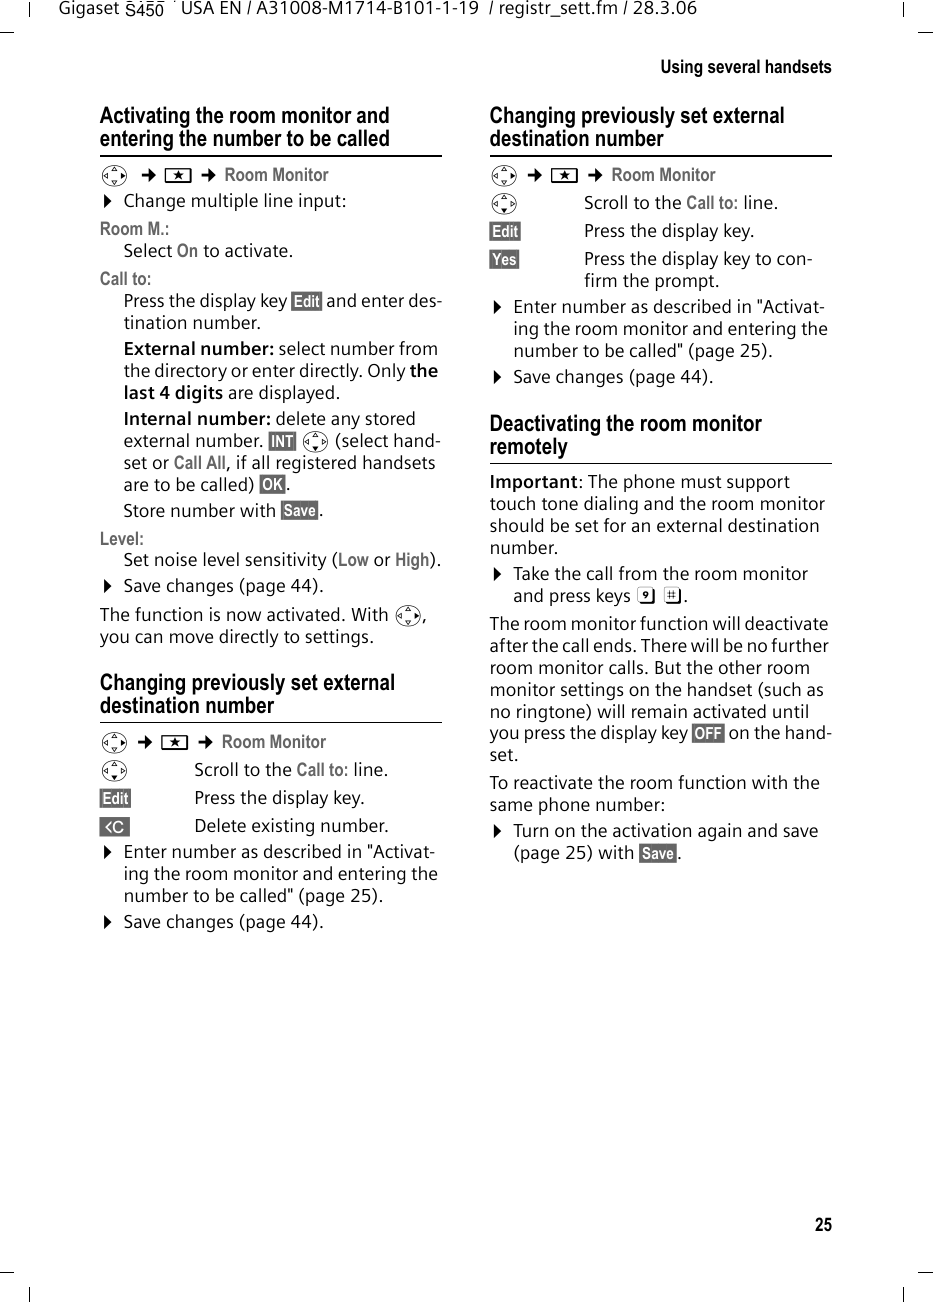
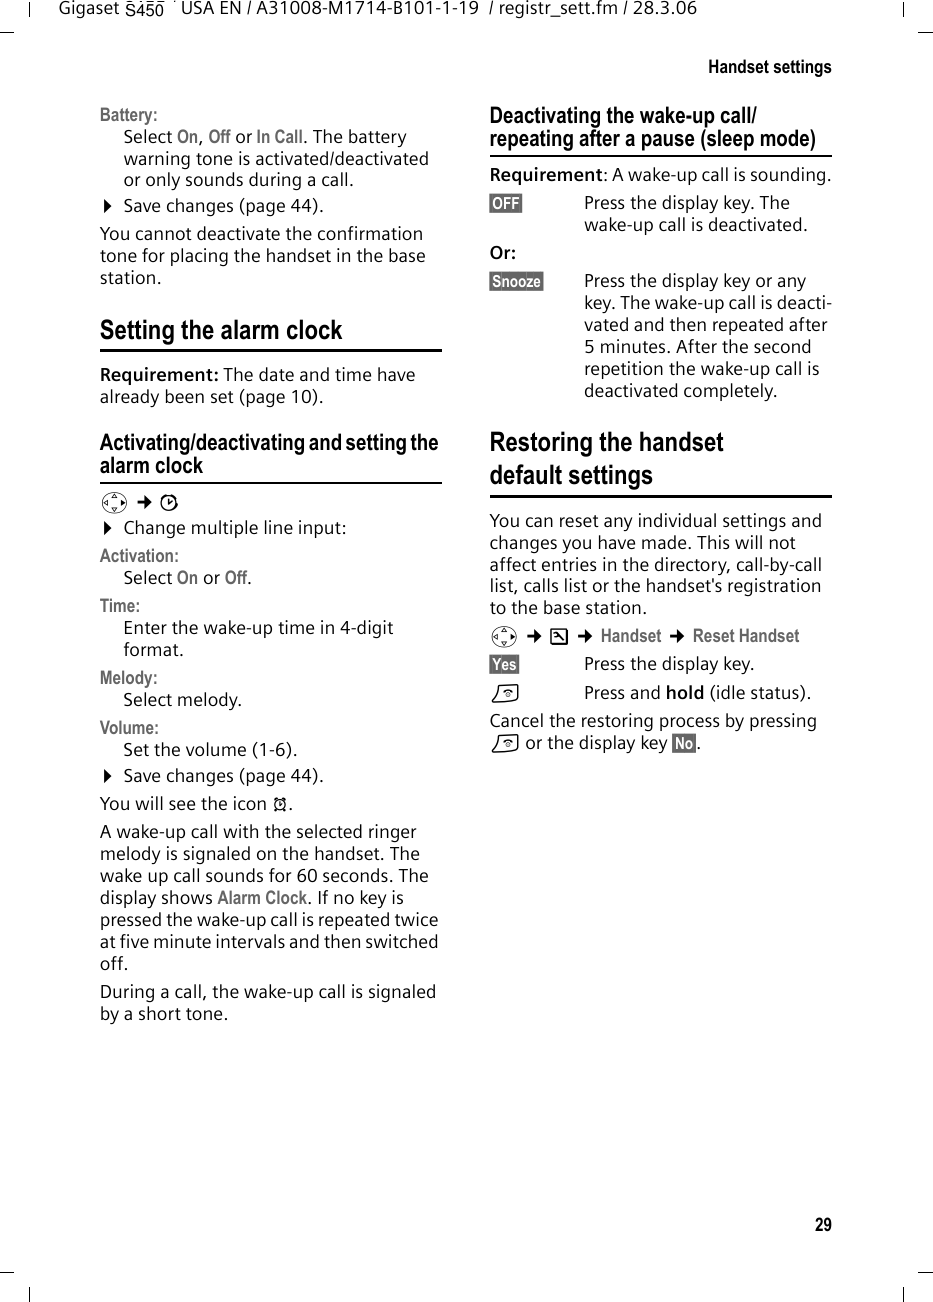
![19Using the directory and listsGigaset S455 / USA EN / A31008-M1714-B101-1-19 / direct_charges.fm / 28.3.06List entryNew messages are at the top.Example of list entries:uList type (in header) uStatus of entryuNumber and name of callerYou can add the number of the caller to the directory (page 16)uDate and time of call (if set, page 10)uType of entryaccording to list type All Calls:– accepted calls ( )– missed callsaccording to list type Missed Calls:– missed calls (if [3] is displayed: 3rd entry in the list)Pressing the display key §Delete§ deletes the marked entry. After pressing the display key §Options§ you can select more functions with q:Copy to Directory Add a number to the directory.Delete List Delete complete list.When you leave the calls list all entries are set to the status "old", so that the next time you call up the list they will no longer be shown in bold.All CallsJohn Smith800555121101.29.06 11:15 AMDelete Options‰‰S450](https://usermanual.wiki/Gigaset-Communications/S450-E450.User-Manual-Gigaset-S450/User-Guide-650047-Page-19.png)
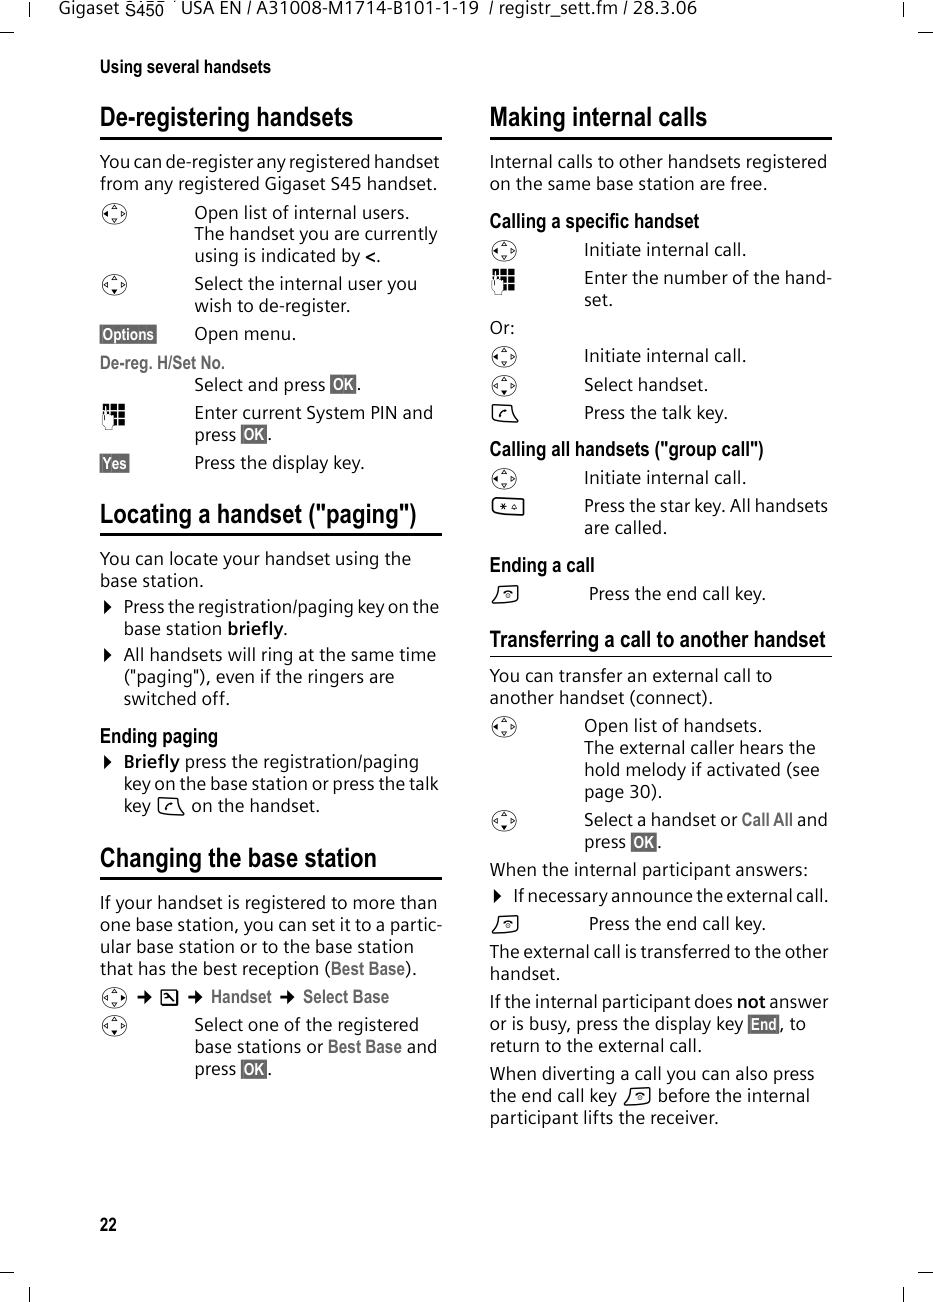
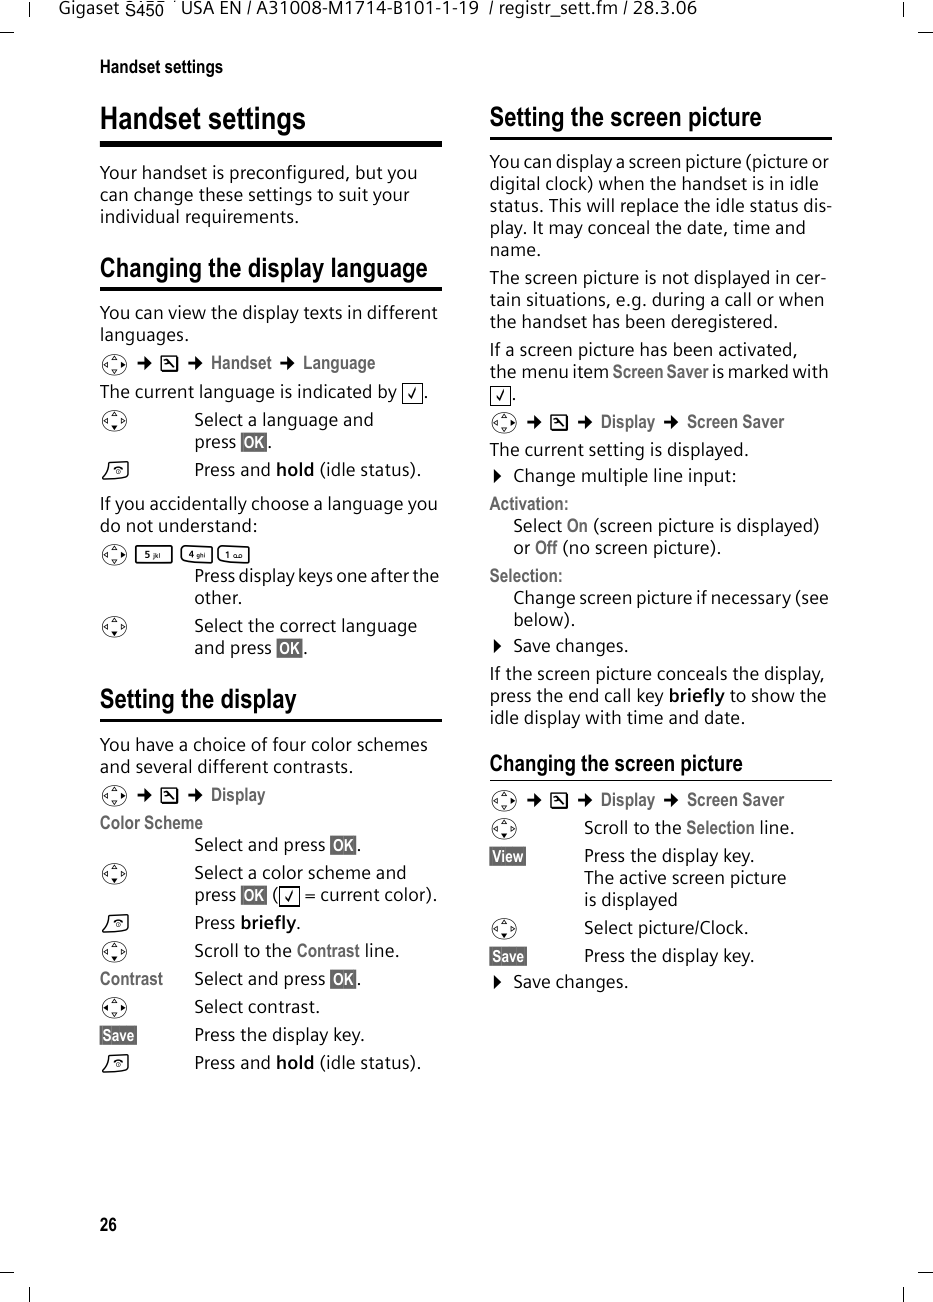
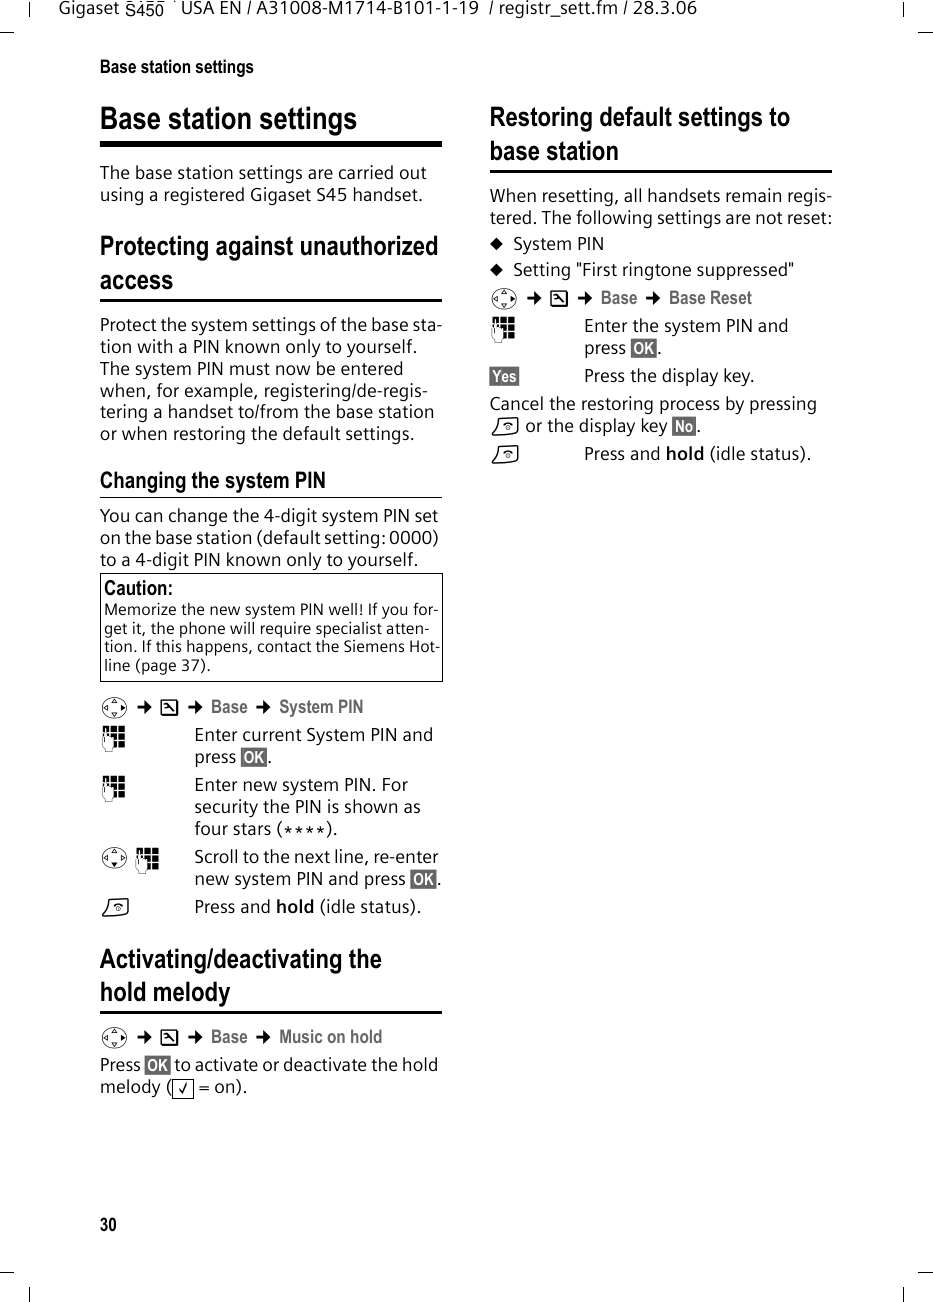
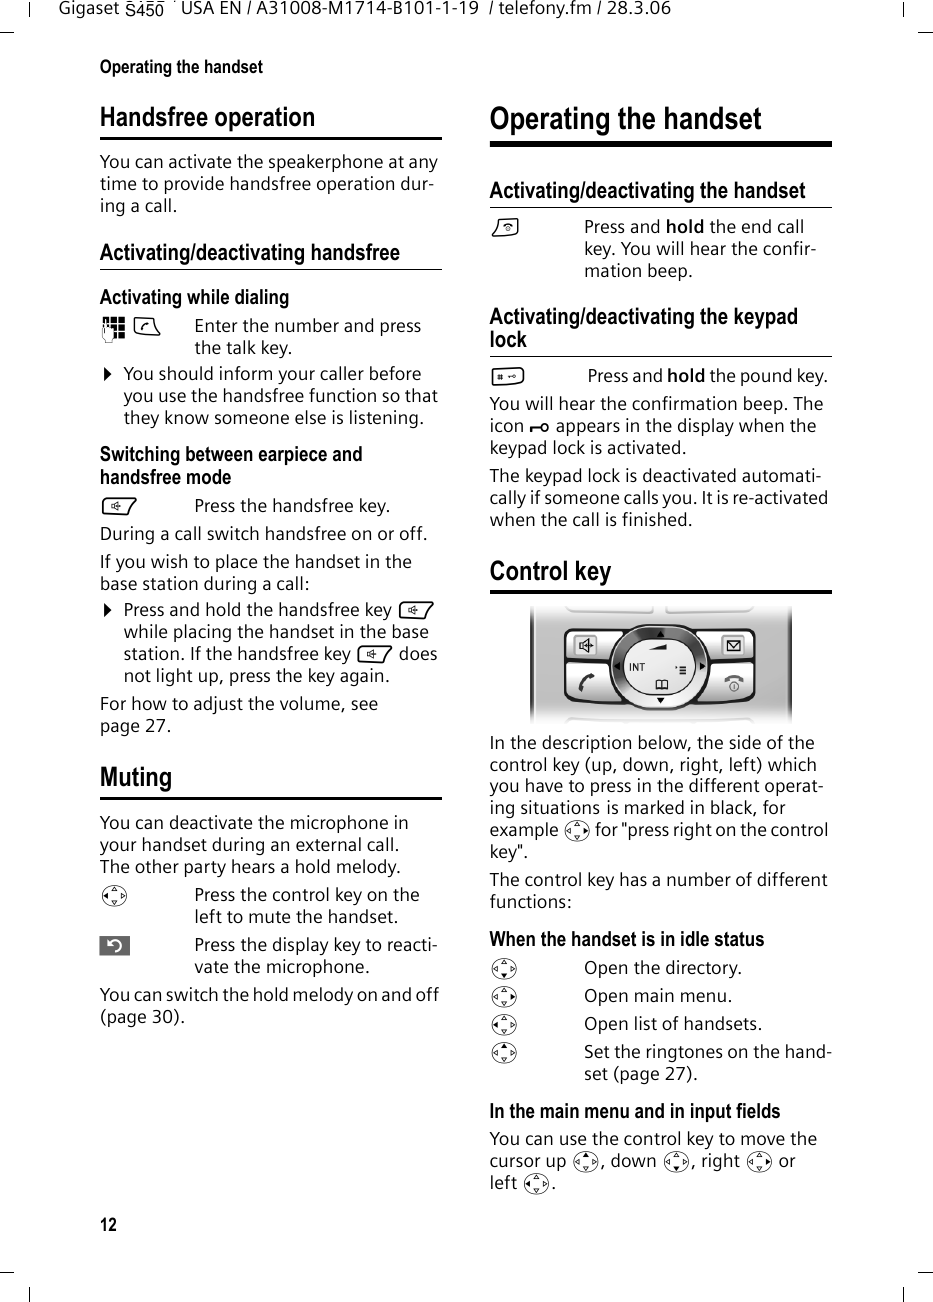
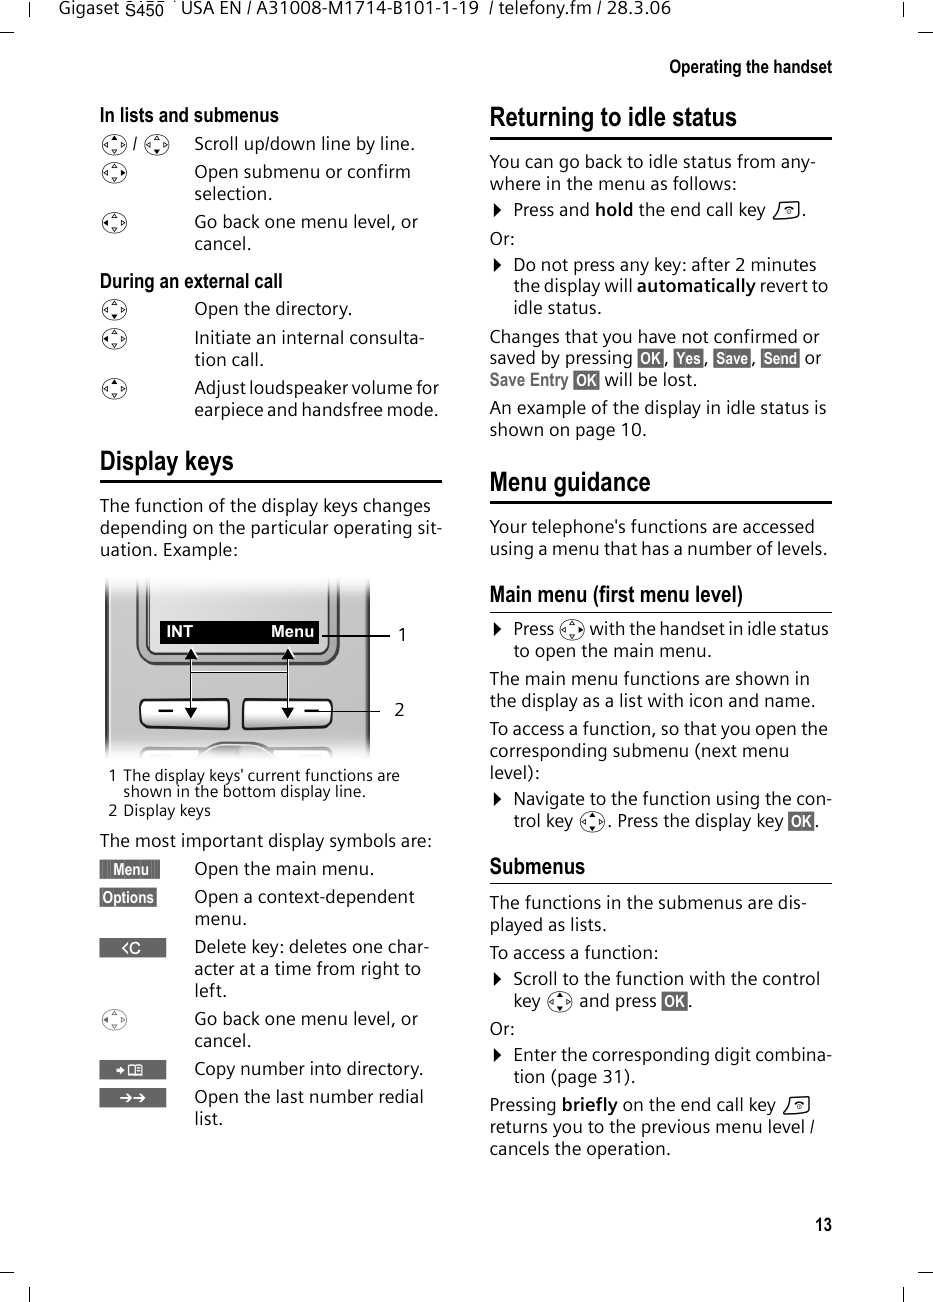
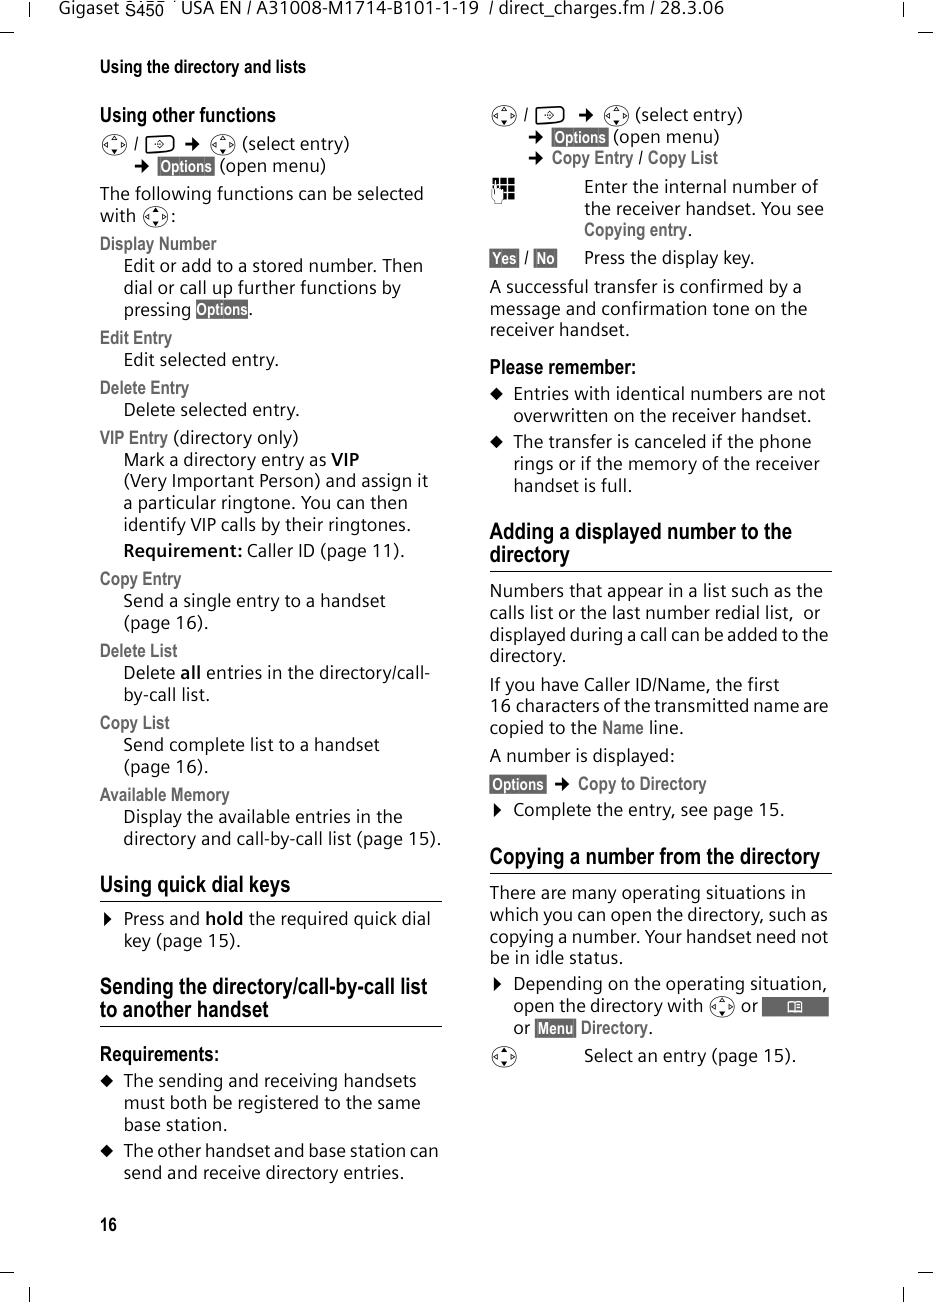
![44Notes on the operating instructionsGigaset S455 / USA EN / A31008-M1714-B101-1-19 / appendix.fm / 28.3.06Example: multiple line input There are many situations in which you can change the settings of a display or enter data in several lines.In this user guide symbols are used to guide you step by step through multiple line input. This is illustrated below using the example of "Setting the date and time". The things you need to do are explained in the boxes.To change the time, open the input field with:v ¢Ð ¢Date/Time You will see the following display (example): Writing and editing namesThe following rules apply when creating an entry:uControl the cursor with u v t s.uCharacters are added to the left of the cursor.uPress the star key * to show the table of special characters.uPress and hold the pound key # to switch from "Abc" mode to "123" and from "123" to "abc" and from "abc" to "Abc" (upper case: 1st letter upper case, all others lower case). Press the pound key # before entering the letter.uThe first letter of the name of directory entries is automatically capitalized, fol-lowed by lower case letters.Entering special characters You can call up the table of special charac-ters using the * key. Select the required character and insert it with §Insert§.Date:Enter month, day and year in 6-digit format.The date in the first line is marked with [ ] to show it is active.¤Enter the date using the digit keys.Time: Enter hours/minutes in 4-digit format. ¤Press the s key.The time in the second line is marked with [ ] to show it is active.¤Enter the date using the digit keys.Date/Time Date: 06.03.06Time: [11:11]amTime mode: 12-houram/pm SaveTime mode: Select 12-hour or 24-hour time format.¤Press the s key.The time format is marked with [ ] to show it is active.¤Select time format.¤With 12-hour time format, use the dis-play key §am/pm§ to switch between am and pm.¤Save changes.¤Press the §Save§ display key. ¤Then press and hold the a key.The handset changes to idle status.S450](https://usermanual.wiki/Gigaset-Communications/S450-E450.User-Manual-Gigaset-S450/User-Guide-650047-Page-44.png)