Gigaset Communications V100 1.9GHZ CORDLESS PHONE User Manual V100 kombi
Gigaset Communications GmbH 1.9GHZ CORDLESS PHONE V100 kombi
UserManual.wiki
>
Gigaset Communications
>
V100 User Manual
USERS MANUAL
Navigation menu
Upload a User Manual
Namespaces
Wiki Guide
HTML
PDF
Info
Views
User Manual
Discussion / Help
Navigation

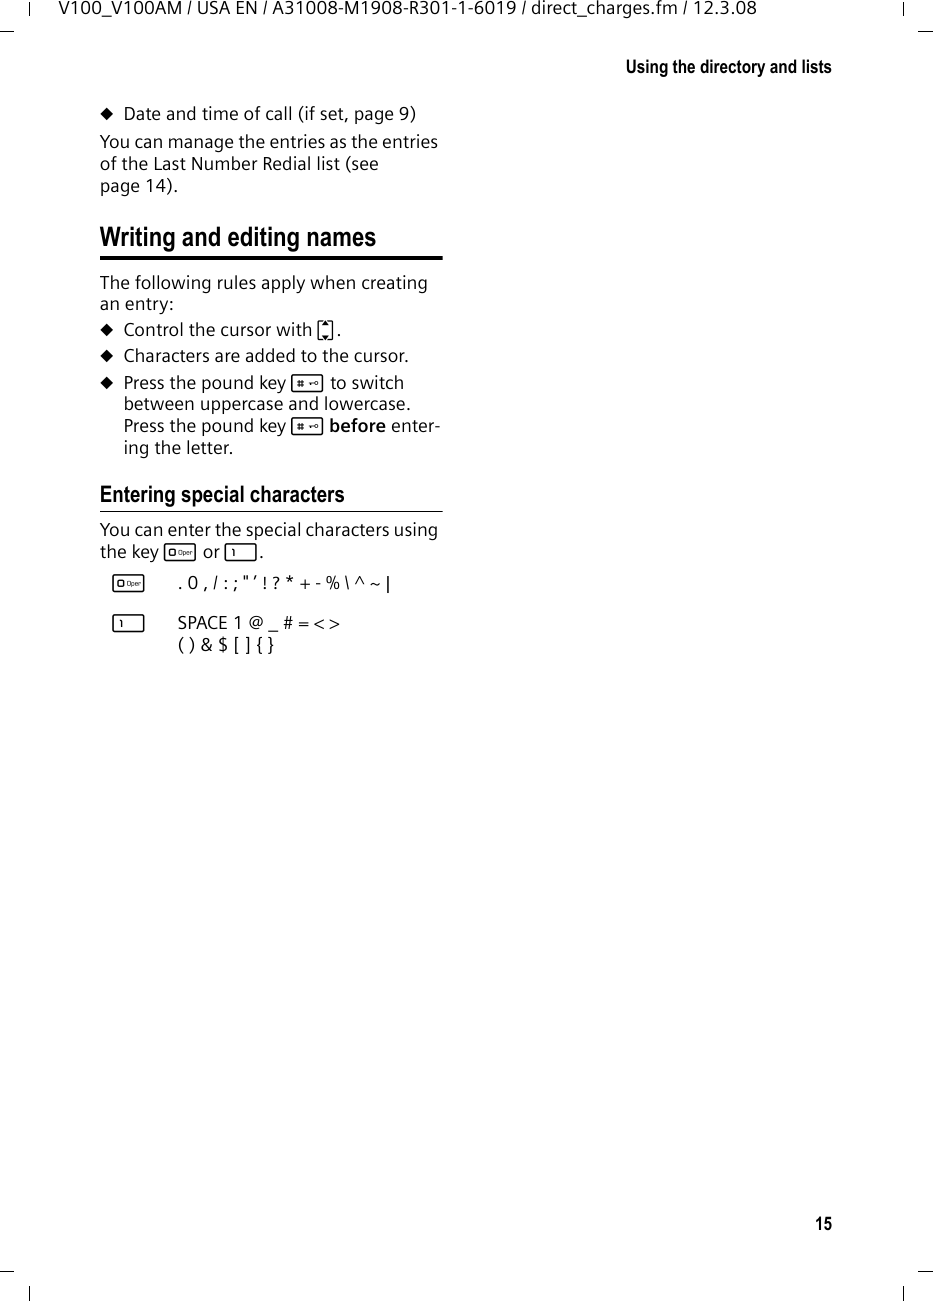
![15Using the directory and listsV100_V100AM / USA EN / A31008-M1908-R301-1-6019 / direct_charges.fm / 12.3.08uDate and time of call (if set, page 9)You can manage the entries as the entries of the Last Number Redial list (see page 14).Writing and editing namesThe following rules apply when creating an entry:uControl the cursor with q.uCharacters are added to the cursor.uPress the pound key # to switch between uppercase and lowercase. Press the pound key # before enter-ing the letter.Entering special characters You can enter the special characters using the key Q or 1.Q .0,/:;"’!?*+-%\^~|1 SPACE1@_#=<>()&$[]{}](https://usermanual.wiki/Gigaset-Communications/V100/User-Guide-943955-Page-17.png)