Glenayre Electronics 7000 ActiveLink Module User Manual ctiveLink Module
Glenayre Electronics Inc. ActiveLink Module ctiveLink Module
Manual

PN 9110.01417 REV 1.0 April 18, 2000 1 of 8
© 2000 Glenayre Electronics,
@ctiveLink Module
Glenayre’s @ctiveLinkTM SpringboardTM Expansion Module converts your VisorTM Handheld
into an interactive mobile communication device. The @ctiveLink module works both indoors
and out, giving you a reliable, wireless connection to your office, home, and the internet.
The @ctiveLink module is constantly on and communicating, giving you access to any Internet-
based messaging and information services your wireless carrier supports. When you insert it into
the Springboard expansion slot, the Visor Handheld’s user interface screen displays your
incoming communications and lets you compose and send your own messages.
Even when the the @ctiveLink module is removed from the Visor Handheld, it maintains your
wireless link. It continues to collect new messages, storing them in the module’s onboard
memory. It uses flashing LEDs and/or optional audible alerts to notify you of message arrival.
Use the information in this booklet to set up your @ctiveLink module and get acquainted with its
features. Then use your new wireless device to stay in touch, anywhere.
The first time you use your @ctiveLink module you need to:
• Install the batteries (see page 1)
• Turn your @ctiveLink module on (see page 3)
• Insert the @ctiveLink module into the Springboard expansion slot (see page 3)
• Configure your handheld (see page 5)
• Contact your wireless carrier to activate two-way service for your module (see page 5)
Any time you use your @ctiveLink module you may need to know how to do the following:
• Launch the application (see page 5)
• Silence any audible message alerts (see page 5)
• Check out your network coverage (see page 6)
• Read the LEDs (see page 7)
• Remove @ctiveLink from the Springboard slot (see page 7)
• Turn the @ctiveLink module off (see page 8)
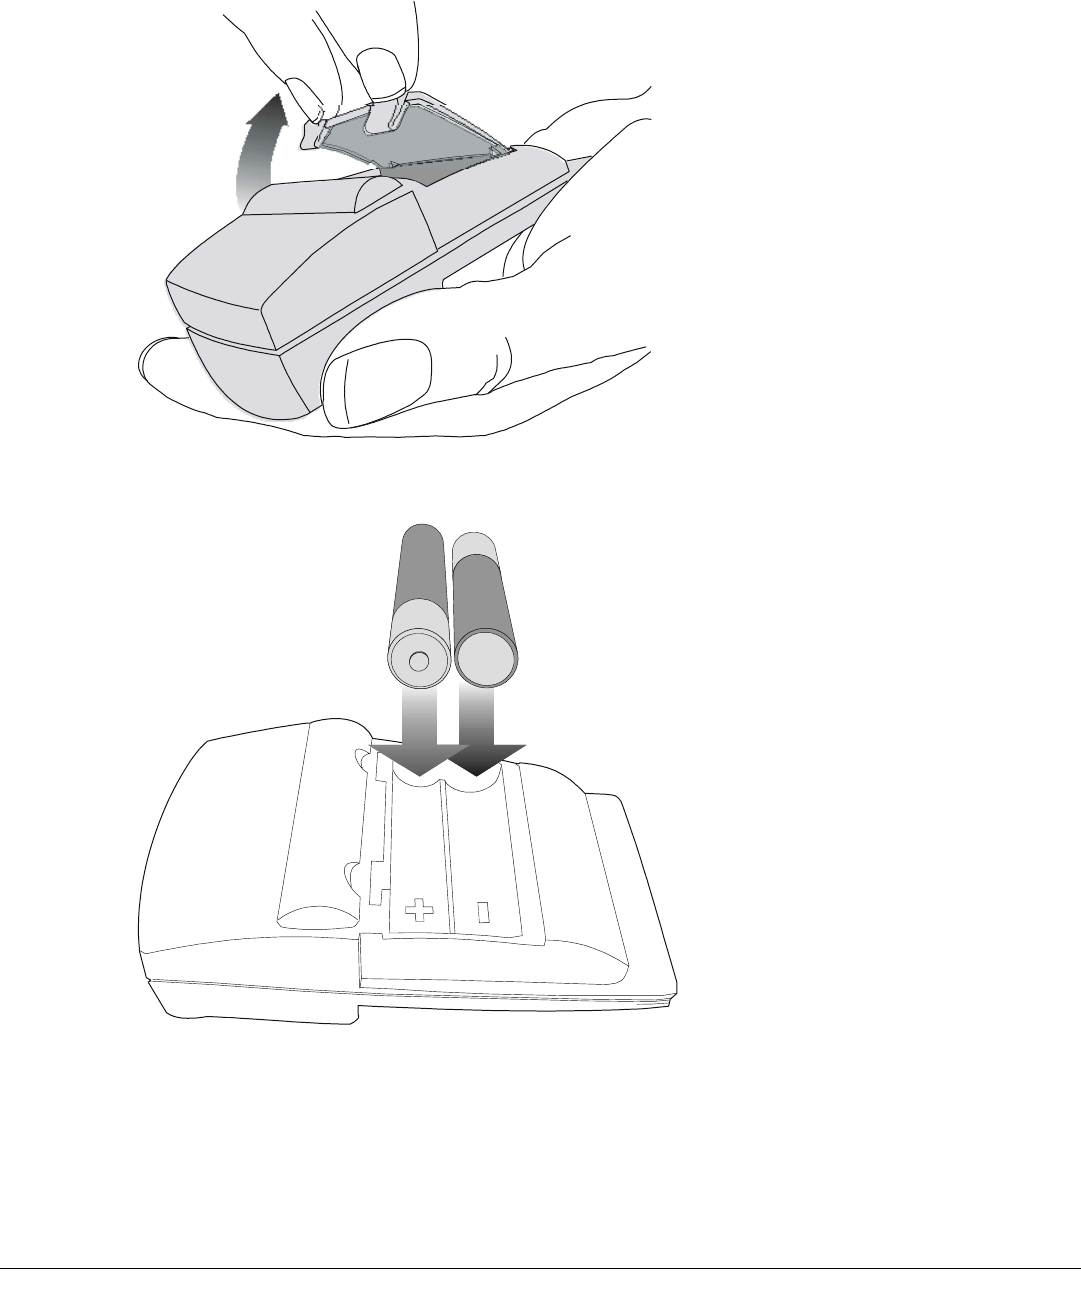
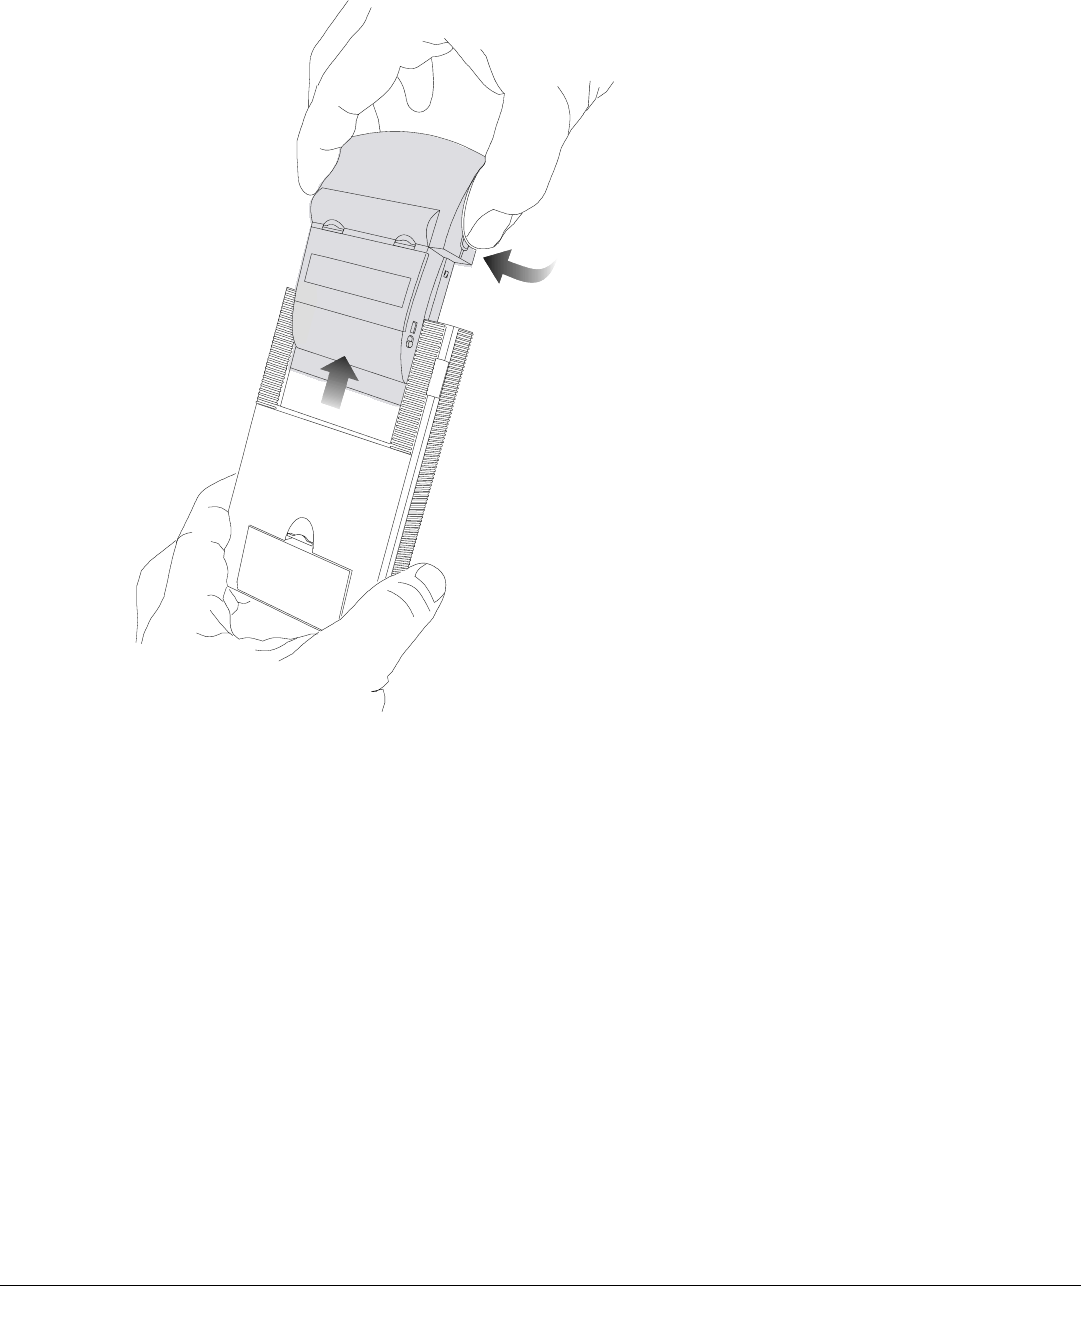
Putting Batteries into the @ctiveLink Module
1. Place your fingers on the two door latches and pull the door towards you, lifting it off the
Module.
@CTIVELINK MODULE
PN 9110.01417 REV 1.0 Release Date 2 of 8
© 2000 Glenayre Electronics,
2. Place two AAA alkaline batteries into the battery compartment, aligning the + and -
symbols on the batteries with the symbols in the battery compartment.
3. Align the door with the slots at the back of the Module and clip the door smoothly into
place. Do not force. If you feel resistance, check to ensure the batteries are seated properly
in the compartment.
When battery power is low, the module’s red LED will flash quickly. Use this same procedure to
replace the batteries.
@CTIVELINK MODULE
PN 9110.01417 REV 1.0 Release Date 3 of 8
© 2000 Glenayre Electronics,
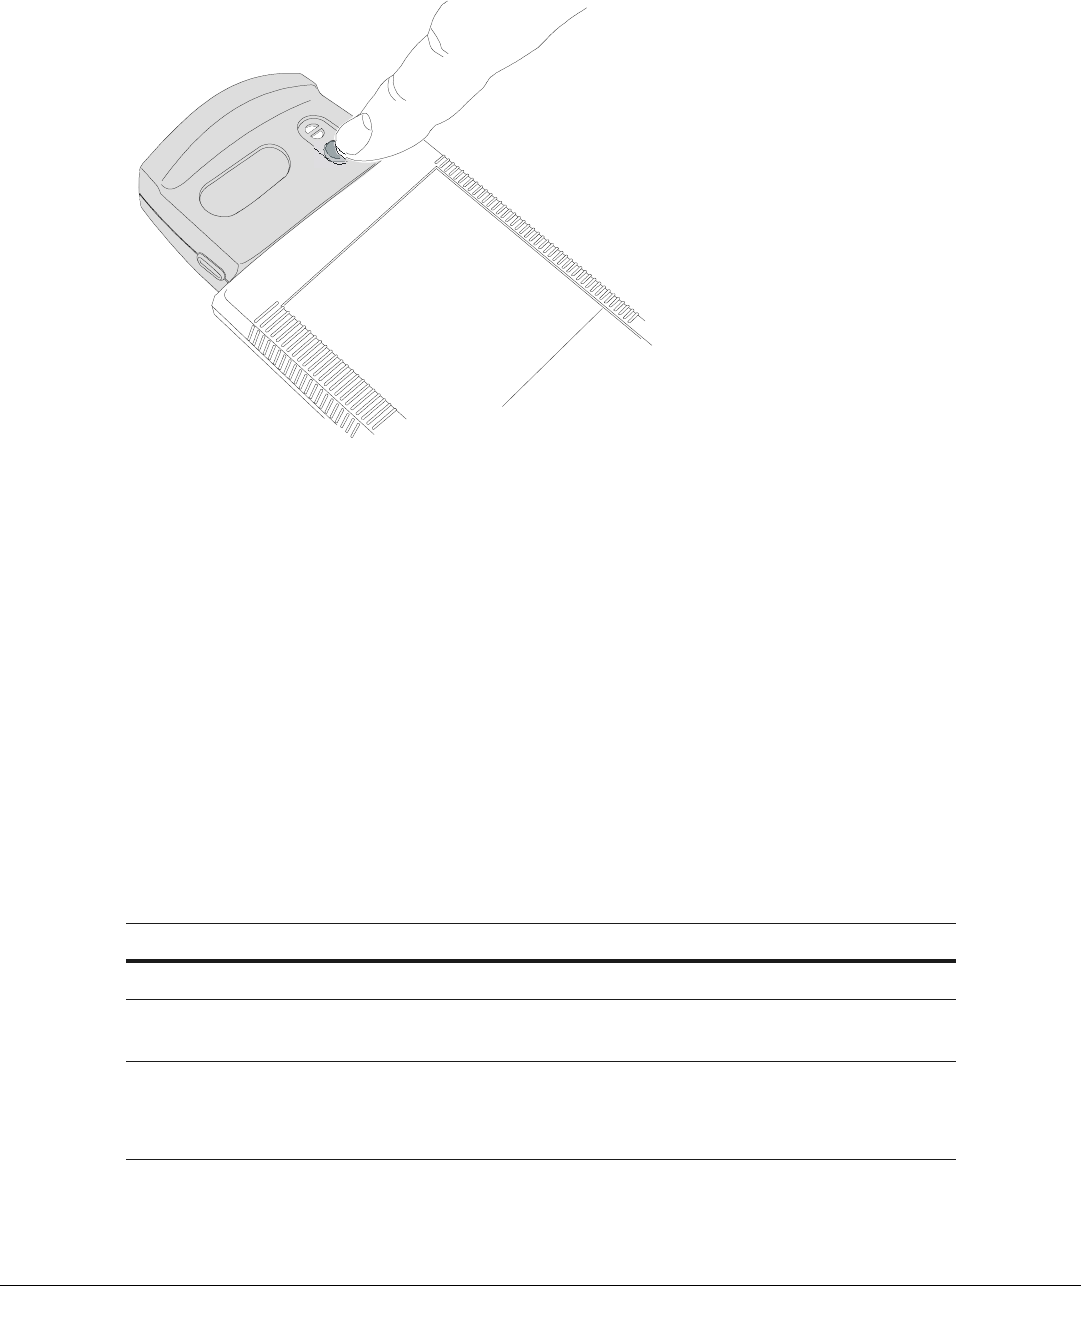
Turning the @ctiveLink Module On and Off
Whether or not it is inserted in the Visor Handheld, the @ctiveLink module should always be on.
When it is on, you can send and receive messages; when it is off, you can neither send nor receive.
To turn the Module on, slide the power switch until it covers the word OFF. To turn it off, slide
the switch to uncover the word OFF.
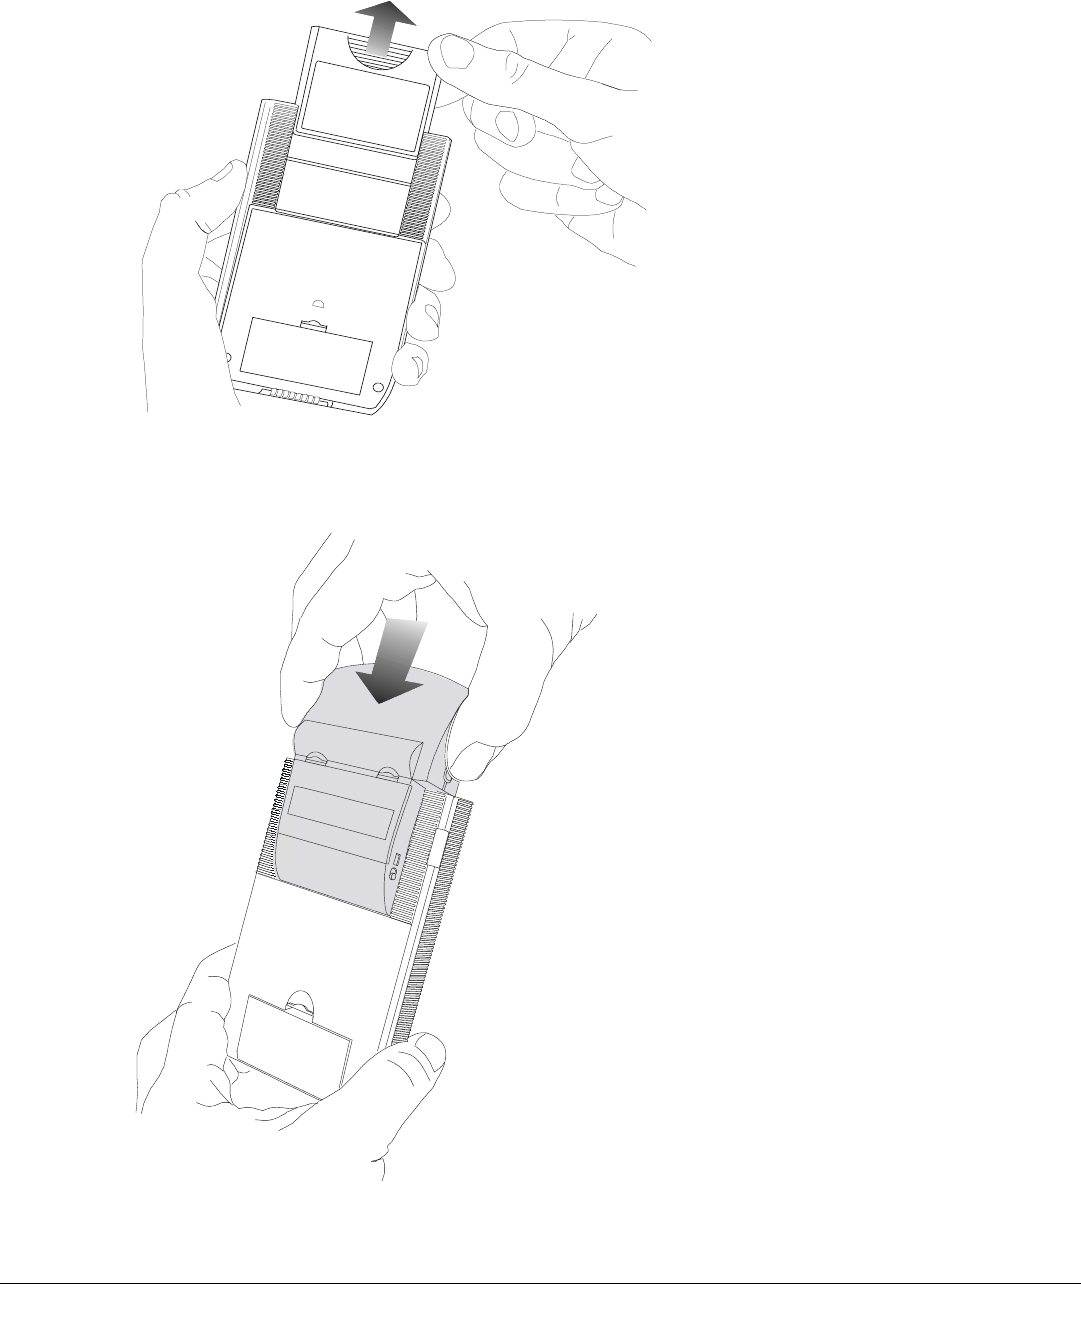
Inserting the @ctiveLink Module into the Springboard Slot
1. Remove the slot protector from the Visor Handheld.
@CTIVELINK MODULE
PN 9110.01417 REV 1.0 Release Date 4 of 8
© 2000 Glenayre Electronics,
2. Insert the @ctiveLink Module into the Springboard expansion slot until the connectors are
secure.

@CTIVELINK MODULE
PN 9110.01417 REV 1.0 Release Date 5 of 8
© 2000 Glenayre Electronics,
Configuring @ctiveLink Software
Inserting the @ctiveLink module into the Visor Handheld launches the software (you can also
press the button to start the application). Follow the directions on the user interface screen to
configure the software. You need to set up the following ???
illustration of user interface configuration screen
Setting up Two-Way Wireless Service
If you did not set up two-way service when you purchased the @ctiveLink module, do so now by
contacting (??? a specific carrier???a wireless communications service provider in your area ???).
You may need to provide some or all of the following information:
• Your name, address, and telephone number
• Credit information
• Identification
• Your device’s serial number
• The service plan and billing method you prefer
• The coverage area you would like
Receiving Messages
Whether or not your @ctiveLink is inserted into the Visor Handheld, it receives messages when
its power switch is on. Depending on the Preferences settings you select in the Visor Handheld
application, you will receive one of the following to let you know when a message arrives:
• Musical alert
• Beep
• LED indicator (steady or flashing green)
If the @ctiveLink module is in the Visor Handheld, it will also activate the application whenever
a message arrives.
When you receive notification of message arrival:
1. Press the button to clear any audible alerts.
@CTIVELINK MODULE
PN 9110.01417 REV 1.0 Release Date 6 of 8
© 2000 Glenayre Electronics,
2. Read the message in the user interface screen.
Sending Messages
If you are in an area where you have full network coverage, you can send messages. How ???
Checking Out Network Coverage
If the @ctiveLink module is inserted in the Visor Handheld, you can check out your network
coverage on the user interface screen (How???)
If the @ctiveLink is not in the Visor Handheld, you can find out your network status by pressing
and holding down the button. The LED display indicates the following:
LED What it means
Steady green You have full network service. You can send and receive messages.
Steady red and green Your device can only receive messages. Sending service is
temporarily interrupted.
Steady red Your device is out of network range.
You cannot send or receive communications. The network is storing
your messages.

@CTIVELINK MODULE
PN 9110.01417 REV 1.0 Release Date 7 of 8
© 2000 Glenayre Electronics,
Reading the LEDs
If you are not depressing the button to check out your network status, the LEDs indicate the
following:
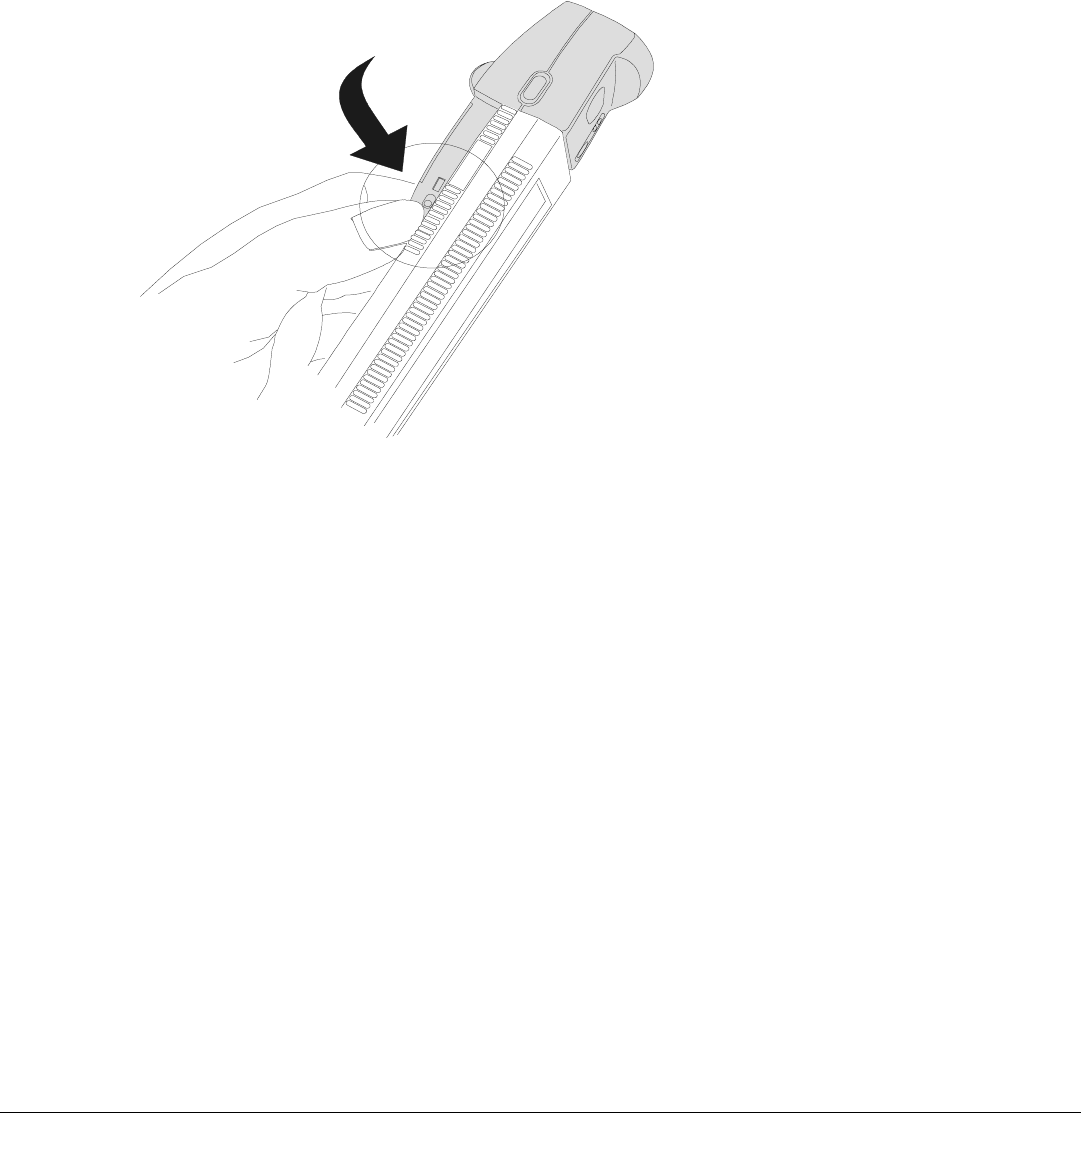
Removing the @ctiveLink Module
1. Depress the latch button at the side of the Module and pull the Module out.
2. Insert either another module or the slot protector into the Springboard slot.
LED What it means What to do about it
Slow flashing
green A message (either Personal or
Info) has arrived. Read and/or clear the message in the
Visor Handheld screen. (You can also
set up musical alerts or beeps through
the Visor Handheld Preferences
settings.)
Fast flashing
green (optional
setting)
You can use the Preferences
settings in the Visor Handheld to
make this indicate a Personal or
an Info message. You can then
distinguish between the two
types of messages—one will be
a quick green flash and the other
will be a slow green flash.
Read and/or clear the message in the
Visor Handheld screen.
Slow flashing red Error message—something has
gone wrong. Check out the problem through the
Visor Handheld screen.
Fast flashing red Battery power is low. Replace the batteries in the Module,
using the procedure on page 1.
@CTIVELINK MODULE
PN 9110.01417 REV 1.0 Release Date 8 of 8
© 2000 Glenayre Electronics,
Even when it is out of the Visor Handheld, the @ctiveLink module continues to receive and store
messages as long as the module is turned on. Do not turn the module off unless:
• You are in an environment where wireless messaging is prohibited.
• You will not be using your wireless service for an extended period and wish to conserve
battery power.
FCC Compliance Statement
This device complies with Part 15 of the FCC rules. Operation is subject to the following two
conditions: (1) This device must not cause harmful interference and (2) this device must accept
any interference received, including interference that may cause undesired operation.