GlobalSat WorldCom TR-206 GPS Tracker User Manual TR 206 UM V1 3
GlobalSat WorldCom Corporation GPS Tracker TR 206 UM V1 3
UserManual.wiki
>
GlobalSat WorldCom
>
TR 206 User Manual
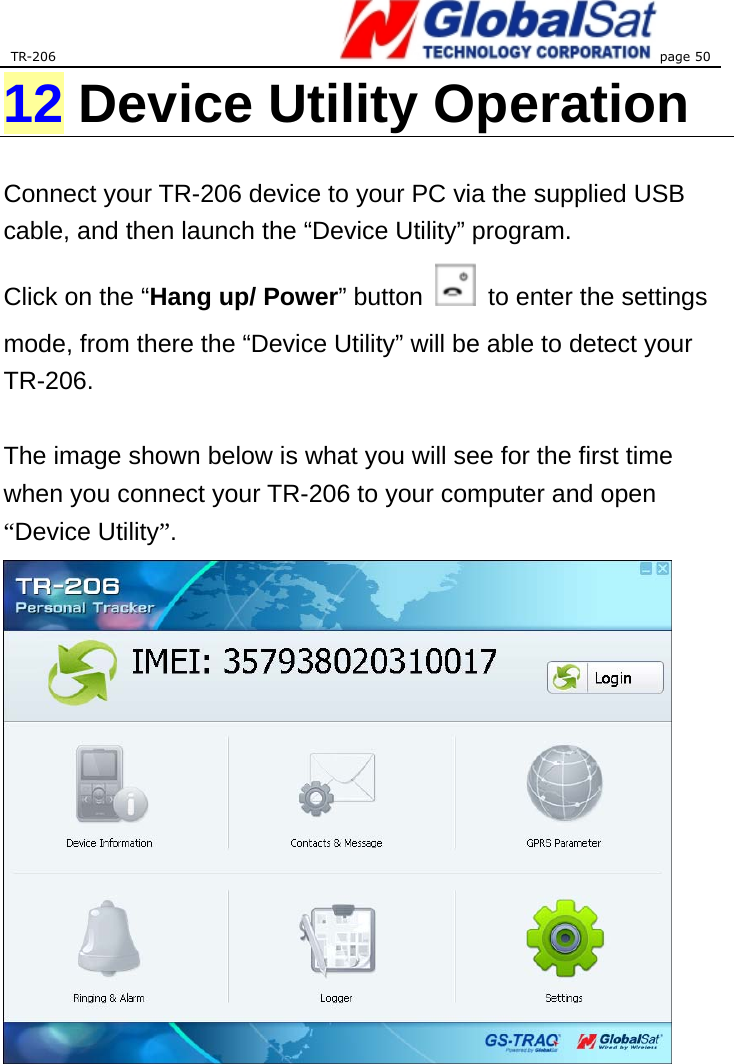
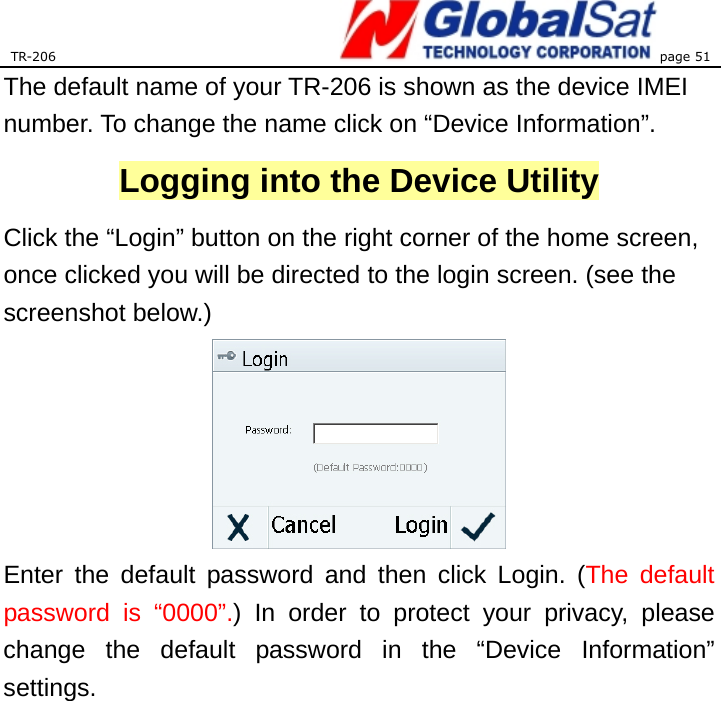
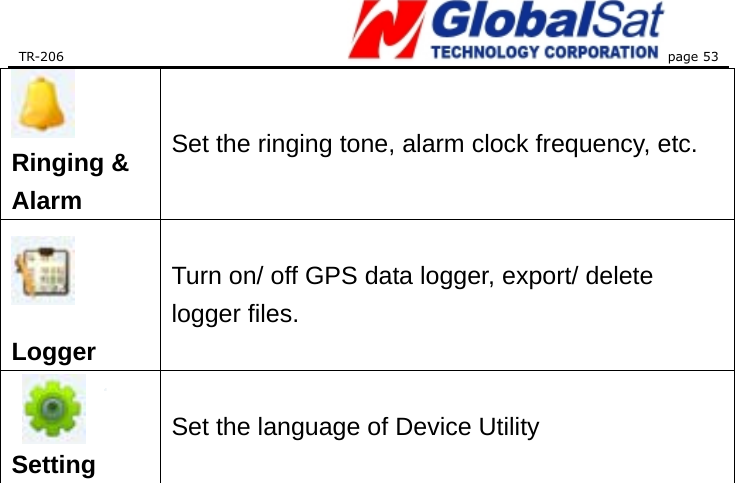
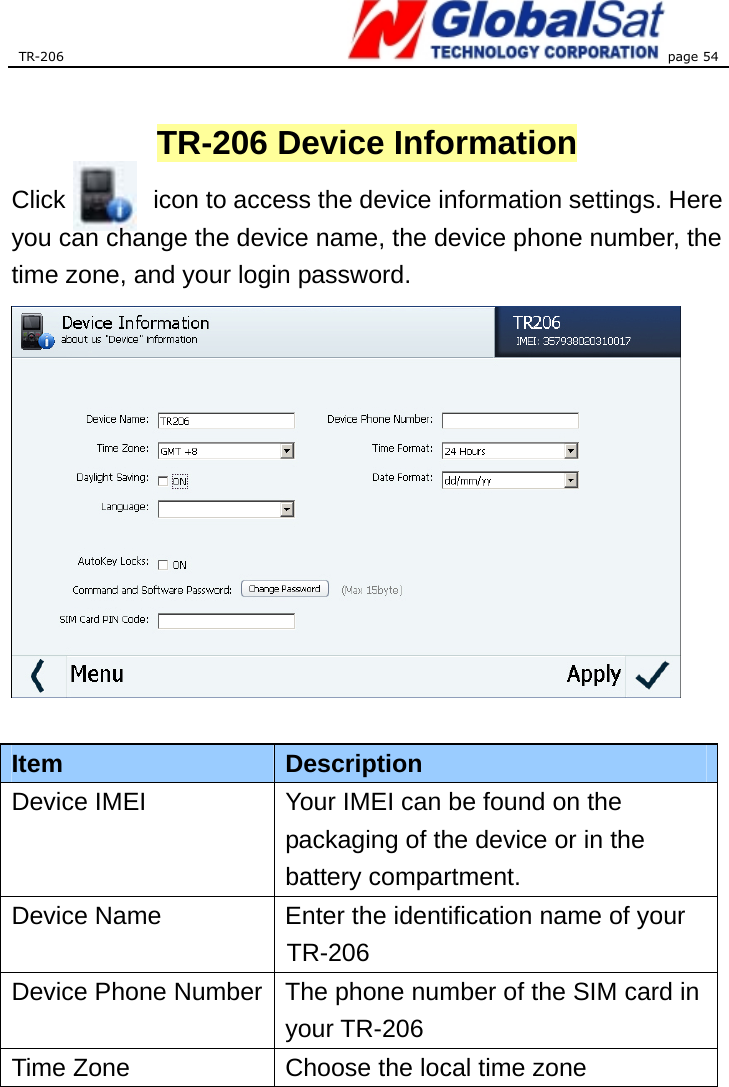
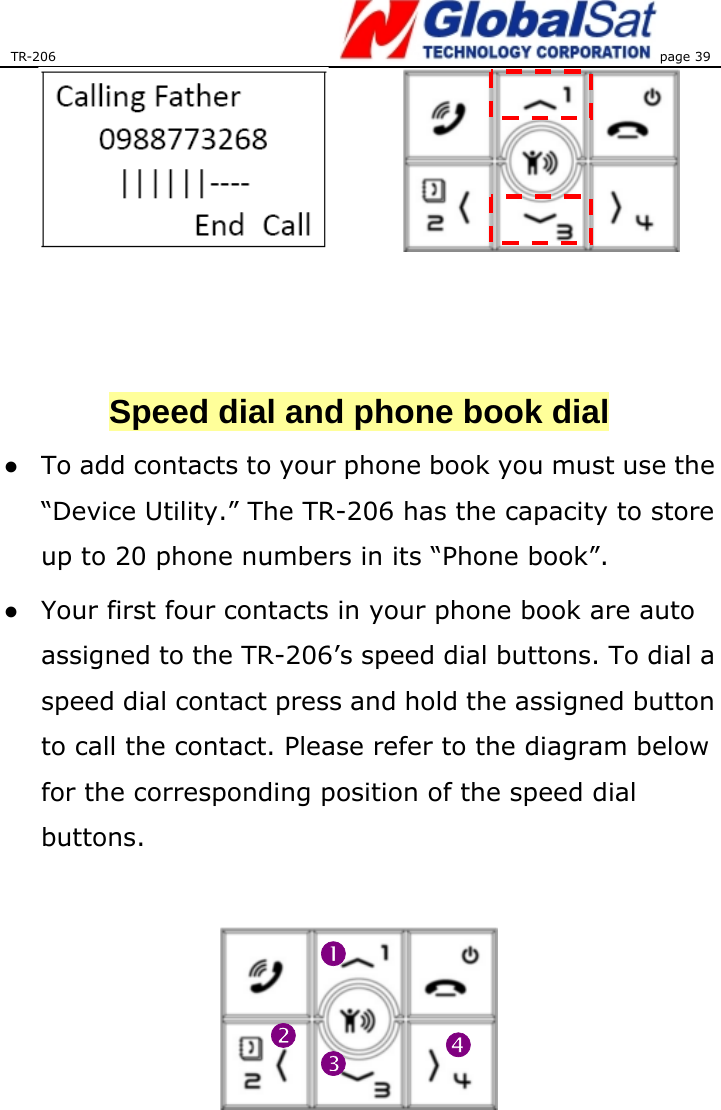
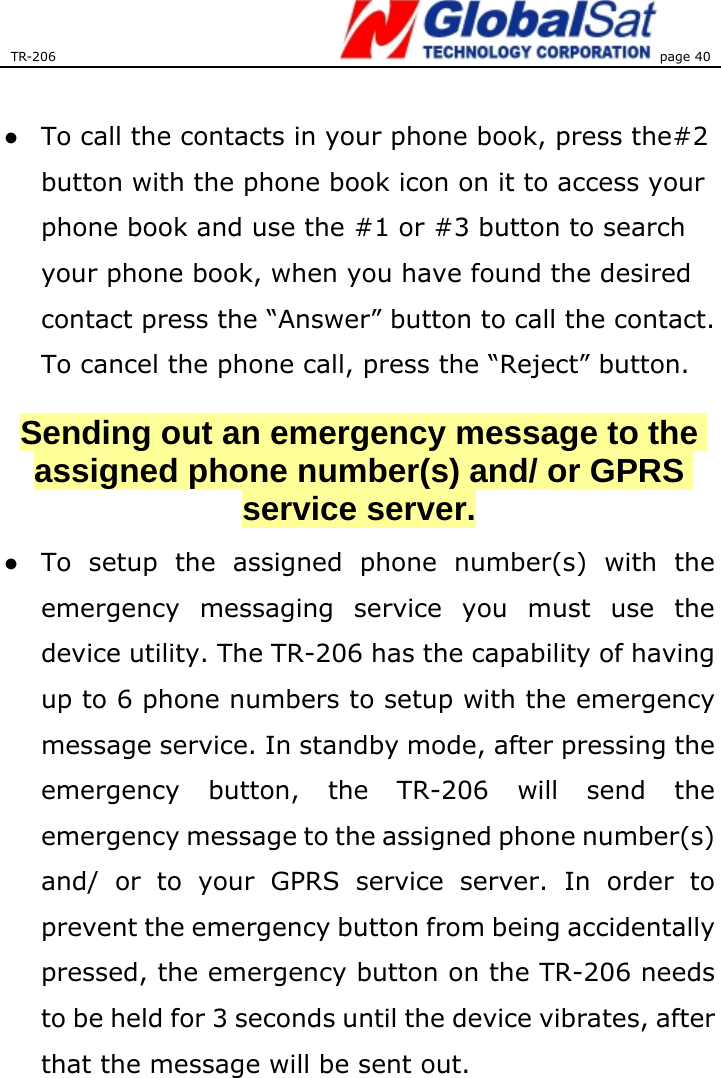
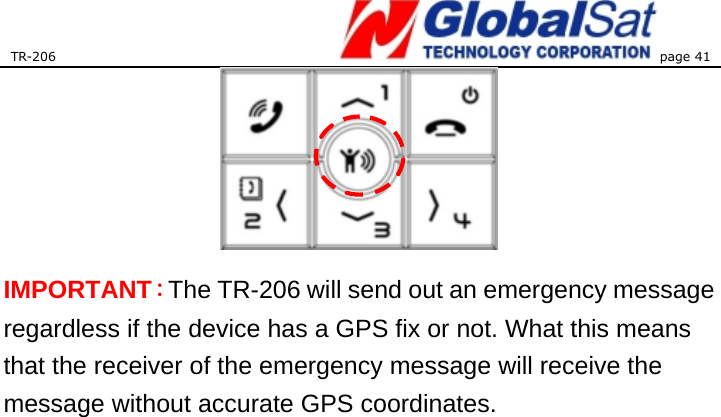
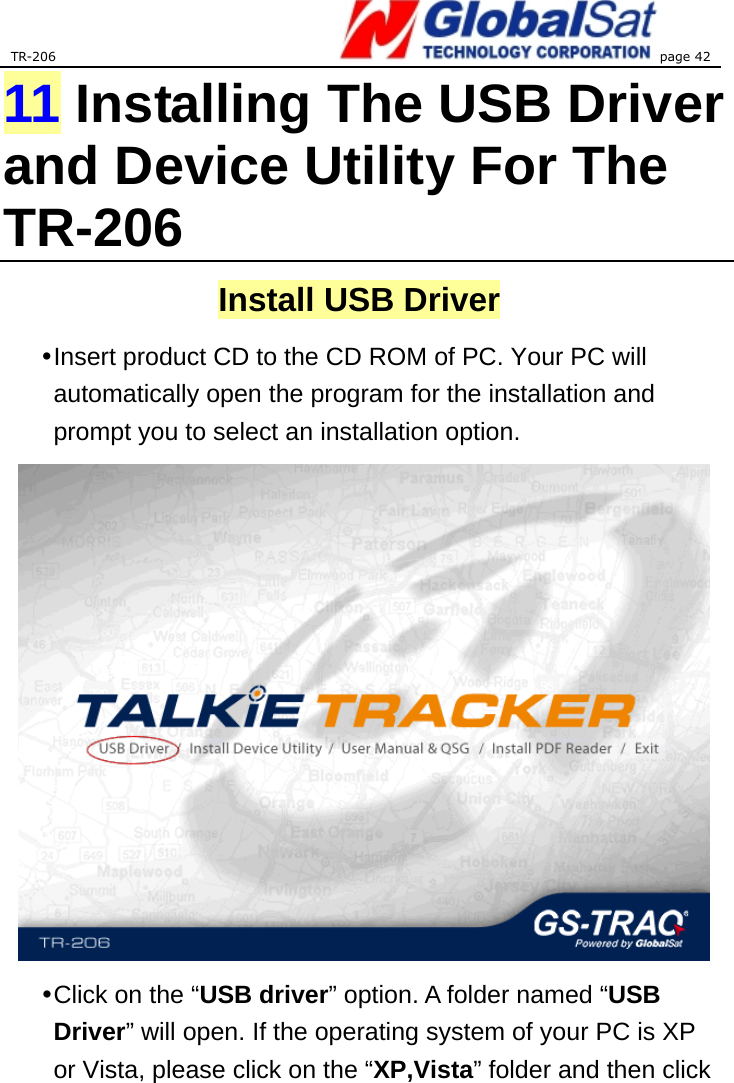
User Manual
Navigation menu
Upload a User Manual
Namespaces
Wiki Guide
HTML
PDF
Info
Views
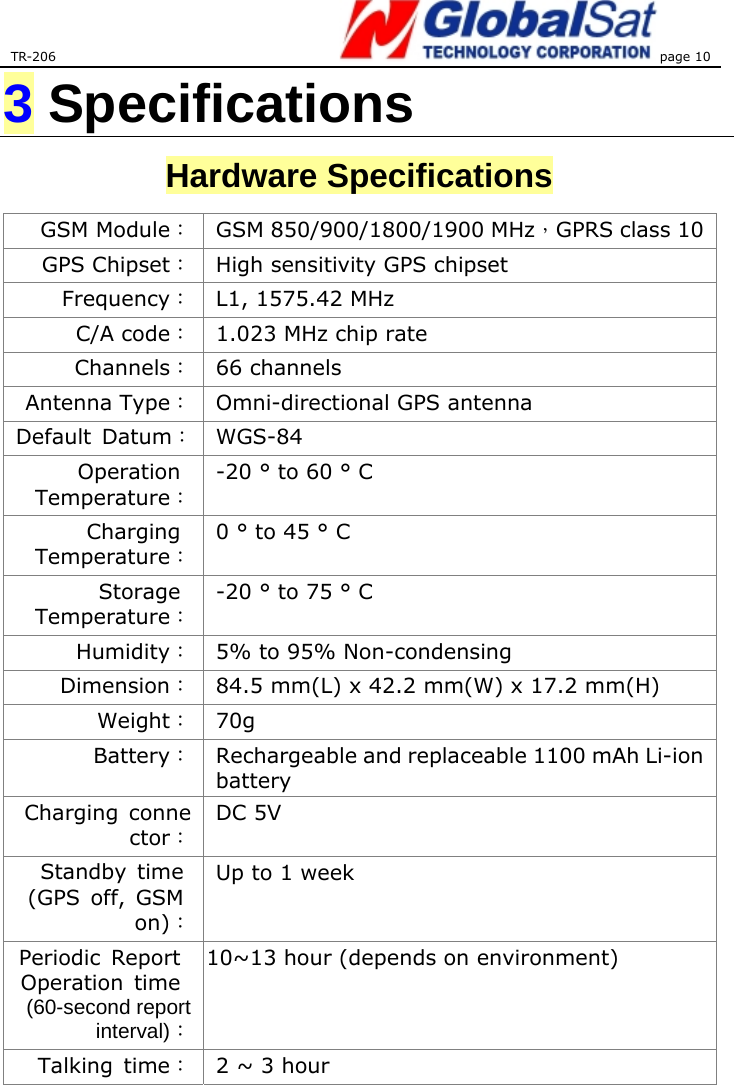
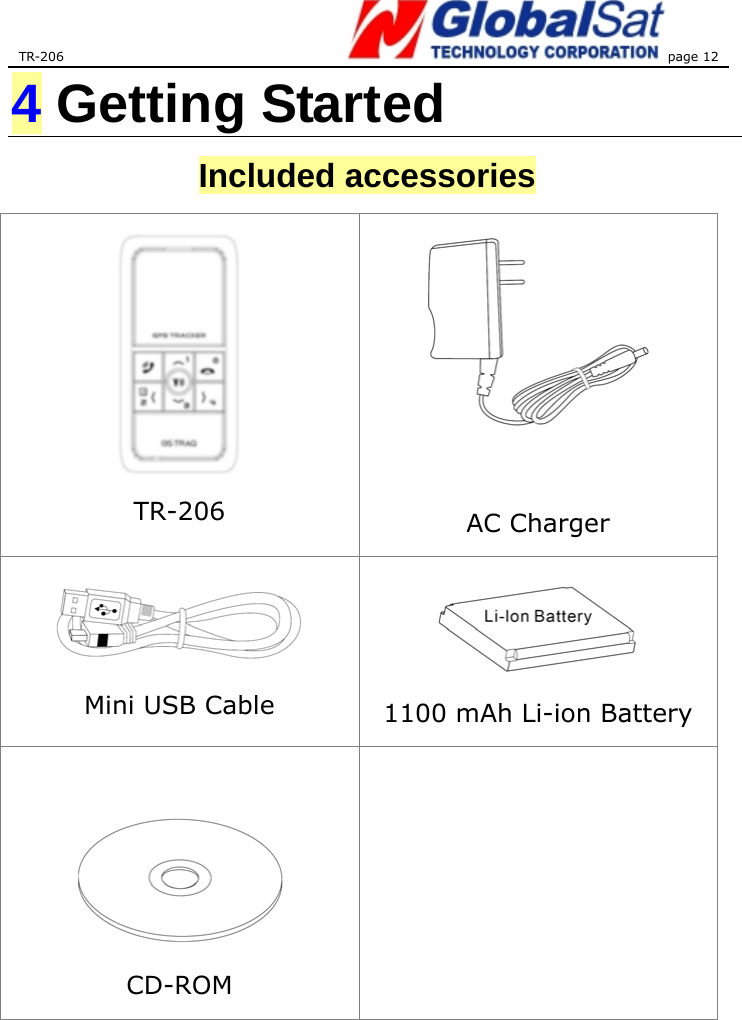
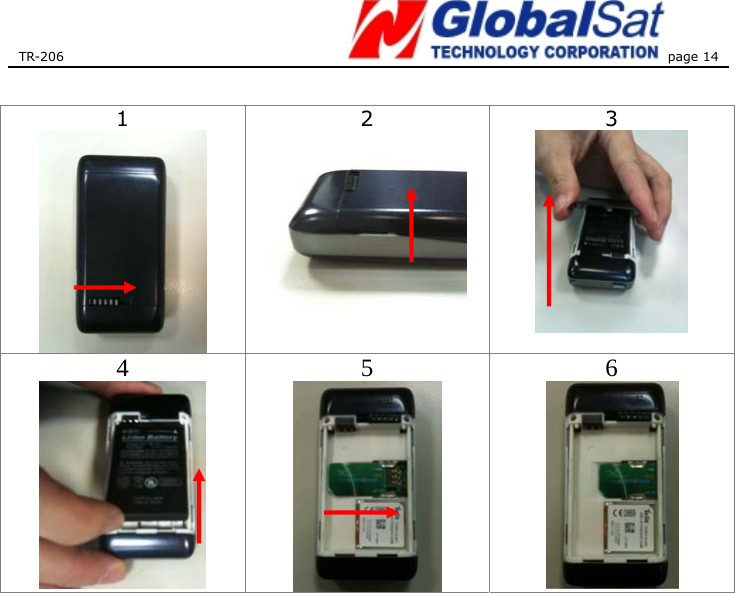
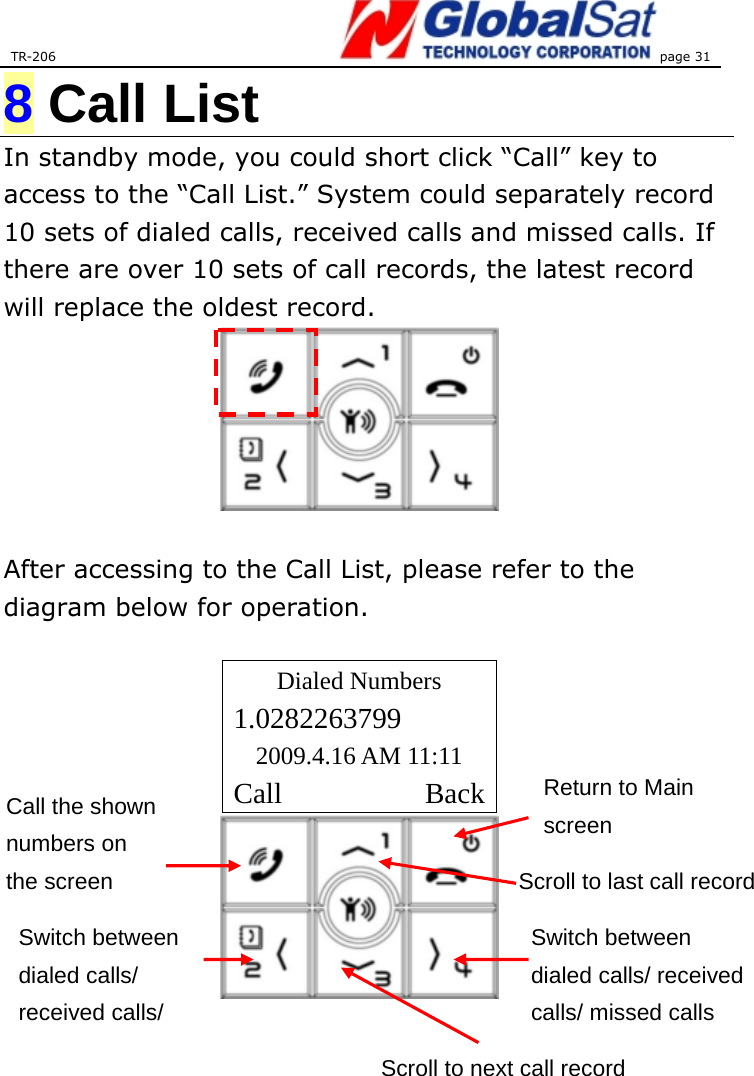
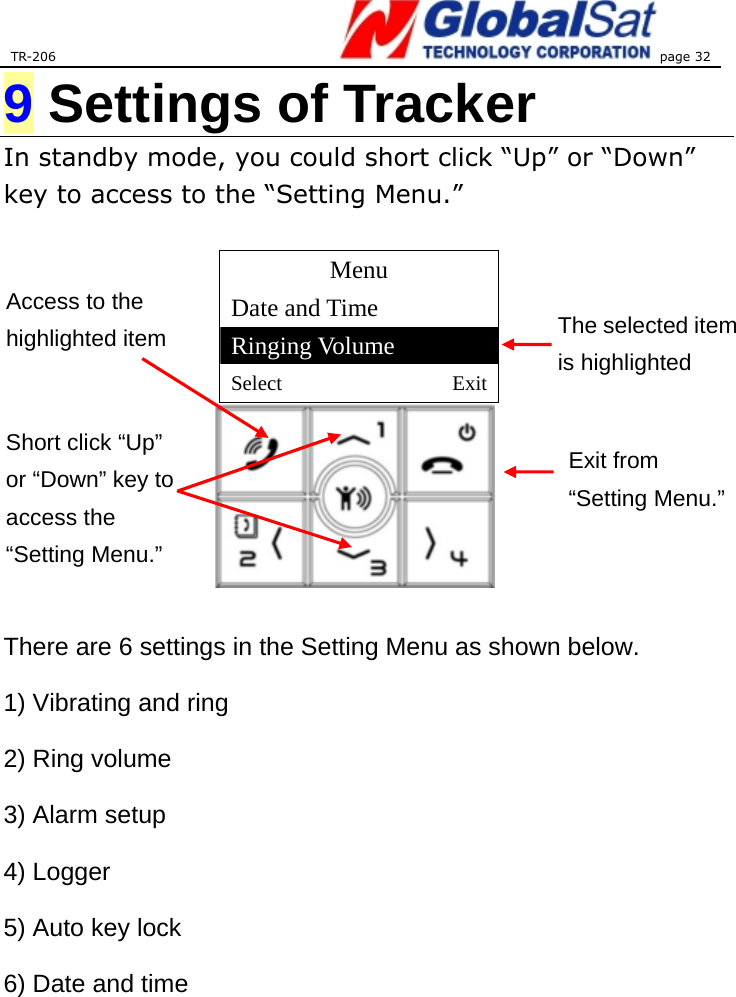
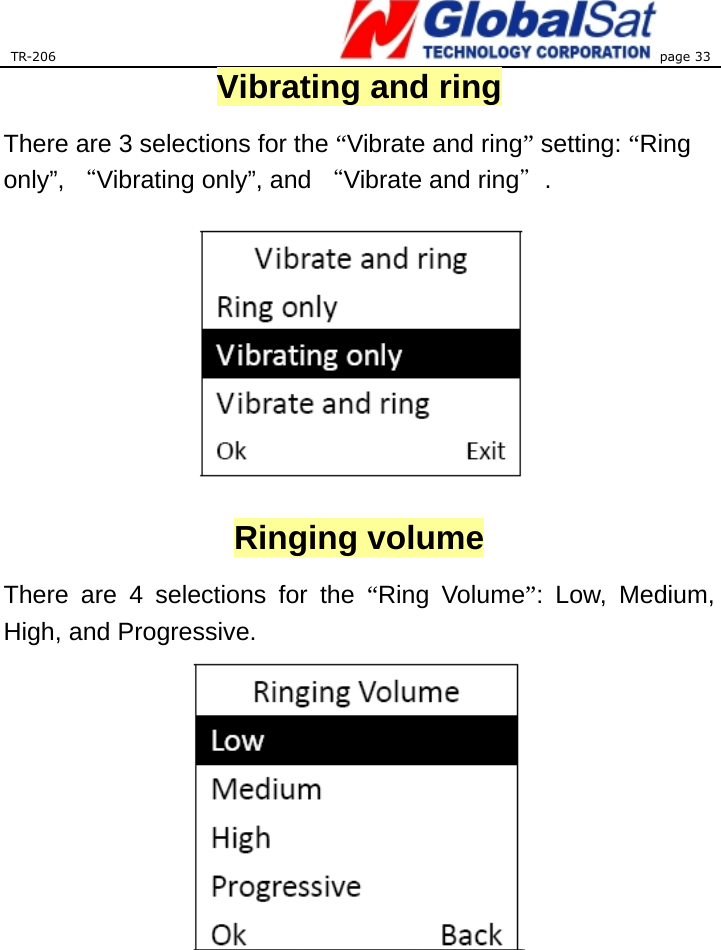
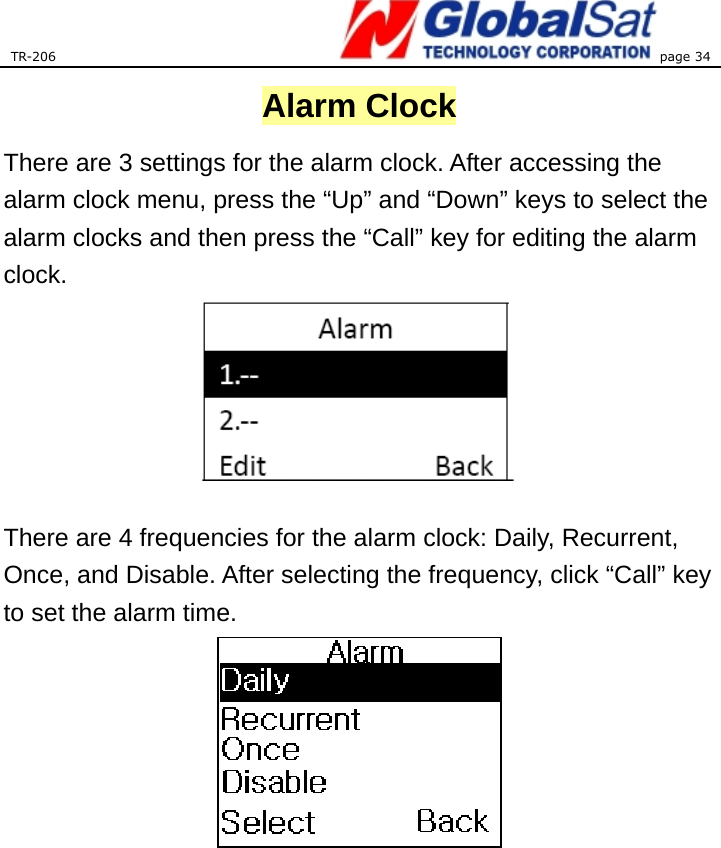
User Manual
Discussion / Help
Navigation


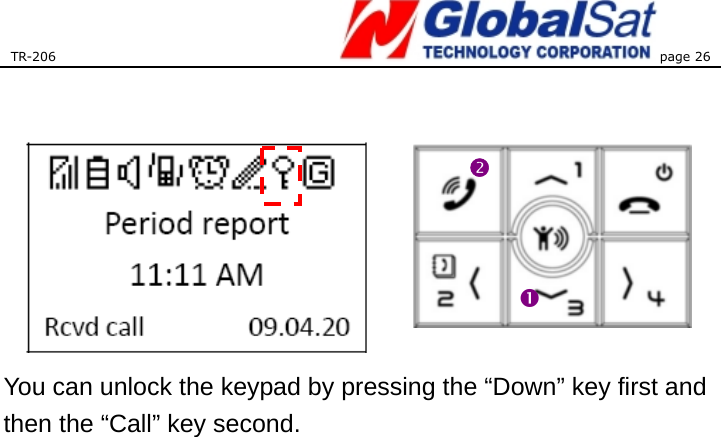
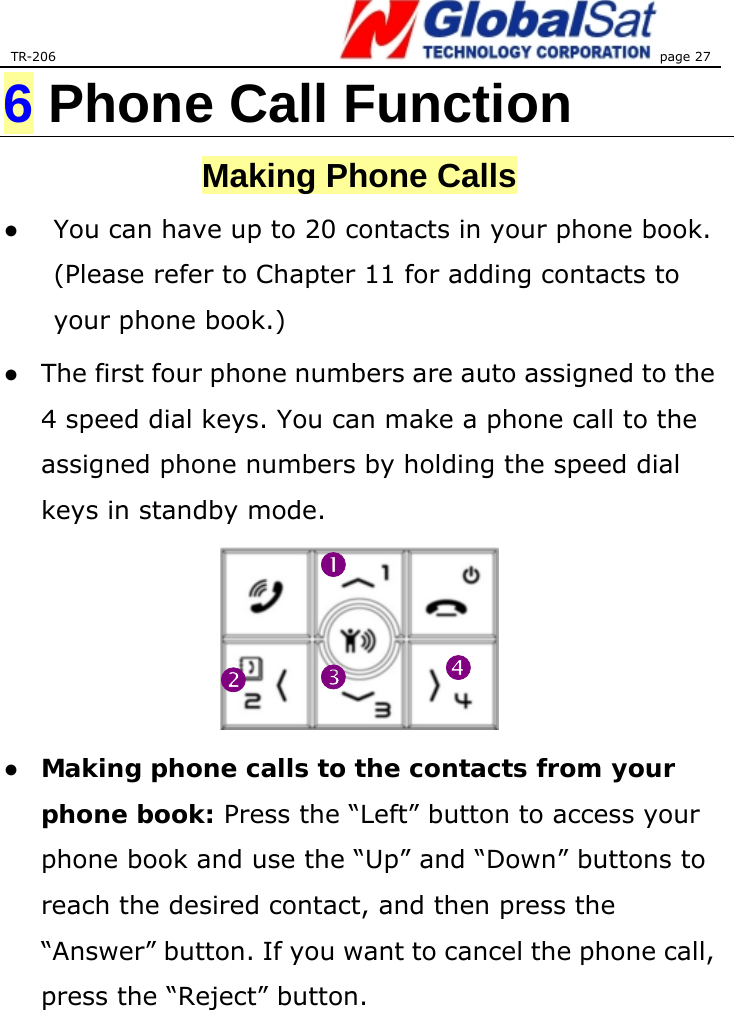
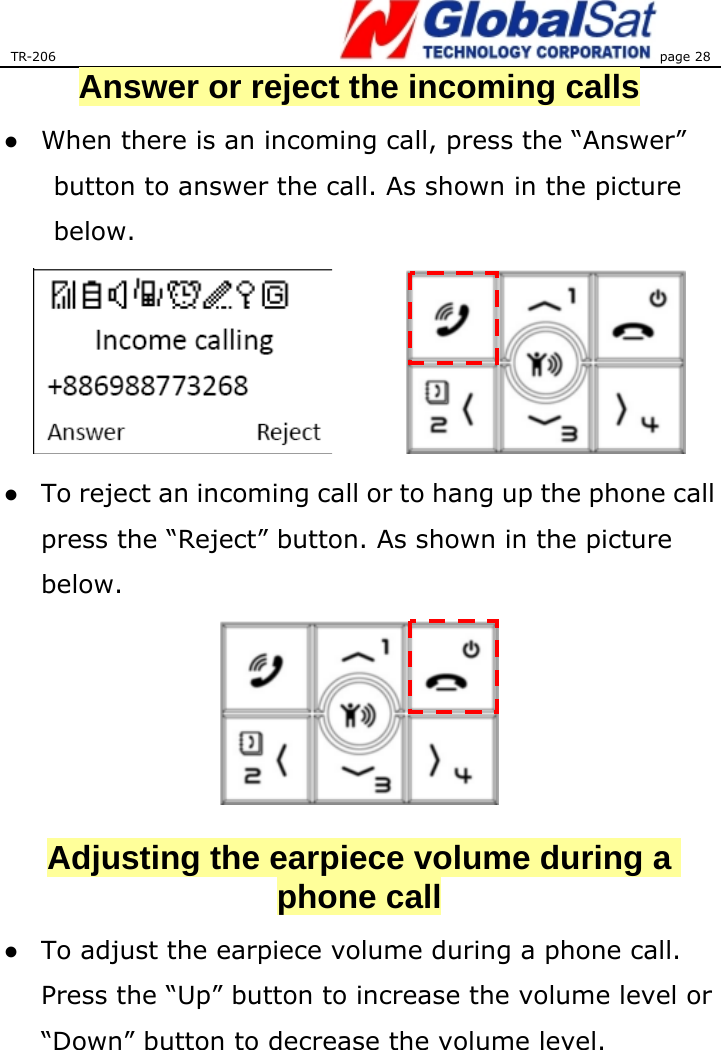

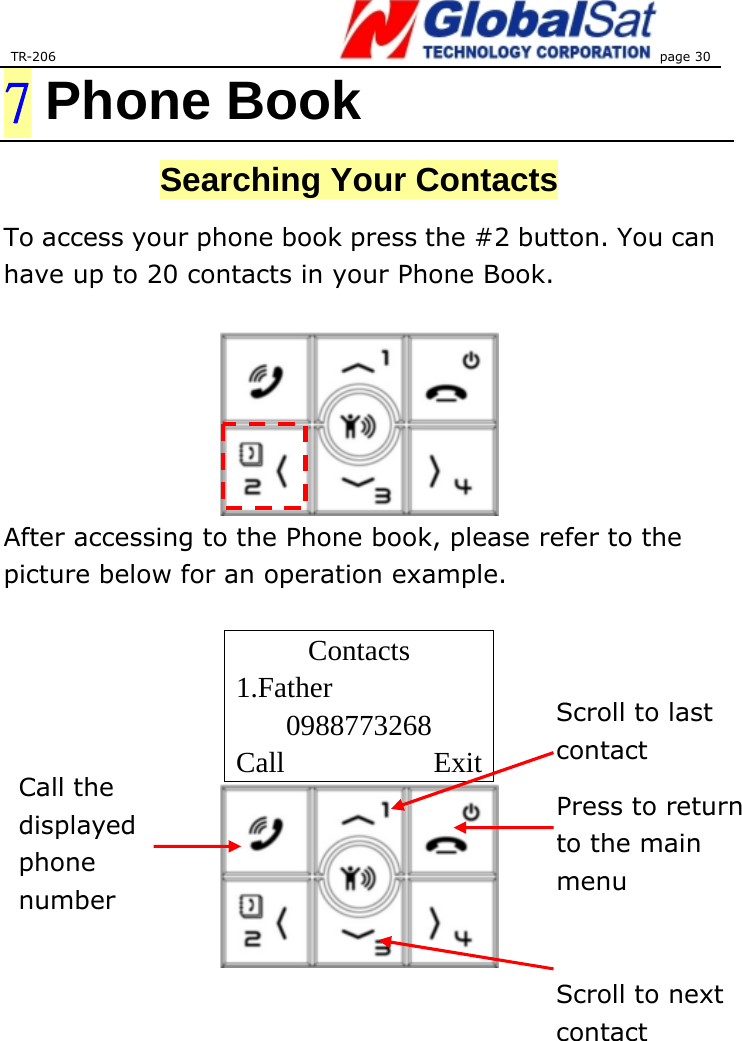
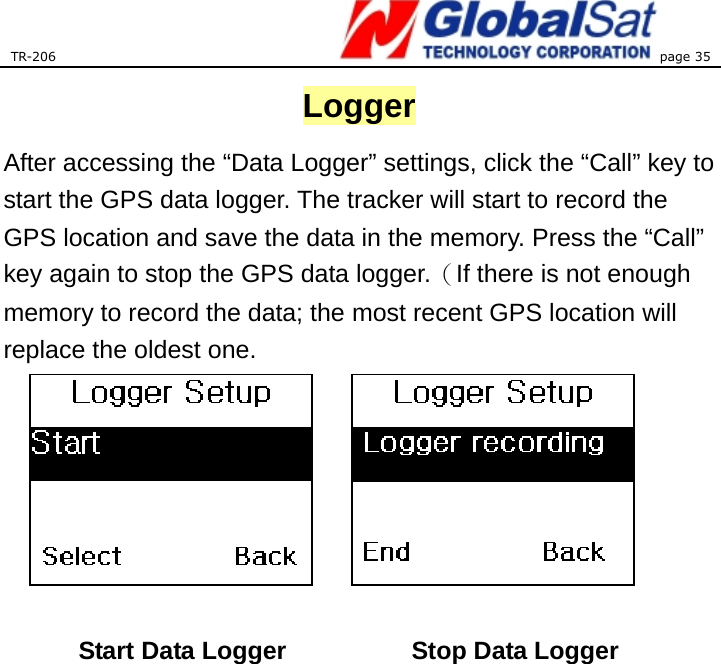
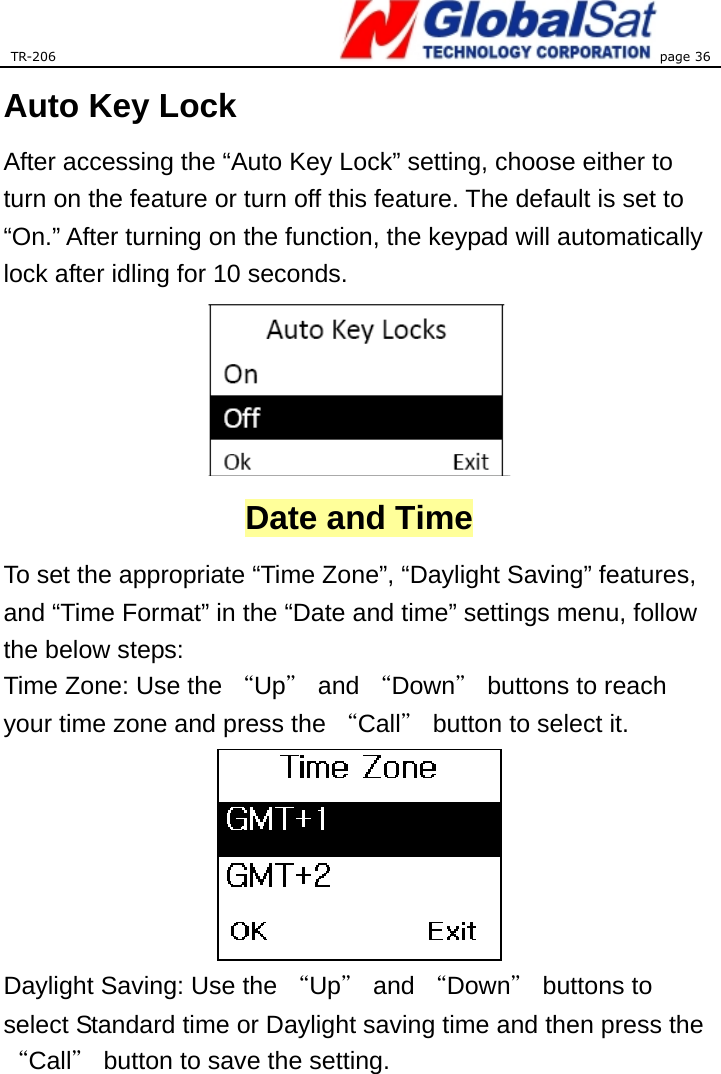
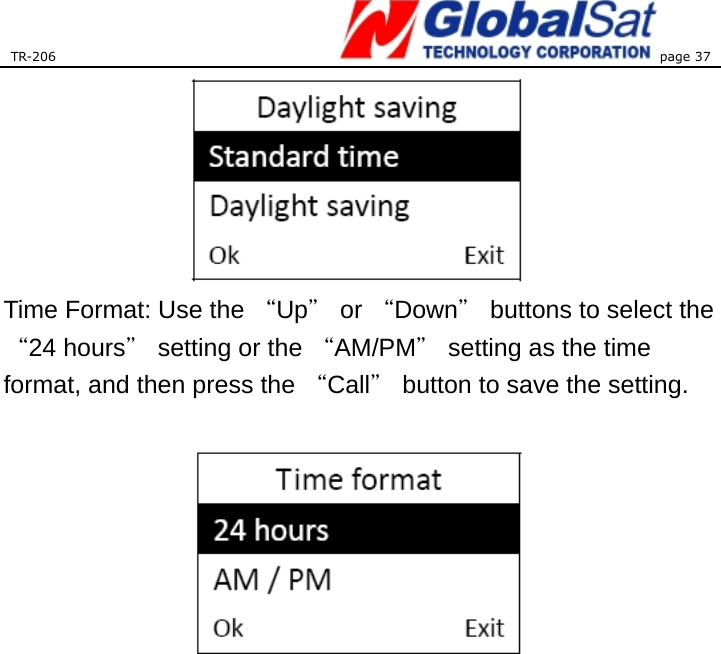
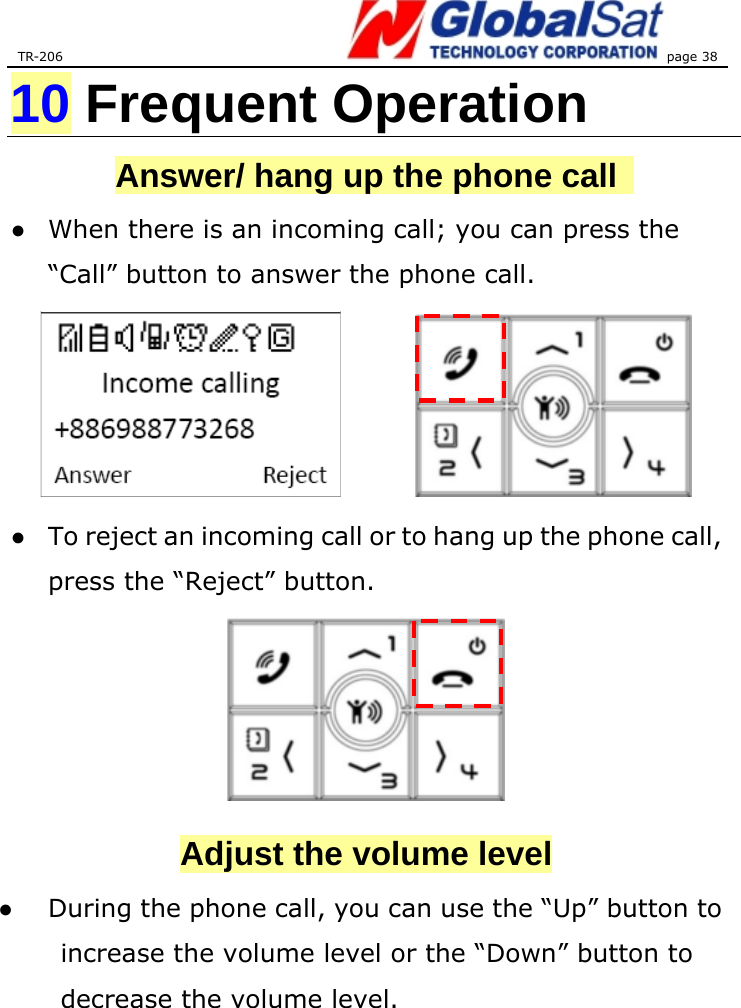
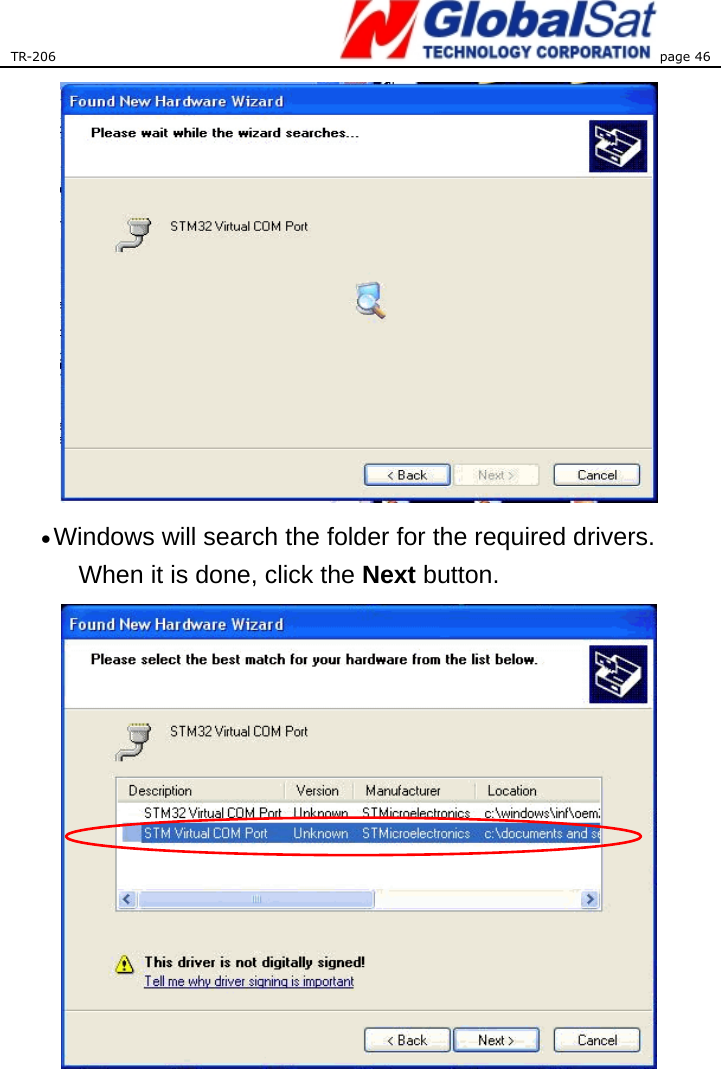
![TR-206 page 44 • Select “Install from a list or specific location [Advanced]” and click the Next button.](https://usermanual.wiki/GlobalSat-WorldCom/TR-206/User-Guide-1356256-Page-44.png)