GoPro HWRP1 Camera User Manual
GoPro, Inc. Camera
UserManual.wiki
>
GoPro
>
HWRP1 User Manual
>
User Manual
Contents
1.
User Manual
2.
Regulatory Statement
User Manual
Navigation menu
Upload a User Manual
Namespaces
Wiki Guide
HTML
PDF
Info
Views
User Manual
Discussion / Help
Navigation
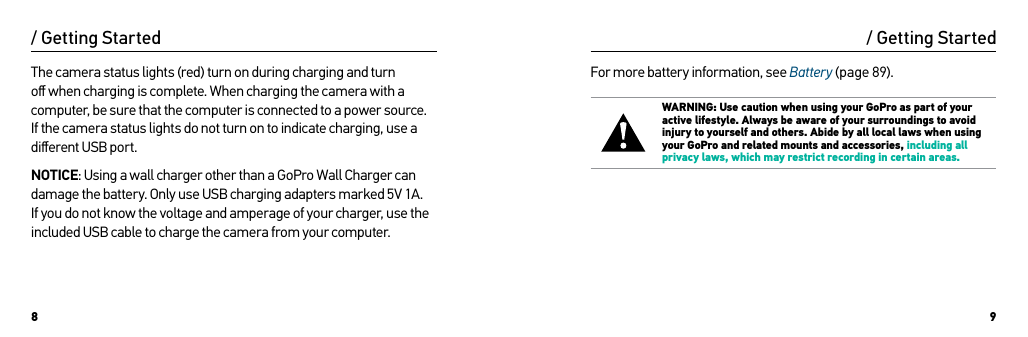
![6 7/ The Basics1. Camera Status Screen2. Shutter/Select Button [ ]3. Microphone4. Camera Status Light (red) / Wireless Status Light (blue)5. Micro USB Port6. microSD Card Slot7. Camera Status/Wireless Button/ Getting StartedCHARGING THE BATTERYThe integrated battery comes partially charged. No damage occurs to the camera or battery if used before being fully charged.To Charge the Battery:1. Open the side door.2. Charge the battery using the included USB cable.67For #3, show dots like in first drawing, but in square pattern (3 across,3 down) Note: The battery cannot be removed from the camera.](https://usermanual.wiki/GoPro/HWRP1.User-Manual/User-Guide-2611629-Page-4.png)
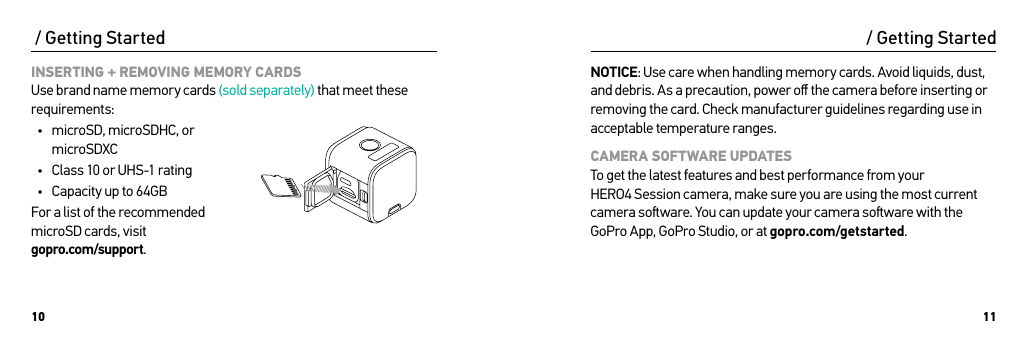
![12 13/ Getting StartedPOWERING ON + OFF HERO4 Session automatically powers on when you short press the Shutter/Select button [ ] to begin capturing video or Time Lapse photos. When you press the Shutter/Select button [ ] again to stop recording, the camera automatically powers off to conserve battery power.PRO TIP: When carrying your camera in a bag or pocket, place the camera upside down in a frame with the Shutter/Select button [ ] covered to prevent the camera from accidentally powering on. / Getting StartedDISPLAYING THE CAMERA STATUS Short press the Camera Status/Wireless button. The status screen cycles through the information below, then automatically turns off.1. Capture Mode/Soware Version 2. Available Memory/ Capture Mode Settings3. Wireless (when on) 4. Battery Status5. Wireless Connection Confirmation6. Current Wireless Option7. Additional Wireless OptionsAdd “7” here](https://usermanual.wiki/GoPro/HWRP1.User-Manual/User-Guide-2611629-Page-7.png)
![16 17When your camera is not connected to the remote (sold separately) or the GoPro App, two capture modes are available: Video and Time Lapse. To access more modes or change camera settings, see Accessing Camera Settings (page 20).CAPTURING VIDEO The default video resolution is 1080p48 SuperView. To Start Recording Video: Short press the Shutter/Select button [ ]. Your camera automatically powers on, emits three beeps, and begins recording video. The camera status lights blink while the camera is recording. / Capturing Video and Time Lapse Photos / Capturing Video and Time Lapse PhotosIf the memory card is full or the battery is out of power, your camera automatically stops recording and saves the video before powering off.To Stop Recording: Short press the Shutter/Select button [ ]. The camera automatically stops recording (indicated by one beep), saves the file (three beeps), and then powers off (seven beeps).](https://usermanual.wiki/GoPro/HWRP1.User-Manual/User-Guide-2611629-Page-9.png)
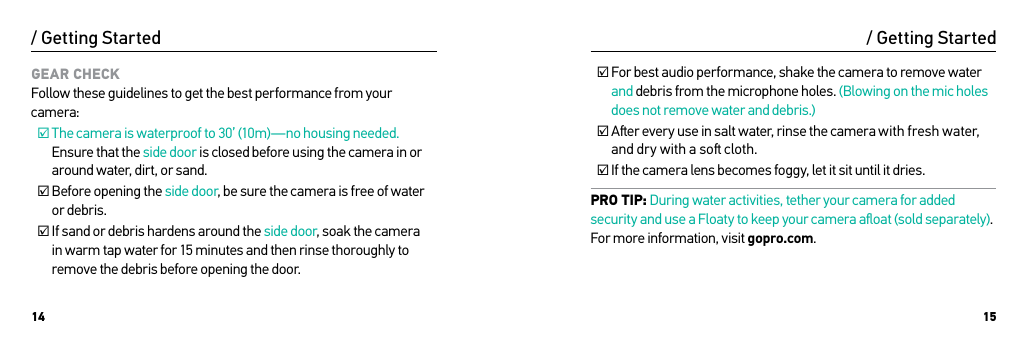
![18 19/ Capturing Video and Time Lapse PhotosShow rear 3/4 view with arrow pointing to Wireless button (back bottom of camera), not Shutter button/ Capturing Video and Time Lapse PhotosHILIGHT TAGGING You can mark specific moments in your video as they happen with HiLight Tags. HiLight Tags make it easy to find the best moments to share.Note: HiLight Tags are visible during playback on the GoPro App or in GoPro Studio.To Add HiLight Tags During Recording:Short press the Camera Status/Wireless button.PRO TIP: You can also add HiLight Tags during recording with the GoPro App or the Smart Remote.CAPTURING TIME LAPSE PHOTOS The default interval for Time Lapse photos is 0.5 second. To Start Capturing Time Lapse Photos: Press and hold the Shutter/Select button [ ] for two seconds until the Time Lapse photo icon [ ] appears on the camera status screen. Your camera automatically powers on, emits two beeps, and begins capturing Time Lapse photos. The camera status lights blink while the camera is capturing photos. To Stop Recording: Short press the Shutter/Select button [ ]. The camera automatically stops recording (indicated by one beep), saves the file (three beeps), and then powers off (seven beeps).](https://usermanual.wiki/GoPro/HWRP1.User-Manual/User-Guide-2611629-Page-10.png)
![22 23PAIRING WITH THE REMOTE The Smart Remote lets you change capture modes and settings, power your GoPro on/off, start/stop recording, and add HiLight Tags.To Pair with the Remote:1. On HERO4 Session, short press the Camera Status/Wireless button repeatedly to cycle to Rem Ctrl, then short press the Shutter/Select button [ ] to select it. The camera automatically begins pairing.2. Put the remote into pairing mode. For more information, see the user manual for your remote at gopro.com/getstarted./ Accessing Camera SettingsCONNECTING AFTER PAIRING Aer connecting your camera to the GoPro App or the remote for the first time, you can connect in the future through the wireless menu.To Connect Your Camera aer Pairing:1. Short press the Camera Status/Wireless button to open the wireless menu.2. If needed, short press the Camera Status/Wireless button again to display the setting that you want (GoPro App or Rem Ctrl), and then short press the Shutter/Select button [ ] to select it. The wireless status lights blink when wireless is on and the camera is not recording.Note: If your smartphone/tablet has Bluetooth© LE, the wireless options are combined as RC/App. / Accessing Camera Settings](https://usermanual.wiki/GoPro/HWRP1.User-Manual/User-Guide-2611629-Page-12.png)
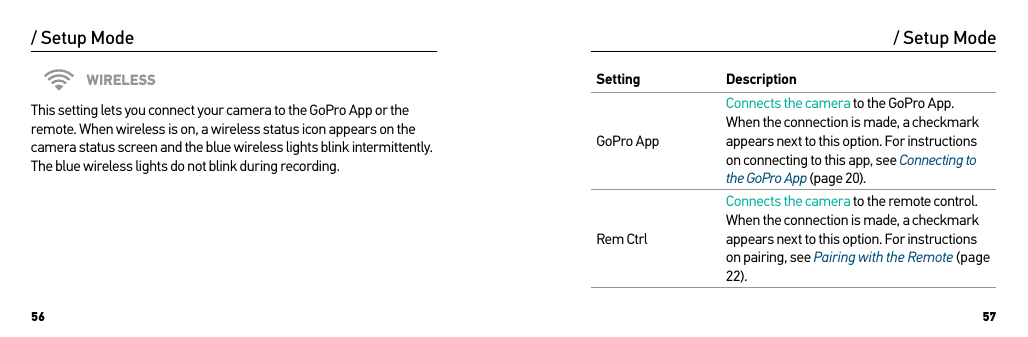
![24 25TURNING WIRELESS ON/OFF Aer you connect HERO4 Session to the GoPro App for the first time or pair it with the remote, you can connect your camera in the future using the Camera Status/Wireless button.To Turn Wireless On:1. Short press the Camera Status/Wireless button to open the wireless menu.2. If needed, short press the Camera Status/Wireless button again to display the setting that you want (GoPro App or Rem Ctrl), and then short press the Shutter/Select button [ ] to select it. / Accessing Camera SettingsThe wireless status lights blink when wireless is on and the camera is not recording.Note: If your smartphone/tablet has Bluetooth LE, the wireless options are combined as RC/App. To Turn Wireless Off:1. Short press the Camera Status/Wireless button to open the wireless menu.2. Short press the Camera Status/Wireless button repeatedly to cycle to Turn WiFi Off, and then short press the Shutter/Select button [ ] to select it. / Accessing Camera Settings](https://usermanual.wiki/GoPro/HWRP1.User-Manual/User-Guide-2611629-Page-13.png)
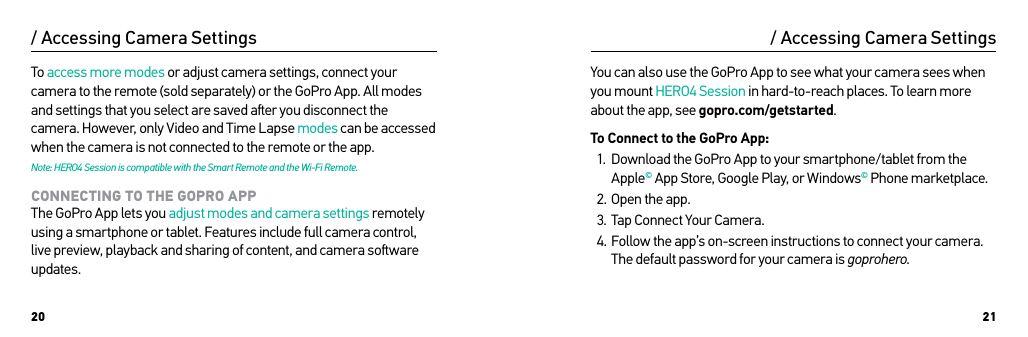
![30 31/ Video ModeVIDEO CAPTURE MODES When you connect your camera to the GoPro App or remote, you can access two capture modes in Video mode: Video and Looping Video.Capture Mode DescriptionVideo (default) Captures video.Looping VideoLets you continuously record and save only the best moments, which helps to conserve space on your microSD card.CAPTURING VIDEO1. Select Video mode [ ] on the GoPro App or the remote.2. Select the desired capture mode (Video or Looping Video).3. On the camera or remote, short press the Shutter/Select button [ ]. On the app, tap the Record button. The camera beeps once and the camera status lights flash while the camera is recording.4. To stop capturing, short press the Shutter/Select button [ ]. On the app, tap the Record button. The camera status lights flash three times and the camera beeps three times. Note: When your camera is connected to the GoPro App or the remote, it remains in standby mode aer capturing video or photos./ Video Mode](https://usermanual.wiki/GoPro/HWRP1.User-Manual/User-Guide-2611629-Page-16.png)
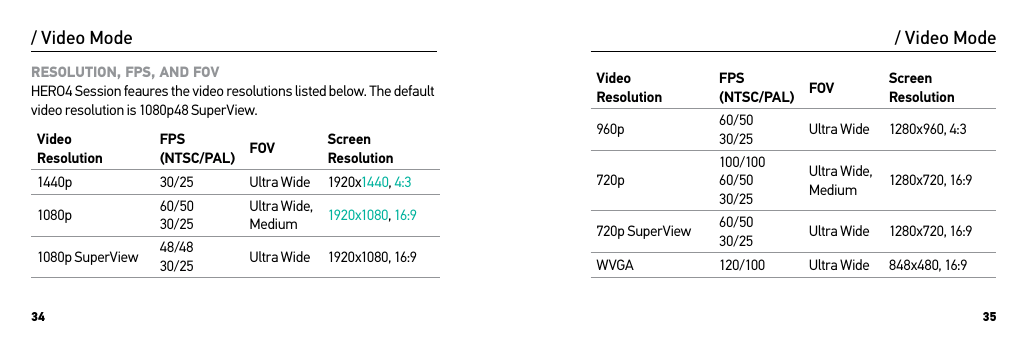
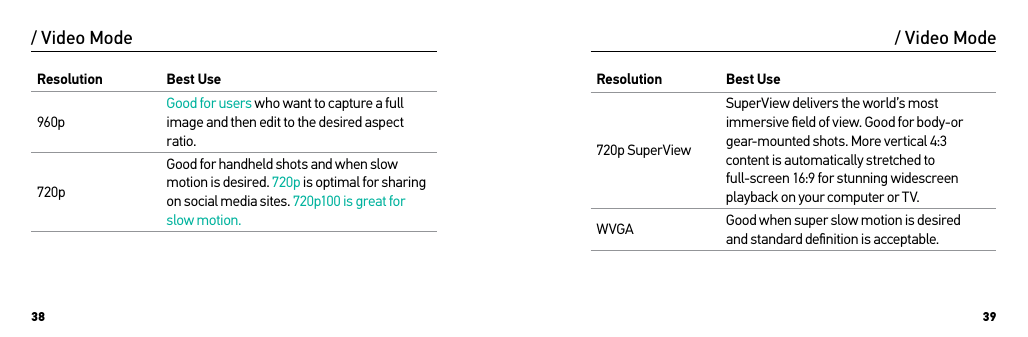
![32 33PRO TIP: Videos captured at lower resolutions like 960p or 720p are supported by more mobile devices, and are easier to share and upload to the web. VIDEO SETTINGS You can change the video settings by connecting HERO4 Session to the GoPro App or the remote. When you connect to the remote, the capture mode that you select (Video or Looping Video) determines the settings that appear when you press the Settings/Tag button [ ]./ Video Mode / Video ModeINTERVALThe Interval setting applies to Looping Video. Interval determines the length of a video loop segment. Available intervals for Looping are 5, 20, 60, and 120 minutes. For example, if you select a 5-minute interval, only the previous 5 minutes is saved when you stop recording. You can also select Max as the interval. With this option, the camera records until the memory card is full, then overwrites the content if you do not stop recording and save the footage.Note: To use Looping, be sure that your microSD card has sufficient space to create the loop segment baesd on the interval that you select. If the microSD card becomes full, Looping does not overwrite the content.Please check hierarchy of headings in this section -- currently, both “VIDEO SETTINGS” heading and the individual setting names are in grey caps. But the settings fall under VIDEO SETTINGS, so seems like they should be formatted dif-ferently. I’ll let you determine the Creative call on this.](https://usermanual.wiki/GoPro/HWRP1.User-Manual/User-Guide-2611629-Page-17.png)
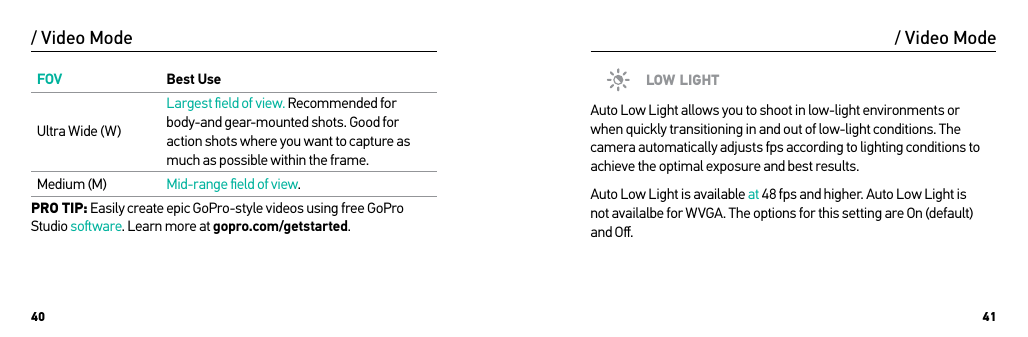
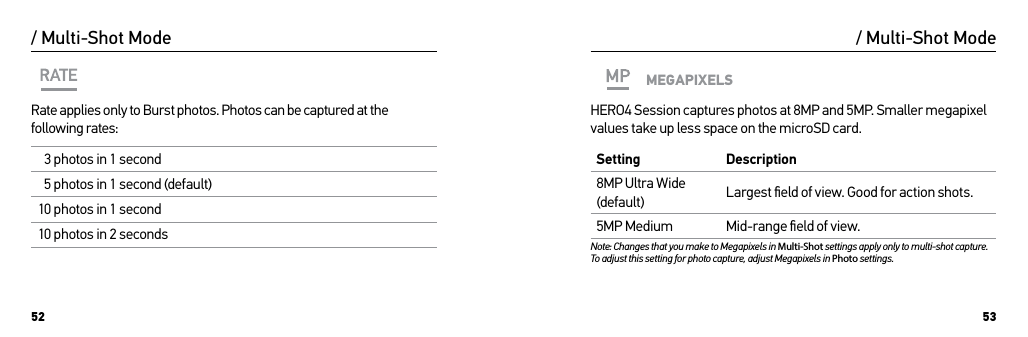
![44 45PHOTO CAPTURE MODE When you connect your camera to the GoPro App or remote, you can access one capture mode in Photo mode: Single photo. CAPTURING A SINGLE PHOTO1. Select Single photo mode [ ] on the GoPro App or the remote.2. Short press the Shutter/Select button [ ]. The camera beeps two times, the camera status lights flash and the counter on the camera status screen increases by one.Note: When your camera is connected to the GoPro App or the remote, it remains on in standby mode aer capturing video or photos./ Photo ModePHOTO SETTINGS You can change the photo settings by connecting HERO4 Session to the GoPro App or the remote. MEGAPIXELSHERO4 Session captures photos at 8MP and 5MP.8MP Ultra Wide (default) Largest field of view. Good for action shots. 5MP Medium Mid-range field of view. Note: Changes that you make to Megapixels in Photo settings apply only to photo capture. To adjust this setting for multi-shot capture, adjust Spot Meter in Multi-Shot settings./ Photo Mode](https://usermanual.wiki/GoPro/HWRP1.User-Manual/User-Guide-2611629-Page-23.png)
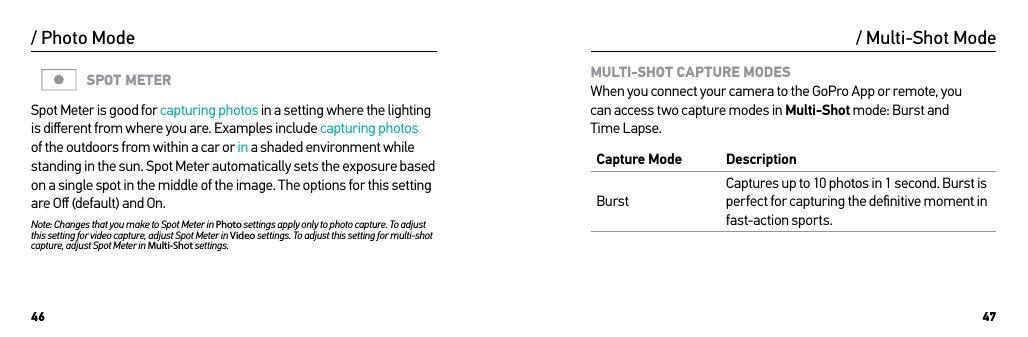
![48 49Capture Mode DescriptionTime Lapse Photos (default)Captures a series of photos at specified intervals. You can use Time Lapse to capture photos of any activity, so you can choose the best ones later.CAPTURING BURST PHOTOS1. Select Burst mode [ ] on the GoPro App or the remote.2. Short press the Shutter/Select button. The camera status lights flash and the camera beeps multiple times./ Multi-Shot ModeCAPTURING TIME LAPSE PHOTOS1. Select Time Lapse mode [ ] on the GoPro App or the remote.2. Short press the Shutter/Select button [ ]. The camera status lights flash each time a photo is captured.3. To stop capturing, short press the Shutter/Select button [ ]. The camera status lights flash three times and the camera beeps three times.Note: When your camera is connected to the GoPro App or the remote, it remains in standby mode aer capturing video or photos.PRO TIP: Create a video from your Time Lapse photos with free GoPro Studio soware. Learn more at gopro.com/getstarted./ Multi-Shot Mode](https://usermanual.wiki/GoPro/HWRP1.User-Manual/User-Guide-2611629-Page-25.png)
![50 51MULTI-SHOT SETTINGS You can change the Multi-Shot settings by connecting HERO4 Session to the GoPro App or the remote. When you connect to the remote, the capture mode that you select (Burst or Time Lapse) determines the settings that appear when you press the Settings/Tag button [ ].INTERVALThe Interval setting applies to Time Lapse photos. Interval determines the amount of time that passes between each captured frame. / Multi-Shot ModePlease check hierarchy of head-ings in this section -- currently, both “MULTI-SHOT SETTINGS” heading and the individual set-ting names are in grey caps. But the settings fall under MULTI-SHOT SETTINGS, so seems like they should be formatted differently. I’ll let you determine the Creative call on this.Time Lapse Intervals Available intervals range from 0.5 second (default) to 60 seconds.Interval Examples0.5-2 seconds Surfing, biking or other sports2 seconds Busy street corner5-10 seconds Sunset10-60 seconds Lengthy activities, such as construction projects/ Multi-Shot Mode](https://usermanual.wiki/GoPro/HWRP1.User-Manual/User-Guide-2611629-Page-26.png)

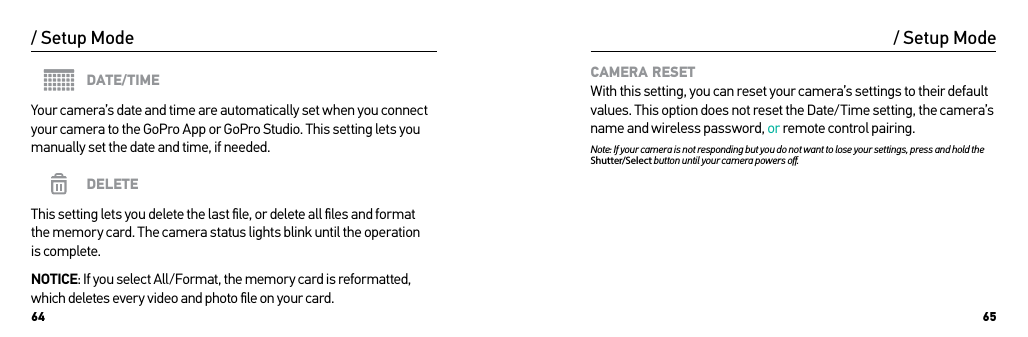
![58 59Setting DescriptionTurn WiFi OffTurns off wireless. This option appears only if wireless is on. Available capture modes on the camera are Video and Time Lapse.Add NewPairs your camera with an additional remote or with the GoPro App on an additional smartphone/tablet.PRO TIP: When you turn off your camera with the app or the remote, wireless remains on so that you can quickly reconnect. To save battery power, turn off wireless when you are finished using it./ Setup ModeResetting Your Camera’s Wireless Name and Password1. Press and hold the Camera Status/Wireless button until the reset options appear (about 8 seconds). 2. Short press the Camera Status/Wireless button again to highlight Yes.3. Short press the Shutter/Select button [ ] to select Yes and reset your camera name and password. The default password is goprohero./ Setup Mode](https://usermanual.wiki/GoPro/HWRP1.User-Manual/User-Guide-2611629-Page-30.png)
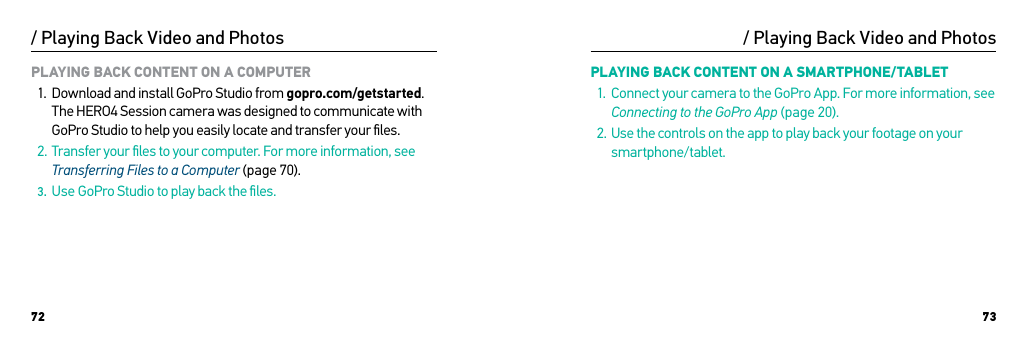
![70 71To play back your video and photos on a computer, you must first transfer these files to a computer. Transferring also frees up space on your microSD card for new content.To Transfer Files to a Computer1. Download and install GoPro Studio from gopro.com/getstarted. The HERO4 Session camera was designed to communicate with GoPro Studio to help you easily locate and transfer your files.2. Connect the camera to your computer using the included USB cable./ Transferring Files to a Computer3. Short press the Shutter/Select button [ ] to power on the camera and open GoPro Studio Importer. 4. Follow the on-screen instructions. PRO TIP: You can also transfer files to a computer using a card reader (sold separately). Connect the card reader to your computer and insert the microSD card into the reader. You can then transfer your files to your computer or delete selected files on your card./ Transferring Files to a Computer](https://usermanual.wiki/GoPro/HWRP1.User-Manual/User-Guide-2611629-Page-36.png)
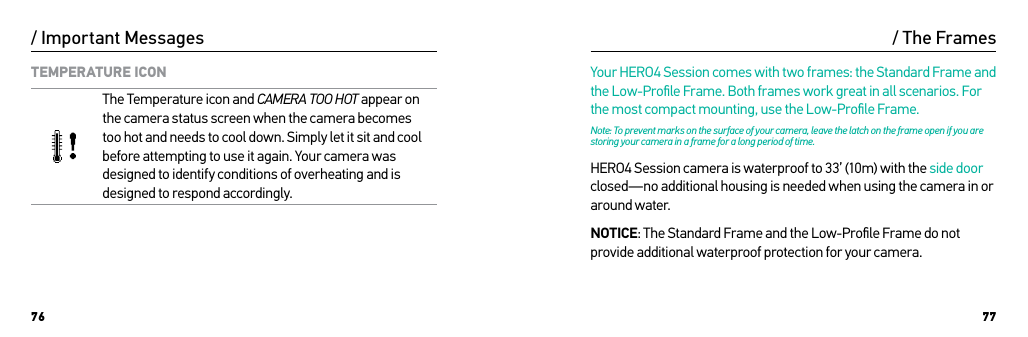
![74 75MICROSD CARD MESSAGESNO SD CARDNo card present. The camera requires a microSD, microSDHC or microSDXC card to capture videos and photos.SD FULL Card is full. Delete files or swap card.SD ERRORCamera is unable to read card formatting. Reformat the card in the camera.NOTICE: If you select Yes to reformat the card, all of the content on the card is deleted./ Important MessagesPRO TIP: Reformat your microSD card on a regular basis to ensure that the card can continue to receive information from the camera.REPAIRING FILE If your last video file was corrupted during recording, the camera displays REPAIRING FILE while it tries to repair the file. When this process is finished, the camera powers off if it is not connected to the GoPro App or the remote. If the camera is connected to one of these devices, short press the Shutter/Select button [ ] to continue using the camera when the repair is finished./ Important Messages](https://usermanual.wiki/GoPro/HWRP1.User-Manual/User-Guide-2611629-Page-38.png)
![90 91When you are not using HERO4 Session, rotate it in the frame so the Shutter/Select button [ ] is covered to prevent the camera from accidentally turning on.CHARGING TIME The battery charges to 80% in approximately one hour and 100% in approximately two hours when using GoPro’s USB-compatible Wall Charger, Auto Charger, or other USB charging adapter. Other chargers might charge at a slower rate.NOTICE: Using a wall charger other than a GoPro Wall Charger can damage the GoPro battery. Only use USB charging adapters marked 5V 1A. If you do not know the voltage and amperage of your charger, use the included USB cable to charge the camera from your computer./ BatteryUSING THE CAMERA WHILE CHARGING You can capture video and photos while the camera is plugged in to a USB charging adapter, or the GoPro Wall Charger or Auto Charger with the included USB cable. (You cannot record while charging the camera through a computer.) When you stop recording, the camera battery begins to charge. Performance of non-GoPro chargers cannot be guaranteed.Note: Because the side door is open, the camera is not waterproof during charging./ Battery](https://usermanual.wiki/GoPro/HWRP1.User-Manual/User-Guide-2611629-Page-46.png)
![94 95MY GOPRO WON’T POWER ON Make sure your GoPro is charged. To charge your camera, use the included USB cable and a computer or other charging device.MY GOPRO WON’T RESPOND WHEN I PRESS A BUTTON Press and hold the Shutter/Select button [ ] for about eight seconds until your camera powers off. This reset saves all of your content and settings.I WANT TO RESET MY GOPRO SETTINGS TO THE DEFAULTS In Setup mode, select Camera Reset. This option does not reset the Date/Time or your camera’s username and wireless password./ TroubleshootingI FORGOT MY CAMERA’S USERNAME OR PASSWORD See Resetting Your Camera’s Wireless Name and Password (page 59). I POWERED OFF MY GOPRO, BUT THE BLUE LIGHT IS STILL BLINKING The blue light indicates that wireless is on. To turn off wireless, see Turning Wireless On/Off (page 24).MY PLAYBACK IS CHOPPY Choppy playback is typically not a problem with the file. If your footage skips, one of these situations is likely the cause:• Using an incompatible video player. Not all video players support / Troubleshooting](https://usermanual.wiki/GoPro/HWRP1.User-Manual/User-Guide-2611629-Page-48.png)