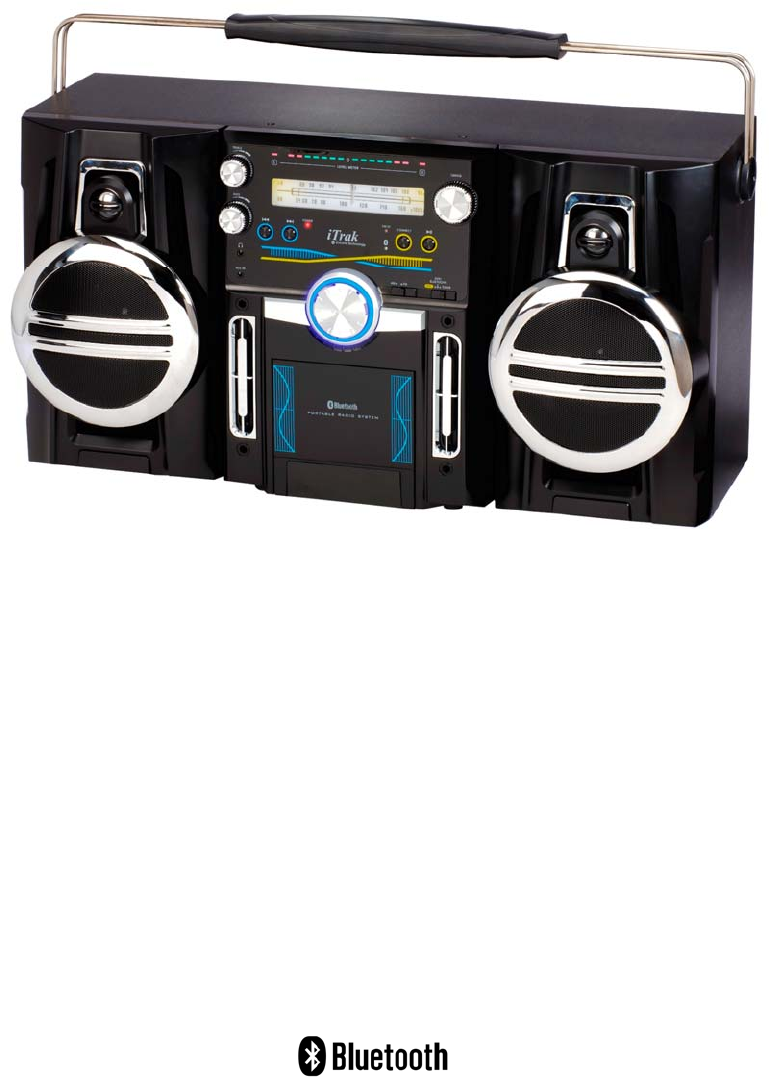
Goldsound Electronic VP-168B Portable System with Bluetooth Connect User Manual Manual
Goldsound Electronic Limited Portable System with Bluetooth Connect Manual
User Manual

Portable System With Bluetooth Connection
VP-168B
INSTRUCTION MANUAL

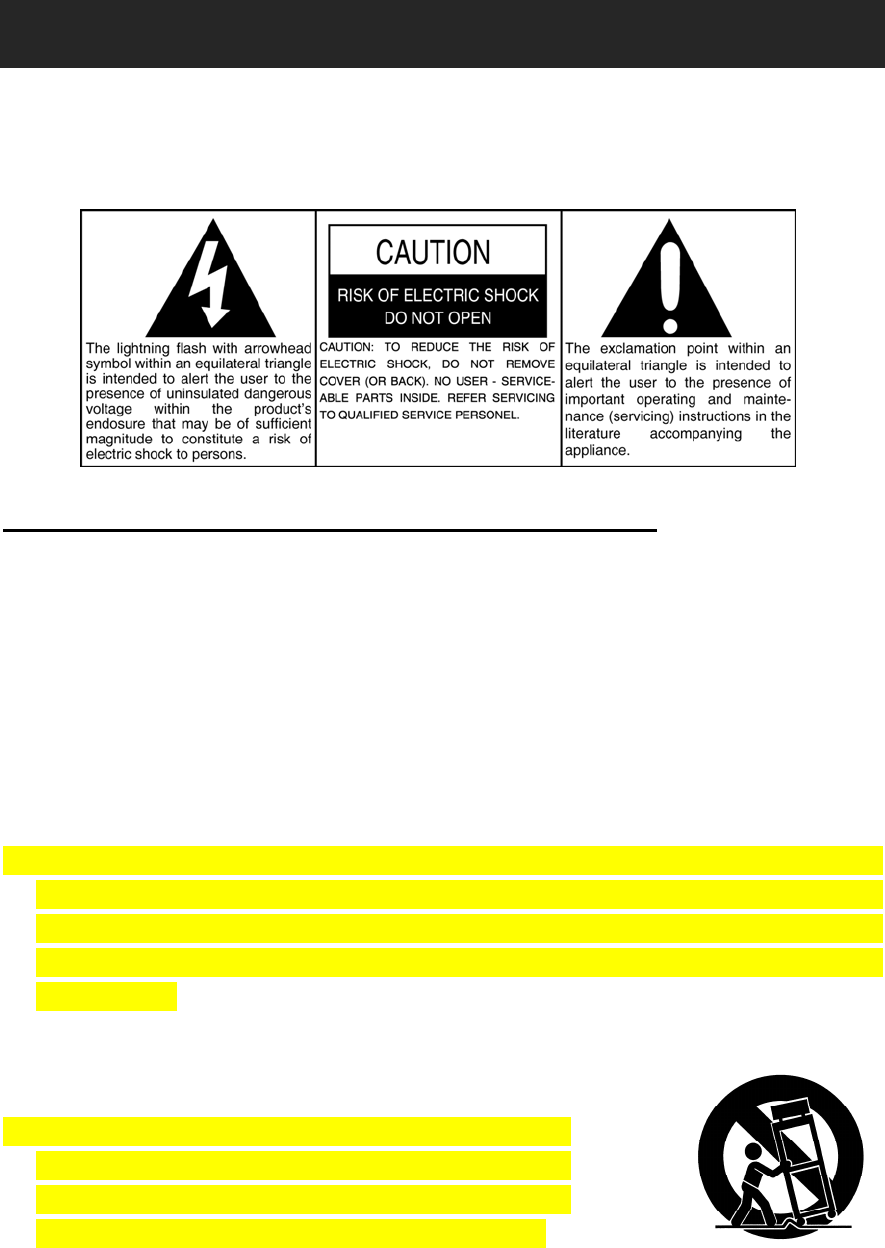
WARNING
TO PREVENT FIRE OR SHOCK HAZARD, DO NOT USE THIS PLUG WITH AN EXTENSION
CORD, RECEPTACLE OR OTHER OUTLET UNLESS THE BLADES CAN BE FULLY
INSERTED TO PREVENT BLADE EXPOSURE. TO PREVENT FIRE OR SHOCK HAZARD, DO
NOT EXPOSE THIS APPLIANCE TO RAIN OR MOISTURE.
IMPORTANT SAFETYINSTRUCTIONS
1. Read these instructions
2. Keep these instructions
3. Heed all warnings.
4. Follow all instructions.
5. Do not use this apparatus near water.
6. Clean only with dry cloth.
7. Do not block any ventilation openings. Install in accordance with these instructions.
8. Do not install near any heat sources such as radiators, heat registers, stoves, or other
apparatus (including amplifiers) that produce heat.
9. Do not defeat the safety purpose of the polarized or grounding - type plug. A polarized plug
has two blades with one wider than the other. A grounding type plug has two blades and a
third grounding prong. The wide blade or the third prong are provided for your safety. When
the provided plug does not fit into your outlet, consult an electrician for replacement of the
obsolete outlet.
10. Protect the power cord from being walked on or pinched particularly at plugs, convenience
receptacles, and the point where they exit from the apparatus.
11. Only use attachments / accessories specified by the manufacturer.
12. Use only with a cart, stand, tripod, bracket, or table
specified by the manufacturer, or sold with the apparatus.
When a cart is used, use caution when moving the
cart/apparatus combination to avoid injury from tip-over.
13. Unplug this apparatus during lightning storms or when unused for long periods of time.
14. Refer all servicing to qualified service personnel. Servicing is required when the apparatus
has been damaged in any way, such as power-supply cord or plug is damaged, liquid has

been spilled or objects have fallen into the apparatus, the apparatus has been exposed to
rain or moisture, does not operate normally, or has been dropped.
15. This appliance shall not be exposed to dripping or splashing water and that no object filled
with liquids such as vases shall be placed on the apparatus.
16. Mains plug is used as disconnect device and it should remain readily operable during
intended use. In order to disconnect the apparatus from the mains completely, the mains
plug should be disconnected form the mains socket outlet completely.
17. Battery shall not be exposed to excessive heat such as sunshine, fire or the like.
18. Do not overload wall outlet. Use only power source as indicated.
19. Do not attempt to dismantle, open or repair this product yourself. If a fault occurs, seek
advice from your local qualified service technician or contact the distributor via the telephone
number at the back of this instruction manual.
20. Caution marking and nameplate are located on back of product
FCC Statement :
This device complies with Part of the FCC Rules. Operation is subject to the following two
conditions : (1) this device may not cause harmful interference, and (2) this device must
accept any interference received, including interference that may cause undesired
operation.
NOTE: This equipment has been tested and found to comply with the limits for a Class
B digital device, pursuant to Part 15 of the FCC Rules. These limits are designed to
provide reasonable protection against harmful interference in a residential installation.
This equipment generates, uses and can radiate radio frequency energy and, if not
installed and used in accordance with the instructions, may cause harmful interference
to radio communications.
However, there is no guarantee that interference will not occur in a particular
installation. If this equipment does cause harmful interference to radio or television
reception, which can be determined by turning the equipment off and on, the user is
encouraged to try to correct the interference by one or more of the following measures:
Reorient or relocate the receiving antenna.
Increase the separation between the equipment and receiver.
Connect the equipment into an outlet on a circuit different from that to which the
receiver is connected.
Consult the dealer or an experienced radio/TV technician for help.
WARNING : MODIFICATION OF THIS DEVICE TO RECEIVE CELLULAR
RADIOTELEPHONE SERVICE SIGNAL IS PROHIBITED UNDER FCC RULES AND
FEDERAL LAW.
Warning: Changes or modifications to this unit not expressly approved
by the party responsible for compliance could void the user’s authority to
operate the equipment.

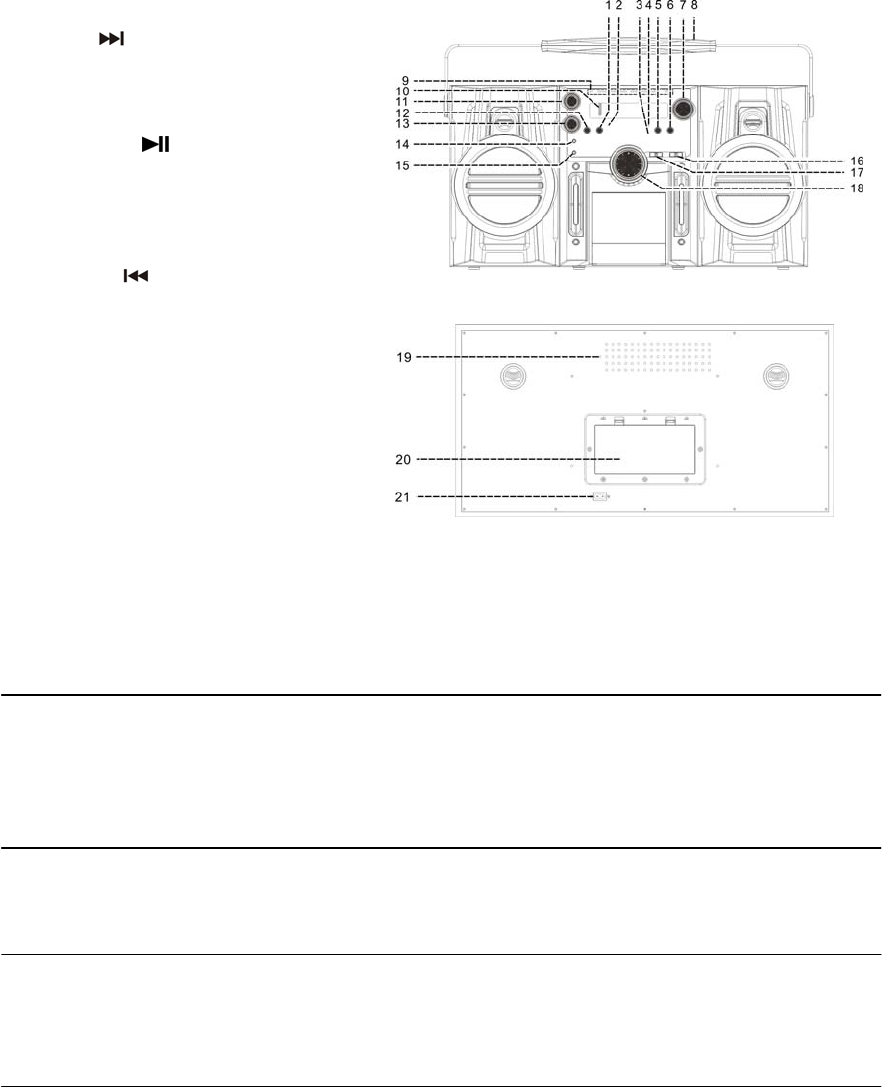
Location of controls
1) Skip up button
2) Power LED indicator
3) Bluetooth indicator
4) FM stereo LED indicator
5) BT Disconnect button
6) Play/pause button
7) Tuning knob
8) Handle
9) Level meter
10) Dial scale
11) Treble knob
12) Skip down button
13) Bass knob
14) 3.5 mm headphone jack
15) Aux in jack
16) Off/functions selector
17) Band switch
18) Volume button
19) FM wire antenna
20) Battery Compartment
21) AC socket
Caution:
Usage of controls or adjustments or performance of procedures other than those specified herein may result in
hazardous radiation exposure.
This unit should not be adjusted or repaired by anyone except qualified service personnel.
Precautions for use
Installation
Unpack all parts and remove protective material.
Do not connect the unit to the mains before checking the mains voltage and before all other connections have
been made.
Do not cover any vents and make sure that there is a space of several centimeters around the unit for ventilation.
AC Connection
1. Connect the one end of the detachable power cord to the AC socket (21) and the other end to the AC outlet.
2. When you first plug the unit into the mains, the unit was ready to play music.
3. Turn on the unit by Off/function selector (16), the POWER LED indicator (2) will light up.
Battery installation
1. Open the battery door at the rear side of the unit to install the battery.
2. Follow the engraved marking in the compartment to install 8pcs “D” size / UM1 battery with the correct direction to
the battery compartment (20). Then cover the battery door.
3. Disconnect the AC cord from AC outlet and remove it from AC socket (21) during battery operation.
Listening to radio
Manual tuning
1. Set the Off/function selector (16) to select TUNER position.
2. Select the desired band by Band switch (17).
3. Tune to the required station by turning the tuning knob (7).
4. Press volume button (18) to the adjust volume level.
FM-stereo reception
The FM-stereo LED indicator (4) will light up when FM stereo program is receiving.
Hints for best reception:-

- FM : the receiver has a built-in FM wire antenna (19) hanging at the rear cabinet. This wire should be totally
unraveled and extended for best reception.
- AM : the receiver has a built-in am bar antenna. If am reception is weak, slightly rotate or re-positioning of the unit
will usually improve the am reception. 1
Bluetooth connecting and Playback
1. Select the Off/function selector (16) to AUX/BLUETOOTH position.
2. The Bluetooth LED indicator (3) will flashing, it means the Bluetooth in non connection / searching mode.
3. Switch on the Bluetooth feature of your Bluetooth device (such as mobile phone) and select “ Goldsound”
Bluetooth equipment to connecting.
4. Once the connecting was finish and connect successfully, the Bluetooth LED (3) will change to light up.
5. Start to playback your Bluetooth device and enjoy the music by the main unit.
6. To re connect to another Bluetooth device conveniently, just press the BT disconnect button (5) once, the system
will disconnect with the existing Bluetooth directly, then repeat step 3 to re connect another one Bluetooth device.
Remark : Due to Bluetooth and Aux design in same channel of this unit, once the Aux in jack (15) plugged by any
3.5mm stereo plug, the function will change to Aux in automatically and the Bluetooth LED indicator (3) will goes off.
Made sure the Aux In jack (15) without plugged by anything before playing Bluetooth.
Aux-in connection with mobile holder
Connect another audio device, e.g. (portable) CD player, MP3 player, to this system via a provided cord with 3.5mm
dia plug. Connect one end of this cord to the 3.5mm dia. headphone jack on the external device and the other end to
the Aux-in jack (15) on the top of the unit. Set the Off/function selector (16) to AUX/BLUETOOTH position. When
connected in this way it is possible to play back the music already on the connected device.
Treble and Bass control
You can enjoy the adjustable bass and treble sound by rotate the Treble knob (11) and Bass knob (13).
2