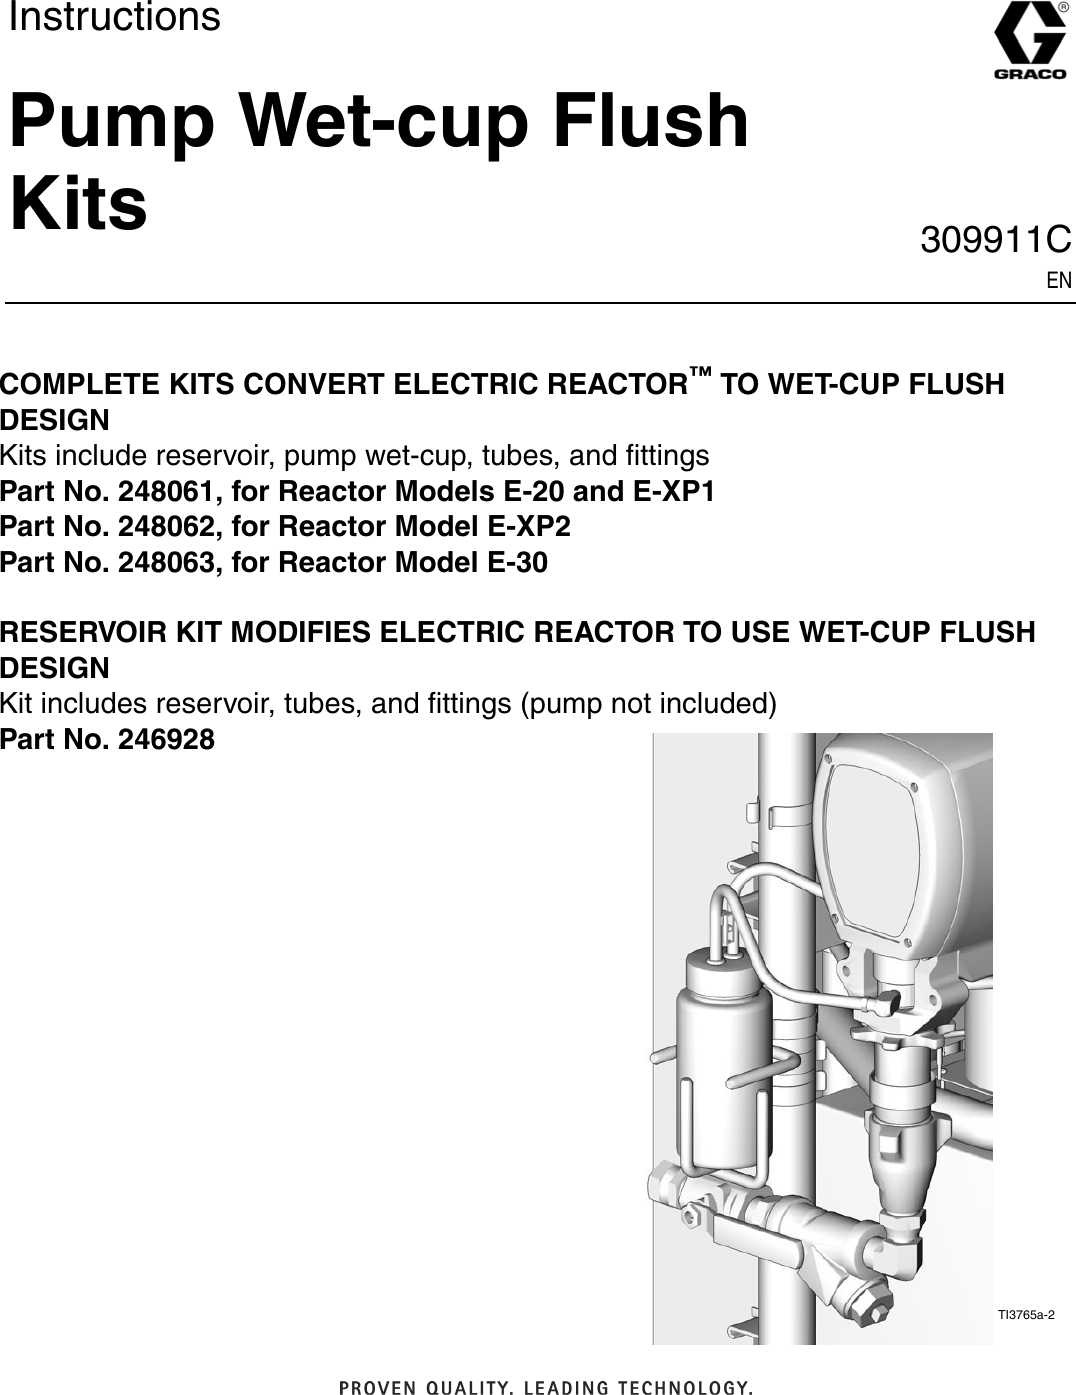
Graco 309911C Reactor Flush Kits, Instructions, English User Manual To The 0a36accb 5834 4e52 829f 8752af31c042
User Manual: Graco 309911C to the manual
Open the PDF directly: View PDF 
Page Count: 10
- Flush Pump Before Installing Kit
- Tools Required
- Disassembly
- Installation
- Purge Air and Prime Flush Kit
- Maintenance
- Parts
- Graco Standard Warranty
- Graco Information

