Gray S359100101 Mobile internet device User Manual
Gray Manufacturing Company, Inc. Mobile internet device
Gray >
User manual
User Manual
Mobile internet device
Model: S3 591-00101

2
Welcome.................................................................. 3
Important Notices........................................................ 3
Keys and Functions....................................................... 4
I. Getting Started....................................................... 4
1.1 Turn on/off ....................................................... 4
1.1.1 Turn on ..................................................... 4
1.1.2 Turn off..................................................... 5
1.2 Lock/unlock the screen (sleep mode) ............................. 5
1.4 Connect to computer ............................................ 5
II. The Home Screen...................................................... 6
2.1 Change wallpaper for home screen: .............................. 7
2.2 Add/delete applications on home screen: ........................ 7
2.3 Add widgets to home screen: .................................... 7
III. Network Connection.................................................. 7
3.1 Wi-Fi ............................................................. 7
3.1.1 Turn on Wi-Fi ................................................ 7
3.1.2 Turn off Wi-Fi ................................................ 8
3.1.3 Add a Wi-Fi network ........................................ 8
IV. Internet Browsing.................................................... 8
4.1 Internet Browsing ................................................. 8
V. Install and Manage Apps............................................... 9
5.1 Install Apps ...................................................... 9
5.2 Manage Apps ................................................. 10
VI. Multi-media Functions.............................................. 10
6.1 Music .......................................................... 10
6.2 Video ......................................................... 11
6.2.1 HDMI output ................................................. 12
6.3 Gallery ........................................................ 12
6.4 Camera ....................................................... 13
6.5 E-book reader ................................................. 14
VII. Settings.......................................................... 14
VIII. Battery.......................................................... 16
Troubleshooting........................................................ 17

3
Welcome
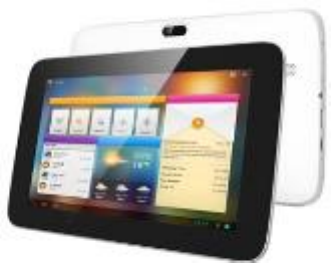
Thank you for purchasing this tablet.
It brings you much convenience for your business (supports Word, Excel, send
& receive e-mails...) and entertainment (supports 3D game, chatting, movie
playback, eBooks.....).
Running on Android 4.1, with a 1.6 GHz processor and highly responsive
capacitive touch screen, it brings you wonderful user experience.
Before beginning, please read this user manual carefully.
Important Notices
⊙ It may cause hearing damage when volume is excessively high. So please
adjust the volume of the player to a moderate level and balance the
time of using.
⊙ Do not disconnect the tablet suddenly when formatting or uploading and
downloading, which can lead to program errors.
⊙ Do not dismantle the tablet by yourself, and do not use alcohol, thinner or
benzene to clean its surface.
⊙ The tablet cannot support USB charge. If you want to charge the tablet,
please use the AC adaptor supplied. Please use the original accessories,
other tablets’ may does not fit.
⊙ Do not upgrade the firmware by yourself. It may cause damage to the
tablet.
4
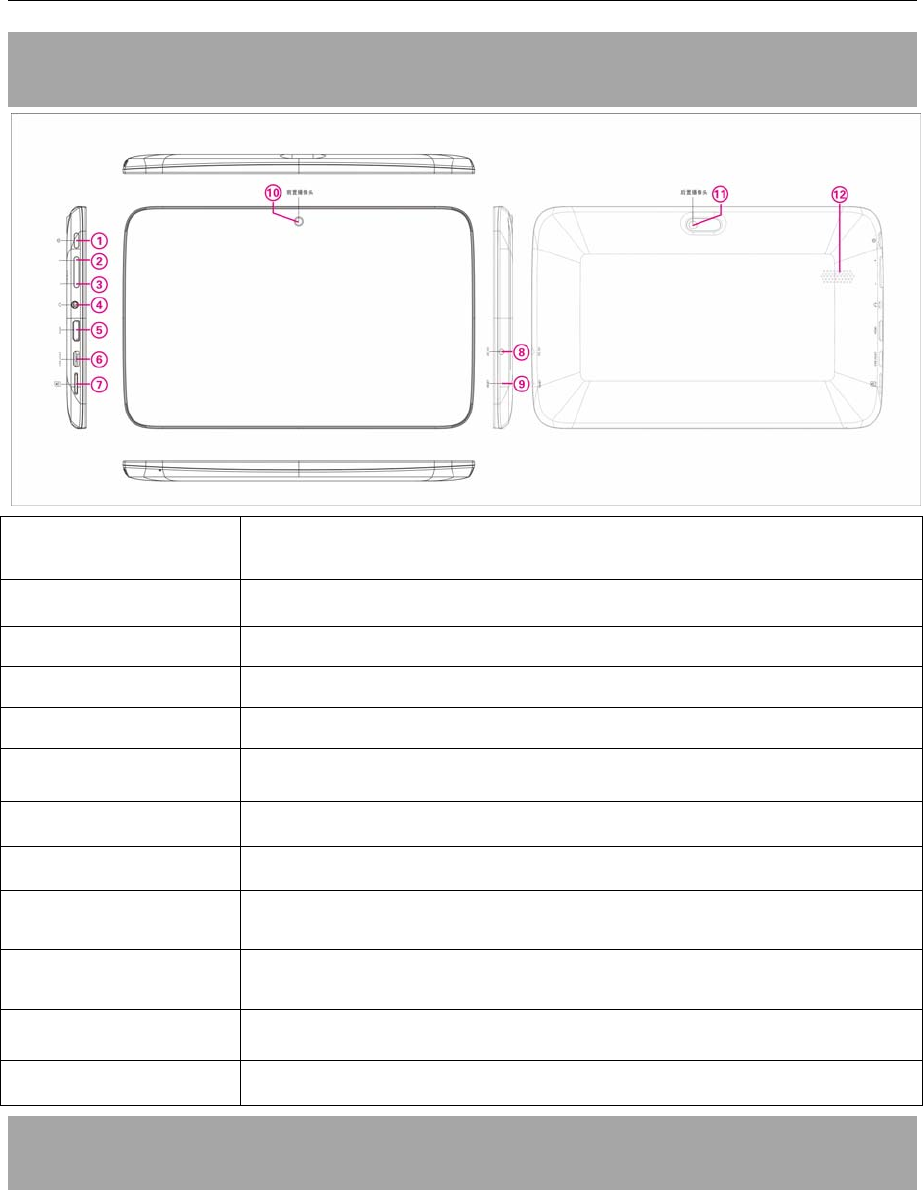
Keys and Functions
1. power and lock
key
Press to turn on or turn off the unit.
Briefly press to turn on or turn off the screen.
2. volume + Press to increase the volume
3. volume - Press to decrease the volume
4. Earphone Jack Connect the earphone with tablet
5. HDMI Connect to TV output via a HDMI cable
6. Micro USB slot Connect to a computer via a USB cable to transfer data
7. TF card slot To insert TF card
8. DC port Connect to a 5V output adaptor as included in the accessories
9. Reset hole Reset the tablet if it freezes or behaves abnormal
10. Front camera 0.3M pixel Front camera
11. Rear camera 2M pixel rear camera.
12. Speakers Speakers
I. Getting Started
1.1 Turn on/off
1.1.1 Turn on
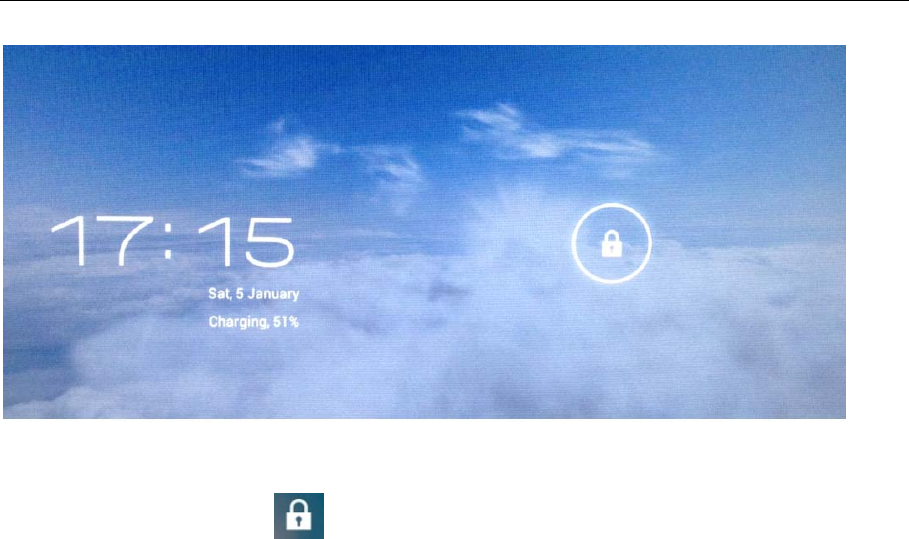
To start the tablet, press the power key for a while. Tab and drag the lock out
of the circle to unlock.
5
Tab and drag the lock out of the circle to unlock.
Drag the lock to right: go to the home screen.
Drag the lock to left: go to camera directly.
1.1.2 Turn off
To power off the tablet, press the power button until the “Would you like to
shut down?” dialog appears and tap “OK” to power it off.
1.2 Lock/unlock the screen (sleep mode)
Power could be saved by putting the tablet in sleep mode: shortly press the
power key. Press it again to wake up the screen.
1.3 Reset function
Press the reset hole with a sharp tool or pen-top when the device couldn’t be
rebooting or other
1.4 Connect to computer
Connect the tablet to computer with the supplied USB cable.
If the computer system is with XP system, please install a Windows Media
Player 11 for the computer before transfer media files as android 4.1 system
supports Windows Media Player 11.
6
II. The Home Screen
a. Google
search Tap to enter Google search page
b. Widgets Tap to open widget list
c. Google shop Tap to go to the app shop
d. ESC key Tap to return to the previous screen/ page.
e. Home Tap to return to home page
f. Recent
operations Tap to show your recent operations
g. Screen shoot Tap to shoot the picture of current screen
h. Volume + Press to increase the volume
i. Volume - Press to decrease the volume
j. Screen shoot
review Tap to check the screen shoot pictures
k. System time Show the current time of system
l. Wi-Fi Wi-Fi signal bar appears here when connected with Wi-Fi
m. Battery status Show battery status
a b c
d e f
g
h
i
j
k
l
m
7
2.1 Change wallpaper for home screen:
Tab and hold your finger in any blank space of the home screen, you will see
a pop-up options; choose wallpaper from Gallery, live Wallpapers or
Wallpapers as you like.
2.2 Add/delete applications on home screen:
There are several apps in the home screen, you can also add more
frequently-used app icons in this home page and delete some as you like.
Tab the app launcher in the top right corner to go to all apps panel, tap and
move the app you want to the home screen.
To delete an app from home screen, tap and hold it, and them movie it to the
remove icon
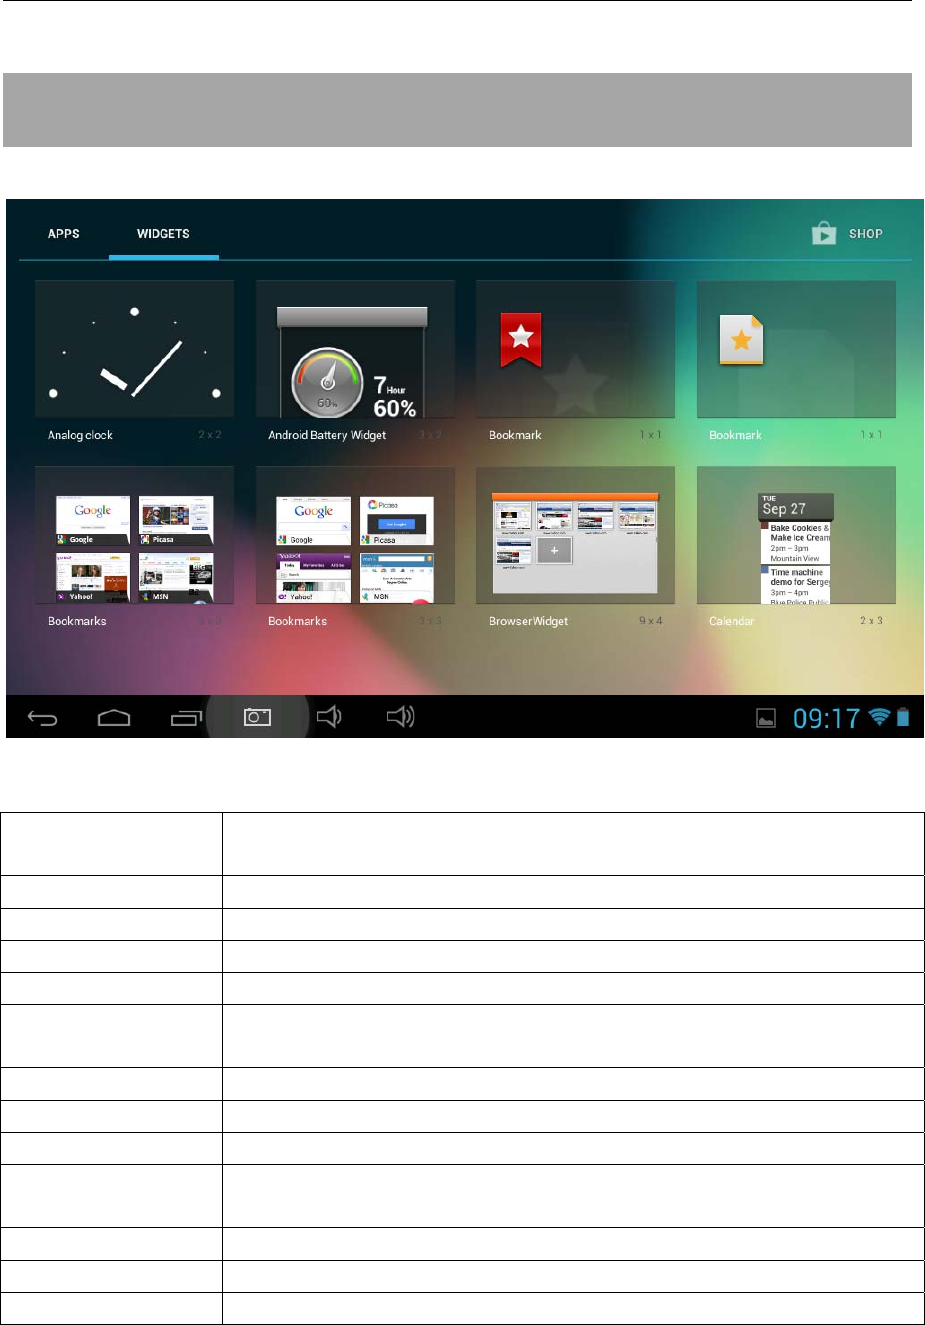
2.3 Add widgets to home screen:
Tab all Apps launcher→Tab WIDGETS. There are Analog clock, bookmarks,
calendar, Email, and lots of other widgets. Drag the widget you want to the
home screen.
Tips: Besides the home screen, you can access to other four panels by sliding
left or right in the home screen. You can also customize these panels.
III. Network Connection
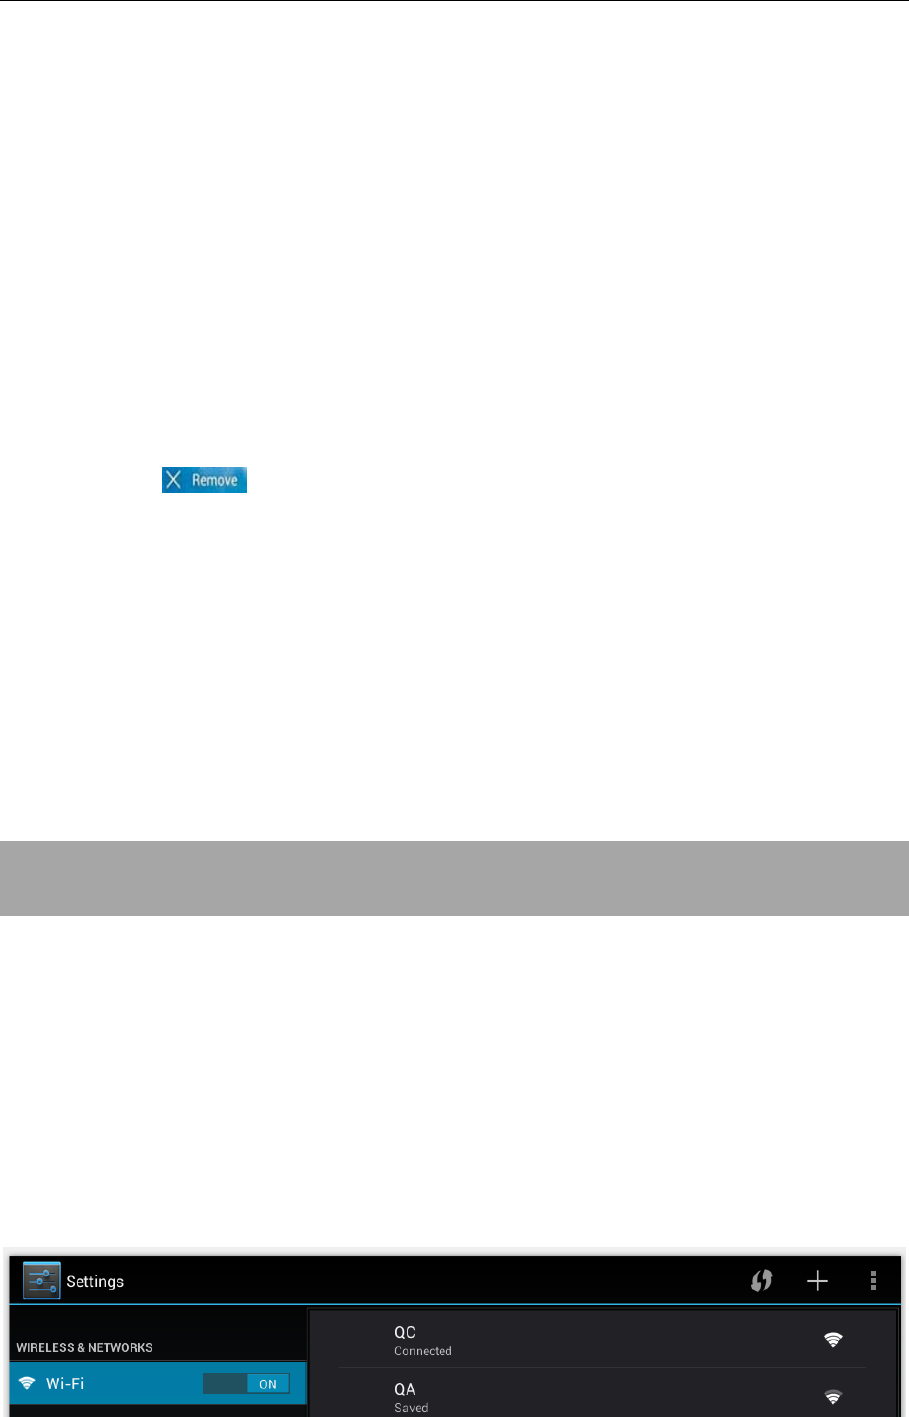
3.1 Wi-Fi
Wi-Fi can only be used when it connects with home Wi-Fi Access Point (AP) or
a free unsecured Wi-Fi hotpot. In “Wireless & networks”, tap “Wi-Fi” to turn it on.
After a moment, the Wi-Fi networks list would be listed. If you need to rescan
for available networks, tap "scan"
3.1.1 Turn on Wi-Fi
Within the App Panel, tap “Settings” → then “Wireless & networks” → “Wi-Fi” to
turn on wifi.
8
Tap a network to connect. If necessary, enter Network SSID, Security, and
Wireless password, and tap “Connect”. When the tablet is connected to the
network, the wireless indicator appears in the status bar. Waves indicate
connection strength.
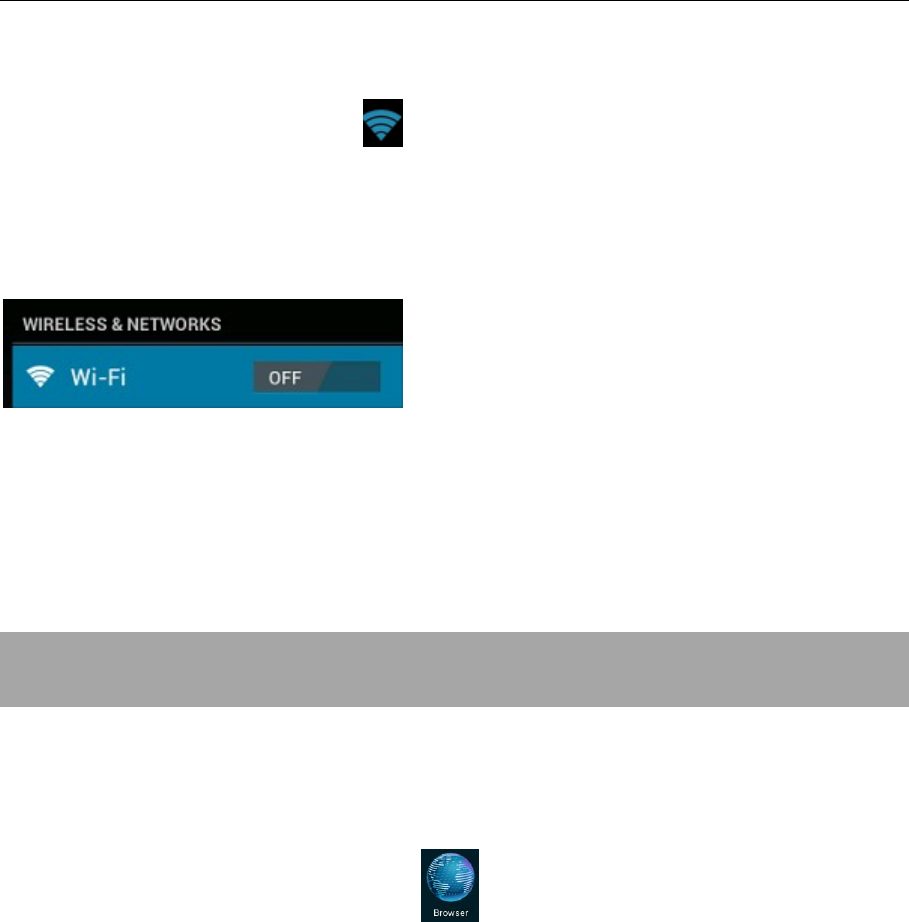
3.1.2 Turn off Wi-Fi
To saving power, please turn off Wi-Fi if you don’t use it.
3.1.3 Add a Wi-Fi network
Users may also add a Wi-Fi network under “Wi-Fi settings”. In “Wi-Fi settings”,
tap “Add network”. Enter the SSID (name) of the network. If necessary, enter
security or other network configuration details. Touch Save.
IV. Internet Browsing
4.1 Internet Browsing
Before using your browser, make sure Wi-Fi or internet is connected.
In your app panel, Tab the browser icon to open your browser.
Tap the address bar, the Android keyboard will appear for your entry of
keywords or URL.

9
New tab Submenu
Tab the icon in the top corner of the brower page to open the submenu.
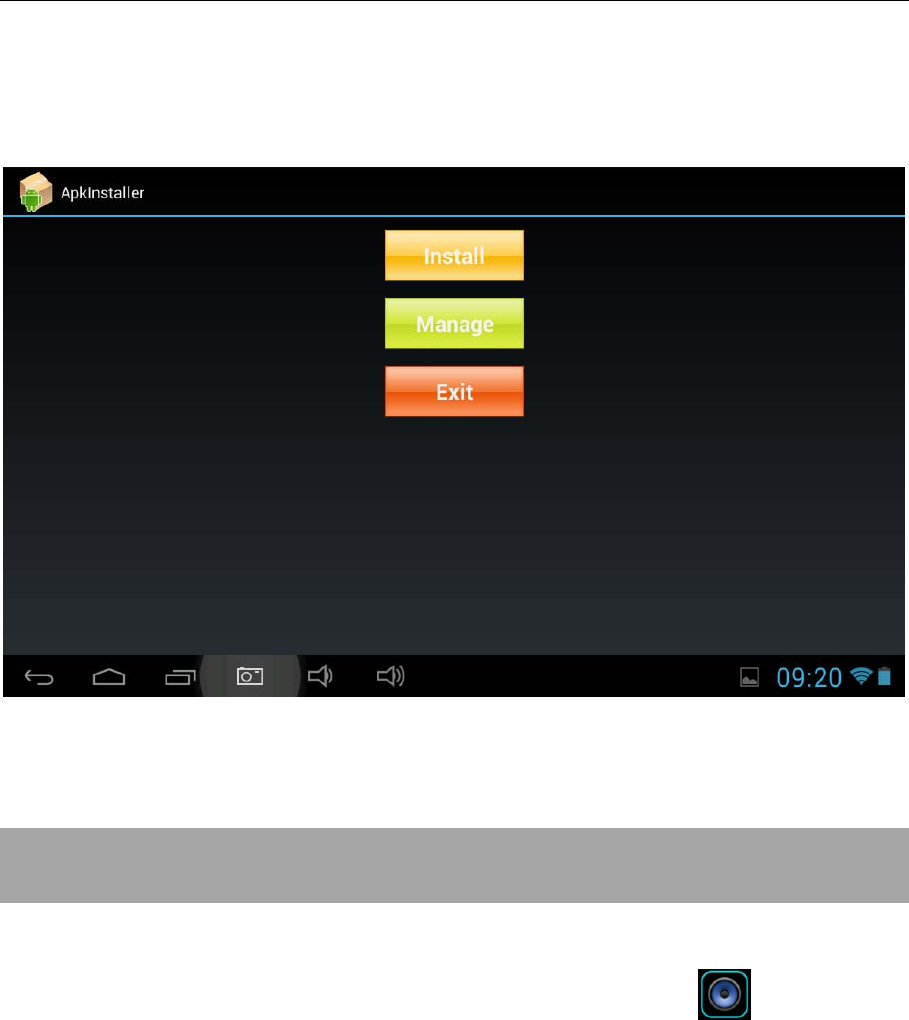
V. Install and Manage Apps
5.1 Install Apps
Go to the “ApkInstaller” to install and manage your apps. To install an
application, follow below steps:
1. Tap to open the ‘APKInstaller’ → ‘Install’ → then tap “Internal Memory” or
“TF Card”. Available .apk files will appear at the right side. Touch the required
one to install it.
Note: Make sure the .apk file is workable on android 4.0, and the suffix is .apk.
e.g. “angry birds.apk”.
In some cases, there may be no icon on in the App Panel after a file with type
of .apk is installed. Possible reasons may be that this app is not compatible
with your OS or the downloaded .apk file is a broken one so you may need to
download a full version.
10
5.2 Manage Apps
Tap to open the ‘APKInstaller’ → ‘Manage’. Tab the app and then you can
launch, export, and uninstall it.
You can also go to “AppS” under “Settings” to manage apps.
VI. Multi-media Functions
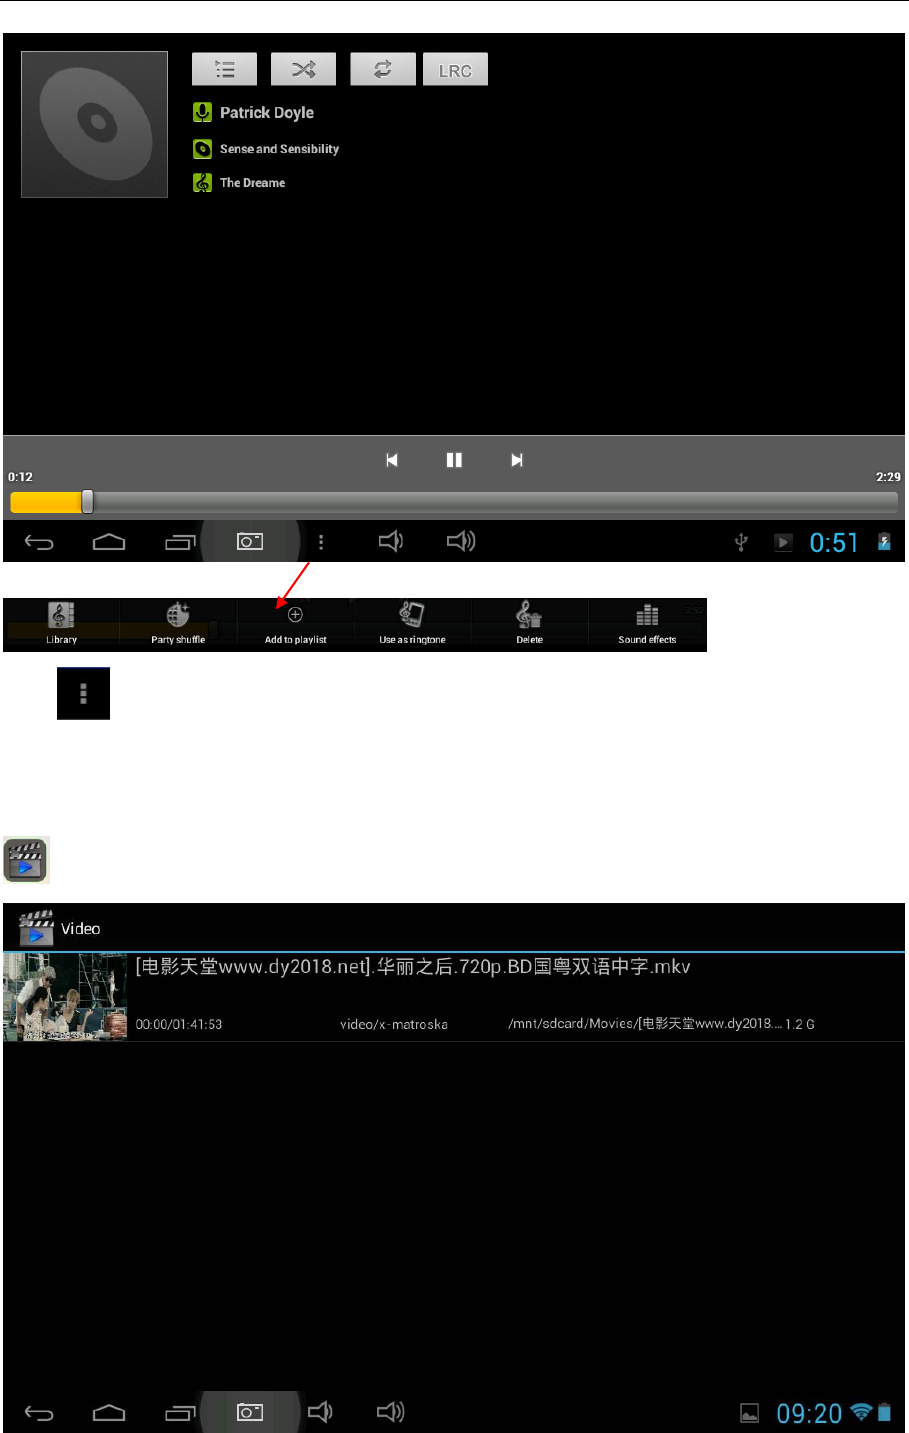
6.1 Music
After loading your music into the tablet, tap the music icon to open the
music player. You can select songs by Artist, Albums, songs or Play lists. Tap to
select. The media player allows you to shuffle, skip, or pause your current
selection and even displays the album artwork when available.
11
Tab in the bottom line to open a submenu in music playing page.
6.2 Video
You can play videos saved in the tablet or TF card. To play, tap Video
icon to launch the video player:
12
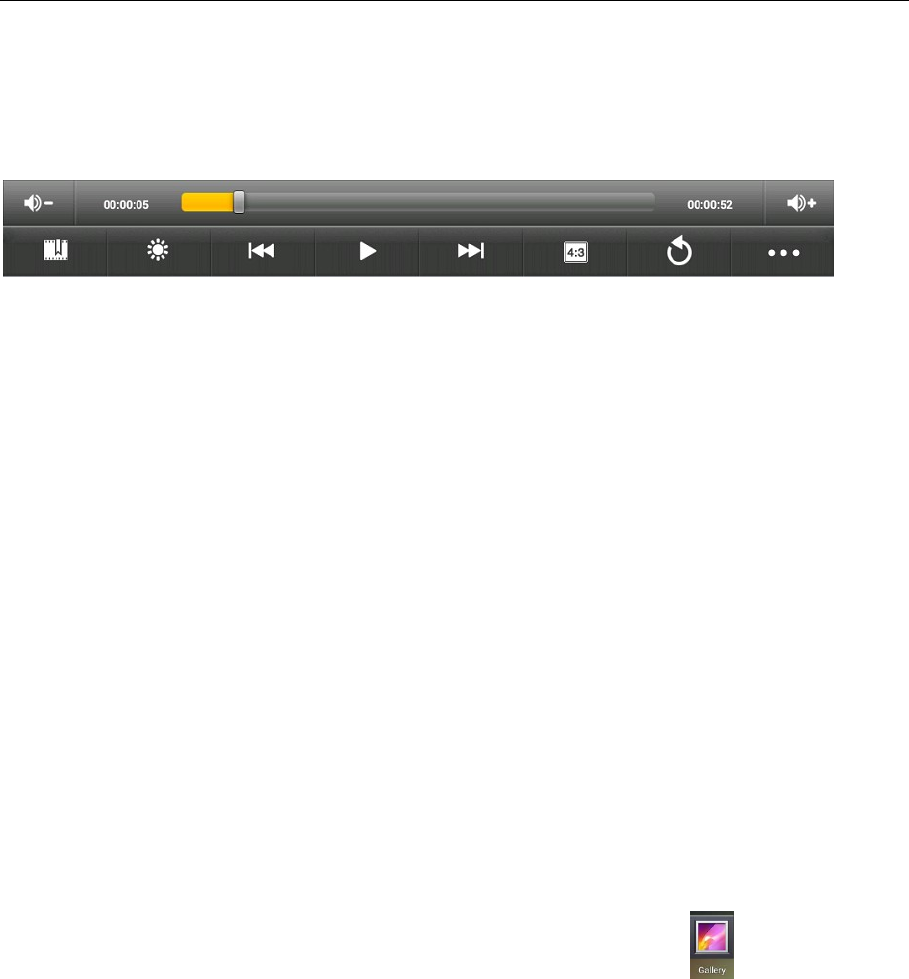
Tab the video you would like to play. Tab the screen to show the video tool
bar. You can play back, fast forward, pause your video here. You can also
add bookmark for your video, adjust brightness, or set screen ratio here. Here
is the toolbar:
With the Wi-Fi on, you are also able to view an on-line video.
6.2.1 HDMI output
a. Tap 'Video player' or other video players and play a required movie.
b. Adjust your TV set and select “HDMI” output
c. Connect the tablet to your TV via HDMI cable, and wait for a few
seconds for your TV set to receive signal.
When HDMI output function is used, the screen of the tablet goes dark.
Touch any point of the dark screen, on your TV screen will appear 'Vol+/Vol+',
'Play', 'Pause'... To have required volume, proportion, brightness, etc., you may
adjust before connecting the tablet to TV.
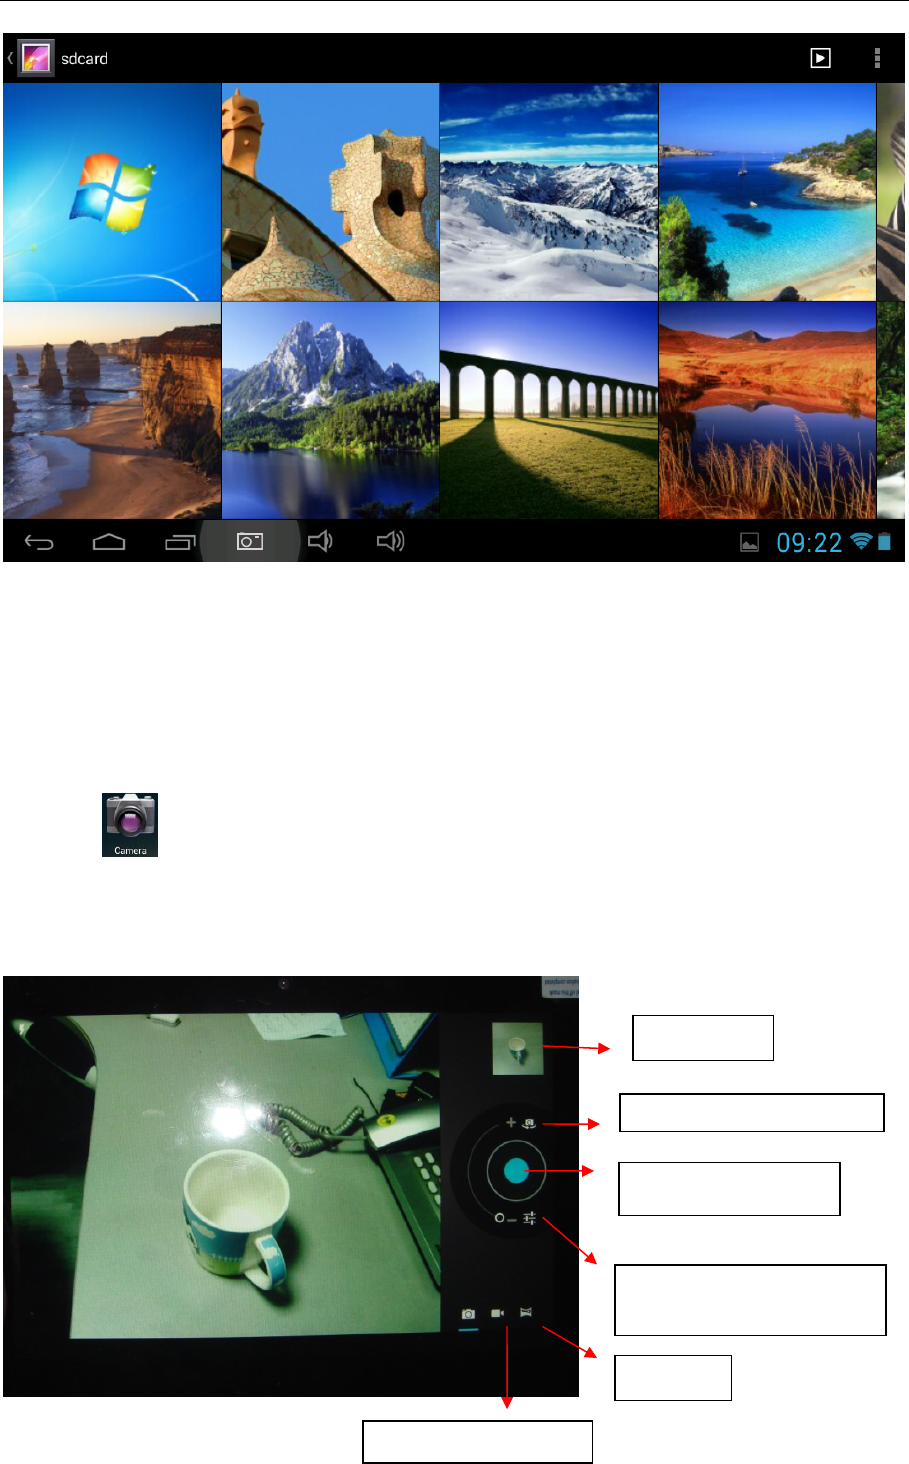
6.3 Gallery
You can view, show off, and even edit your digital pictures on the tablet’s full
color, high-resolution display. After loading your media, tap Gallery to
display your pictures:
13
Tab the picture you want to display, and slide right or left to show other
pictures.
Tap the menu icon, you can edit, rotate, crop, or set it as wallpaper.
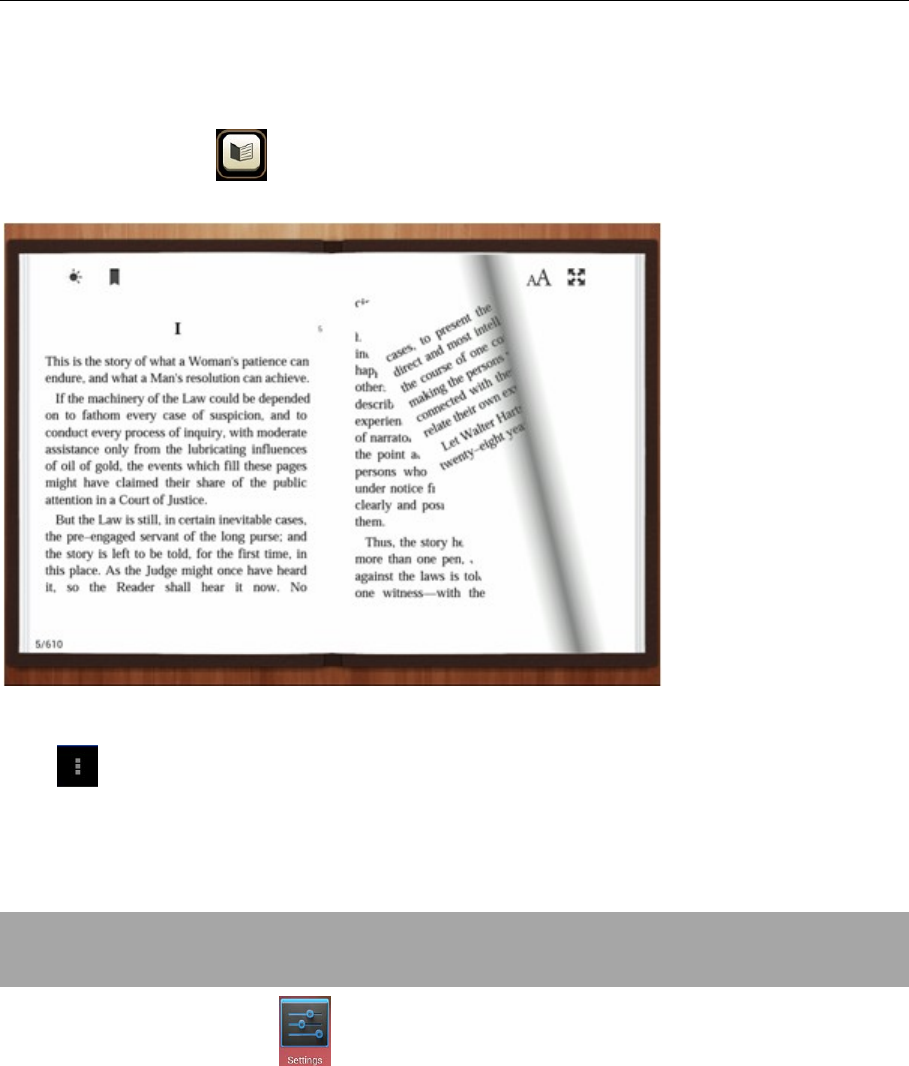
6.4 Camera
Tap the icon to open camera. The tablet is built in 0.3M front camera
and 2M rear camera. You can take a photo, or a video both by front camera
and rear camera.
View photos
S
elect Front/ back camera
Tab to take a photo
Set up pixel, white balance,
Scene mode
,
etc.
Pan-shot
Video-takin
g
Interface
14
6.5 E-book reader
The tablet supports formats like PDF, Text, E-Pub, FB2, PDB etc....
Tap the “e-book” icon to open e-book shelves. Tab an e-book to open
the book and read.
You can page up or page down by sliding your finger right or left.
Tab or the menu button to check the sub-menus. You can set the font
size, Go to Page jump; check bookmarks, set the auto flip time, etc.
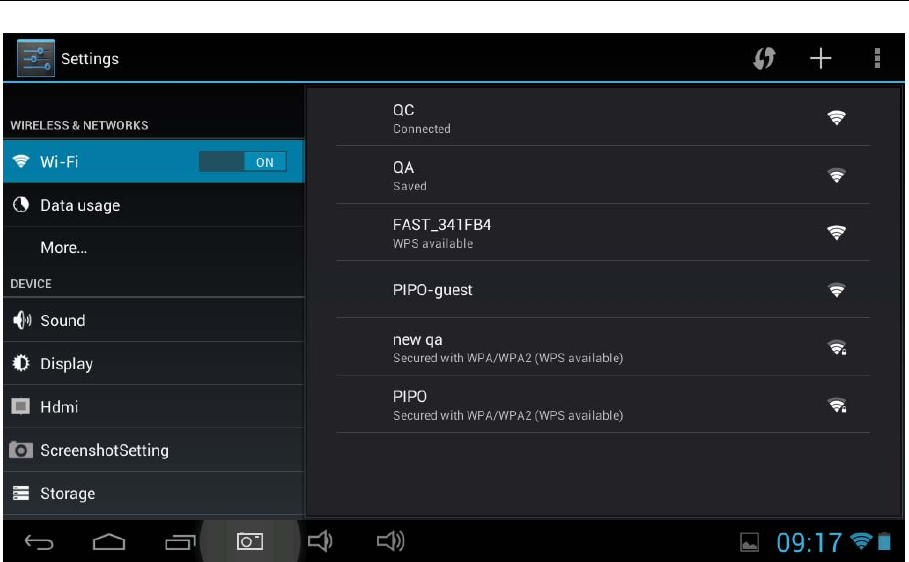
VII. Settings
Tap the “Settings” icon to go to settings.
You can check and set wireless&networks, sound, display, storage, Battery,
Accounts &sync, security, language, date&time, about tablet, etc.
15
Wi-Fi: tap “Settings” → “Wireless & networks” to turn on wifi and scan. It will
show a list of Wi-Fi networks scanned in range. Choose a strong Wi-Fi network
to connect. (You may need to input the password).
Display: To set Brightness, Wallpaper, Sleep time-out, Font size here.
Storage: Check internal storage here. If you insert a Micro SD card, or USB disk,
you can check the total and available space for your Micro SD card or USB
disk. Please unmount it to safely remove it.
Battery: Check the Battery status here.
Display: Tab “Settings” → “Display” to set brightness, screen time-out, etc.
Language & input: to set language and keyboard input.
Backup & reset: to go to submenu "back up my data" and "Factory data
reset". If you choose factory data reset, all data from the tablet's internal
storage will be erased. Choose this option carefully.
About Tablet: To check information about the tablet, such as Model number,
android version, etc.
16
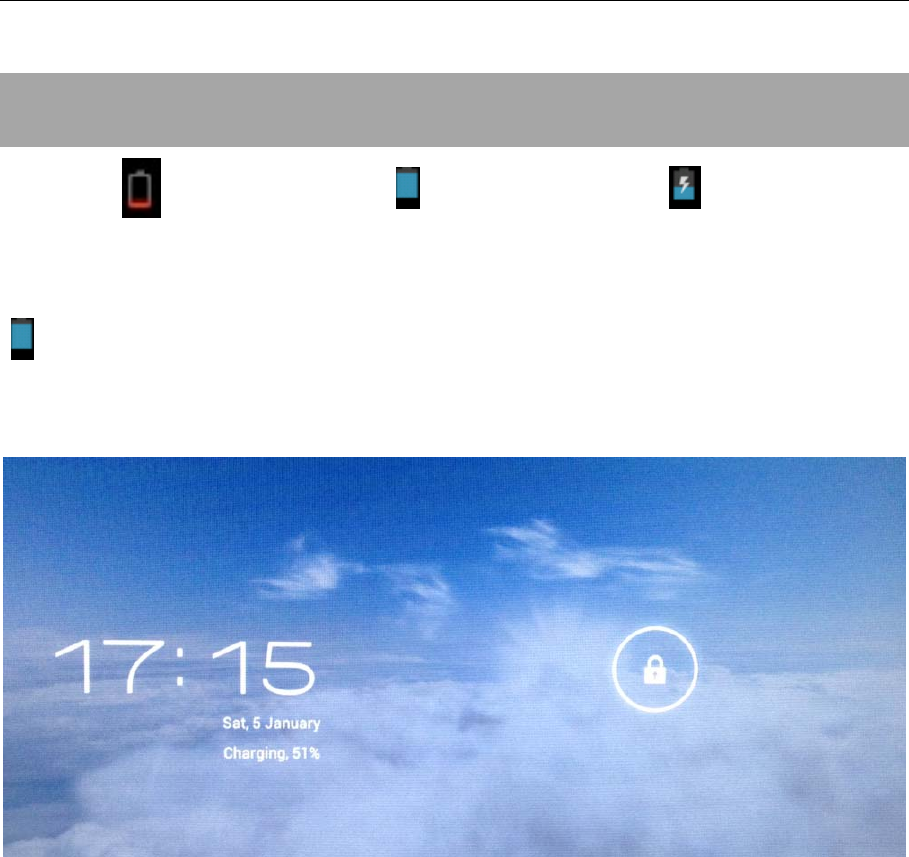
VIII. Battery
Very Low Battery Full Battery Charging Battery
‘’ indicates that the power of Battery is full. When the battery level becomes
too low, a prompt comes up to note you to charge the tablet.
While charging, you can check the charging status in the lock screen:
It takes around 5 hours to charge the tablet to full battery. Please only use a
5V /2.5A adaptor included in the gift box to charge it.
17
Troubleshooting
1. Can not turn on the tablet
Check the battery level; please charge it before starting it. In case the tablet
still cannot be turned on, you may try to reset it.
2. No sound from earphone
Check if volume is set to ‘0’. Or earphone may be broken, please change for
another one.
3. I set the password, but I forgot my password, how to cancel the password?
Answer: re-install the system.
4. Screen drift or unresponsive screen
Pin the reset button to reset the tablet and power it on again.
6. Application not workable
Possible reasons may be that this app is not compatible with your OS or the
downloaded .apk file is broken so you may need to download a full version.
7. How delete a Google account?
If an account is added, the account is shown in “Accounts & sync” of
“Settings”, where you may also add another account. To delete an undesired
account, go to “Settings” → “Privacy settings” → “Factory data reset”. The
tablet’s internal storage, downloaded apps, etc. will also be deleted at the
same time, except the info in your flash memory. Be careful before you carry
out this operation.
8. The battery has been fully charged very fast.
There may have some bugs there, so reset the tablet, please do not forget to
save the important data in the tablet.

18
FCC STATEMENT
1. This device complies with Part 15 of the FCC Rules. Operation is subject to
the following two conditions:
(1) This device may not cause harmful interference, and
(2) This device must accept any interference received, including interference
that may cause undesired operation.
2. Changes or modifications not expressly approved by the party responsible for
compliance could void the user’s authority to operate the equipment.
This equipment has been tested and found to comply with the limits for a Class
B digital device, pursuant to part 15 of the FCC Rules. These limits are designed
to provide reasonable protection against harmful interference in a residential
installation. This equipment generates, uses and can radiate radio frequency
energy and, if not installed and used in accordance with the instructions, may
cause harmful interference to radio communications. However, there is no
guarantee that interference will not occur in a particular installation. If this
equipment does cause harmful interference to radio or television reception,
which can be determined by turning the equipment off and on, the user is
encouraged to try to correct the interference by one or more of the following
measures:
—Reorient or relocate the receiving antenna.
—Increase the separation between the equipment and receiver.
—Connect the equipment into an outlet on a circuit different from that to which
the receiver is connected.
—Consult the dealer or an experienced radio/ TV technician for help.
FCC Radiation Exposure Statement:
The device has been evaluated to meet general RF exposure requirement.
The device can be used in portable exposure condition without RF striction.