HANA Micron AXIS20 USB Flash Drive User Manual User s Guide English a
HANA Micron Inc. USB Flash Drive User s Guide English a
UserManual.wiki
>
HANA Micron
>
AXIS20 User Manual
User Manual
Navigation menu
Upload a User Manual
Namespaces
Wiki Guide
HTML
PDF
Info
Views
User Manual
Discussion / Help
Navigation

![5 3. Operation and Usage ● General Operations - Install Mobile Disk to the USB port directly or via an extension cable. - You can input/output and edit/delete data right after Mobile Disk is connected to the port. ● The following operating systems do not need driver installation: - Windows ME, Windows 2000, Windows XP, Mac OS 9.0 or higher, Linux Kernel Version 2.4.0 or higher. ● The following operating systems need driver installation: - For Windows 98 and Windows 98 Second Edition (SE), driver installation is required since the OS itself does not support a Mass Storage Device. (The Driver Install CD is installed only once.) - For Windows 98/98SE, install the driver with the Auto Install CD supplied by our company. - After installation, the Mobile Disk is recognized as a Removable Disk as shown below. [Note1] Be sure to connect the Mobile Disk to the USB port before running the Manager Program. (See Chapter 4 for installation) [Note2] For Win98 / Win Me, you must unplug the Mobile Disk after the driver installation and then plug it in for normal operation.](https://usermanual.wiki/HANA-Micron/AXIS20/User-Guide-351938-Page-5.png)
![6 4.1 Installing Manager Program 1) Insert the Manager Program CD supplied with the product into the CD ROM drive. 2) The main window of the Manager Program automatically appears as shown below. Image Insertion [Manager Program Selection Window] 3) Select the Manager Program installation menu. The corresponding manager program installation screen appears. Select a language and click [Next]. Click [Next].](https://usermanual.wiki/HANA-Micron/AXIS20/User-Guide-351938-Page-6.png)
![8 Select U-Storage. Select "Change Password.” When the following window appears, change the password and click OK. < Be sure to take note of your new password to not forget it.> [Note] If you failed to enter the correct password three times or more, please plug in the device again and try again. If you can’t remember your password, you can use the Hint for help.](https://usermanual.wiki/HANA-Micron/AXIS20/User-Guide-351938-Page-8.png)
![12 [Public Area Only] Click “Resize.” Click OK to run Resize. ※ Take special care since if you resize to “Public Area Only,” the security feature disappears. Even if the partition for the Security Area disappears, the Setup.exe file still exists.](https://usermanual.wiki/HANA-Micron/AXIS20/User-Guide-351938-Page-12.png)
![13 [Security Area] Move the bar left or right on the screen to resize it, and then click OK. When the following message appears, click “OK.” The resize is applied. [Public Area + Security Area] Set the sizes for each driver on the screen and click OK.](https://usermanual.wiki/HANA-Micron/AXIS20/User-Guide-351938-Page-13.png)
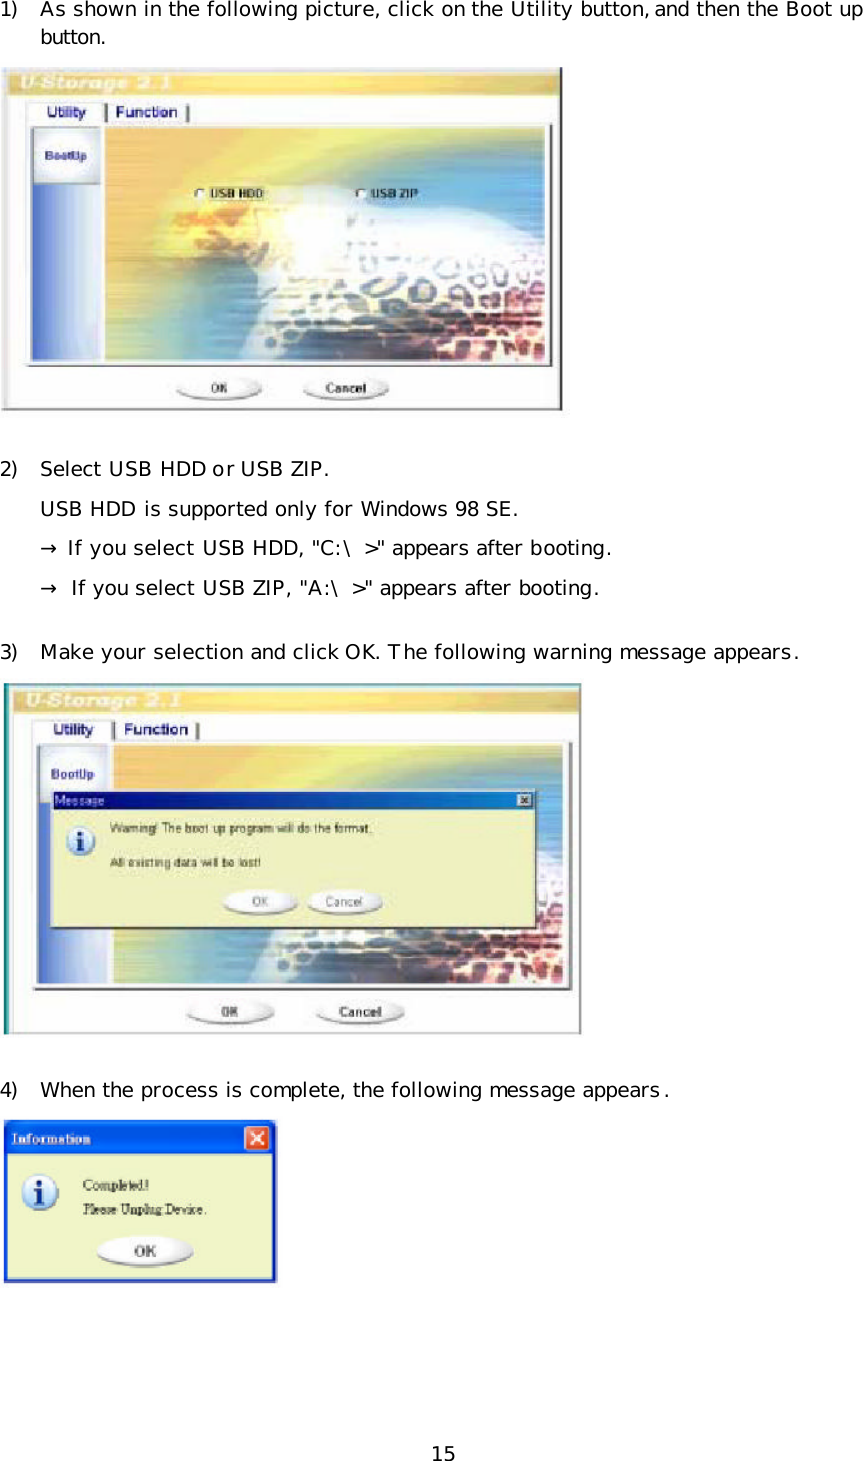
![14 The following two drivers are created. 4.3 Boot Up Function The Boot Up Function enables the device to perform as a boot disk. (The Main Board must provide USB FDD/HDD/ZIP Bootable features). Read the following before running the program. 1) This program runs on Windows 98 SE, ME, or XP. (Windows2000 is not supported.) 2) Stop the anti-virus program while the program is running. 3) A Window’s system must be installed on the C Disk. 4) This program applies only to one device. (2 or more devices are not supported simultaneously.) 5) The device must be in the Public Area. (When you use this function when logged in, you will be logged out, and all the data in the Public Area will be deleted.) [Note] If you wish to create a bootable USB HDD, you cannot use the Security Area of the device. In addition, this option is supported only by Windows 98 SE. The procedures for Windows 98 SE/Me and XP are different. Please follow the procedures described below. It is not supported by Windows 2000. 4-1 Windows 98 SE / ME](https://usermanual.wiki/HANA-Micron/AXIS20/User-Guide-351938-Page-14.png)
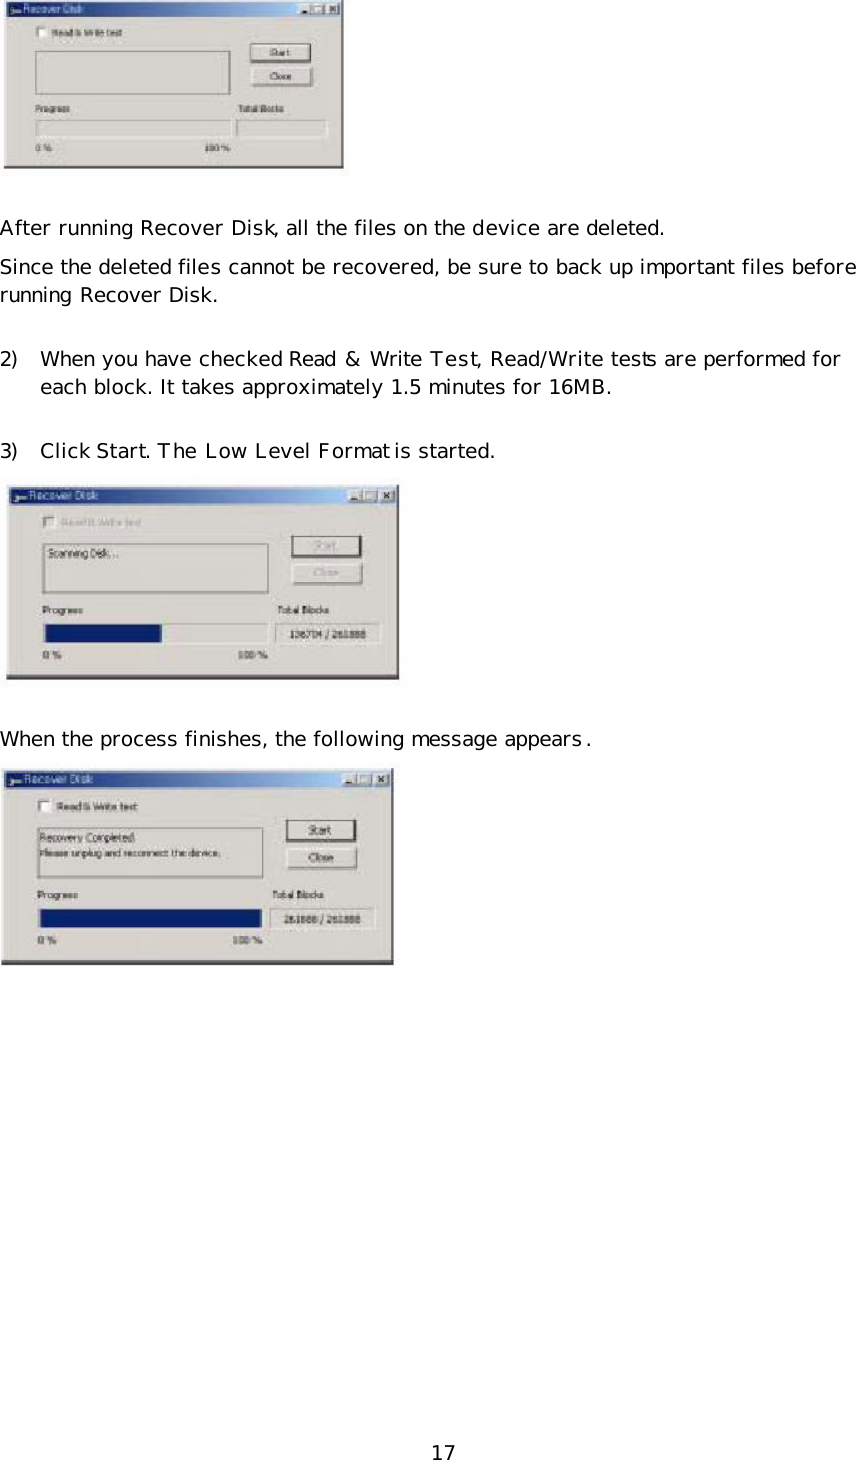
![16 [Error Messages] The following message appears when the Windows OS was not installed properly. Create a folder (\WINDOWS\COMMAND\EBD in Windows 98, \WINDOWS\COMMAND\EBD in Windows ME, or \XP_Bootable in Windows XP) and copy system files to the folder. The following message appears when the size of the Public Area is insufficient. Increase the size of the Public Area by using the Resize function. [Note] When you carry out the above procedure, the booting files are created on the device. Make sure to prevent them from being erased. If they are erased, normal booting is impossible. 4.4 Recovery Disk This feature is used when you wish to initialize the device because you cannot use it due to problems in the device. If there are any bad blocks in the Flash Memory, you can use Scan Disk to initialize it. However, the capacity of the device decreases for bad blocks. 1) As shown below, select Start → Programs → U-Storage → Recover Disk on your desktop.](https://usermanual.wiki/HANA-Micron/AXIS20/User-Guide-351938-Page-16.png)