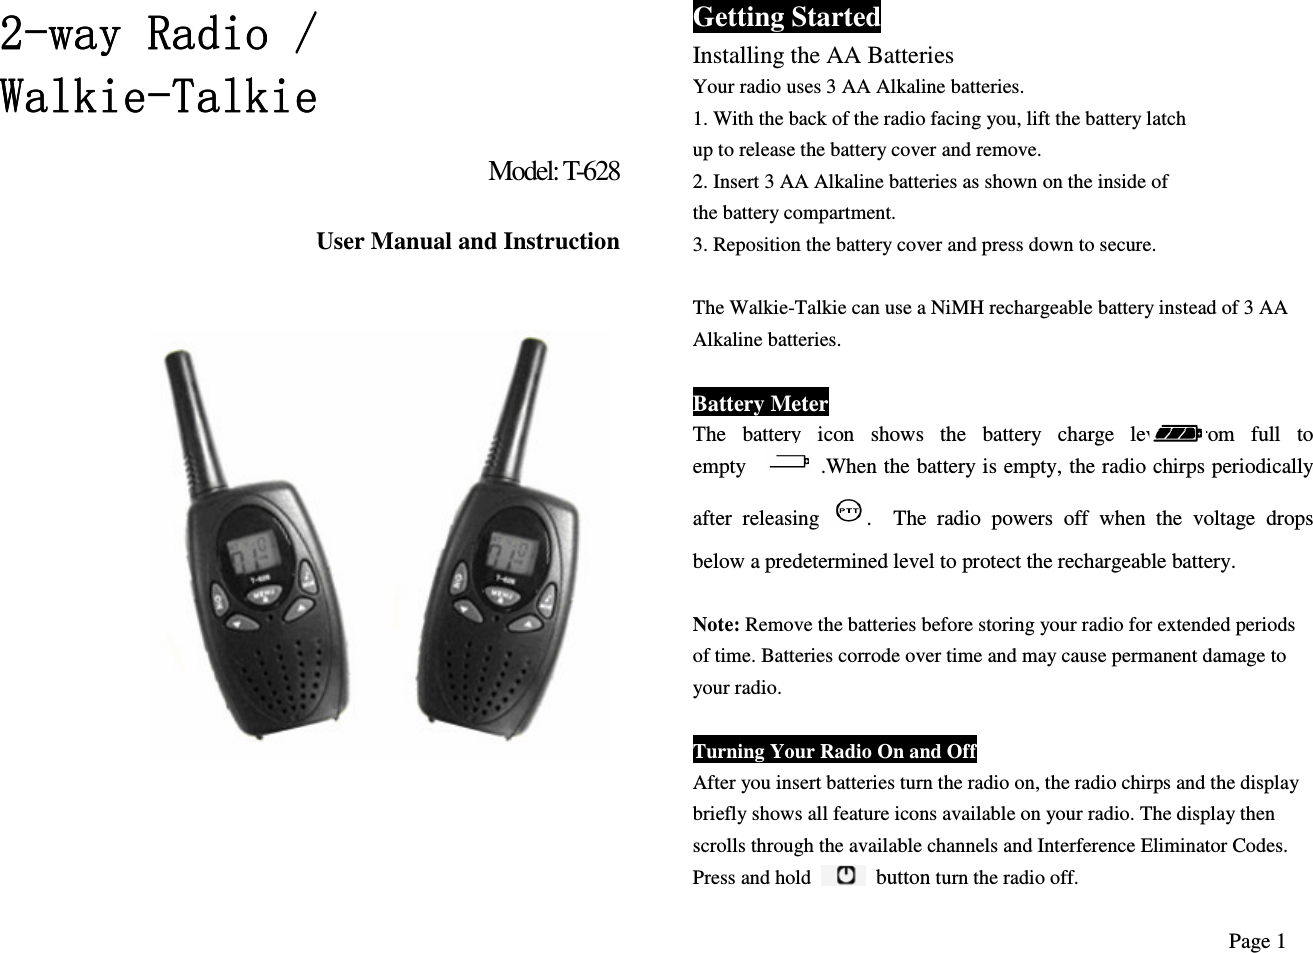
HENAN ESHOW ELECTRONIC COMMERCE RETEVISRT628 2 way Radio User Manual

Zhengzhou eShow Import And Export Trade Co., Ltd. 2 way Radio

User Manual

2222----way Radio / way Radio / way Radio / way Radio / WalkieWalkieWalkieWalkie----TalkieTalkieTalkieTalkie    Model: T-628  User Manual and Instruction                        Getting Started Installing the AA Batteries Your radio uses 3 AA Alkaline batteries. 1. With the back of the radio facing you, lift the battery latch up to release the battery cover and remove. 2. Insert 3 AA Alkaline batteries as shown on the inside of the battery compartment. 3. Reposition the battery cover and press down to secure.  The Walkie-Talkie can use a NiMH rechargeable battery instead of 3 AA Alkaline batteries.  Battery Meter The  battery  icon  shows  the  battery  charge  level,  from  full  to empty              .When the battery is empty, the radio chirps periodically after  releasing  .    The  radio  powers  off  when  the  voltage  drops below a predetermined level to protect the rechargeable battery.  Note: Remove the batteries before storing your radio for extended periods of time. Batteries corrode over time and may cause permanent damage to your radio.  Turning Your Radio On and Off After you insert batteries turn the radio on, the radio chirps and the display briefly shows all feature icons available on your radio. The display then scrolls through the available channels and Interference Eliminator Codes. Press and hold    button turn the radio off. Page 1
Setting the Volume - Press the up button to increase the speaker volume. - Press the down button to decrease the speaker volume. - The speaker volume level is indicated by the numbers 1-16 displayed. Get Setting a Channel                                                                                                                           1. With the radio on, press  , The current channel flashes. 2. Press up or down to set the channel. 3. Press PTT to save the channel setting. Getting Started Channels and Frequencies Channel Frequency                            Channel Frequency 1 – 462.5625 MHz                                    12 – 467.6625 MHz   2 – 462.5875 MHz                                    13 – 467.6875 MHz 3 – 462.6125 MHz                                    14 – 467.7125 MHz   4 – 462.6375 MHz                                    15 – 462.5500 MHz   5 – 462.6625 MHz                                    16 – 462.5750 MHz 6 – 462.6875 MHz                                    17 – 462.6000 MHz   7 – 462.7125 MHz                                    18 – 462.6250 MHz   8 – 467.5625 MHz                                    19 – 462.6500 MHz   9 – 467.5875 MHz                                    20 – 462.6750 MHz   10 – 467.6125 MHz                                  21 – 462.7000 MHz   11 – 467.6375 MHz                                  22 – 462.7250 MHz    Control Buttons   Use  /    to:   • Scan • Turn radio on/off  Use UP/DOWN to: • Adjust volume • Scroll through menus  Use   ♪/MON to: • Transmit call tone Use   to: • Select menu options • Exit the menu (when pressed while in a menu) • Lock and unlock the keypad (when held down and not in a menu) Use   to: • Talk • Save a setting  Talking and Listening To communicate, all radios in your group must be set to the same channel and Interference Eliminator Code. To talk, press and hold PTT. Hold the radio 2 to 3 inches away from your mouth when speaking. Page 2  Page 3
When you finish speaking, release PTT (press to talk, release to listen).  Checking the Channel Before Transmitting Your radio has multiple channels shared on a “take turn” basis. For uninterrupted communication, do not talk on a channel if someone else is currently talking on it. To check for activity on a channel before you talk, press and hold ♪/MON . If you hear static, the channel is clear to use. Special Features Special Features Interference Eliminator Code Interference Eliminator Codes help minimize interference by providing you with a choice of code combinations. To set the code for a channel: 1. Press  until the code starts to flash. 2. Press UP or DOWN to select the code 0-121 OR 121-0. 3. Press PTT to save the code setting. You can set a different code for each channel using this procedure. Note: You must set the Interference Eliminator Code to 0 on an FRS radio that uses Interference Eliminator Codes to communicate with other FRS radios that do not have Interference Eliminator Codes.  Push to Talk Timeout Timer To prevent accidental transmissions and save battery life, the radio emits a continuous warning tone and stops transmitting if you press PTT for 180 continuous seconds. Special Features22 Locking the Keypad To avoid accidentally changing your radio settings, press and hold   for 3 seconds or until    displays. You can turn the radio on and off, adjust the volume, receive, transmit, send a call tone, and monitor channels. All other functions are locked. To unlock the radio, press and hold  for 3 seconds or until    is no longer displayed.  Scanning Channels   Use scanning to monitor channels for transmissions or to find someone in your group who has accidentally changed channels. To start scanning, briefly press and release  . The scan indicator   displays. When the radio detects channel activity, it stops scanning and you can hear the transmission. To respond to the transmission, press PTT within 5 seconds.  Scan Advance If the radio stops scanning on a channel you do not want to listen to, briefly press and release UP or DOWN button to resume scanning for the next active channel.  Removing Channels from the Scan List (Nuisance Delete Feature) To remove a channel so the radio does not stop on it while scanning, press and hold UP or DOWN for at least 3 seconds, then release. This temporarily removes the channel from the scan list. To restore the channel, turn the radio off and then back on. Page 4  Page 5
Note: You cannot remove the channel your radio was set to when you started the scan (called your home channel). Alerts Setting and Transmitting Call Tones Your radio can transmit different call tones to other radios in your group so you can alert them that you want to talk. To set a call tone: 1. With the radio on, press      3 times. The current call tone setting flashes and            displays.      2. Press UP or DOWN to change and hear the call tone. 3. Press   or   to set the new call tone. To transmit your call tone to other radios set to the same channel and Interference Eliminator Code as your radio, press  Notes • Setting the call tone to 0 disables the call tone feature.  Voice Activation (VOX)     Voice activation (VOX) allows you to talk hands-free. 1. Press PTT and   Turn the radio on.   2. Turn the radio on.  displays. 3. To transmit, speak into microphone. There is a short delay between the time you start talking and when the radio transmits. 4. To receive, stop talking. To turn VOX off, press PTT.  Setting the Sensitivity Level   Adjusting your radio’s sensitivity level helps minimize the possibility of unintended noises triggering a transmission and helps the radio pick up soft voices. 1. Press   until   displays. 2. Press UP or DOWN to select the sensitivity level: 3 = High Sensitivity for quiet environments 2 = Medium Sensitivity for most environments 1 = Low Sensitivity for noisy environments 29 Setting the double channel monitor   1.  Press   until    CH displays, The current channel flashes. 2.  Press up or down to set the monitor channel. 3.  Press PTT to save the double channel monitor setting.  Setting the SQUELCH Level 1-6 1. Press   until SL displays. 2. Press UP or DOWN to select the receive sensitivity level: 01 = High receive Sensitivity 02~05 = Medium receive Sensitivity 06 = Low receive Sensitivity Page 6  Page 7
Setting the TX POWER LO/HI 1. Press   until    pr displays.  1. Press UP or DOWN to select the LO OR HI level. 2. Press PTT to save the TX POWER LO/HI setting.  Safety and General Information Important Information on Safe and Efficient Operation Read This Information Before Using Your Radio The information provided in this document supersedes the general safety information contained in user guides published prior to July 2000. Transmit and Receive Procedure Your two-way radio contains a transmitter and a receiver. To control your exposure and ensure compliance with the general population/uncontrolled environment exposure limits, always adhere to the following procedure: • Transmit no more than 50% of the time. • To transmit (talk), press the Push to Talk (PTT) button. • To receive calls, release the PTT button.  Transmitting 50% of the time, or less, is important because the radio generates measurable RF energy exposure only when transmitting (in terms of measuring standards compliance).  Exposure to Radio Frequency Energy Your radio is designed to comply with the following national and international standards and guidelines regarding exposure of human beings to radio frequency electromagnetic energy: Two-Way Radio Operation When using your radio as a traditional two-way radio, hold the radio in a vertical position with the microphone one to two inches (2.5 to 5 cm) away from the lips.  Facilities To avoid electromagnetic interference and/or compatibility conflicts, turn off your radio in any facility where posted notices instruct you to do so. Hospitals or health care facilities may be using equipment that is sensitive to external RF energy.  Aircraft When instructed to do so, turn off your radio when on board an aircraft. Any use of a radio must be in accordance with applicable regulations per airline crew instructions.  Potentially Explosive Atmospheres Turn off your radio prior to entering any area with a potentially explosive atmosphere. Do not remove, install, or charge batteries in such areas. Sparks in a potentially explosive atmosphere can cause an explosion or fire resulting in bodily injury or even death. Note: The areas with potentially explosive atmospheres referred to above include fueling areas such as below decks on boats, fuel or chemical transfer or storage facilities, areas where the air contains chemicals or particles, such as grain, dust or metal powders, and any other area where you would normally be advised to turn off your vehicle engine. Areas with potentially explosive atmospheres are often but not always posted. Page 8  Page 9
 Blasting Caps and Areas To avoid possible interference with blasting operations, turn off your radio when you are near electrical blasting caps, in a blasting area, or in areas posted: “Turn off two-way radio.” Obey all signs and instructions.  Operational Cautions  Antennas Do not use any portable radio that has a damaged antenna.   If a damaged antenna comes into contact with your skin, a minor burn can result. Safety and General Information Batteries All batteries can cause property damage and/or bodily injury such as burns if a conductive material such as jewelry, keys, or beaded chains touch exposed terminals. The conductive material may complete an electrical circuit (short circuit) and become quite hot. Exercise care in handling any charged battery, particularly when placing it inside a pocket, purse, or other container with metal objects.  Battery Charger Safety Instructions 1. Do not expose the charger to rain or snow. 2. Do not operate or disassemble the charger if it has received a sharp blow, or has been dropped or damaged in any way. 3. Never alter the AC cord or plug provided with the unit. If the plug will not fit the outlet, have the proper outlet installed by a qualified electrician. An improper condition can result in a risk of electric shock. 4. To reduce the risk of damage to the cord or plug, pull the plug rather than the cord when disconnecting the charger from the AC receptacle. 5. To reduce the risk of electric shock, unplug the charger from the outlet before attempting any maintenance or cleaning. 6. Use of an attachment, not recommended, may result in a risk of fire, electric shock, or personal injury. 7. Make sure the cord is located where it will not be stepped on, tripped over, or subjected to damage or stress. 8. An extension cord should not be used unless absolutely necessary. Use of an improper extension cord could result in a risk of fire and/or electric shock. If an extension cord must be used, make sure that: • The pins on the plug of the extension cord are the same number, size, and shape as those on the plug of the charger. • The extension cord is properly wired and in good electrical condition. • The cord size is 18 AWG for lengths up to 100 feet, and 16 AWG for lengths up to 150 feet.    90-Day LIMITED WARRANTY   warrants, to the original retail purchaser only, that this product will be free from defects in materials and workmanship for 90 days from the date of purchase. However, this warranty will automatically terminate if the original retailer sells or transfers the product to any other party. For the warranty to be effective, the ‘receipt’ or a copy of the ‘bill of sale’ must be shown that the unit was purchased from an “XXX Page 10  Page 11
Corp.”. (Note: Even if you have a unit, we will not be able to honor the warranty unless you have a receipt which clearly state that you have brought the product from an XXX.) **The receipt cannot be torn or unreadable. If, within 180 days from the date shown on the receipt or the bill of sale, the unit fails due to a defect in workmanship or material  as  determined  upon  examination  at  the  factory, Sondpex will, at its option and at no charge, to repair or replace the  defective  components  of  the  unit.  All  replaced  parts  and products become the property of Sondpex. Products replaced or repaired  under  this  warranty  will  be  returned  to  the  original retail  purchaser,  within  a  reasonable  time,  and  with  freight prepaid.    Furthermore, this Warranty shall not apply if: 1. There are missing parts in the unit 2. Damage to the unit was caused by accident, disaster, abuse, misuse,  negligence,  inadequate  packing  or  shipping procedures, commercial use, or voltage inputs in excess of the  rated  maximum  of  the  unit.  IT  IS  THE  PURCHSER RESONSIBLITY!!! XXX is under no obligation to replace or repair the unit. 3. The  unit  was  opened,  modified,  or  repaired  by unauthorized personnel 4. The  unit  was  not  used  correctly  as  outlined  in  the installation instructions 5. The unit is without original packaging and receipt     EXCLUSIONS AND LIMITATIONS  The warranty set forth above is in lieu of all other warranties, expressed or implied, of merchantability, fitness for a particular purpose,  or  otherwise.  The  warranty  is  limited  to  Sondpex products  registered  herein.  XXX.  shall  not  be  liable  for  the incidental  or  consequential  damages  arising  out  of  the  use  or inability  to  use  the  product  in  any  event.  This  warranty  shall apply exclusively to the original purchaser and shall not apply to  units  purchased  for  industrial  or  commercial  use.  This warranty  gives  you  specific  legal  rights,  and  you  have  rights which vary from state to state. Changes  or  modifications  not  expressly  approved  by  the party  responsible  for  compliance  could  void  the  users’ authority to operate the equipment.  FCC Statements: This device complies with Part 15 of the FCC Rules. Its operation is subject to the following two conditions:   (1) This device may not cause harmful interference, and   (2) This device must accept any interference received, including interference that may cause undesired operation.      Page 12
    Page 13

Navigation menu