HID Global 6070BA Proximity Reader User Manual UsersGuideHID
HID Global Corporation Proximity Reader UsersGuideHID
UserManual.wiki
>
HID Global
>
6070BA User Manual
Manual
Navigation menu
Upload a User Manual
Namespaces
Wiki Guide
HTML
PDF
Info
Views
User Manual
Discussion / Help
Navigation

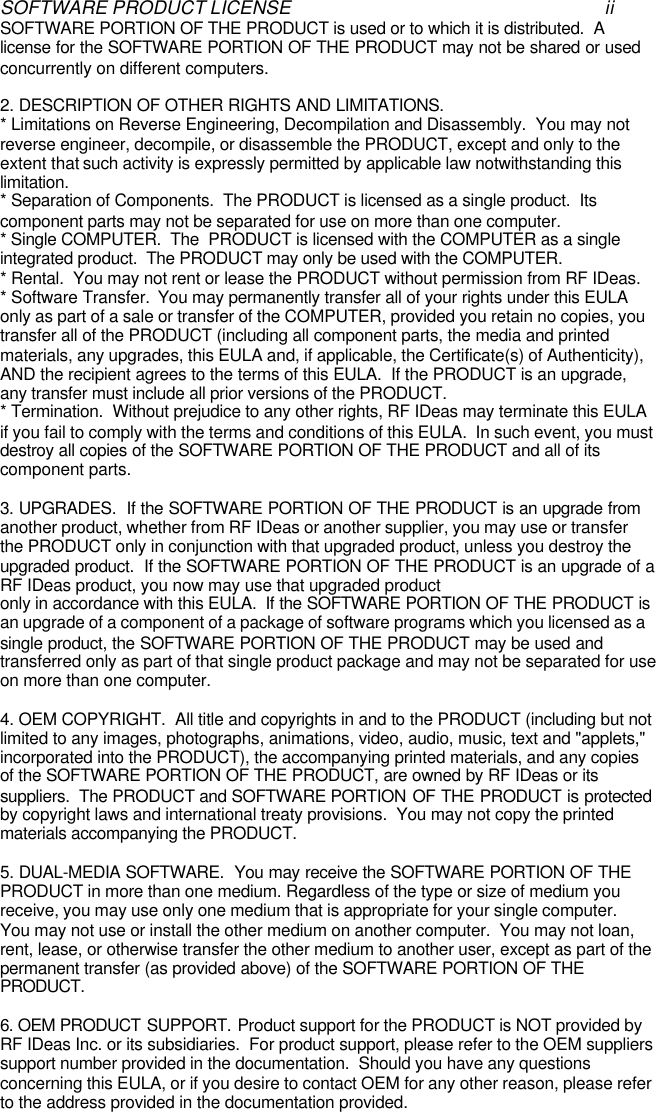

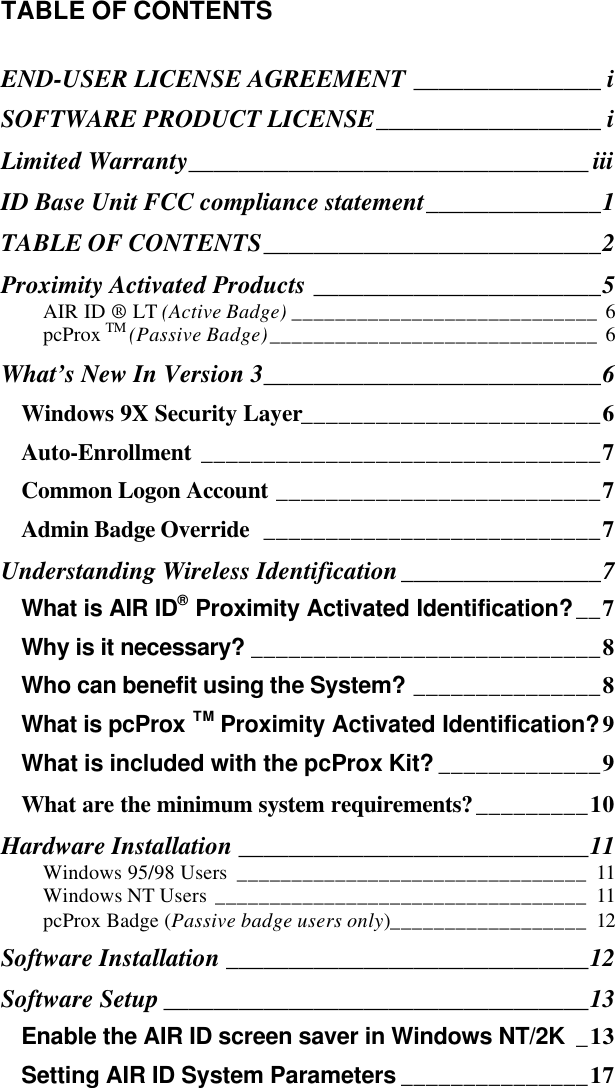
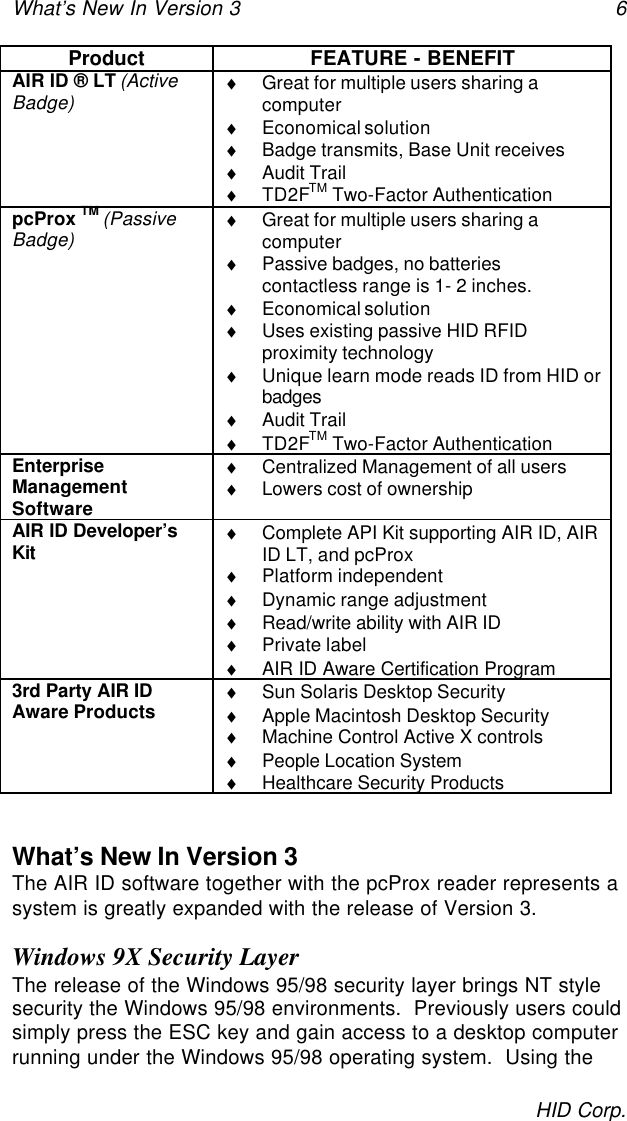
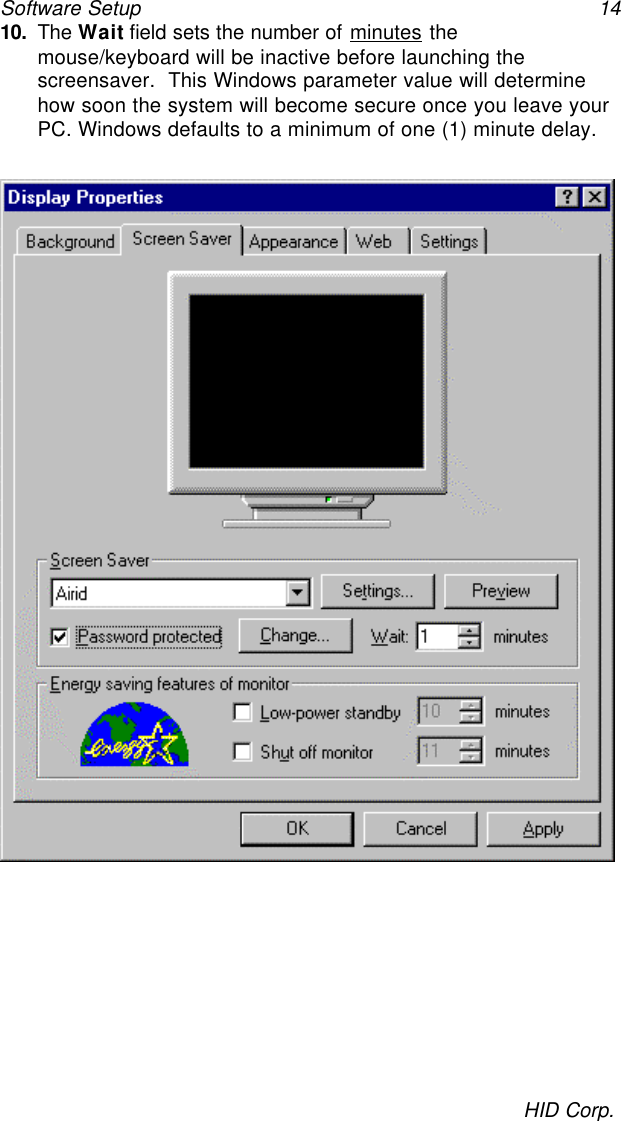
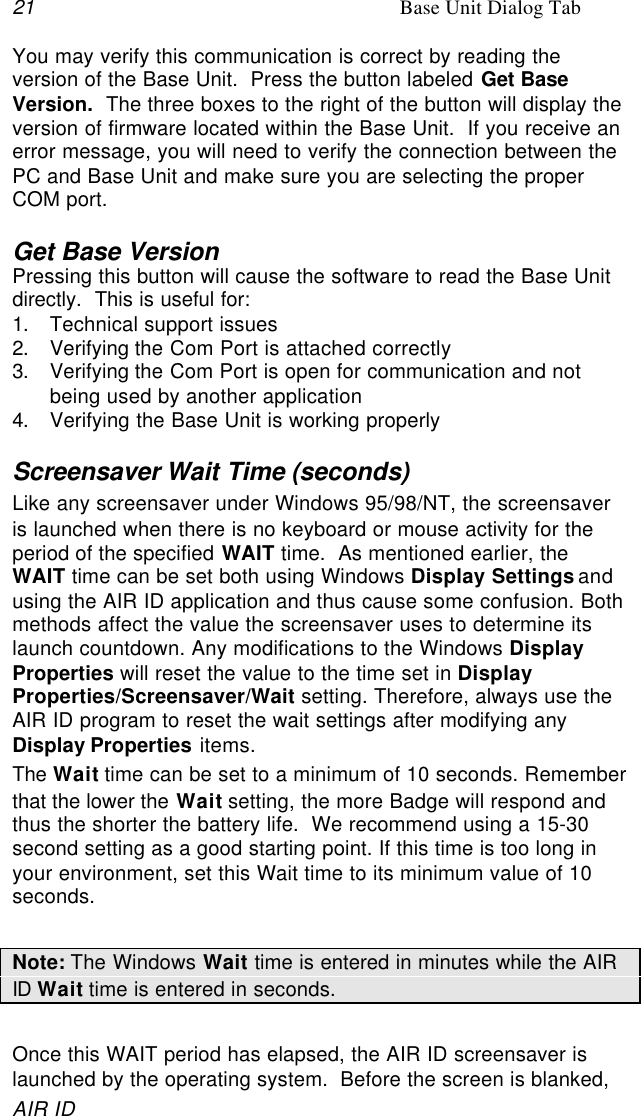
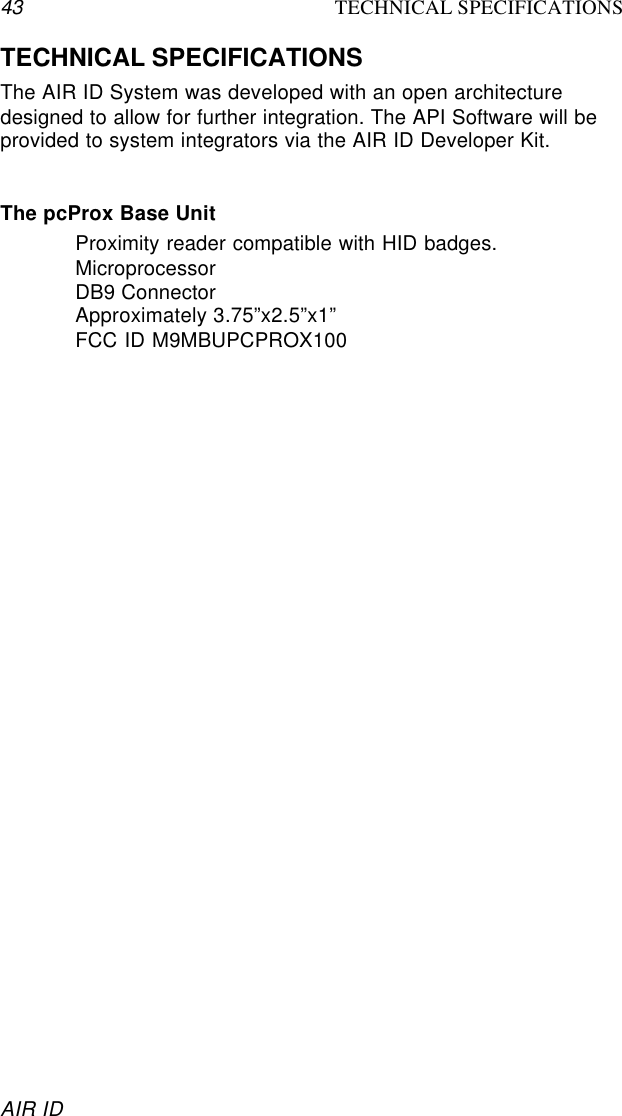
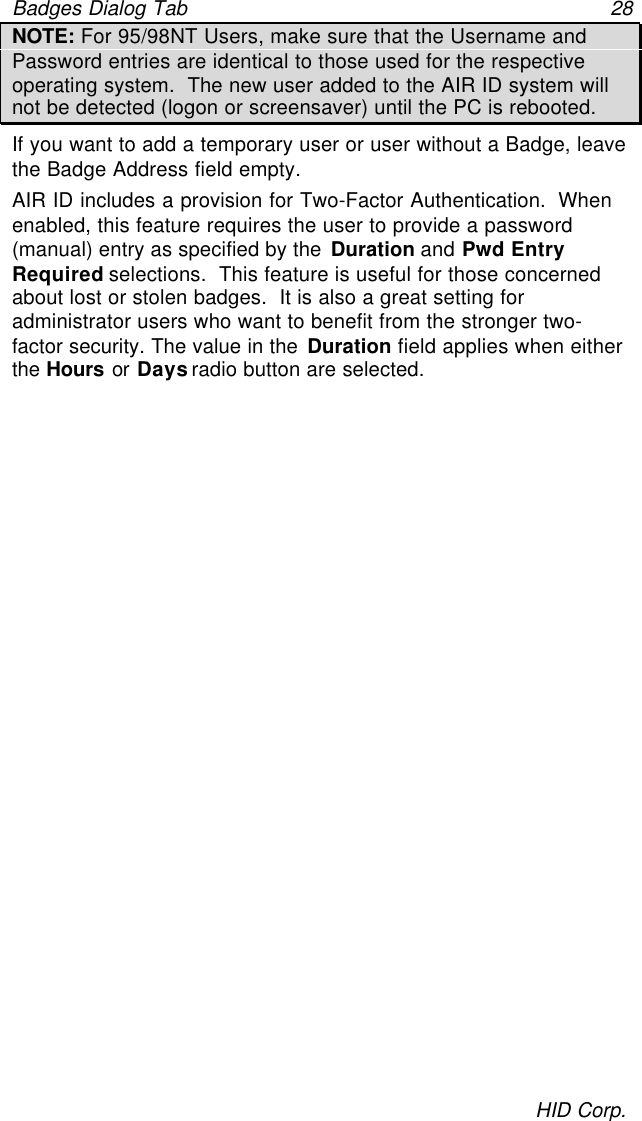
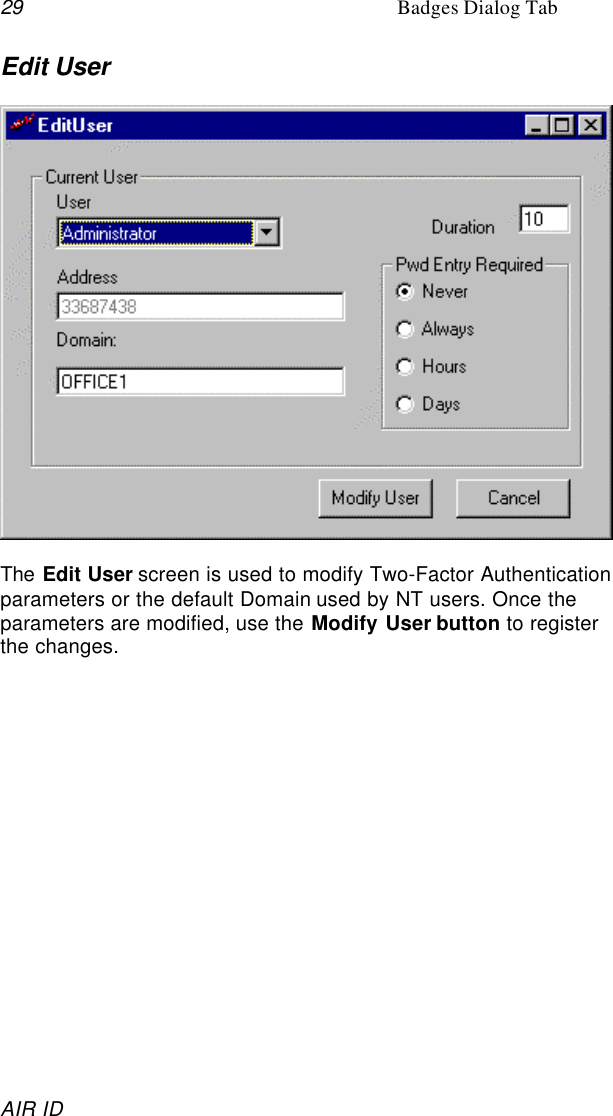
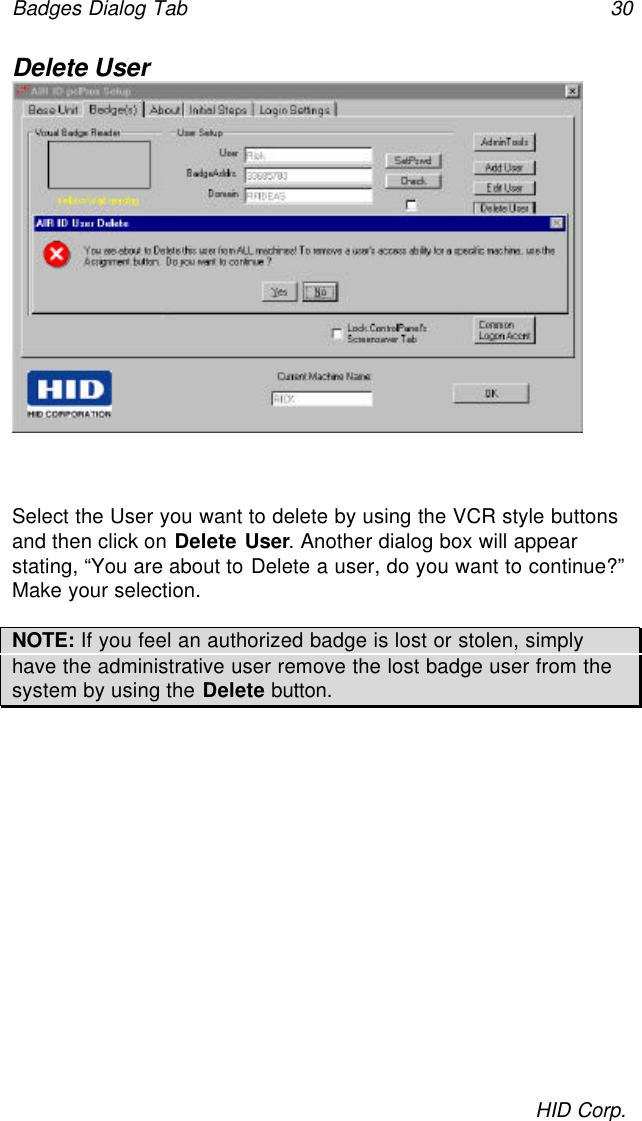
![Badges Dialog Tab 24HID Corp.The “admin” user may also have proximity badge capability ifinitialized with the [Admin Tools]-[Admin Badge] facility.Non-Badge UsersYou are permitted to add other users to the system who are notyet using AIR ID badges.AIR ID Badge UsersThese users may gain access to the system using either theirbadge or manual password entry. If the two-factor option isselected then the badge and password, or password-only isrequired in order to gain entry. Note there is a feature that permitsthe user to required both the password and badge (Forced Two-Factor mode). To enable this feature you must contact HIDdirectly or email Techsupp@RFIDeas.com.TIP: If you are the only user on your system, you should set your“admin” password to the same as your user password to avoidconfusion.Set (Changing) PasswordTo change password, click on the SetPswd button. A changepassword dialog box will appear. Enter your Old Password, typeyour New Password, and Confirm Password. On NT/2000, thiswill change your password in AIR ID as well as change thepassword at the NT server. Win9x users must synchronize thesystem user password with the AIR ID password through the UserManager application.To register the changes click the Set button.CheckThis button allows you to read a user’s badge to:• Verify the Base Unit is working• Verify the Badge at the reader is assigned to the user shownin the field.](https://usermanual.wiki/HID-Global/6070BA/User-Guide-159838-Page-32.png)
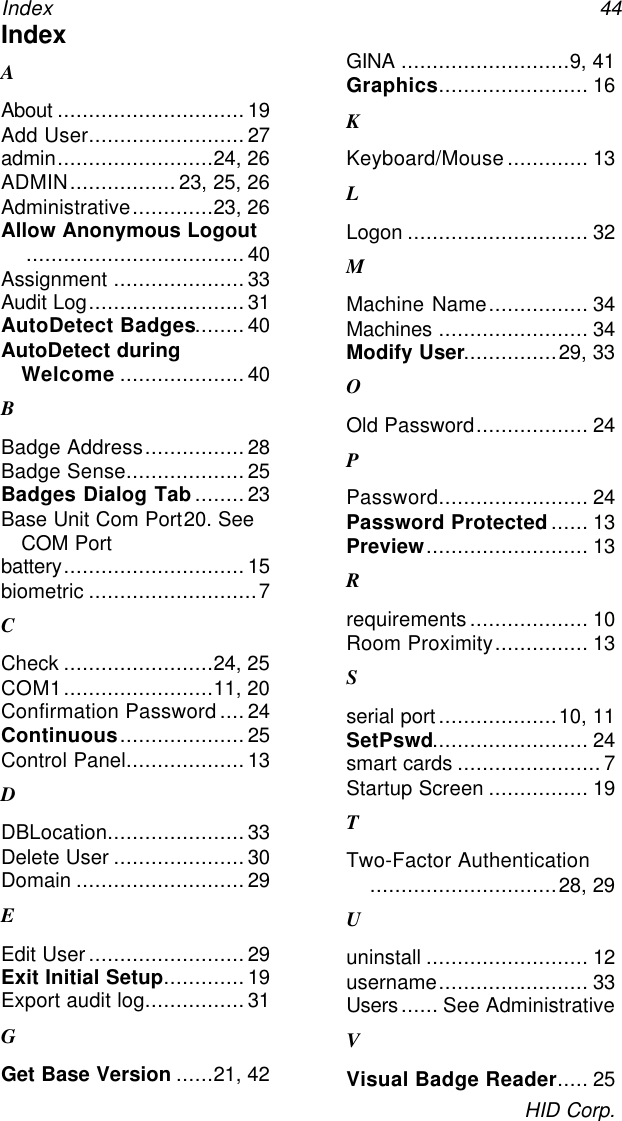
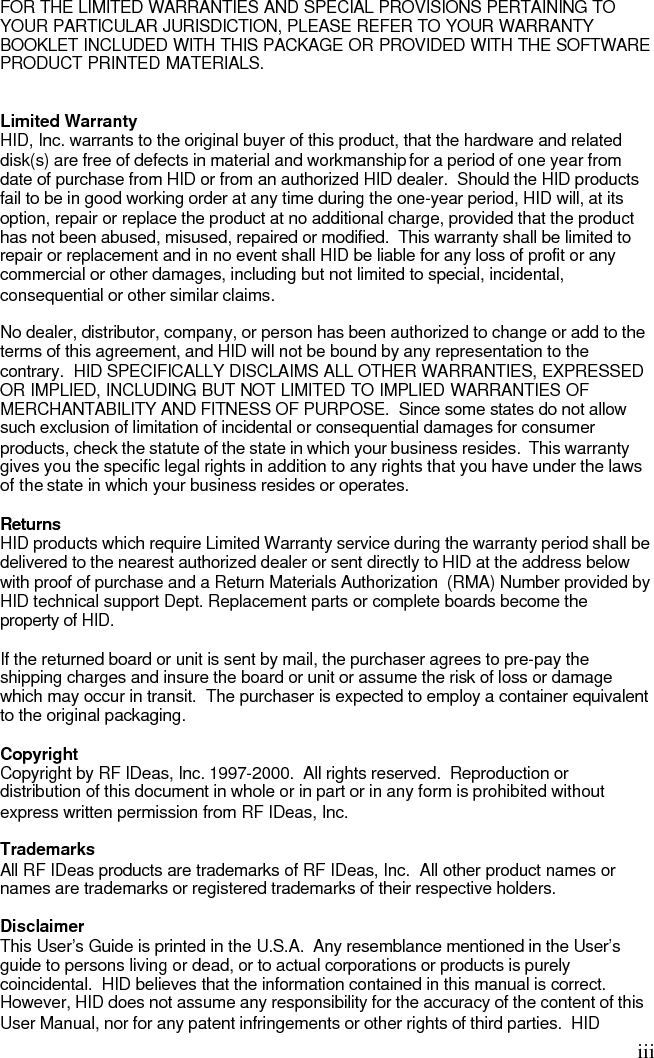
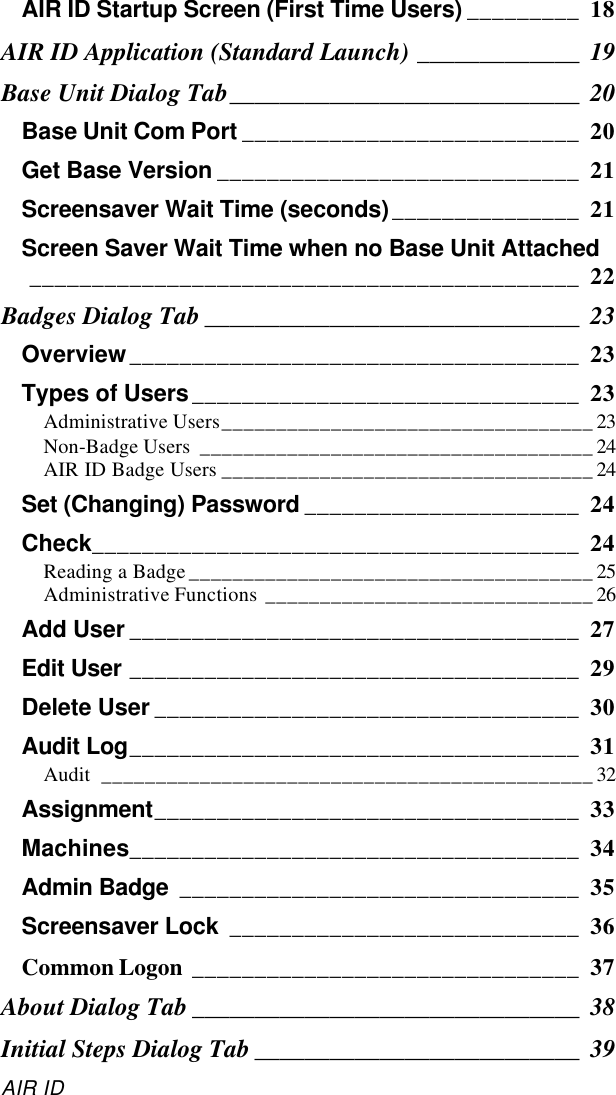
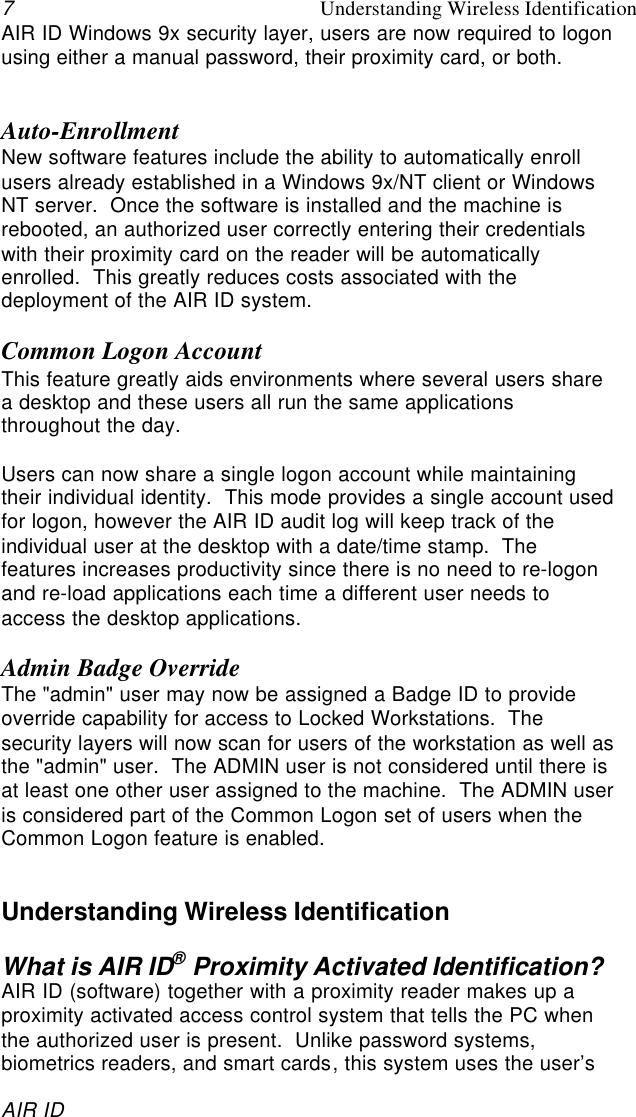
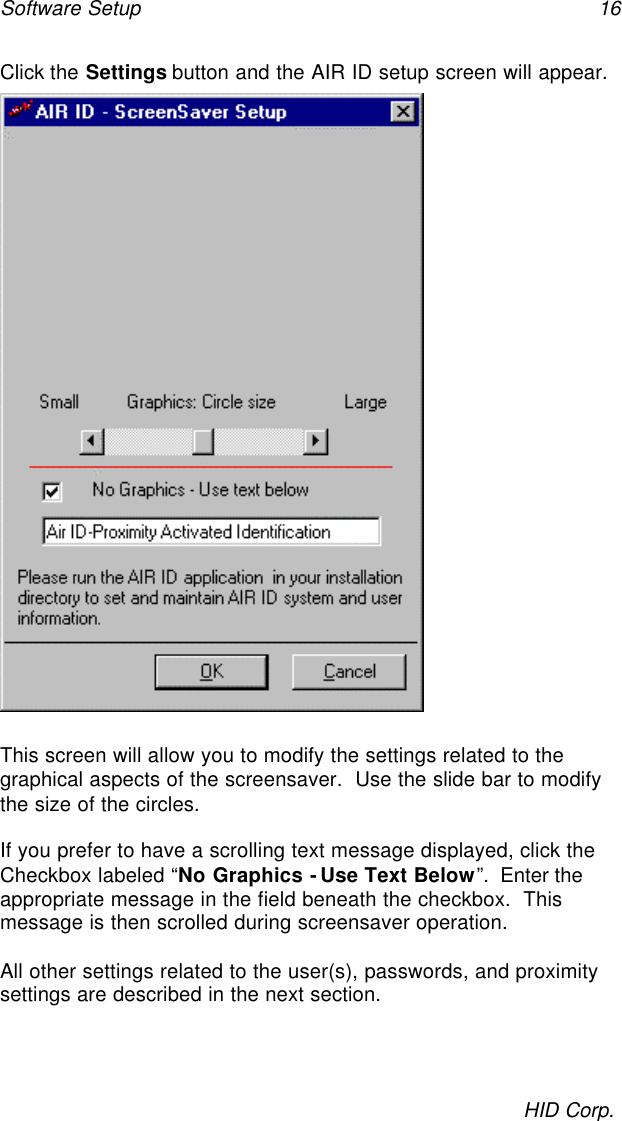
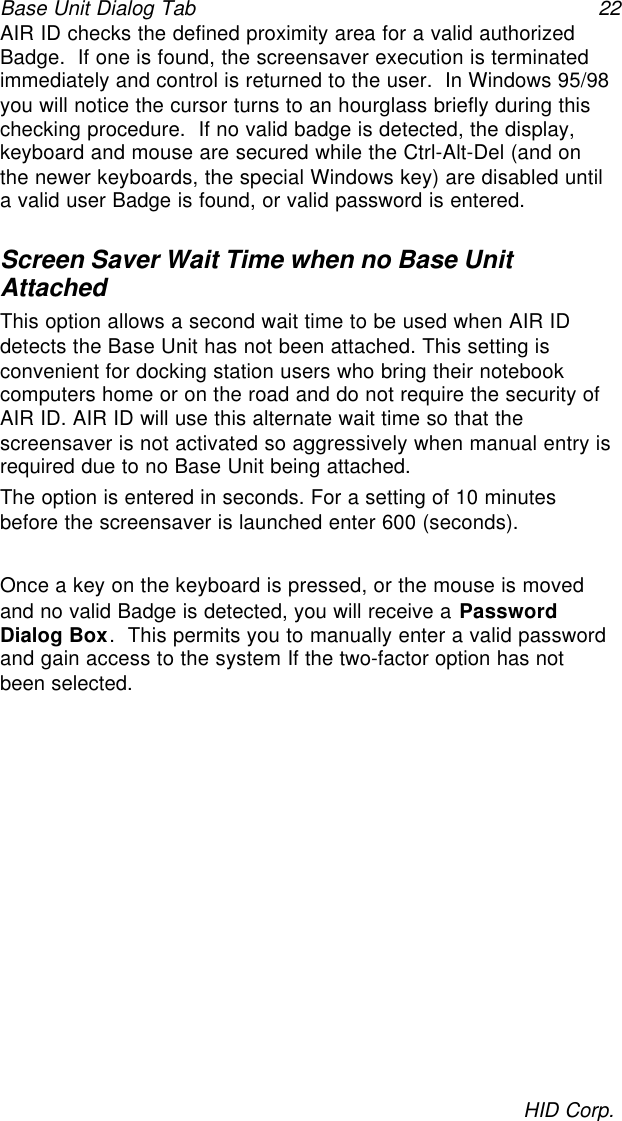
![Badges Dialog Tab 26HID Corp.Administrative FunctionsTo gain access to the administrative buttons you need to enter theAIR ID admin password. Press the [Admin Tools] button and enterthe admin Password.A valid admin password yields the following screen:NOTE: Since all AIR ID system ship with the same ‘ADMIN’ user’spassword (12345678), make sure you change this password inorder to maintain the security of the system.](https://usermanual.wiki/HID-Global/6070BA/User-Guide-159838-Page-34.png)

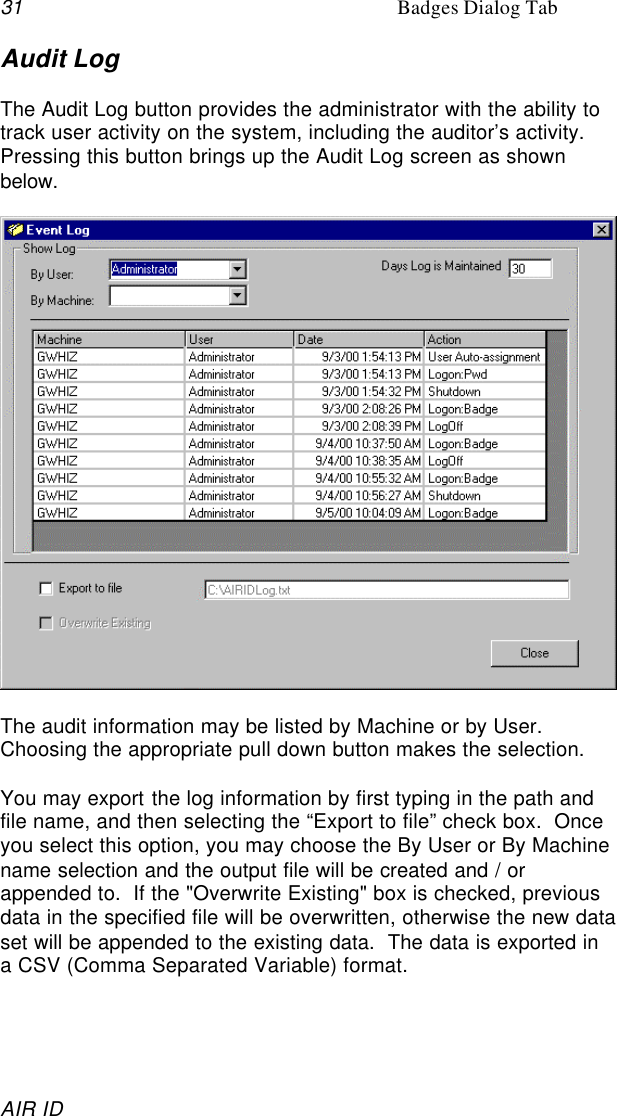
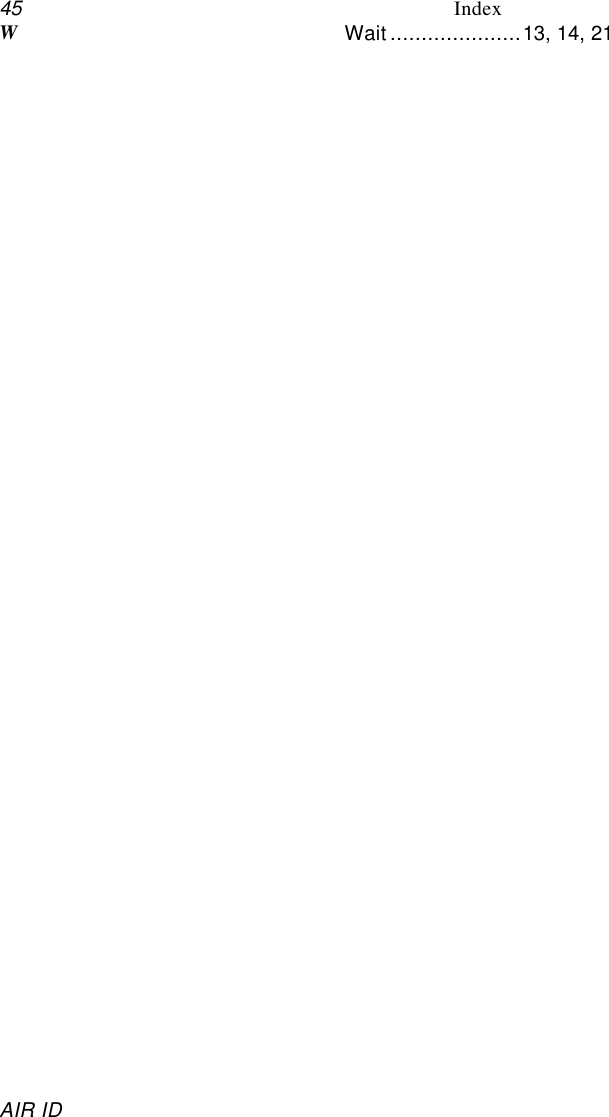
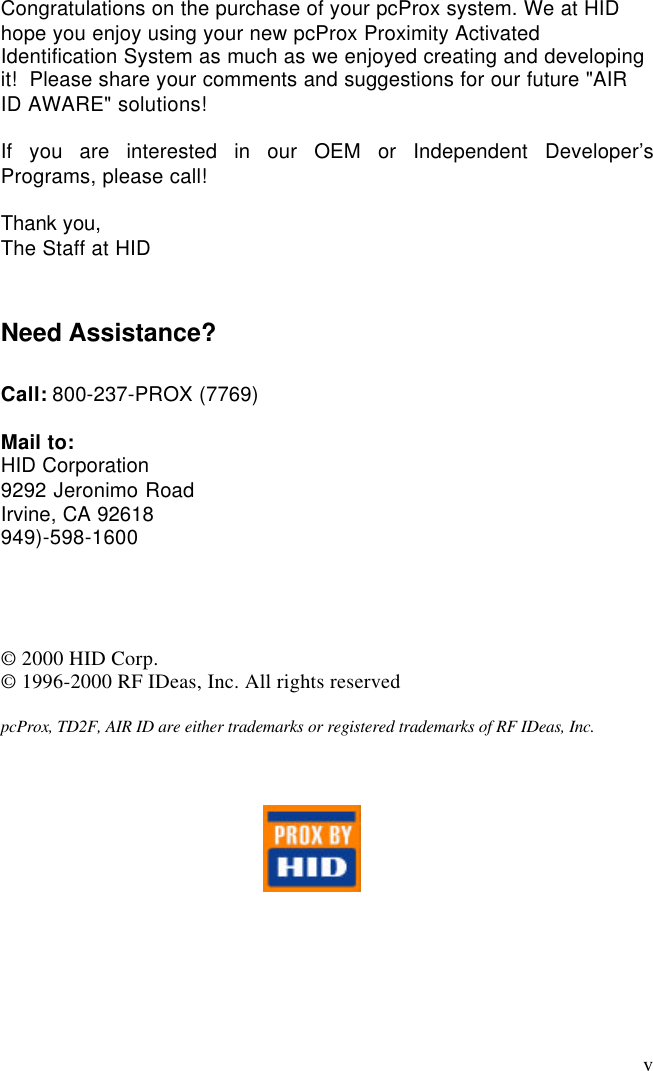
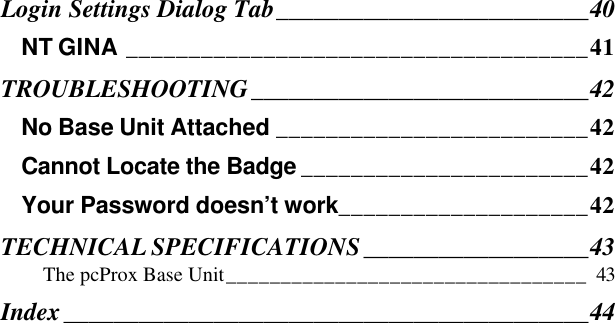
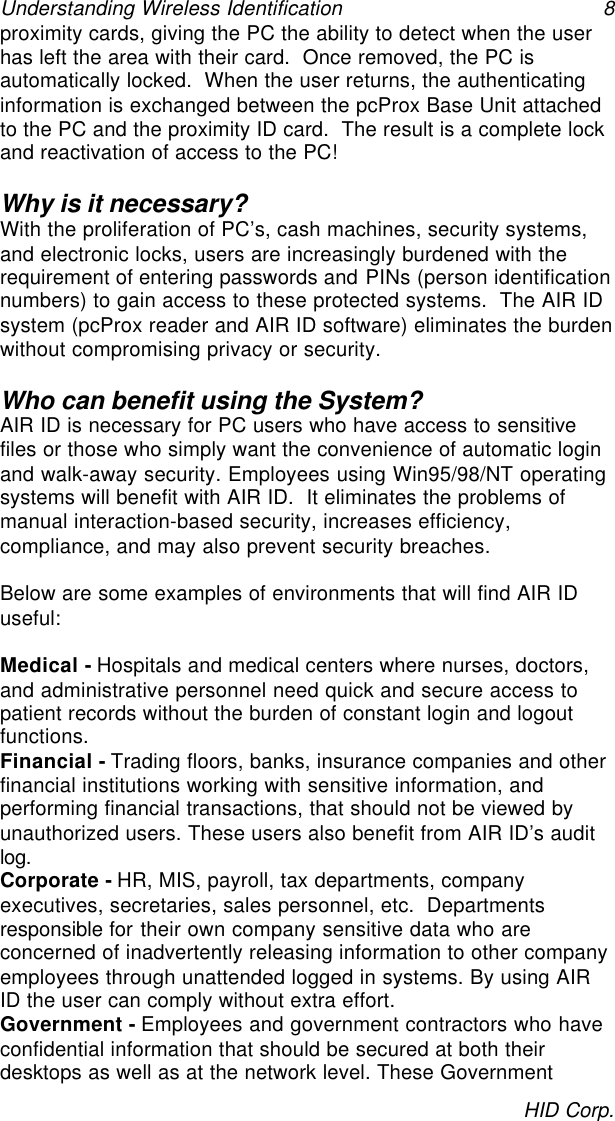
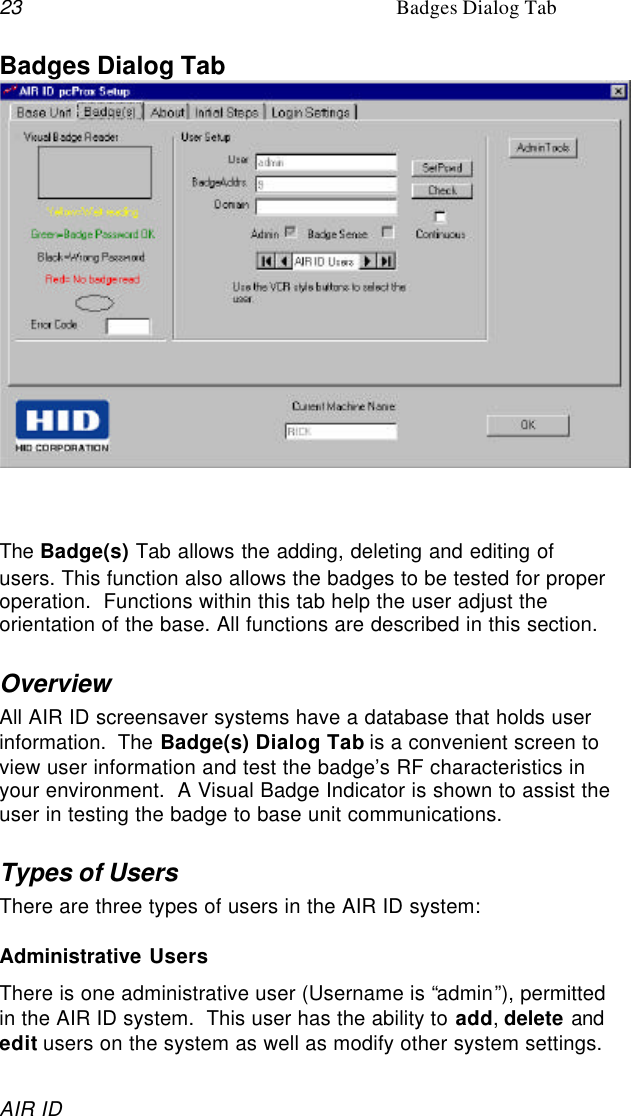
![Badges Dialog Tab 32HID Corp.AuditThe AIR ID system currently logs the following events:1. Change Password2. Change Password: Failed3. Logon Badge4. Logon Badge Fail5. Logon Pwd6. Logon Pwd Failed7. Logoff8. Shutdown9. User Auto-assignment10. Manual Lock11. Manual Unlock12. Manual Unlock Failed13. Badge Unlock14. Badge Unlock Failed15. Assignment [of a user to a machine]16. Admin Badge Override17. Admin Manual Override](https://usermanual.wiki/HID-Global/6070BA/User-Guide-159838-Page-40.png)