HONGTIANTAI CD611T PORTABLE CD PLAYER User Manual CD
HONGTIANTAI(H.K.)CO.,LIMITED PORTABLE CD PLAYER CD
user manual

- 1 -

- 2 -
CD611T USER Manual
SAFETY AND CLEANING
Safety
■ This device is designed for the play-back of audio signals.Any other use is
expressly prohibited.
■ Protect the device from moisture (water drops or splashes), direct sunlight and
heat.
■ Do not place any vessels such as vases on the device.
■ Only use the device in a moderate climate.
■ Do not place any objects such as burning candles on the device.
■ Please note when deciding where to put the device that furniture surfaces are
covered by various types of lacquer and plastic, most of which contain
chemical additives. These may cause corrosion to the feet of the device,thus
resulting in stains on the surface of the furniture which can be difficult or impossible
to remove.
■ The device contains self-lubricating bearings, which must not be oiled or greased.
■ Condensation may form on the lens if the device is taken into a warm room from
the cold. This prevents if from playing a Disc.
■ Never touch the lens on the device.Always keep the disc compartment closed to
- 3 -
prevent dust from collecting on the lens.
■ Only operate the device with the power supply provided.
■ Never open the device casing.No warranty claims are accepted for damage
resulting from improper handling.
■Note, prolonged listening at loud volumes with the earphones can damage
your hearing.
Cleaning
■ If the device is unable to scan discs perfectly, use a standard,commercially
available cleaning CD to clean the laser optics. Other cleaning methods may
damage the laser optics.
■ Clean the device with a clean, damp leather cloth. Do not use any cleaning
agents.
■ WARNING: The batteries (battery pack or batteries installed) shall not be
exposed to excessive heat such as sunshine, fire or the like.
OVERVIEW
Buttons and controls
DIR In MP3 mode:Selects the next album.
VOLUME Adjusts the volume.
OPEN Opens the CD lid.
ASP Switches the anti-shock system on/off.
MODE Selects several playback options.
Press and hold down switches off the loudness limitation.
Press briefly to select the next or previous track; press and hold down
to start a forward or reverse search.
Starts and pauses play back.
- 4 -
Press once, ends playback; press twice switches the device off.
PHONES Headphone jack for connecting a headphone set with a jack
plug(Ø3.5mm).
BATTERY Battery compartment.
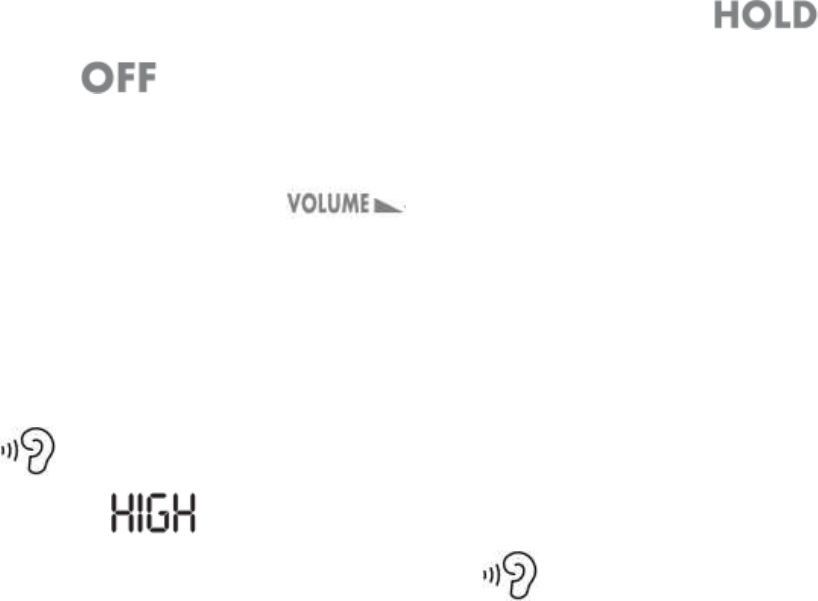
HOLD Switches the key lock on/off.
DC IN 4.5V Socket for the mains adapter.
OVERVIEW
The display
CD A CD-DA has been inserted.
MP3 An MP3 CD has been inserted.
Displays the total number of title or the current track(CD-DA).
Displays the total play ing time or the elapsed playing time of the title
(CD-DA).
Displays the total number of albums or the current album.
Displays the elapsed playing time of the file (MP3).
DIR All the files of the cur rent album are played back repeatedly(MP3).
PGM A track memory is created or played back.
SHUF All files or tracks are played back in random order.
INTRO The first ten seconds of each title or file are played.
ASP The anti-shock system has been activated.
BBS The Bass Boost system has been activated.
POP JAZZ Shows the selected sound effect.
The”Volume restriction” is switched off.
- 5 -
1 A file or a track is repeated.
All tracks on the MP3 CD or all files on the CD-DA are replayed.
Informed about the state of the batteries.
POWER SUPPLY
Mains operation (with mains adapter)
Notes:
■ Check if the mains voltage on the mains adapter type plate corresponds to your
local mains supply.
■ The only way to disconnect the device from the mains supply is to unplug the
adapter.
■ Only unplug the mains adapter from the socket when you are not from the
socket when you are not using the device.
1、Plug the mains adapter cable into the>> DC IN 4.5V <<socket.
2、Plug the mains adapter into the mains socket.
Caution:
■ Only operate the device with the power supply provided.
Battery operation
1 Pull out the mains adapter cable.
2 Open the lid of the battery compartment on the bottom of the device.
3 Insert two batteries(2x1.5V,LR06/AM3/AA) in the battery compartment
observing the polarity.
4 Close the battery compartment carefully.
- 6 -
Notes:
■ The device display tells you about the state of the batteries,If>> << flashes in
the display,the batteries are losing power.
■ The batteries are switched off during mains operation. Remove the batteries
when they are flat or when you know that the device will not be used for a long
period of time .The manufacturer accepts no liability for damage resulting from
leaking batteries.
Environmental note:
■ Batteries, including those which contain no heavy metal, should not be disposed
of with house hold waste. Please dispose of used batteries in an
environmentally responsible manner. Find out
about the legal regulations which apply in your area.
GENERAL INFORMATION
Connecting earphones
1 Connect the earphones to the >> << socket (3.5mm).
Notes:
Excessive volume can be hazardous to yourself and other road users. Listen at
a volume which still allows you to hear outside noises clearly, for instance horns,
emergency vehicles and police cars.
The output of the device guarantees the best possible sound at medium volume.
Prolonged listening at loud volumes can damage your hearing.
Switching on / off the key-lock
1. Switch on the key-lock by moving the slider >> << to the
position >> <<.
- 7 -
-The keys on the device are locked.
2. Switch off the key-lock by moving the slider >> << to the
position >> <<.
Adjusting the volume
1 Adjust the volume with >> <<.
Switch off the volume restriction
To protect your hearing, after switching on the device, only reduced volume is
available. You can switch off this “Volume restriction”.
1 >> << press and hold.
-- Display: >> << flashes for 5 seconds.
2 Switch off the “Volume restriction” with >> <<.
Note:
The volume restriction is reactivated after switching off or changing the disk.
3. connect Bluetooth function
3.1 open Bluetooth speakers, Bluetooth speakers must first enter pairing mode,
the CD boot disc reading state, press the MODE button for 1-3 seconds, icon, need
to wait for 15-50 seconds or so, it can connect to Bluetooth speakers such as CD
blue, disconnect the Bluetooth speakers, Bluetooth speakers need re pairing mode,
heavy press MOED key to connect, not even
When you connect to the Bluetooth speaker, you can press the MODE button for
1-3 seconds to turn off the Bluetooth function
4. automatic return function
4.1 connected to the CD and Bluetooth speakers, connect once, disconnect the
Bluetooth speaker power, then open the Bluetooth speaker power needs 15-30
seconds, can automatically return to the company, in addition, 4 Bluetooth speakers

- 8 -
connected up to a distance of 10 meters, 2.1 Bluetooth speakers connected up to a
distance of 8 meters.
5. plug in headphones to cut off Bluetooth sounds
In the CD and Bluetooth speakers connected state, Bluetooth headset plug off the
sound, unplug the headset, you can automatically
Even Bluetooth speakers make sounds
BASIC FUNCTIONS
Inserting a disc
1 Press the >> << sliding switch to the right and open the CD lid.
2 Insert the disc with the label facing upwards and gently push the centre of the disc
to latch it into place.
3 Close the CD compartment.
Removing the disc
Note:
Press >> <<before you open the CD compartment.
1 Press the >> << sliding switch to the right and open the CD lid.
2 Remove the disc.
3 Close the CD compartment.
CD playback
The device automatically recognises the type of disc inserted (CD-DA, CD-R,
CD-RW, MP3 CD).
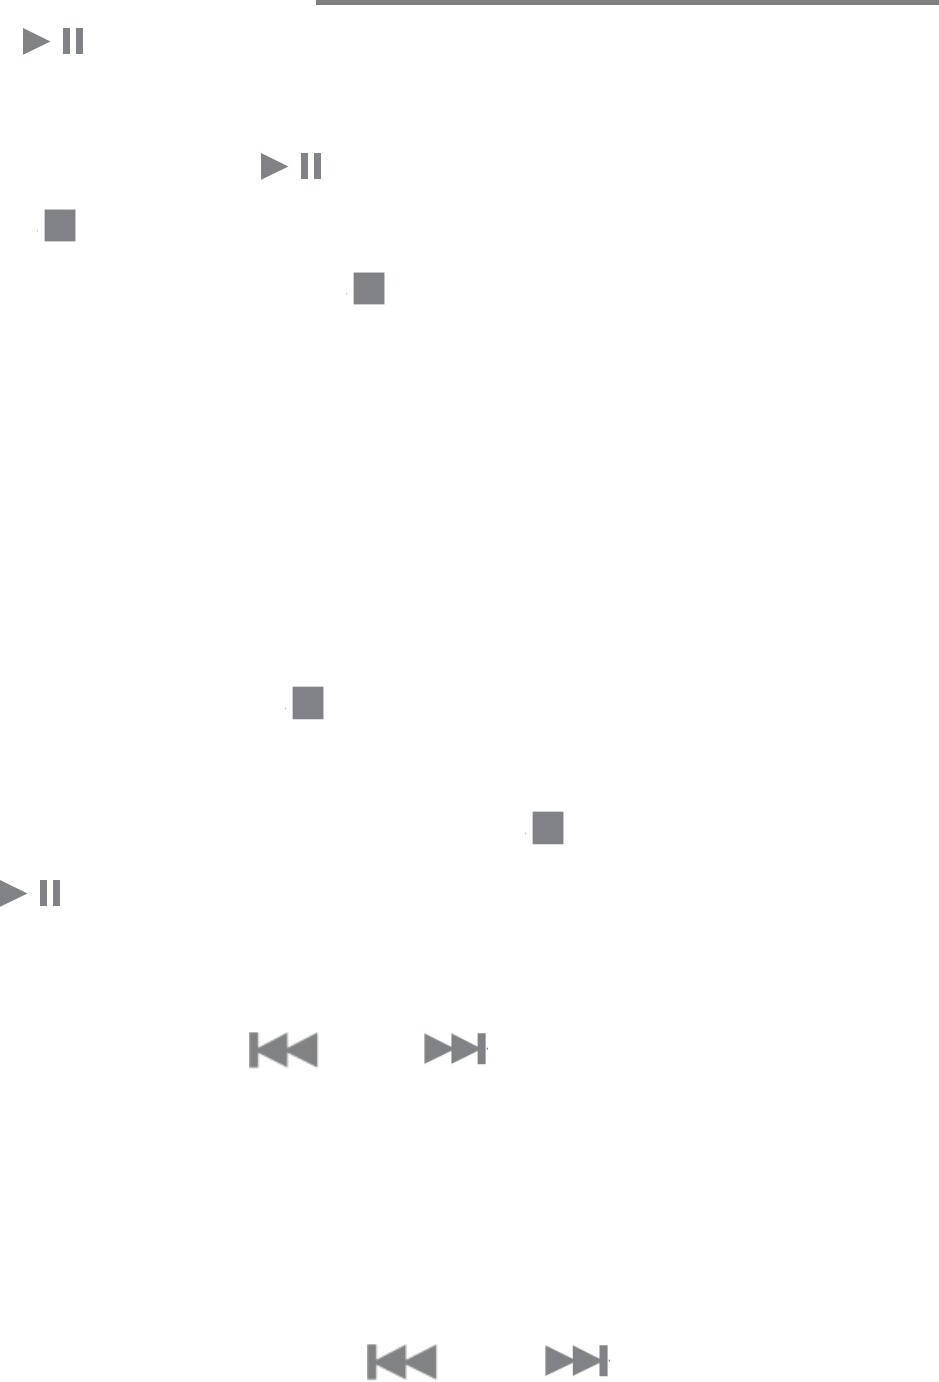
1 Press>> << to switch on the device.
--Playback of the disc inserted starts automatically. It begins with the first track or
file.
--Display: briefly displays the total number of files, albums or tracks and then the
number of the first file or track and the elapsed playing time.
- 9 -
BASIC FUNCTIONS
1 Use >> << to switch to playback pause.
-- Display: the playing time of the file or track flashes.
2 Continue playback with >> <<.
3 Press>> << to end playback.
4 To switch off the device, press >> <<again.
Notes:
Playback stops automatically when the end of the disc is reached, if the CD
compartment is opened or if the batteries run out.
The device switched off automatically after the end of playback if you do not
press a button within 30 seconds.
Resume function
1 End playback by pressing>> << twice.
-- When playback is resumed, it starts from the position at which it was ended.
2 To start playback of the first track, press>> << once and start playback
with >> <<.
Searching for a passage within a file or track
1 During playback, press>> << or >> << and hold it down until you find the
passage you want to hear.
-- During the search the volume is reduced.
Selecting another file or track
1 During playback, keep pressing >> << or >> << briefly until you see the
number of the file or track you want in the display.
- 10 -
-- Playback of the selected track starts automatically.
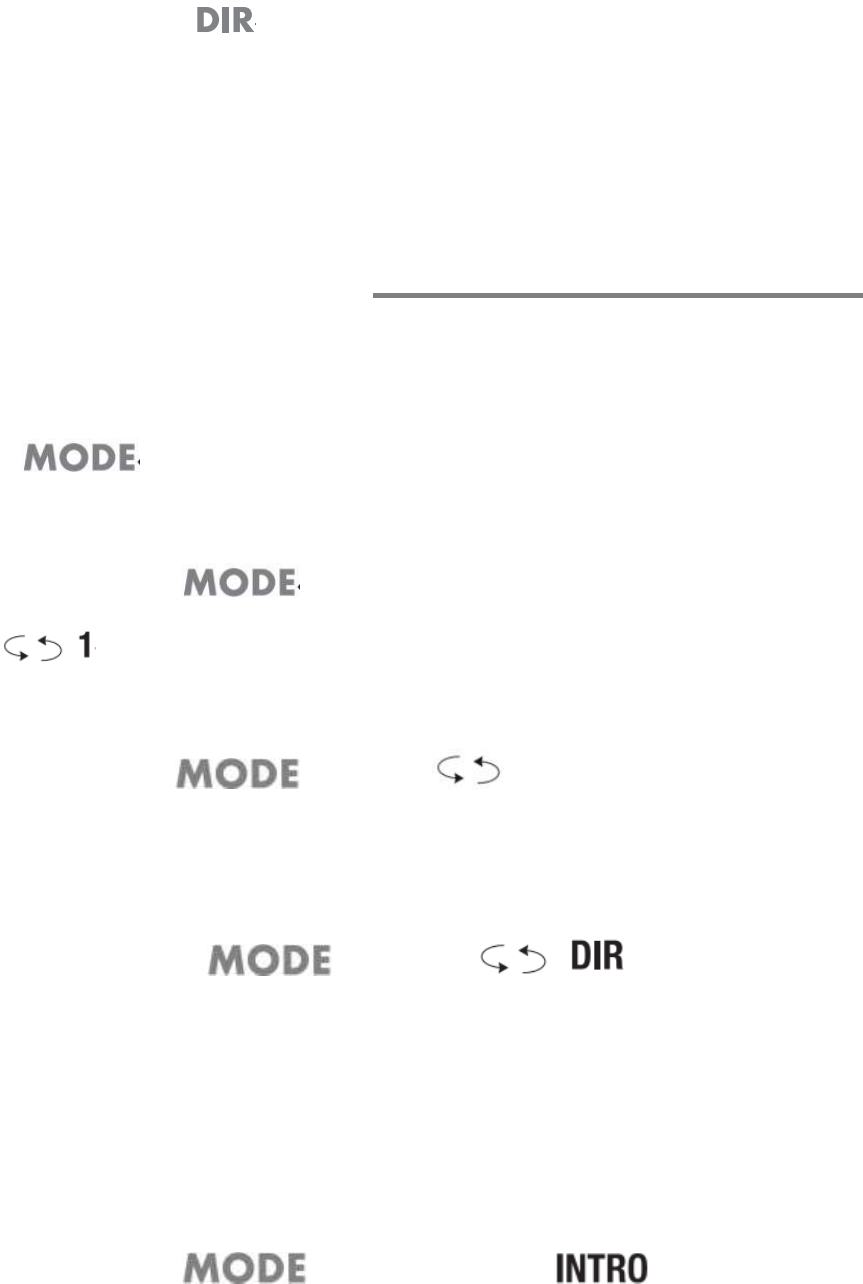
Selecting albums (only MP3)
1 During playback, press>> << repeatedly until the number of the desired
album appears in the display.
-- Playback begins with the first file of the selected album.
ADDITIONAL FUNCTIONS
Note:
All additional functions except for “ Creating a track memory” can be exited by
pressing >> << repeatedly.
Repeating a file or track
1 During playback, press >> << once.
-- Display: >> << , the file or track is played back repeatedly.
Repeating all files or titles
1 During playback, press>> << until >> << appears in the display.
-- All files or tracks are played back repeatedly.
Repeating all the files on an album (only MP3)
1 During playback, press>> << until >> << appears in the
display.
-- All the files in an album are repeated.
Playing the introductions of tracks or files on the disc (Intro)
1 During playback, press>> << so often until >> << flashed in the
display.
- 11 -
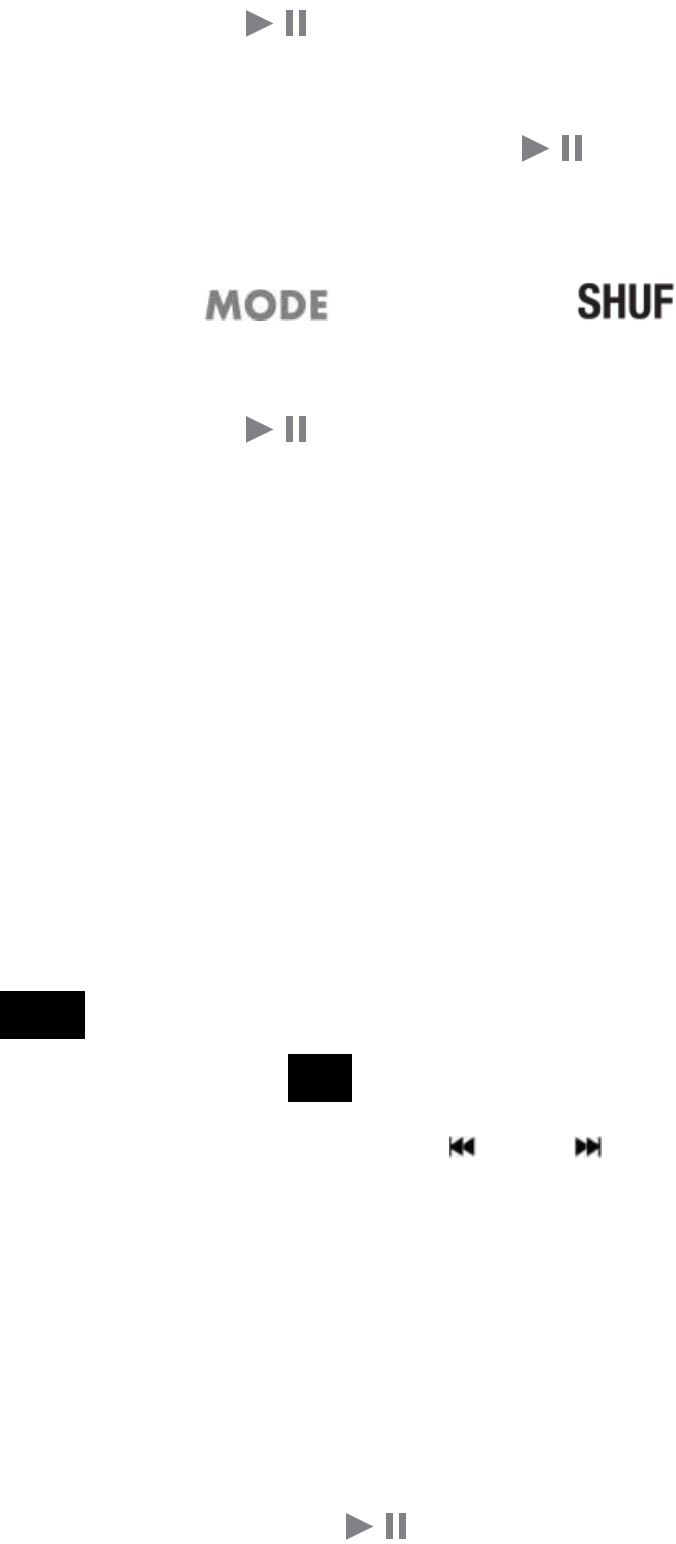
2 To start this function, press>> <<.
-- The first seconds of each track are played.
3 To play back the whole of the current track, press>> <<again.
Playing back files or tracks in random order (Shuffle)
1 During playback, press>> << so often until >> << flashes in the
display.
2 To start this function, press>> <<.
-- All of the tracks on the disc are played back in random order.
ADDITIONAL FUNCTIONS_________________
Creating a track memory
This function enables you to save up to 64 tracks or files on the current disc in a
particular order and then play them back.The same track may be stored more
than once.
1 Insert the disc and press >>■<< after start playback.
2 Press >>MODE<< to call up the function.
-Display:>> PGM <<flashes.
3 Select the desired album with >> DIR << ( only MP3).
4 Select the desired file or track by pressing >>. << or>> <<.
5 Save the file or track by pressing >> MODE<<.
Notes:
■To store more files o r tracks, repeat steps 3 or 4 to 5.
■If you try to store more than 64 files or tracks,the first track you saved
is displayed.
Playing back a track memory
1 Start the track memory by pressing >> <<.

- 12 -
-Display:playback begins with the first programmed file or track
2 End playback of the track memory With >>■<<.
3 To play the track memory again, press >>MODE<< and afterwards >> <<.
Deleting the track memory
1In Stop mode,press or open the CD compartment.
Note:
■The track or file memory is also deleted if the mains adapter is disconnected or if
the batteries are removed from the device.
Digital anti-shock system(DAS)
The anti-shock system reads the data on the CD-DA 40 seconds in advance (or 120
seconds in MP3 mode). DAS ON=memory used for reducing battery consumption
(CD stops after a while ).DAS OFF=optimum anti-shock performance,memory is
constantly loaded. You cannot switch off the antishock system in MP3 mode.
press >>ASP<< to switch the anti-shock system on or off.
- 13 -
FCC Statement
1. This device complies with Part 15 of the FCC Rules. Operation is subject to the
following two conditions:
(1) This device may not cause harmful interference.
(2) This device must accept any interference received, including interference that
may cause undesired operation.
2. Changes or modifications not expressly approved by the party responsible for
compliance could void the user's authority to operate the equipment.
NOTE:
This equipment has been tested and found to comply with the limits for a Class B
digital device, pursuant to Part 15 of the FCC Rules. These limits are designed to
provide reasonable protection against harmful interference in a residential
installation.
This equipment generates uses and can radiate radio frequency energy and, if not
installed and used in accordance with the instructions, may cause harmful
interference to radio communications. However, there is no guarantee that
interference will not occur in a particular installation. If this equipment does cause
harmful interference to radio or television reception, which can be determined by
turning the equipment off and on, the user is encouraged to try to correct the
interference by one or more of the following measures:
Reorient or relocate the receiving antenna.
Increase the separation between the equipment and receiver.
Connect the equipment into an outlet on a circuit different from that to which the
receiver is connected.
Consult the dealer or an experienced radio/TV technician for help.