HOSEOTELNET HSD8000 ReFLEX 2-Way Messaging Device User Manual 446373
Hoseo Telnet Co., Ltd. ReFLEX 2-Way Messaging Device 446373
UserManual.wiki
>
HOSEOTELNET
>
HSD8000 User Manual
>
User Manual
Contents
1.
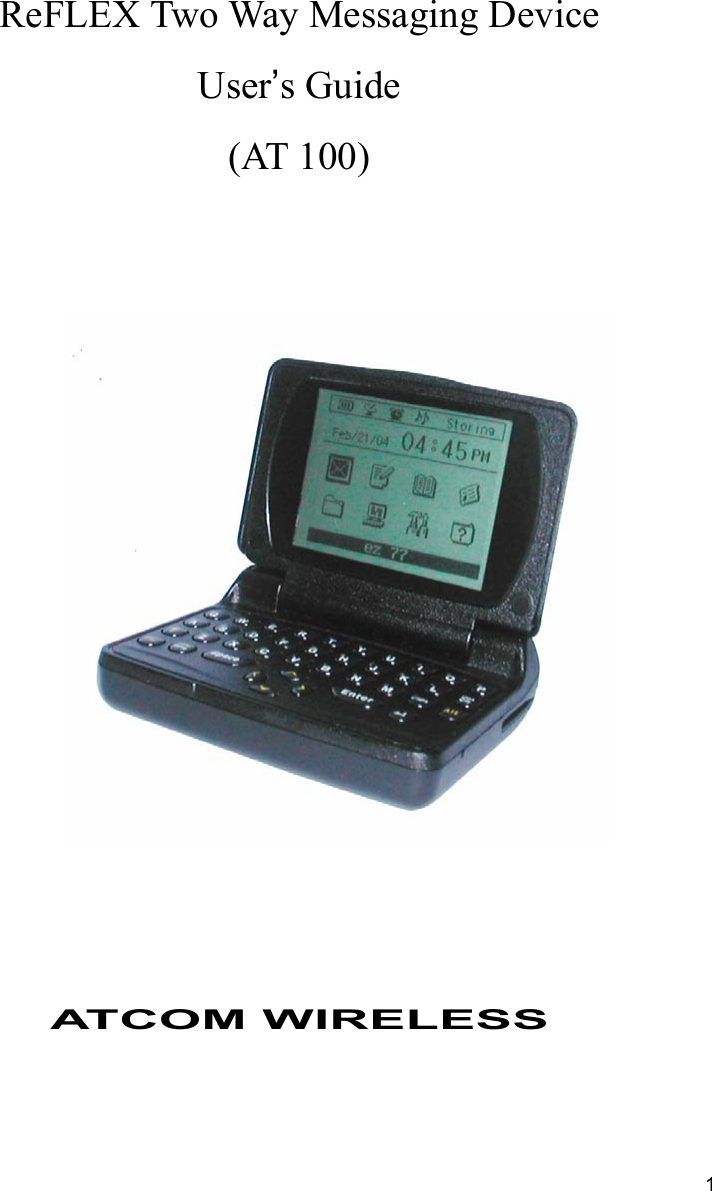
User Manual
2.
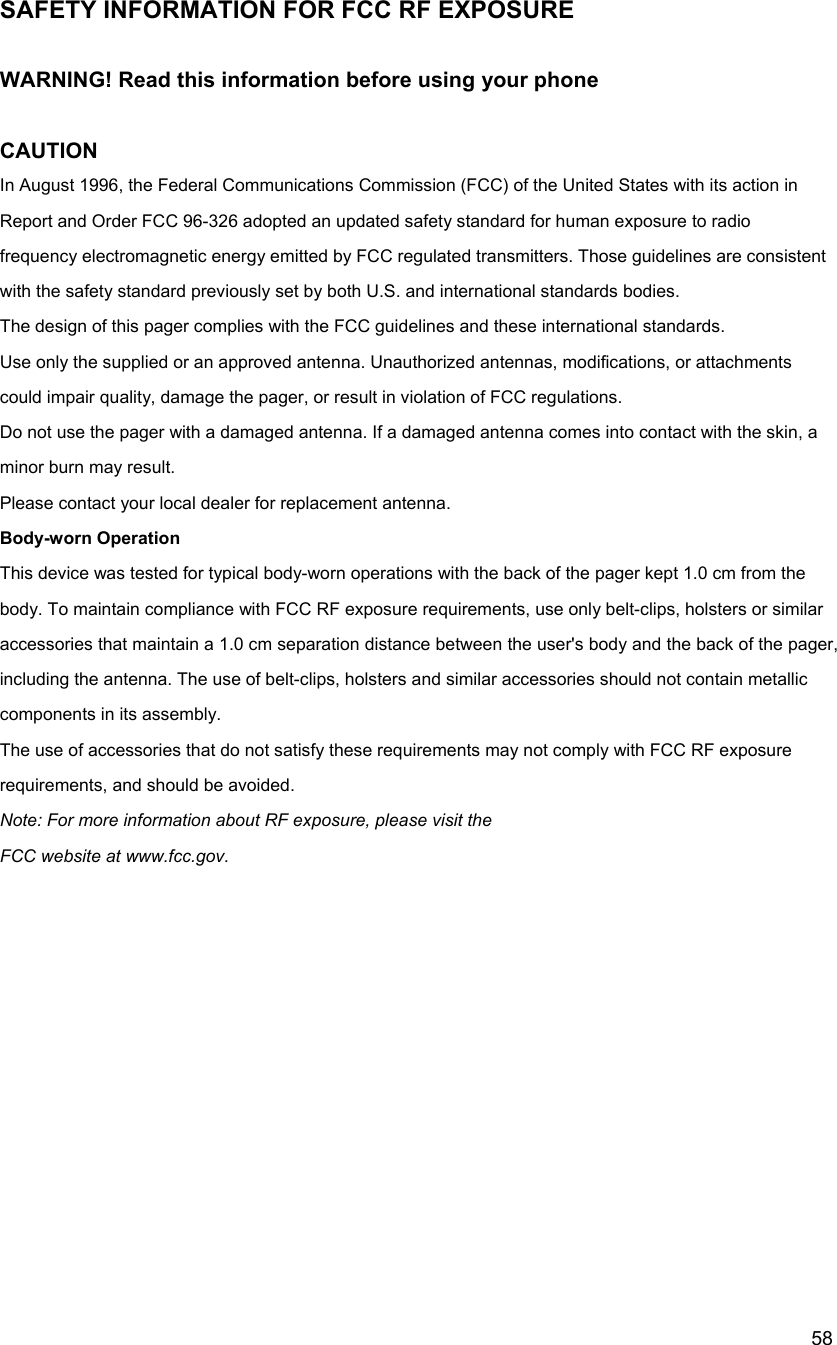
RF Exposure statement
User Manual
Navigation menu
Upload a User Manual
Namespaces
Wiki Guide
HTML
PDF
Info
Views
User Manual
Discussion / Help
Navigation


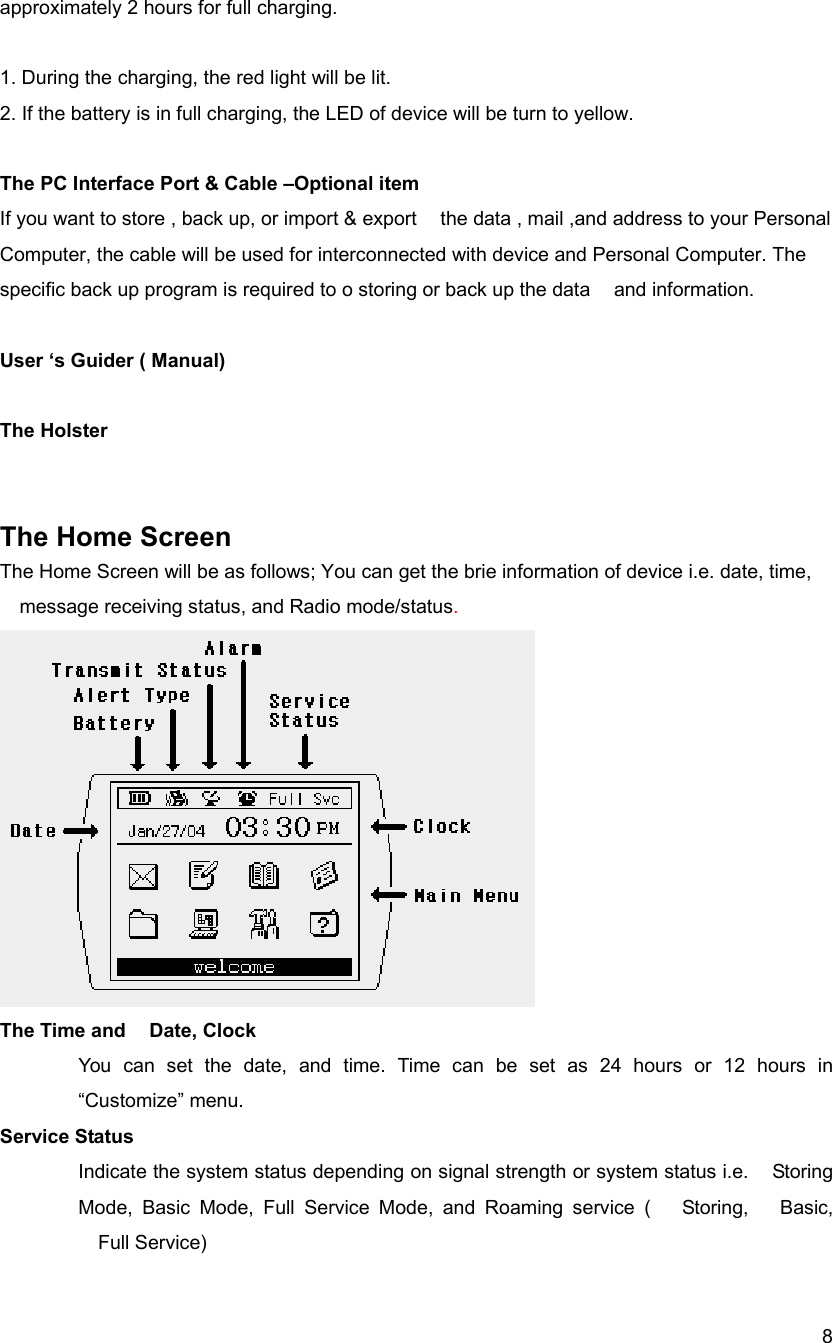
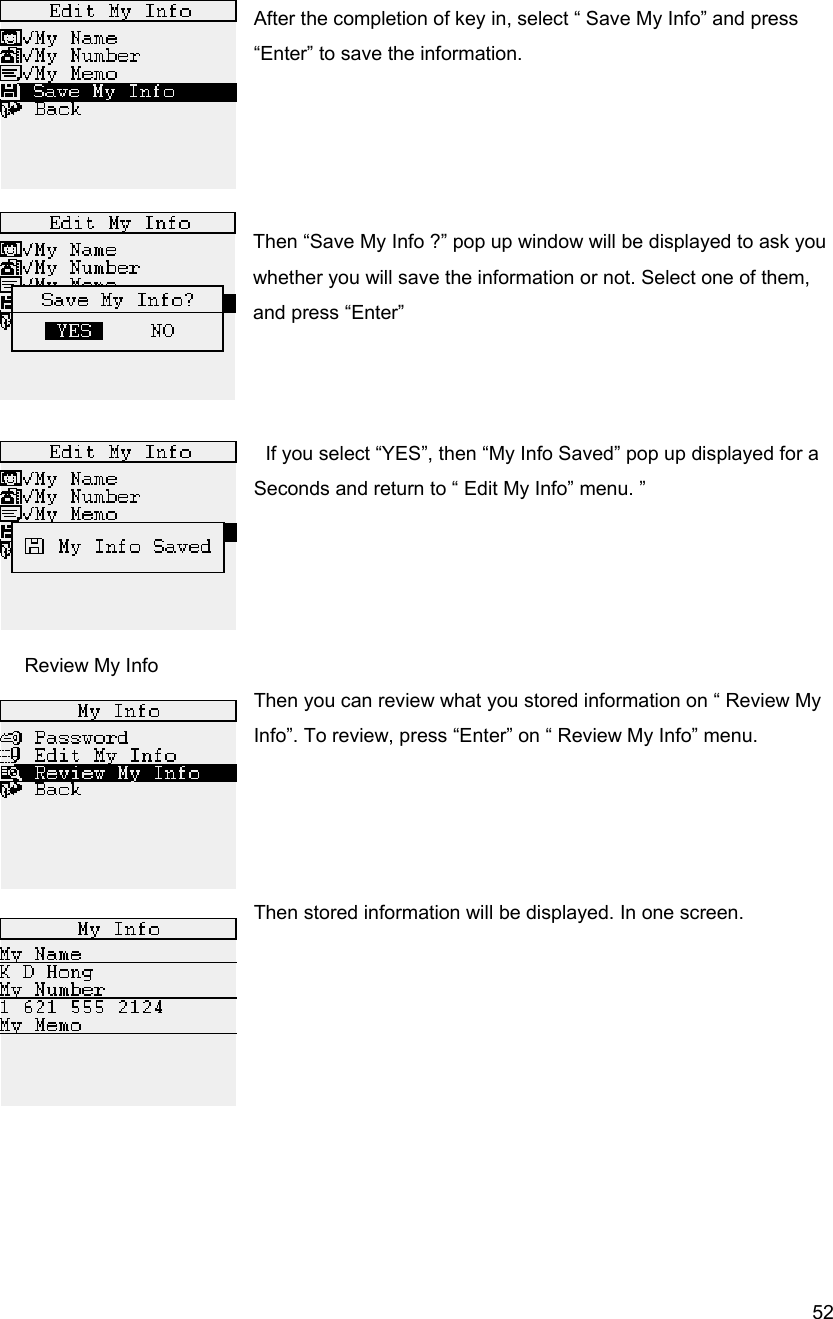
![13 Select “YES” or “NO” using navigation key, and press “Enter”. If you select “YES”, you can read the message. Mail box In Mailbox, there are three(3) sub menus. The first one is “ Inbox”(received message). Please be advised that the Information related message will be stored in New/Info Folder. The seconds one is “Outbox (sent message). The third one is draft message, and it will be stored in “Draft box.. Select the Mailbox in main screen, press “Enter”. The Mail Box menu will be as following picture; 1] Inbox Store the received message. The number show you the unread message and total received message number. 2] Outbox The sent and sending message will be stored in “Outbox”. The forwarded message also stored on “Outbox”. The number show you the failed message number and total sent message number. 3] Drafts During the message composing, you can hold or cancel the message sending. Then it will be](https://usermanual.wiki/HOSEOTELNET/HSD8000.User-Manual/User-Guide-446373-Page-13.png)