HTC 0PGQ100 Smartphone User Manual Manual
HTC Corporation Smartphone Manual
UserManual.wiki
>
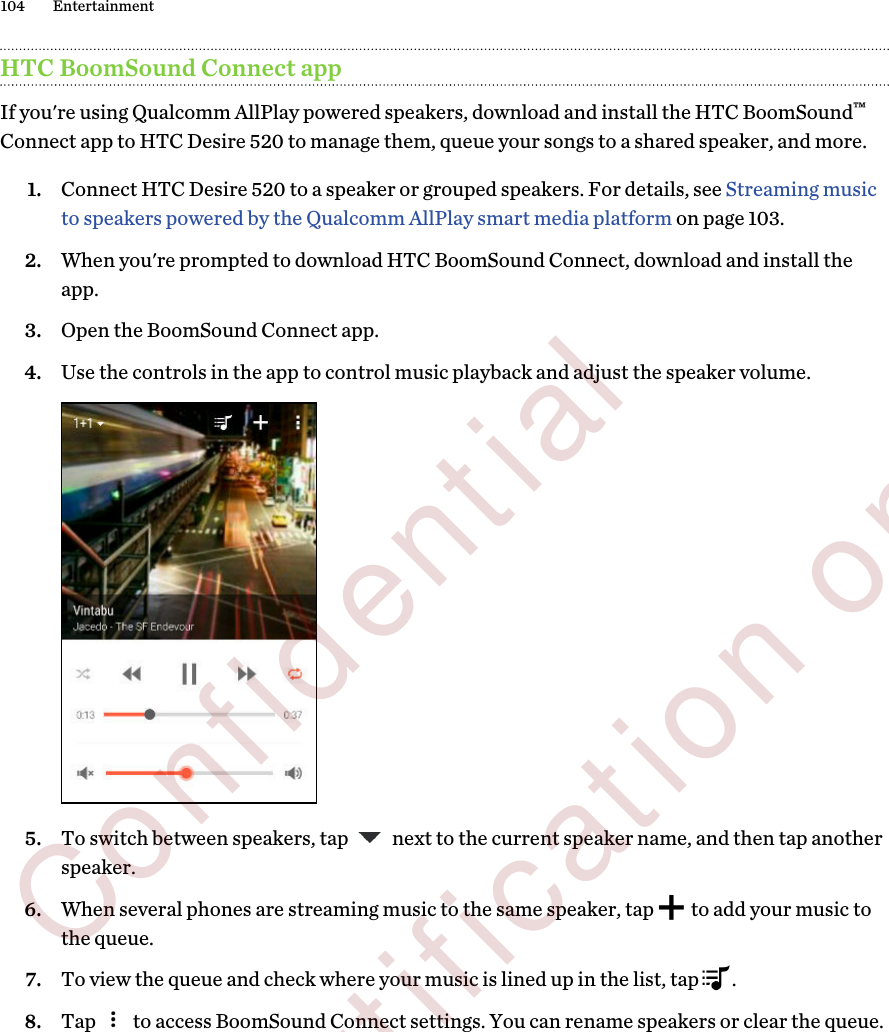
HTC
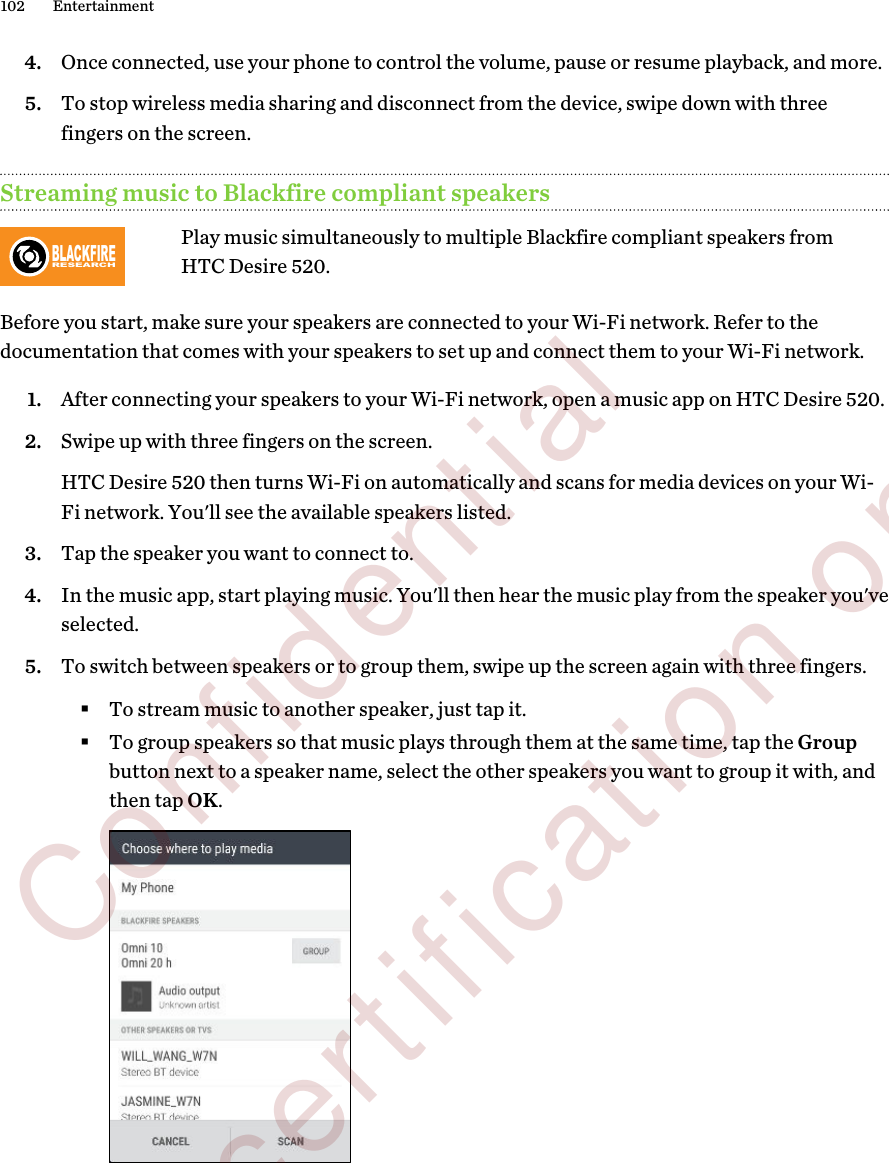
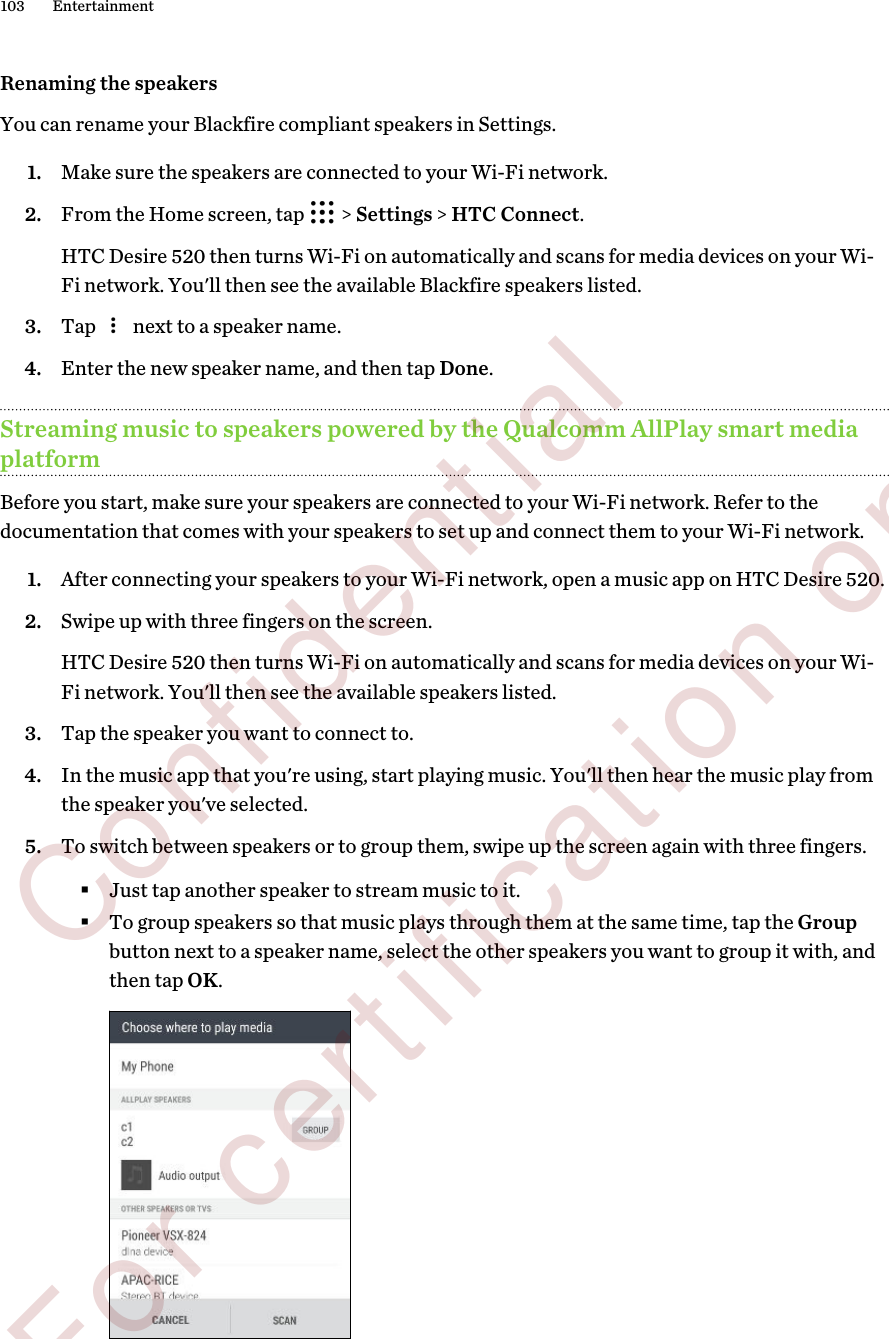
>
0PGQ100 User Manual
>
Manual
Contents
1.
Manual
2.
Manual (statement)
3.
User manual
Manual
Navigation menu
Upload a User Manual
Namespaces
Wiki Guide
HTML
PDF
Info
Views
User Manual
Discussion / Help
Navigation


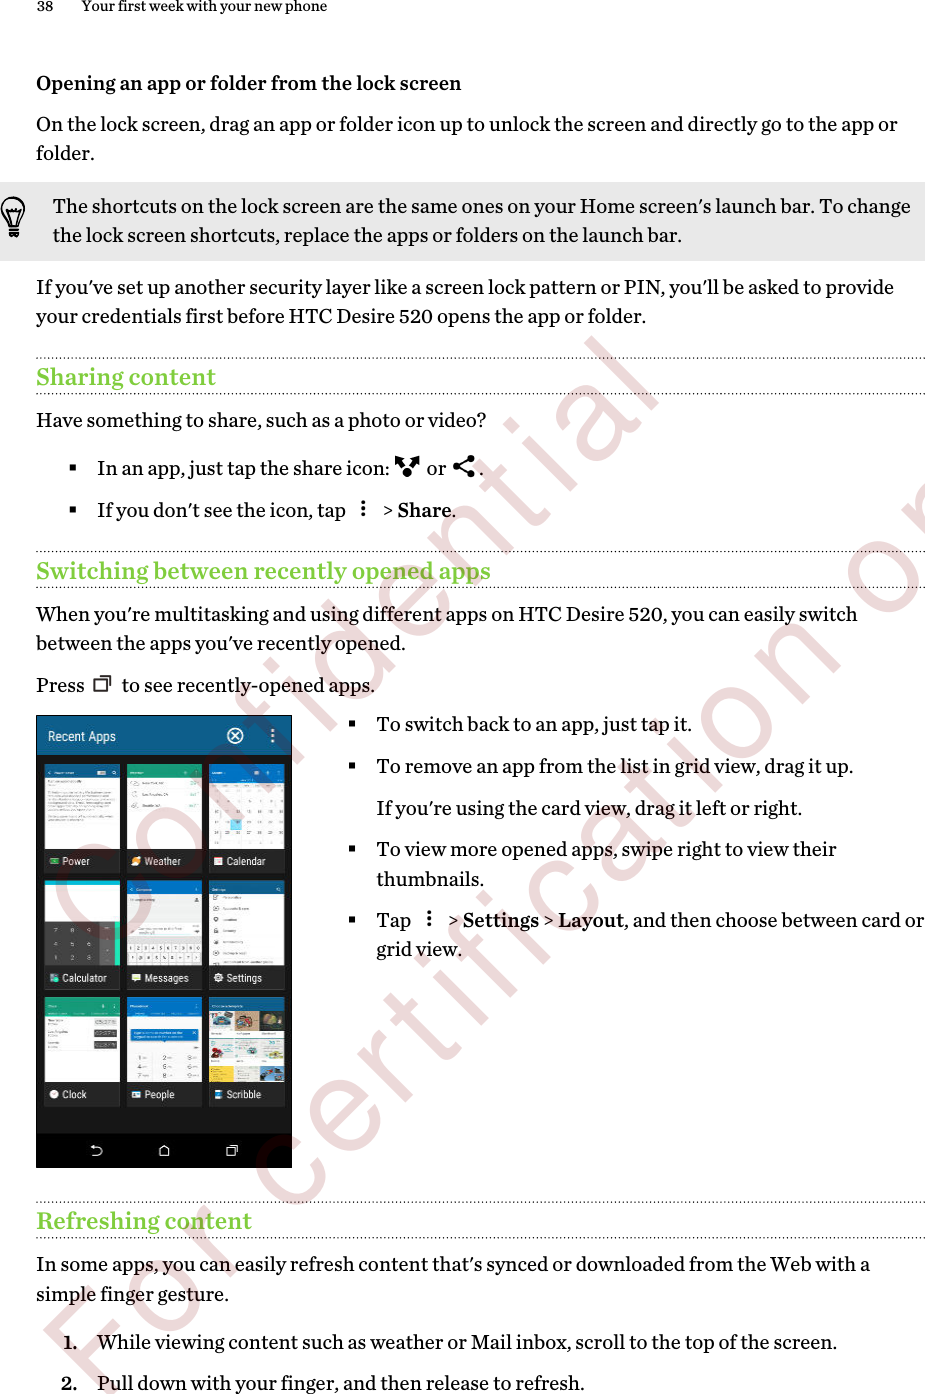


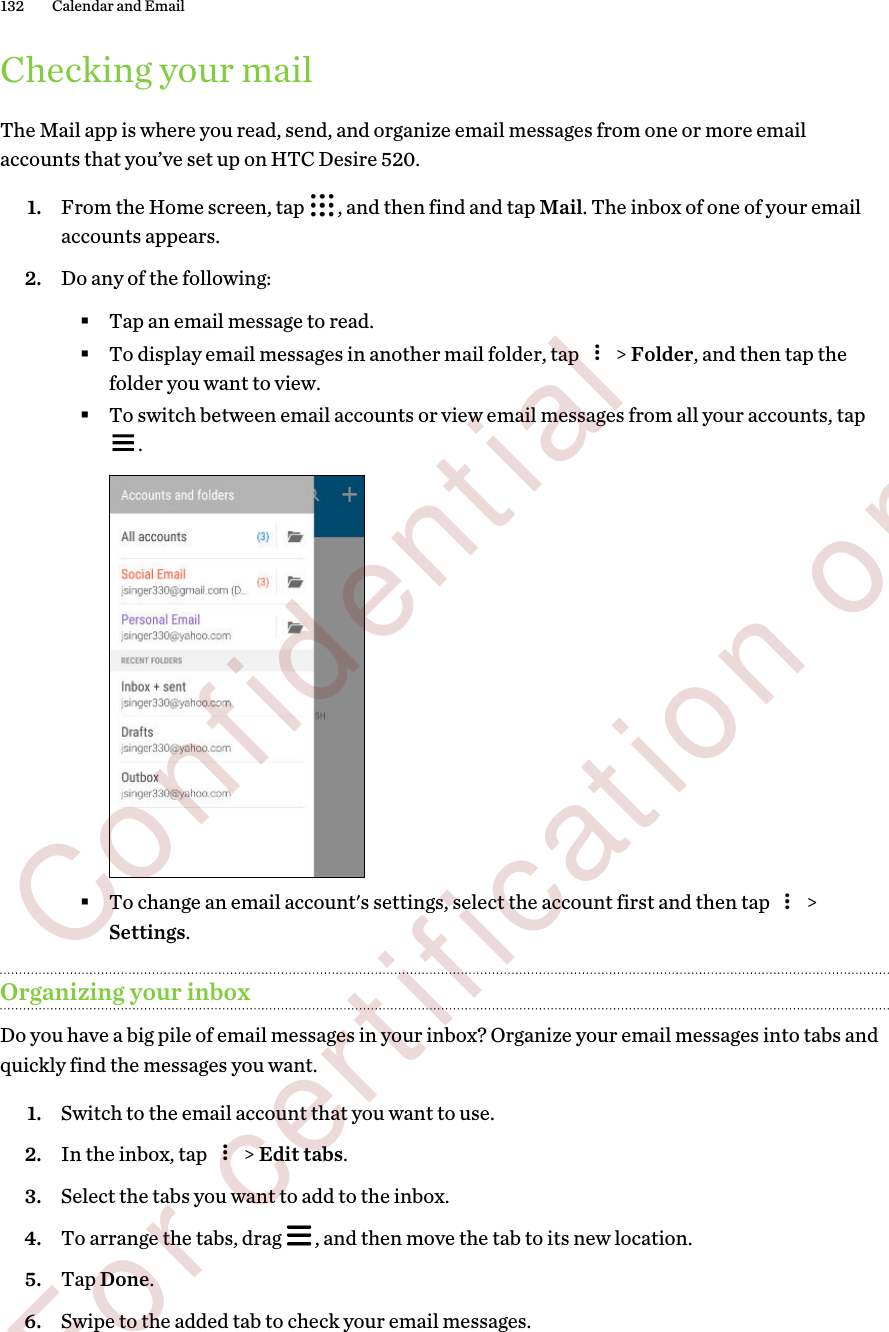
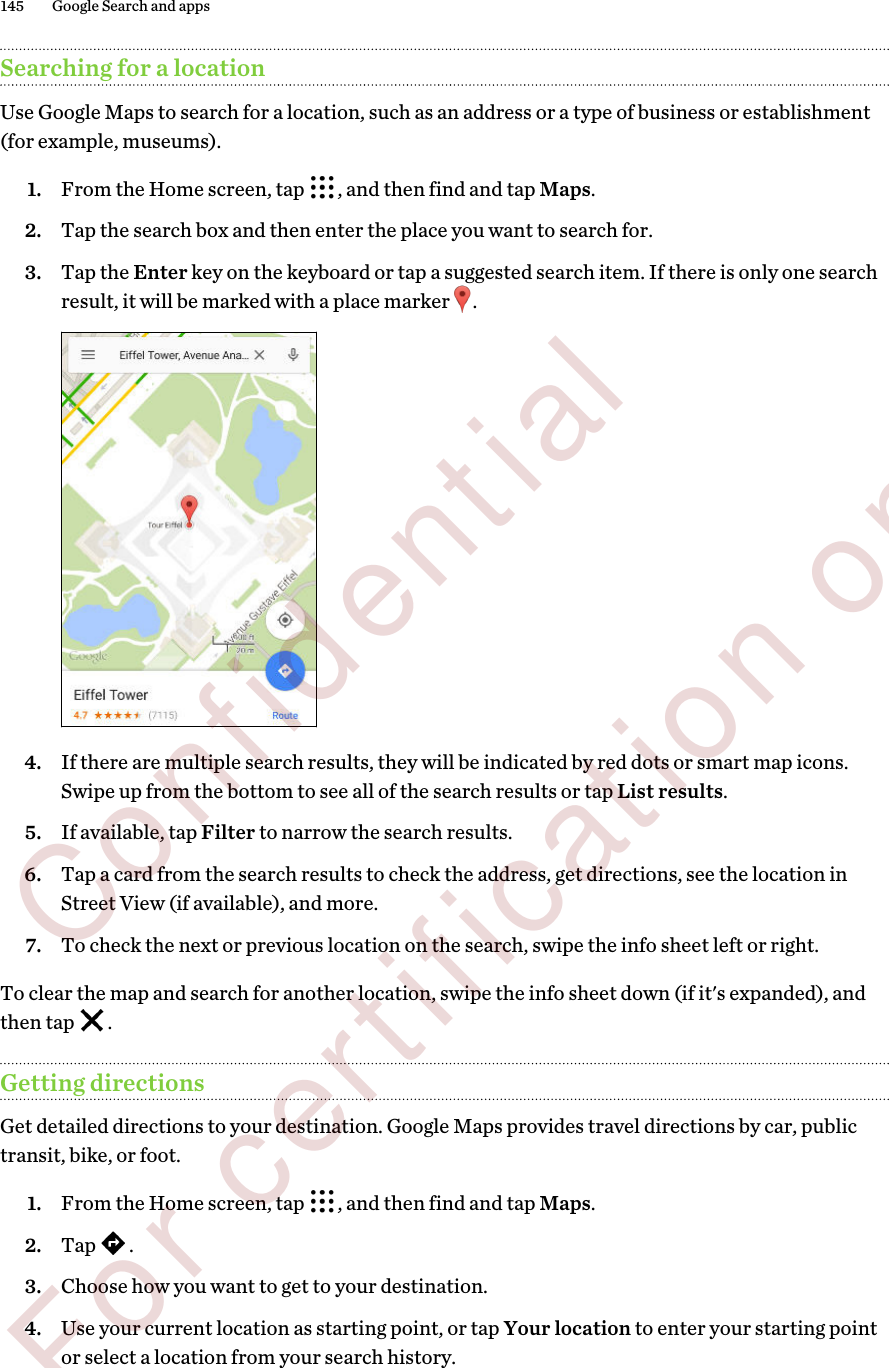
![Phone callsMaking a call with Smart dialYou can either dial a number directly, or use Smart dial to quickly place a call. Smart dial searchesand calls a stored/synced contact or a number from your call history.1. On the Home screen, tap the phone icon to open the Phone app.2. Enter the phone number or first few letters of the contact’s name to see the top matchingcontact.3. If there are a number of matches found (for example, 8 matches), tap the number to see allthe matches.4. Tap the contact you want to call. §To check other phone numbers associated with the contact, tap beside the contact name.§If the phone number has an extension, tap after connecting to the main line and then dialthe extension number.Making a call with your voiceCall a contact hands-free using your voice.1. On the Home screen, tap the phone icon to open the Phone app.2. Tap .3. Say the name of contact you want to call. For example, say "Call [person's name inphonebook]."4. Follow screen instructions to make the call.87 Phone calls Confidential For certification only](https://usermanual.wiki/HTC/0PGQ100.Manual/User-Guide-2692123-Page-87.png)


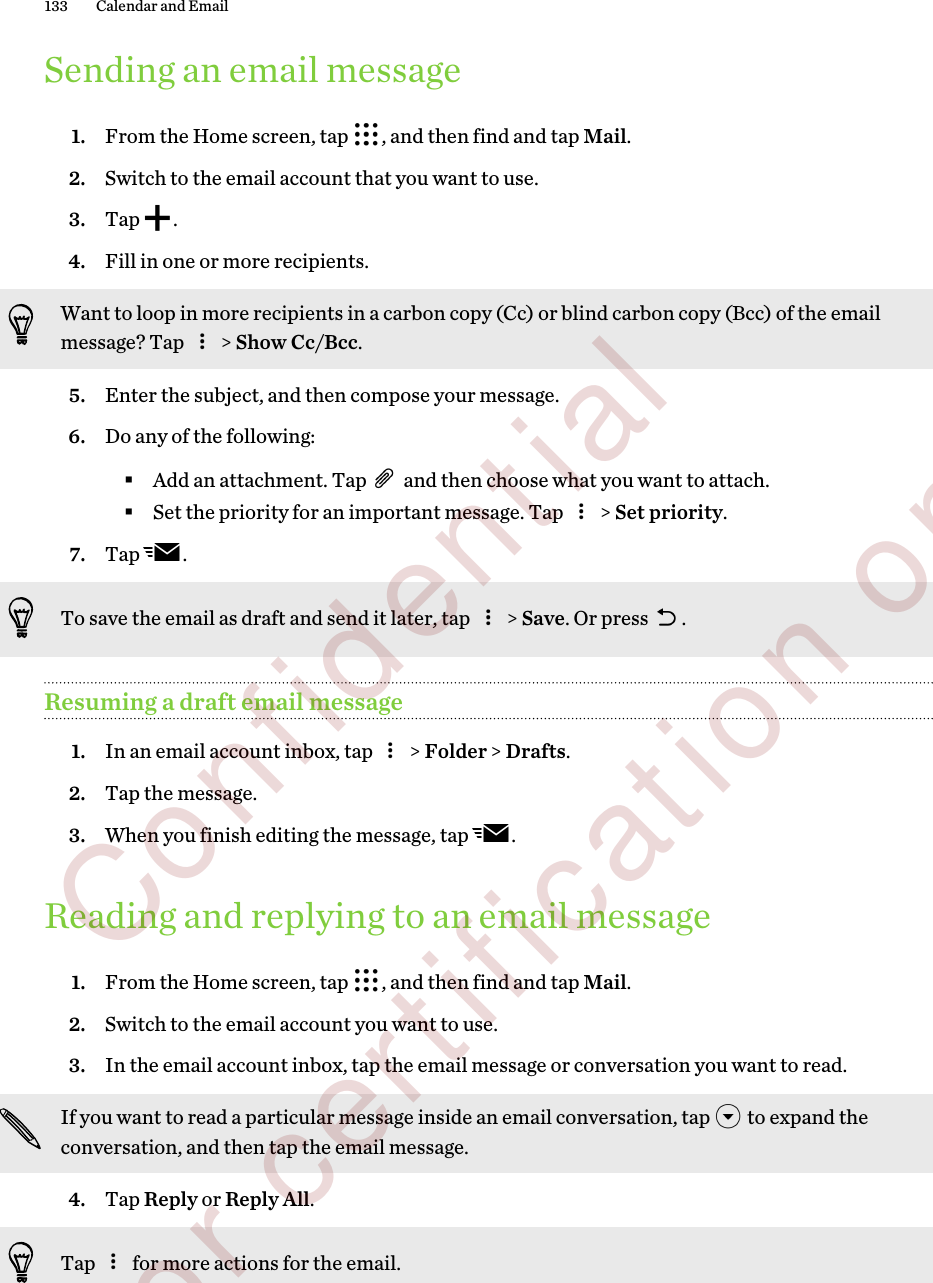

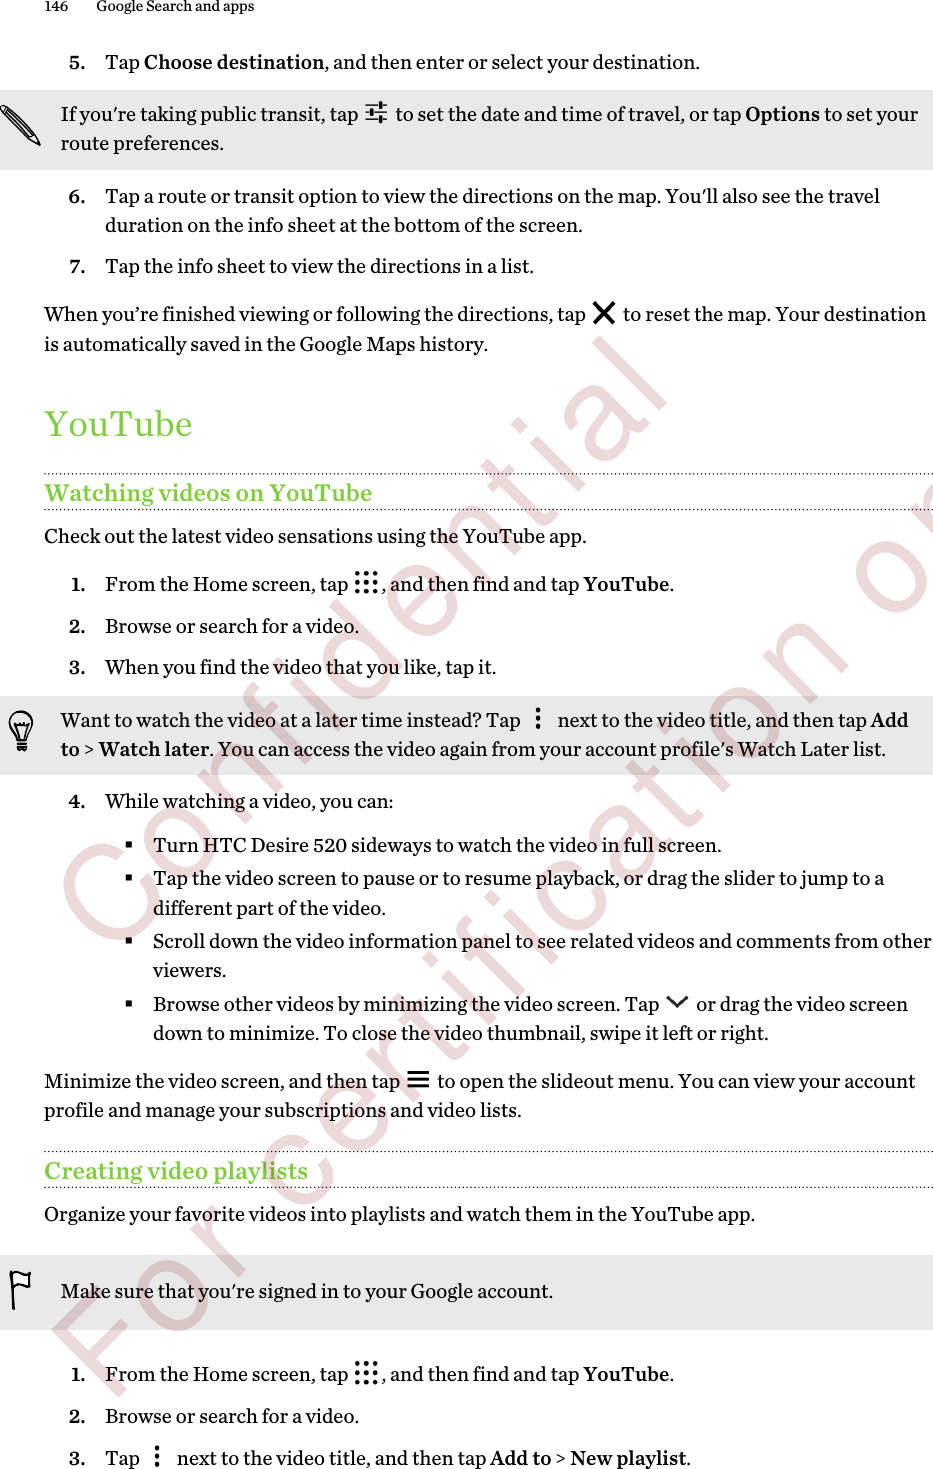
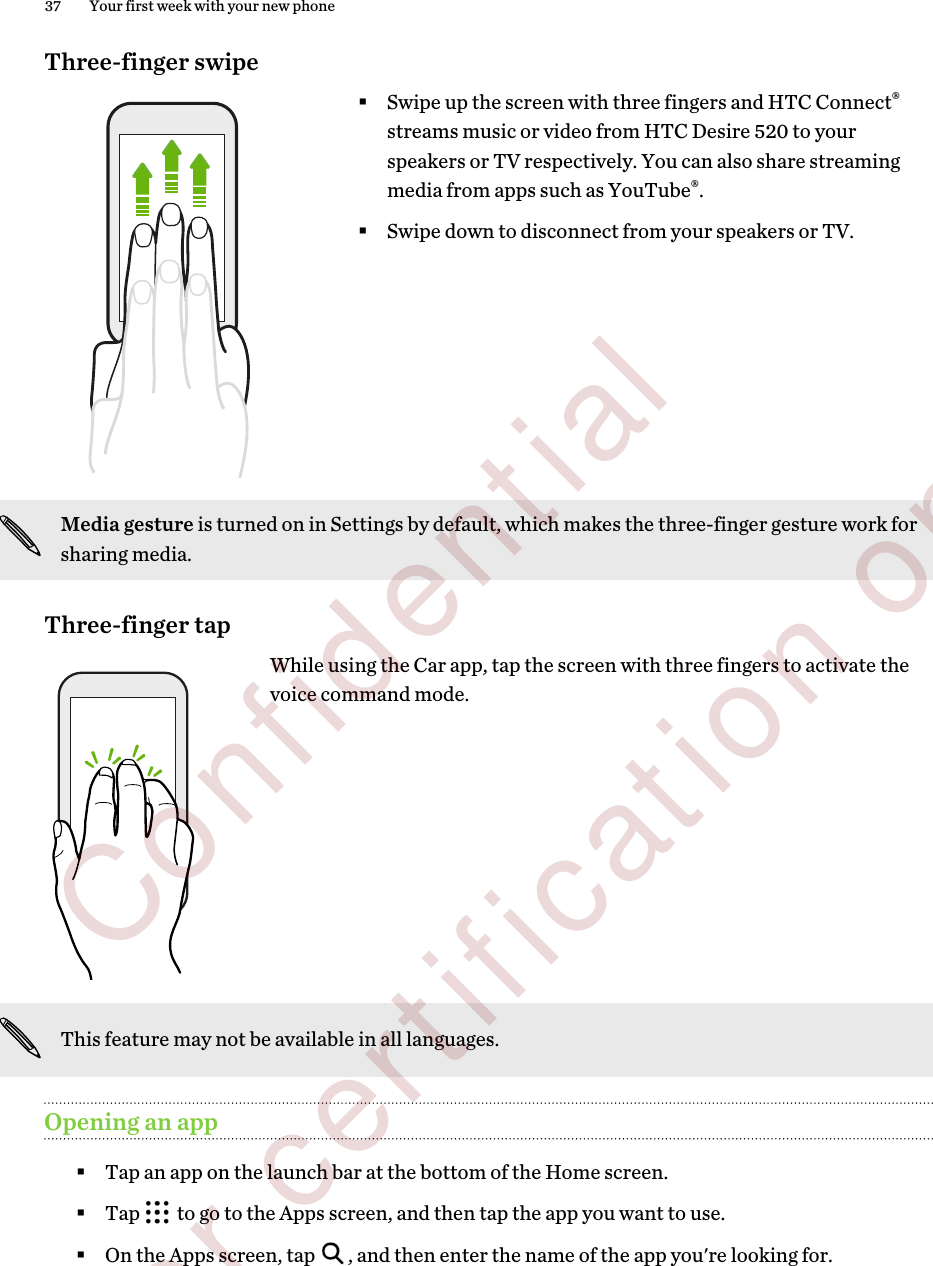
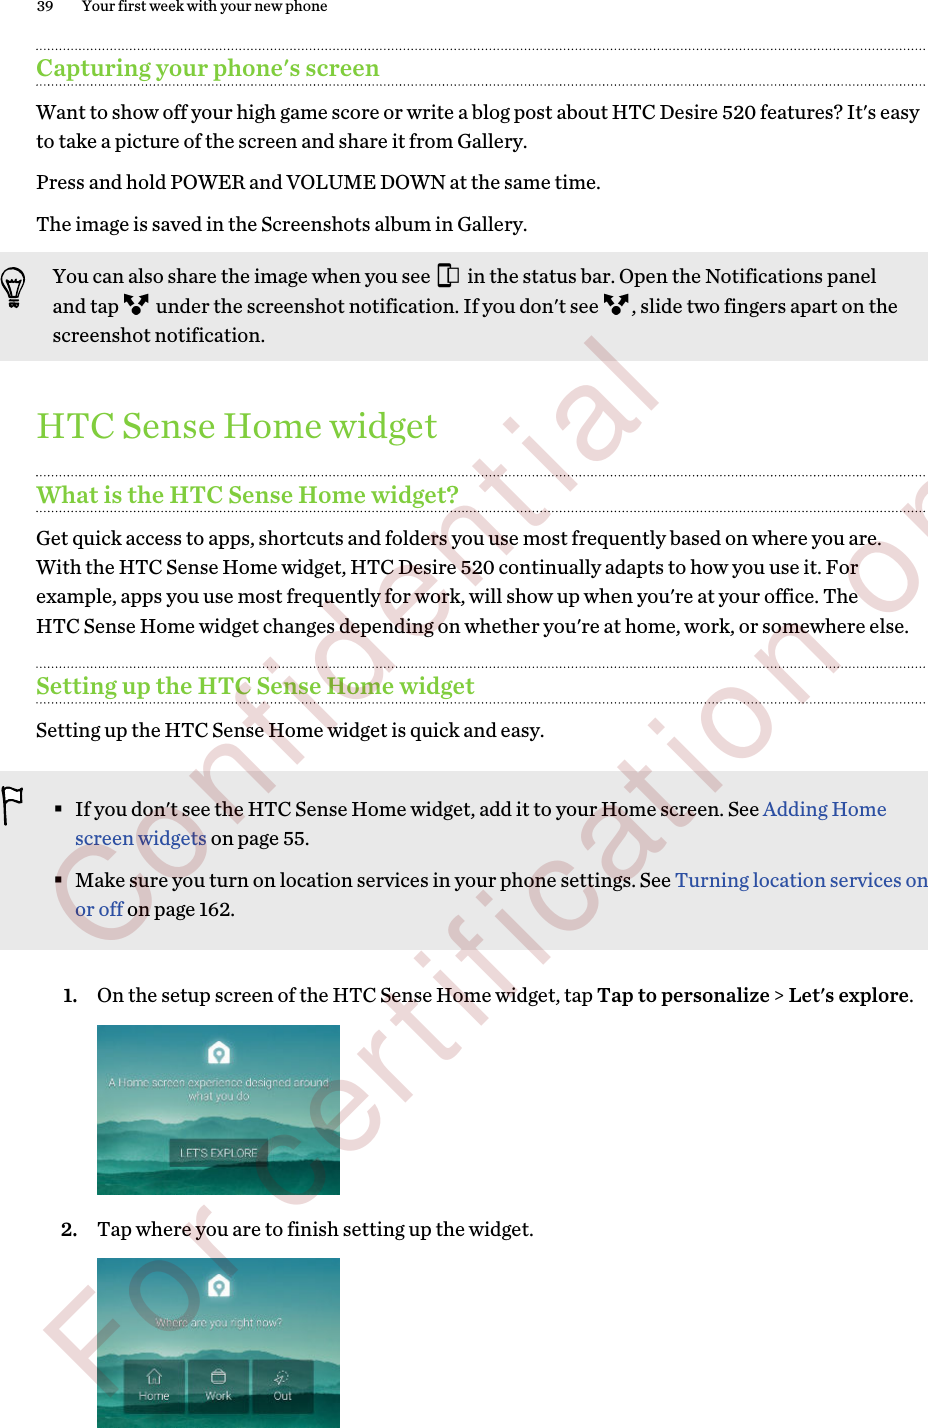
![Other appsHTC CarOn the road with CarNow when you drive, you can easily use HTC Desire 520 to reach your destination, keep youentertained, and help you stay in touch with the people that matter to you. Access music, phonecalls, maps, and more with Car.1. Open the Car app. The first time you open Car, you'll be asked to accept the terms and conditions.2. Swipe up or down to see what you can do in Car.When using Car, return to the main screen from any other screen by pressing .Close Car by pressing from the main screen.Using voice commands in CarUse your voice to control Car.This feature may not be available in all languages.1. In Car, tap the screen with three fingers to activate voice command mode.2. Do one of the following:Call someone Say "Call [person's name in phonebook]"Play music Say "Play [song title, album, artist name, orgenre]"Find something onthe map Say "Navigate" . When you hear Car ask you where you want togo, say the address or name of a point of interest.You can also activate voice command mode by:§Tapping Speak on the main screen in Car.§Pressing the answer button on supported Bluetooth headsets.148 Other apps Confidential For certification only](https://usermanual.wiki/HTC/0PGQ100.Manual/User-Guide-2692123-Page-148.png)