HTC 2PUK220 Smartphone User Manual HTC Desire 825
HTC Corporation Smartphone HTC Desire 825
UserManual.wiki
>
HTC
>
2PUK220 User Manual
>
User Manual-2
Contents
1.
User Manual
2.
User Manual-2
3.
user Statement
4.
User statement
User Manual-2
Navigation menu
Upload a User Manual
Namespaces
Wiki Guide
HTML
PDF
Info
Views
User Manual
Discussion / Help
Navigation


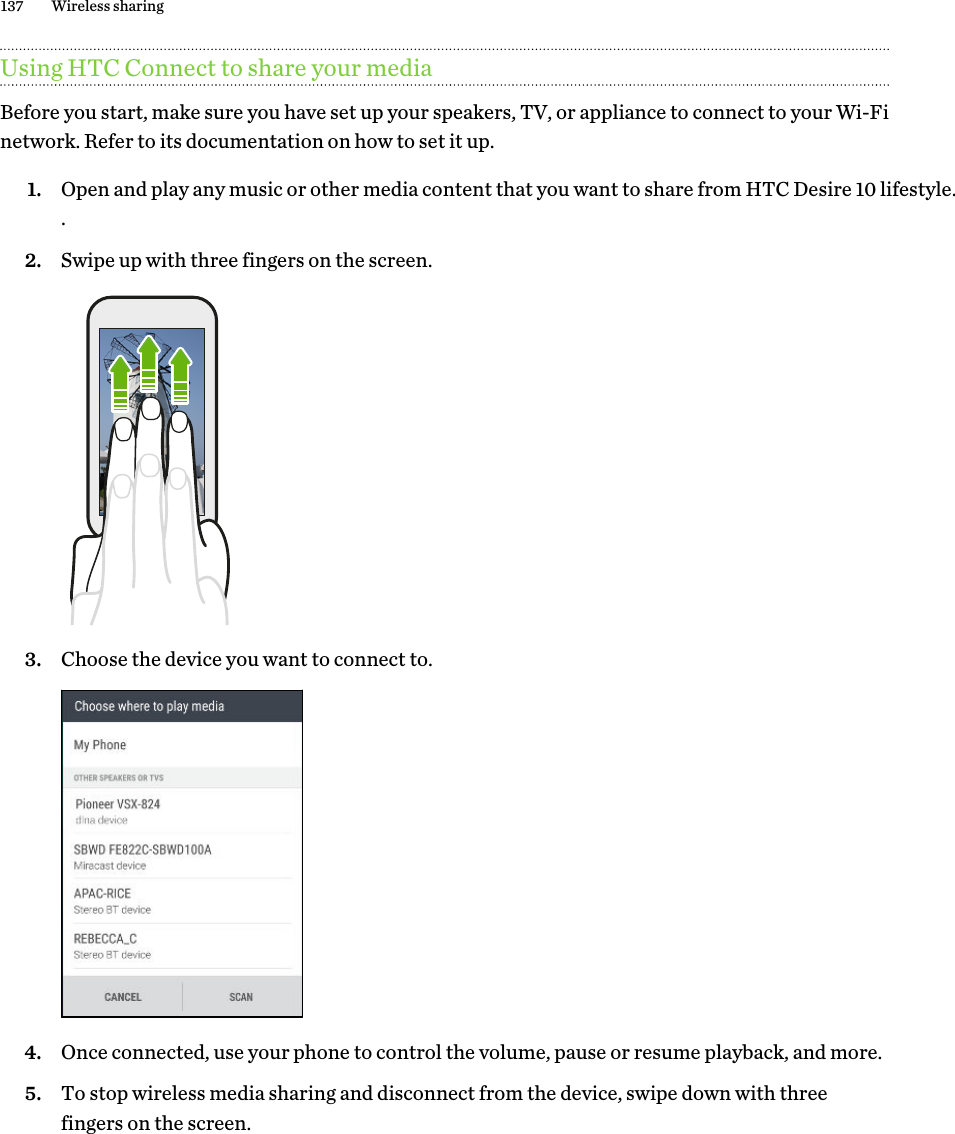
![Phone callsMaking a call with Smart dialYou can either dial a number directly, or use Smart dial to quickly place a call. Smart dial searches and calls a stored/synced contact or a number from your call history. 1. On the Home screen, tap the phone icon to open the Phone app.2. Enter the phone number or first few letters of the contact’s name to see the top matching contact.3. If there are a number of matches found (for example, 8 matches), tap the number to see all the matches.4. Tap the contact you want to call. §To check other phone numbers associated with the contact, tap beside the contact name.§If the phone number has an extension, tap after connecting to the main line and then dial the extension number.Making a call with your voiceCall a contact hands-free using your voice.1. On the Home screen, tap the phone icon to open the Phone app.2. Tap .3. Say the name of contact you want to call. For example, say "Call [person's name in phonebook]." 4. Follow screen instructions to make the call.104 Phone calls](https://usermanual.wiki/HTC/2PUK220.User-Manual-2/User-Guide-3104157-Page-23.png)