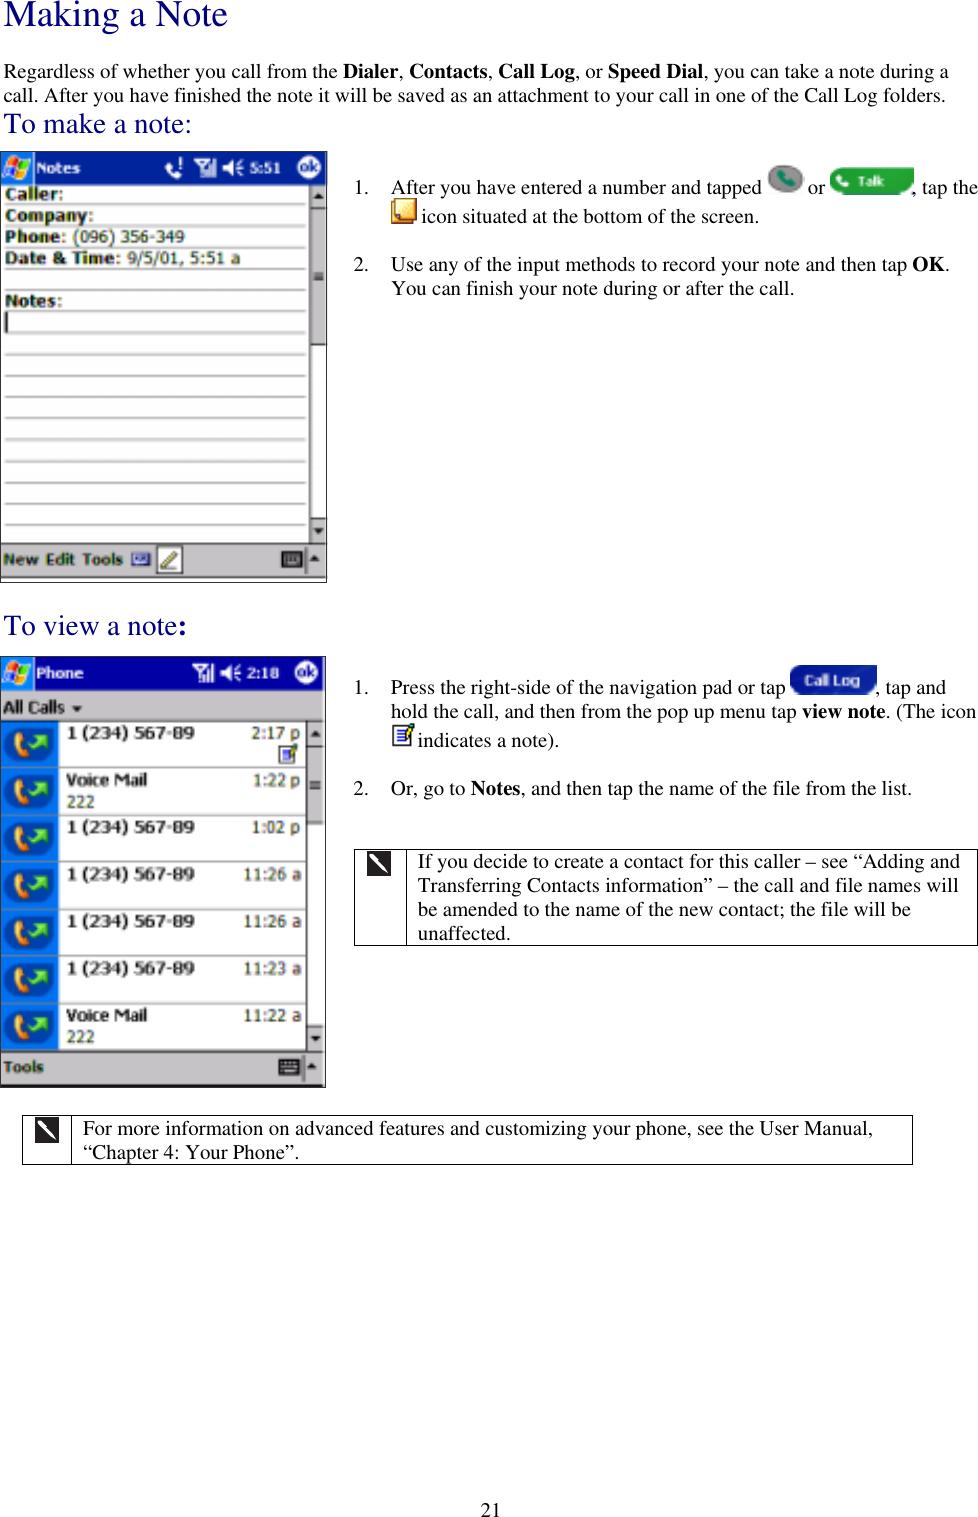
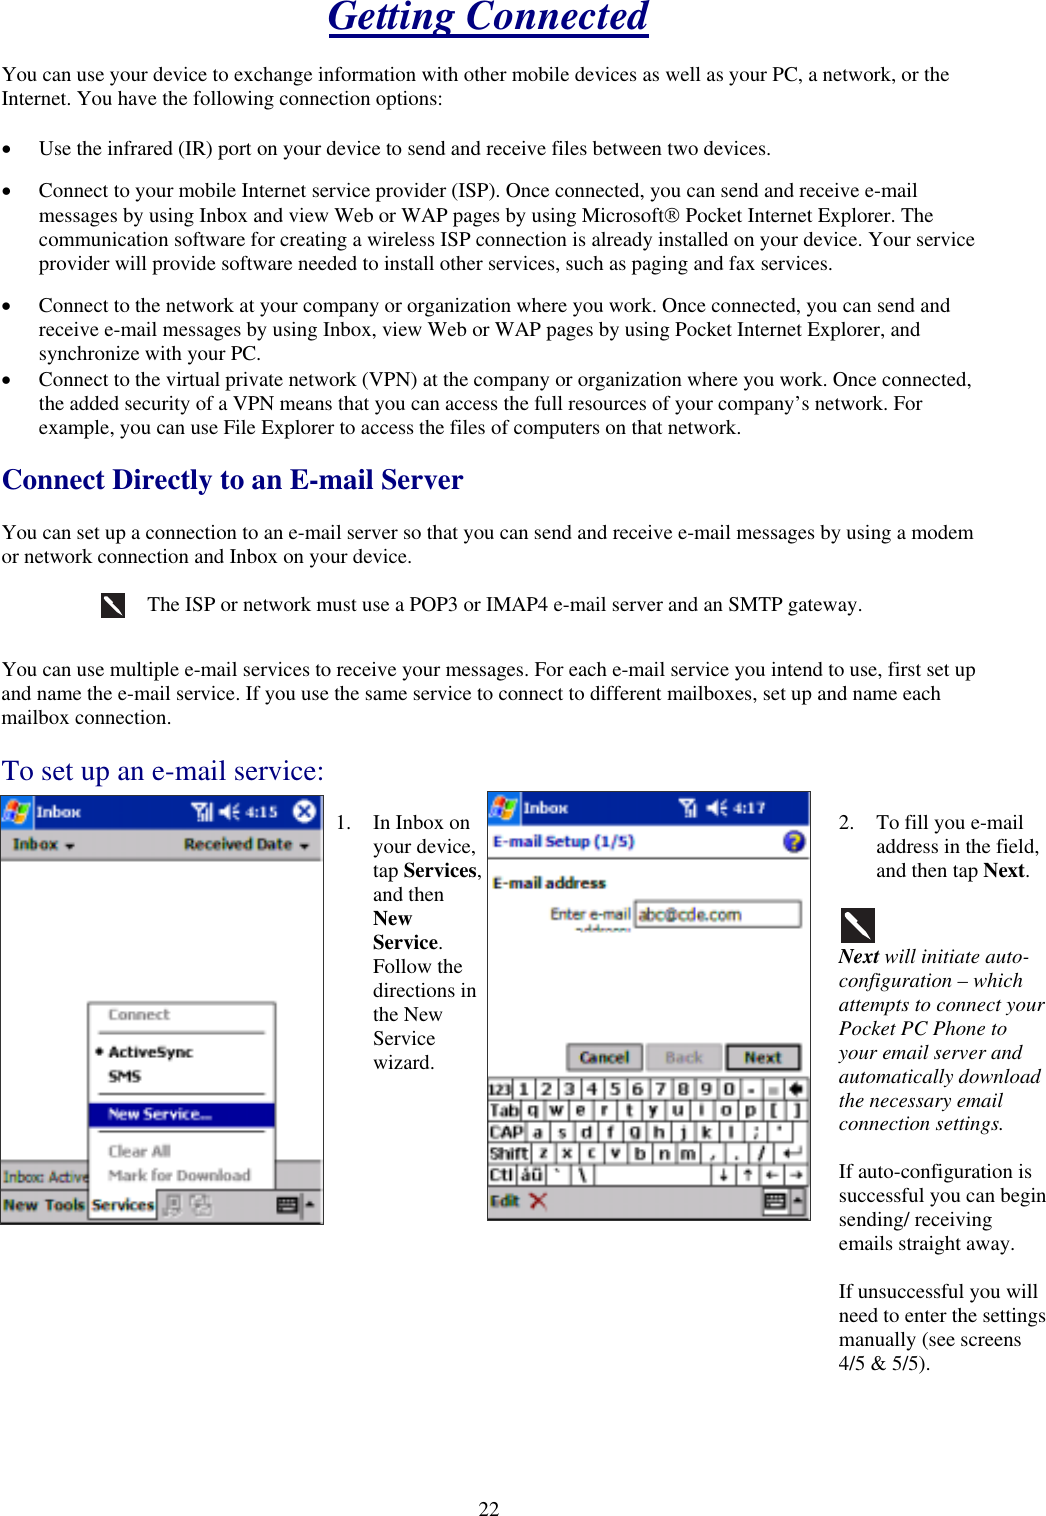
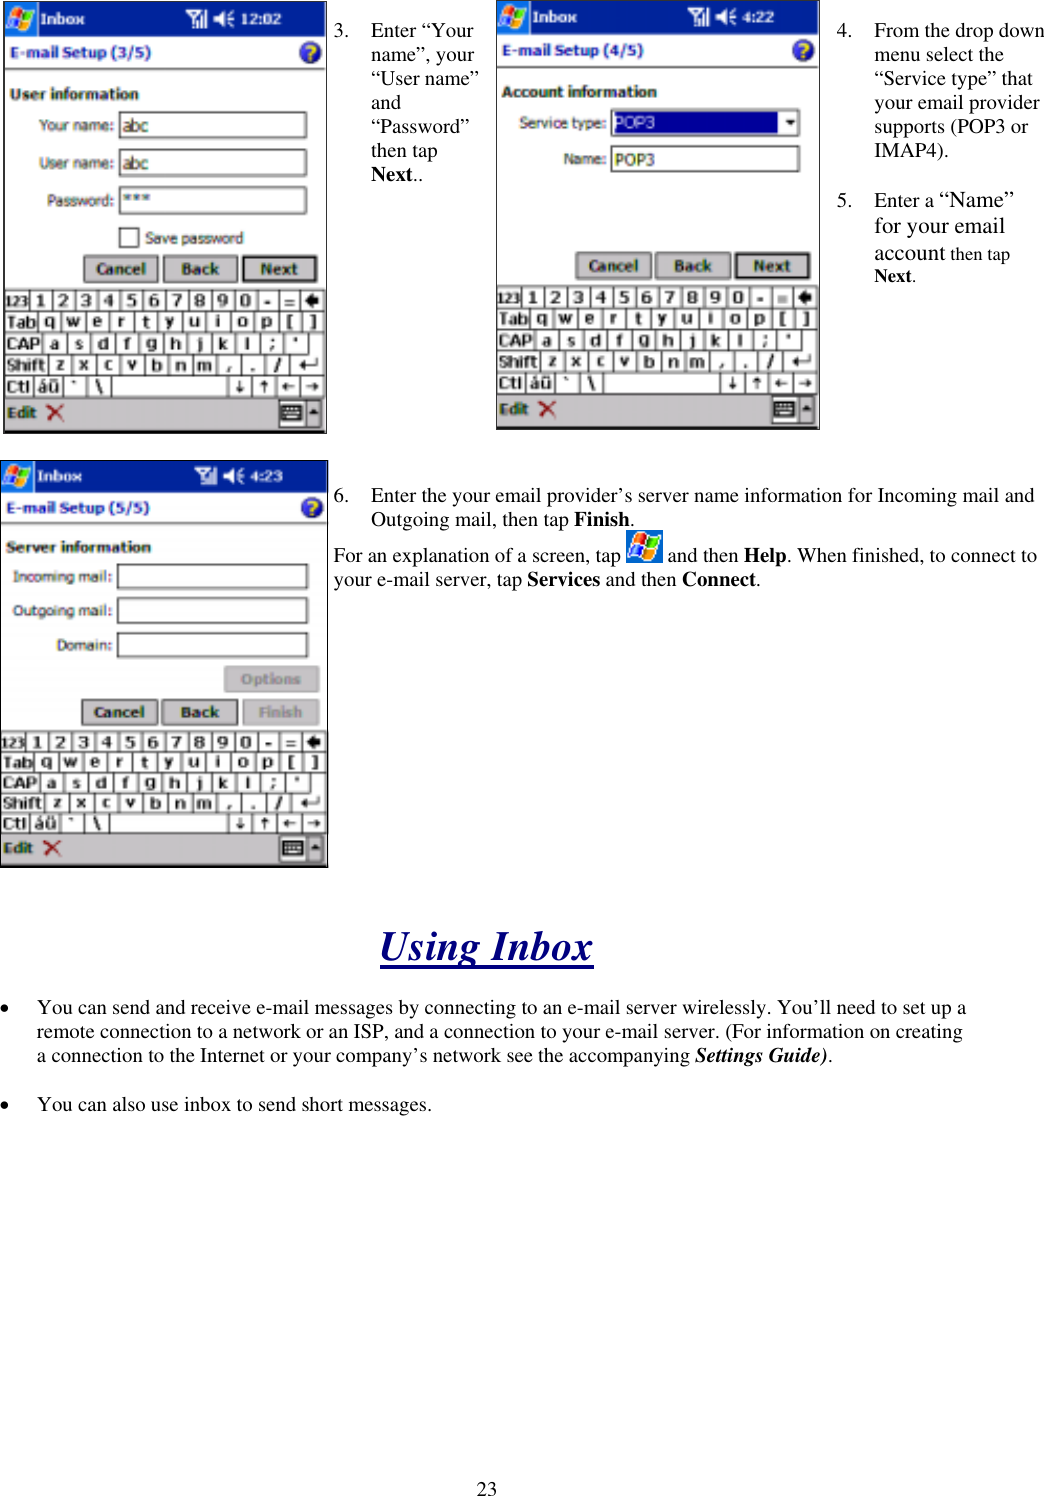
HTC FALCON Dual-Band CDMA Wireless PDA Phone (CDMA/PCS CDMA) User Manual Quick SetUp Guide
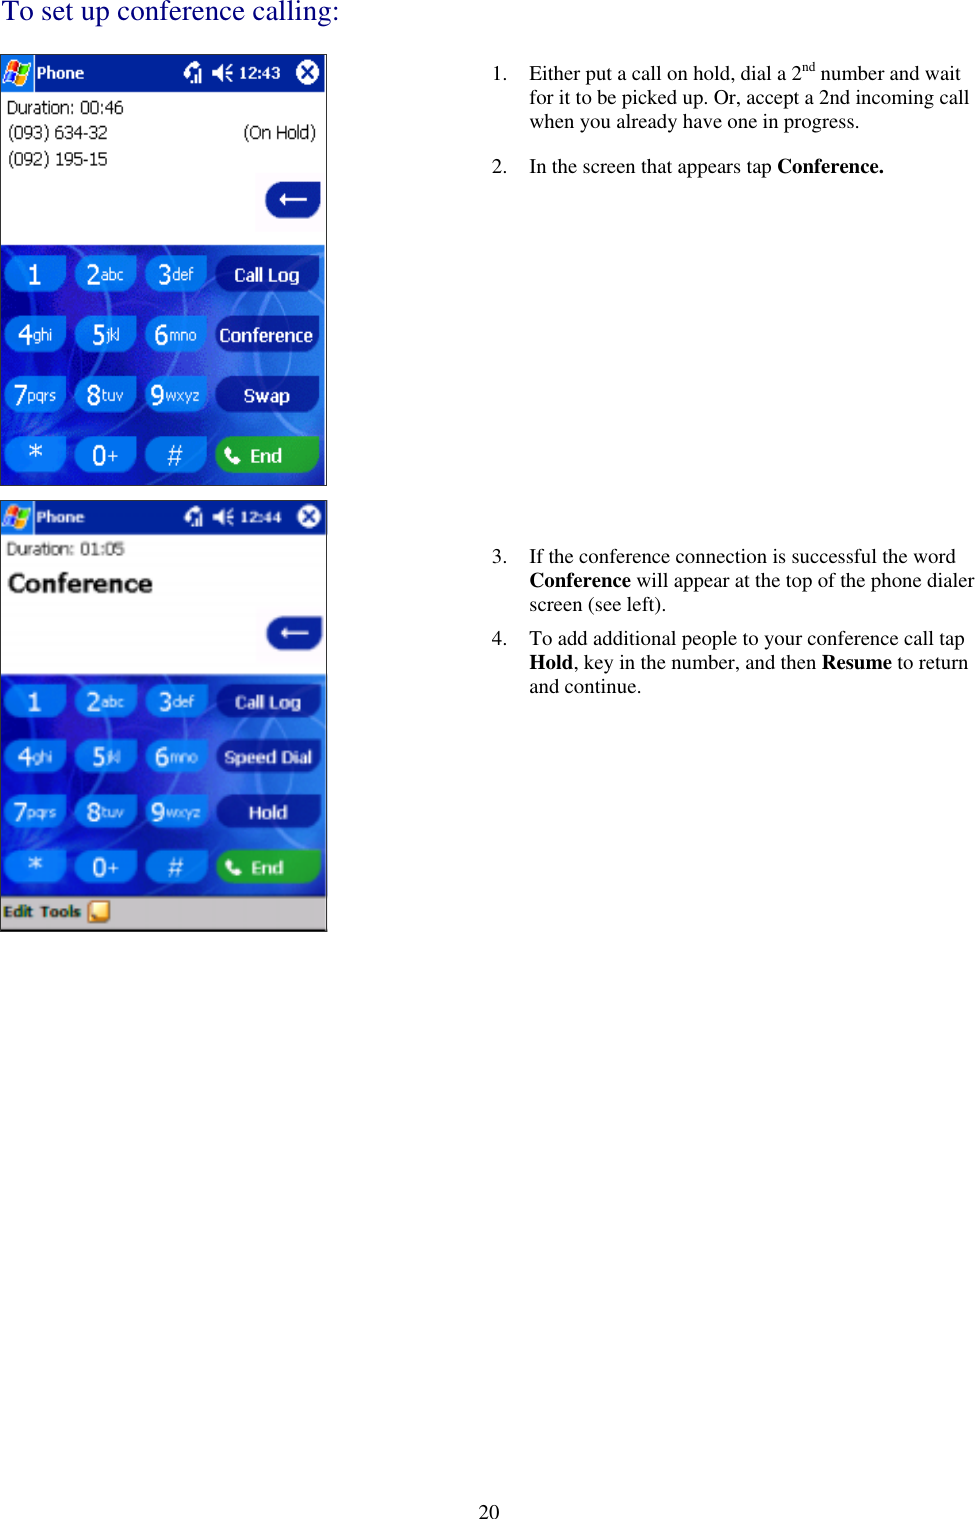
HTC Corporation Dual-Band CDMA Wireless PDA Phone (CDMA/PCS CDMA) Quick SetUp Guide
HTC >
Contents
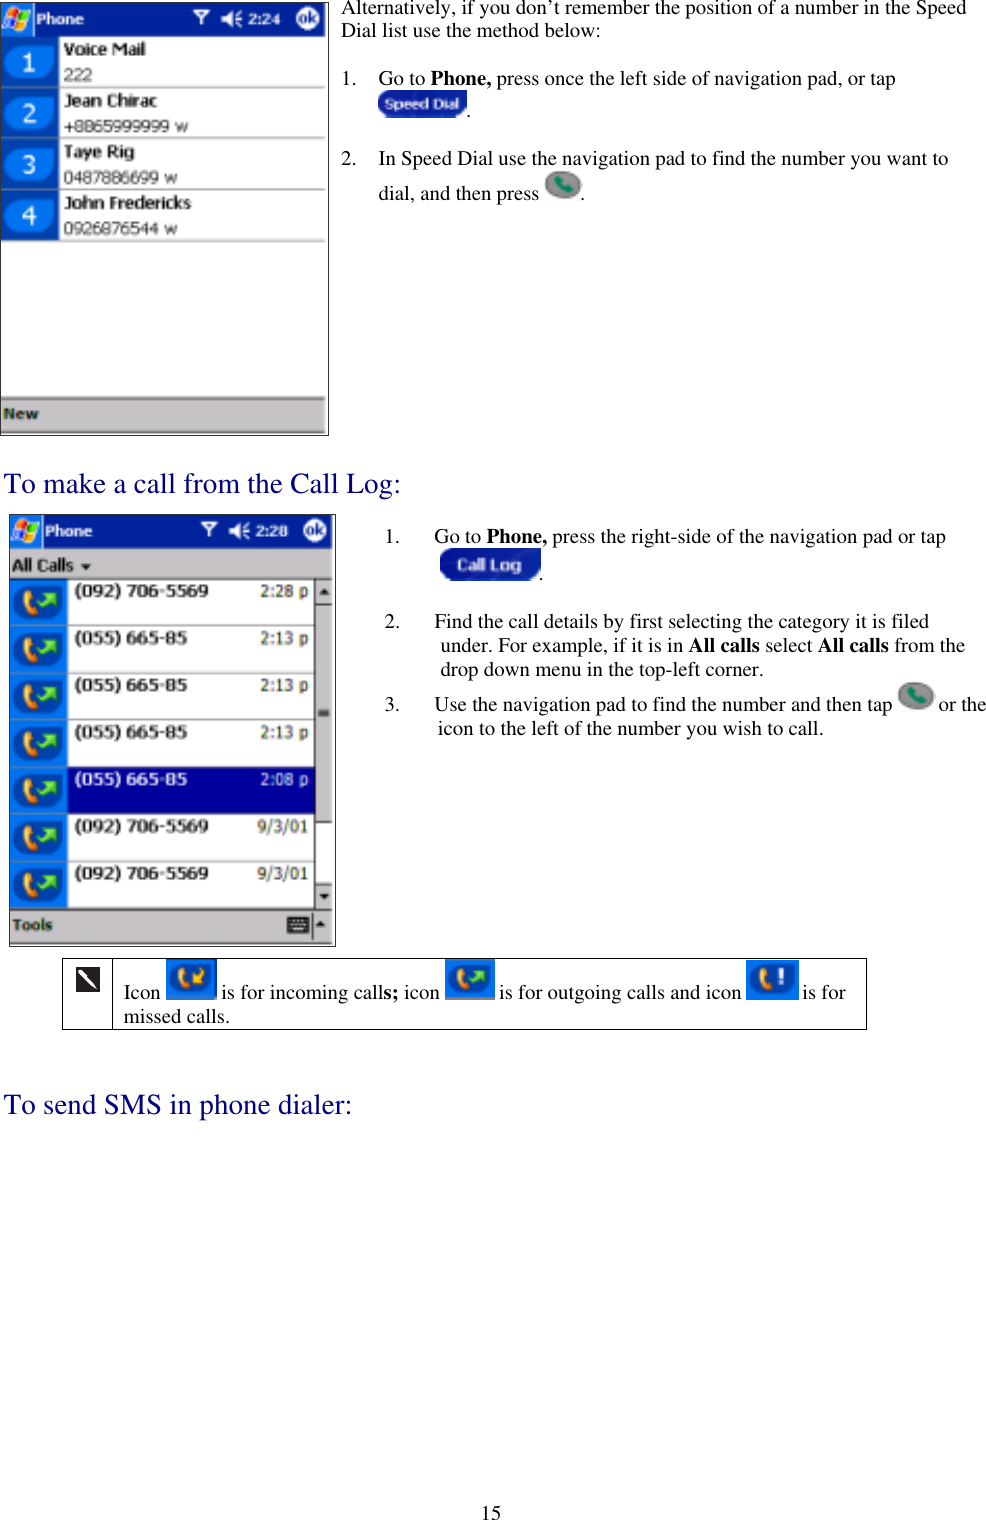
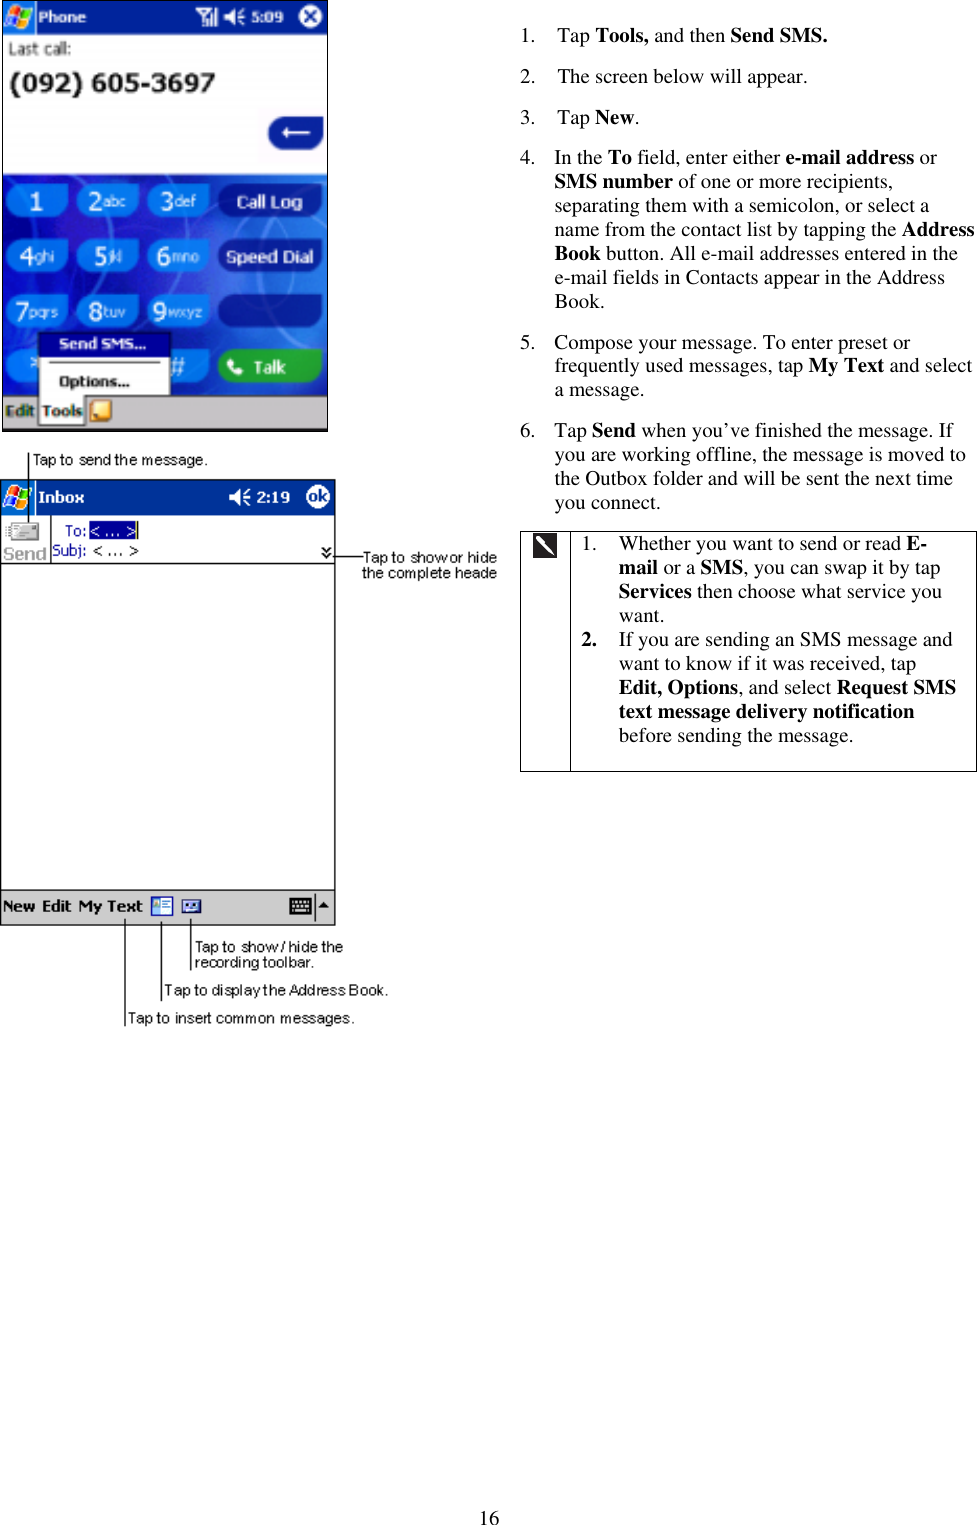
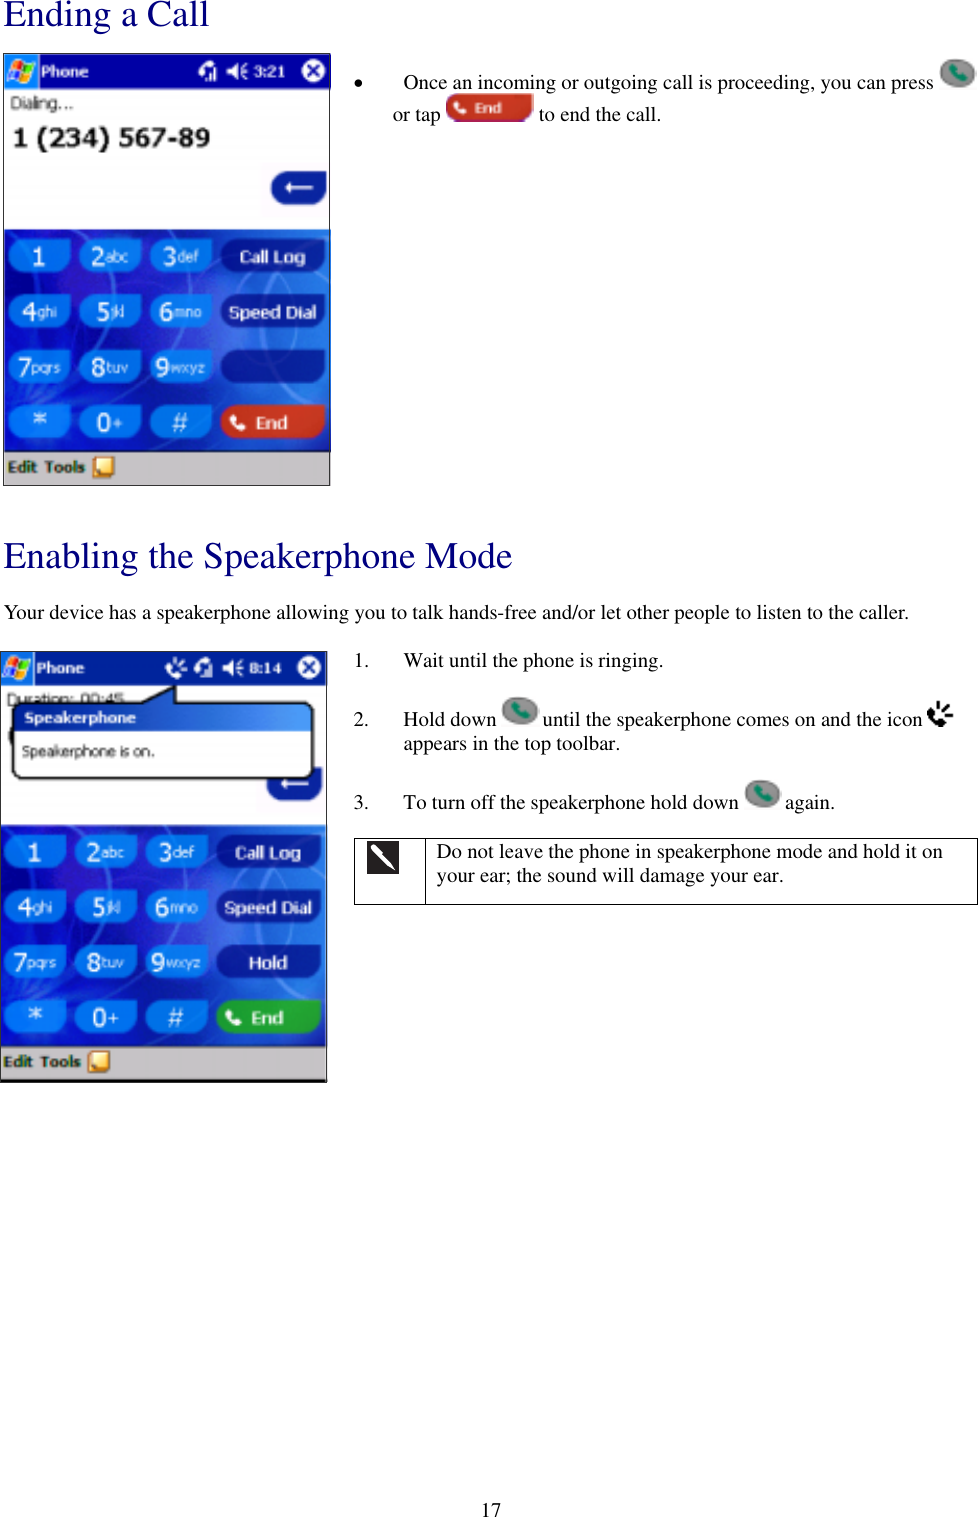
- 1. Users Manual
- 2. Revised Users Manual per CRN 6679
Users Manual