HTC HERM200 Pocket PC Phone User Manual Hermes Vodafone English Manual indb
HTC Corporation Pocket PC Phone Hermes Vodafone English Manual indb
UserManual.wiki
>
HTC
>
HERM200 User Manual
>
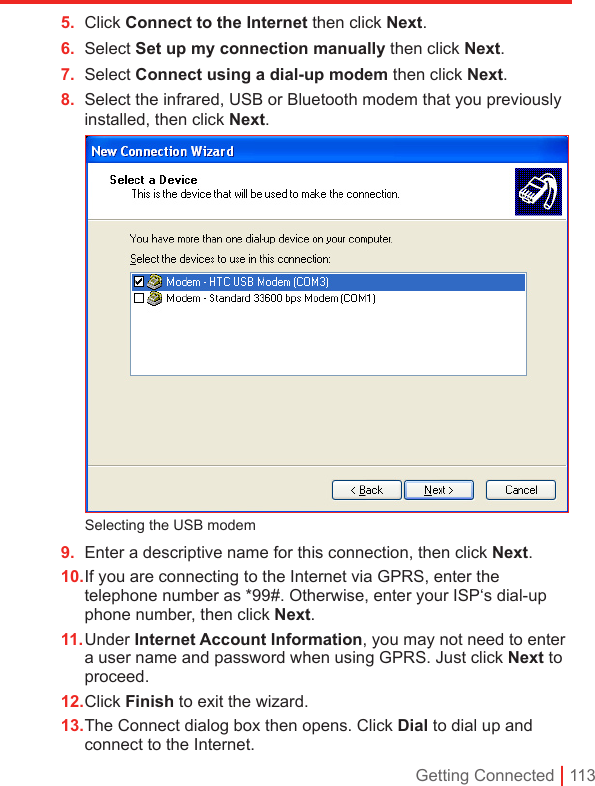
User manual 2
Contents
1.
User manual 1
2.
User manual 2
3.
User manual 1 rev
4.
User manual 2 rev
5.
Revised user manual 1
6.
Revised user manual 2
User manual 2
Navigation menu
Upload a User Manual
Namespaces
Wiki Guide
HTML
PDF
Info
Views
User Manual
Discussion / Help
Navigation
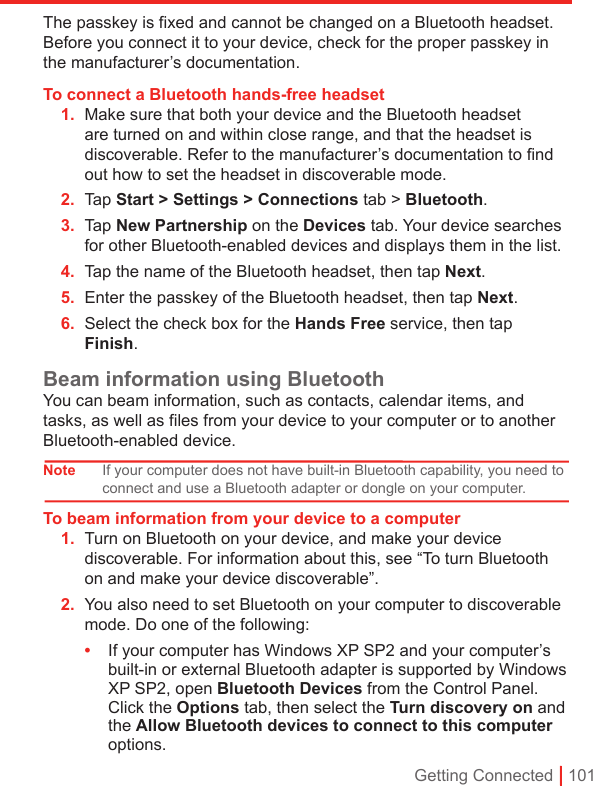
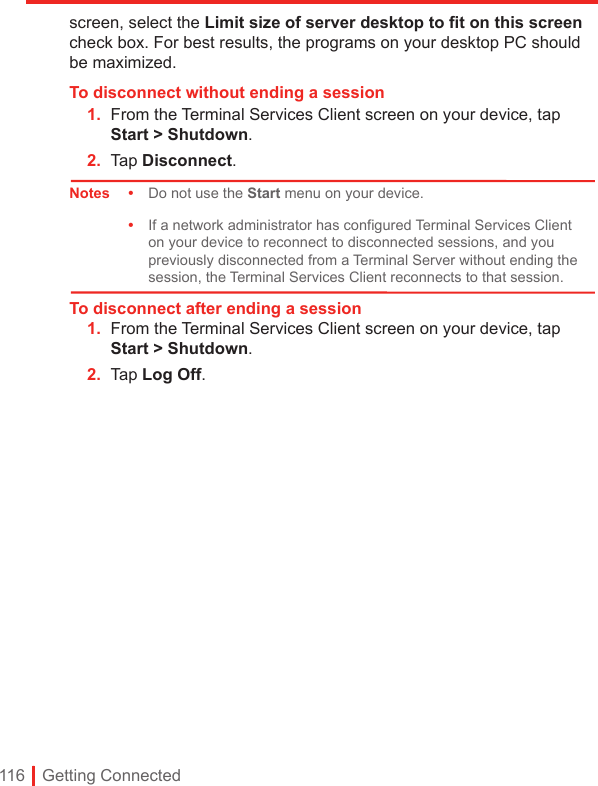
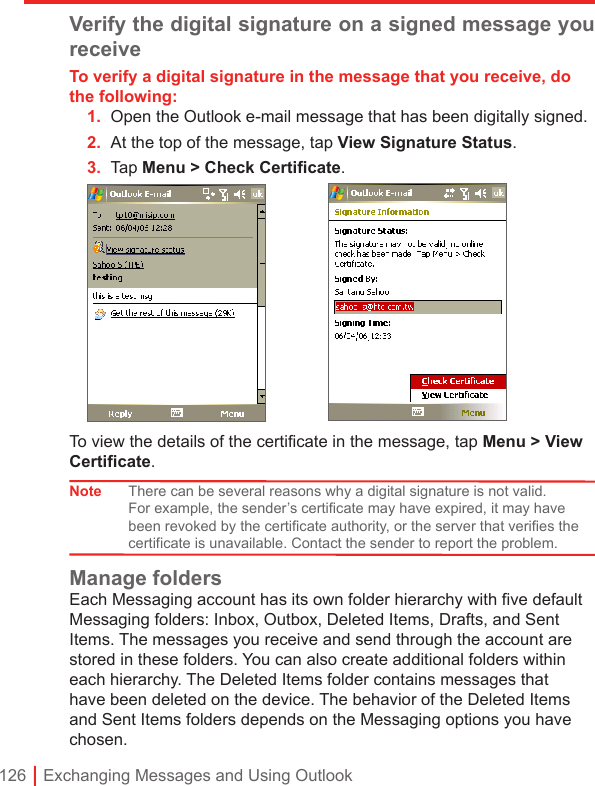
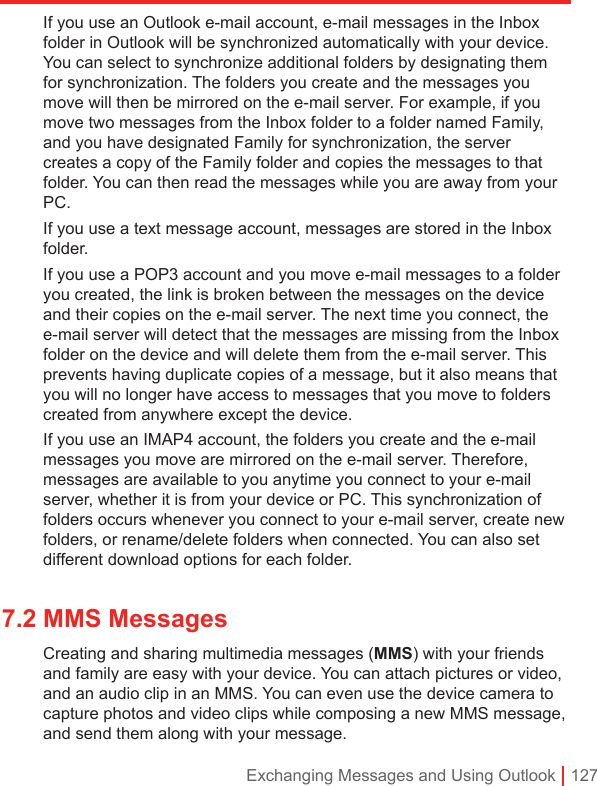
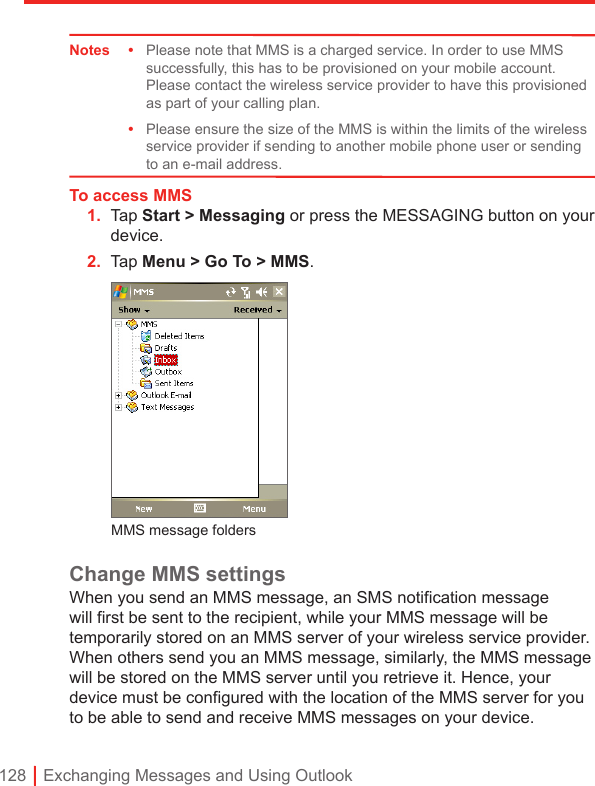
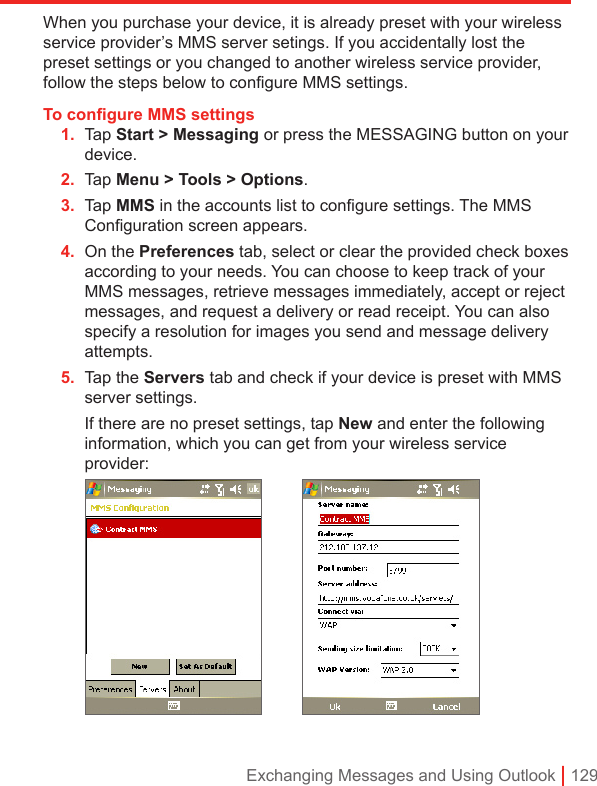
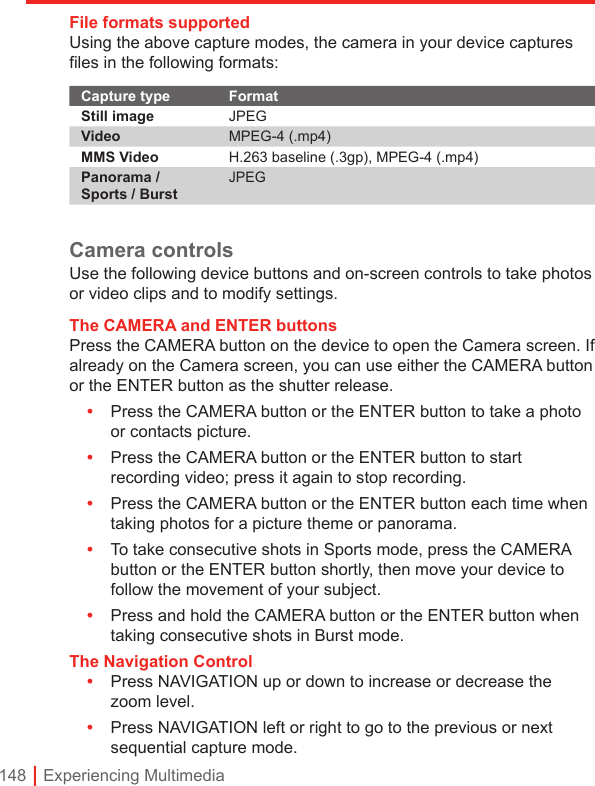
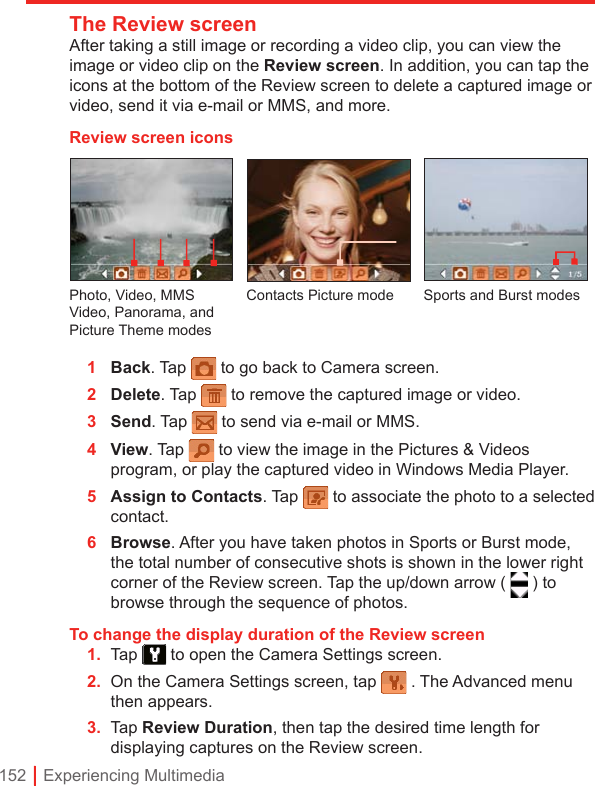
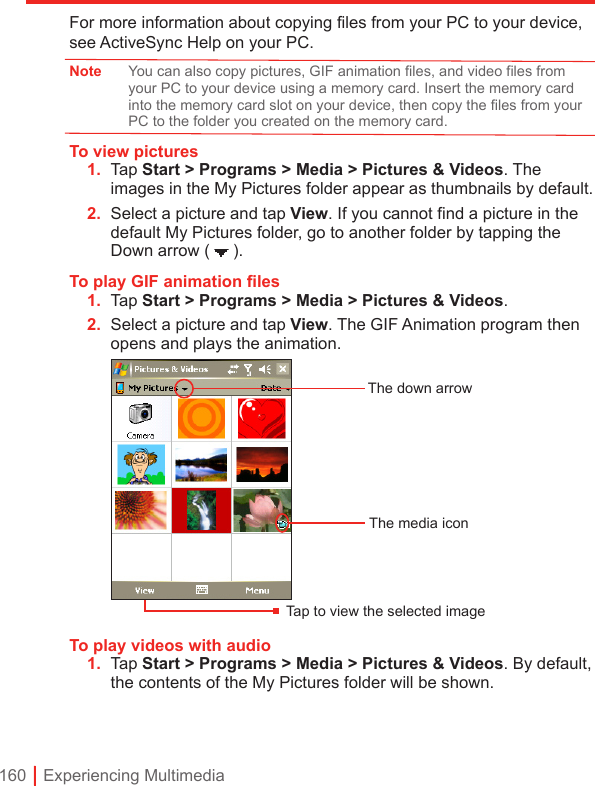
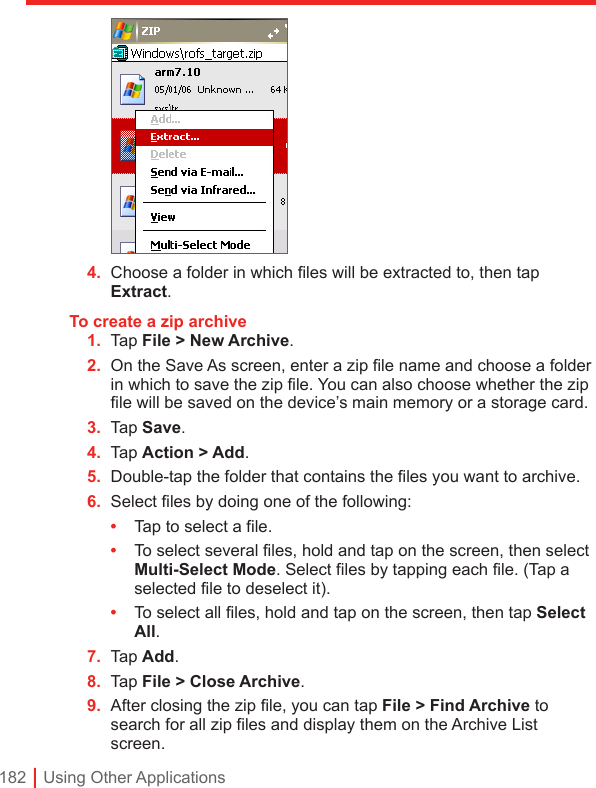
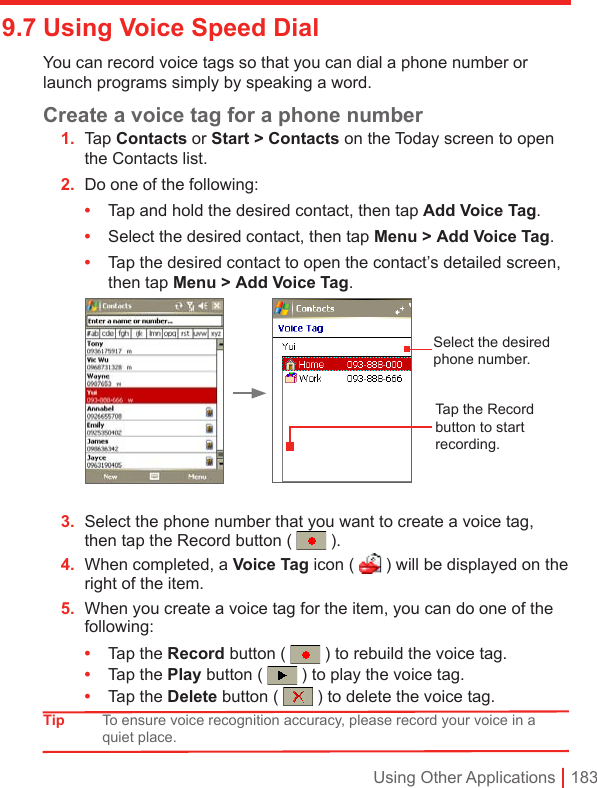
![102 | Getting Connected• If the Bluetooth adapter on your computer was installed using a third-party provided driver, open the Bluetooth software that came with the Bluetooth adapter. This software varies by manufacturer, but in most cases, you will find a Bluetooth Configuration utility which you can open from the Control Panel. After Bluetooth Configuration opens, click the Accessibility tab, then select Let other Bluetooth devices to discover this computer. Refer to the Bluetooth adapter’s documentation for more information.3. Create a Bluetooth partnership between the two devices. For information about creating a partnership, see “Bluetooth partnerships”. After a partnership has been created successfully, your computer is ready to receive Bluetooth beams.4. On your device, tap and hold an item to beam. The item can be an appointment in your calendar, a task, a contact card, or a file.5. Tap Beam [type of item].6. Tap the device name to which you want to send the beam.7. If you beamed an Outlook item and it is not automatically added to Outlook, select File > Import and Export in Outlook to import it.To beam information to a Bluetooth-enabled device such as another Pocket PC, follow steps 3 and onwards in the above procedure.Notes • If the computer or device you want to beam to cannot be detected by your device, make sure that its Bluetooth is turned on, set to discoverable mode, and it is within close range (10 meters) of your device. • If you beamed an Outlook item to the computer and it is not automatically added to Outlook, select File > Import and Export on your computer to import it into Outlook.Use the device as a Bluetooth modemYou can connect your device to a notebook or desktop computer through Bluetooth and use the device as a modem for the computer.](https://usermanual.wiki/HTC/HERM200.User-manual-2/User-Guide-697510-Page-2.png)