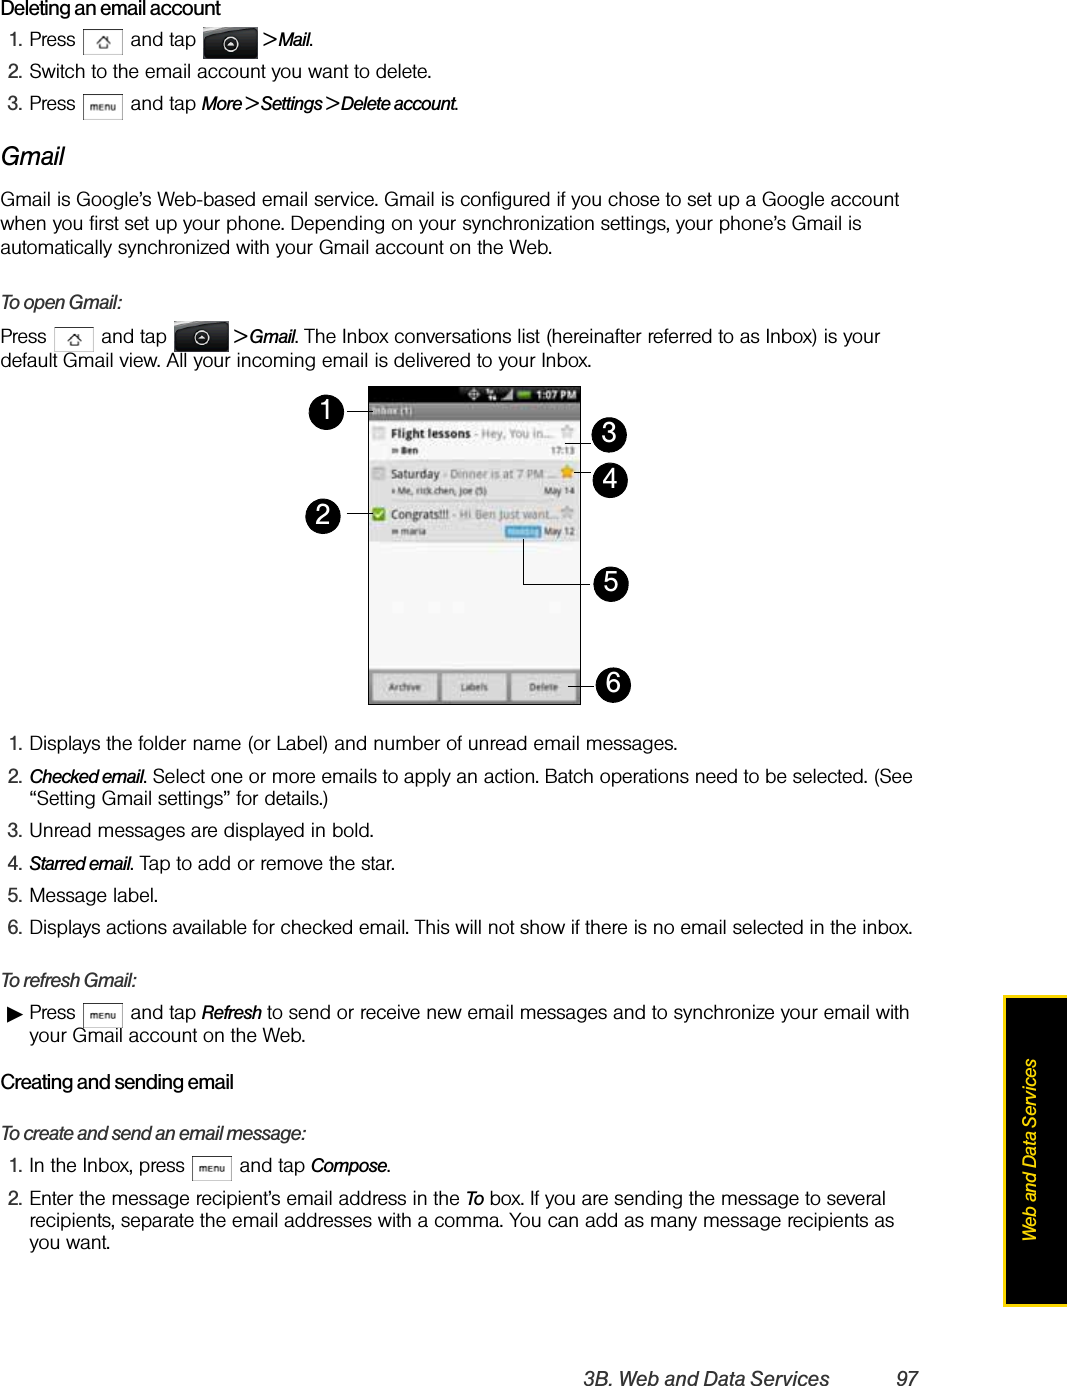
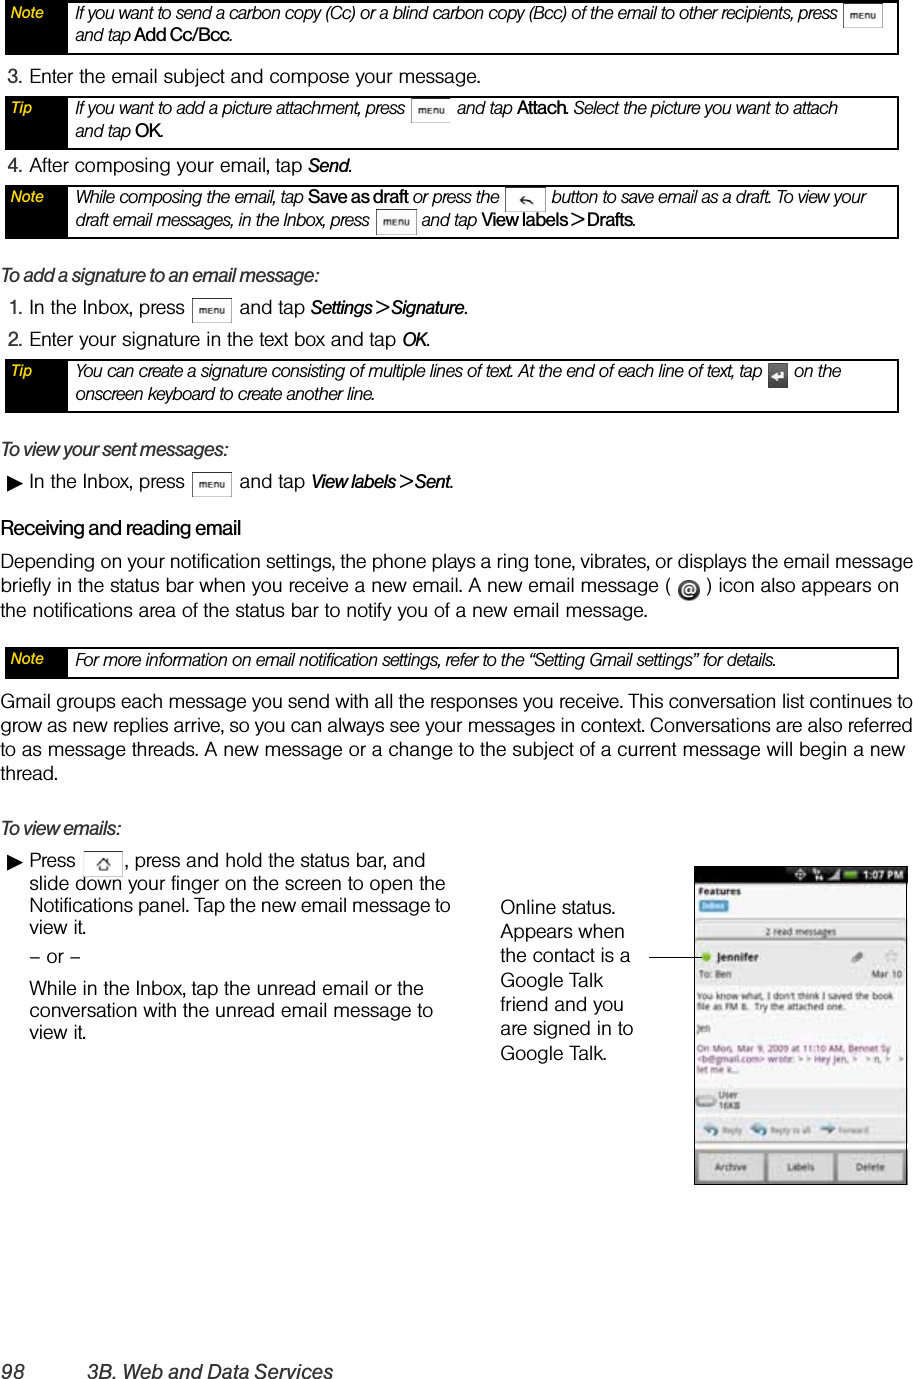
HTC HERO200 PDA Phone User Manual HERO200 User Guide
HTC Corporation PDA Phone HERO200 User Guide
UserManual.wiki
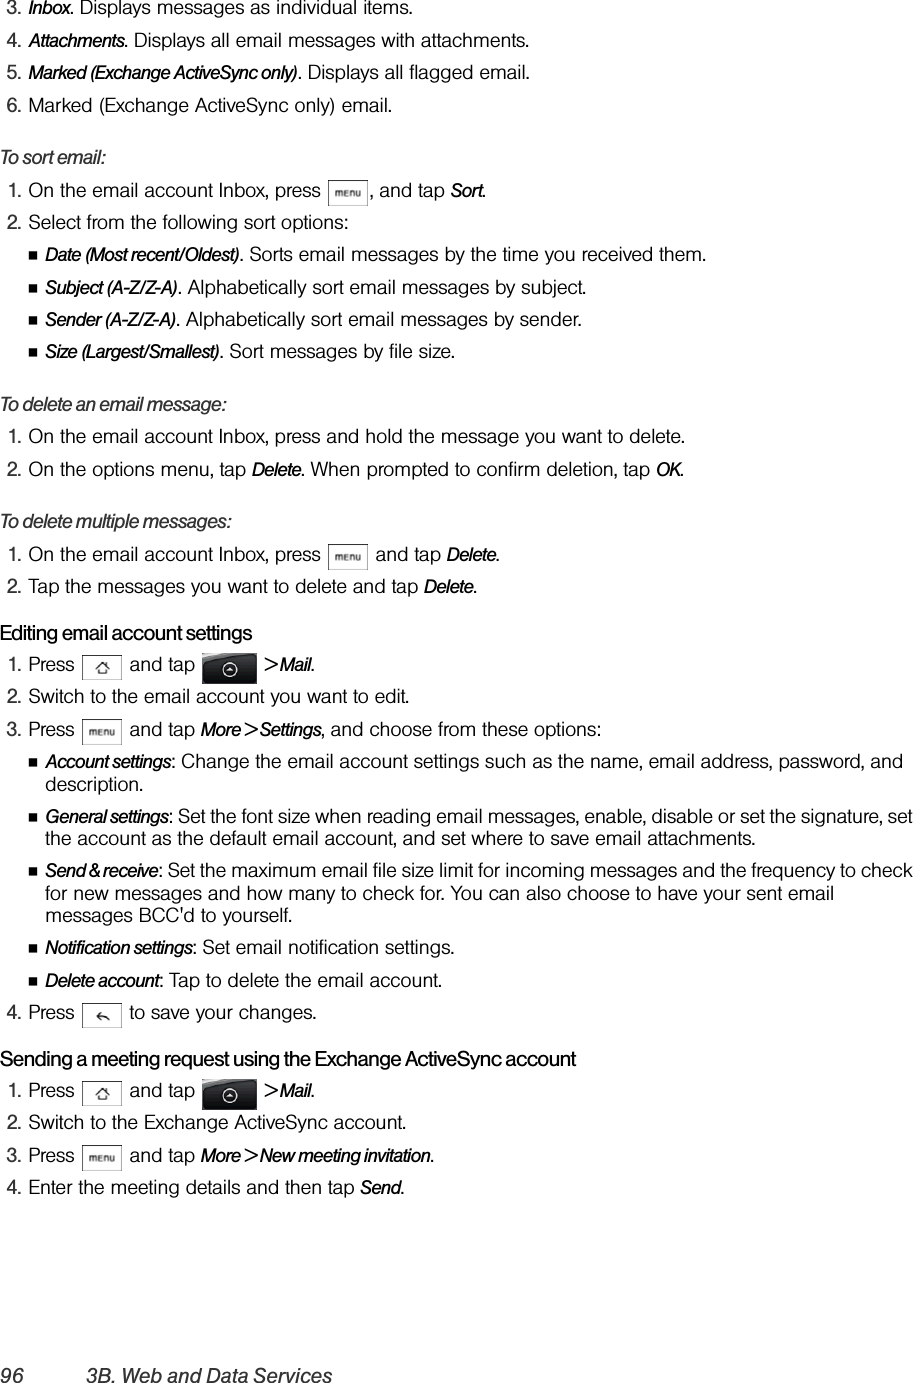
>
HTC
>
HERO200 User Manual
User manual
Navigation menu
Upload a User Manual
Namespaces
Wiki Guide
HTML
PDF
Info
Views
User Manual
Discussion / Help
Navigation


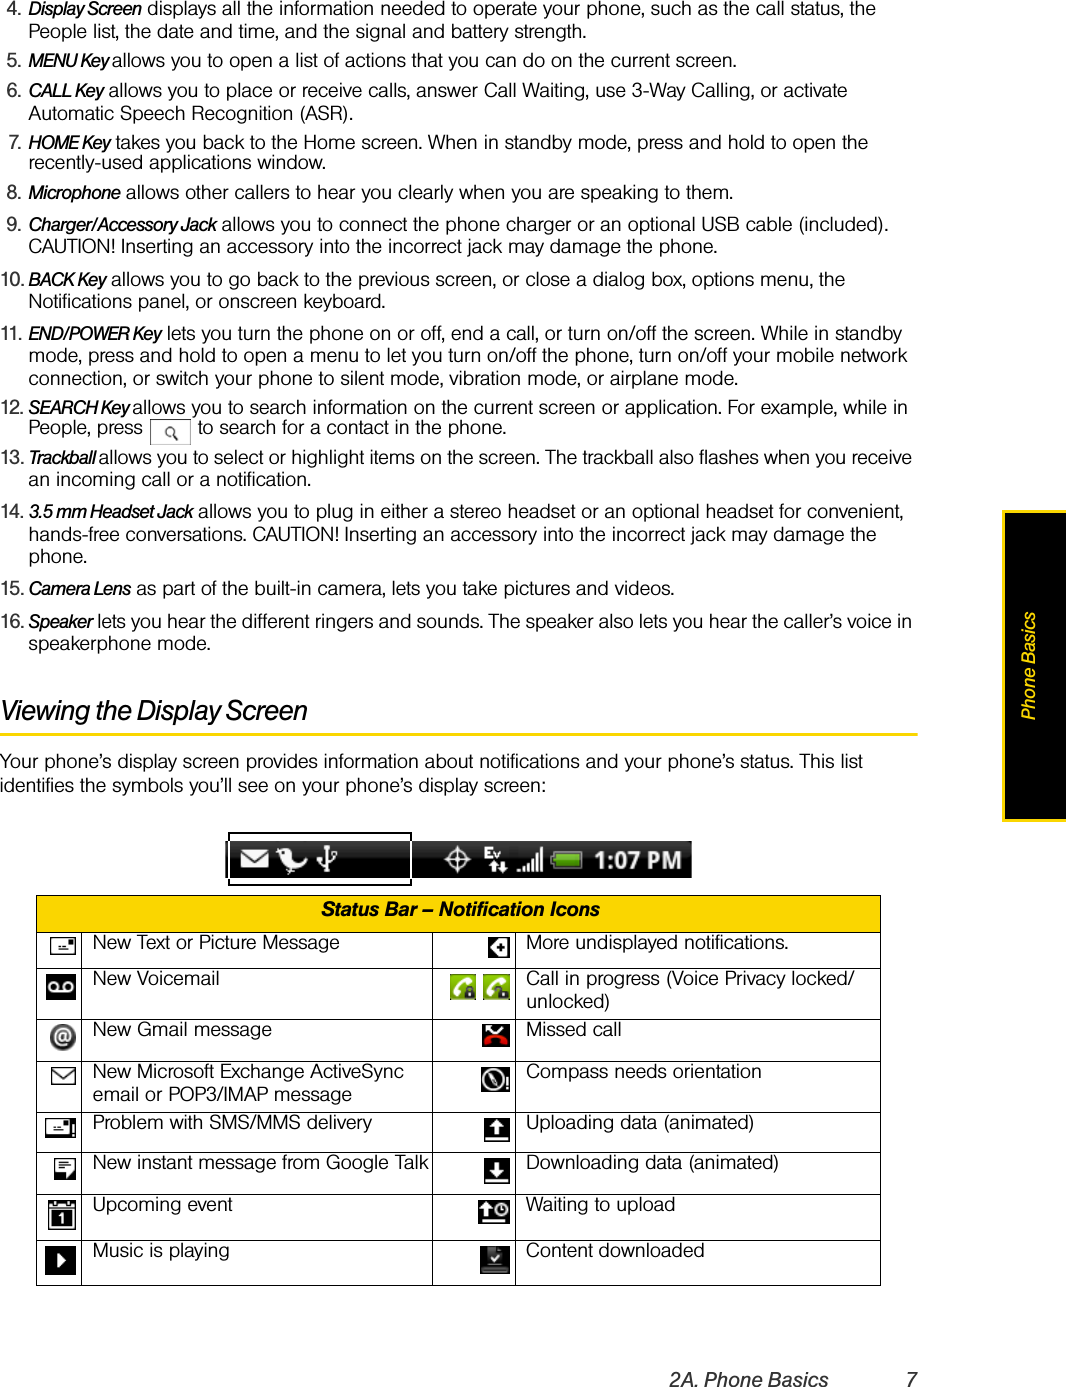
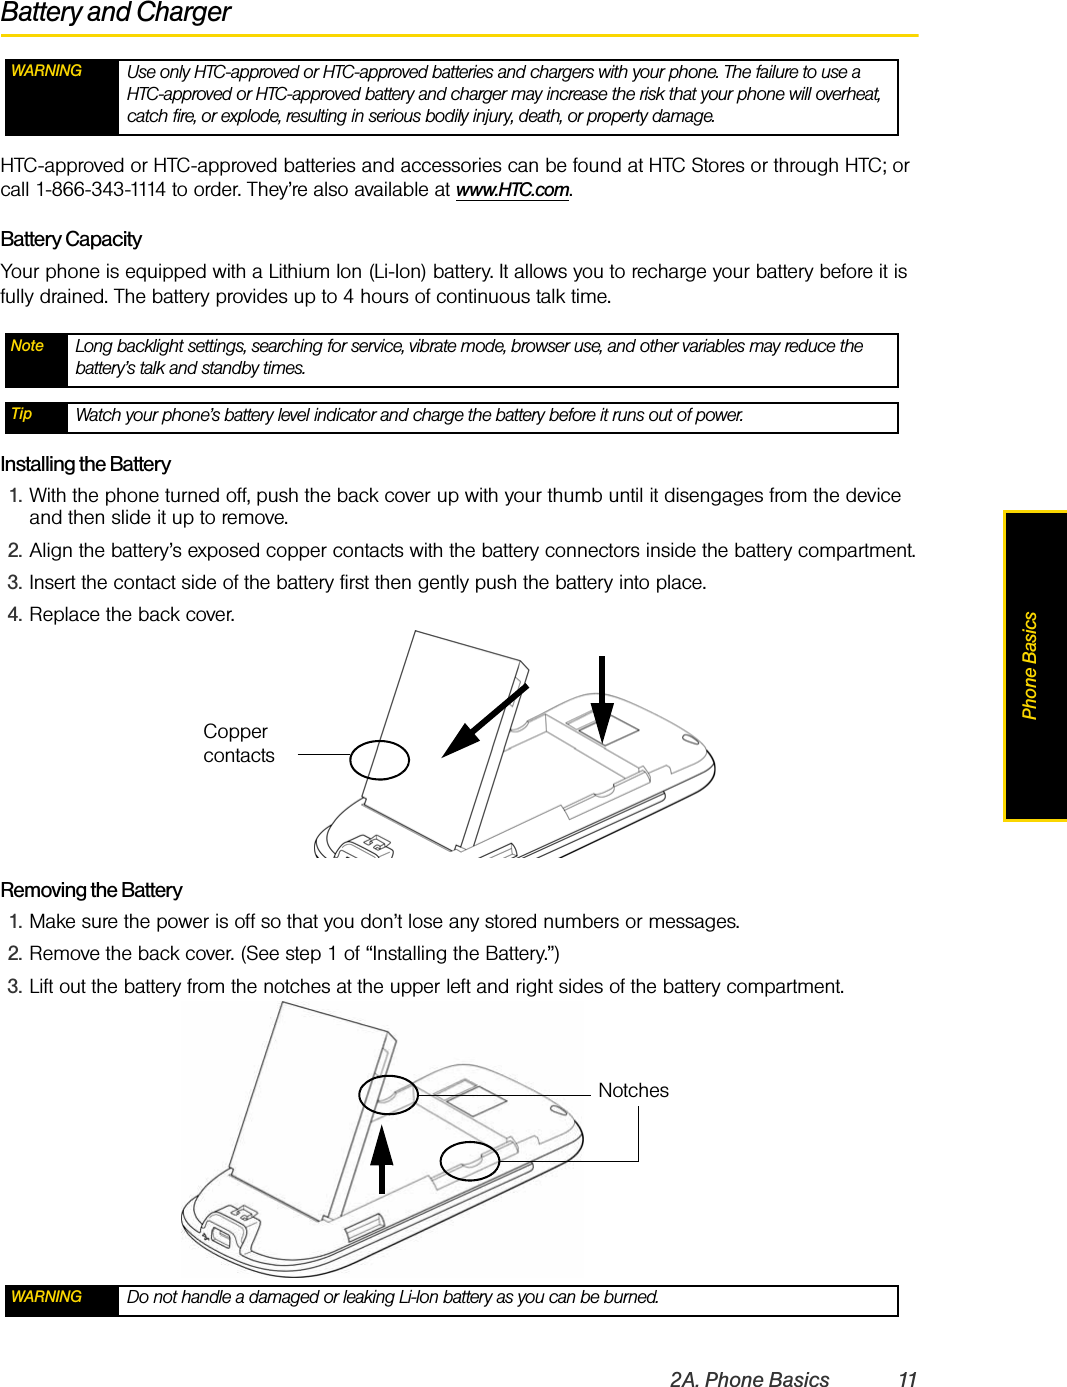

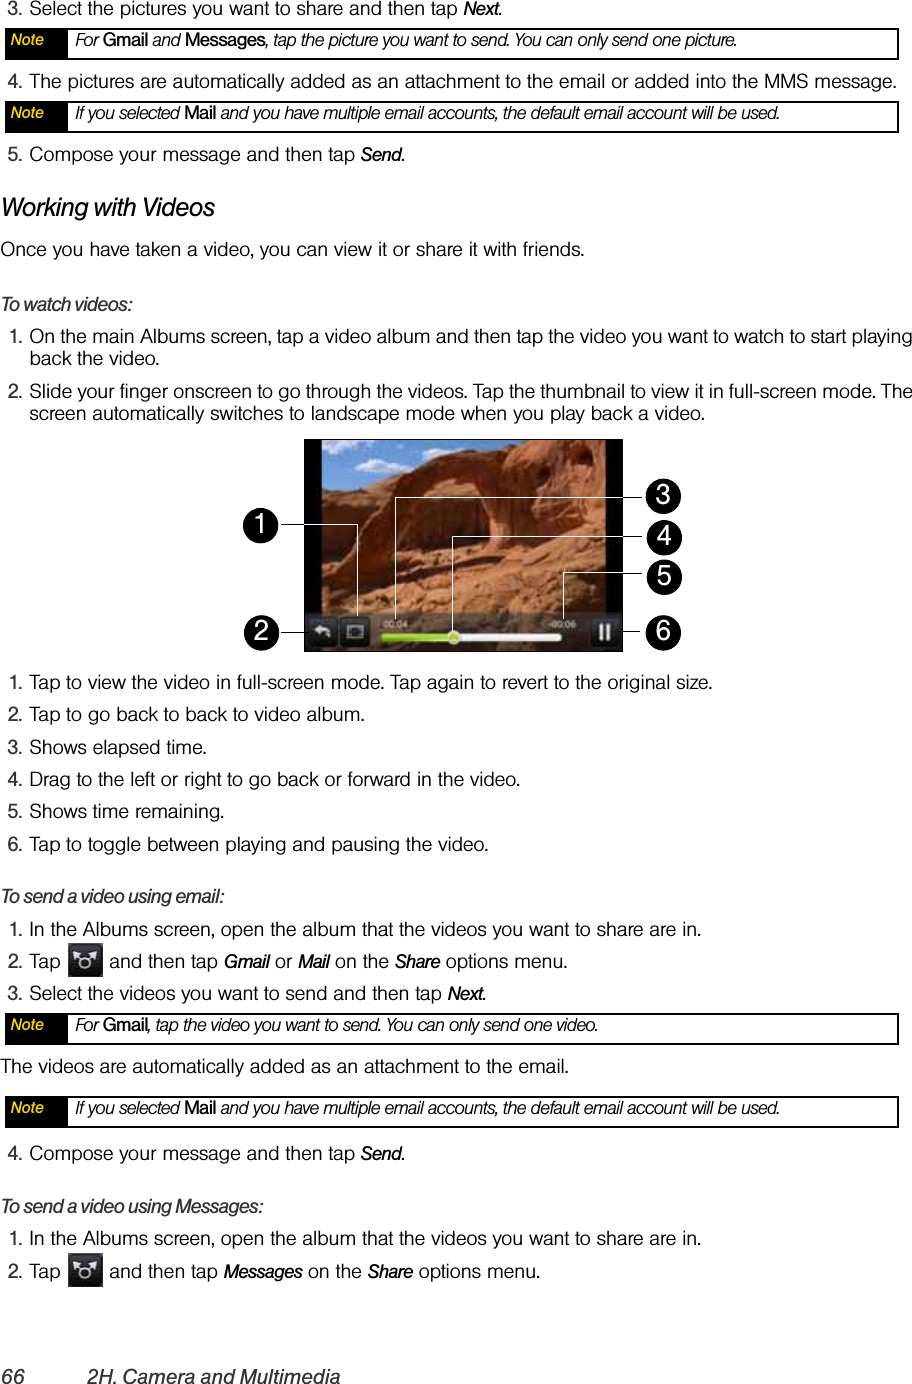
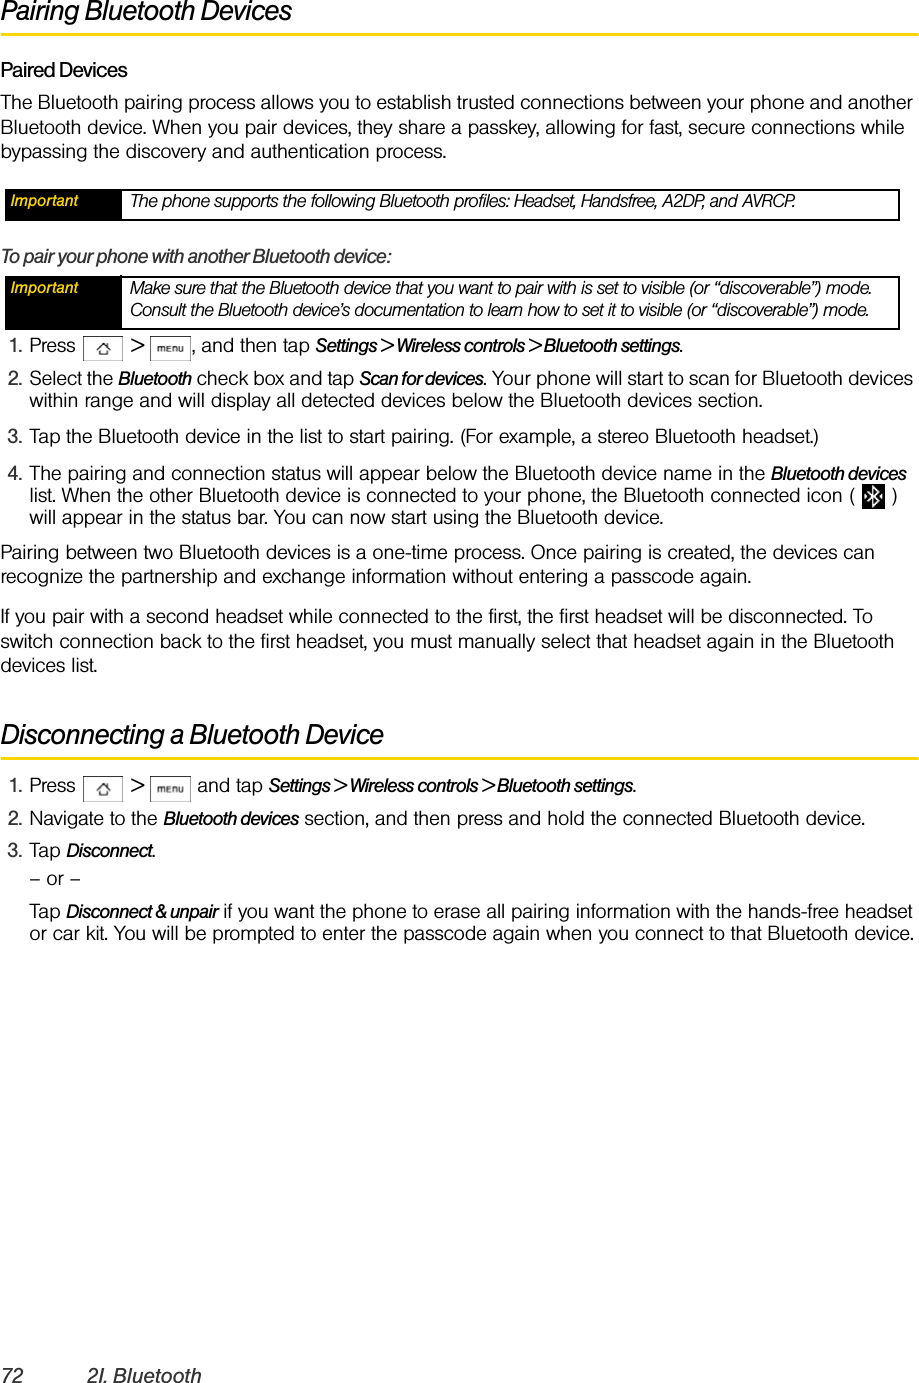
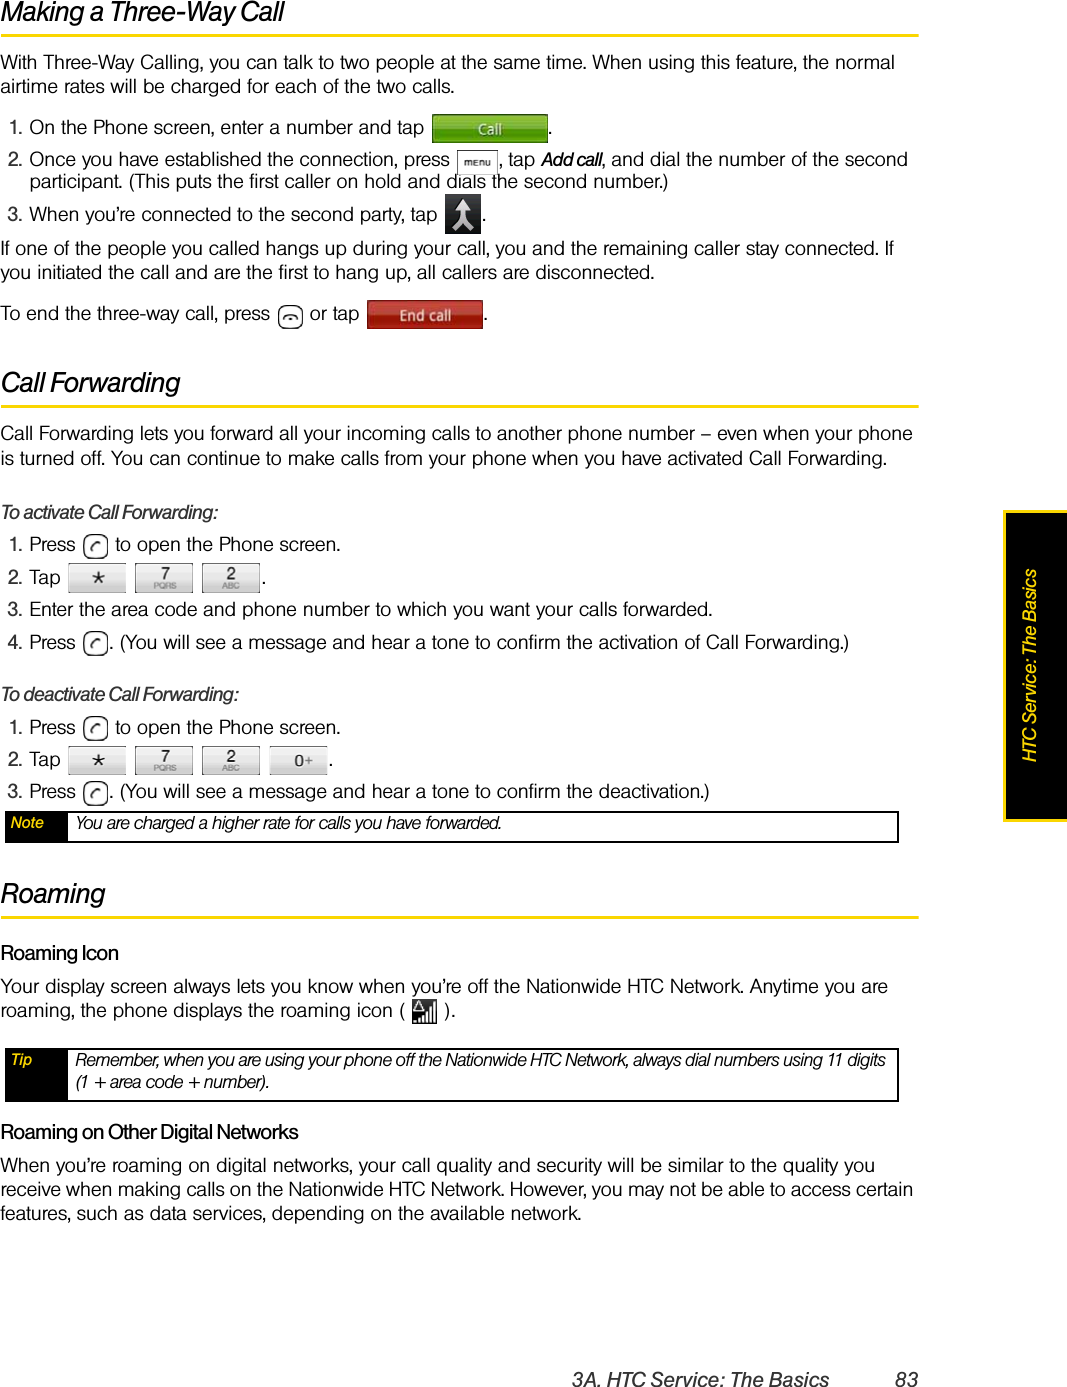
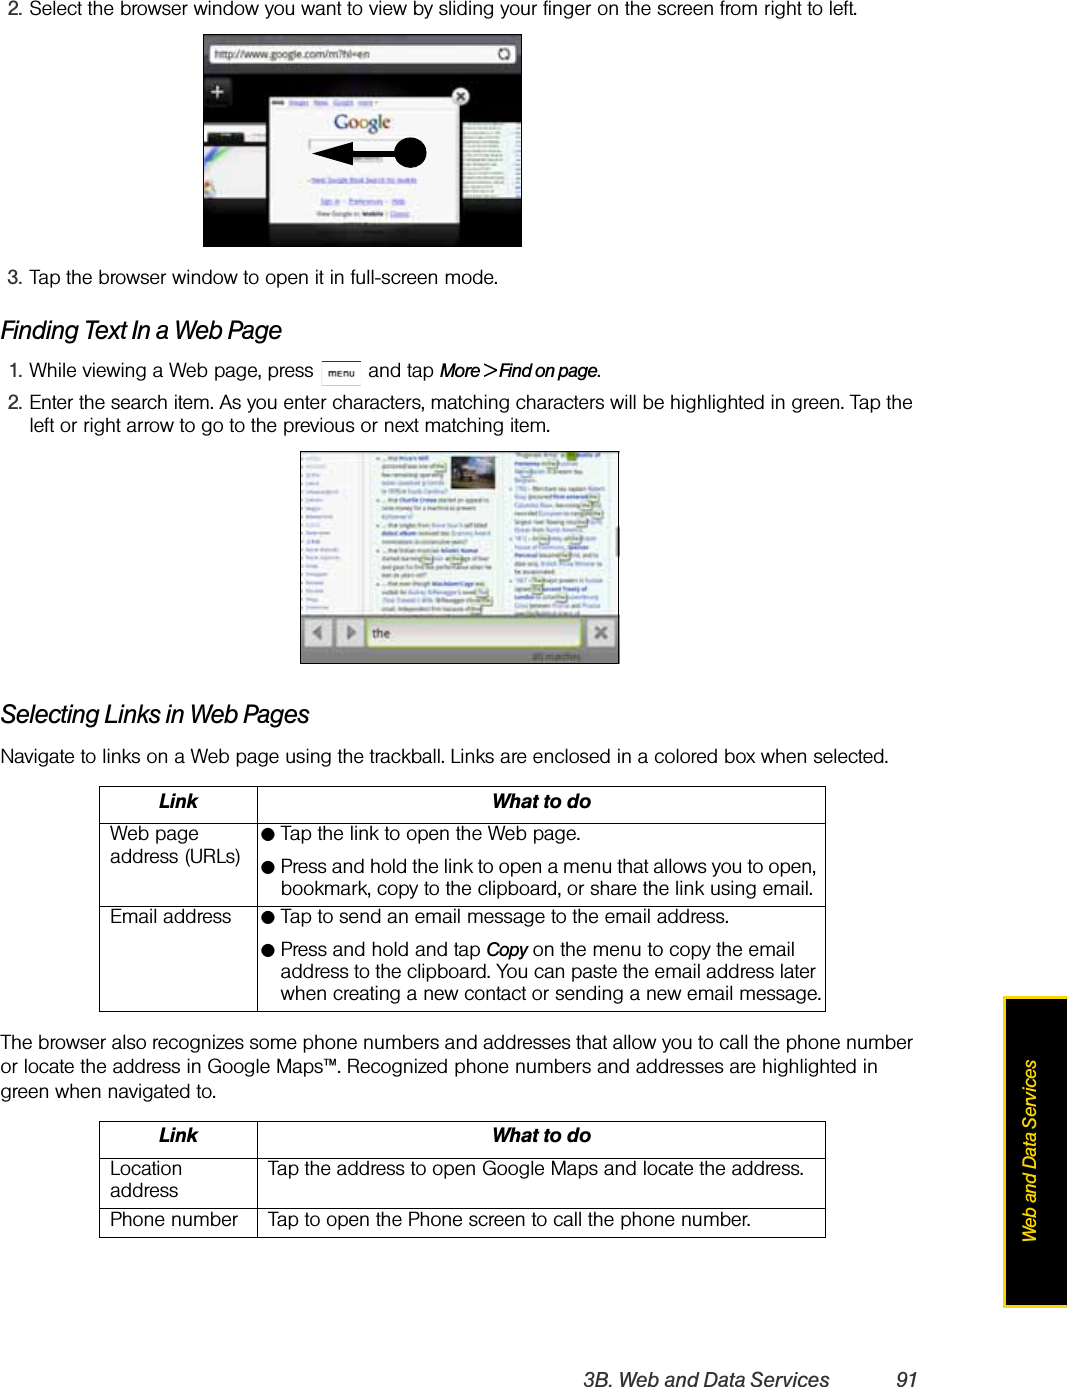
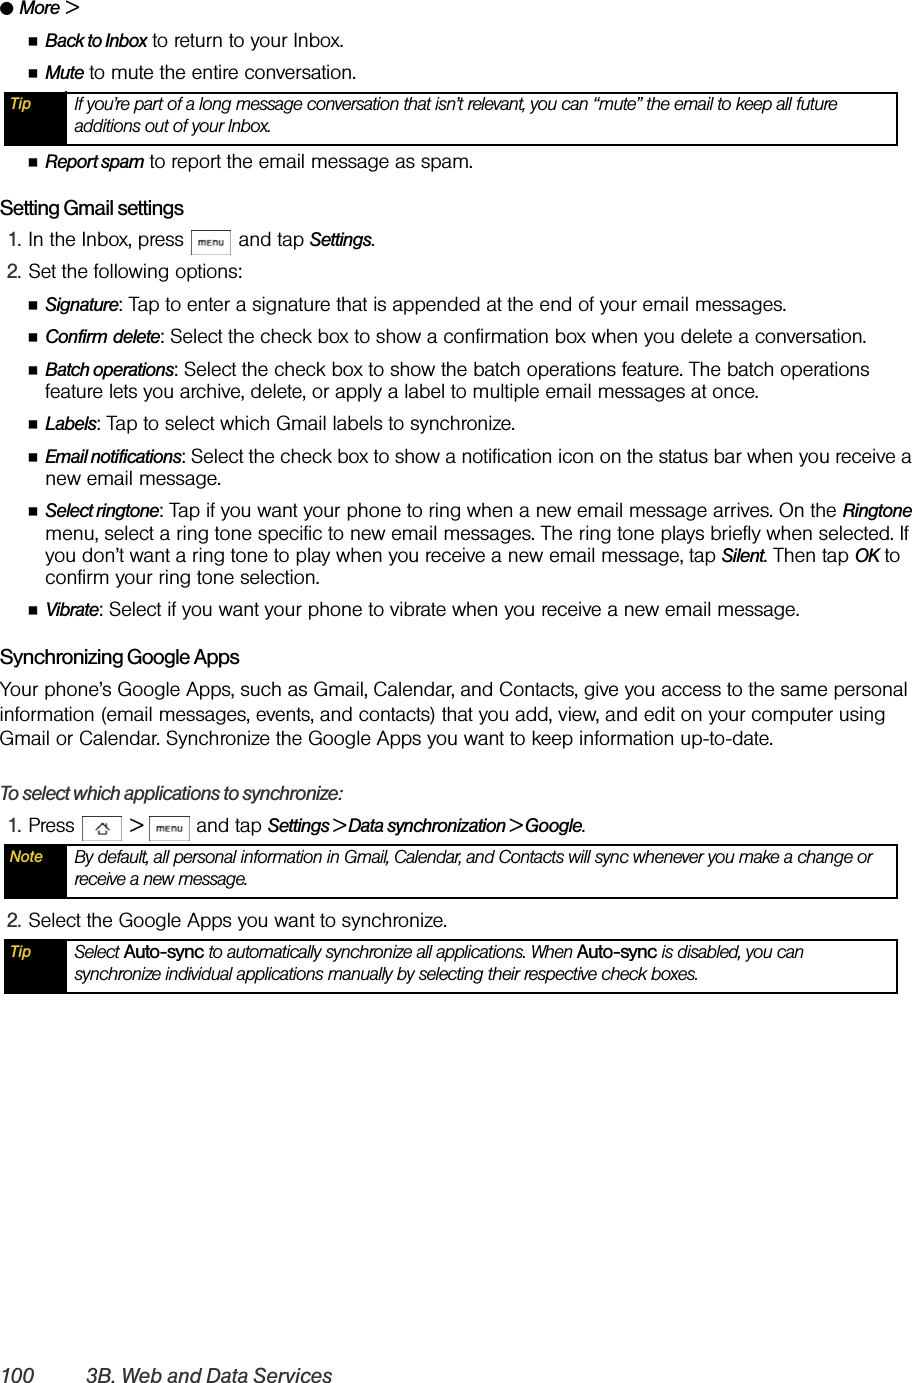
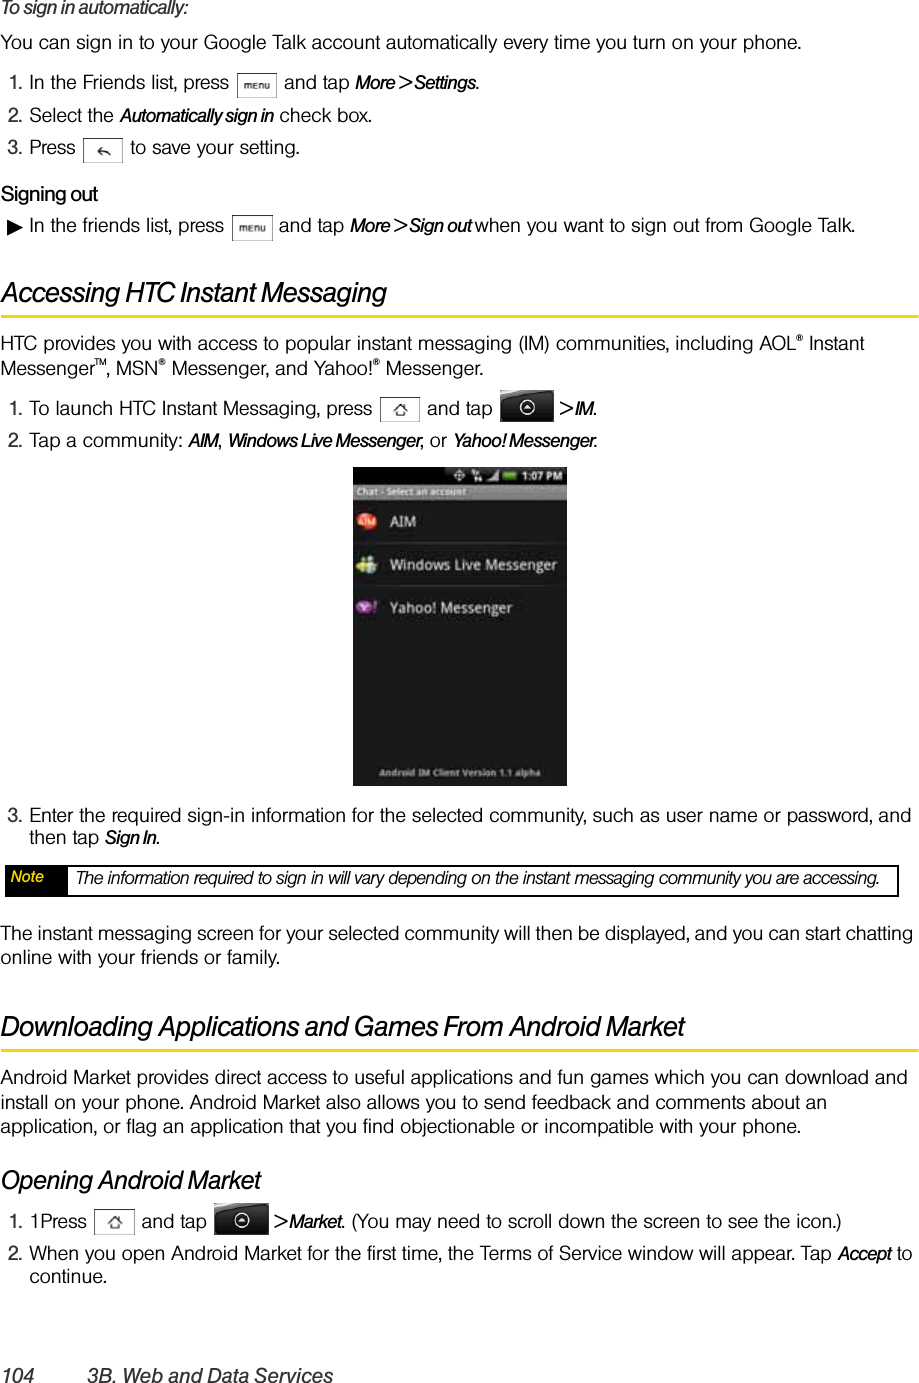
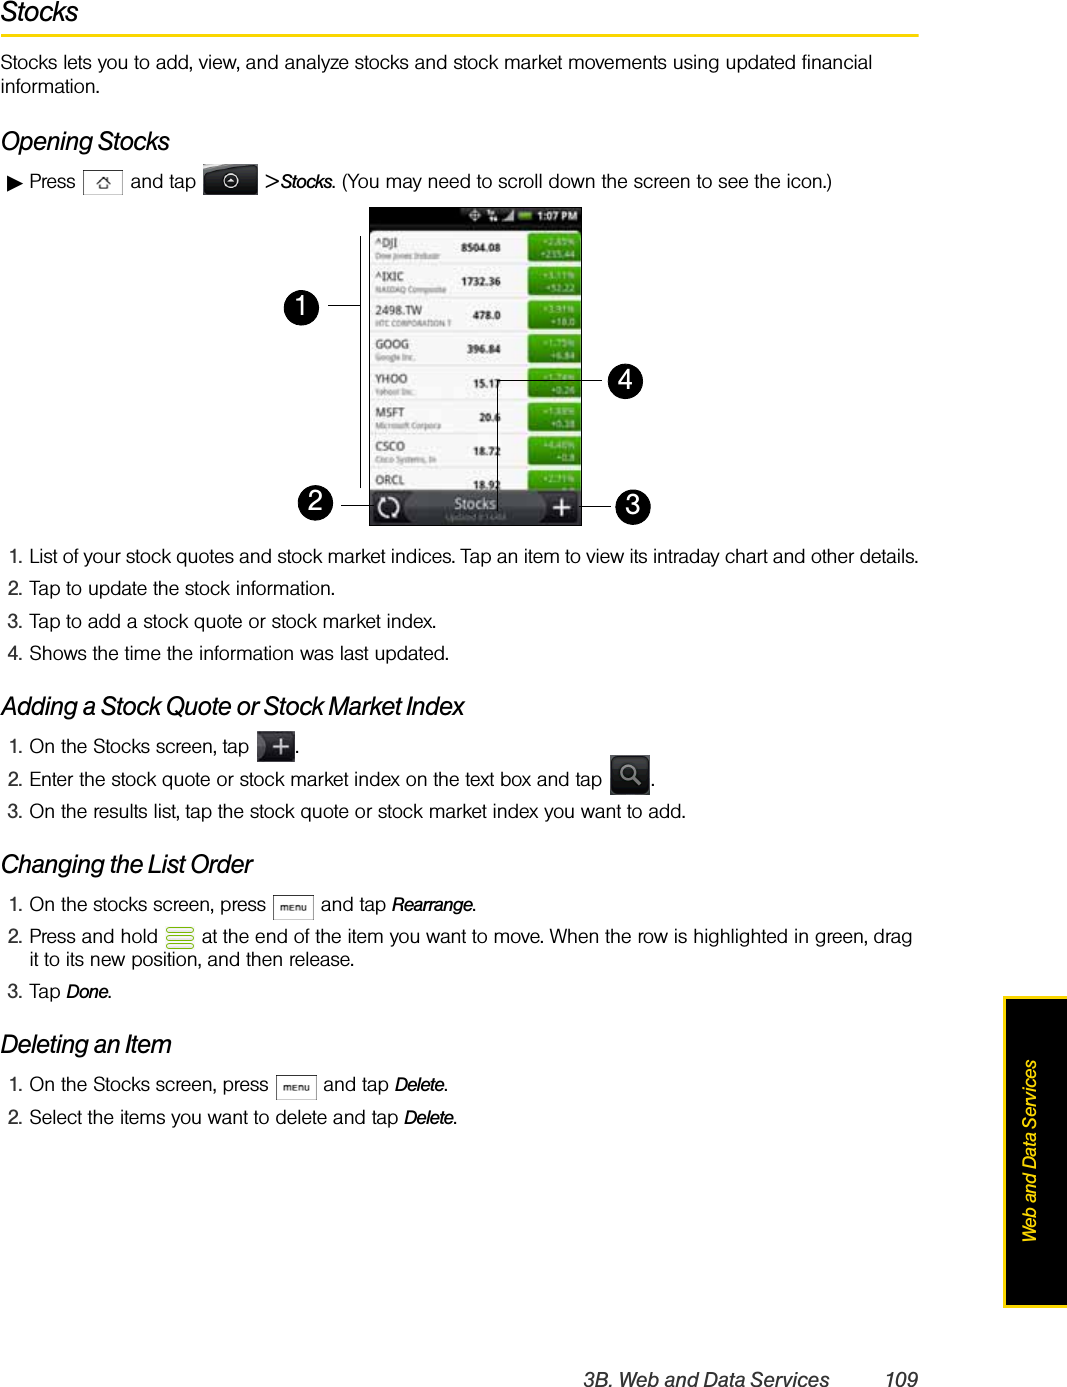
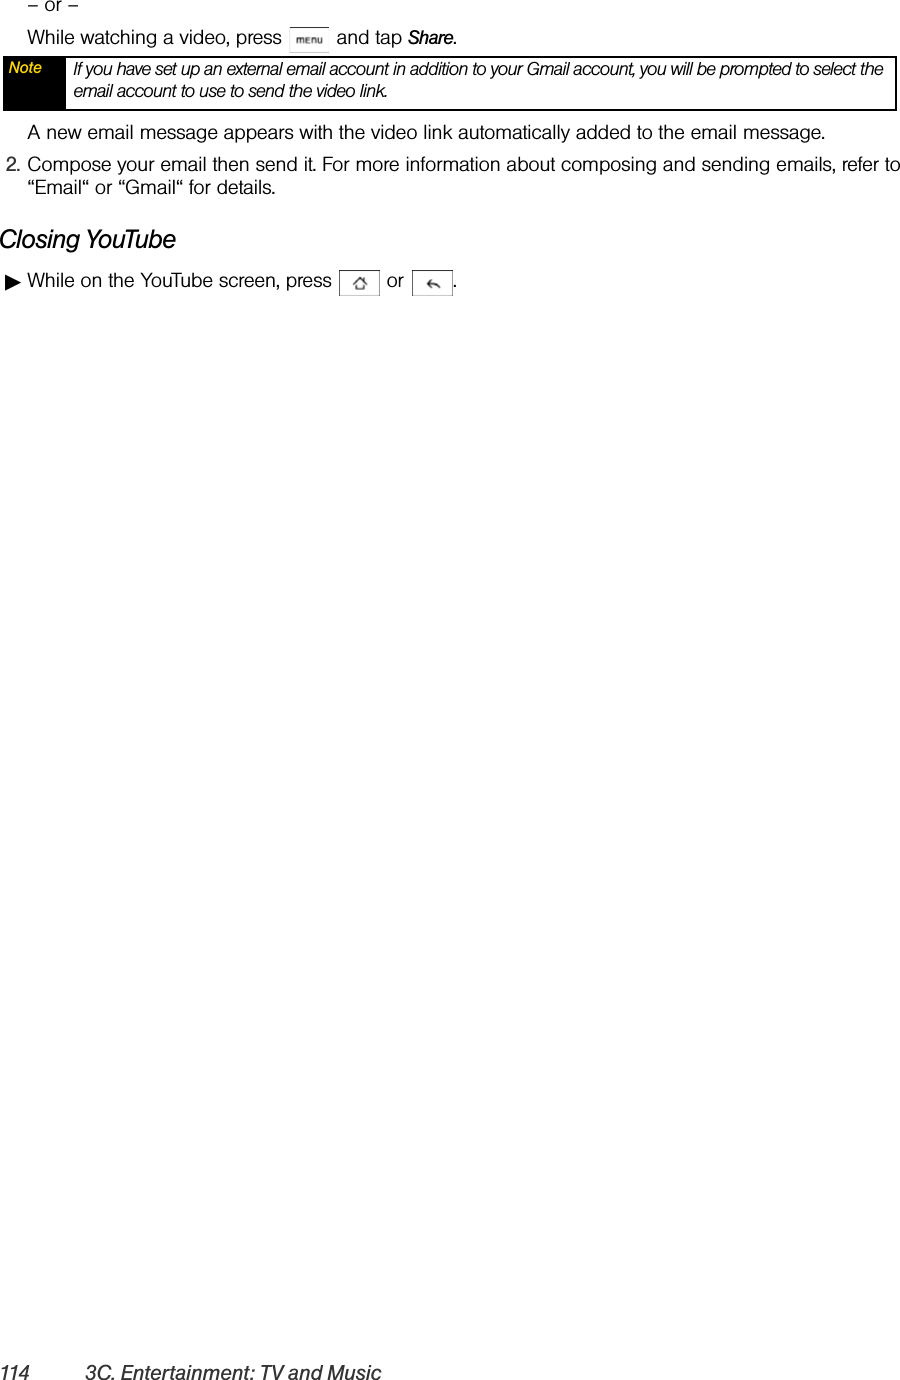
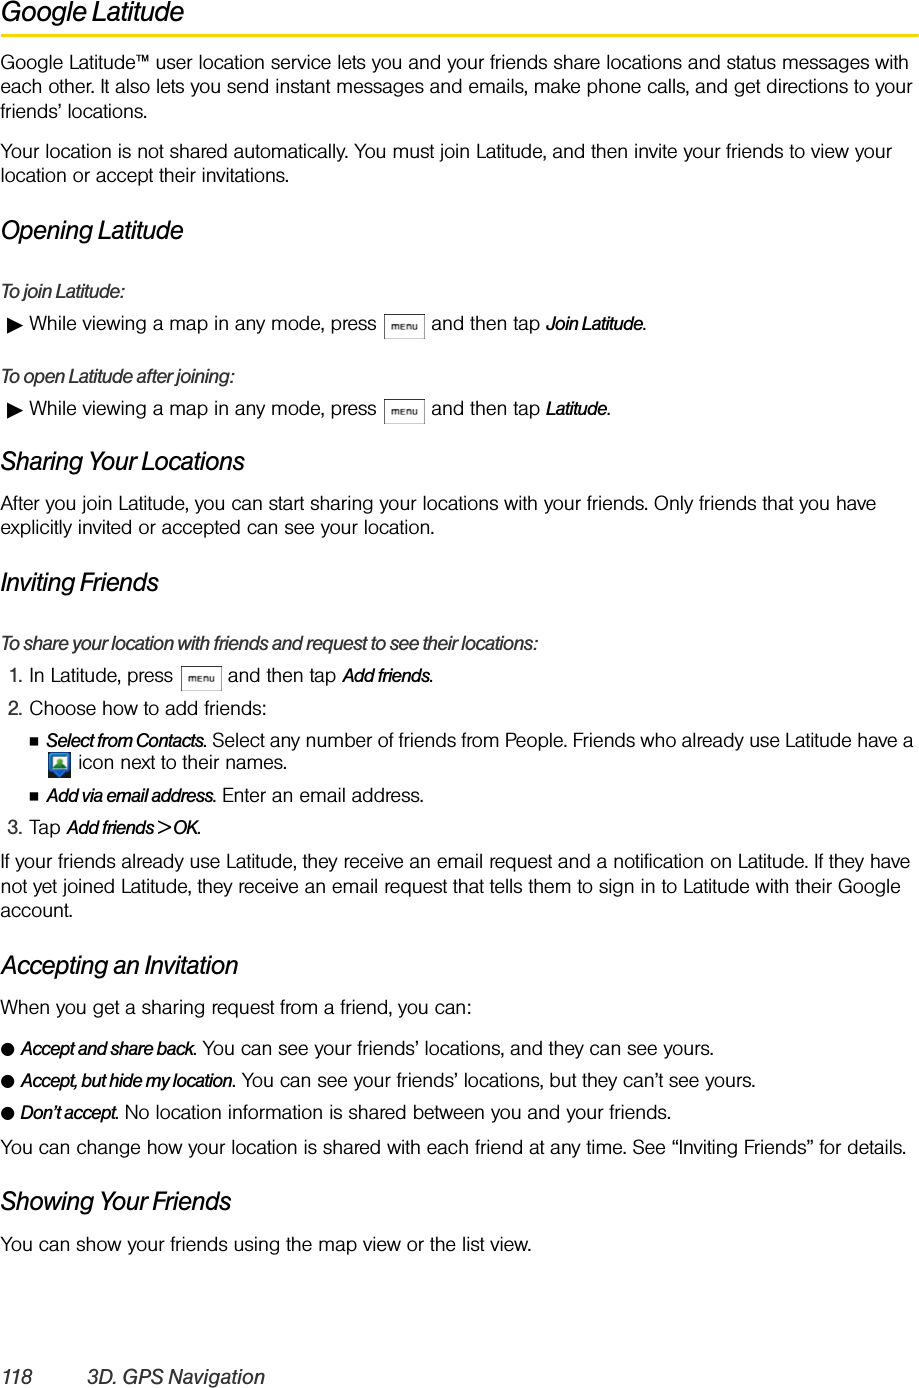
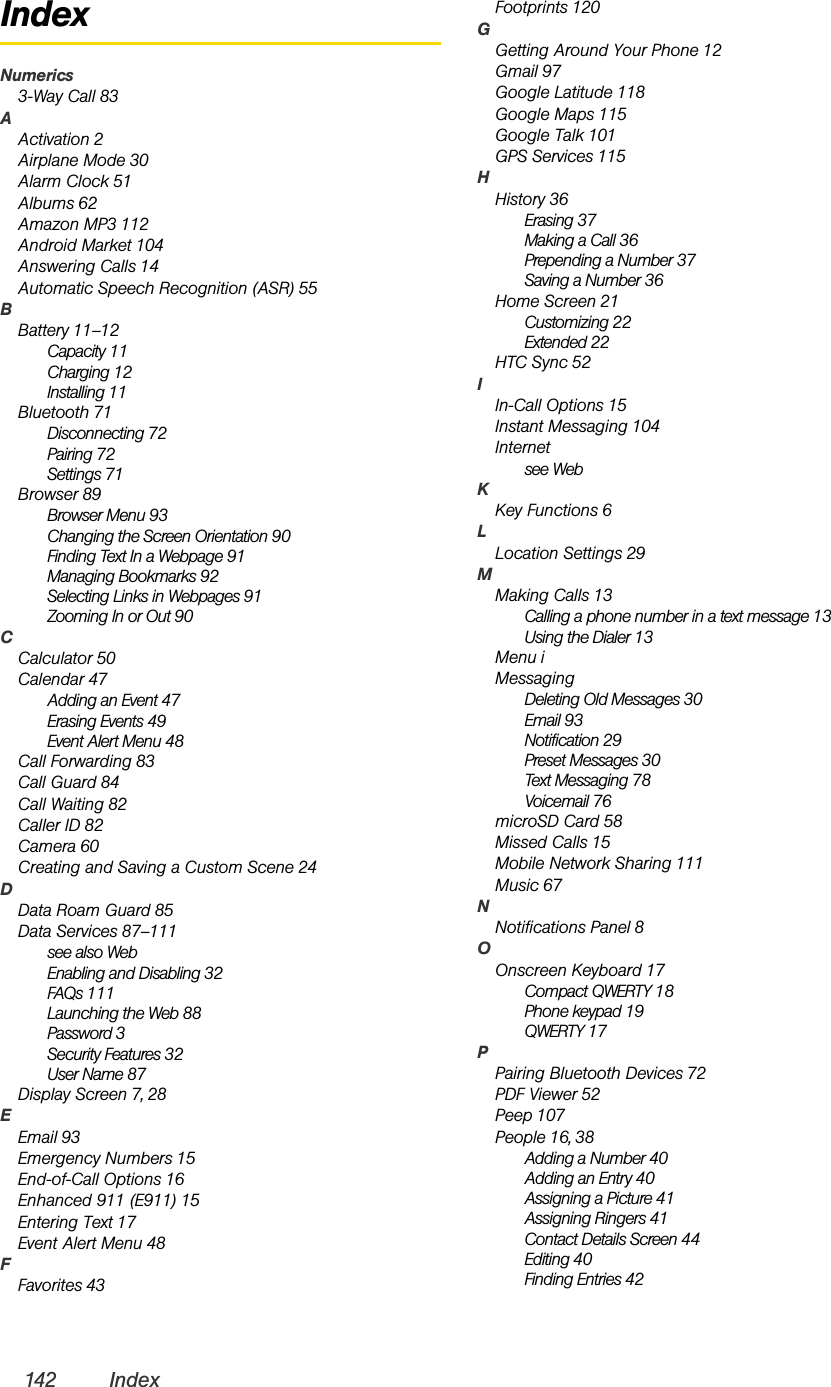
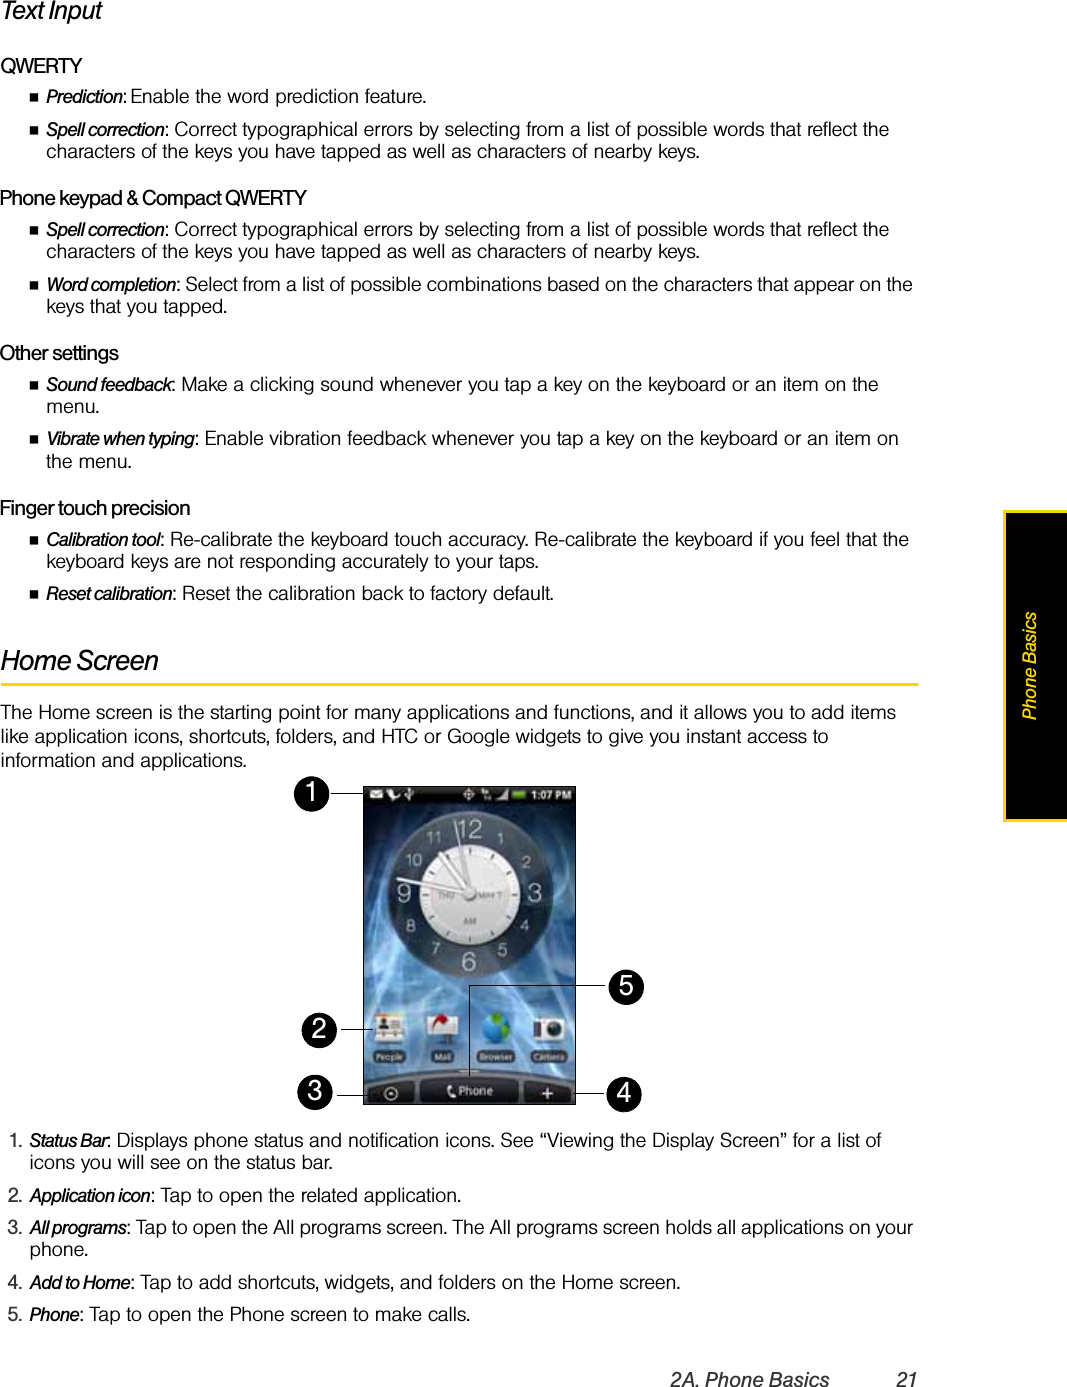
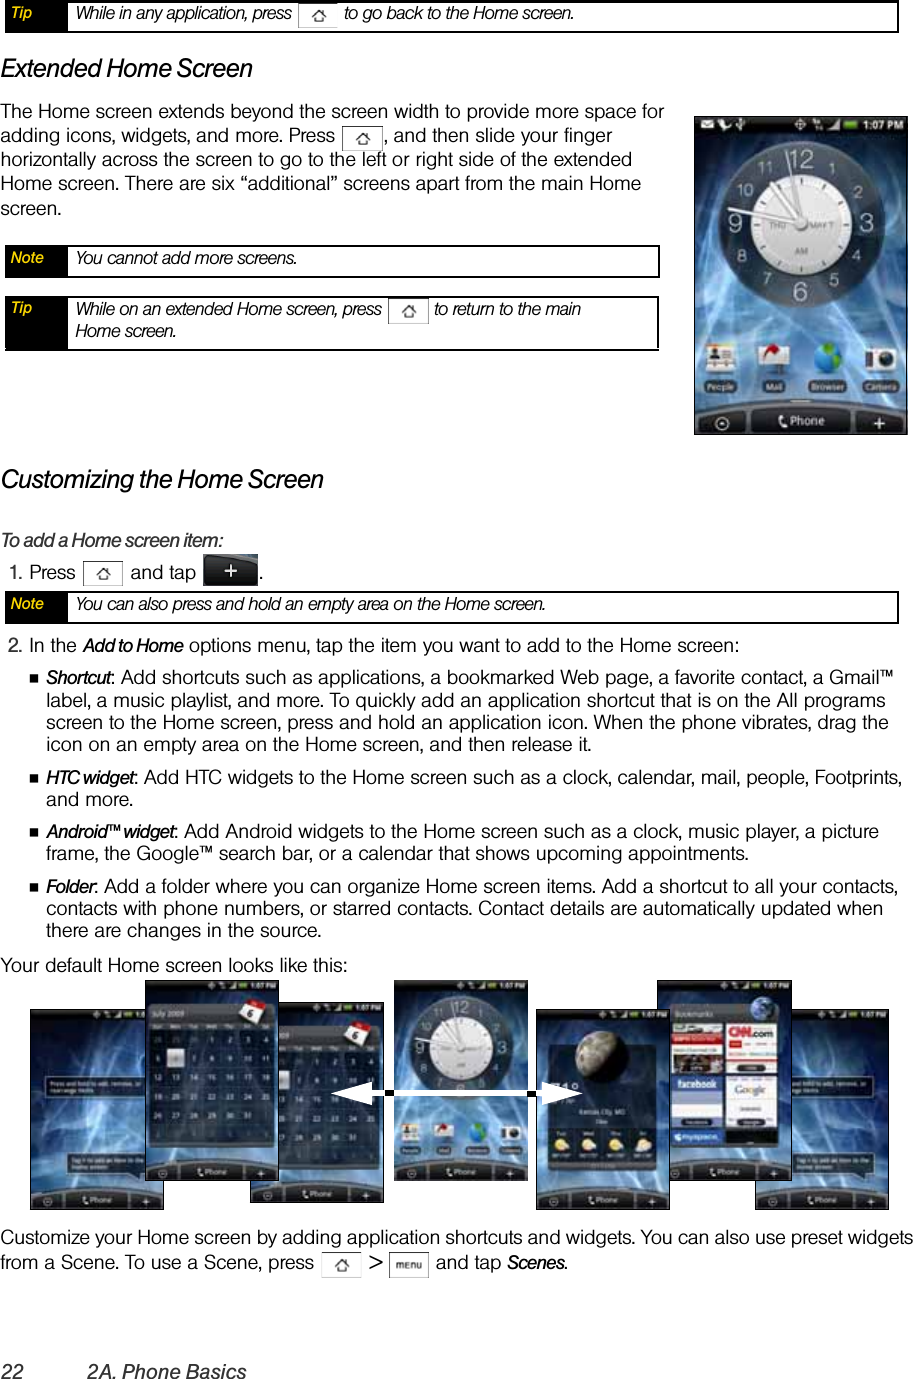
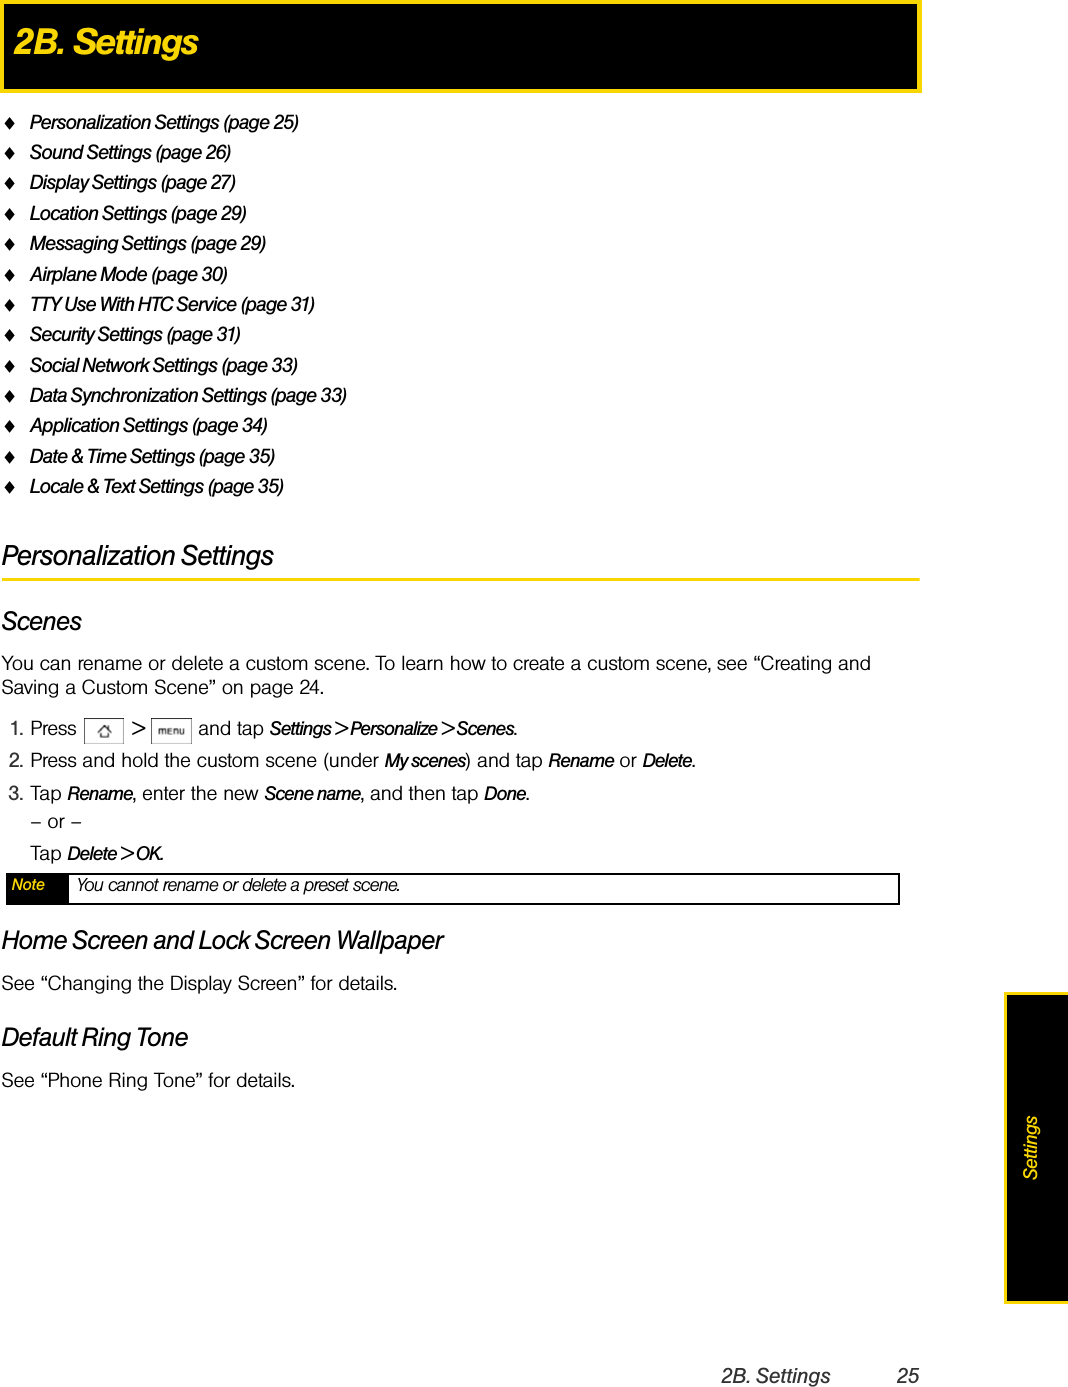
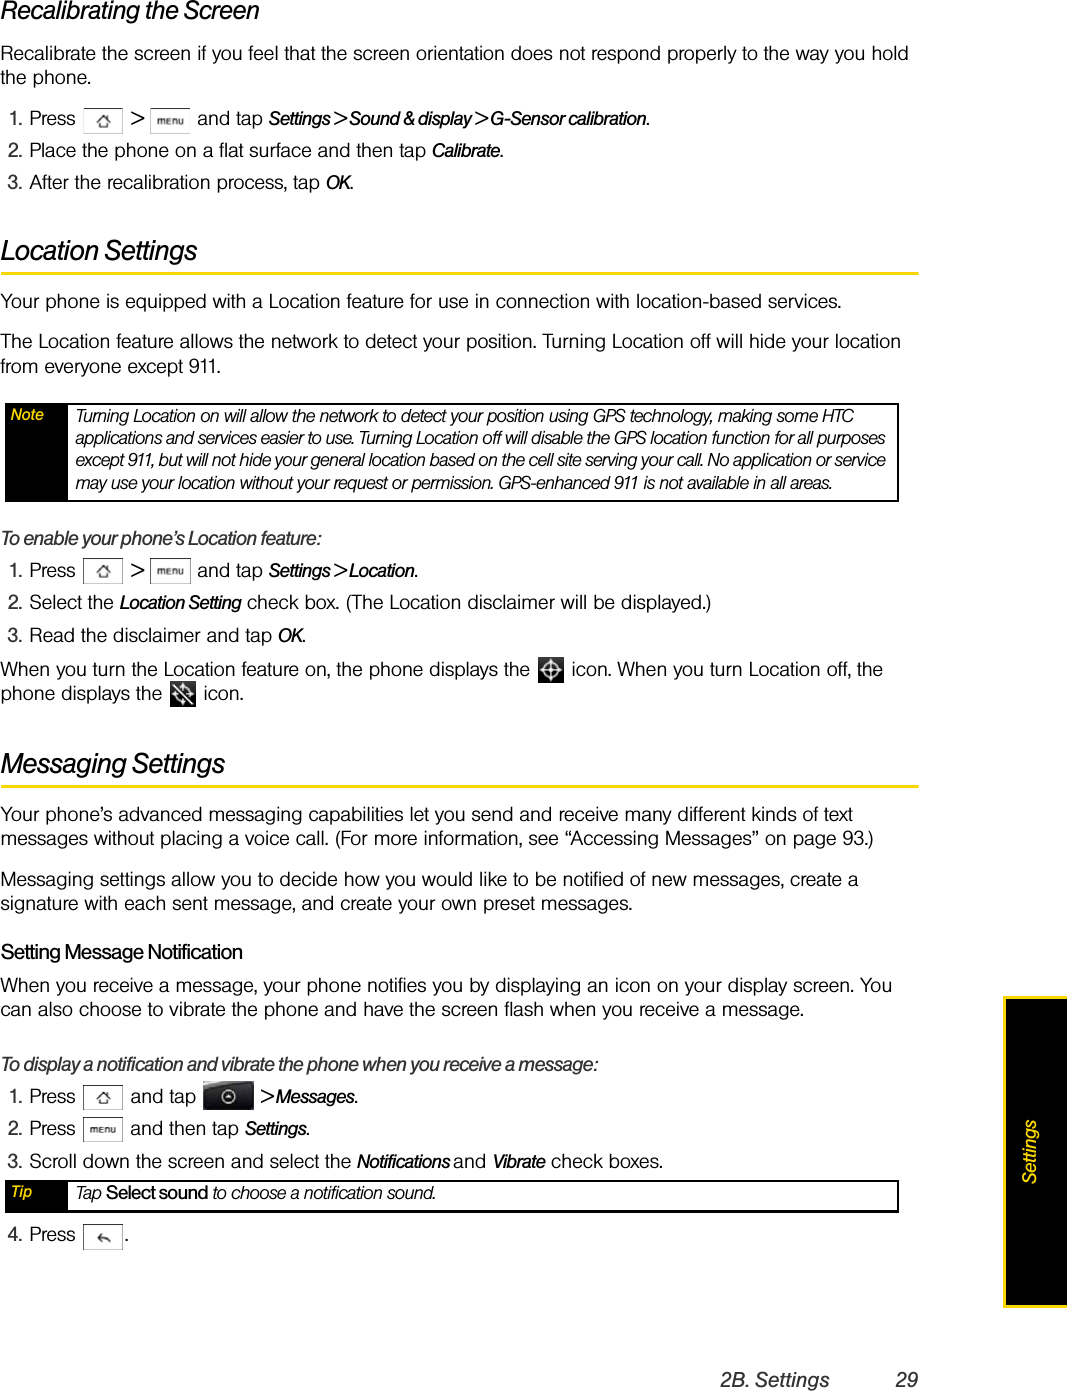
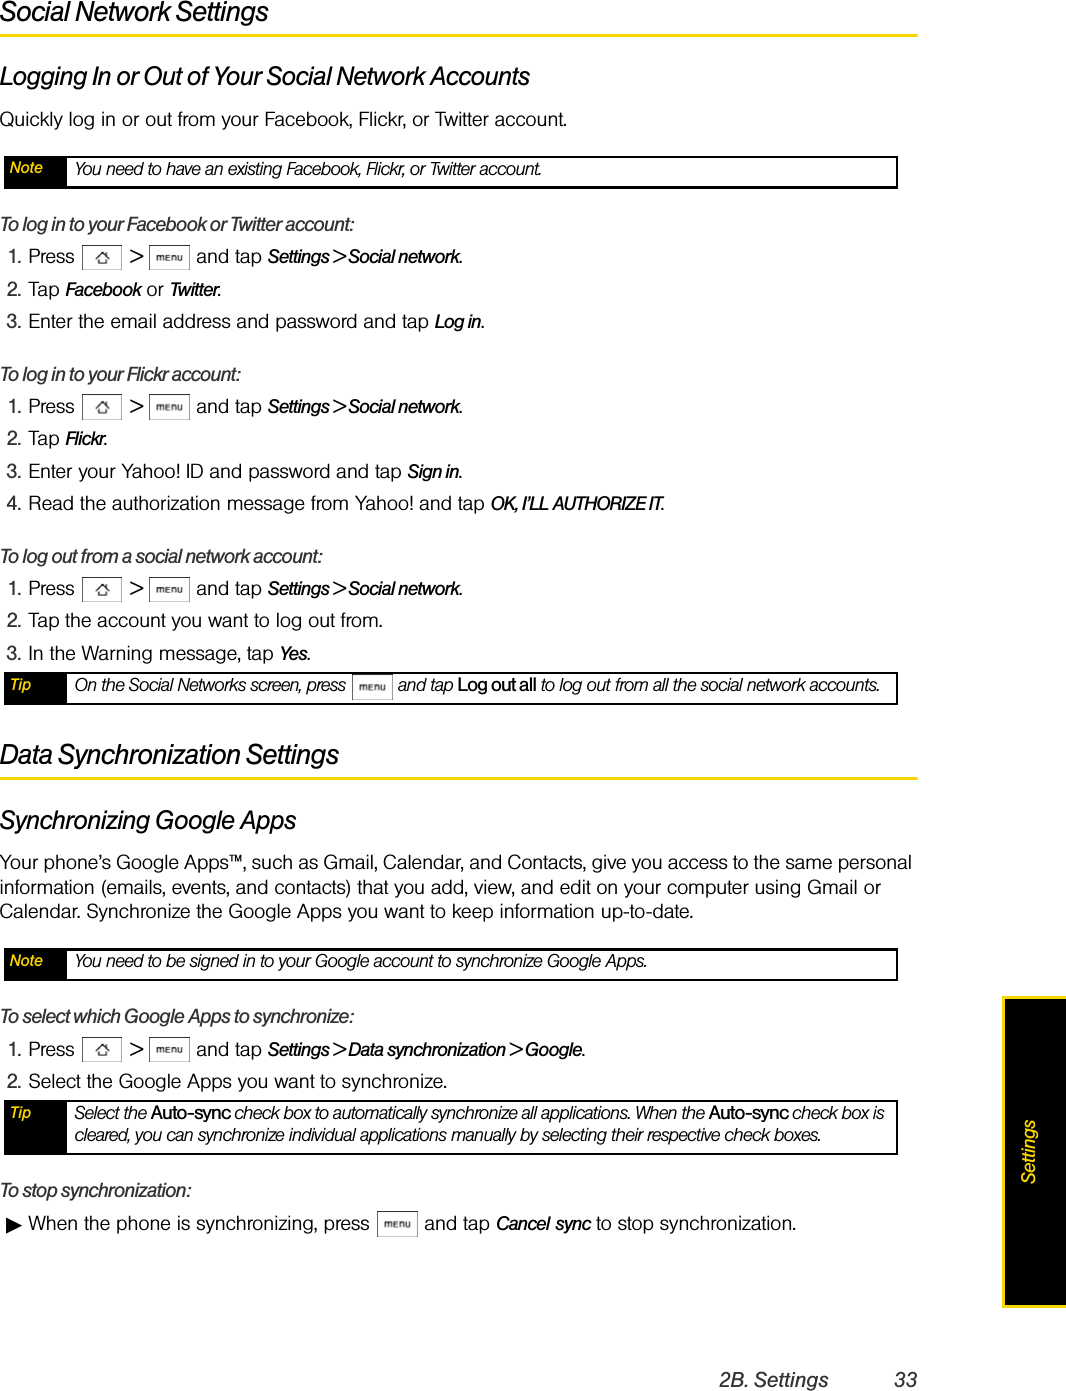
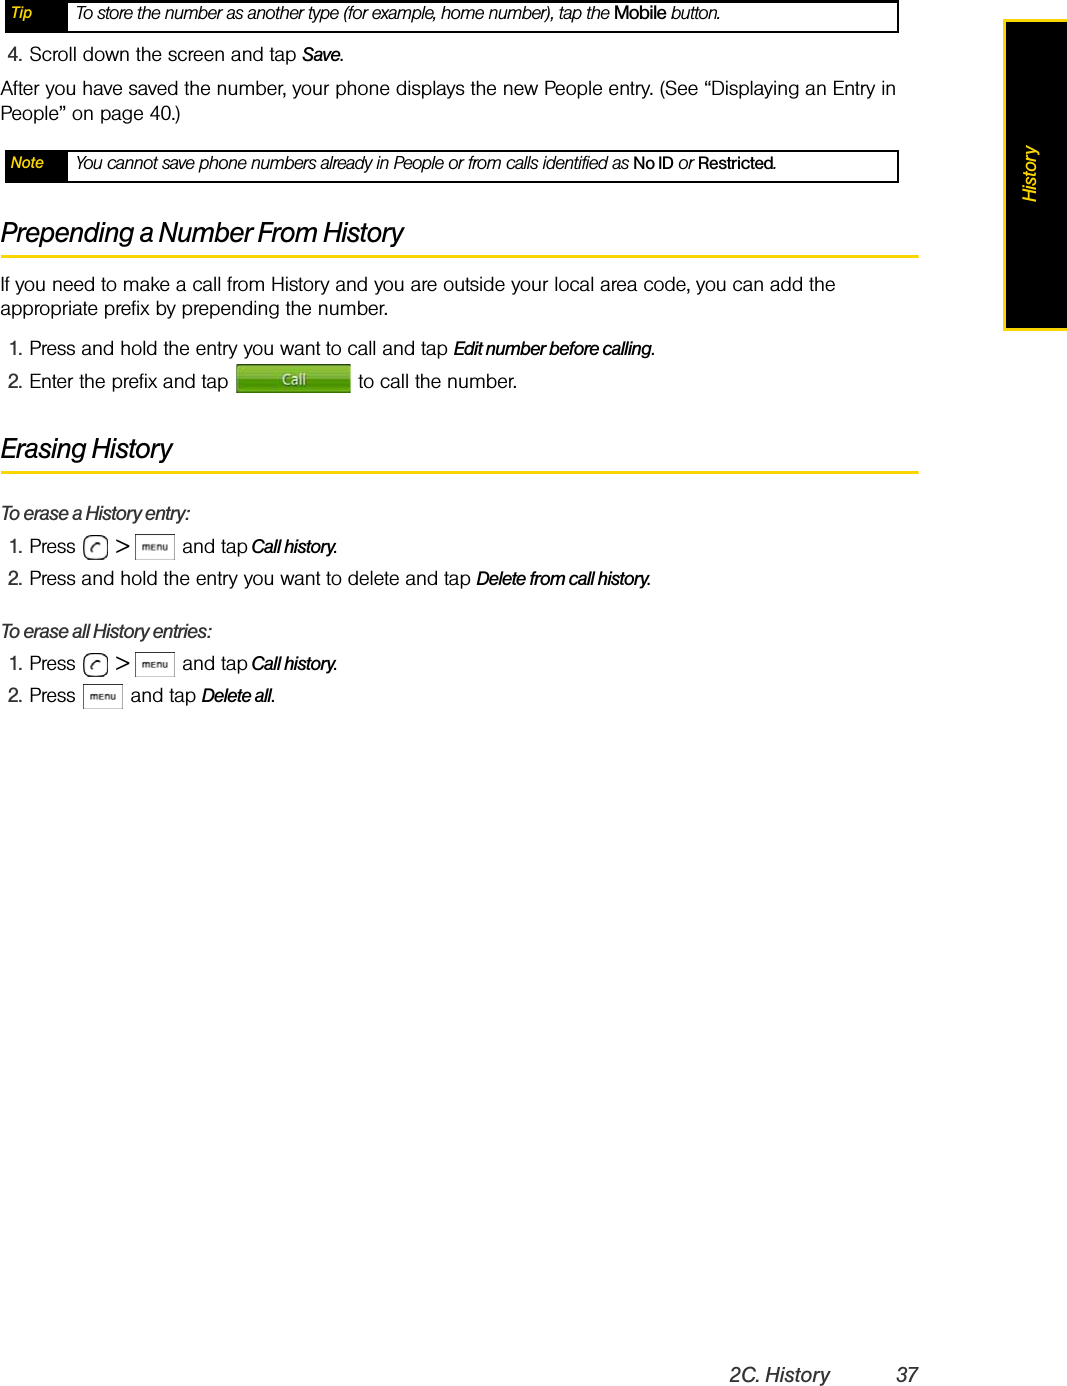
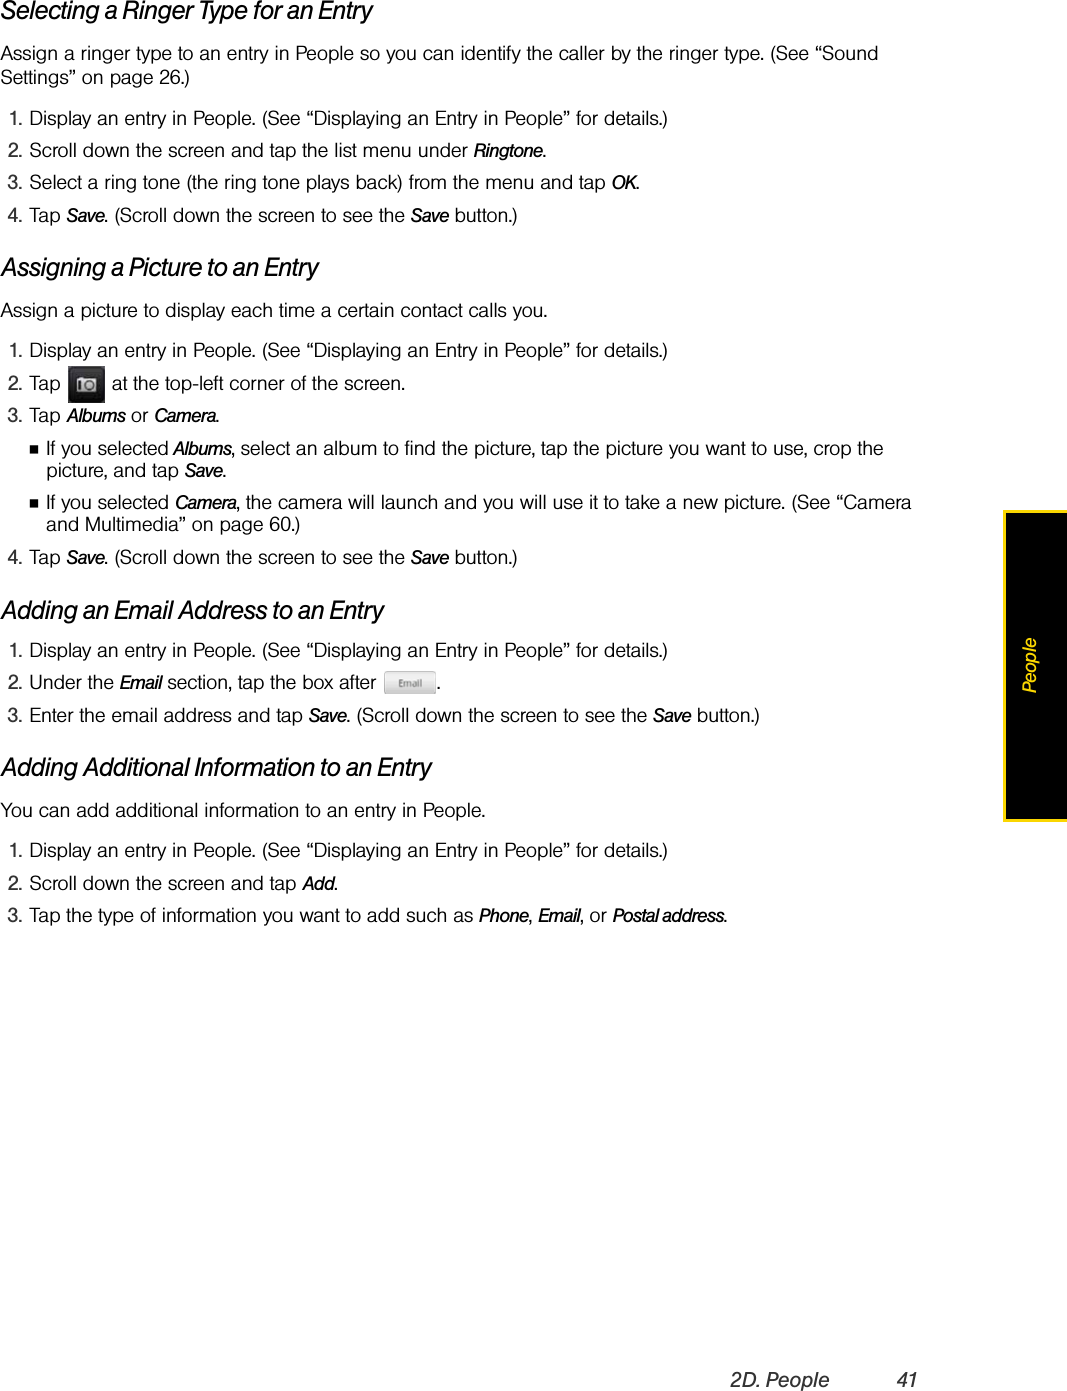
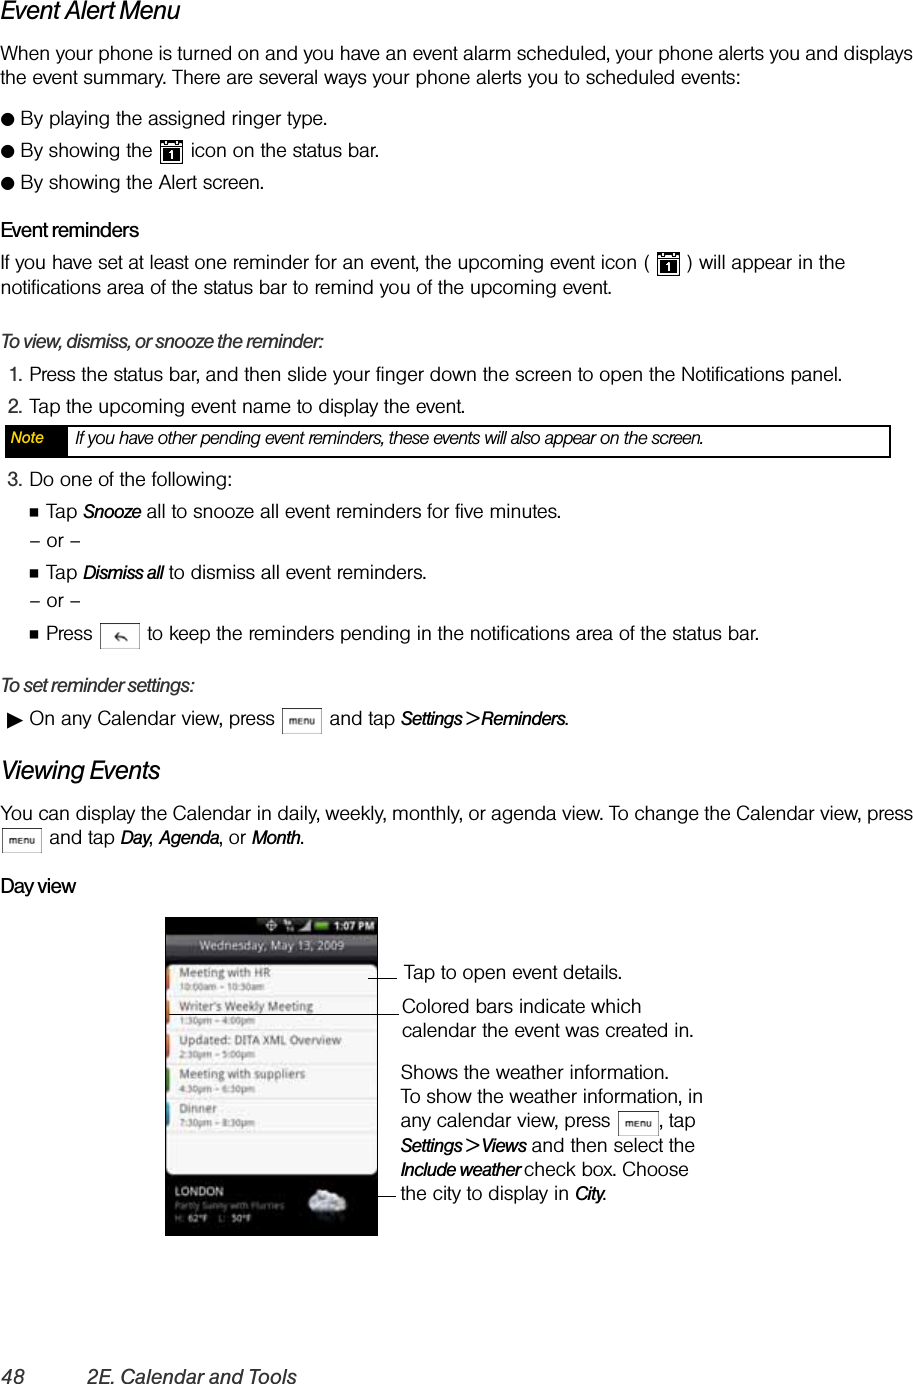
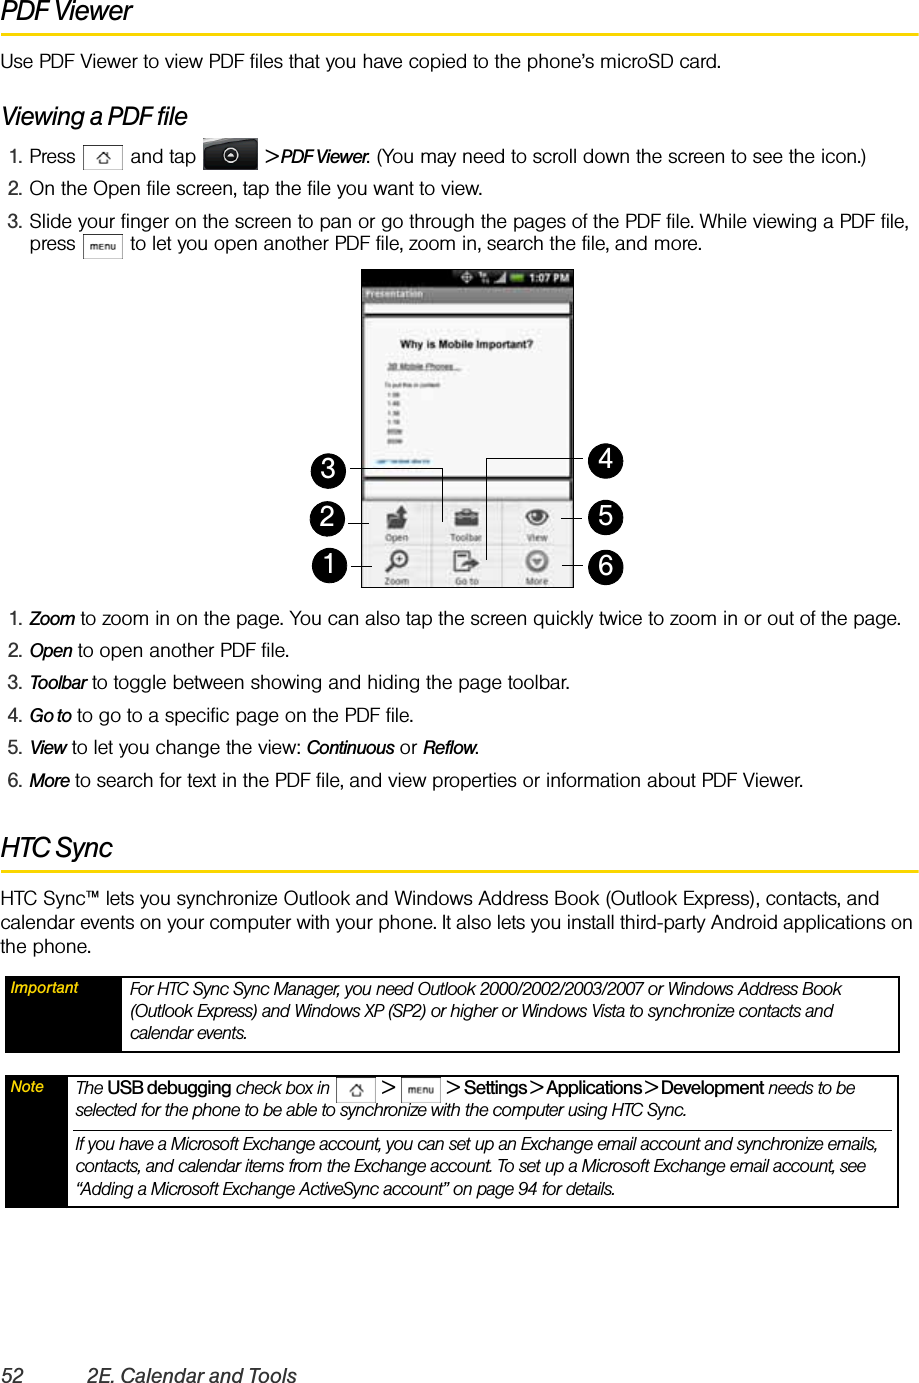
![16 2A. Phone BasicsEnd-of-Call OptionsAfter you receive a call from or make a call to a phone number that is not in your People list, you can choose to save the number to People. On the Phone screen, tap at the right side of the number to add the new number to People. (See “Saving a Phone Number” on page 16.)Saving a Phone NumberStore contacts entries in your phone. Your phone automatically sorts People entries alphabetically. (For more information, see “People” on page 38.)To save a number from standby mode:1. Press .2. Enter the phone number by tapping the keys on the keypad.3. Tap Save to People. (This button appears after tapping six digits.)4. Tap Create new contact or Save to existing contact.5. Use the keyboard to enter the new contact name and tap Save to save the new entry.– or –Tap an existing contact name and tap Save to save the new number.Finding a Phone NumberYou can search People for entries by name.1. Press , tap People, and then press . 2. Enter the first letter or letters of an entry. (The more letters you enter, the more specific the search.)3. Tap the contact to display his/her contact information. Dialing From the People List1. Press and tap People.2. Tap the entry you want to call.3. Tap Call [Type of Number] (For example, Call Mobile.)Speed DialingYou can store up to nine numbers in your phone’s speed dial memory. ᮣPress and hold the appropriate key for approximately two seconds. The display confirms that you have dialed the number when it shows “Dialing” at the upper-right side of the screen.Tip After receiving a call from a phone number that is not in your People list, an options menu is briefly displayed to allow you to save the number to People. On the options menu, tap Yes, create new contact. Note Speed dialing is not available when you are roaming; when you are roaming off the Nationwide HTC Network, you must always dial using eleven digits (1 + area code + number).](https://usermanual.wiki/HTC/HERO200/User-Guide-1153656-Page-26.png)
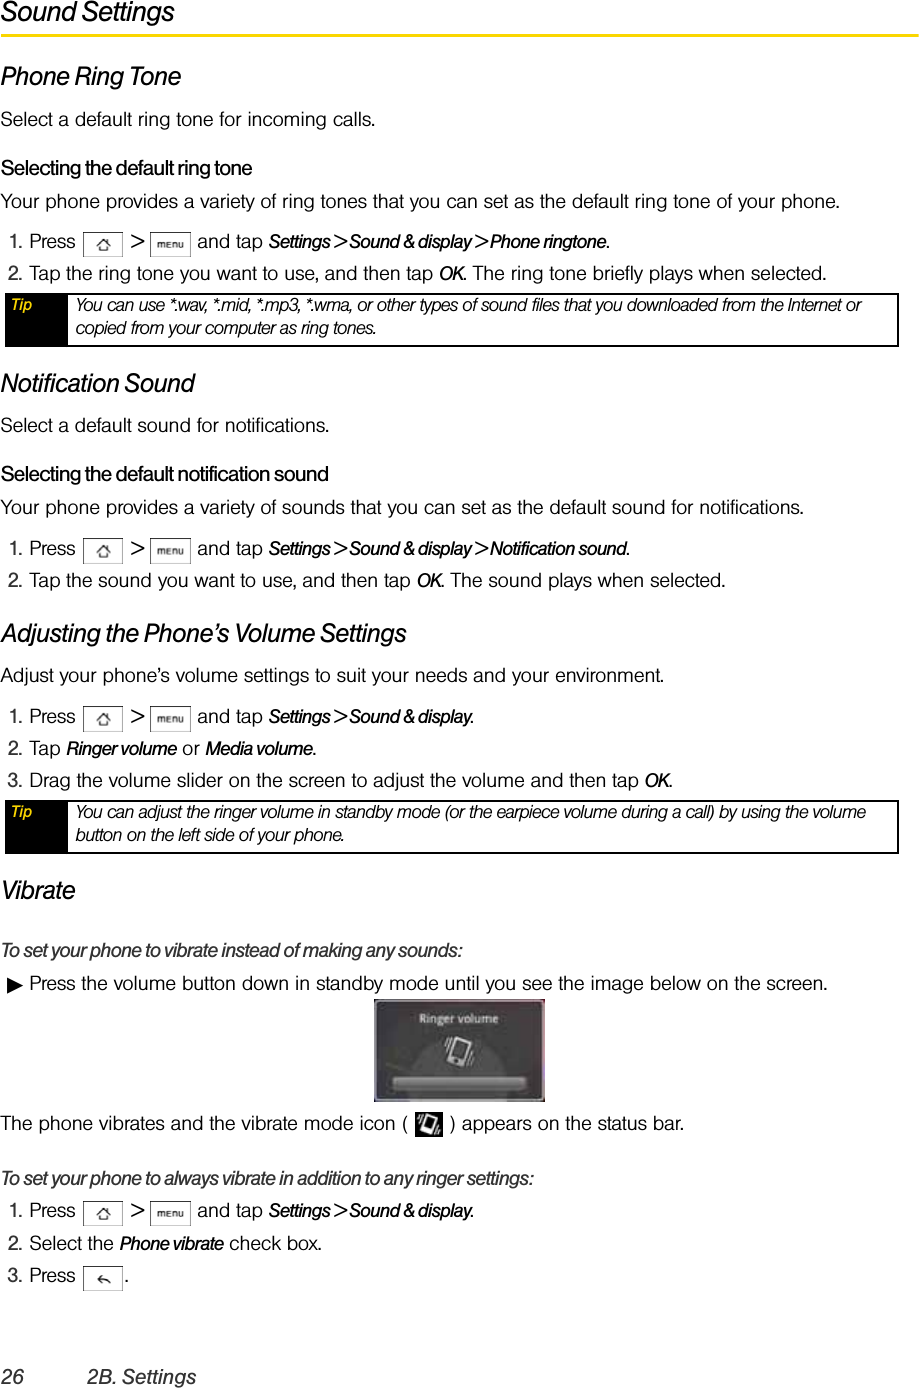
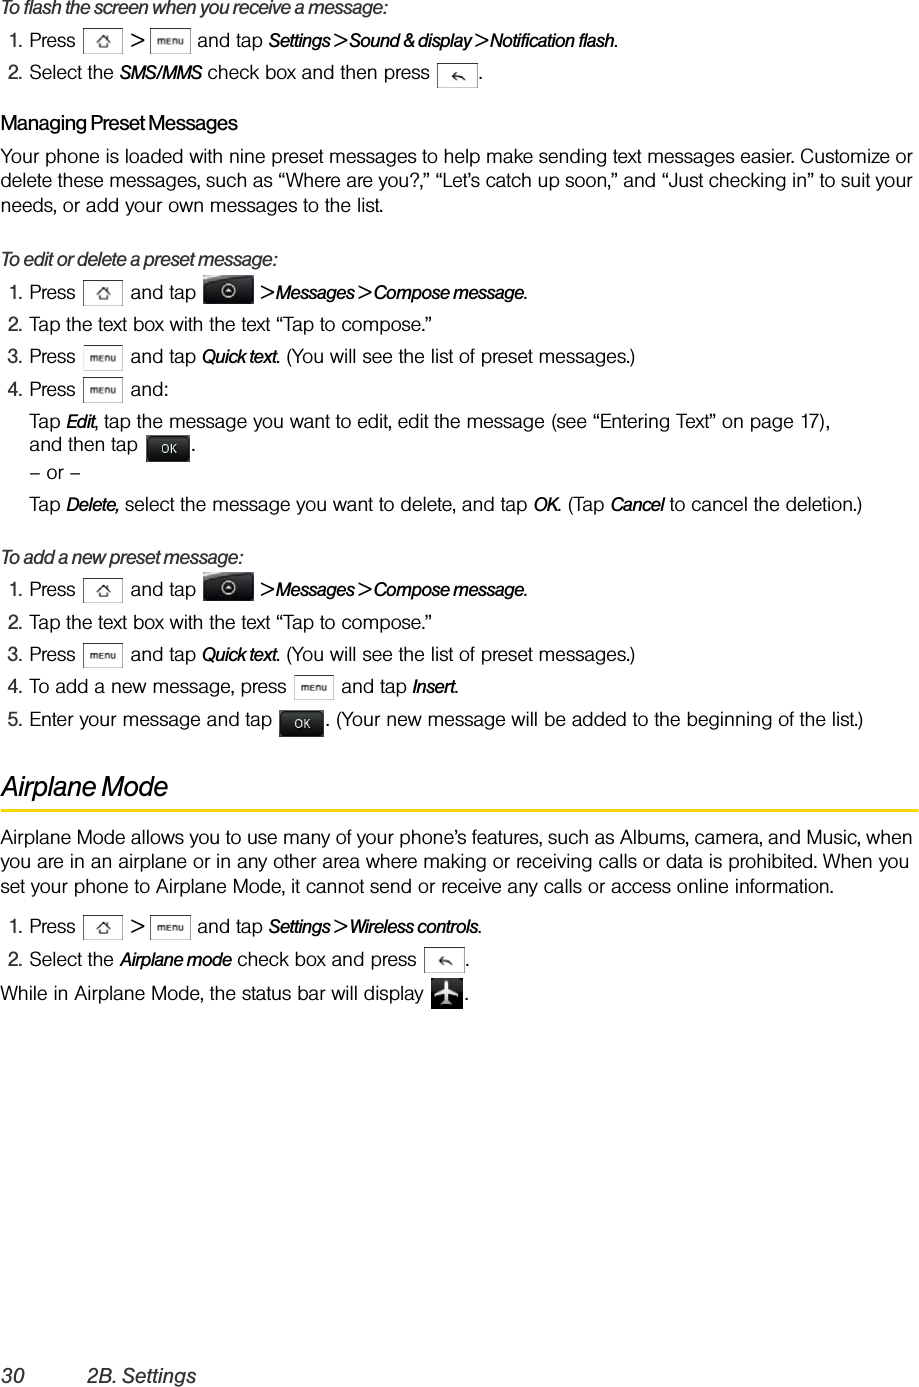
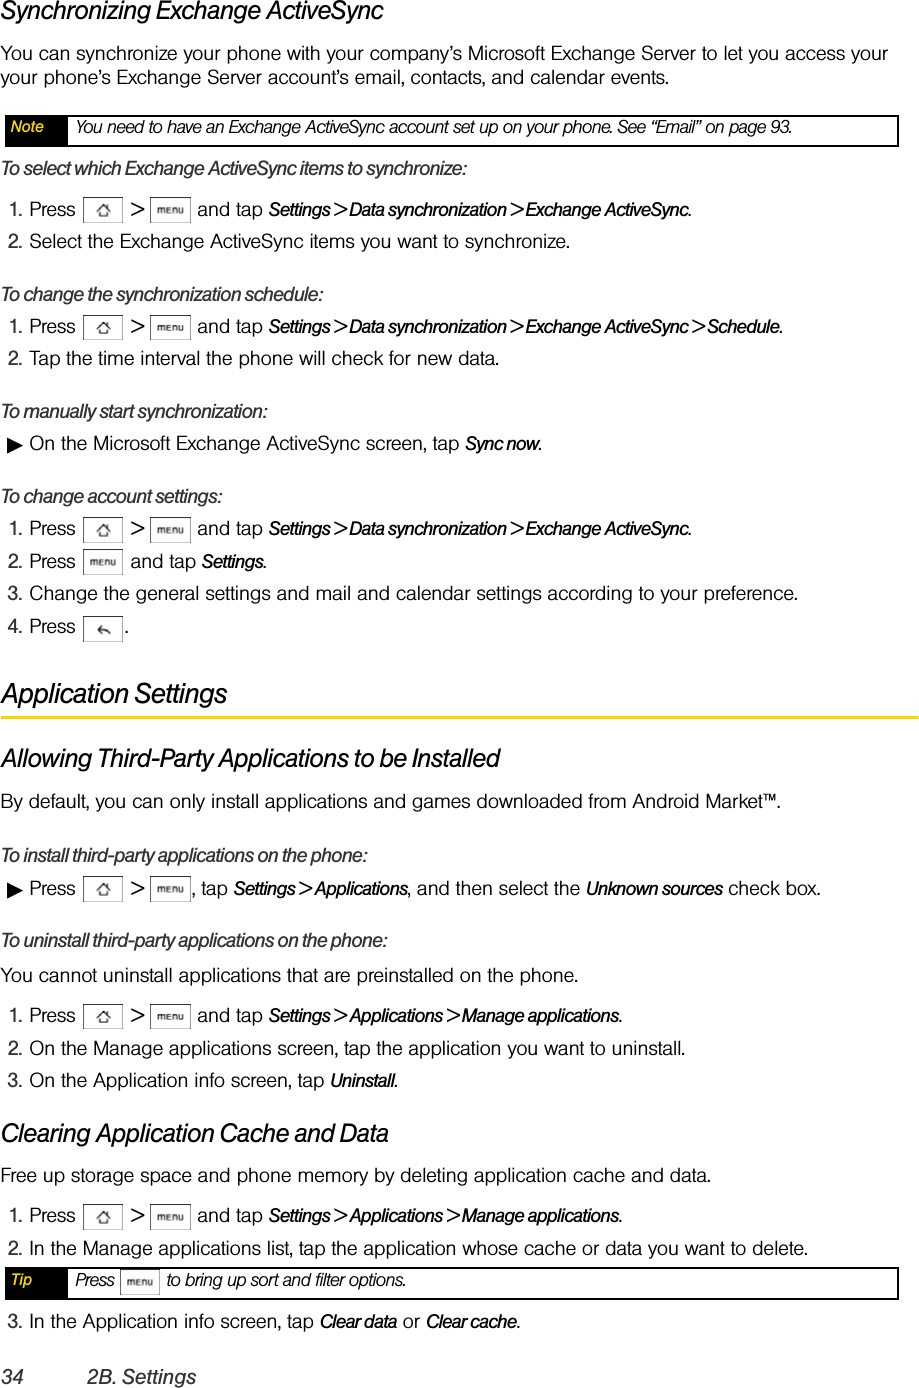
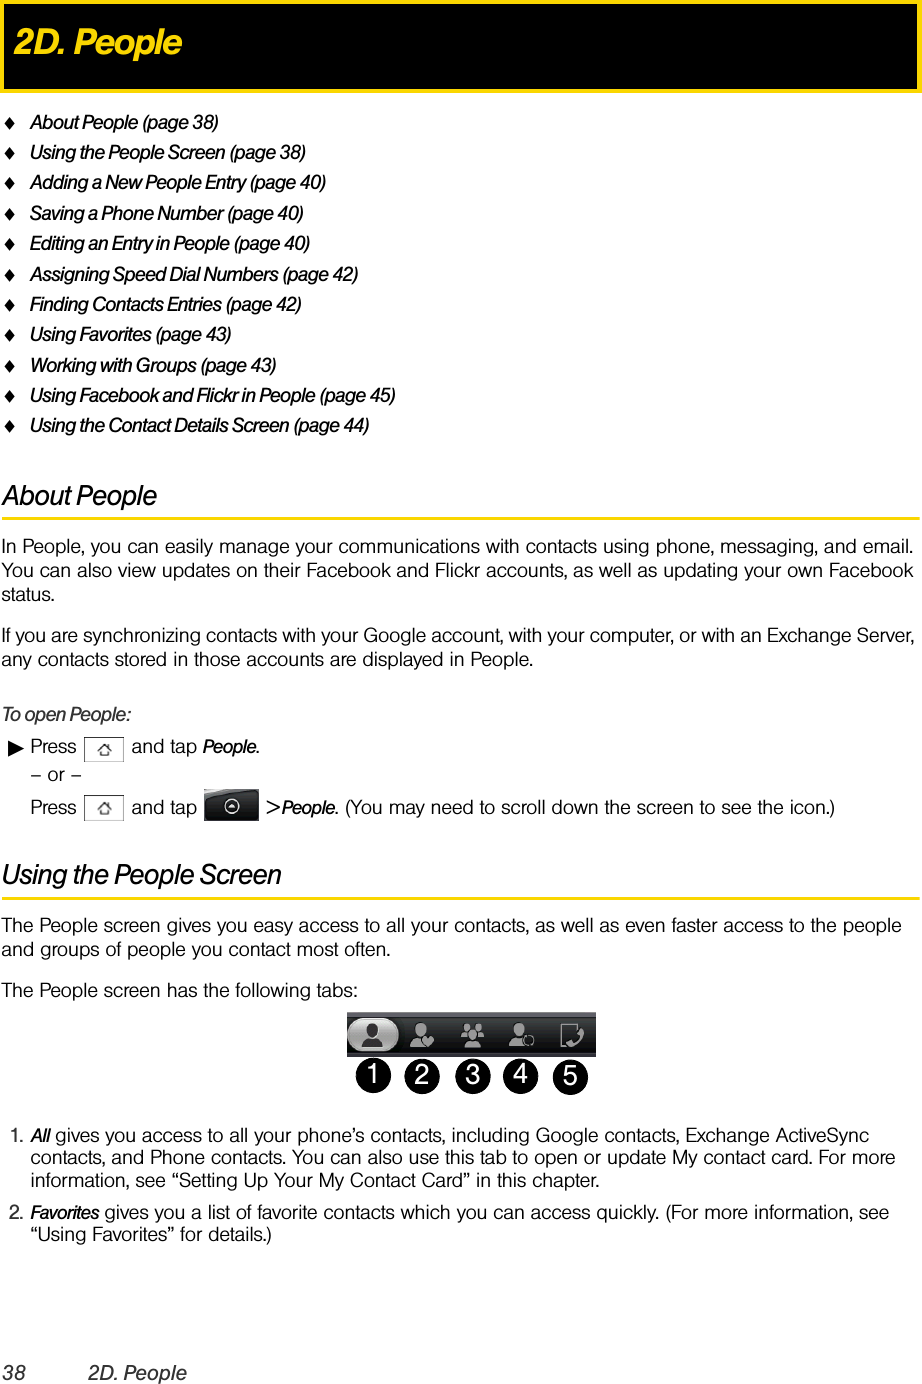
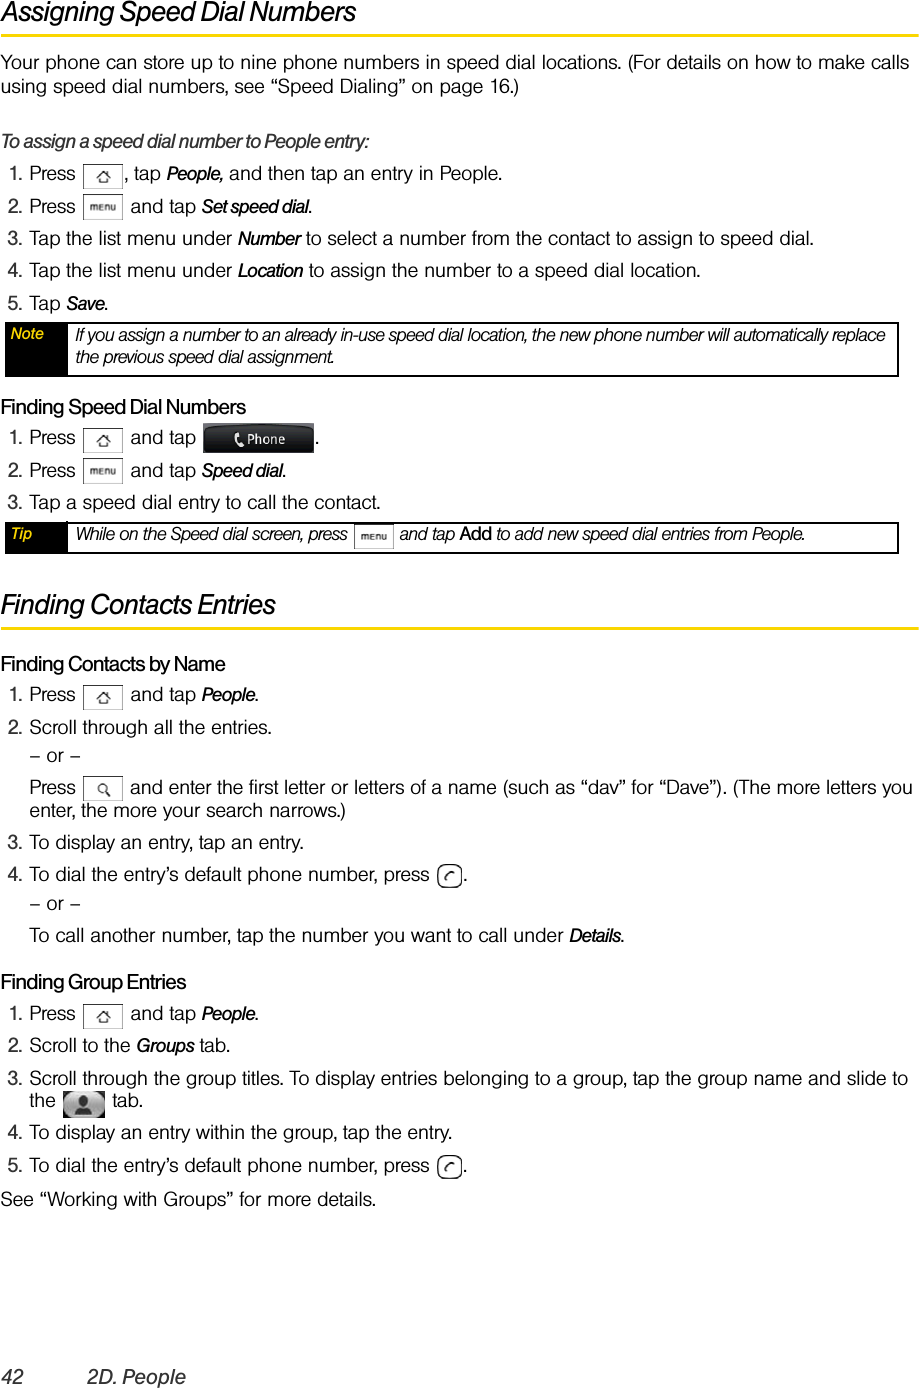

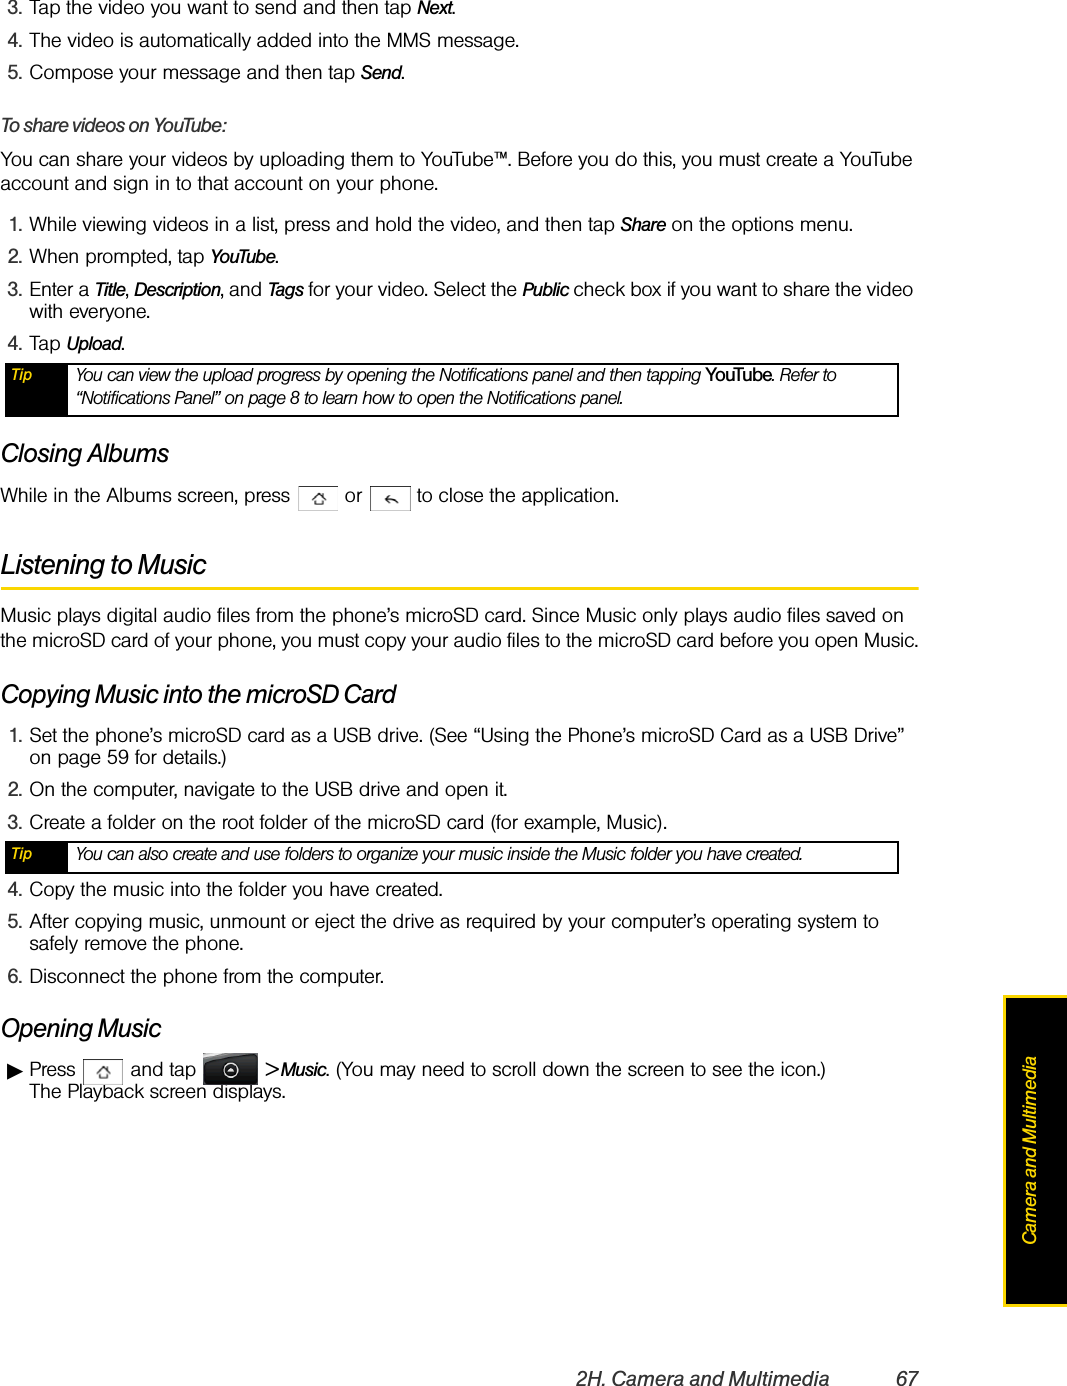
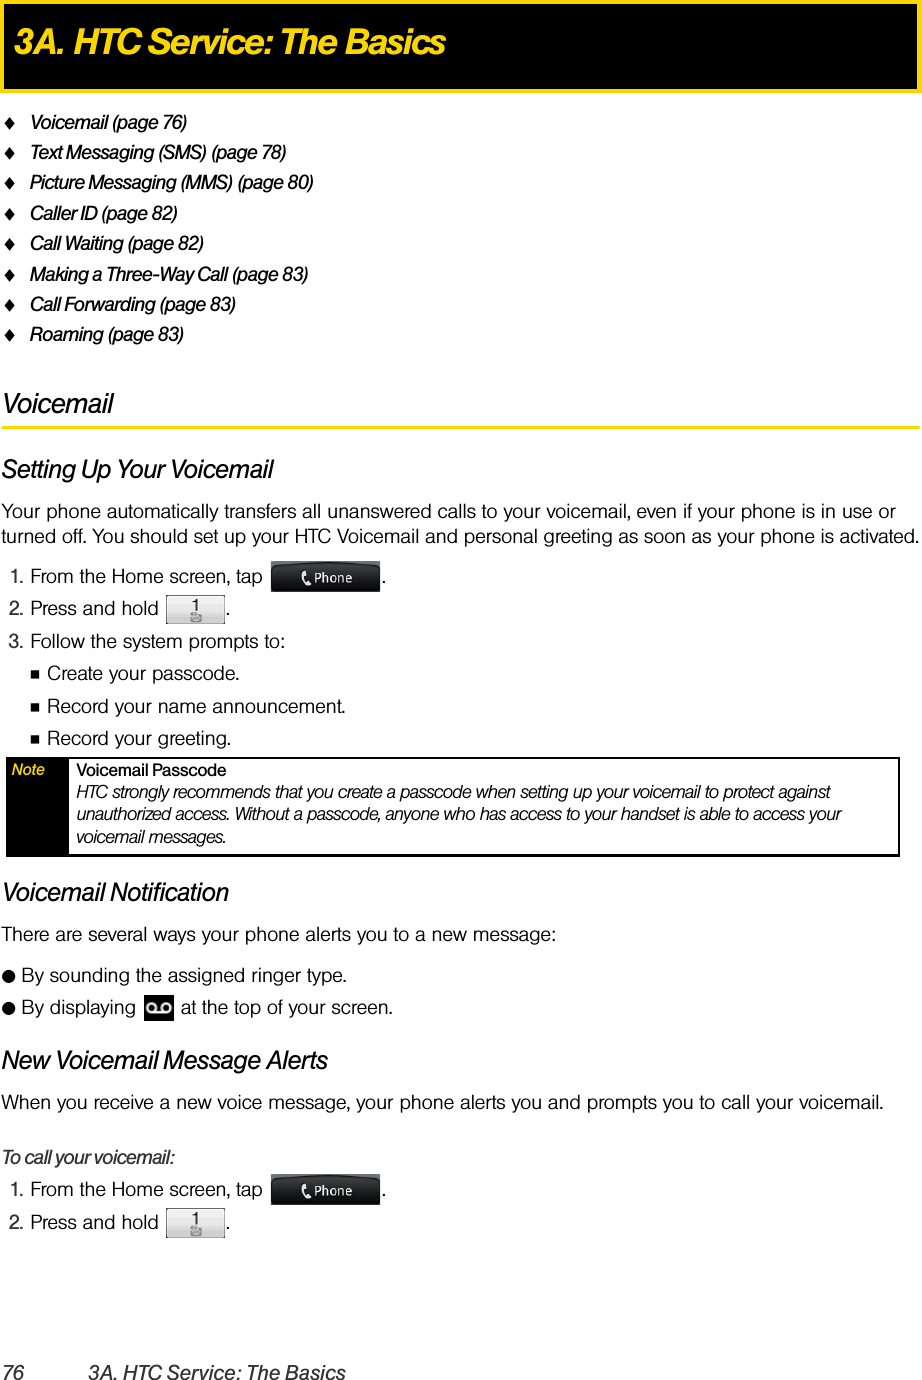
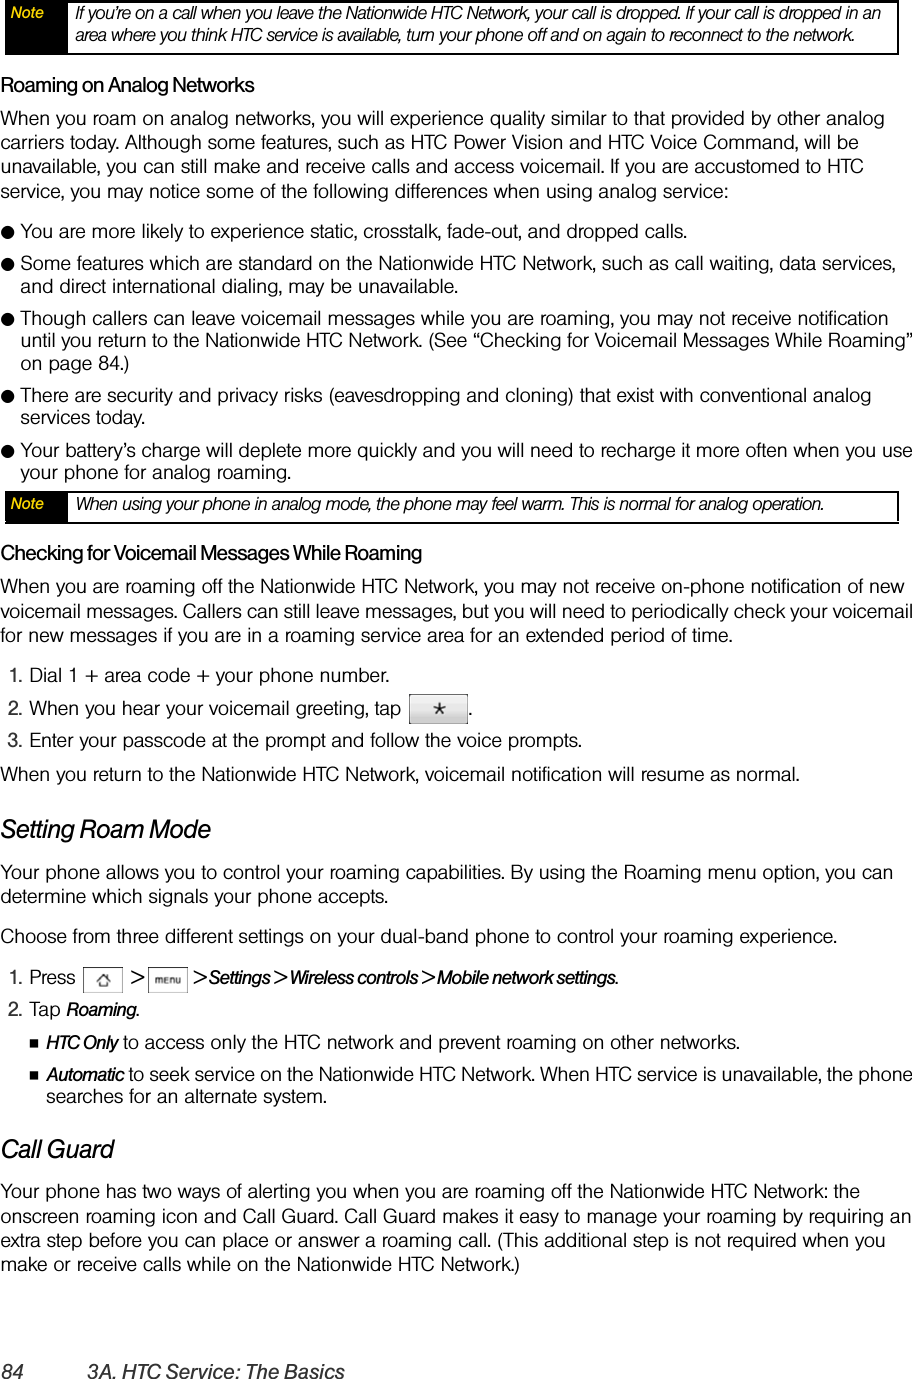
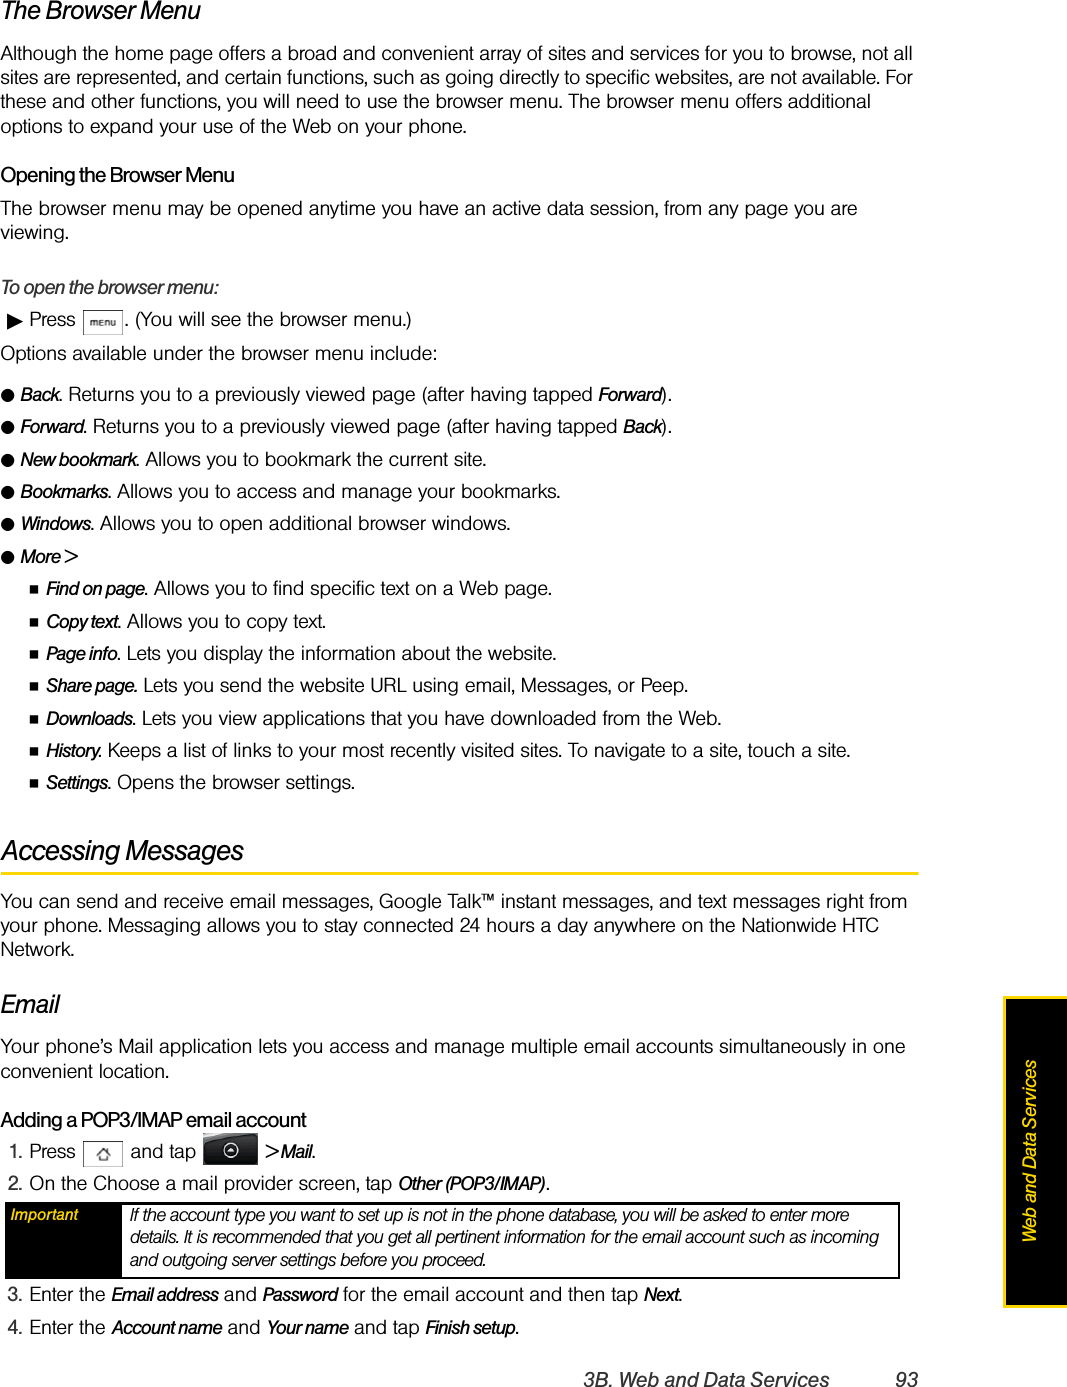
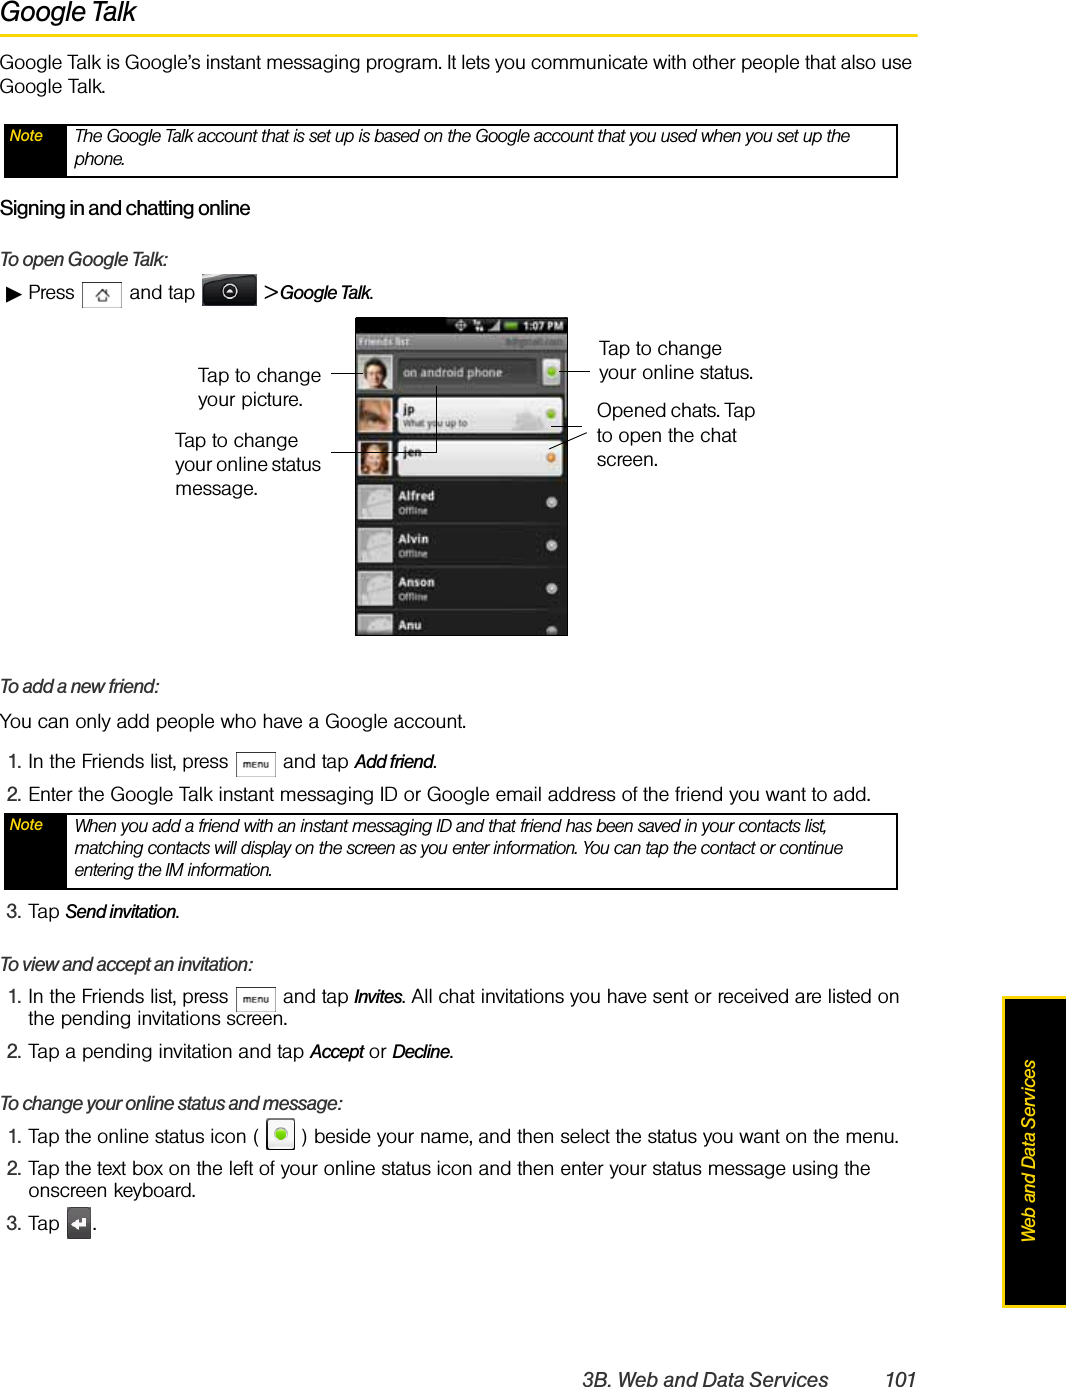
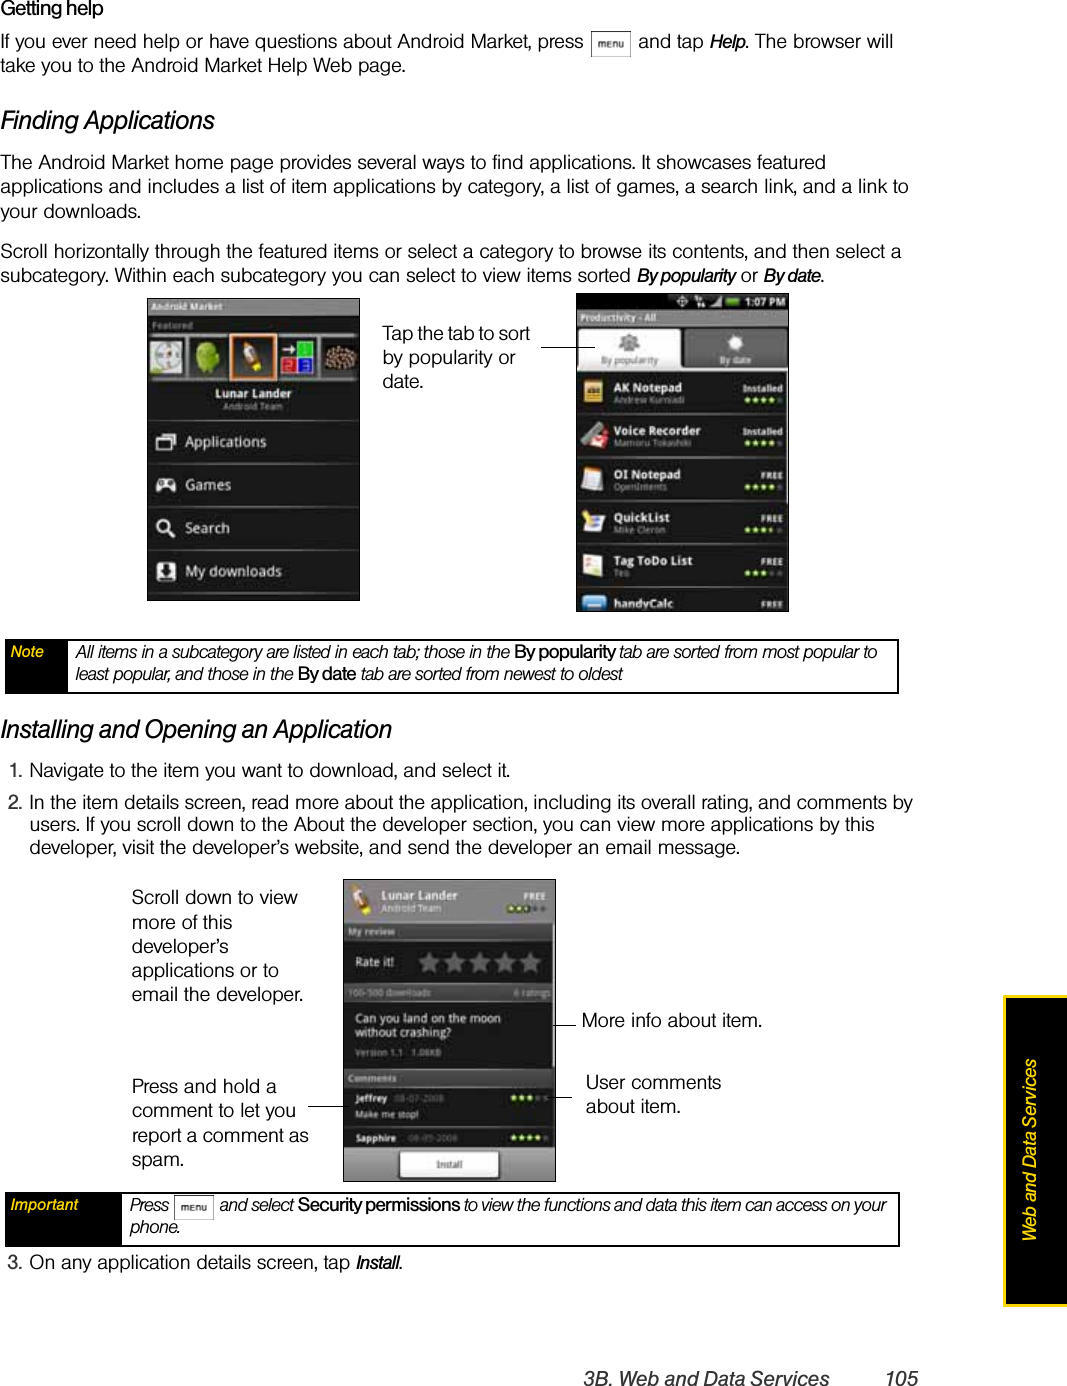
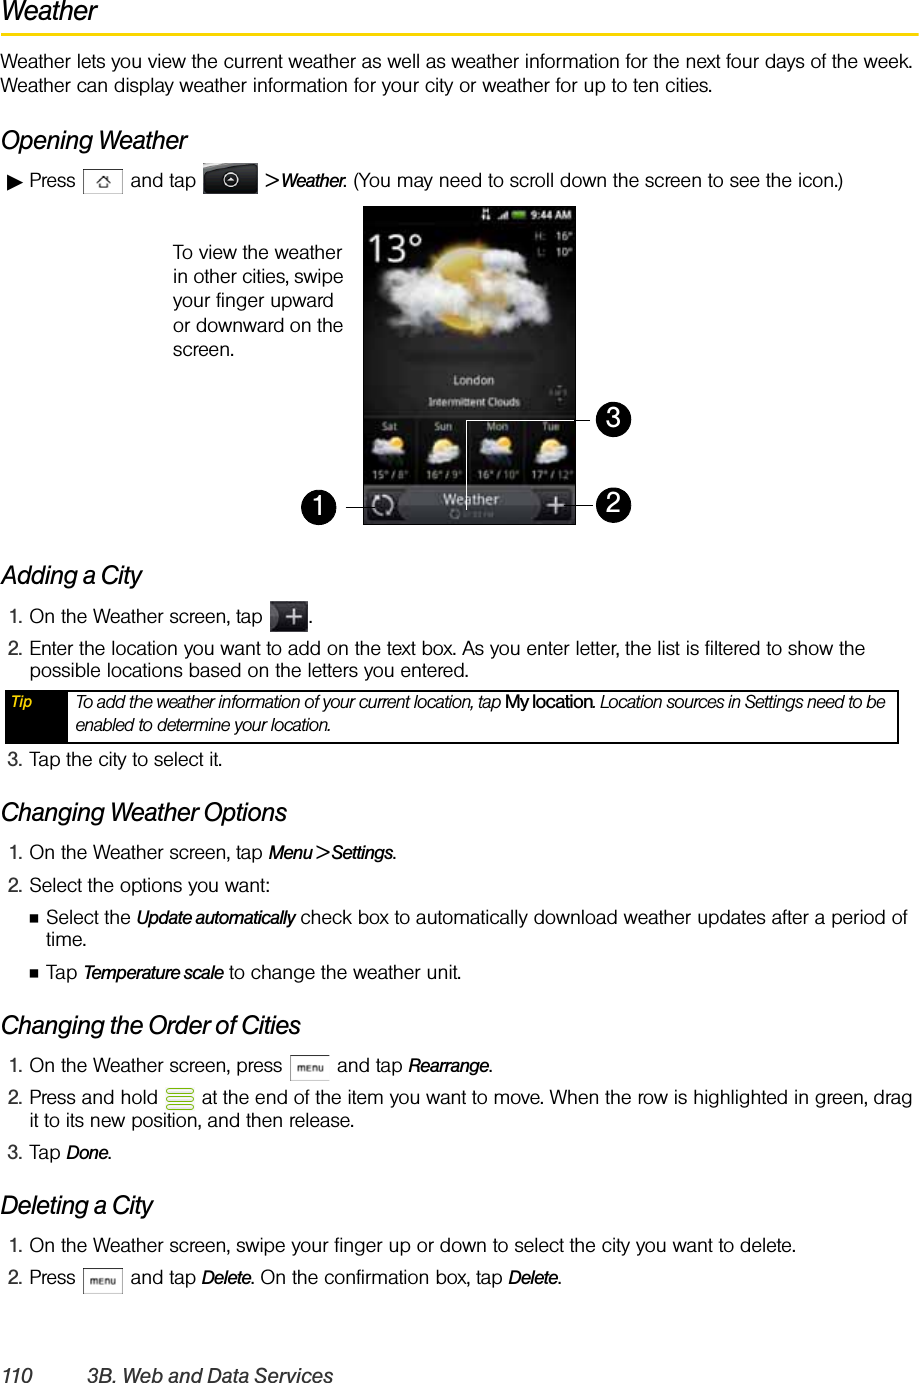
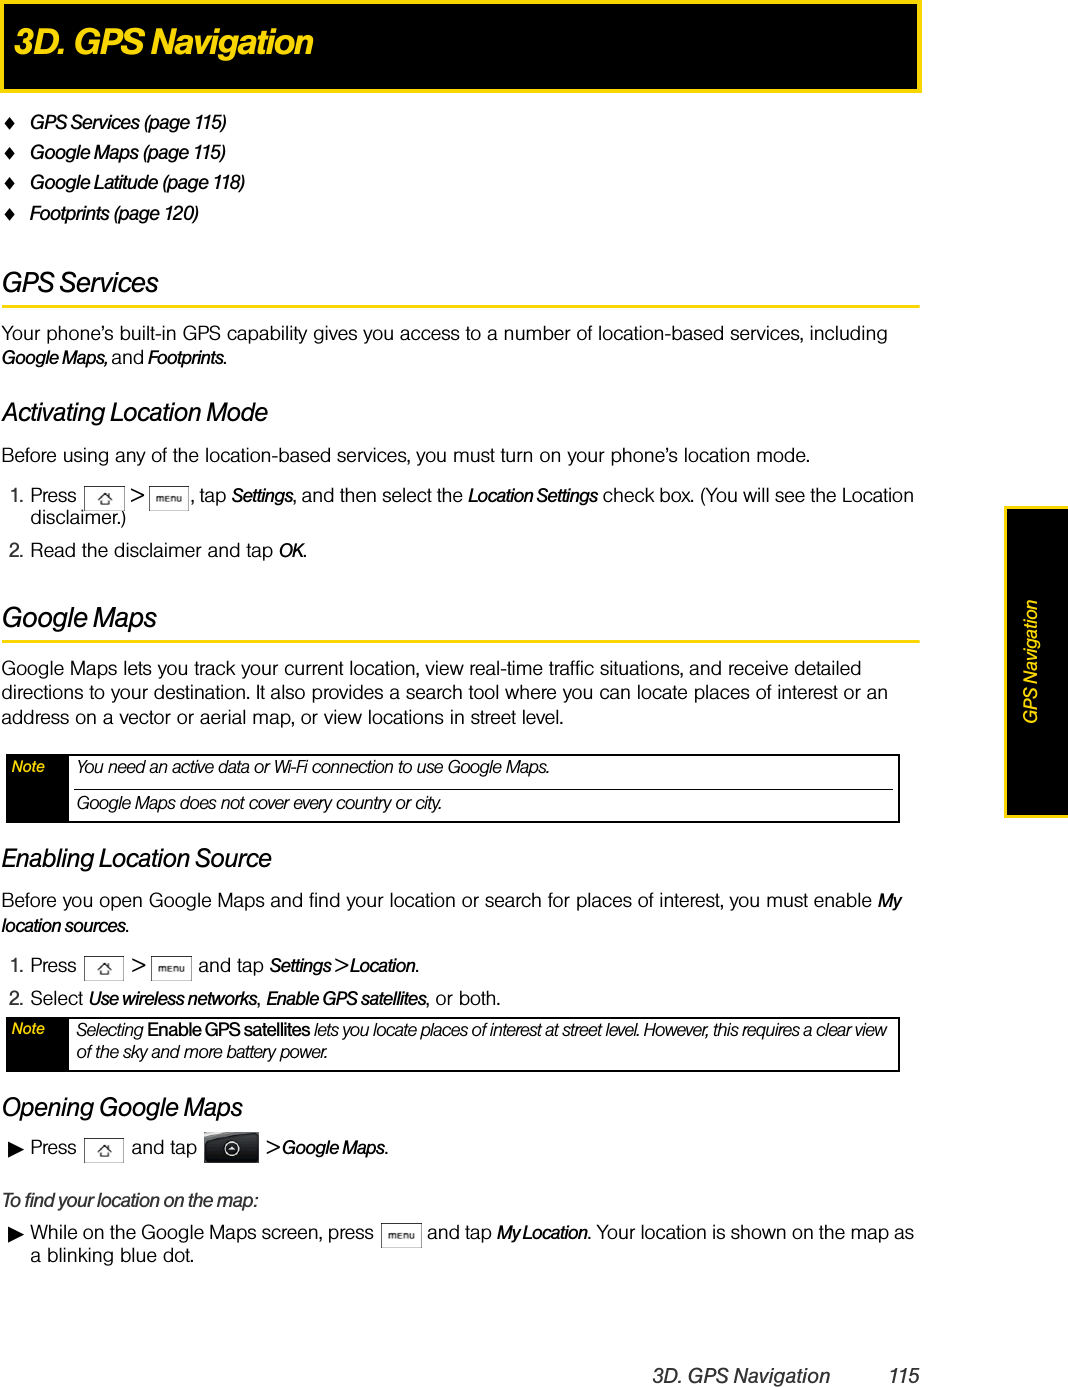
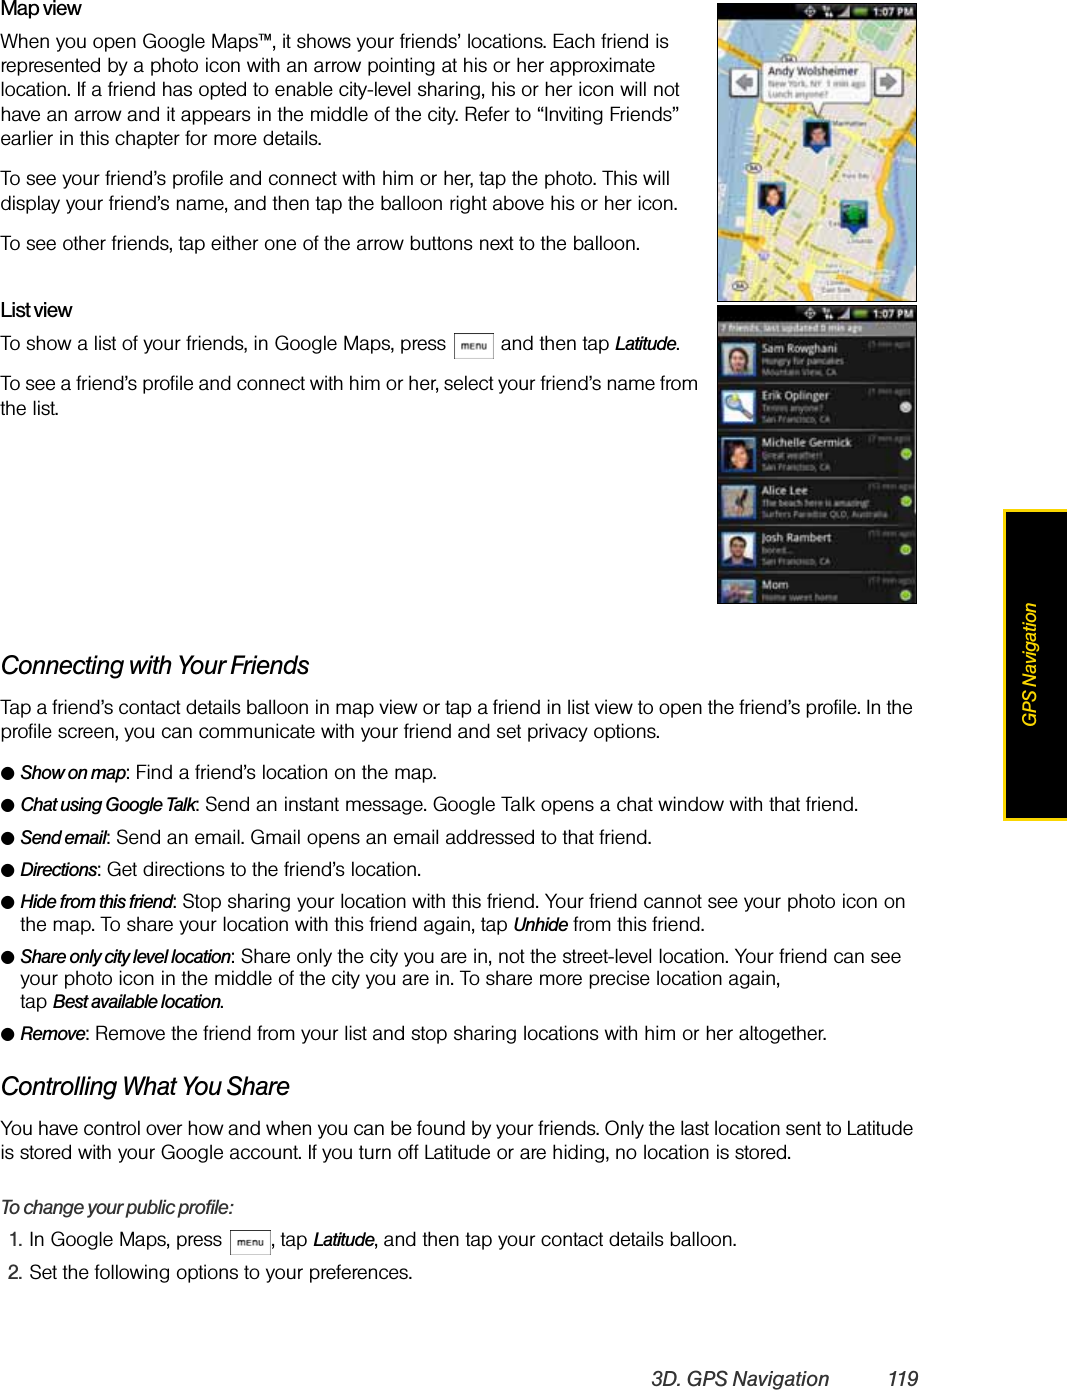
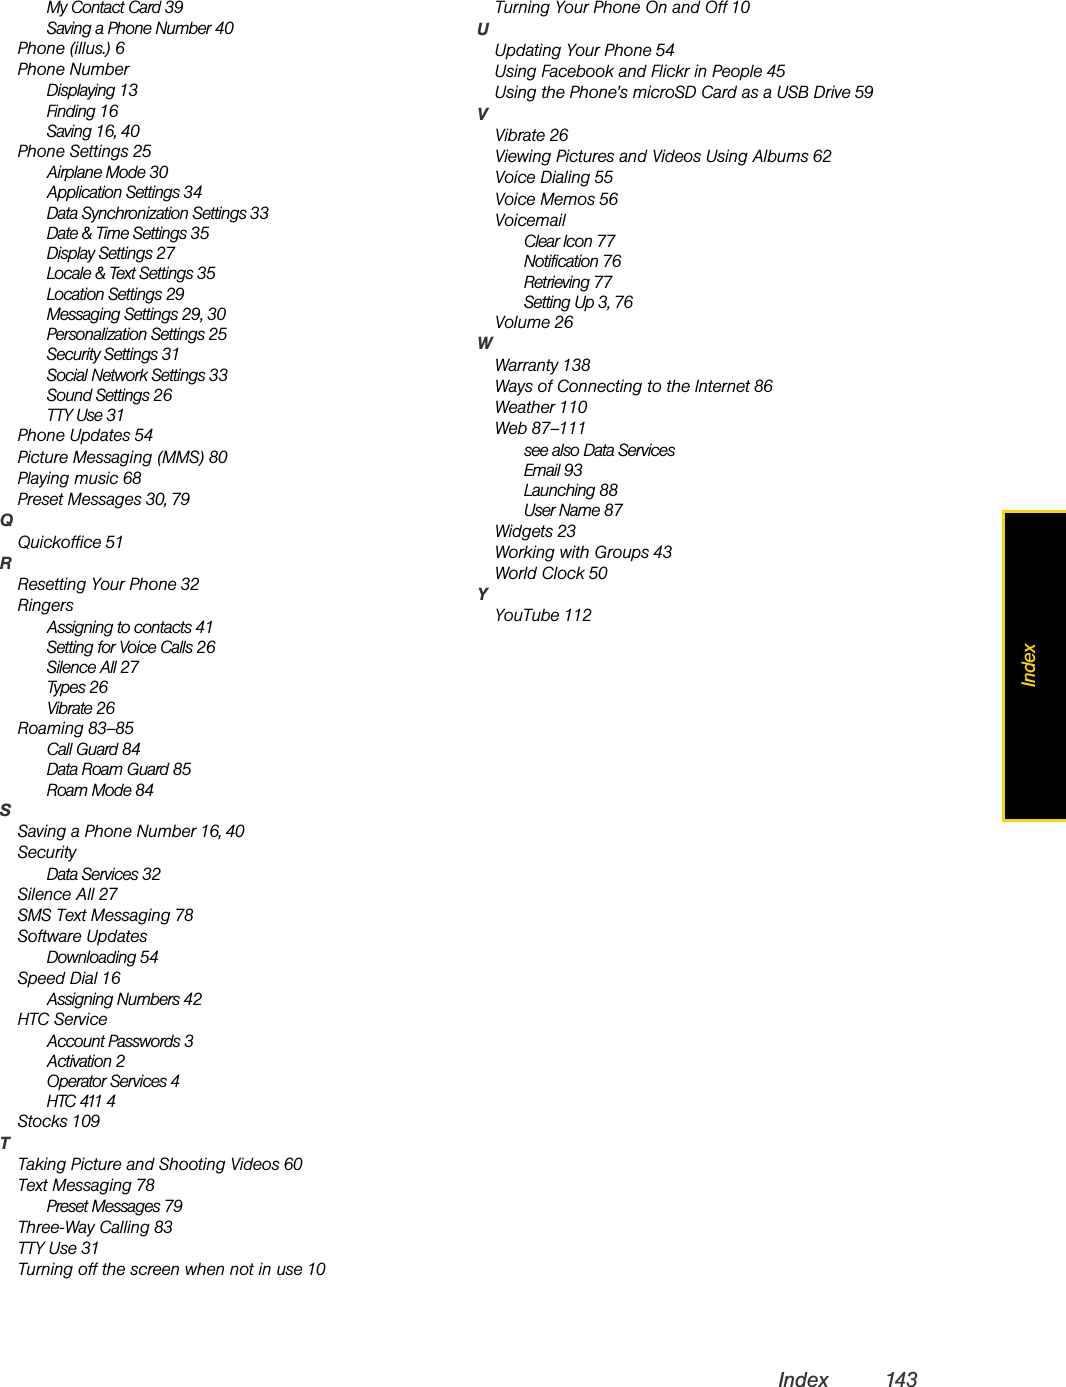
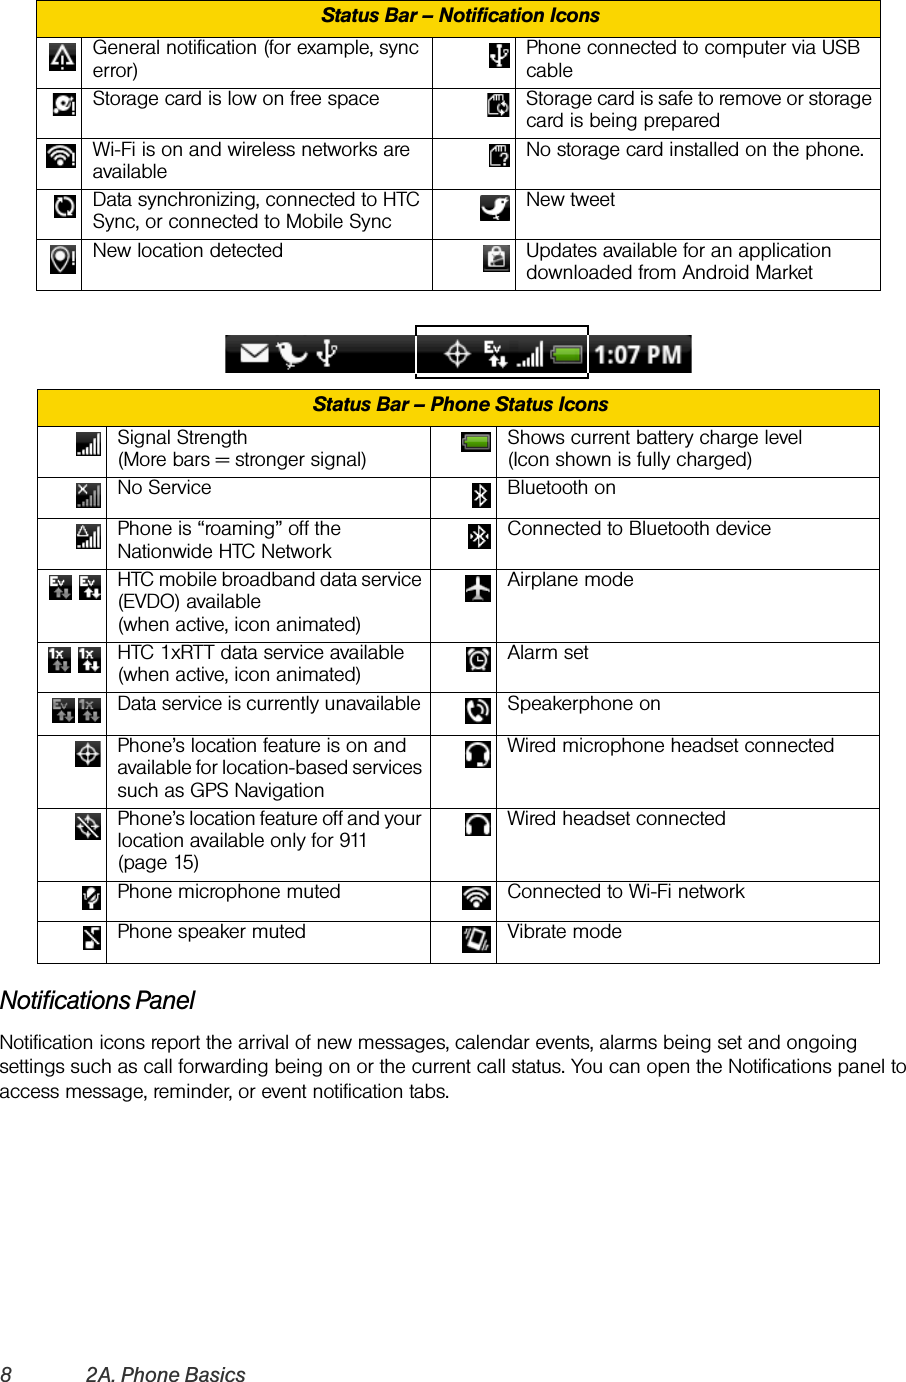
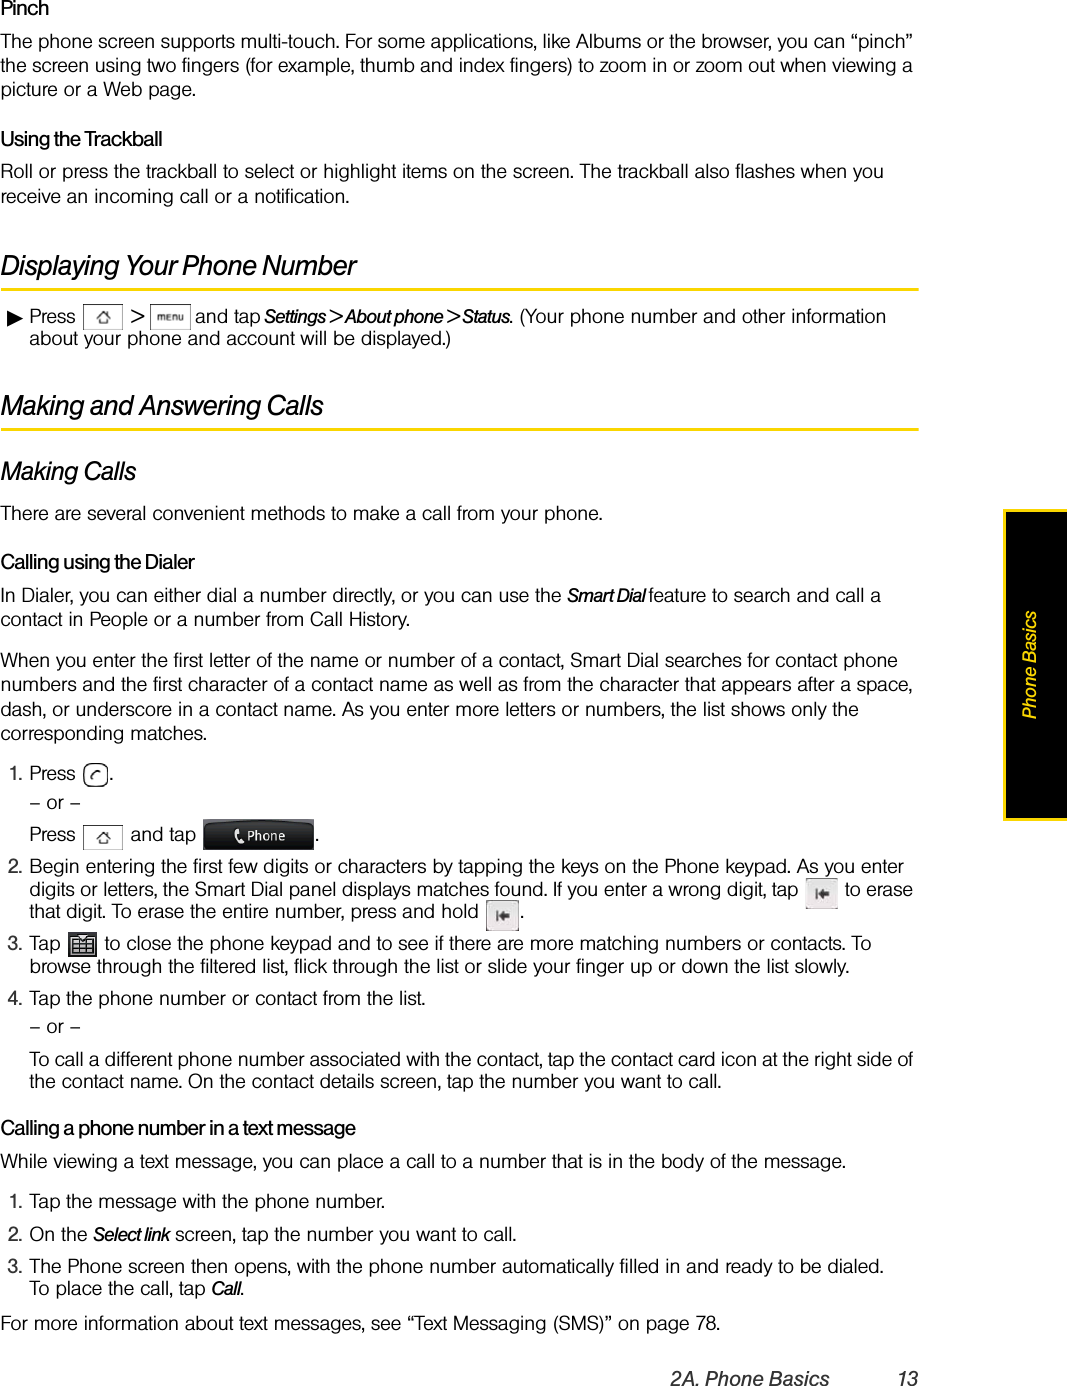
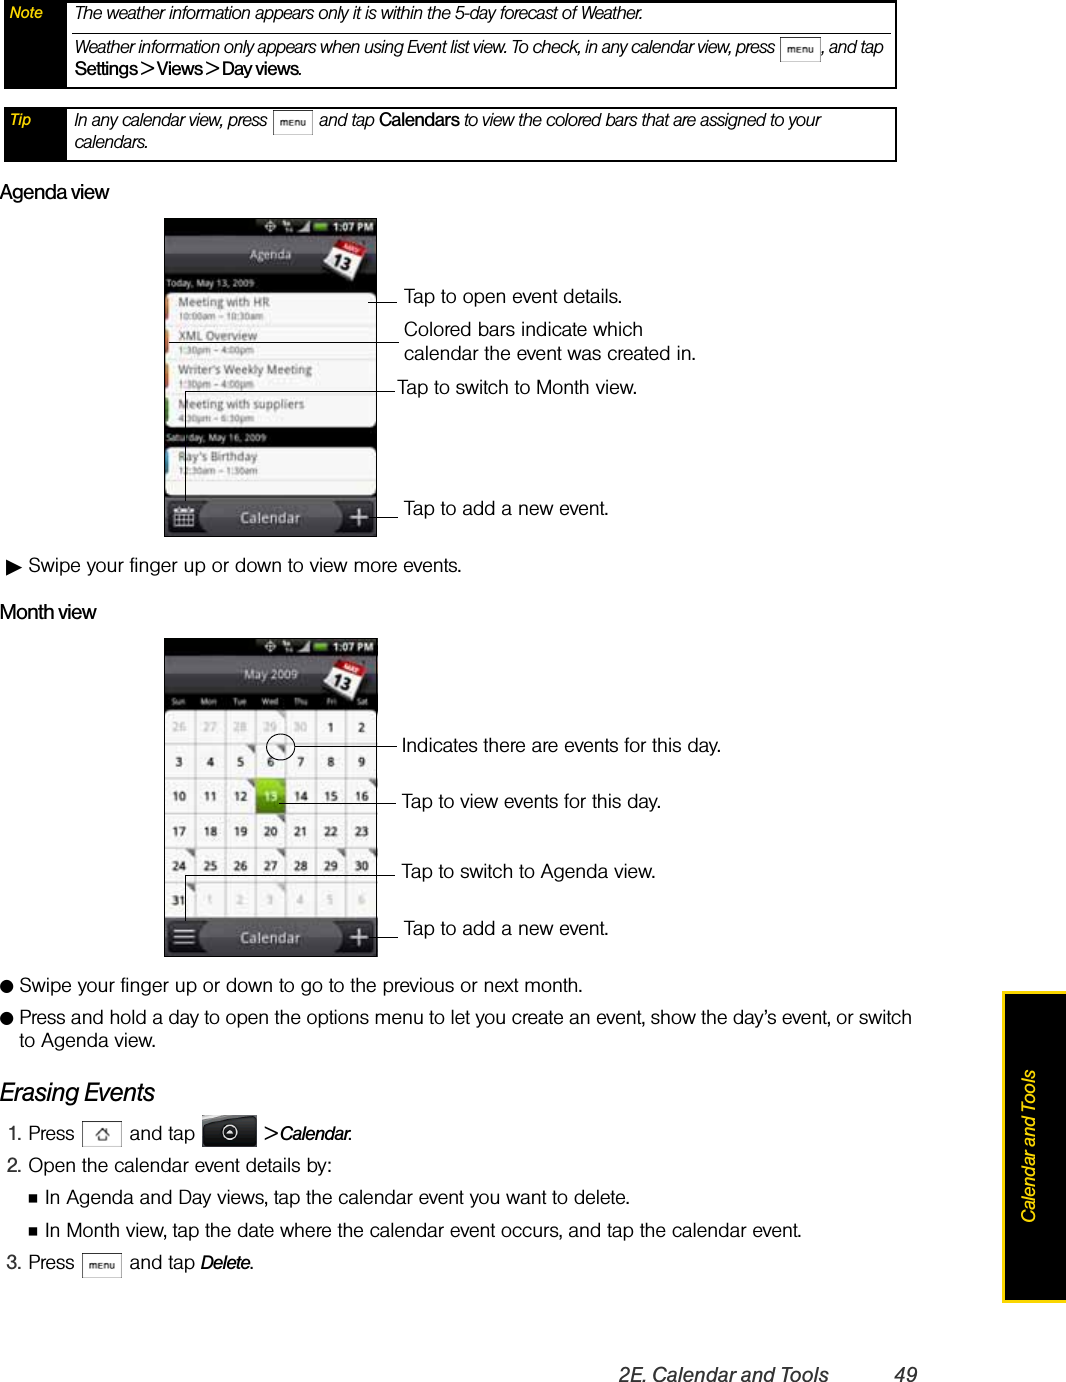
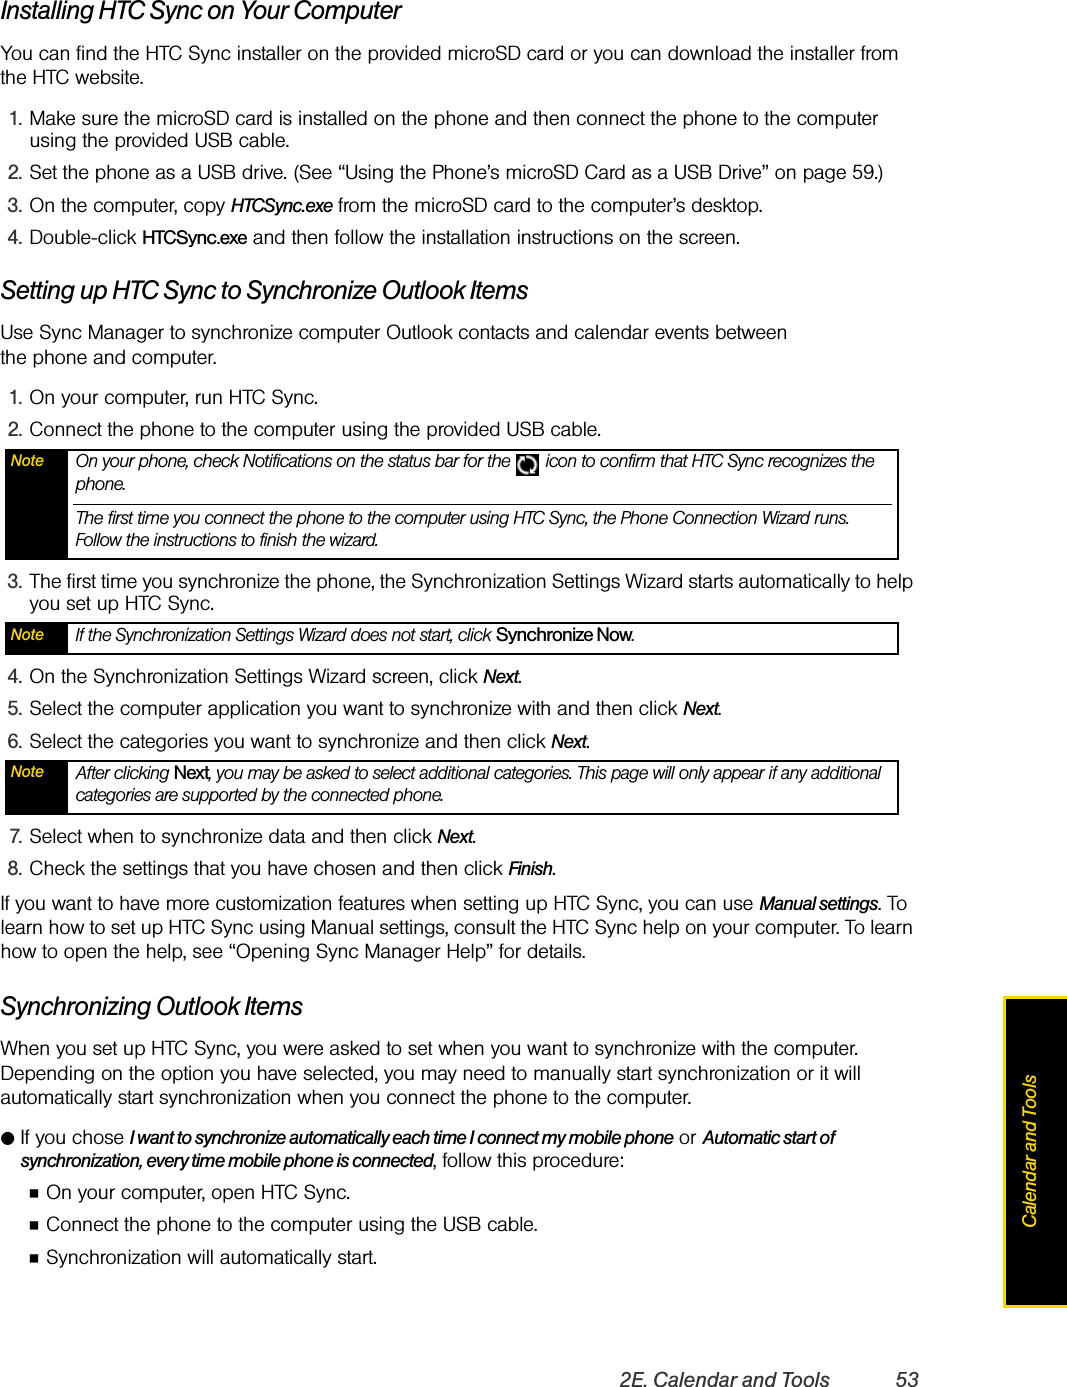
![2D. People 45PeopleUsing Facebook and Flickr in PeopleIf your contacts have Facebook accounts, you can view their current status and upcoming events and get notifications when they change their profile information. You can also update your own Facebook status. In addition, if your contacts have Flickr accounts, you can see when they add new photos.Facebook and Flickr notifications are shown on the following tabs: 1. On the Updates and events tab of the People screen, notifications of contacts’ upcoming events and updates to their profiles are displayed. Tap a notification to go to the Updates and events tab of the Contact Details screen for the relevant contact.2. On the Updates and events tab of the Contact Details screen for each contact, the contact’s Facebook status, profile updates, and upcoming events are displayed. Notifications of new photo uploads to Flickr are also displayed. Tap an item to open the browser and go to the relevant Web page in Facebook or Flickr.3. On the Albums tab of the Contact Details screen for each contact, the contact’s recent Facebook and Flickr photo albums are displayed. Tap an album to view the photos in the Albums program. For information on what you can do in the Albums program, see “Viewing Pictures and Videos Using Albums” on page 62.Logging in to Facebook or Flickr1. On the All tab of the People screen, tap Me, and then press > Edit.2. Scroll down and tap Facebook or Flickr.3. Enter your login details and then tap Log in or Sign in.4. Tap Save. (Scroll down the screen to see the Save button.)Logging out of Facebook or Flickr1. On the All tab of the People screen, tap Me or [Your Name] and then press > Edit.2. Scroll down, tap Facebook or Flickr, and then tap OK on the message box.3. Tap Save. (Scroll down the screen to see the Save button.)Note If you have not already entered your contact details on your My contact card, you can do so now. For information, see “Setting Up Your My Contact Card” for details. Tip You can use the same profile picture on your Facebook account for your My Contact Card by tapping > Facebook profile.1 32](https://usermanual.wiki/HTC/HERO200/User-Guide-1153656-Page-55.png)
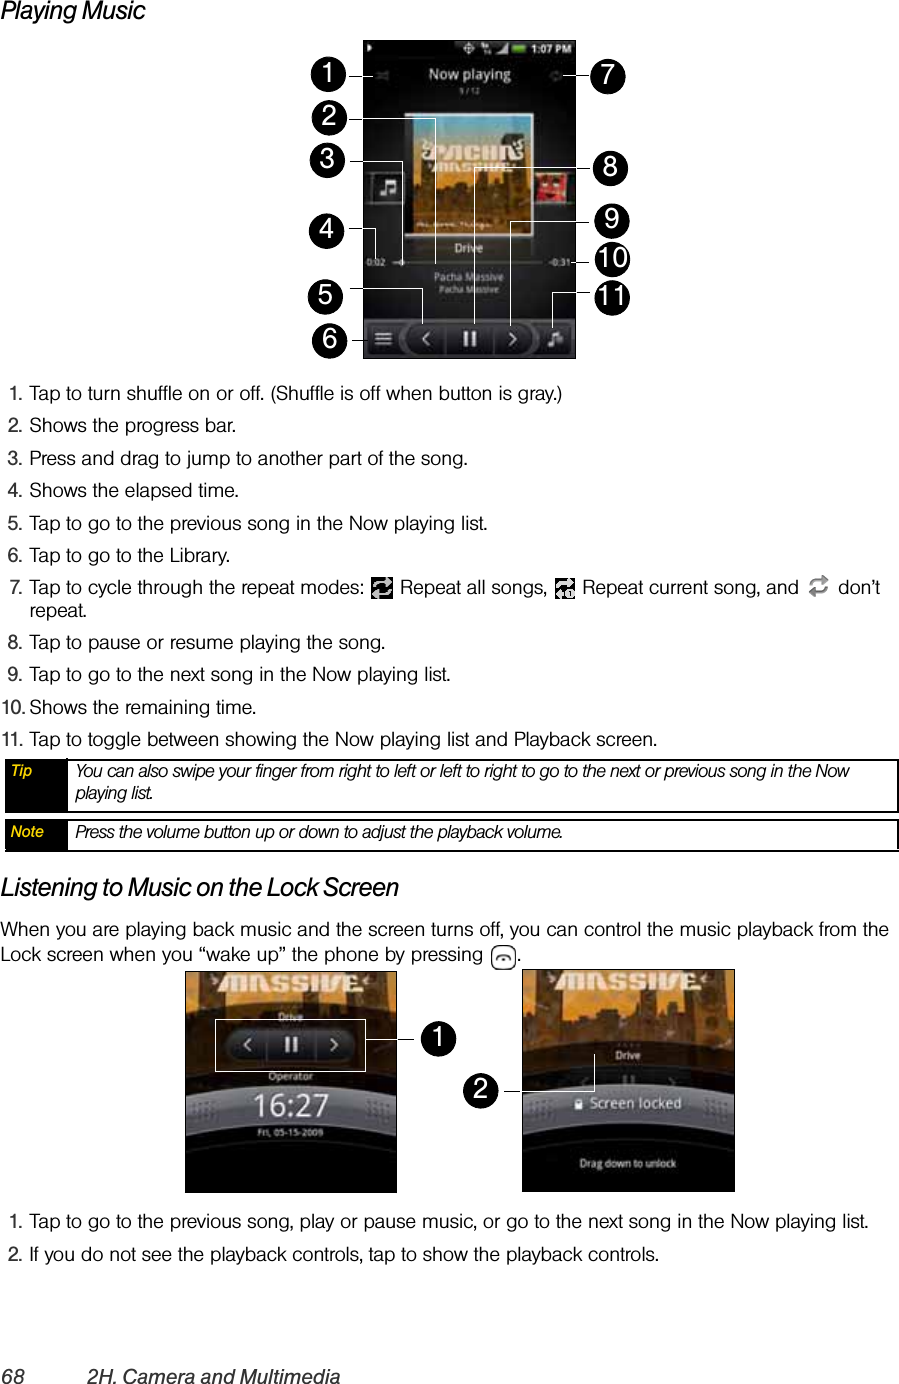
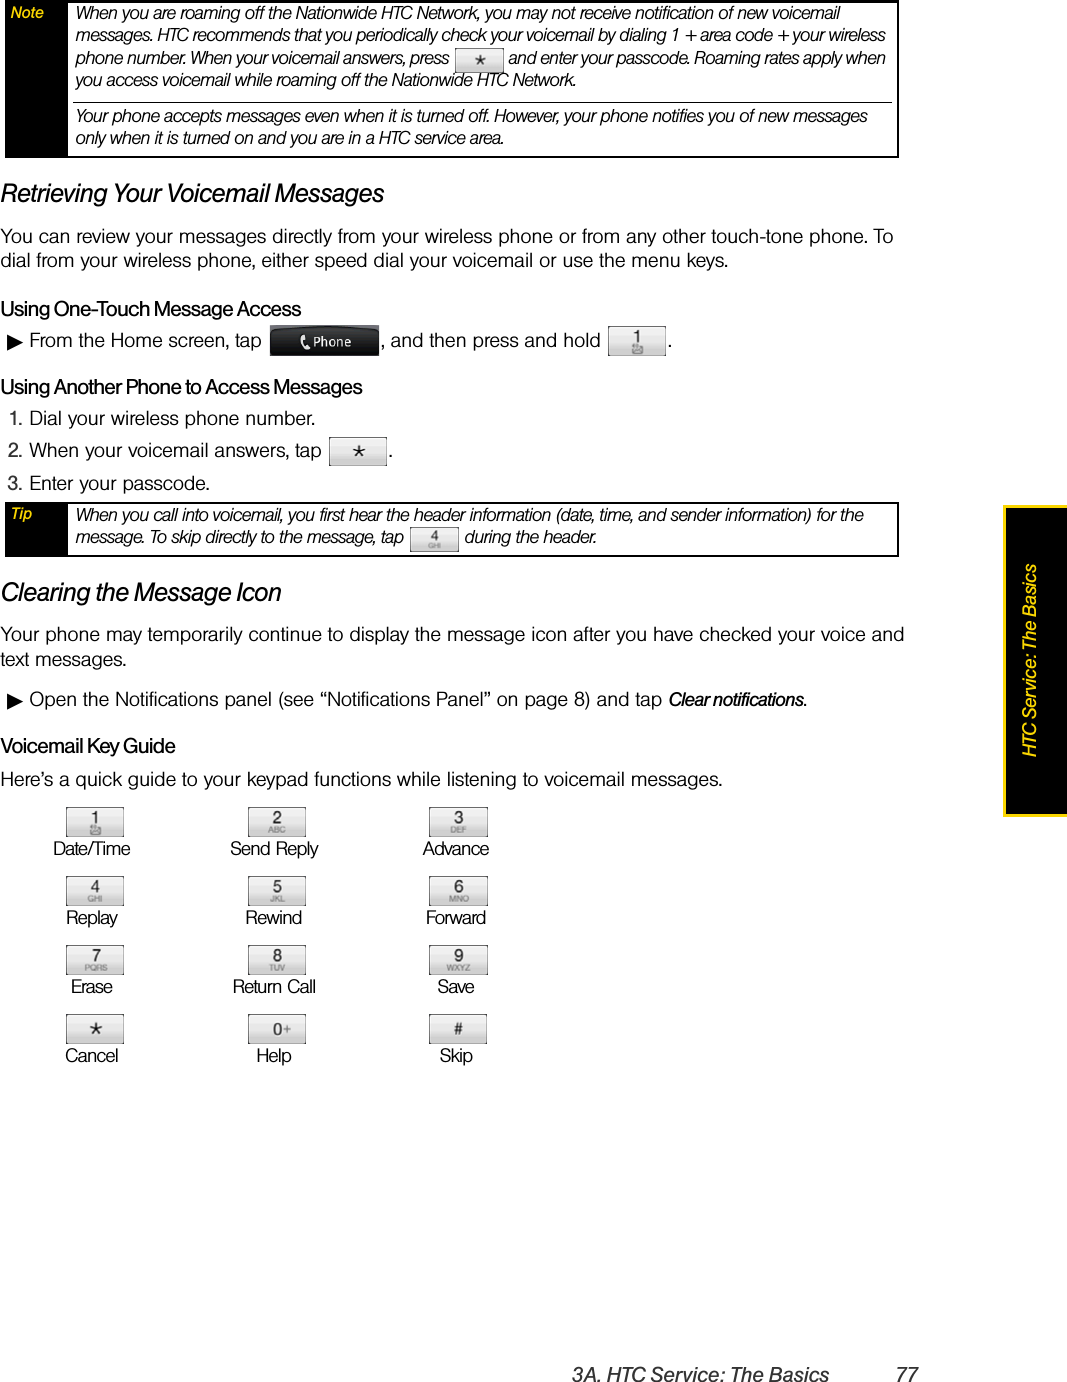
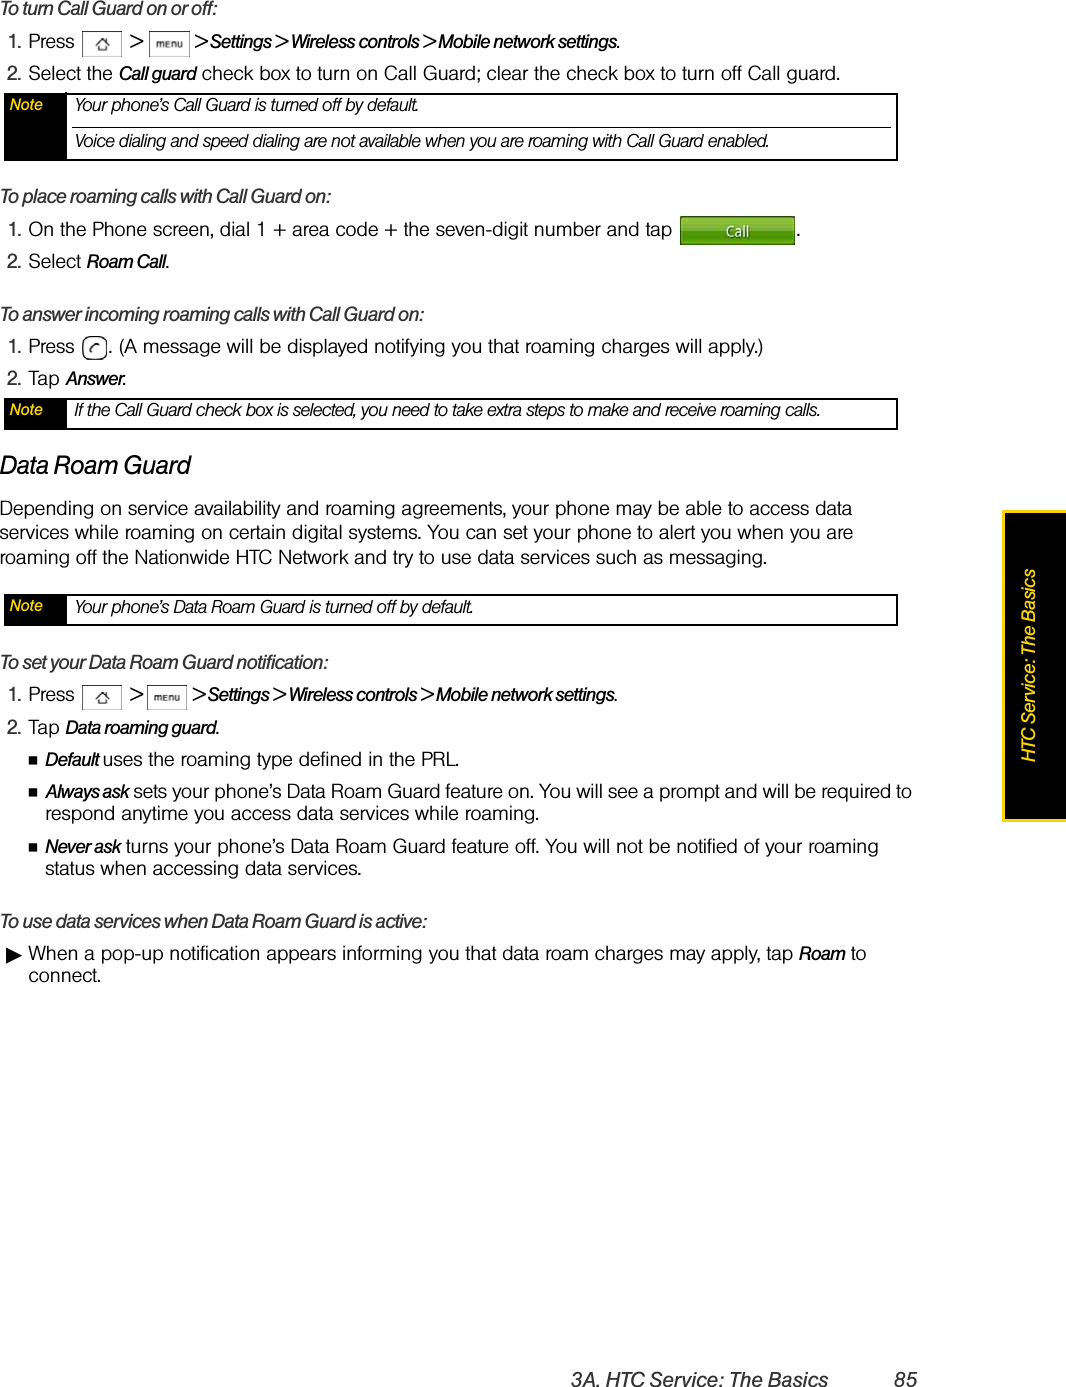
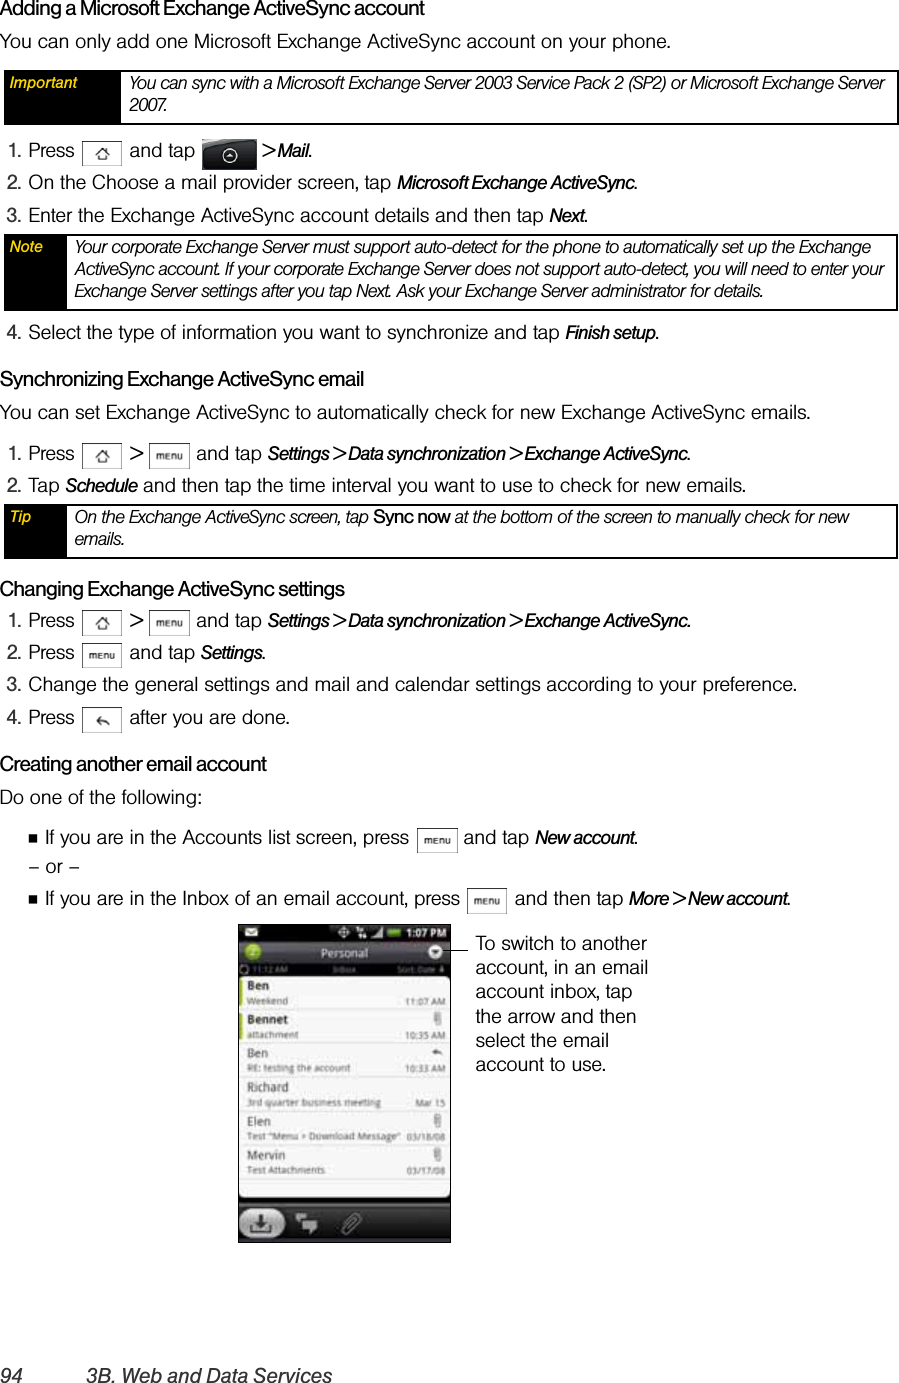
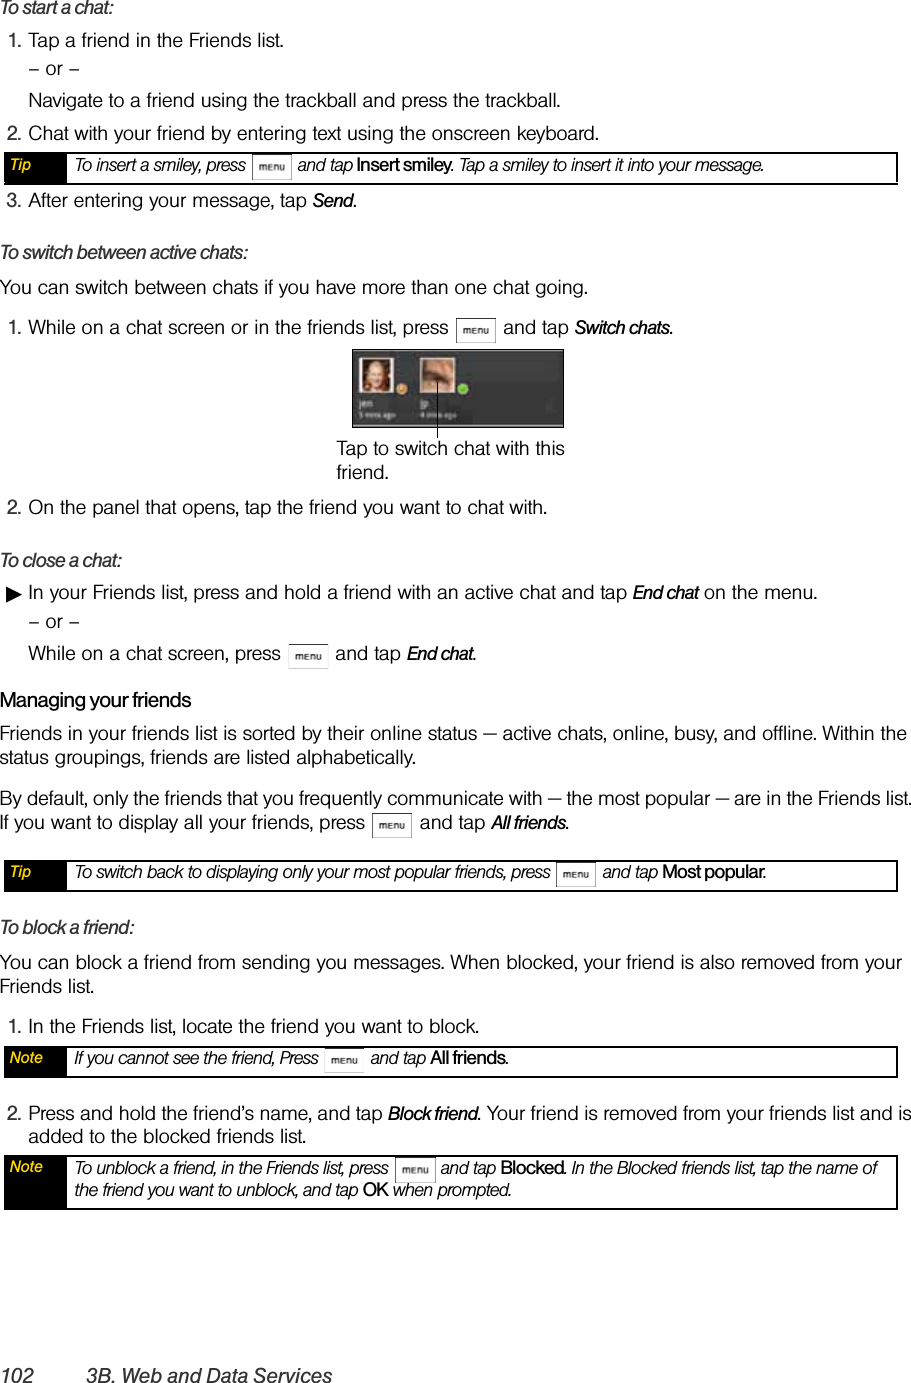
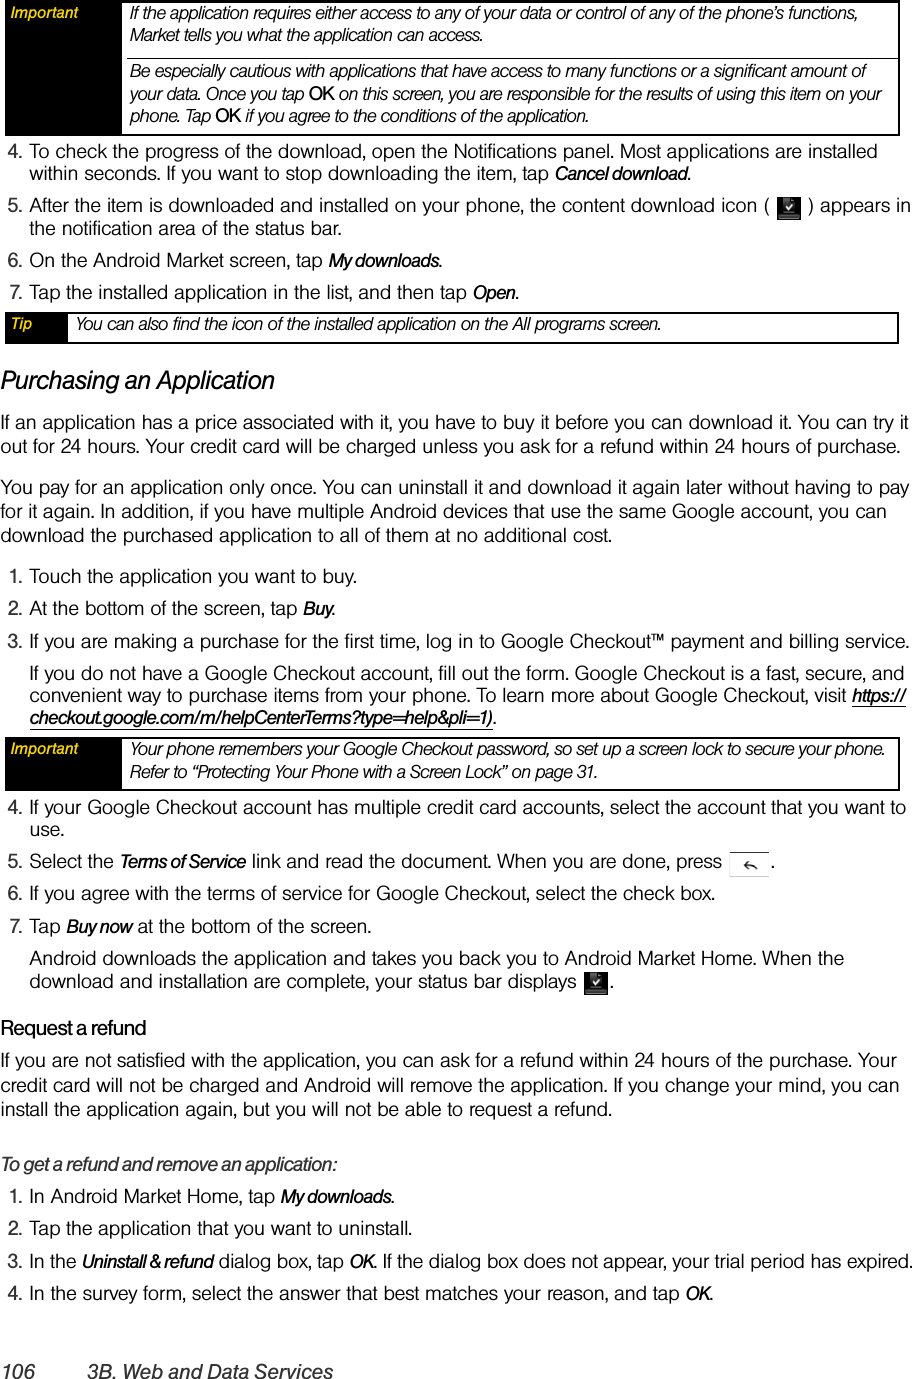
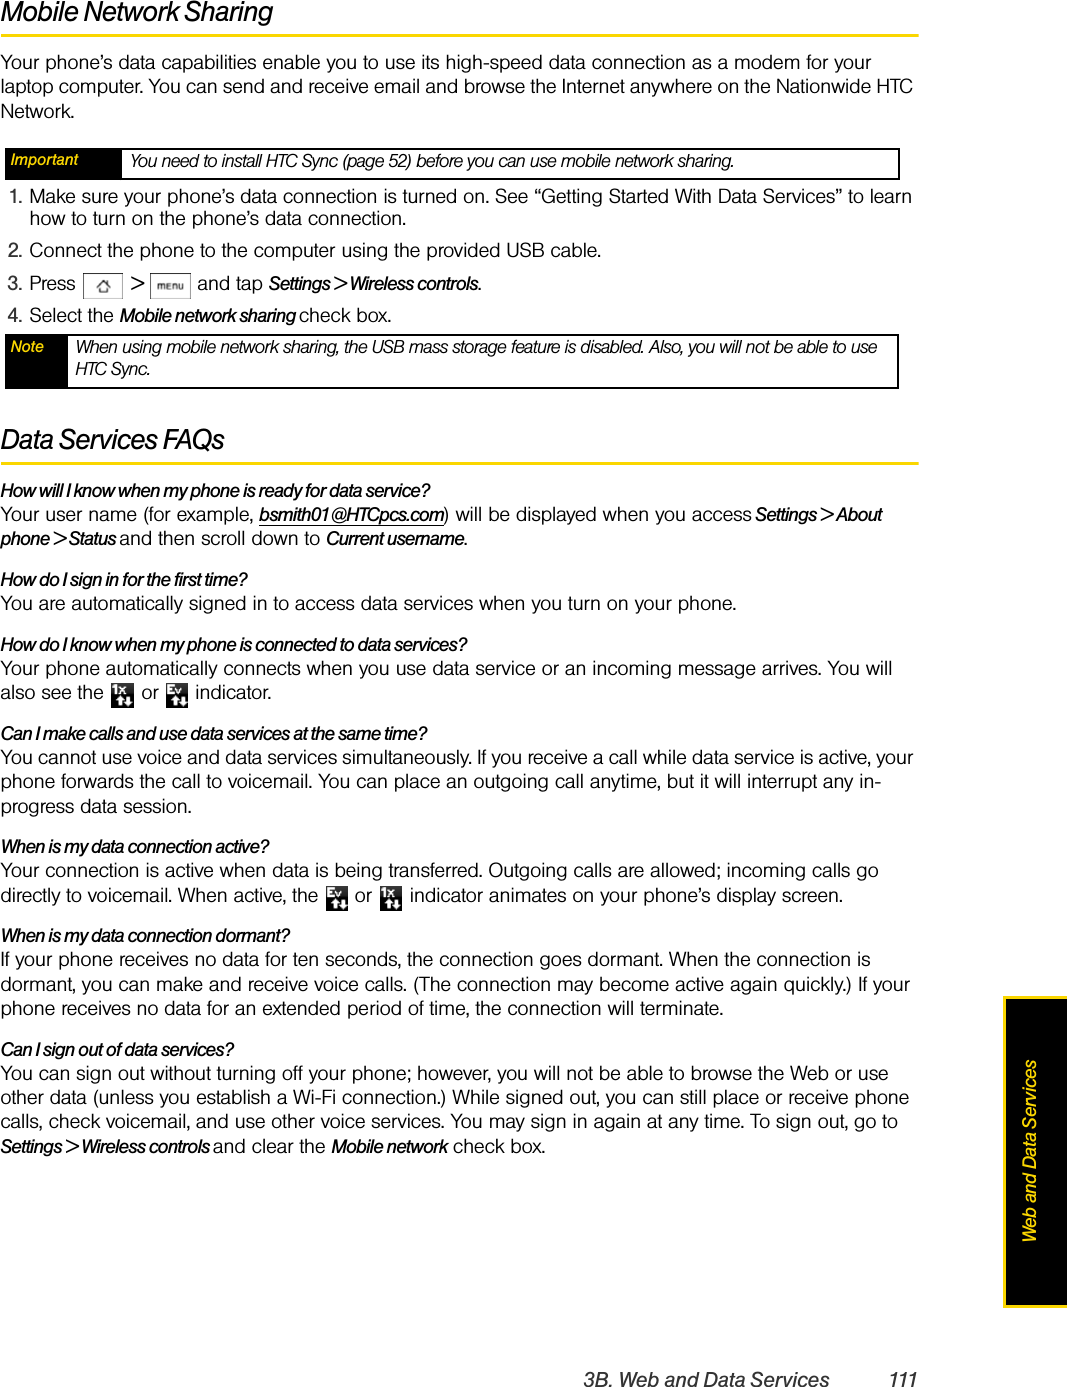
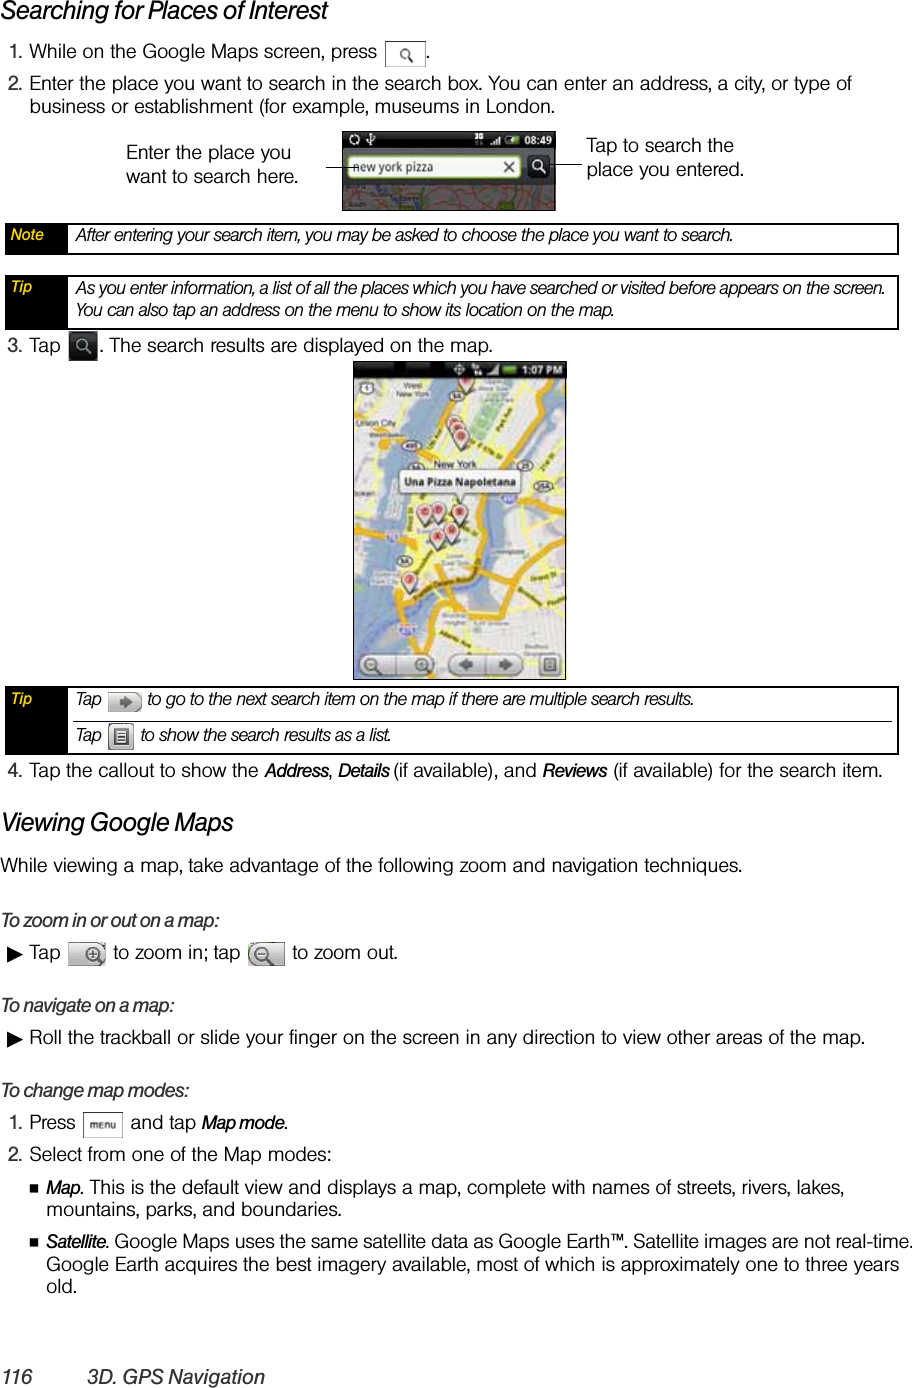
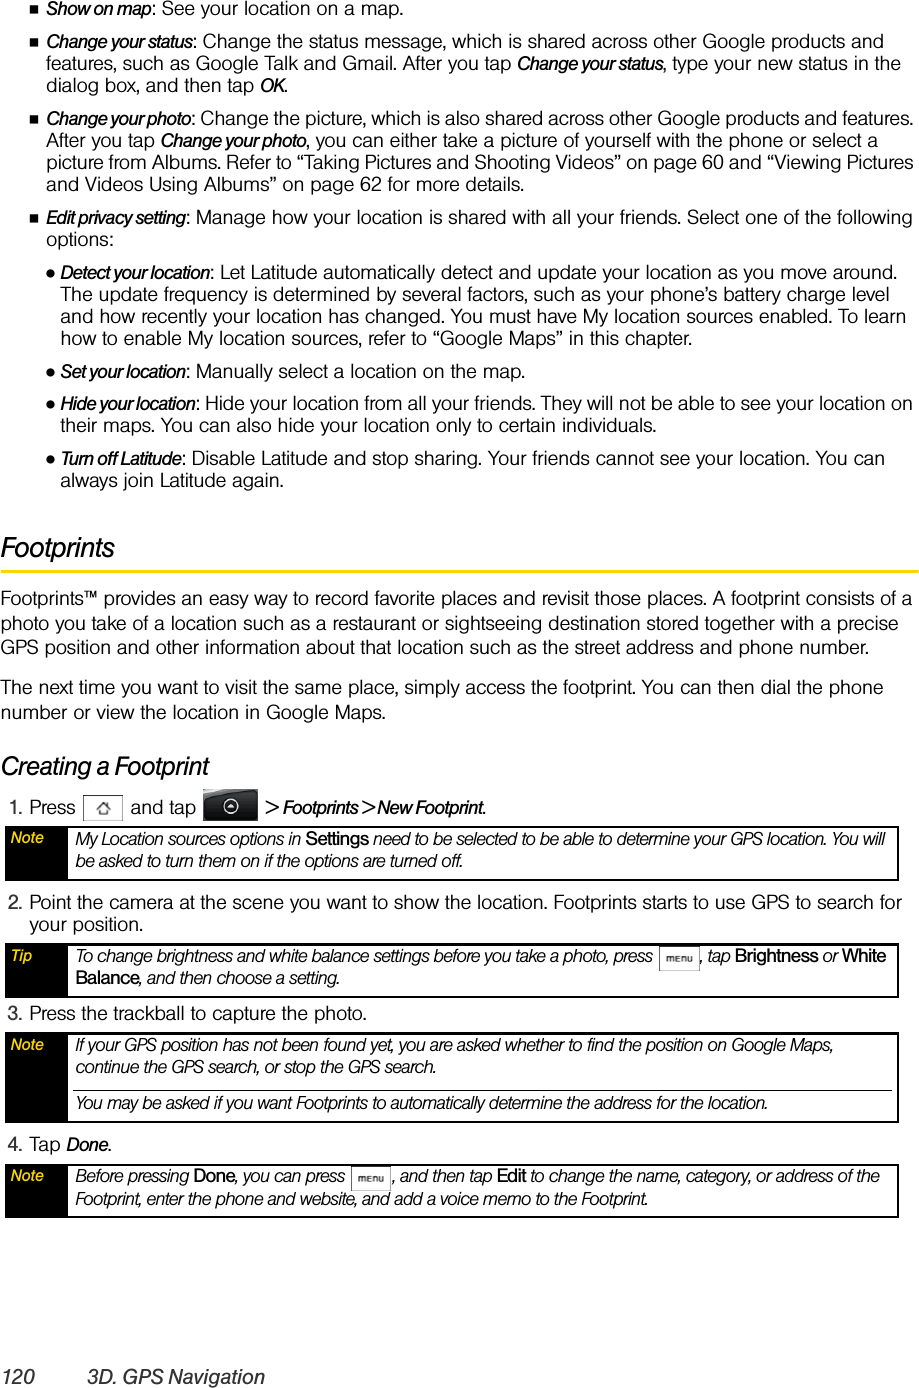
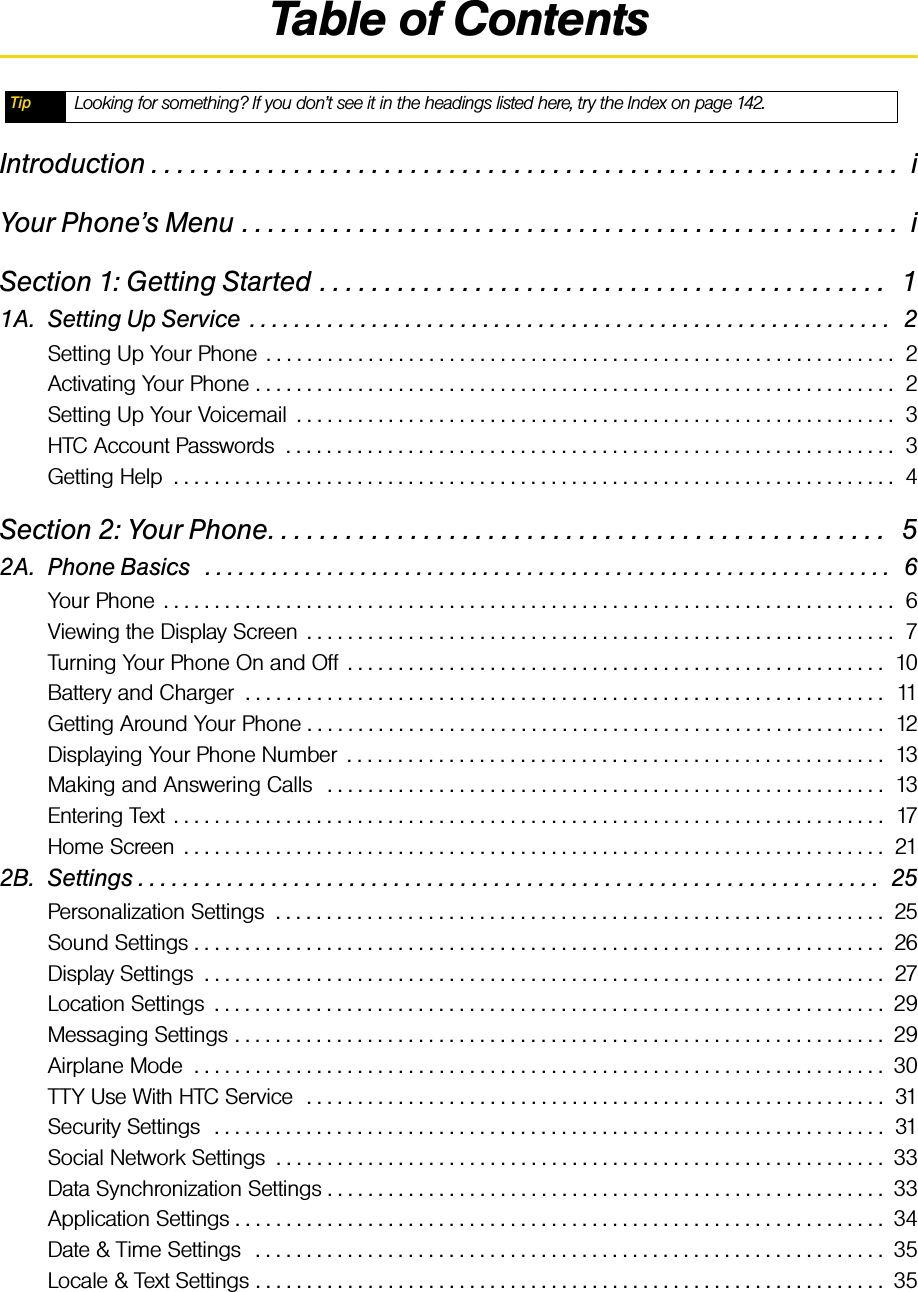
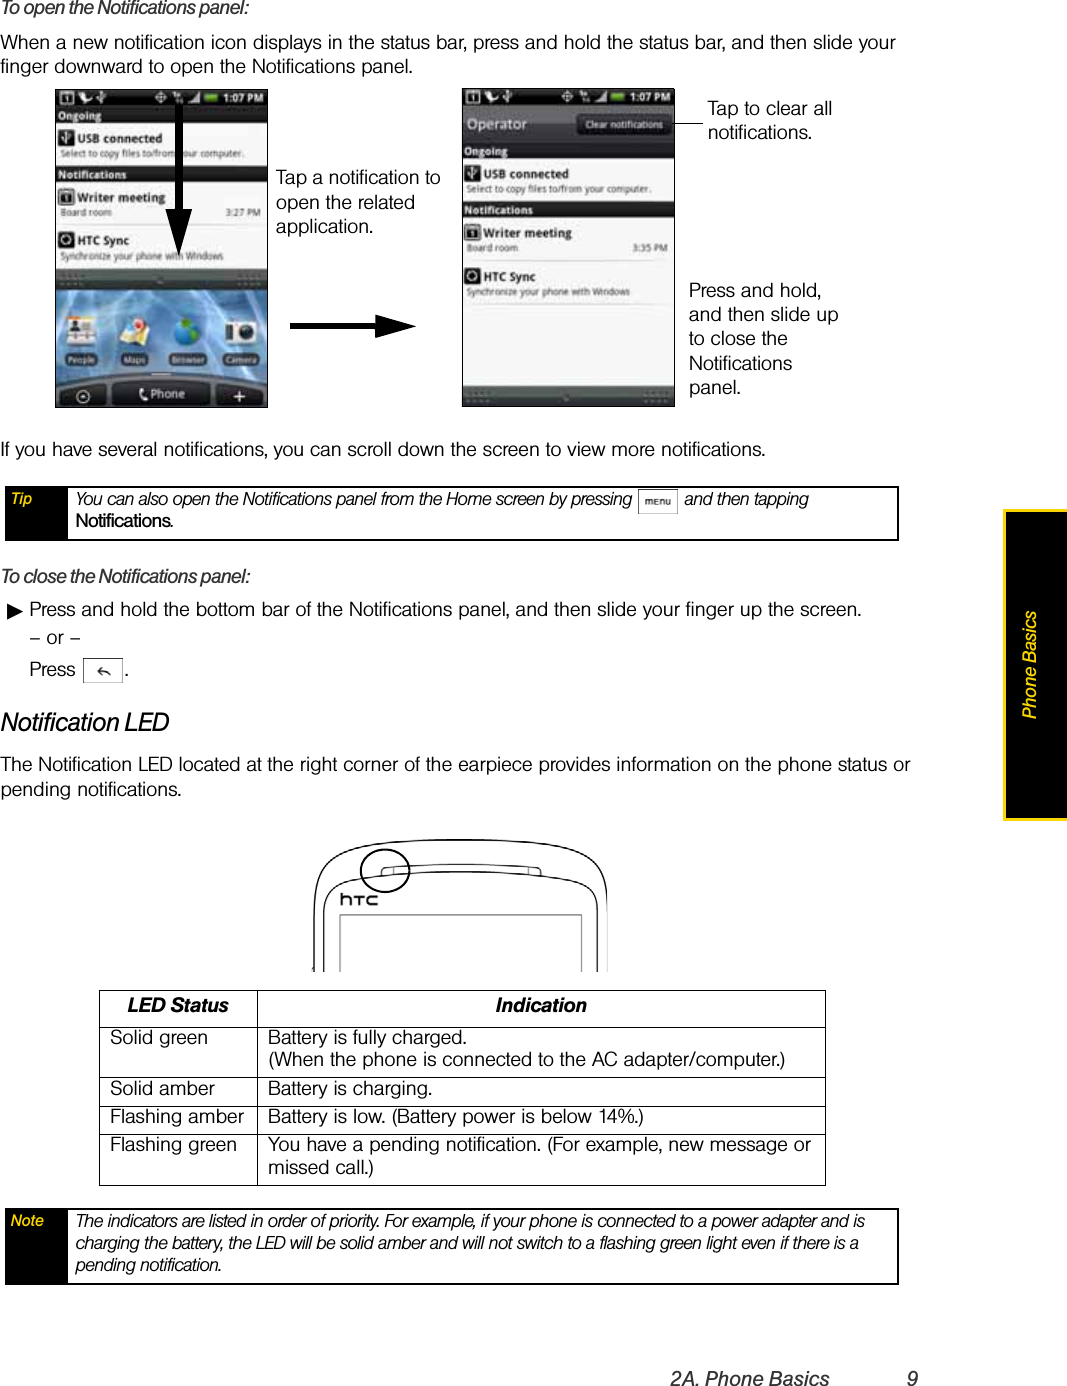
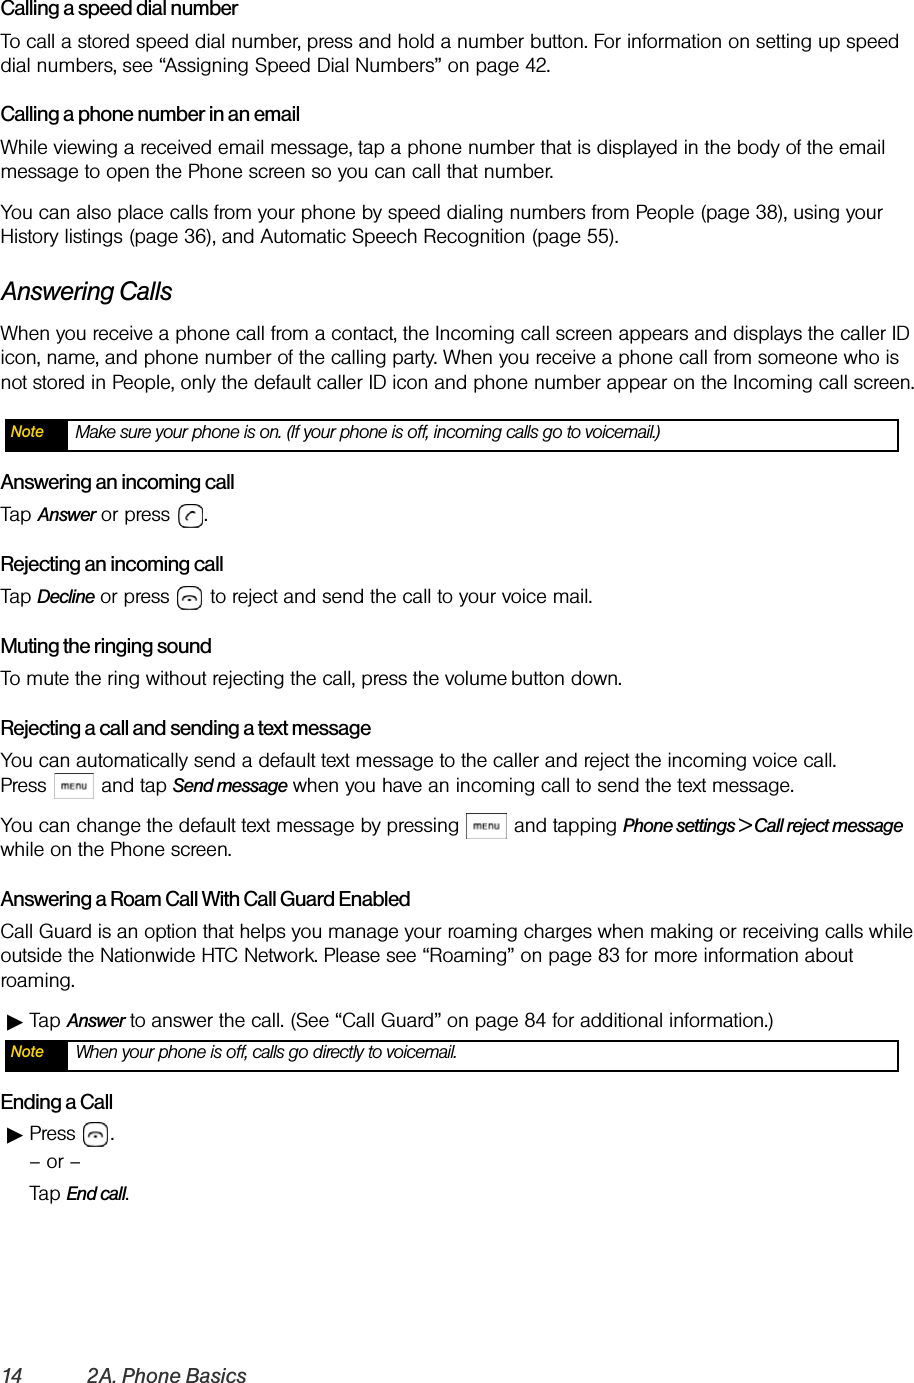
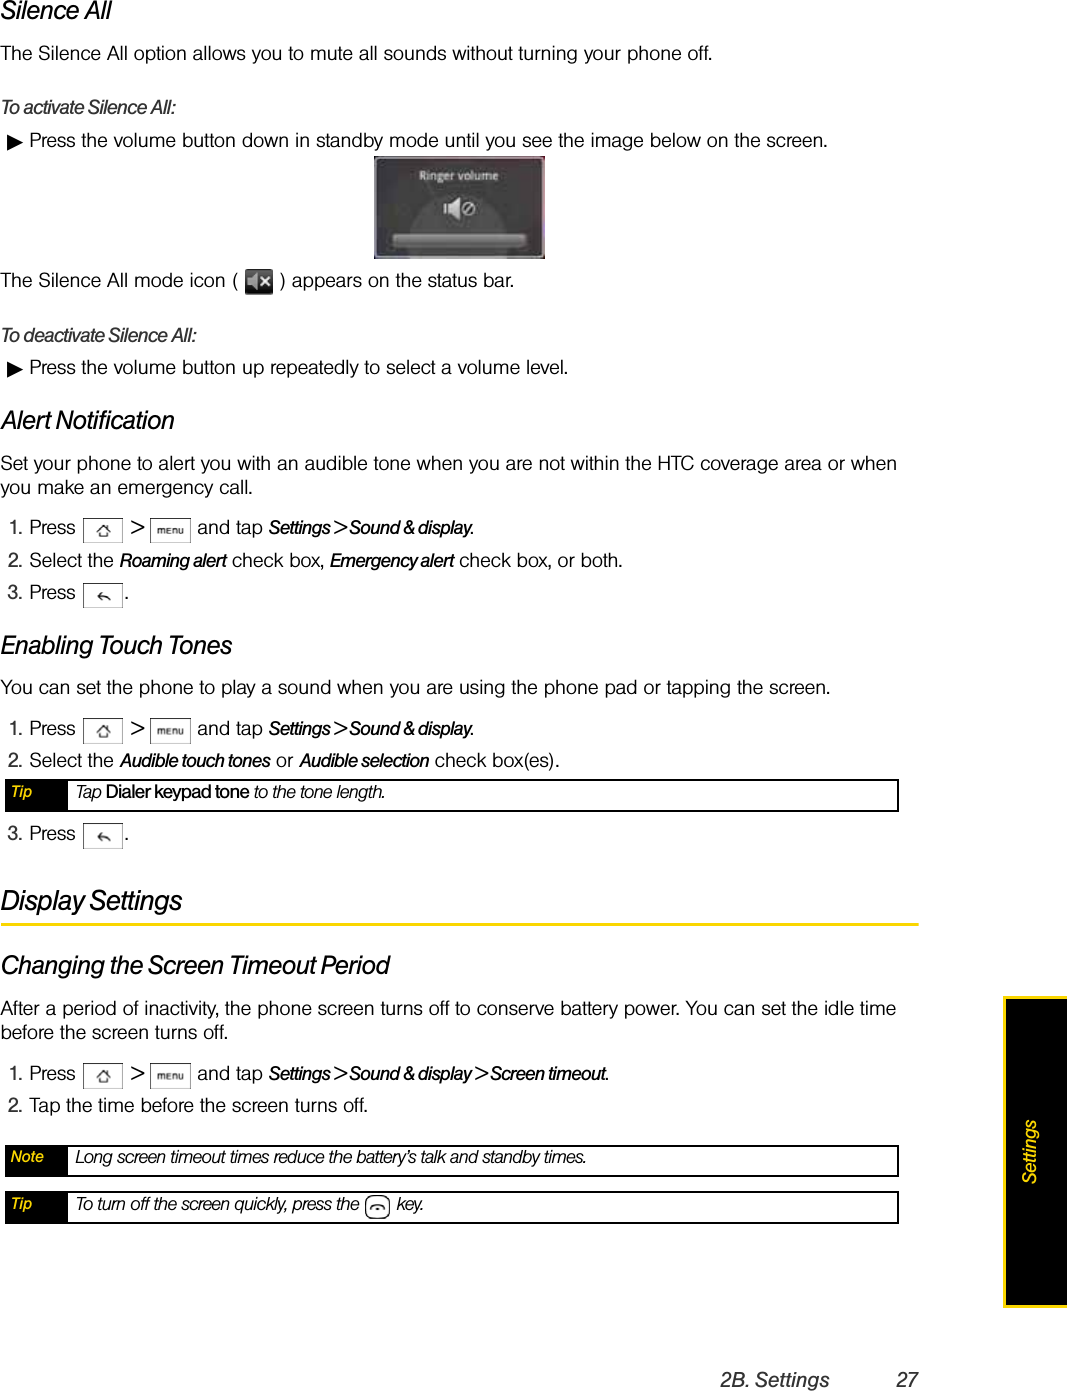
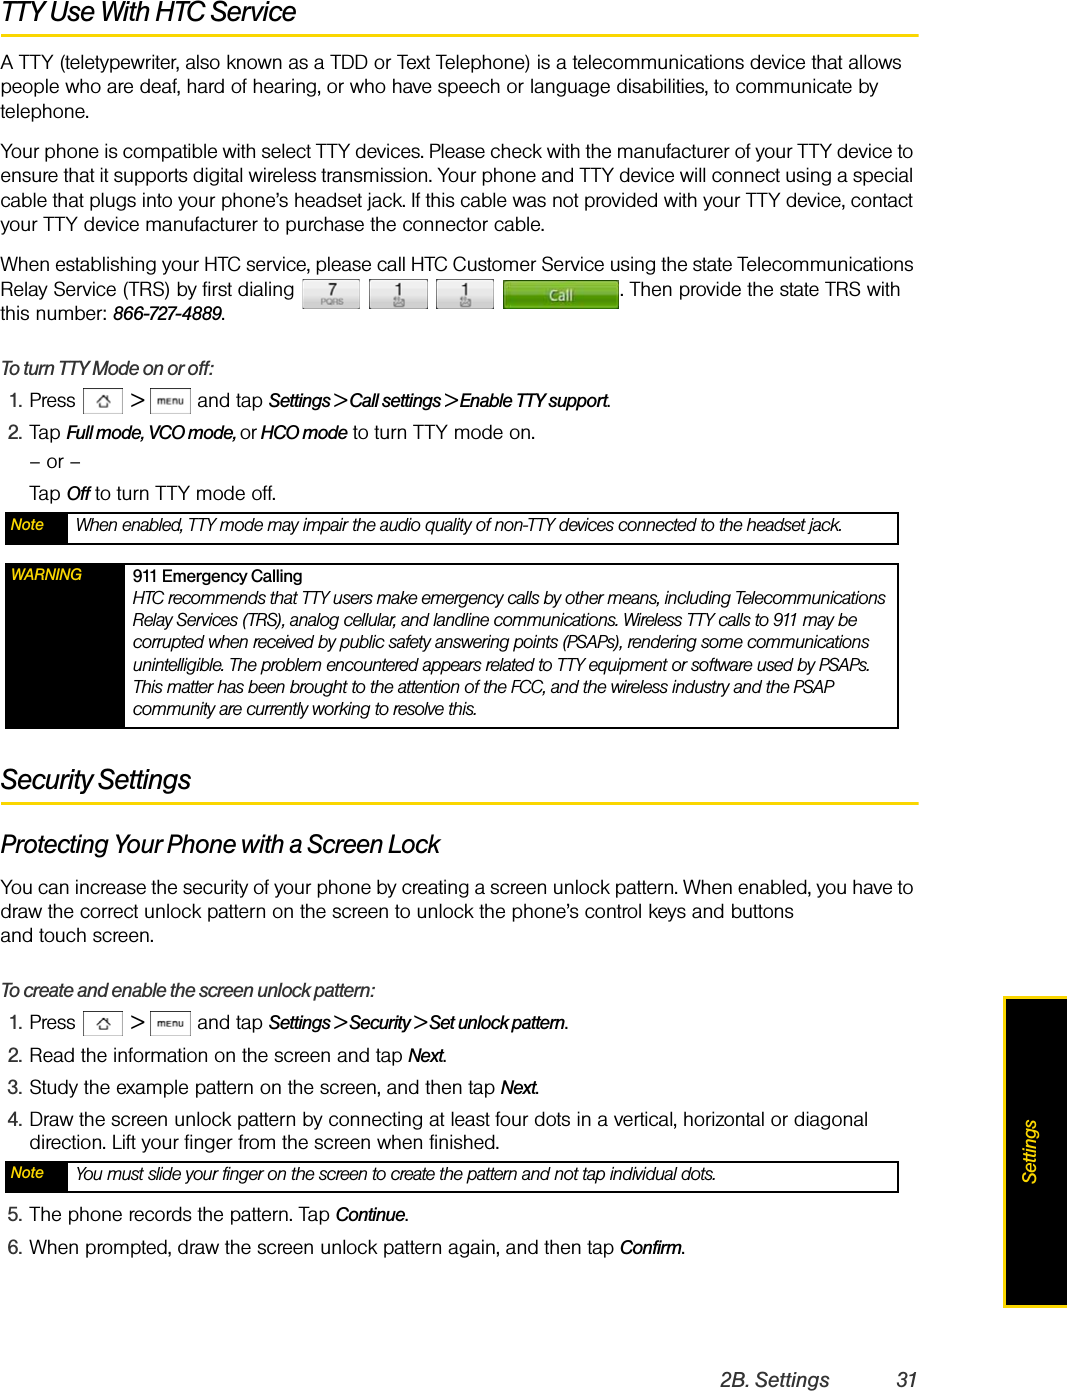
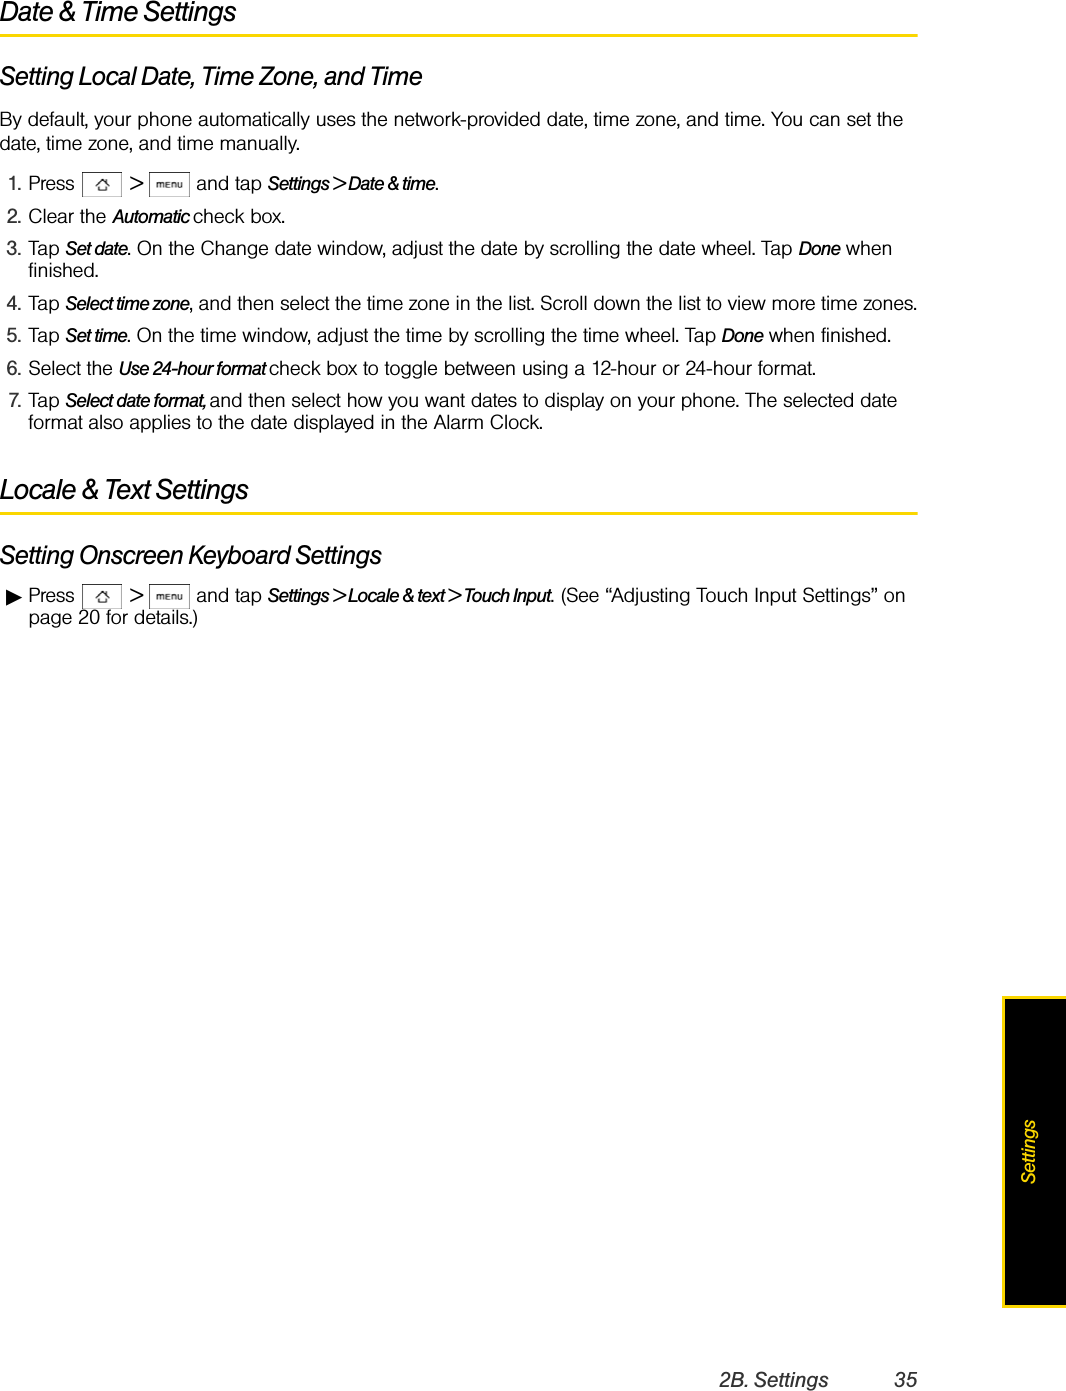
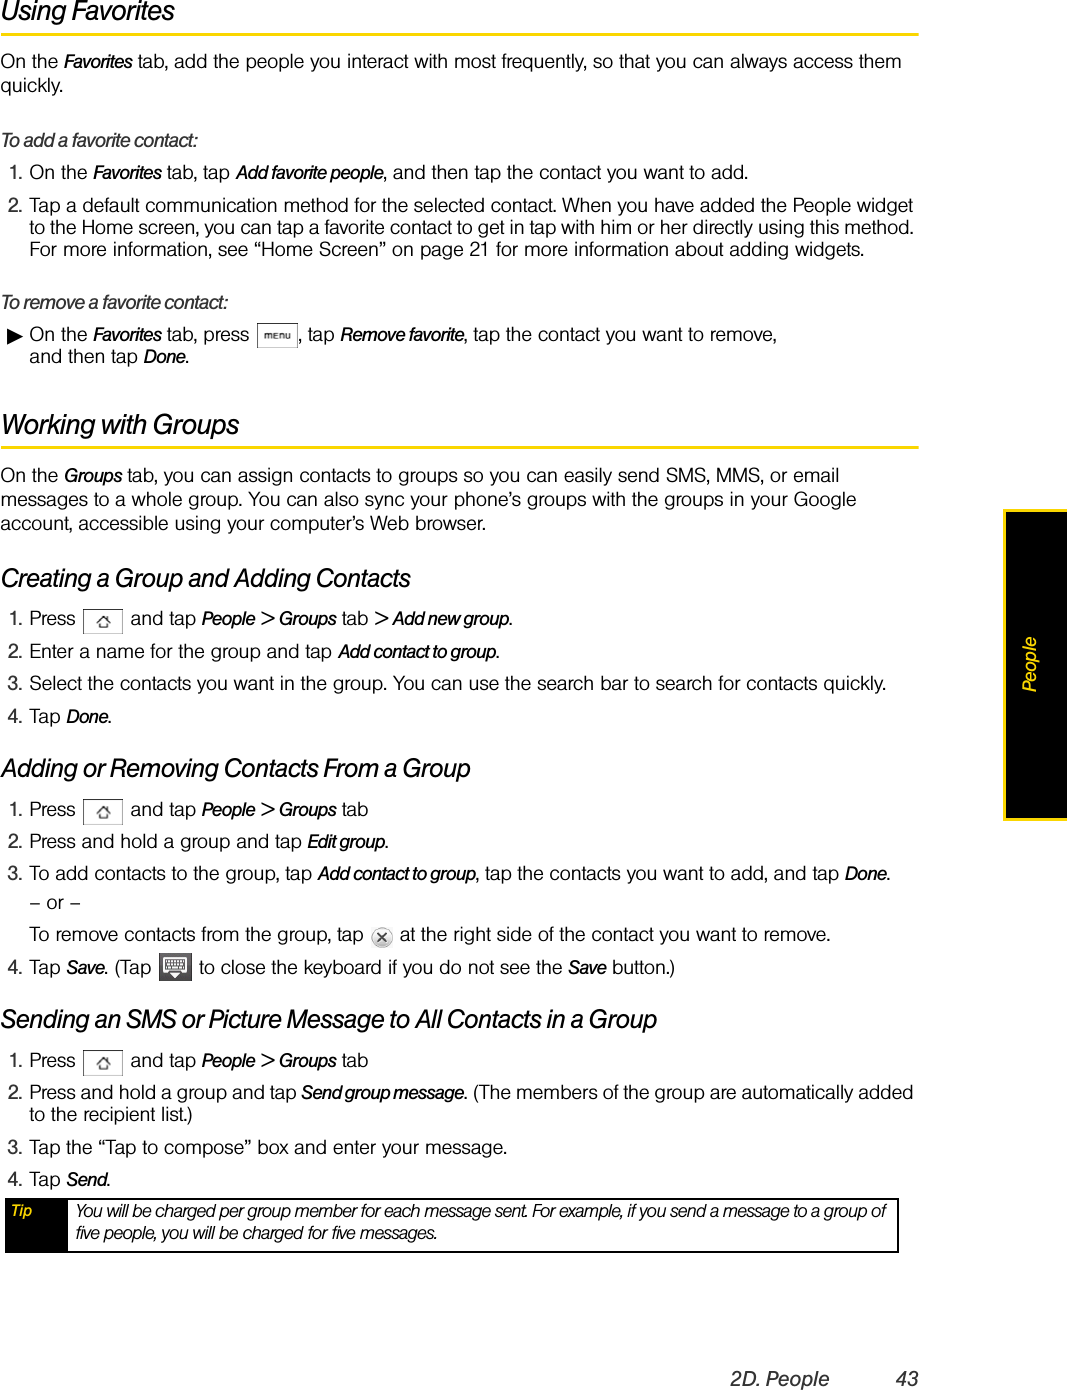
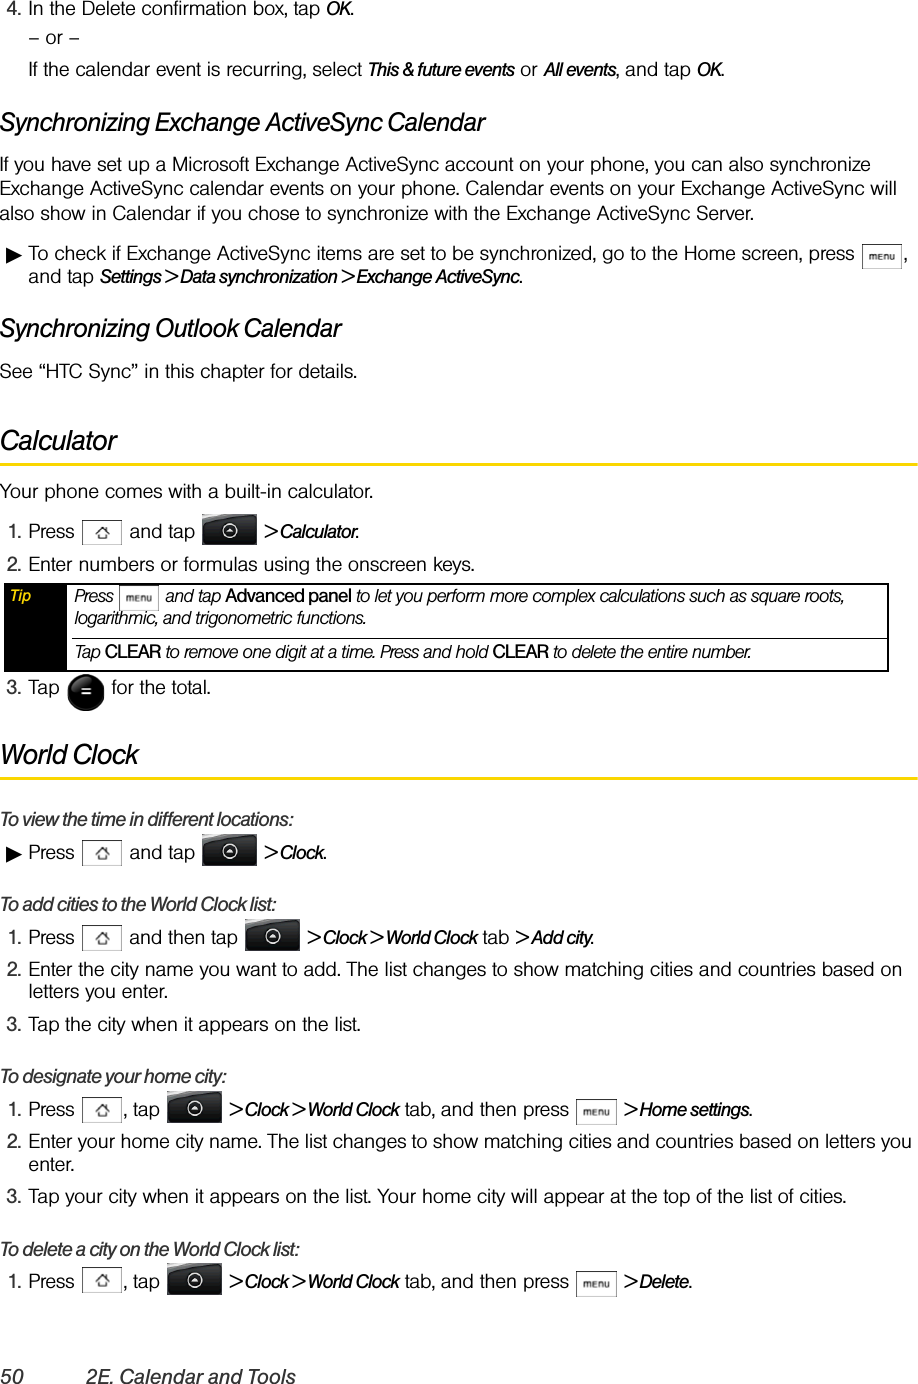
![46 2D. PeopleUpdating your Facebook status1. On the All tab of the People screen, tap Me or [Your Name] > Facebook. 2. Enter your status in the “What’s on your mind” window and tap Share.Linking to your contacts’ Facebook accounts1. On the People screen, slide to the Updates and events tab.2. Tap Link profiles. (It may take a few seconds for the Link profile button to appear.)3. On the Select matching friends screen, select which contacts’ Facebook accounts you want to link to, and tap Next.4. On the Link profile message box, select from the following options:ⅢUse photo to use your friends’ Facebook profile pictures as their contact ID pictures on your phone.ⅢUse birthday to store your friends’ birthdays in their contact details on your phone.5. Tap Done. Changing Facebook and Flickr update settings6. On the People screen, slide to the Updates and events tab, press , and then tap Data connection settings.Note If you did not link to Facebook on My contact card, tap Link to Facebook and enter your Facebook login information. Tip If you later want to link a contact who did not appear in the list, open his or her Contact Details screen, slide to the Updates and events tab, and tap Link to another friend. For more information, see “Using the Contact Details Screen” for details.](https://usermanual.wiki/HTC/HERO200/User-Guide-1153656-Page-56.png)
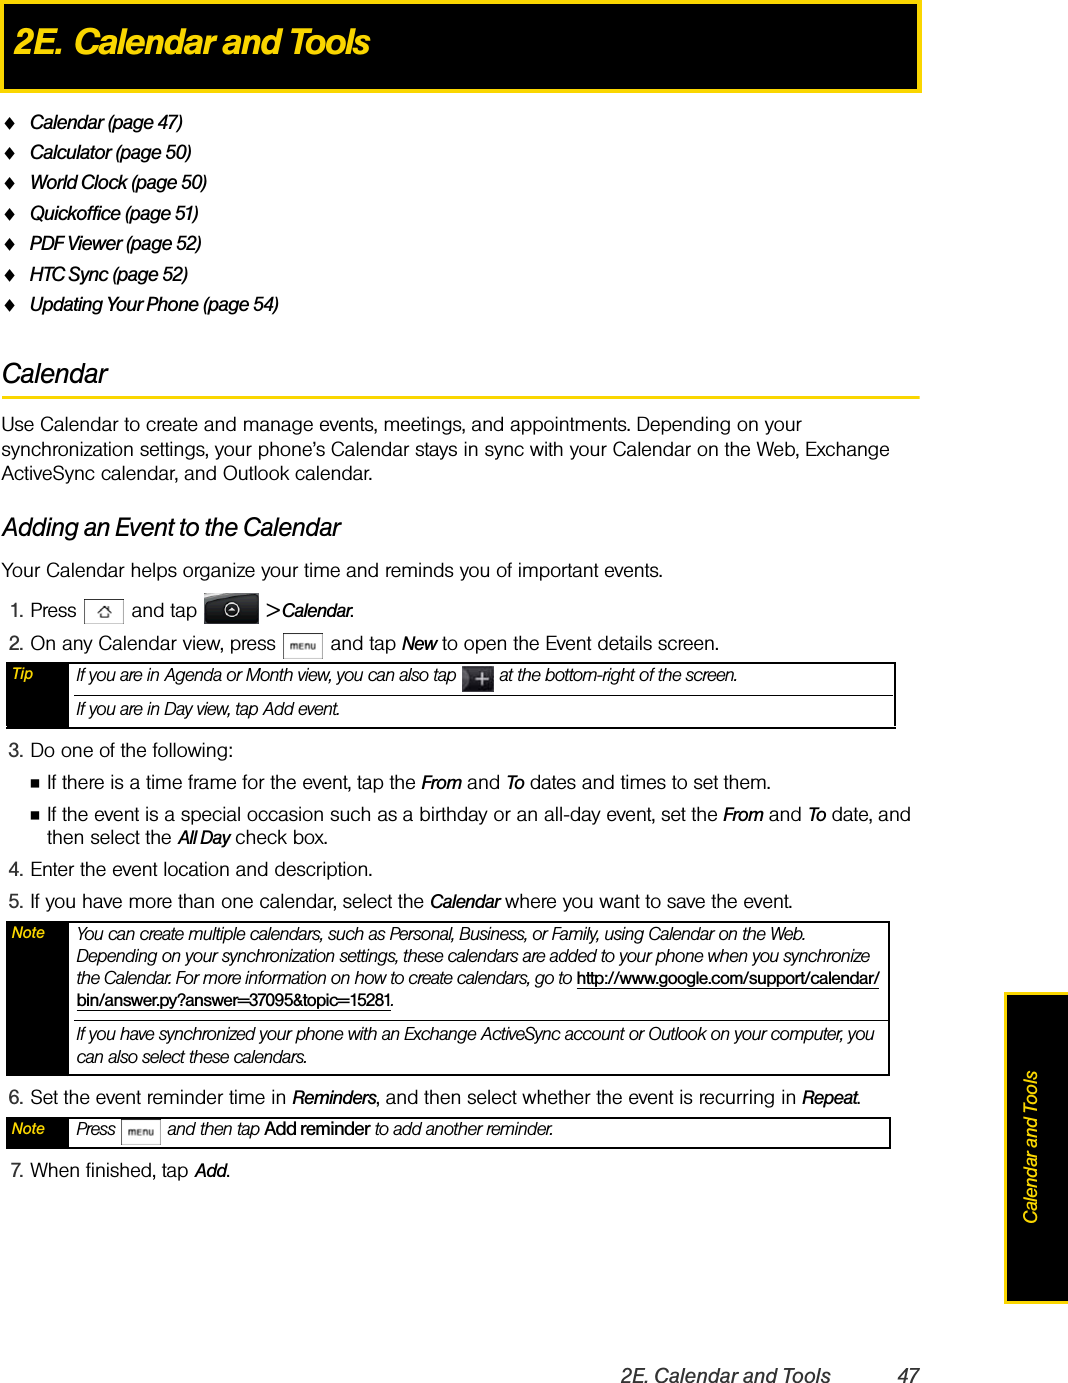
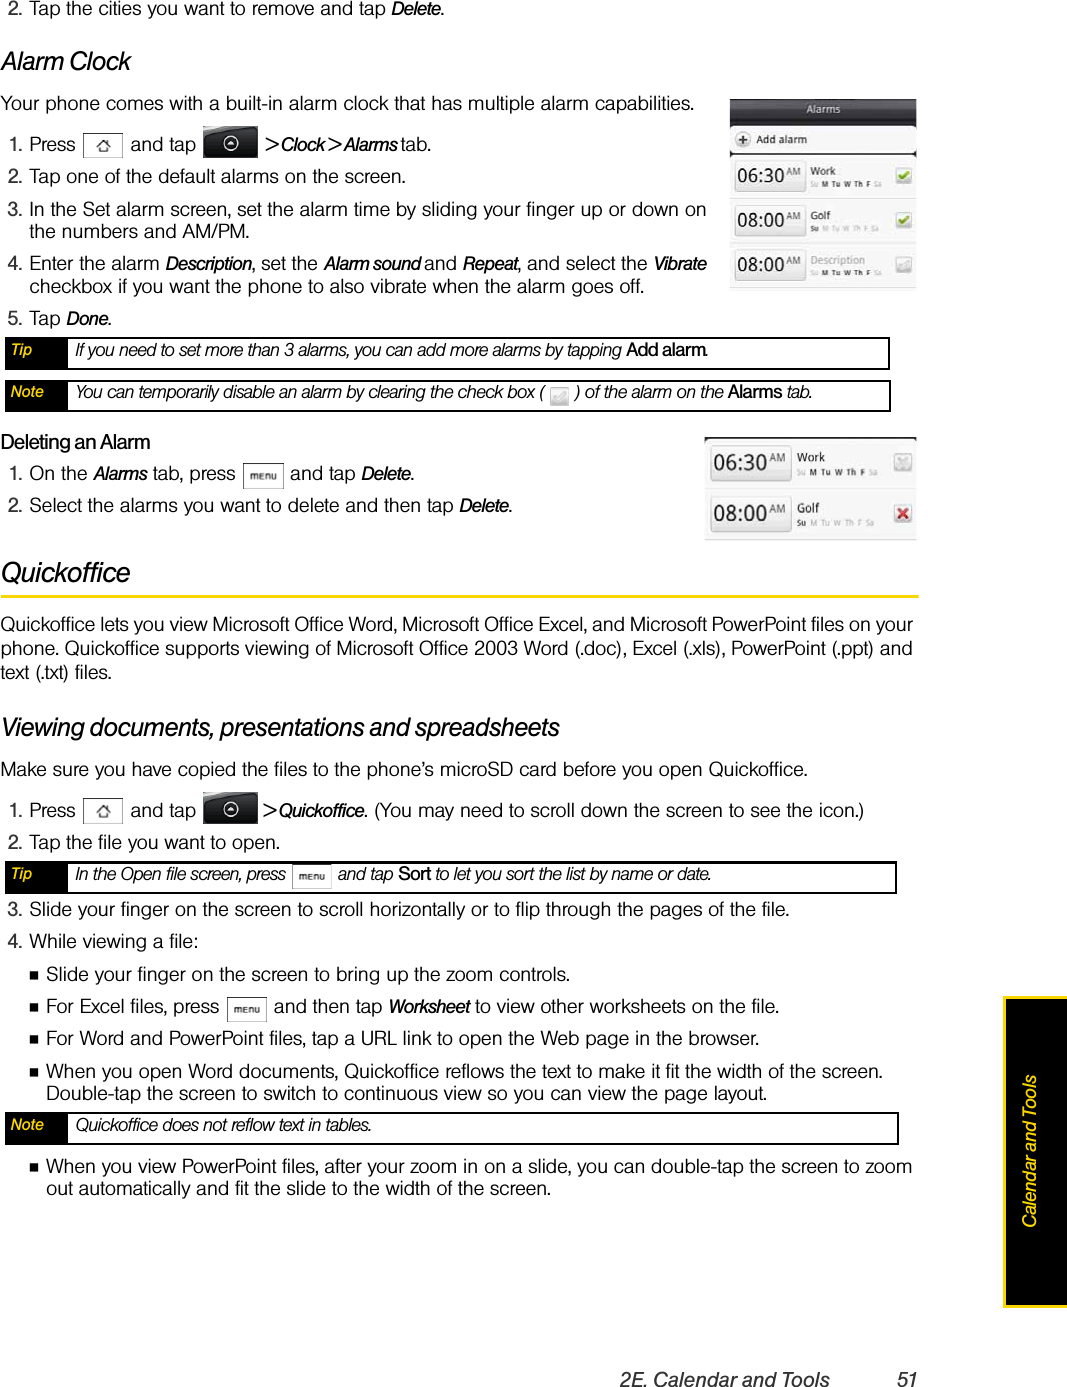
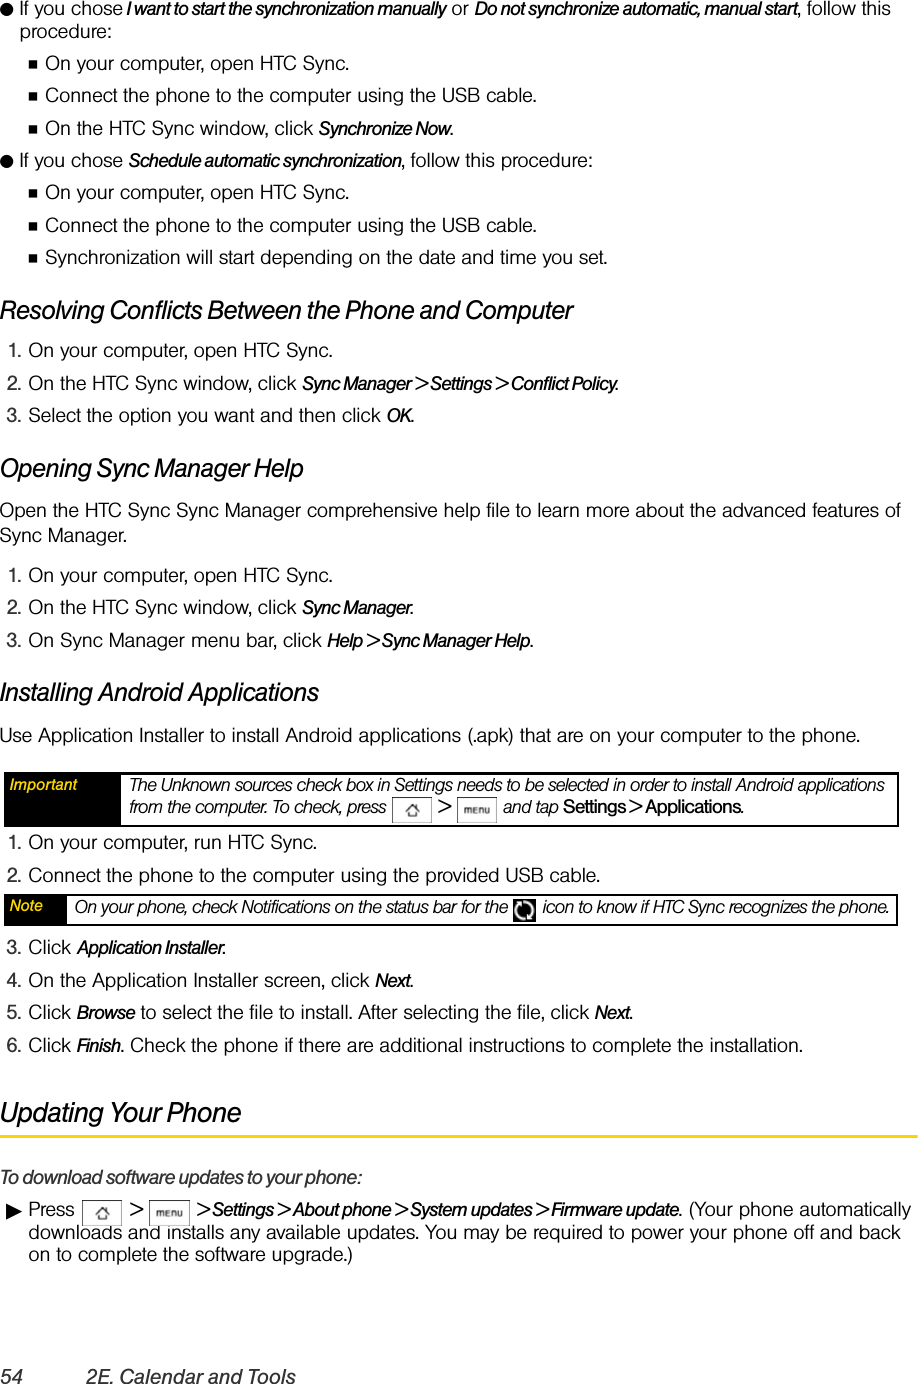
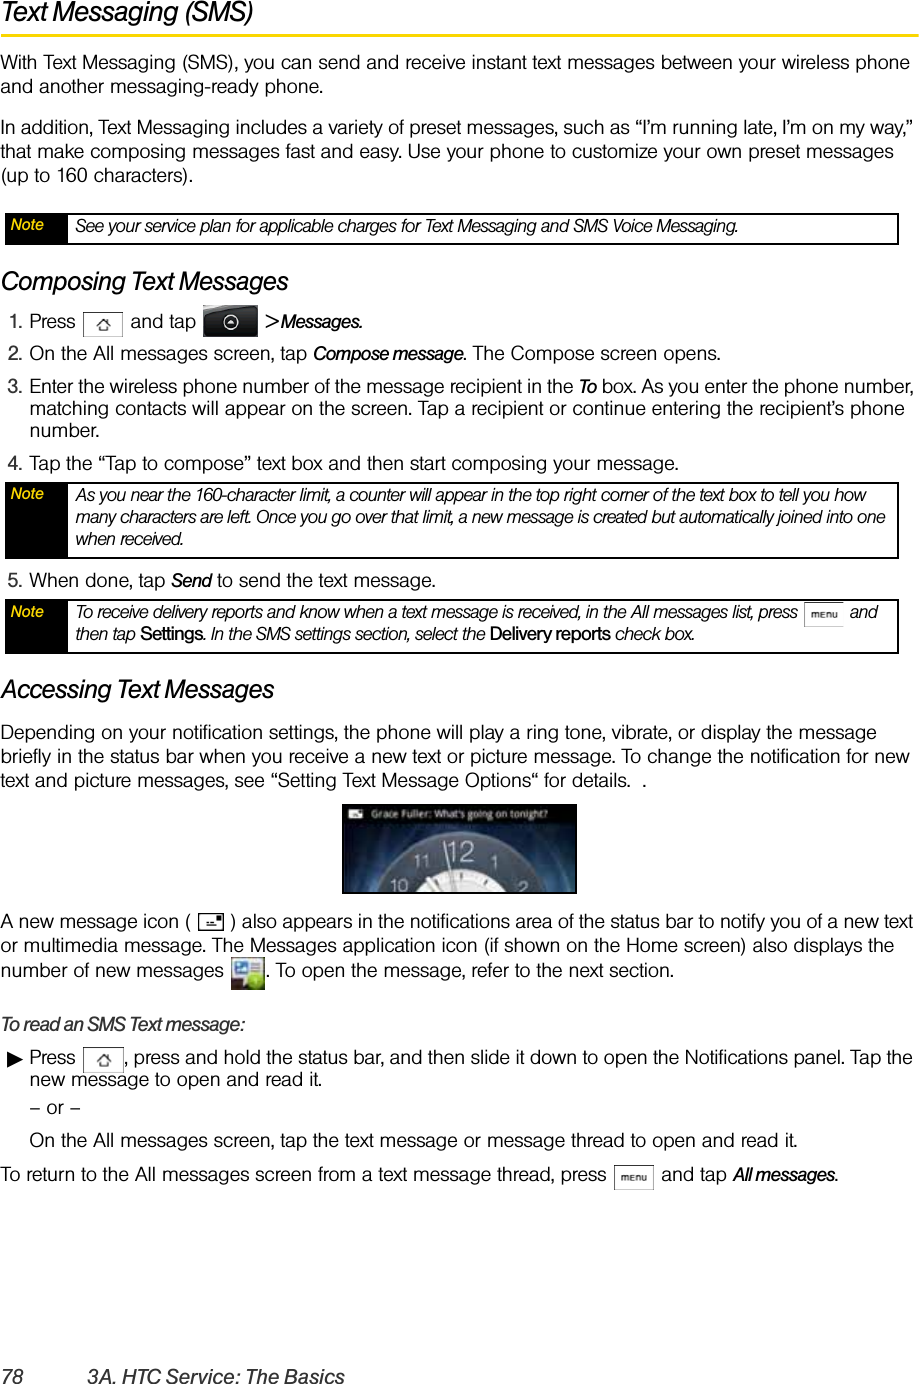
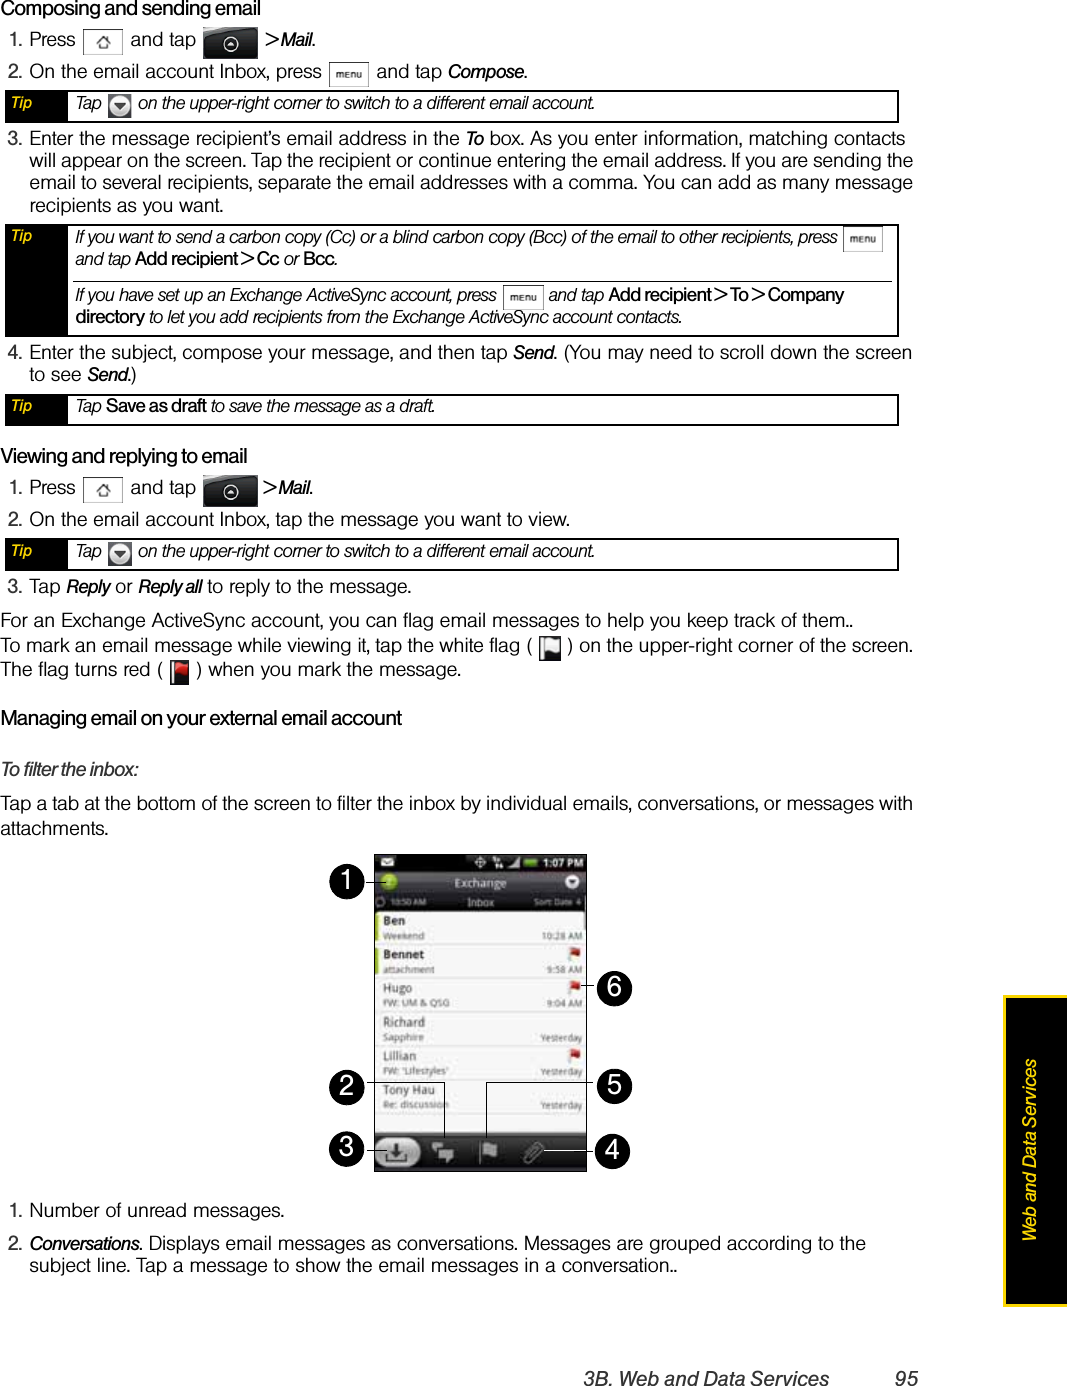
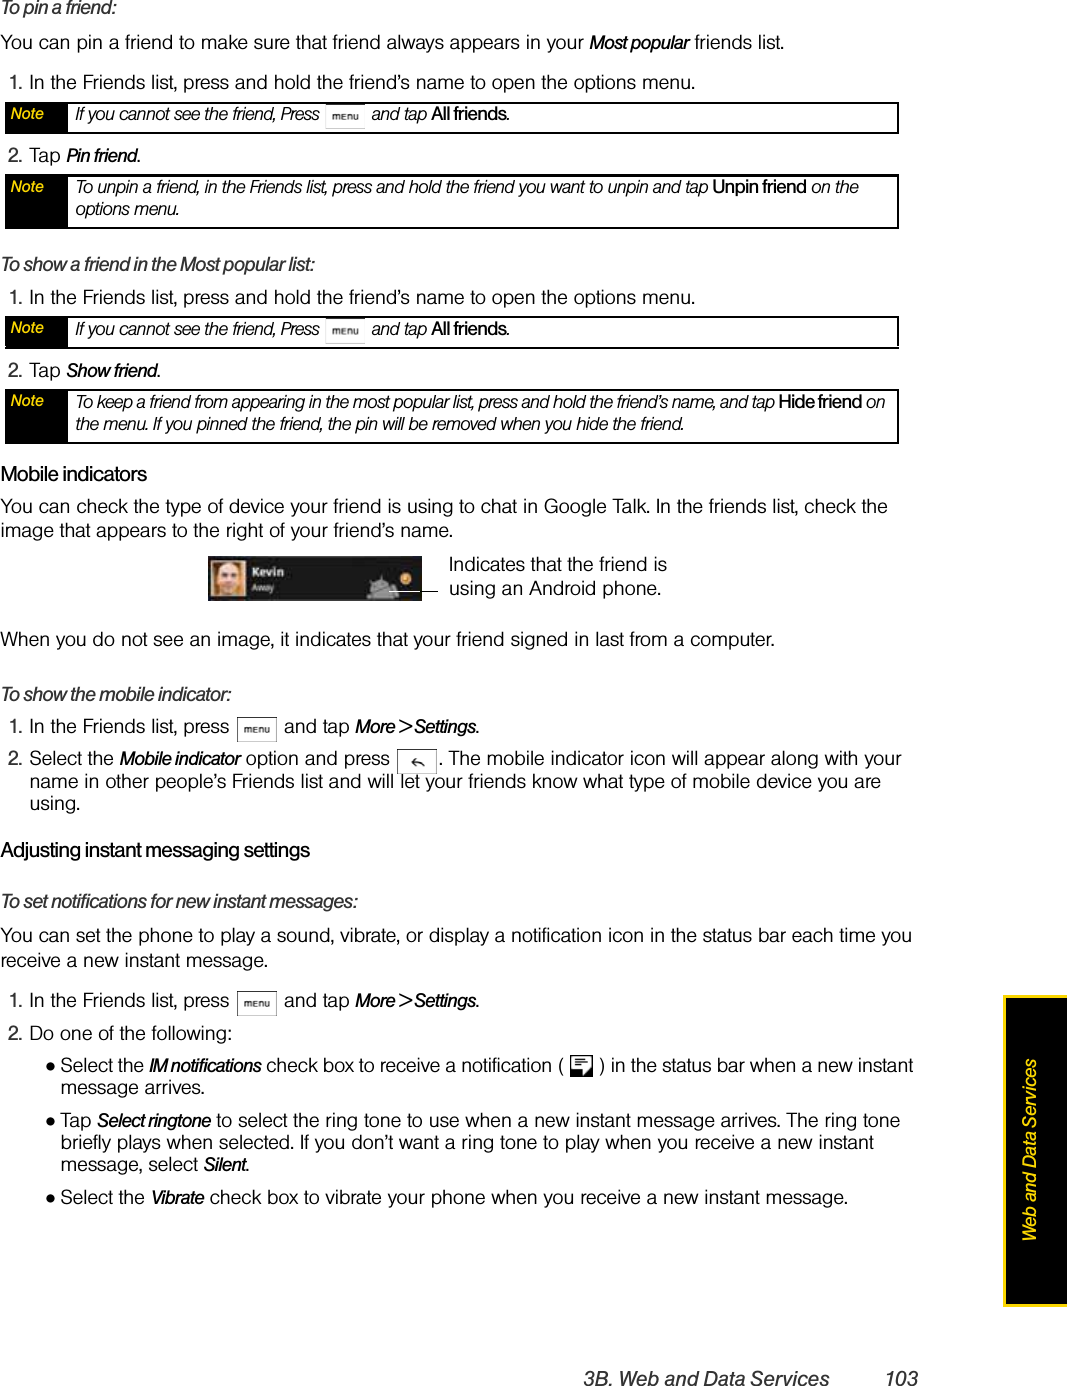
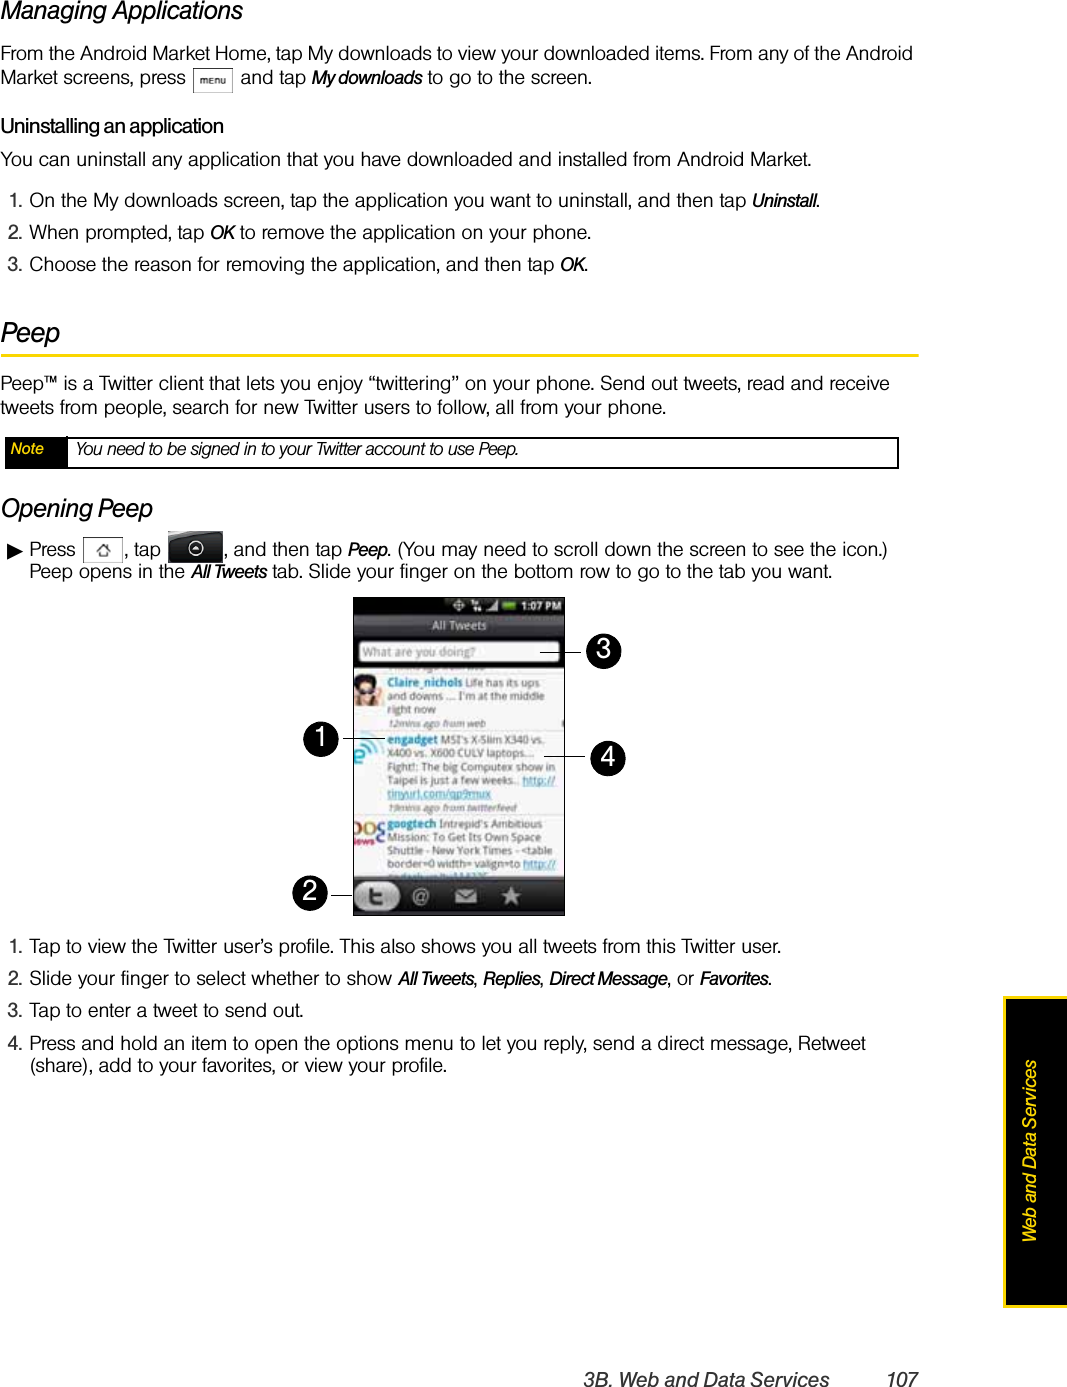
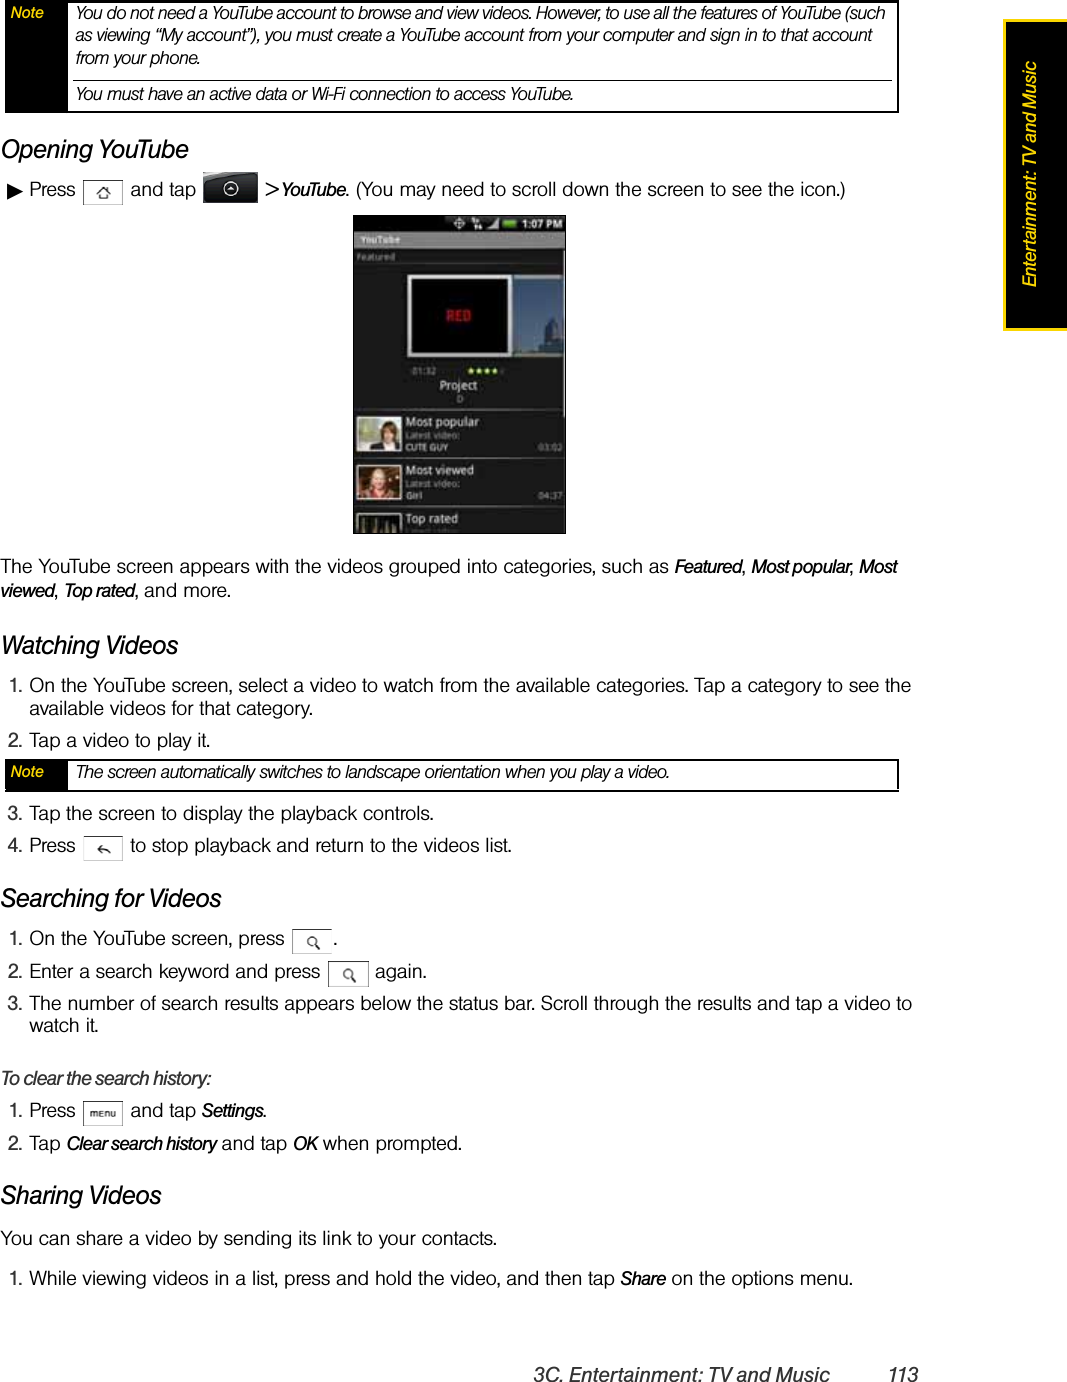
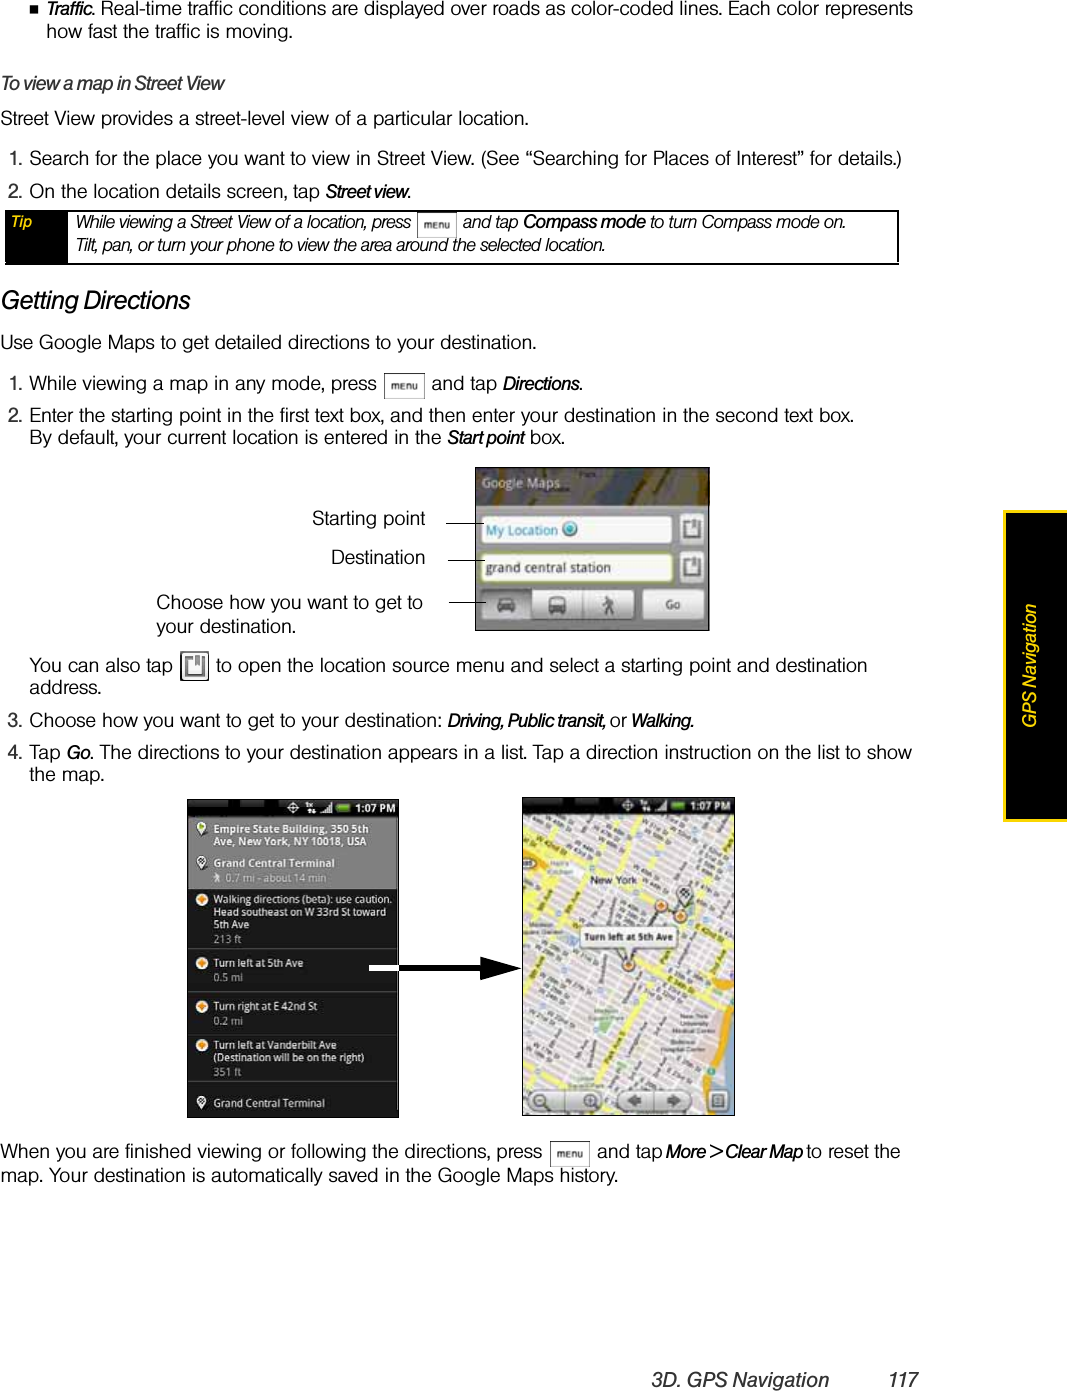
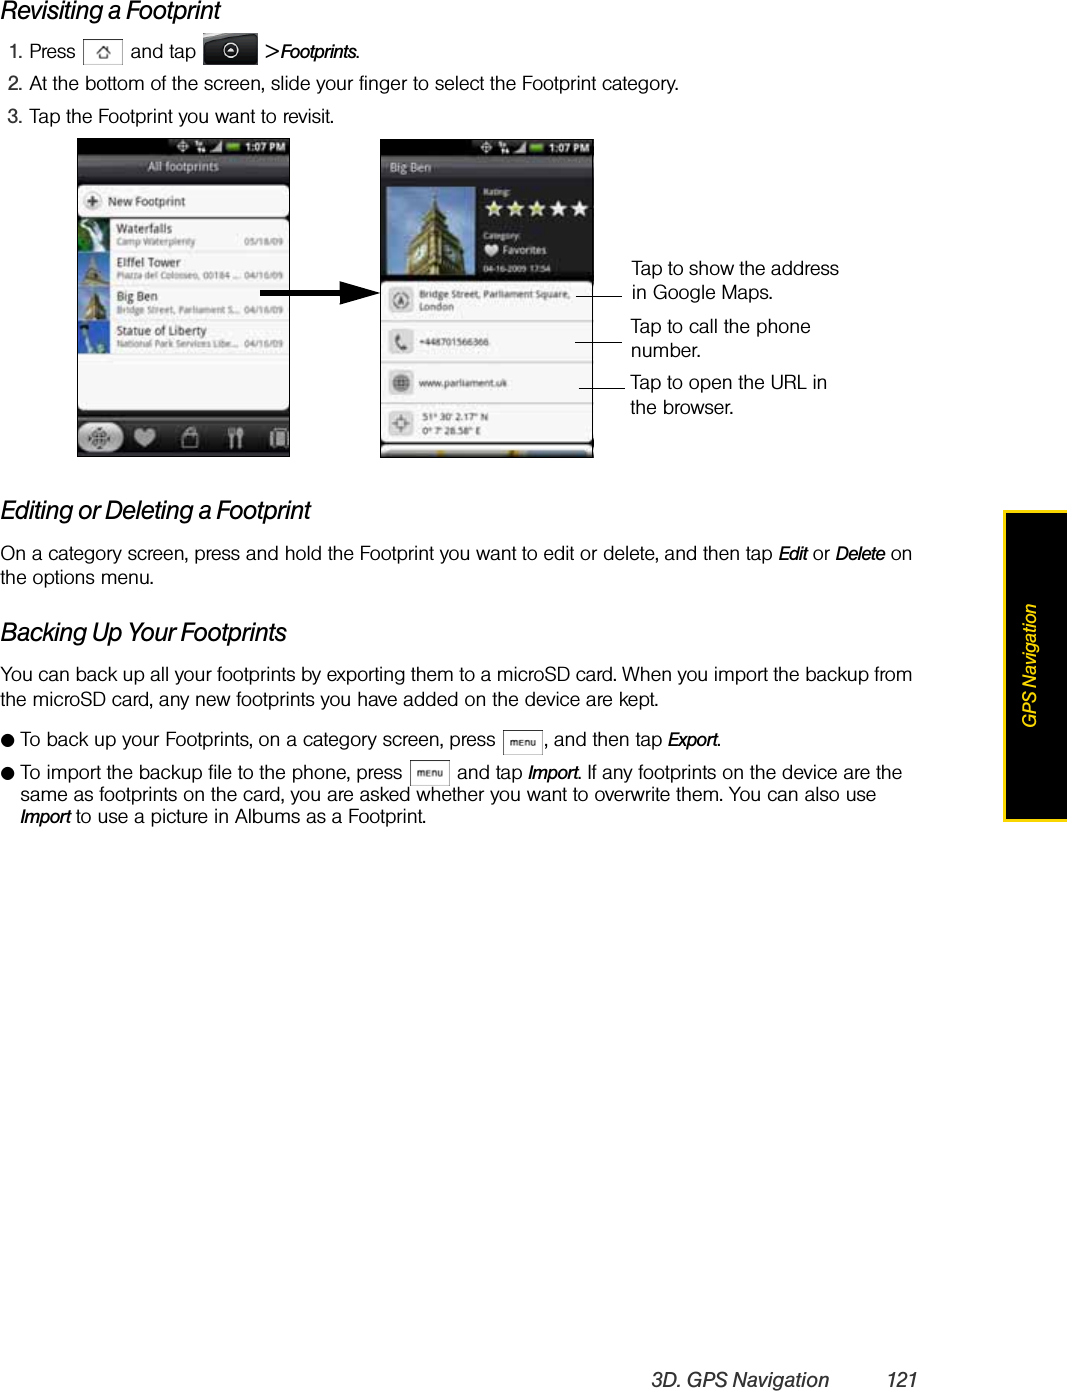
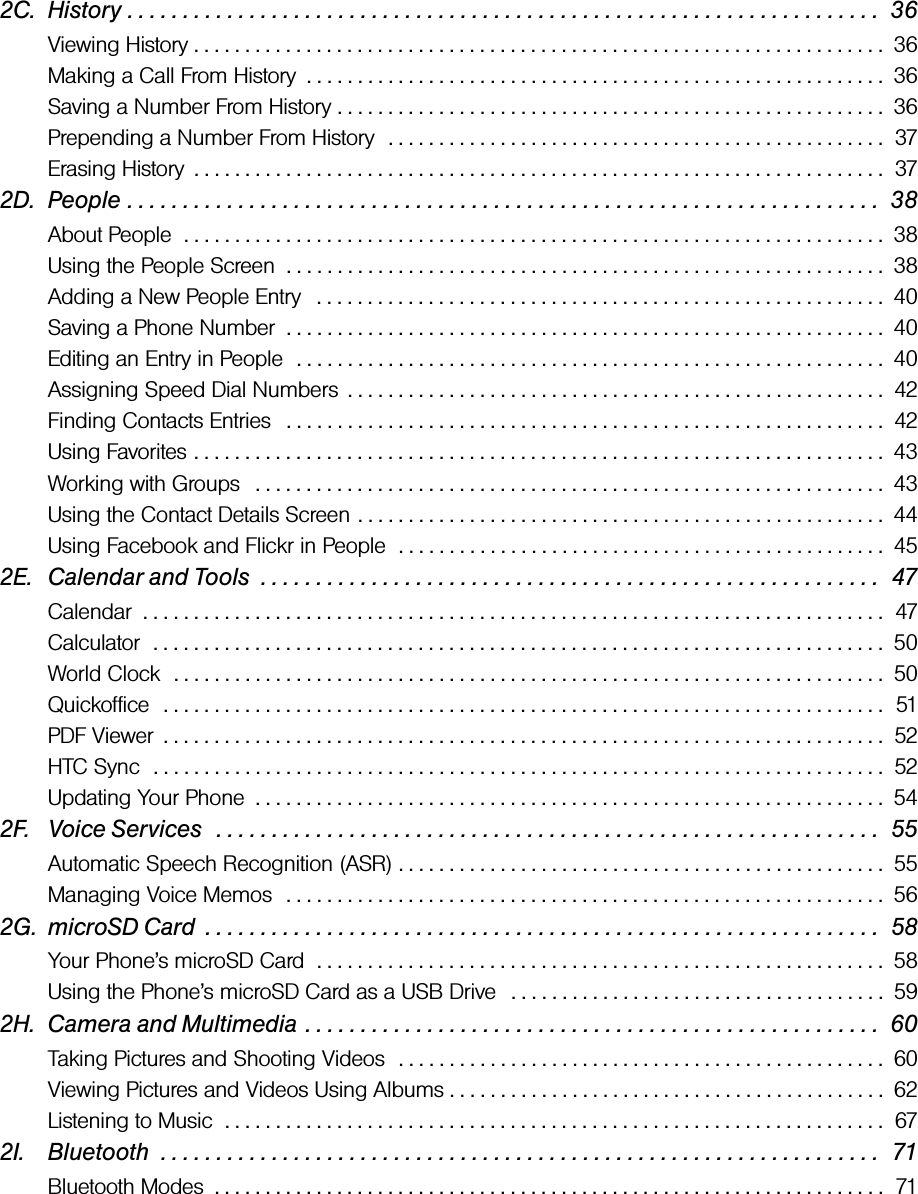
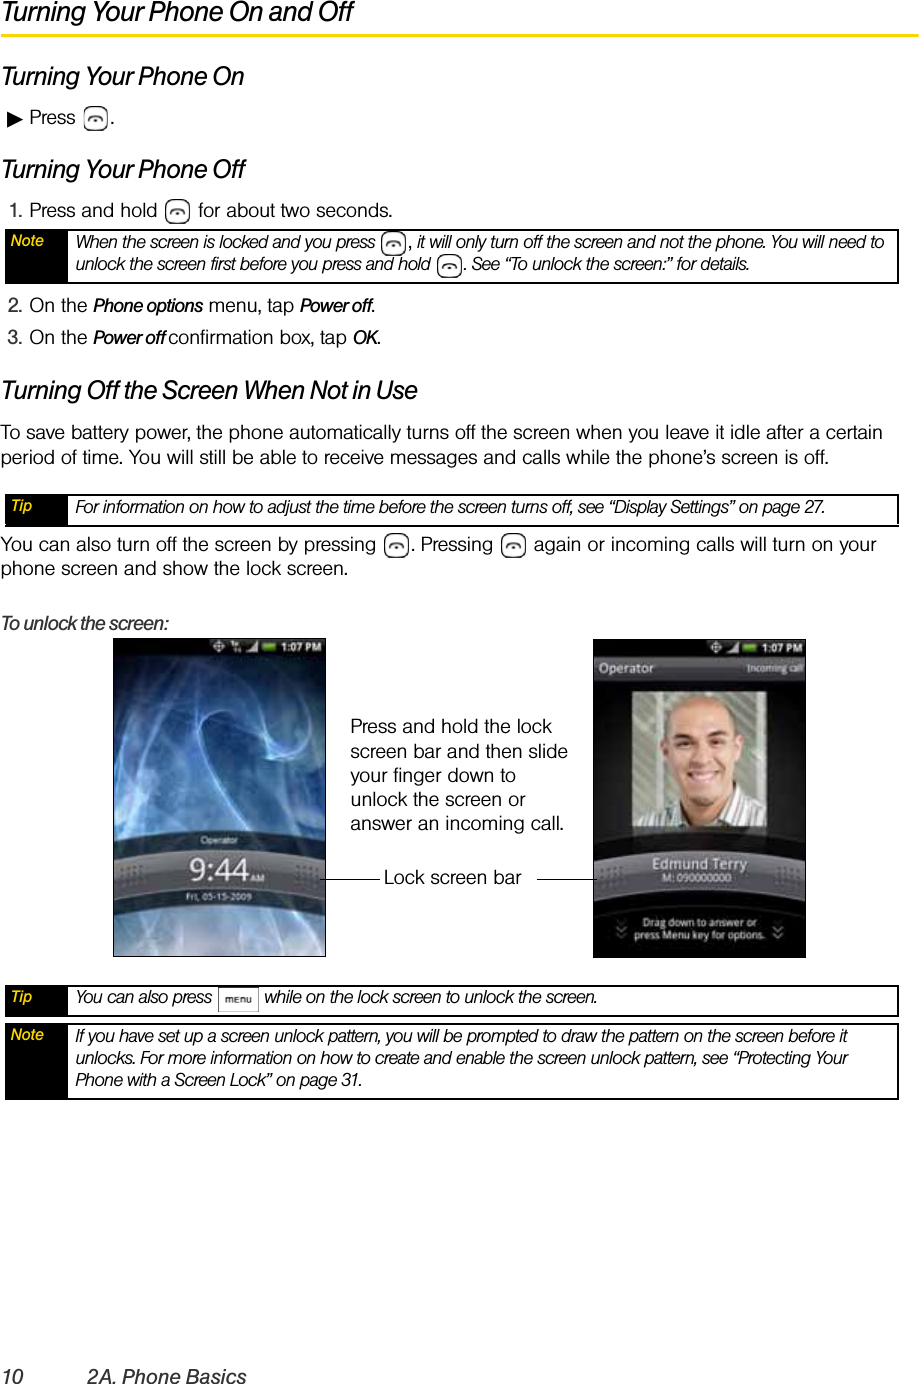
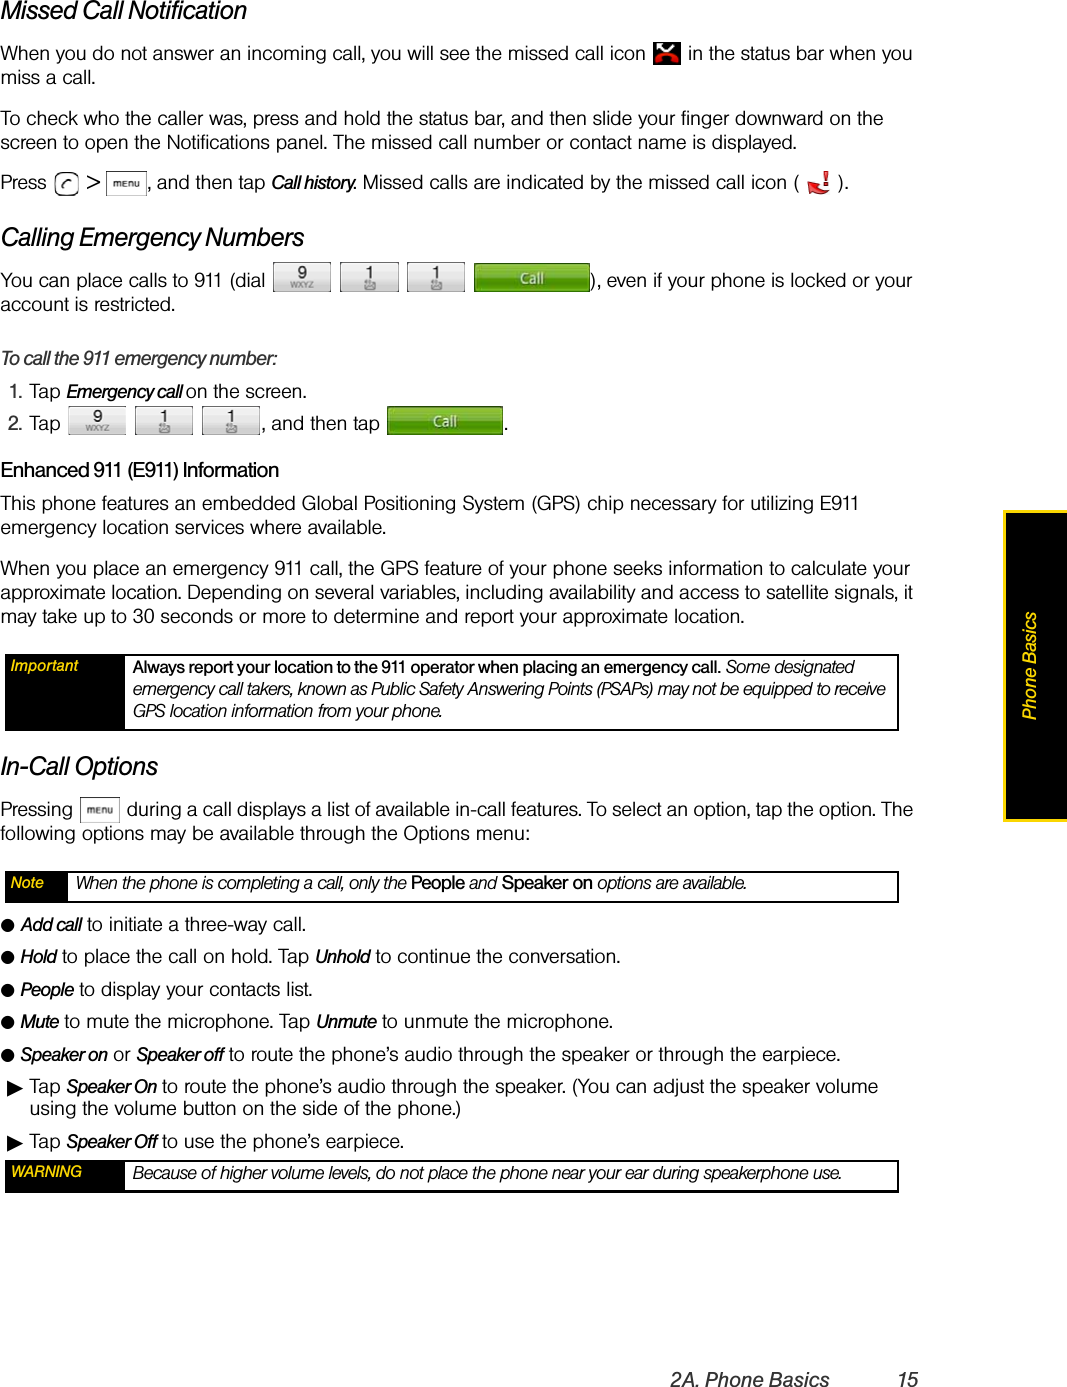
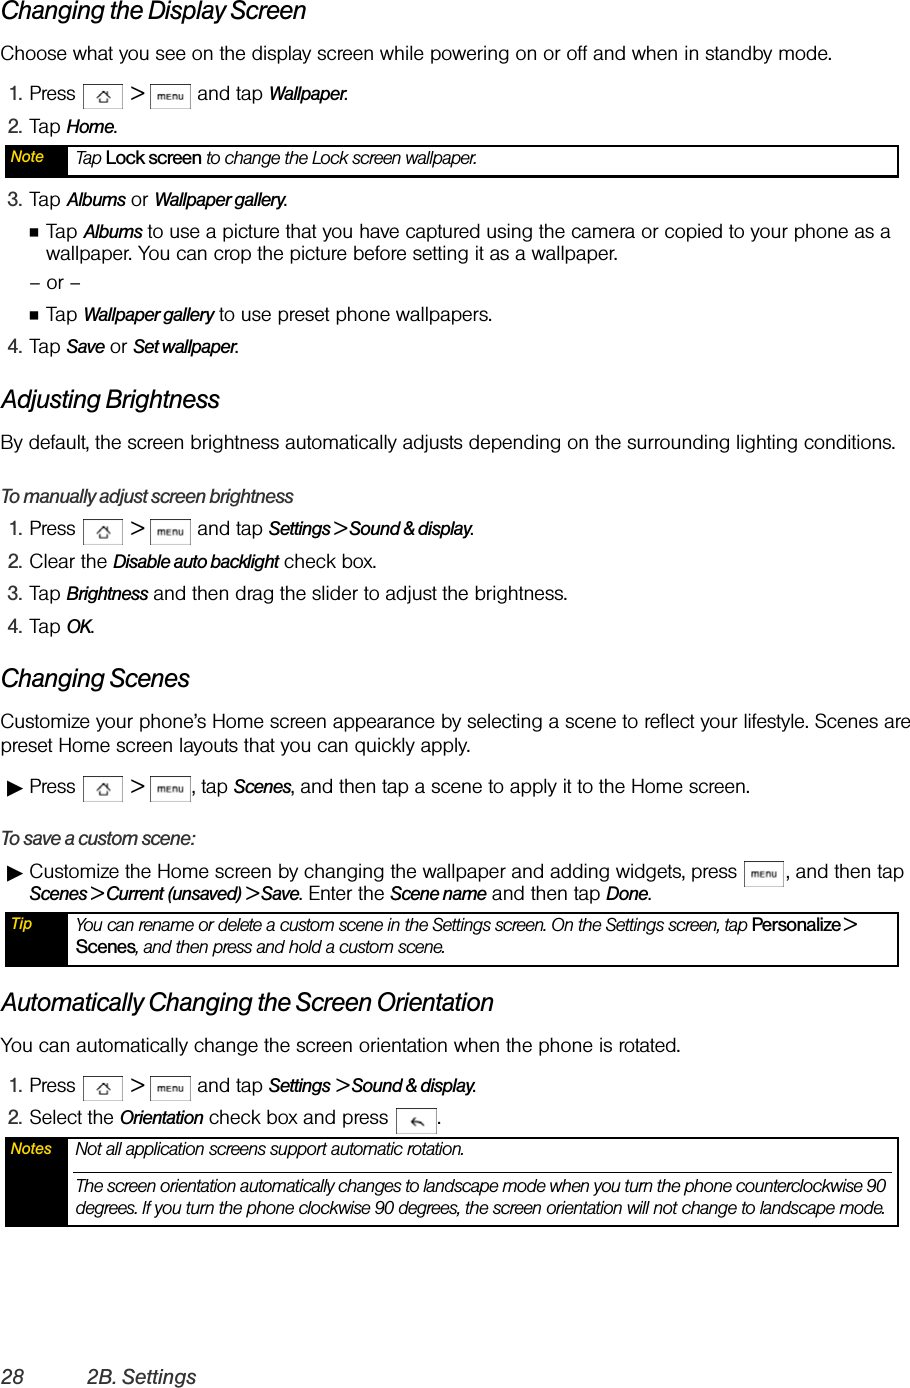
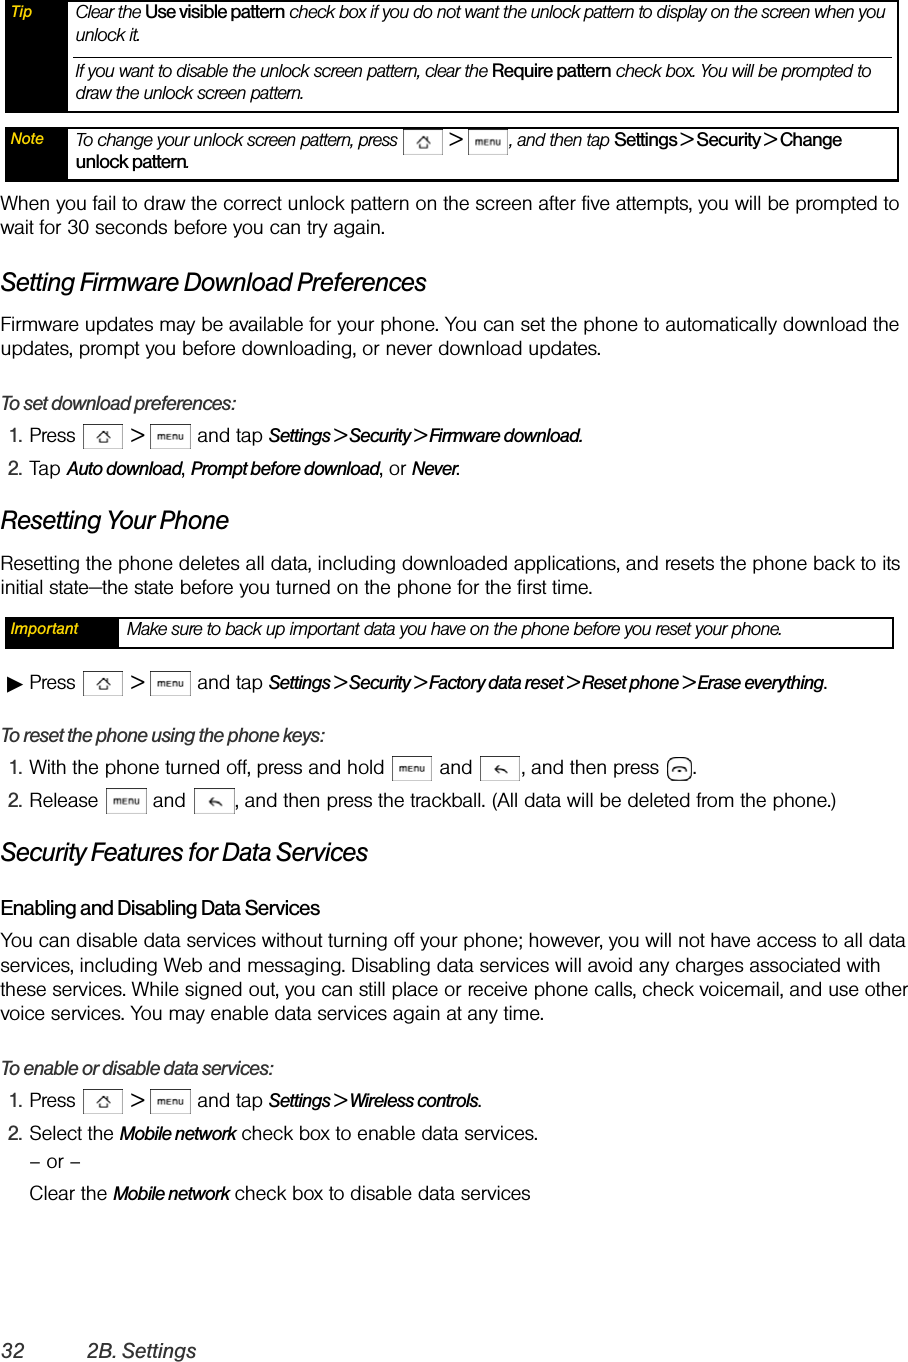
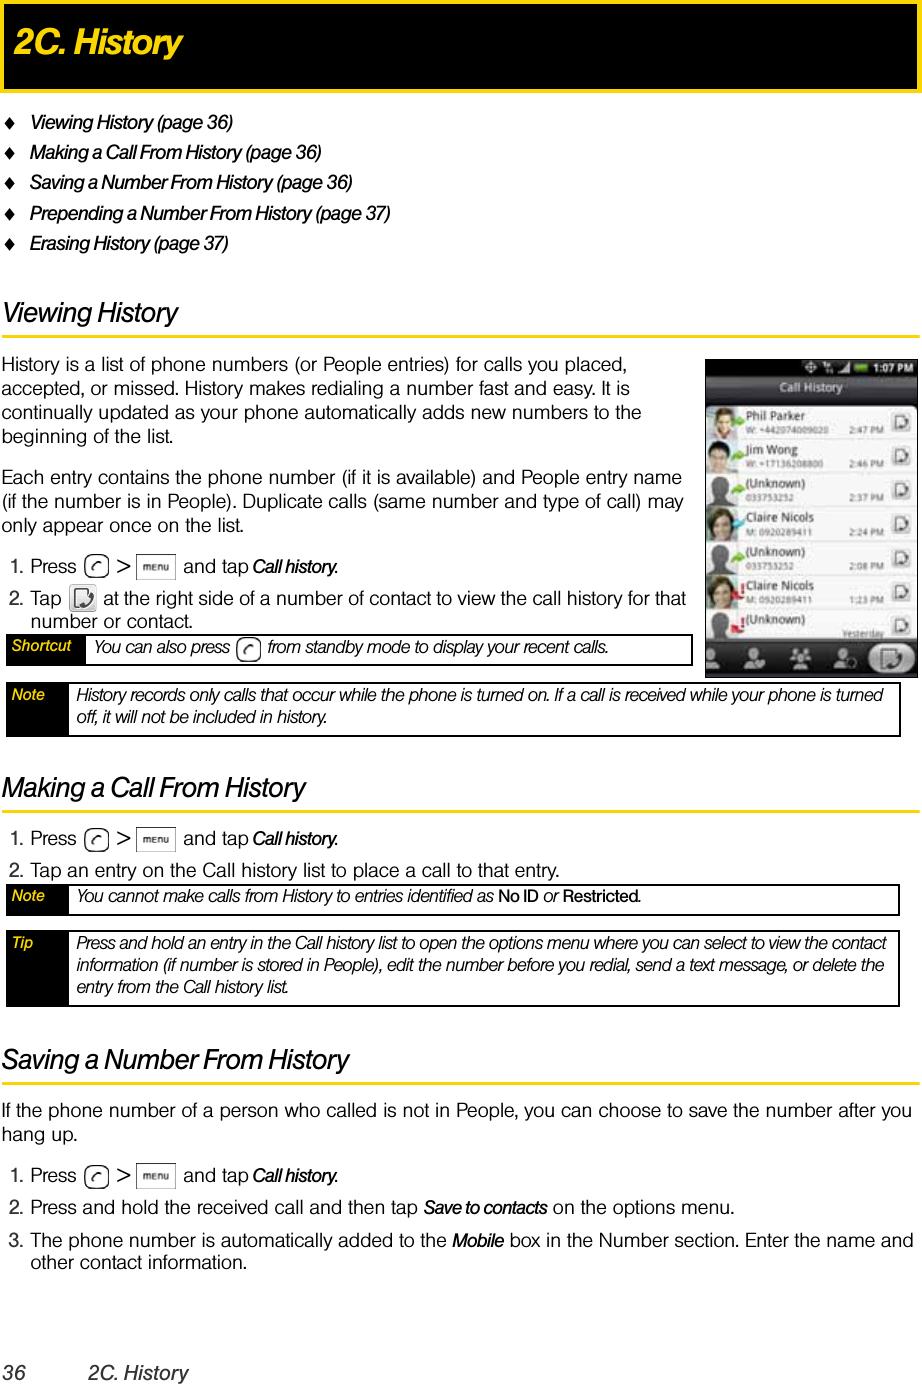
![2F. Voice Services 55Voice ServicesࡗAutomatic Speech Recognition (ASR) (page 55)ࡗManaging Voice Memos (page 56)Automatic Speech Recognition (ASR)You can use your phone’s built-in automatic speech recognition (ASR) software to dial a phone number in People or to launch phone functions. All you have to do is to talk into the phone, and ASR will recognize your voice and complete tasks by itself.Activating ASRᮣPress and hold .– or –Press and tap > Voice Dialer. (You may need to scroll down the screen to see the icon.)The screen displays “Listening...” and the phone prompts you to say the name of the command you want to use. To complete your task, simply follow the voice prompts.Available ASR commands include:ⅷCall <Name or Voicemail> to call an entry in your People list or voicemail. (See “Making a Voice Call With ASR” on page 55.)ⅷDial <Number> to dial a spoken phone number.ⅷRedial to dial the last outgoing call.ⅷOpen <Application Name> to open an application in your phone. (See “Opening Applications With ASR” on page 56.) Making a Voice Call With ASR1. Press and hold .2. Wait until you hear a tone and the word “Listening...” appears on the screen.3. Say “Call [contact name]” to call a person stored in your People list. – or –Say “Dial [contact number]” to dial a spoken phone number.4. Tap YES to confirm or CANCEL to cancel the command; or choose from a menu if ASR is not sure what you would like to do.2F. Voice ServicesTip Use ASR in a quiet environment so it can accurately recognize your commands.Note Regardless of which command you use, you will be asked to confirm your choice, or choose from a menu if ASR is not sure what you would like to do.Note When dialing a phone number, numbers can be three digits (for example, 911), seven digits (for example, 555-1234), or ten digits (for example, 222-555-1234).](https://usermanual.wiki/HTC/HERO200/User-Guide-1153656-Page-65.png)
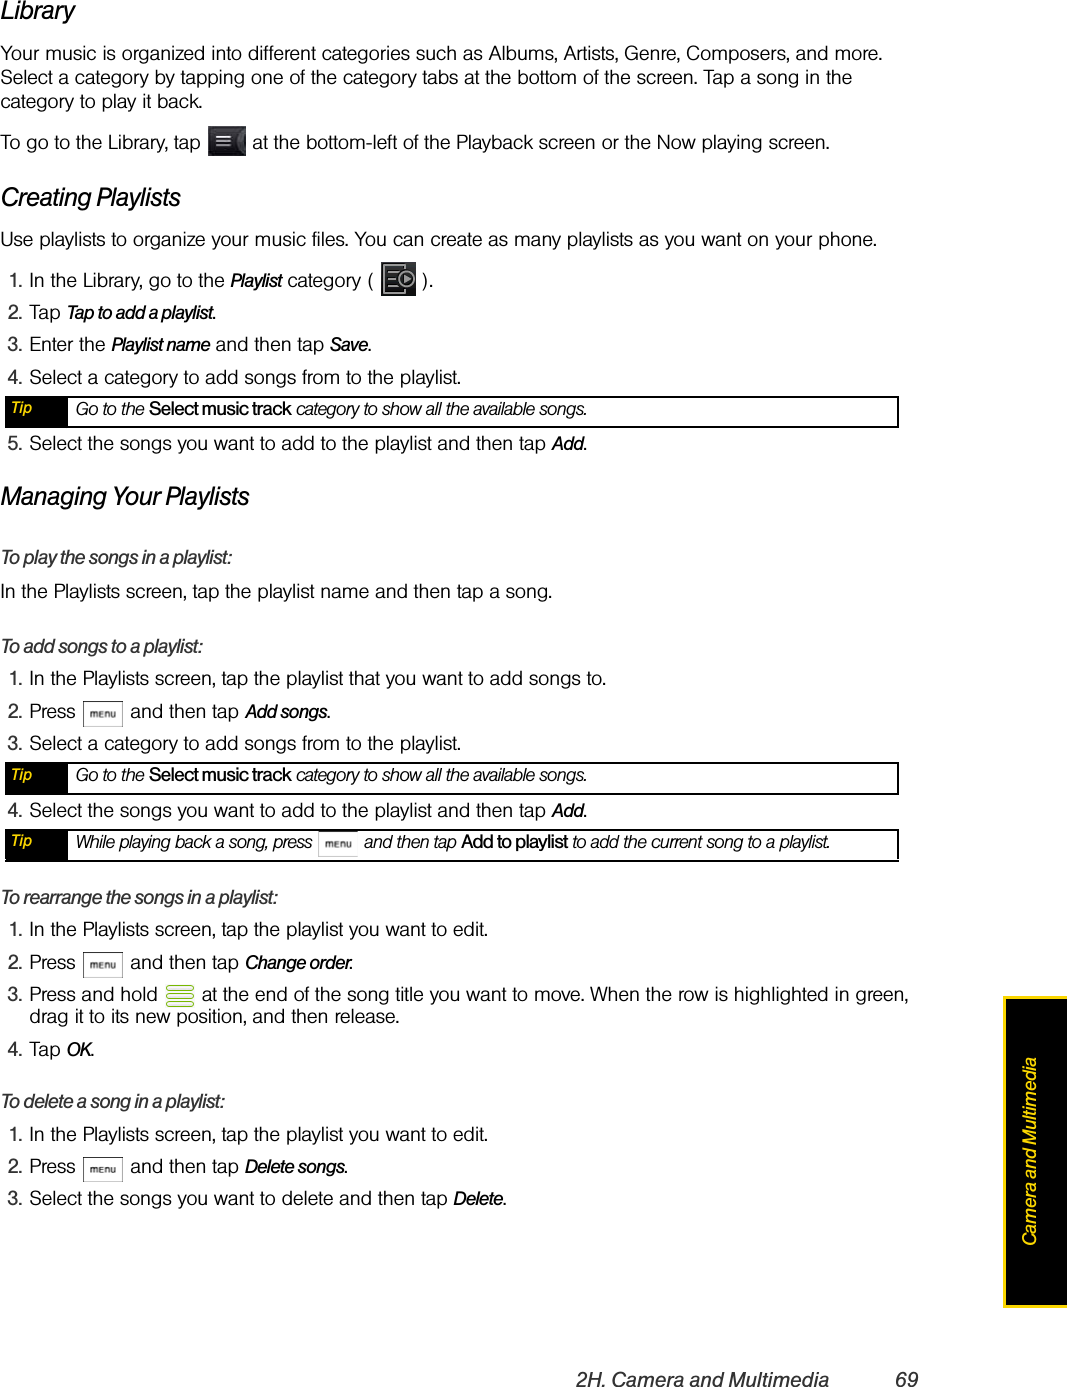
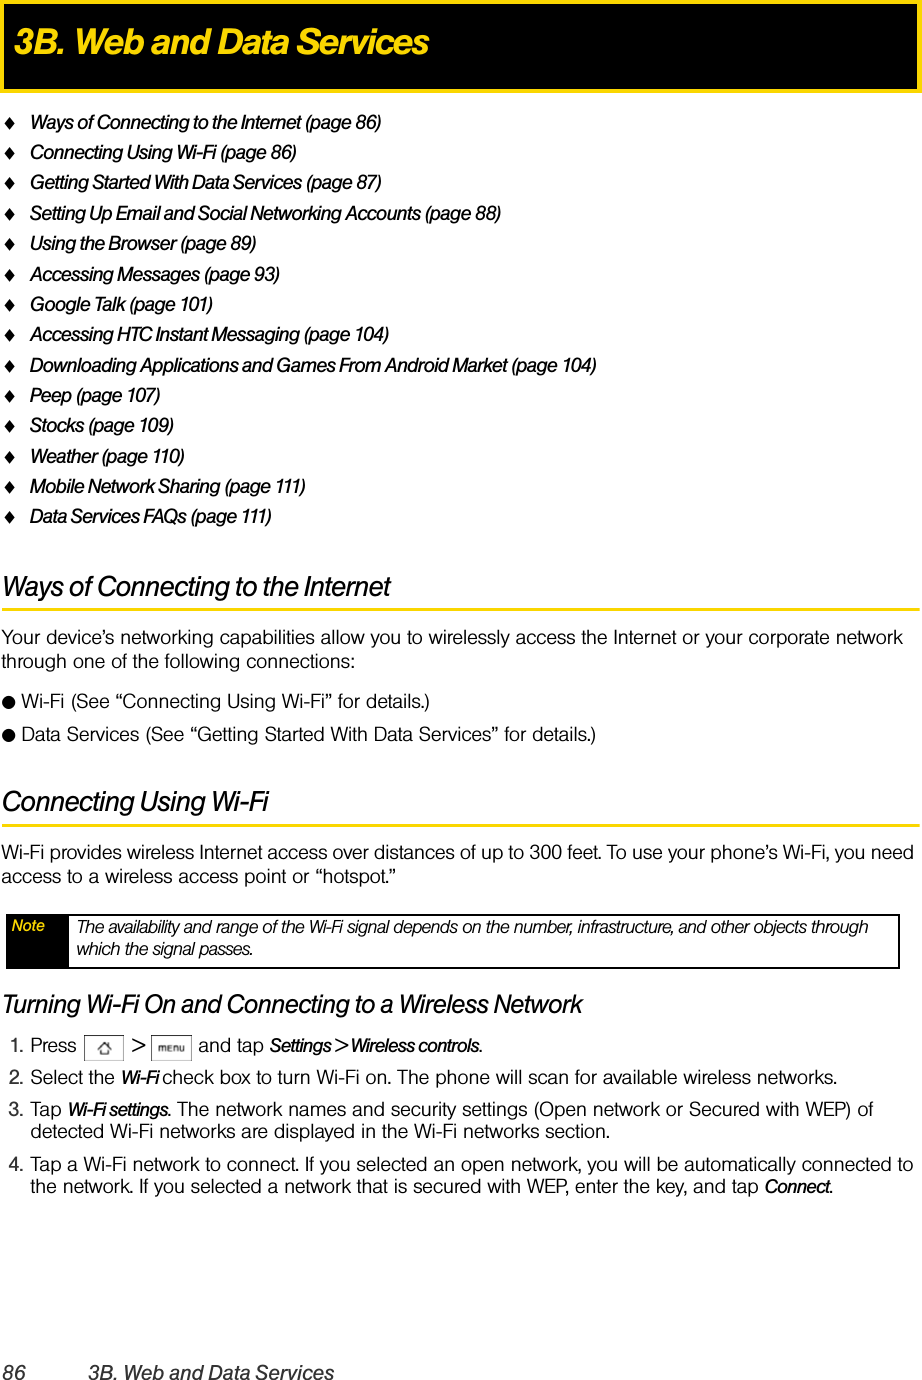
![56 2F. Voice ServicesOpening Applications With ASRYou can jump directly to many applications by saying “Open” followed by the application name.1. Press and hold .2. Wait until you hear a tone and the word “Listening...” appears on the screen.3. Say “Open [application name]” to open an application in your phone. 4. Tap YES to confirm or CANCEL to cancel the command; or choose from a menu if ASR is not sure what you would like to do.Managing Voice MemosUse your phone’s Voice Recorder to record brief memos to remind you of important events, phone numbers, grocery list items, or create a ring tone.Recording Voice Memos1. Press and tap > Voice Recorder. (You may need to scroll down the screen to see the icon.)2. Tap and speak into the phone’s microphone. To end the recording of your memo:ᮣTap .Voice Memo OptionsTo play the voice memos you have recorded:ᮣAfter recording a voice memo, tap .– or –Press , tap Open, tap the file you want to play, and tap .Erasing Voice MemosTo erase a voice memo:1. Press , tap Open, and then tap the voice memo you want to delete.– or –Tap or to go to the voice memo you want to delete.2. Press and tap Delete > Current file. To erase multiple voice memos:1. Press and tap Delete > Multiple files. 2. Select the voice memos you want to delete and tap Done. Tip You can also or to go to the voice memo.](https://usermanual.wiki/HTC/HERO200/User-Guide-1153656-Page-66.png)