HTC PB76100 SMARTPHONE User Manual Users Guide 1
HTC Corporation SMARTPHONE Users Guide 1
UserManual.wiki
>
HTC
>
PB76100 User Manual
>
Users Guide 1
Contents
1.
Users Manual
2.
User Guide 1
3.
User Guide 2
4.
Users Guide 1
Users Guide 1
Navigation menu
Upload a User Manual
Namespaces
Wiki Guide
HTML
PDF
Info
Views
User Manual
Discussion / Help
Navigation
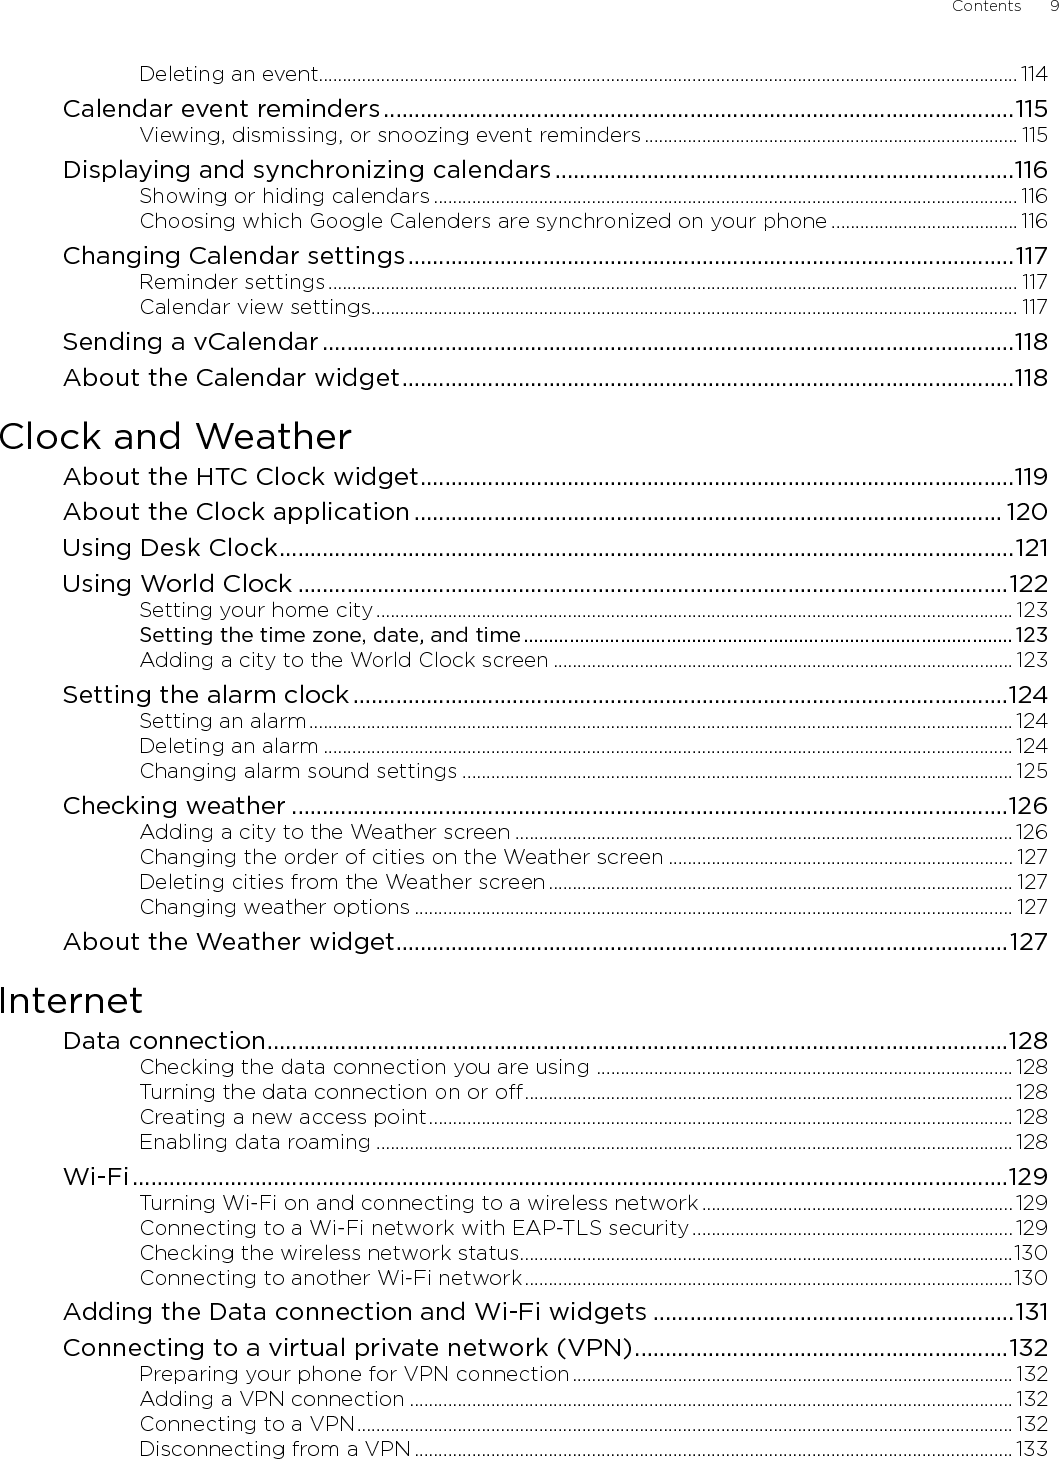


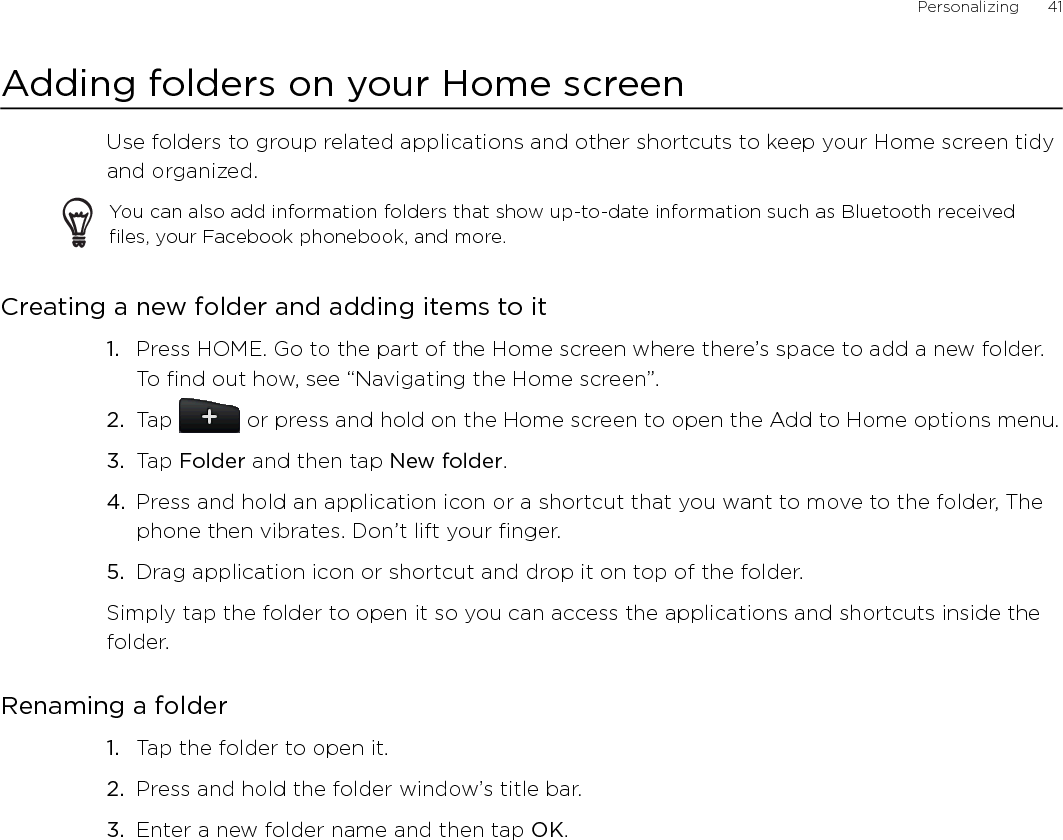

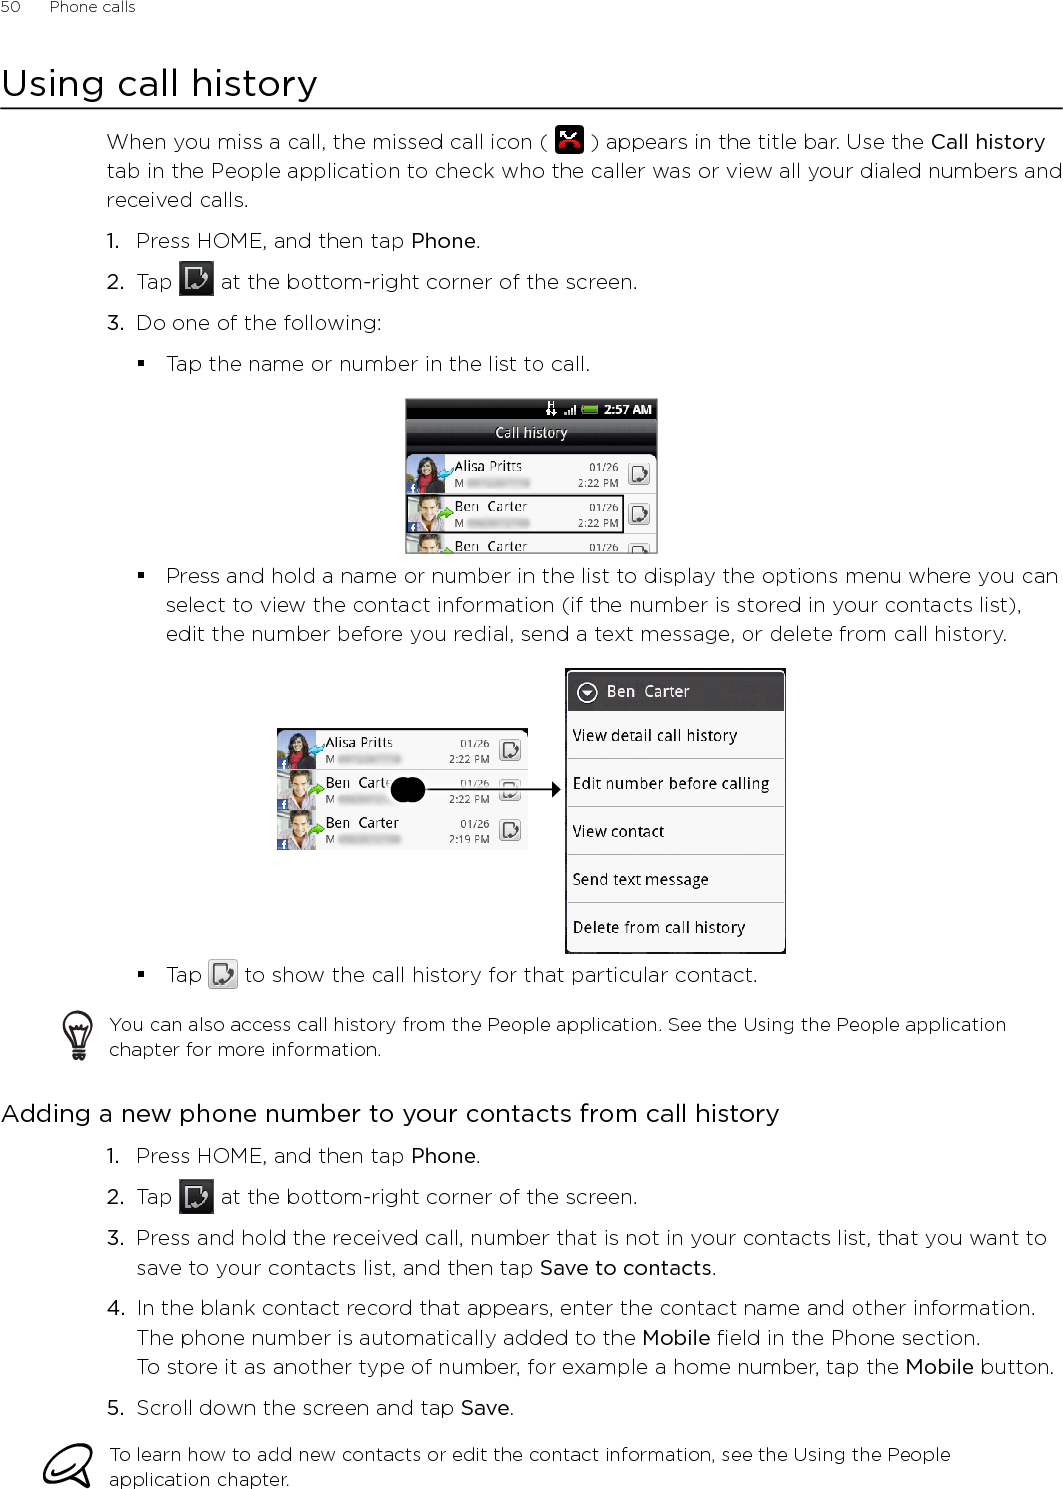
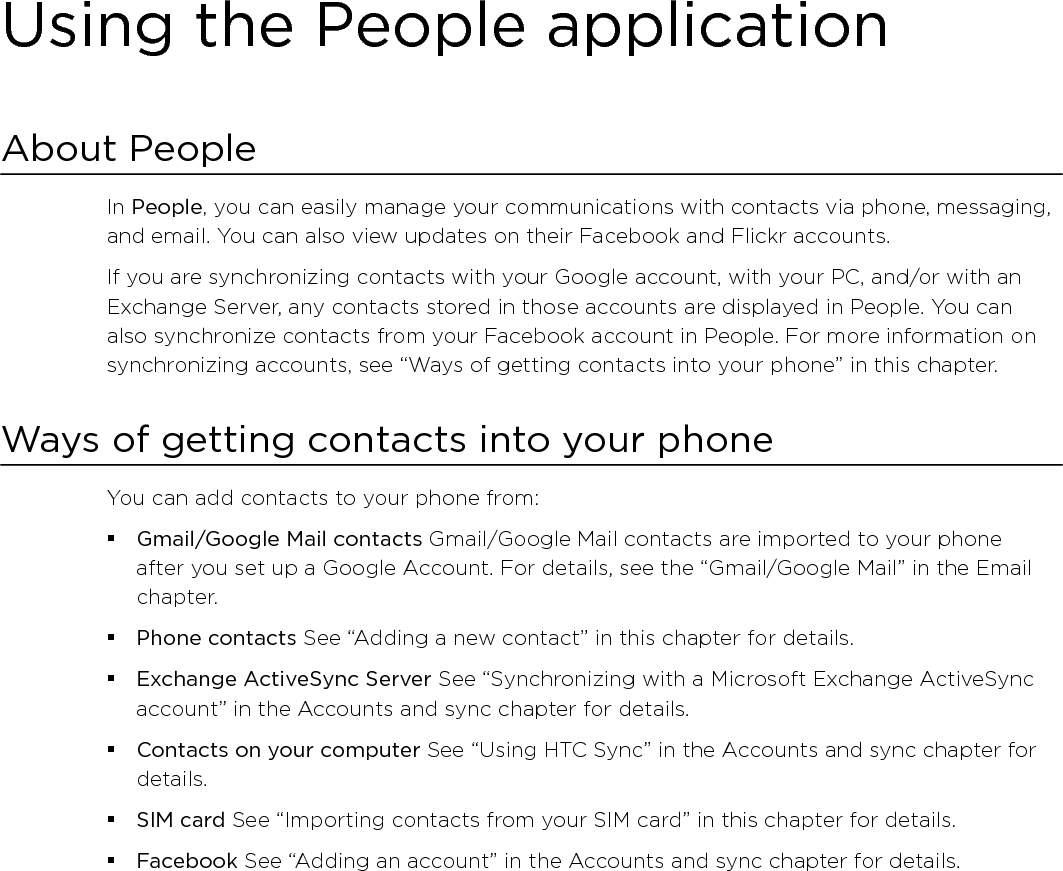
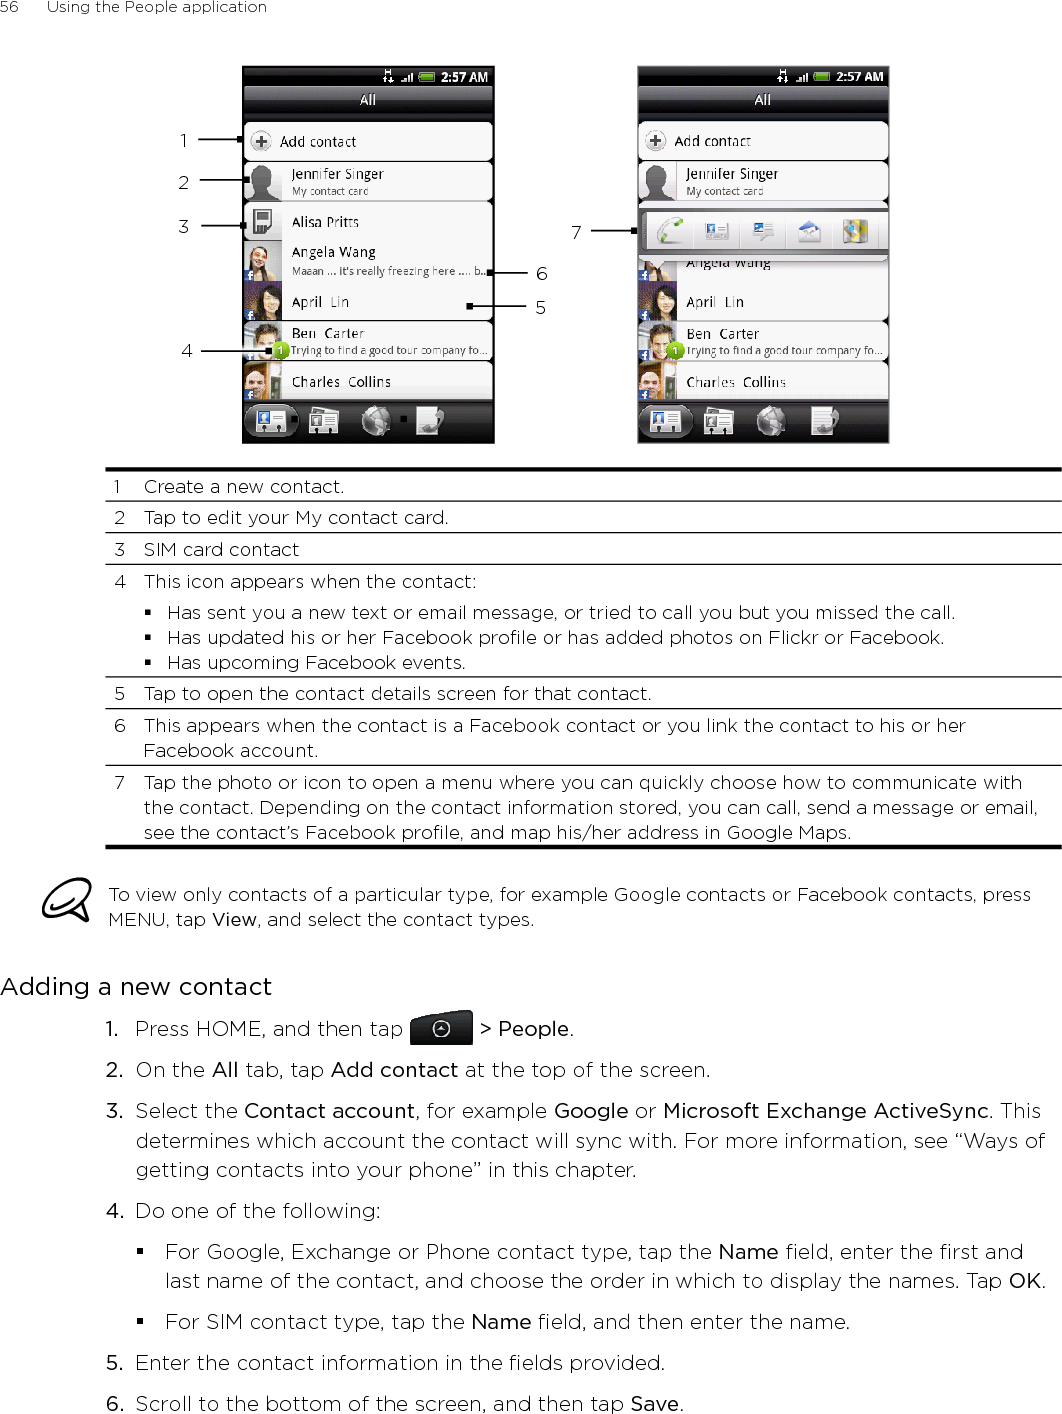

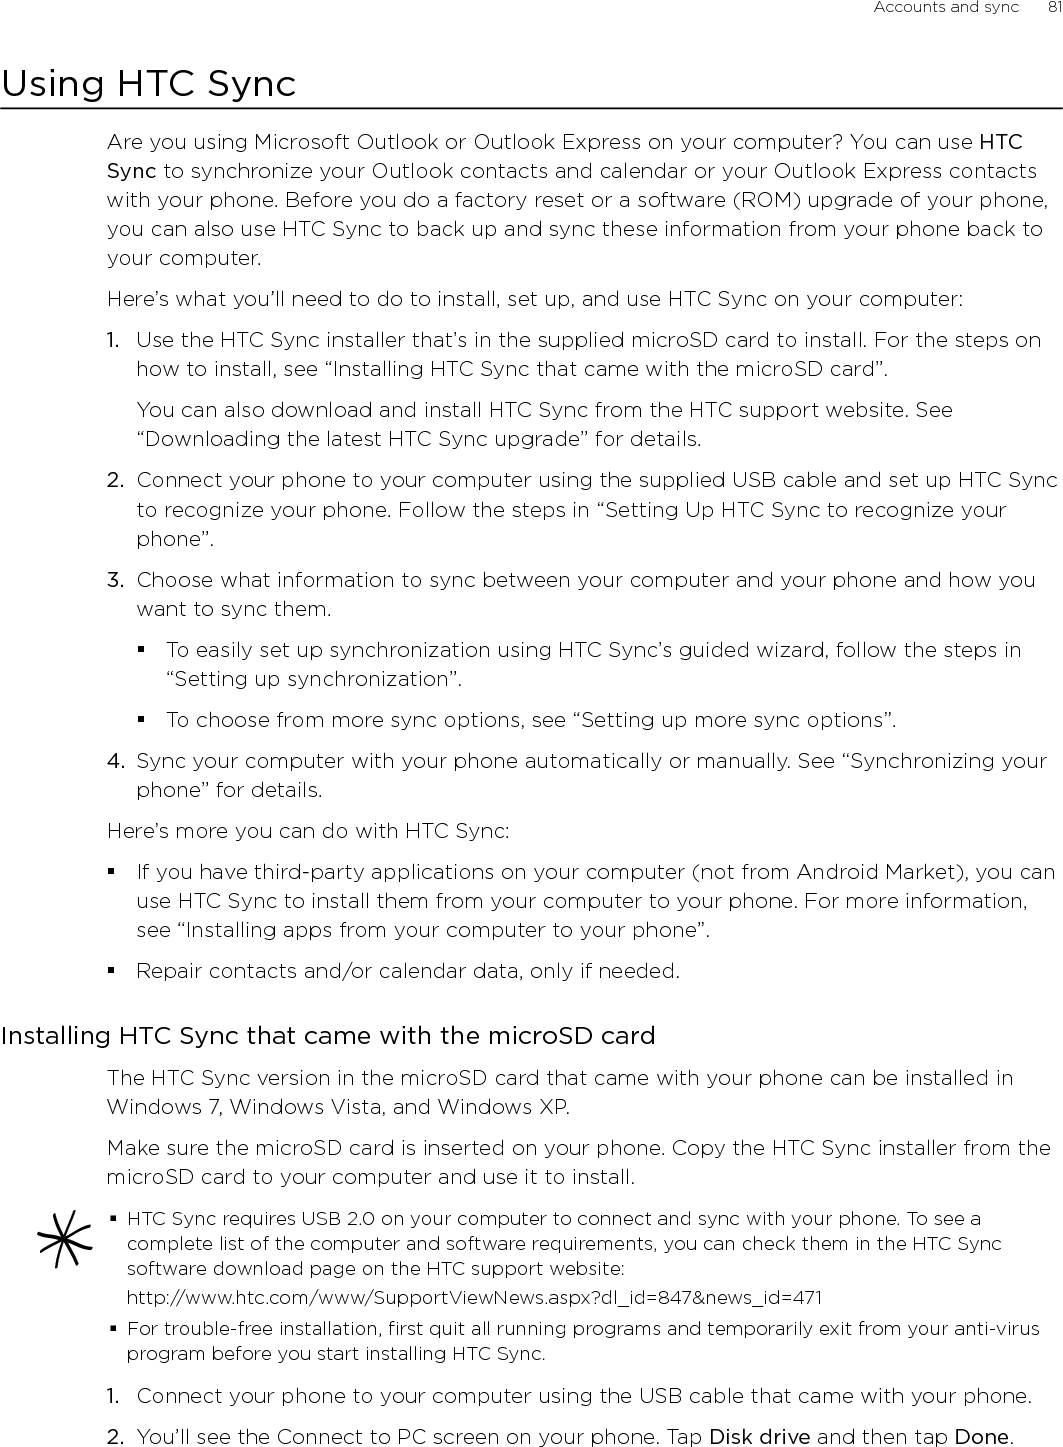
![Using the People application 59Deleting contactsPress HOME, and then tap > People.On the All tab, press MENU, and then tap Delete contacts.Select the contacts you want to delete, and then tap Delete.When prompted, tap OK. Sending contact information as a vCard via MMSPress HOME, and then tap > People.On the All tab, press and hold the name of the contact (not the icon or photo) whose contact information you want to send, and then tap Send contact as vCard.Select the type of information you want to send, and then tap Send.4. Enter the recipient’s number or email address, and then tap Send. You cannot send a vCard using SMS.You can also send the vCard via Bluetooth. To learn how to send files through Bluetooth, see the Bluetooth chapter. Sending your contact information as a vCard via MMSPress HOME, and then tap > People.On the All tab, tap [Your name] My contact card.Press MENU, and then tap Send my contact info.Select the type of information you want to send, and then tap Send.5. Enter the recipient’s number or email address, and then tap Send.You cannot send a vCard using SMS.You can also send your contact vCard via Bluetooth. To learn how to send files through Bluetooth, see the Bluetooth chapter. 1.2.3.4.1.2.3.1.2.3.4.](https://usermanual.wiki/HTC/PB76100.Users-Guide-1/User-Guide-1241579-Page-59.png)


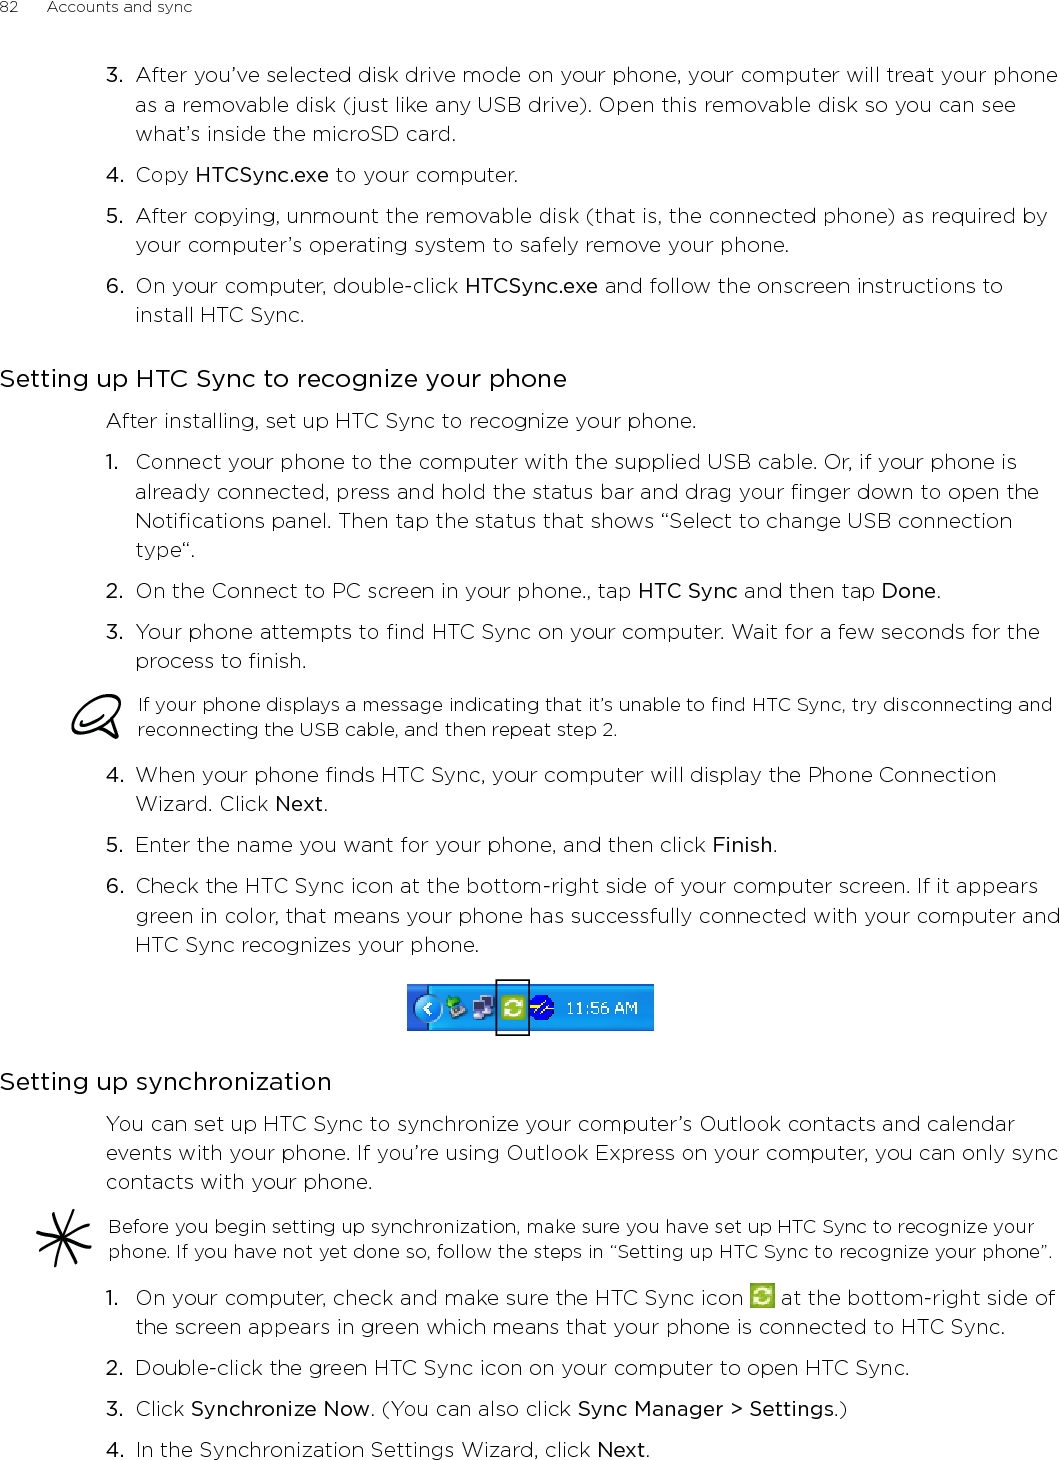
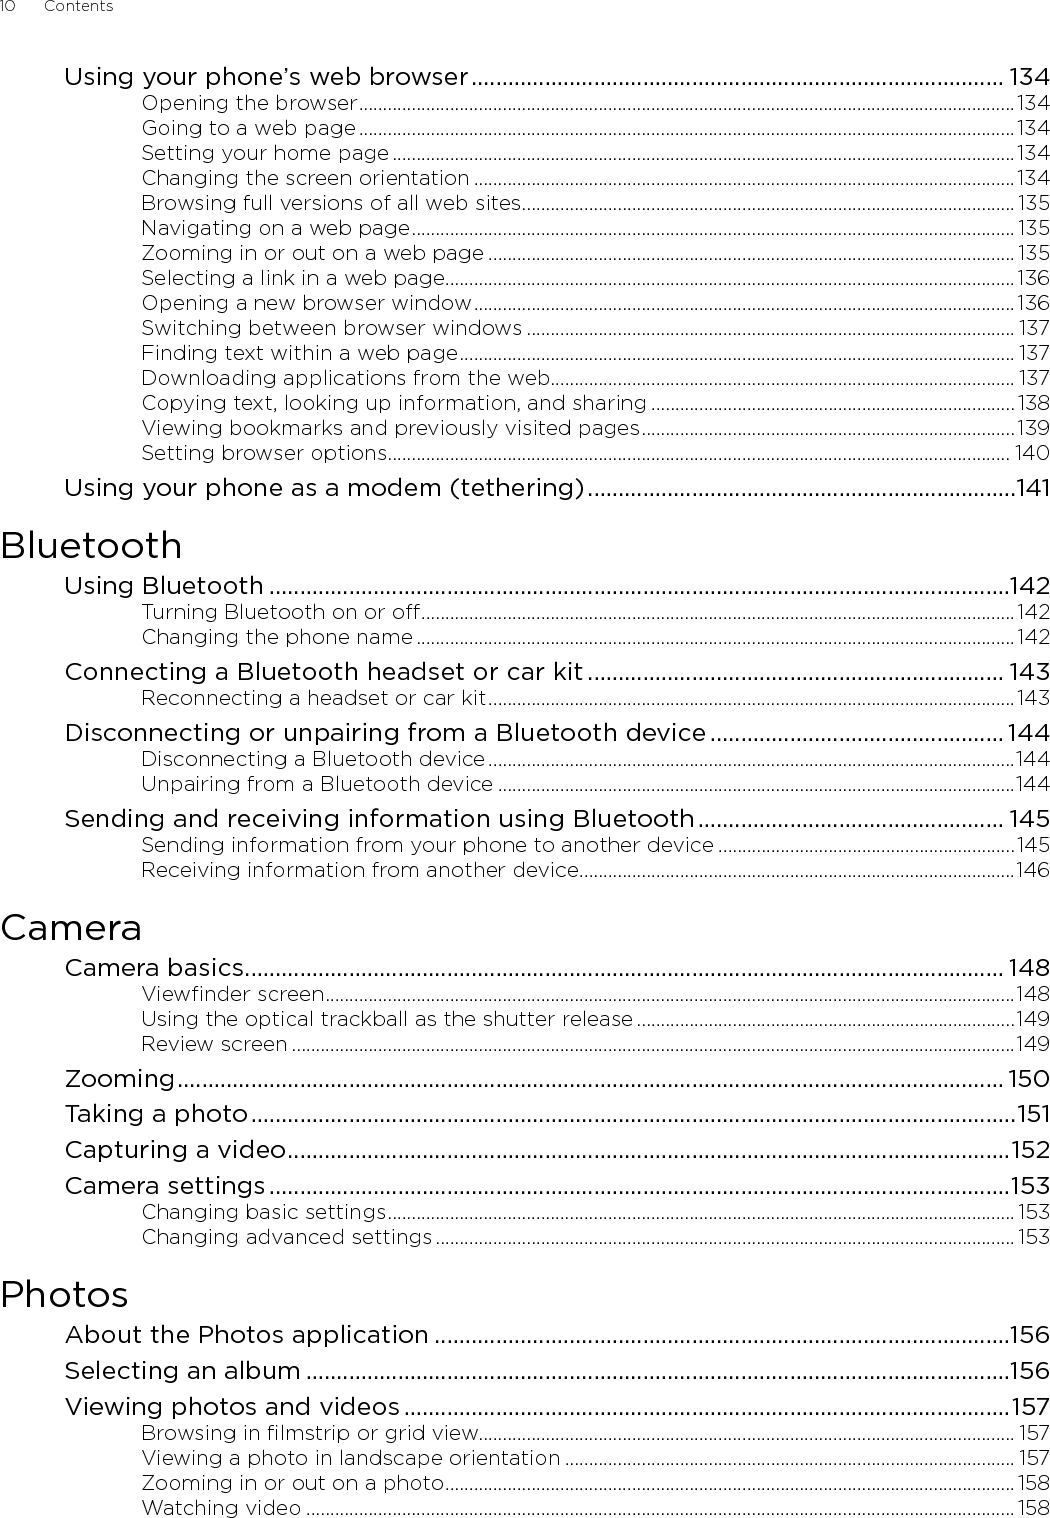
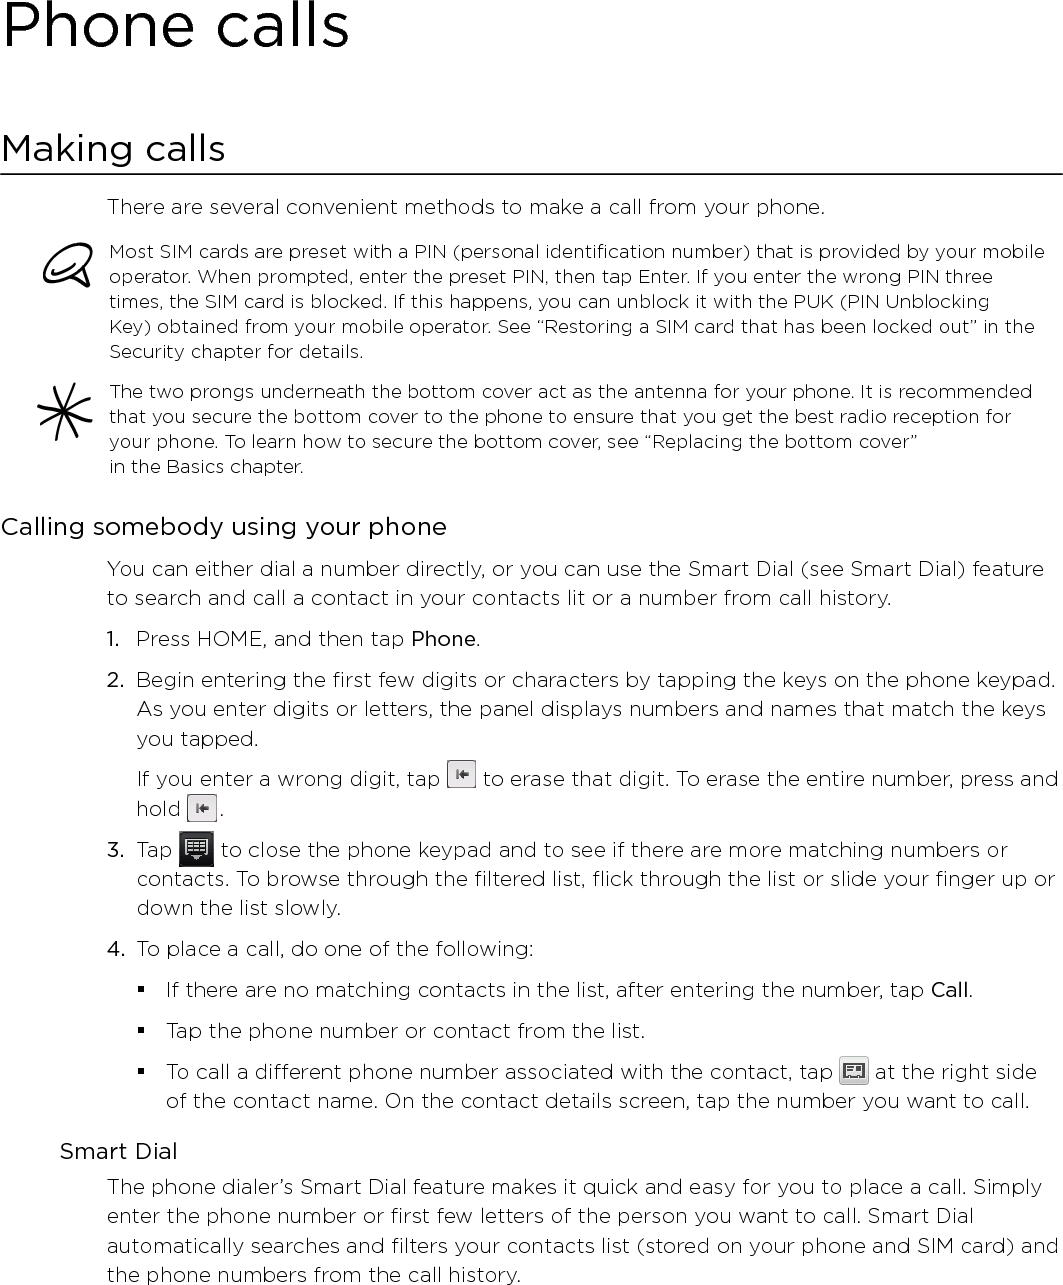
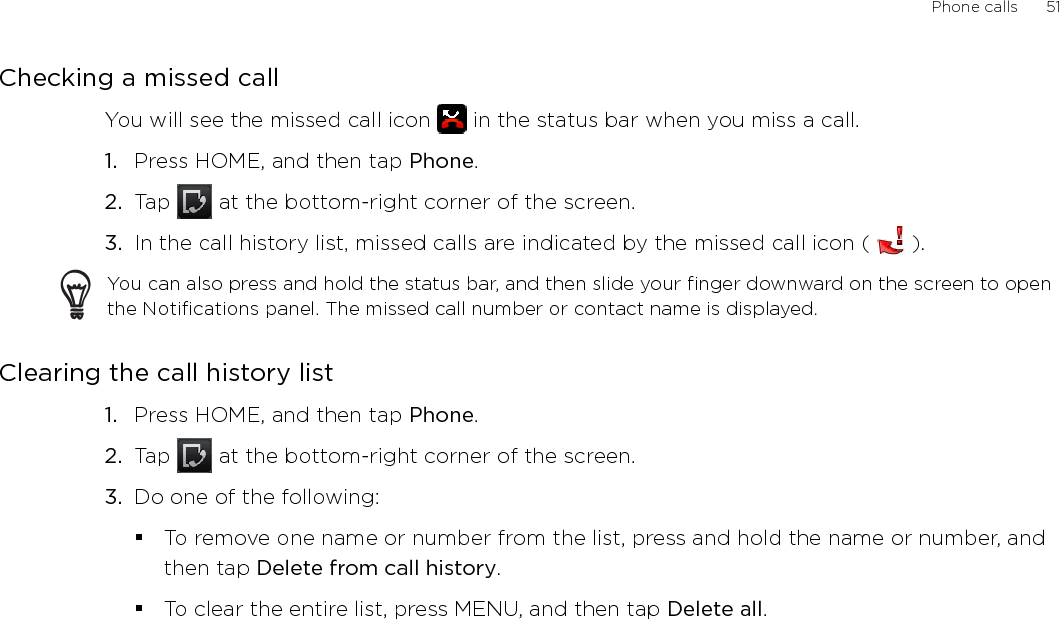
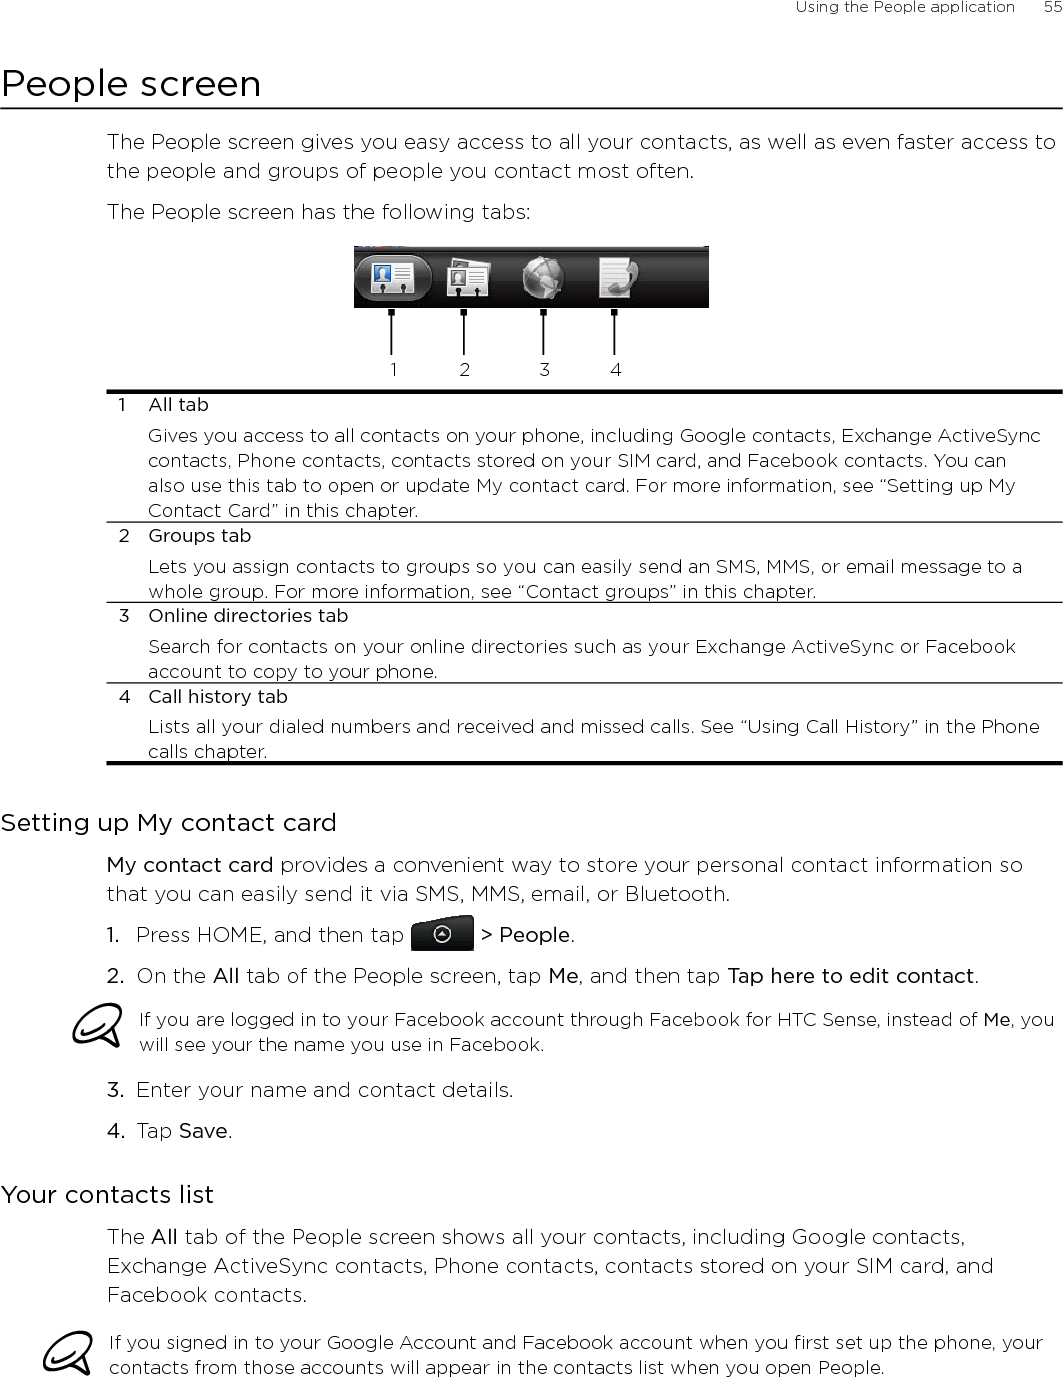
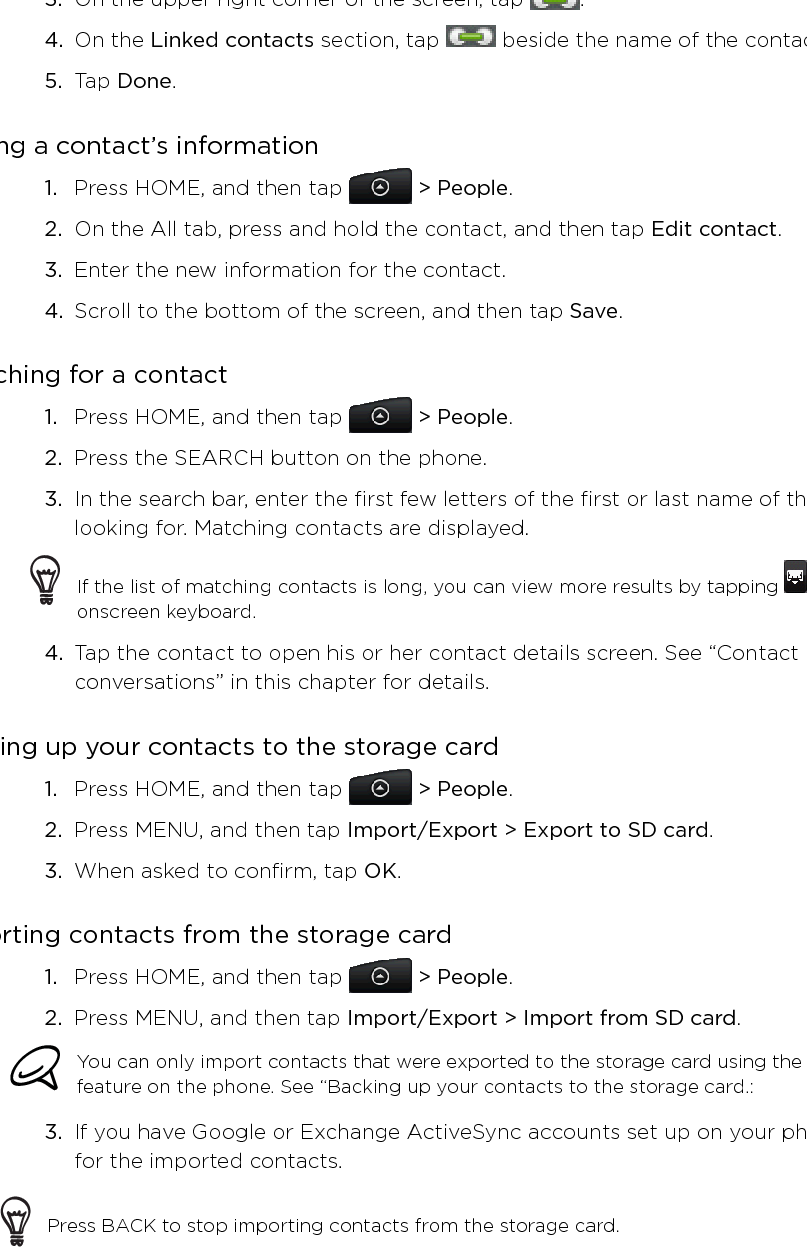
![74 Messages Managing message conversationsText and multimedia messages that are sent to and received from a contact (or a number) are grouped into conversations or message threads in the All messages screen. Threaded text or multimedia messages let you see exchanged messages (similar to a chat program) with a contact on the screen.Reading a text messageDo one of the following:On the All messages screen, tap the text message or message thread to open and read it.If you have a new message notification, press and hold the status bar, and then slide the status bar down to open the Notifications panel. Tap the new message to open and read it.To return to the All messages screen from a text message thread, press MENU and then tap All messages.To view the details of a particular message, in the message thread, press and hold the message to open the options menu, and then tap View message details.If a message contains a link to a web page, tap the link to let you open the link in Browser or add the URL as a bookmark.If a message contains a phone number, tap the message to open Dialer so you can call the number. Viewing a multimedia messagePress HOME, and then tap > Messages.On the All messages screen, tap a multimedia message or message thread to open it.Tap the attachment to open it. If the attachment is a vCard contact, it is imported to your Phone contacts list. For information about contacts, see the People chapter. If the attachment is a vCalendar file, you can choose the calendar where you want to save the event. For information on using Calendar, see the Calendar chapter.To save the attachment to the storage card, press and hold the sender’s name or number, and then tap Save [attachment type] on the options menu.When Auto-retrieve in MMS settings is disabled, only the message header is downloaded. To download the entire message, tap the Download button at the right side of the message. For details, see “Setting text and multimedia message options” later in this chapter.If you are concerned about the size of your data downloads, check the multimedia message size before you download it.Replying to a text or multimedia messagePress HOME, and then tap > Messages.On the All messages screen, tap a text or multimedia message thread to open it.Tap the text box at the bottom of the screen, enter your reply message, and then tap Send.To reply to a text message with a multimedia message, open the text message, press MENU and then tap Add subject, or Attach. The text message is automatically converted into a multimedia message.1.2.3.4.1.2.3.](https://usermanual.wiki/HTC/PB76100.Users-Guide-1/User-Guide-1241579-Page-74.png)