HTC PG32100 Smart Phone User Manual 1 of 2
HTC Corporation Smart Phone 1 of 2
UserManual.wiki
>
HTC
>
PG32100 User Manual
>
User Manual 1 of 2
Contents
1.
User Manual 1 of 2
2.
User Manual 2 of 2
3.
Users Manual 1
4.
Users Manual 2
User Manual 1 of 2
Navigation menu
Upload a User Manual
Namespaces
Wiki Guide
HTML
PDF
Info
Views
User Manual
Discussion / Help
Navigation


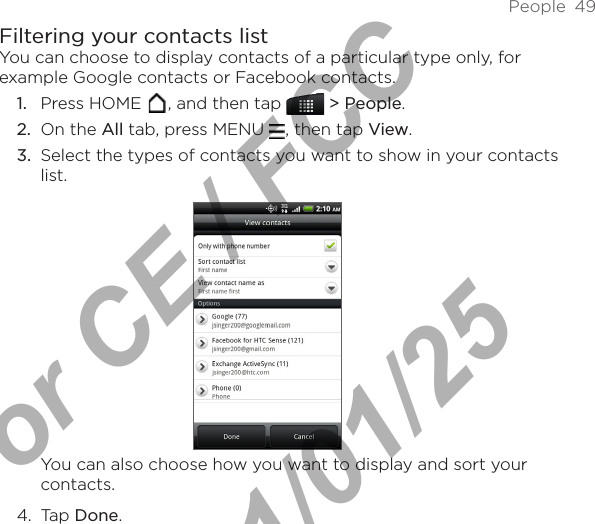
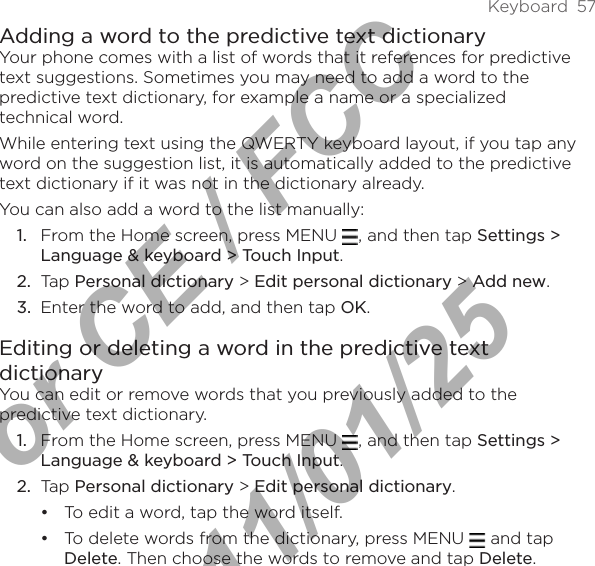
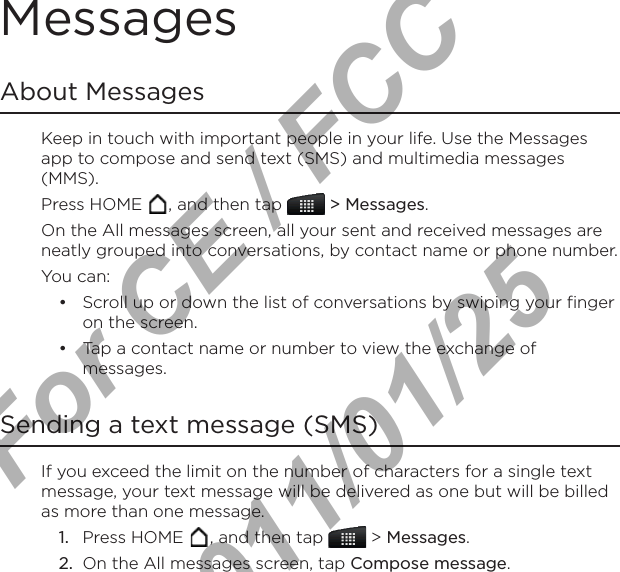
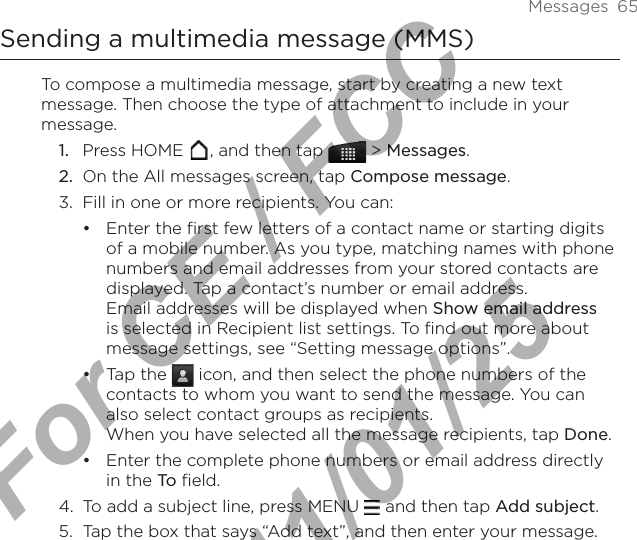
![32 Phone callsCalling using Voice DialerThe person you want to call should be in your People list.Press HOME , and then tap > Voice Dialer.When the Voice Dialer message box appears and you see “Listening” on the screen, say “Call [name of person]” in a clear voice into the phone.3. A confirmation message will pop up asking if the person to call is correct. Tap OK if the person is correct or tap Cancel to try again.If the contact has more than one number, or if the Voice Dialer does not detect your voice accurately, the confirmation message displays a list of the contact’s phone numbers or suggested results.Calling a phone number in a text messagePress HOME , and then tap > Messages.Tap the number or name of the person who sent you the text message.Tap the phone number within the message.4. Edit the phone number if needed, and then tap Call.To call the message sender, press and hold the sender or the received message, and then tap Call on the options menu. To find out more about text messaging, see the Messages chapter.1.2.1.2.3.For CE / FCC 2011/01/25](https://usermanual.wiki/HTC/PG32100.User-Manual-1-of-2/User-Guide-1412131-Page-31.png)
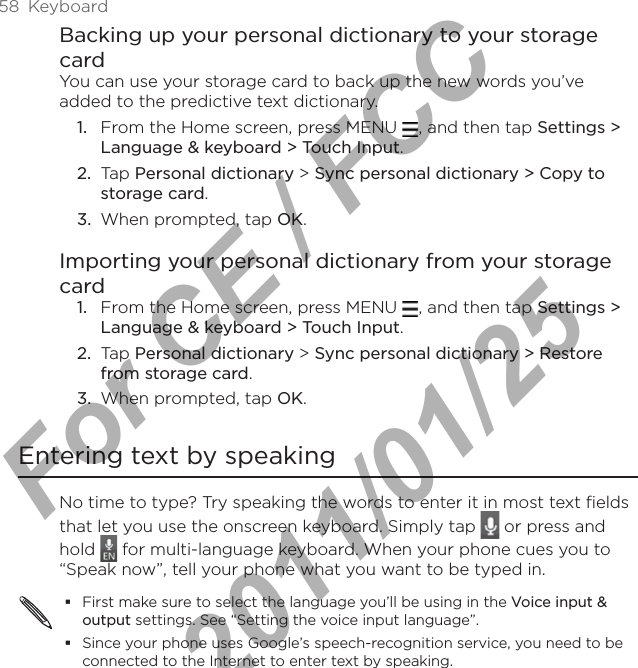
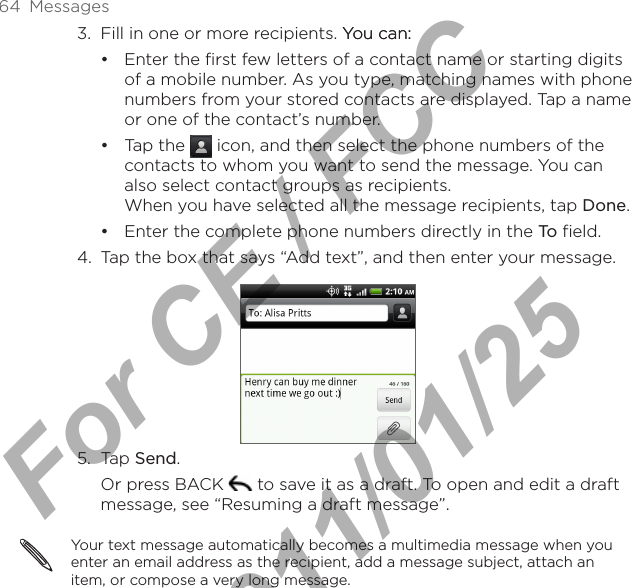
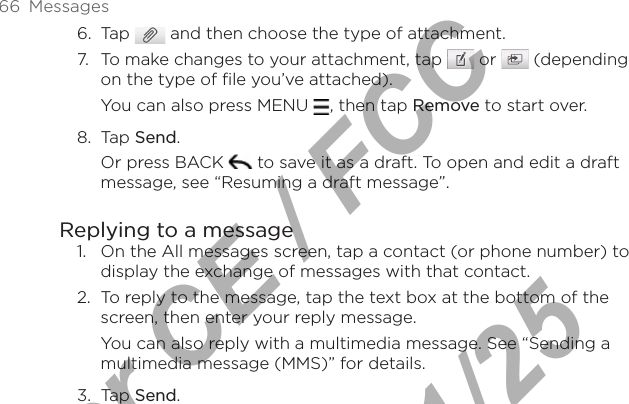


![96 Bluetooth3. Turn on Bluetooth if you’re asked to do so. 4. If you haven’t paired with the receiving device before, tap Scan for devices.5. Tap the name of the receiving device. 6. If prompted, accept the pairing request on your phone and the receiving device. Also enter the same passcode on both your phone and the other device, or confirm the auto-generated passcode.7. On the receiving device, accept the file.Where sent information is savedWhen you send information from your phone using Bluetooth, the location where it’s saved depends on the type of information and the receiving device.If you send a calendar event or contact, it is normally added directly to the corresponding app on the receiving device. For example, if you send a calendar event to a compatible phone, the event is shown in that phone’s calendar app.If you send another file type to a Windows computer, it is normally saved in the Bluetooth Exchange folder within your personal document folders.On Windows XP, the path may be: C:\Documents and Settings\[your username]\My Documents\Bluetooth ExchangeOn Windows Vista, the path may be: C:\Users\[your username]\DocumentsOn Windows 7, the path may be: C:\Users\[your username]\My Documents\Bluetooth Exchange Folder•••For CE / FCC 2011/01/25](https://usermanual.wiki/HTC/PG32100.User-Manual-1-of-2/User-Guide-1412131-Page-93.png)