HTC PG86100 Smart Phone User Manual Sprint Speedy UG
HTC Corporation Smart Phone Sprint Speedy UG
UserManual.wiki
>
HTC
>
PG86100 User Manual
>
User Manual Part 1
Contents
1.
User Manual Part 1
2.
User Manual Part 2
3.
User Manual 1
4.
User Manual 2
User Manual Part 1
Navigation menu
Upload a User Manual
Namespaces
Wiki Guide
HTML
PDF
Info
Views
User Manual
Discussion / Help
Navigation


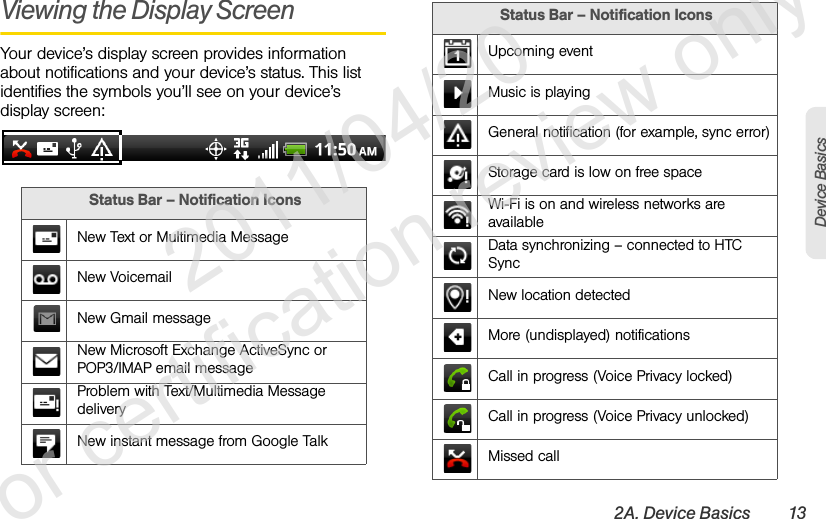
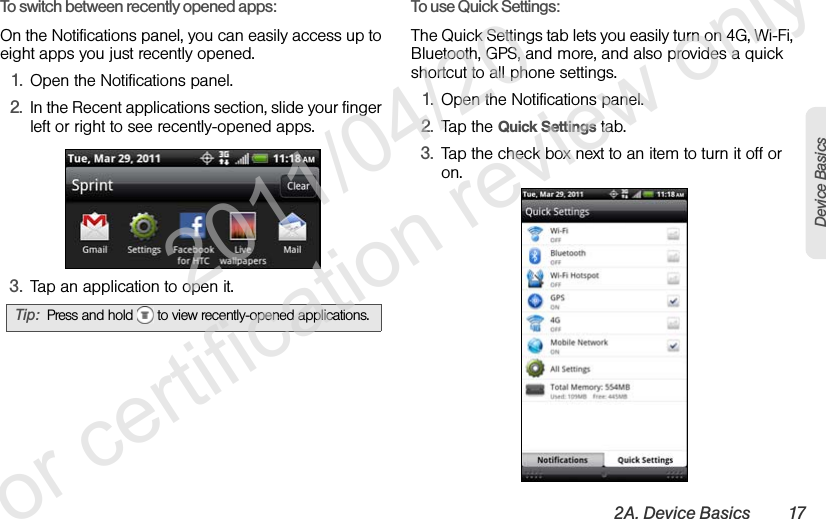
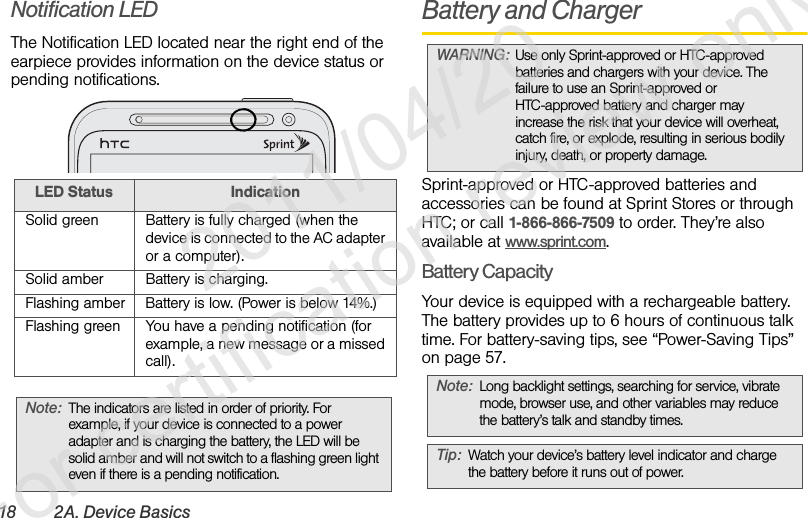
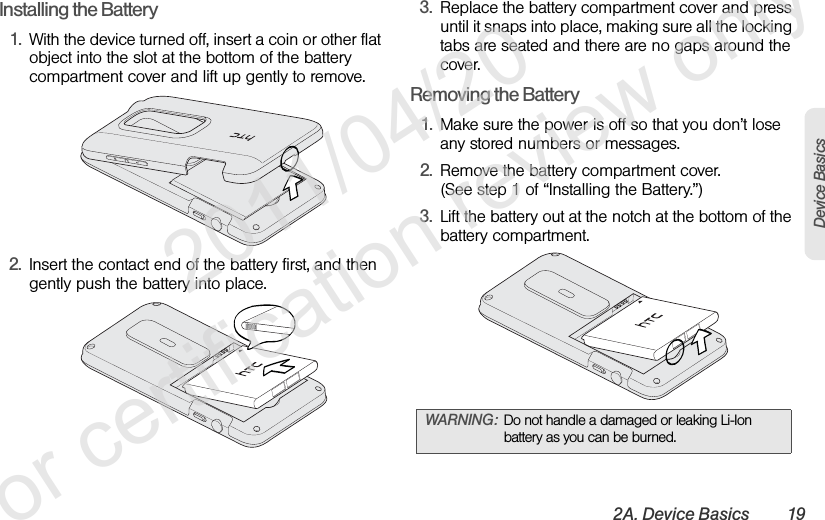
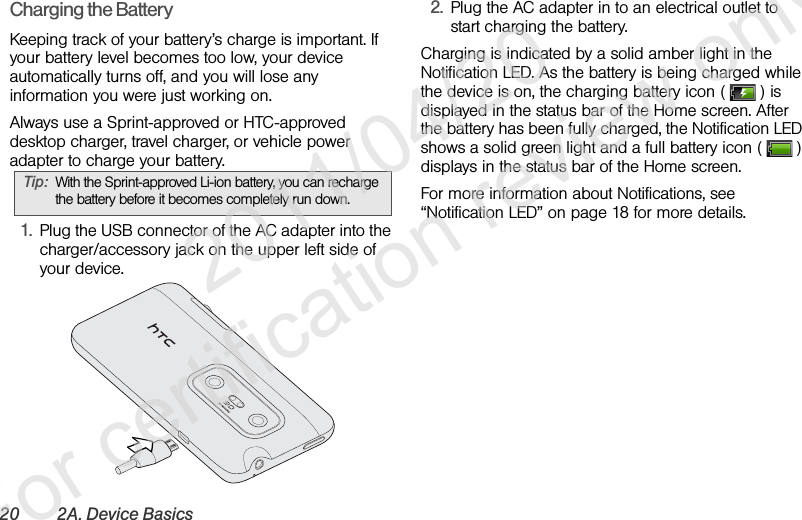
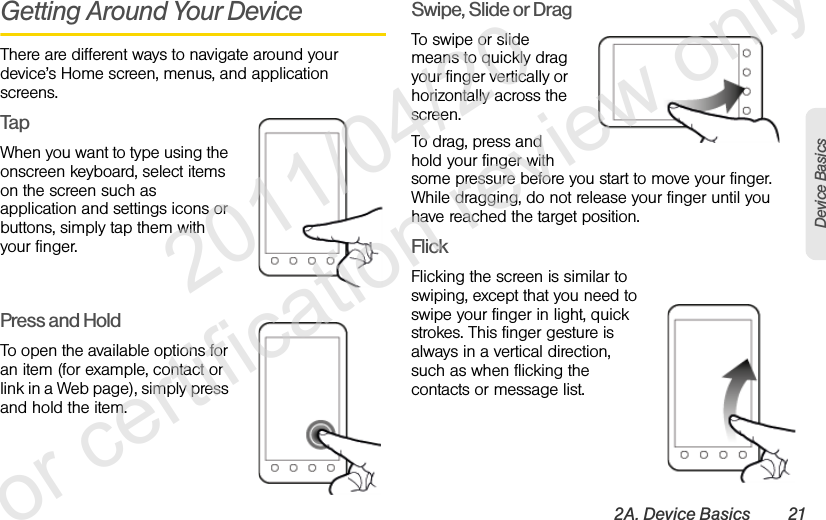
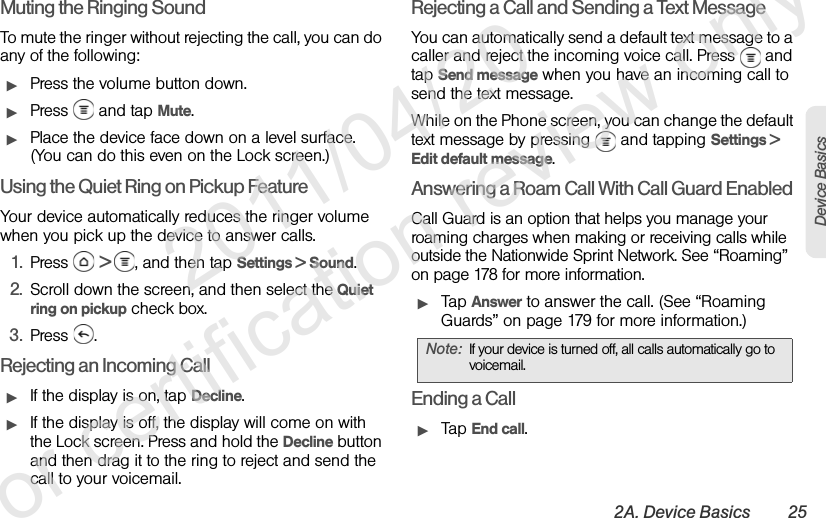
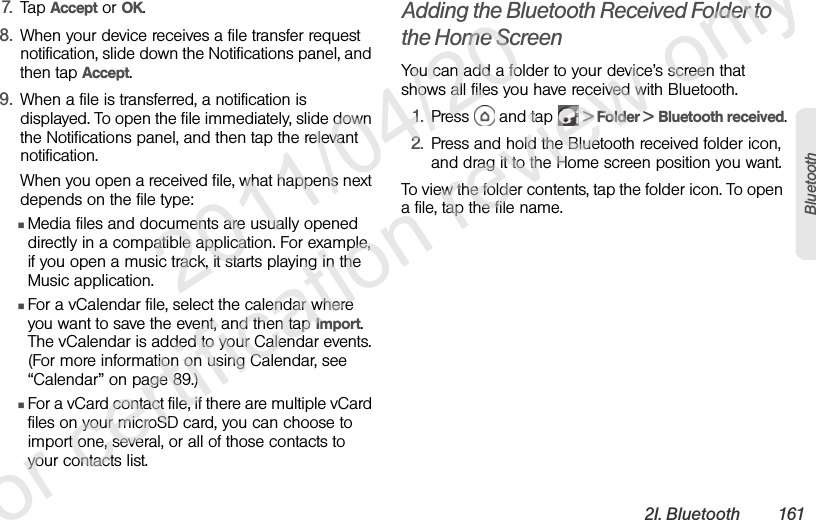
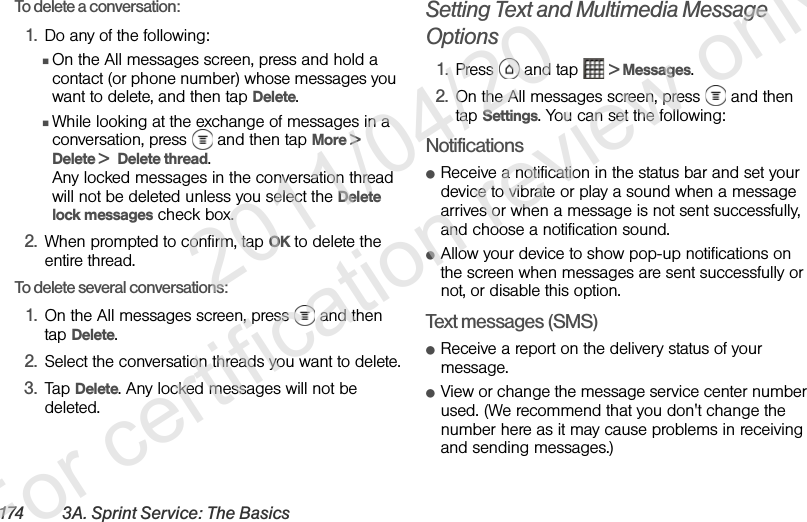
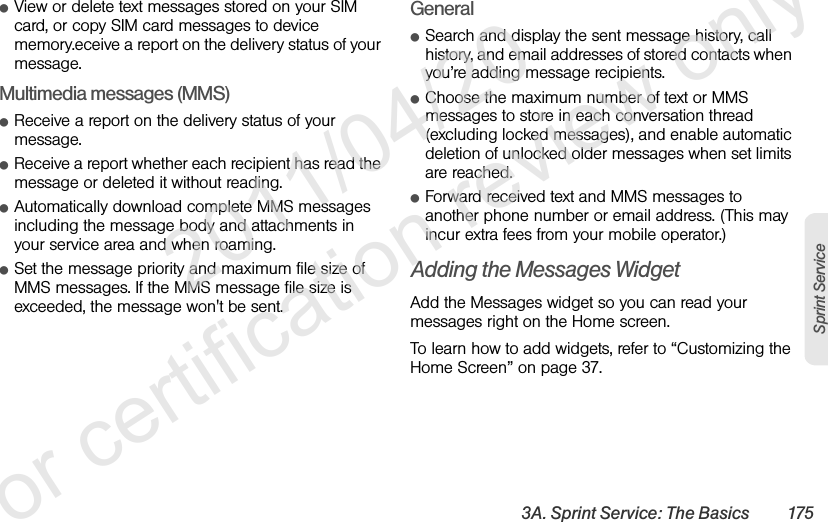
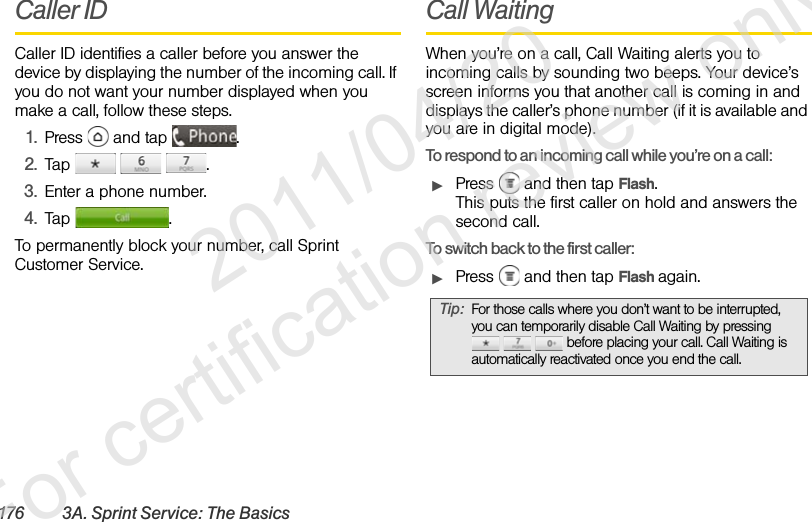
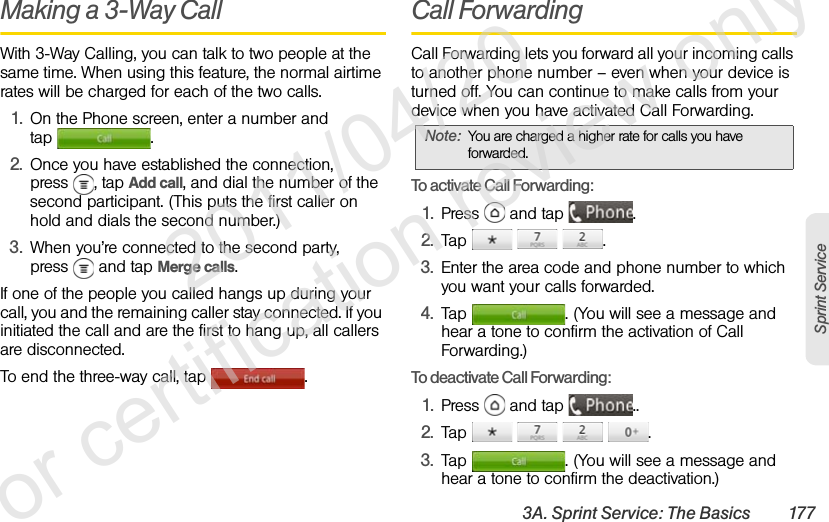
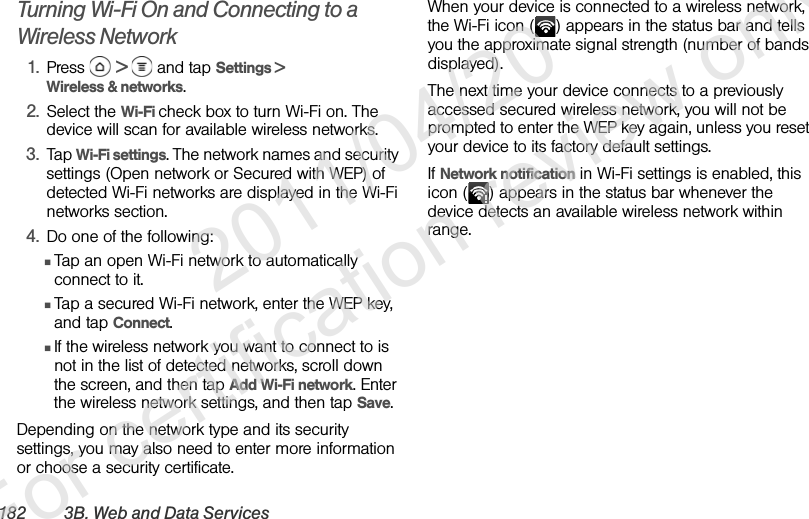
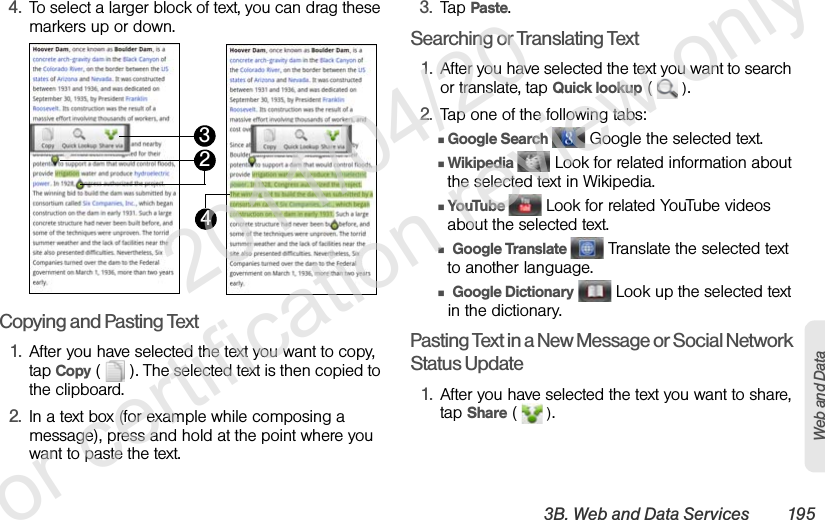
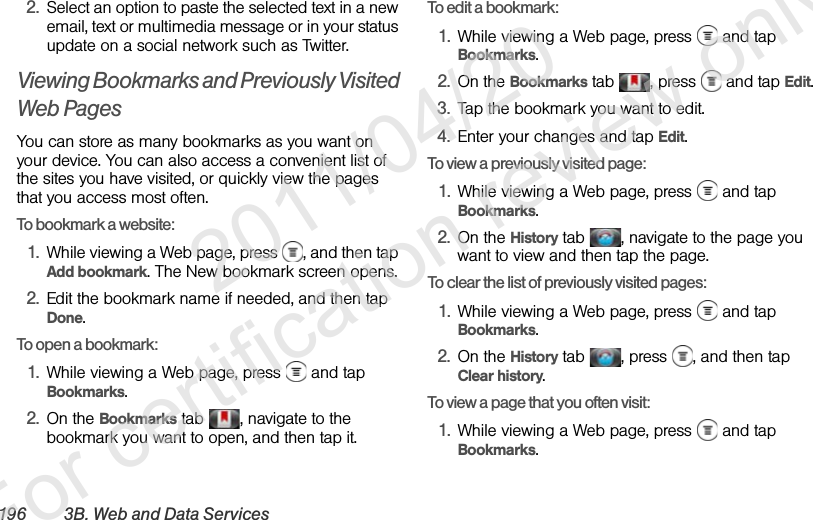
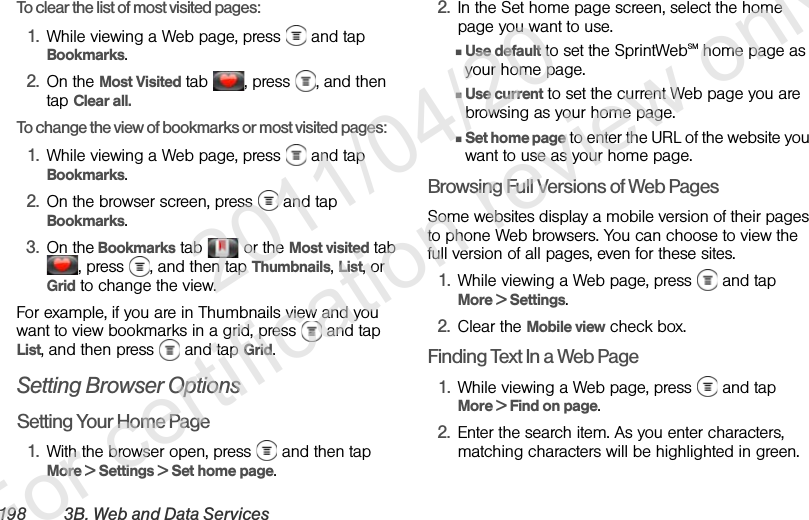
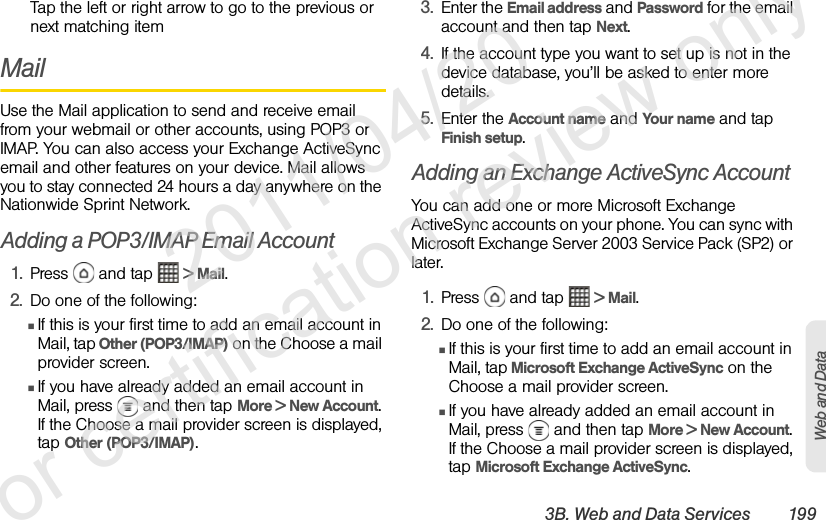
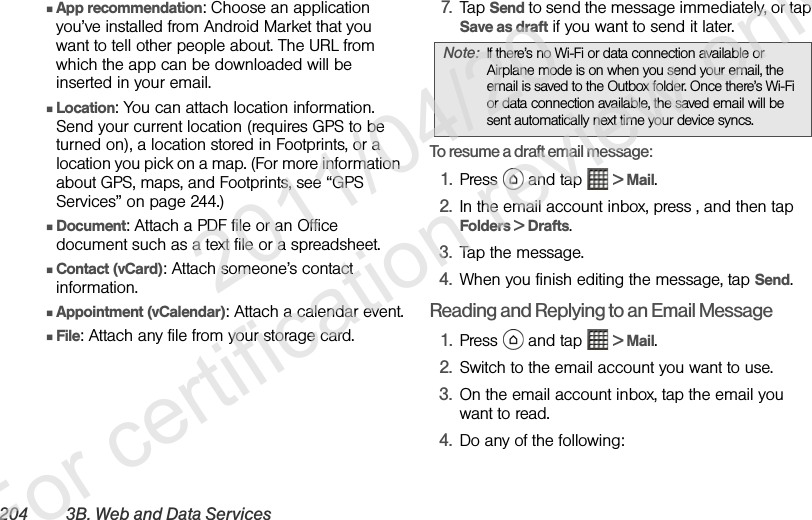
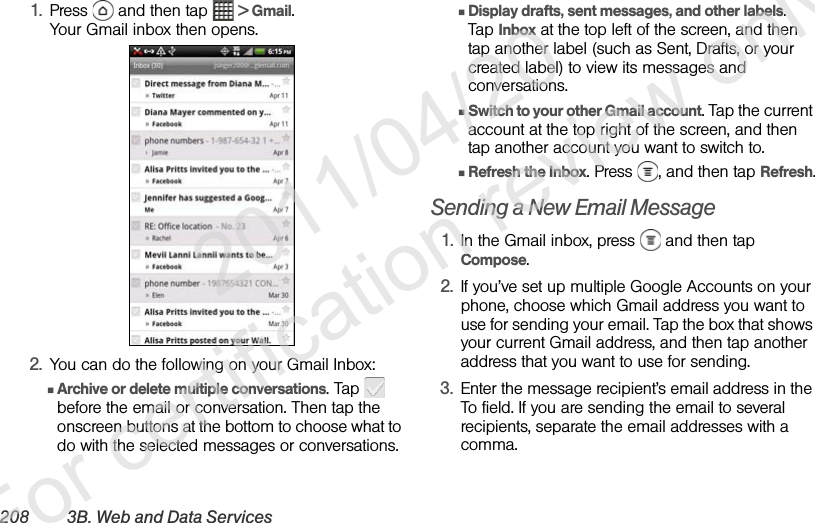
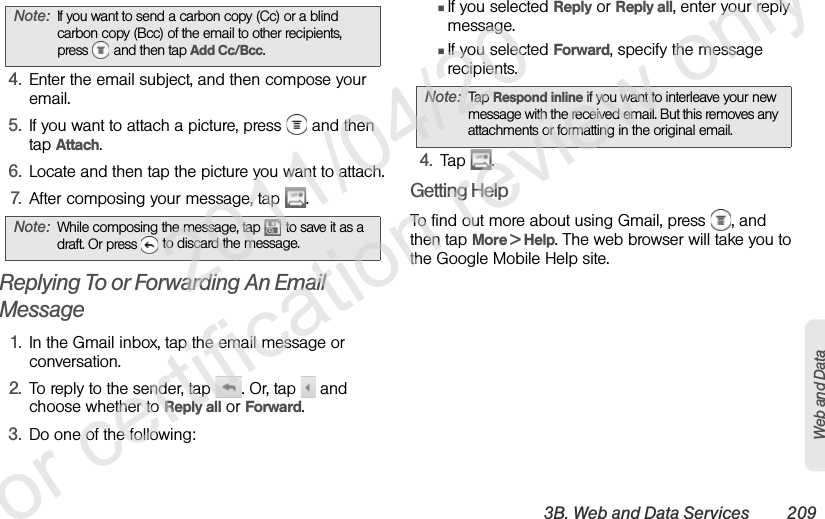
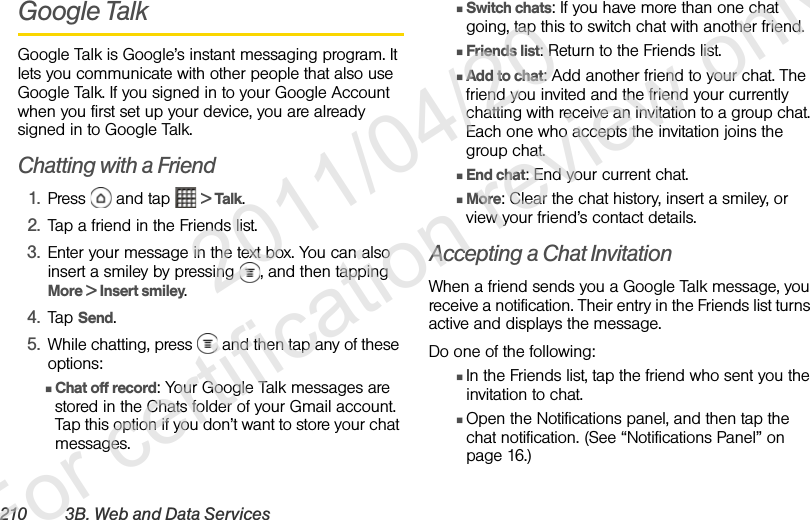
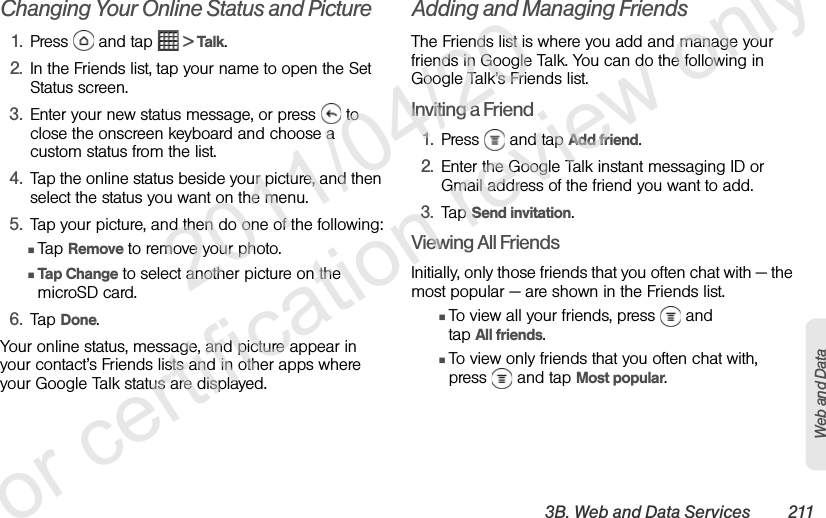
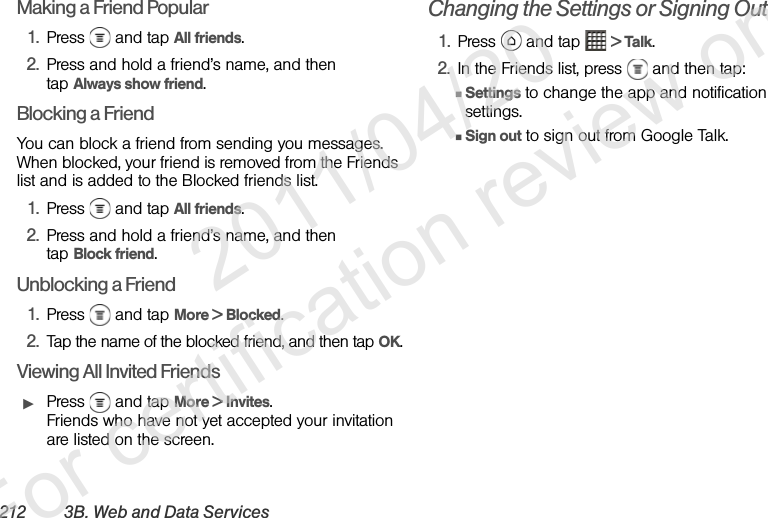
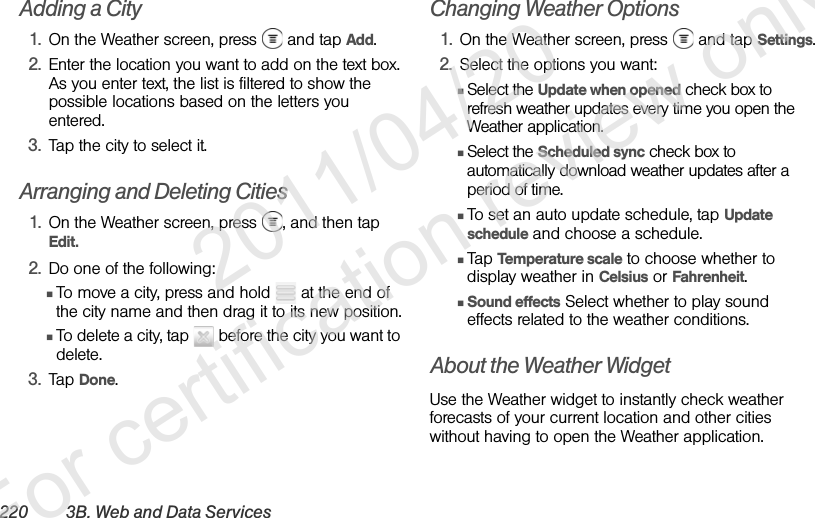
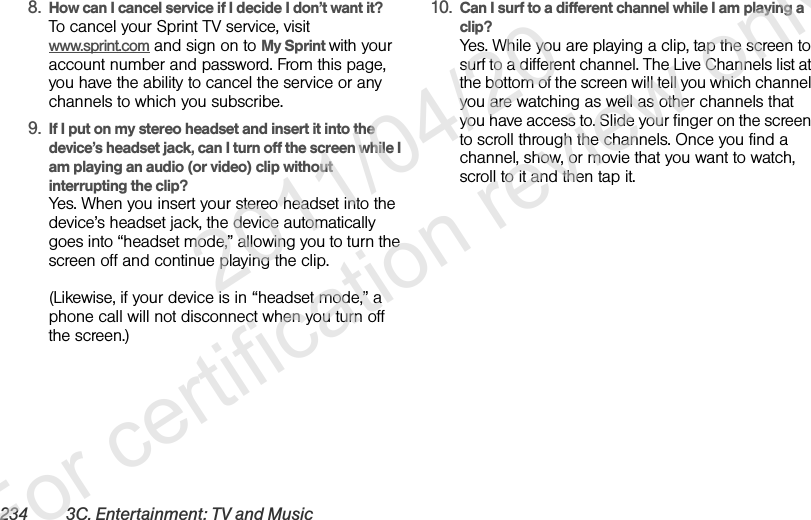
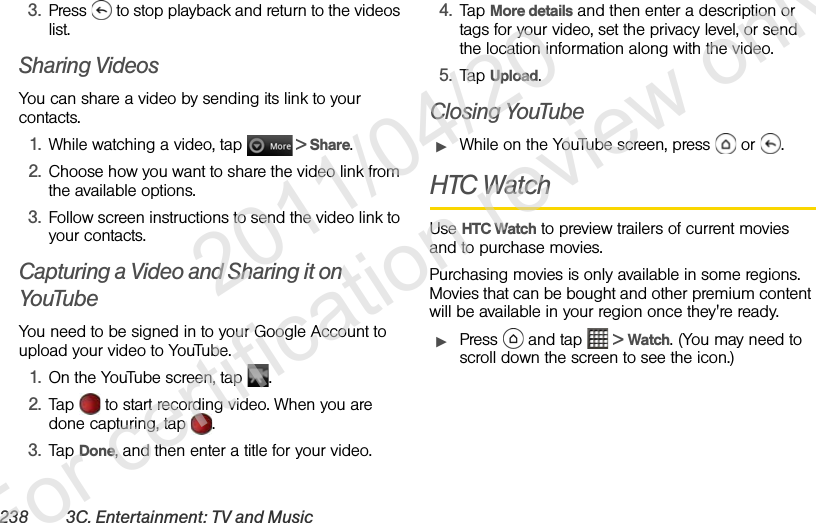
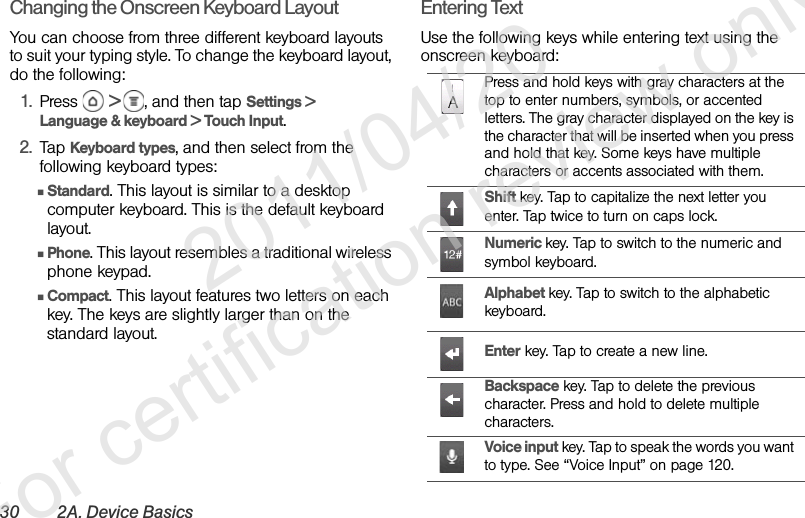
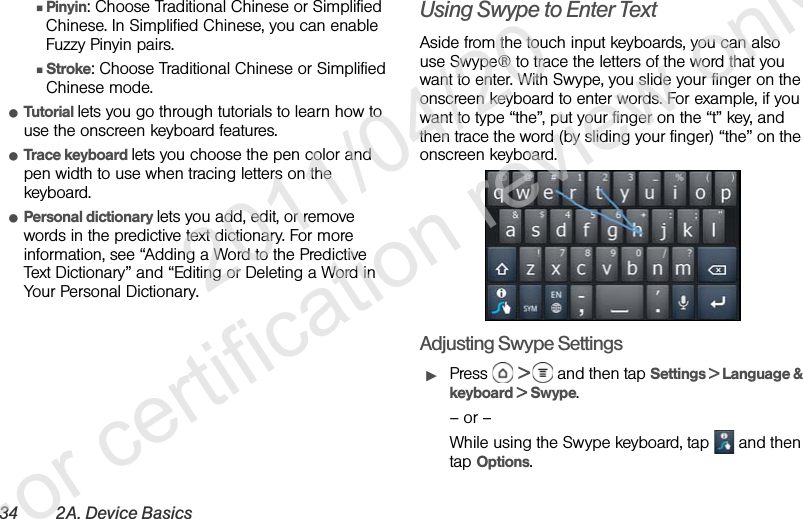
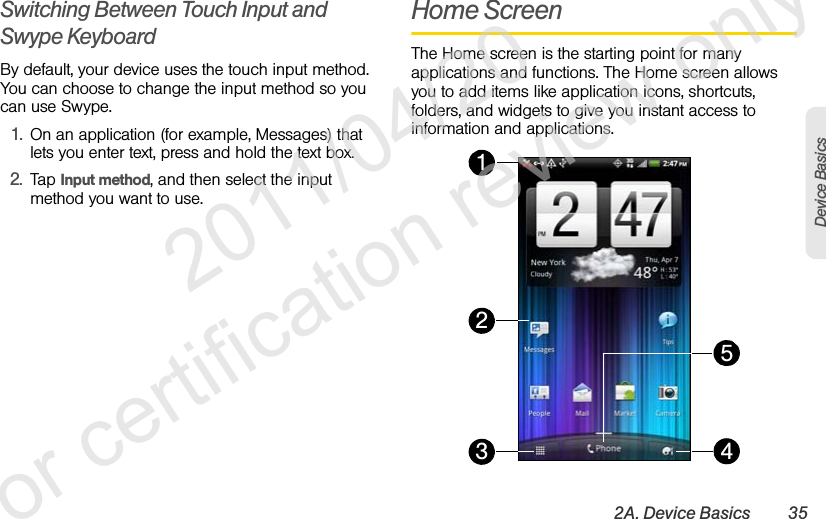
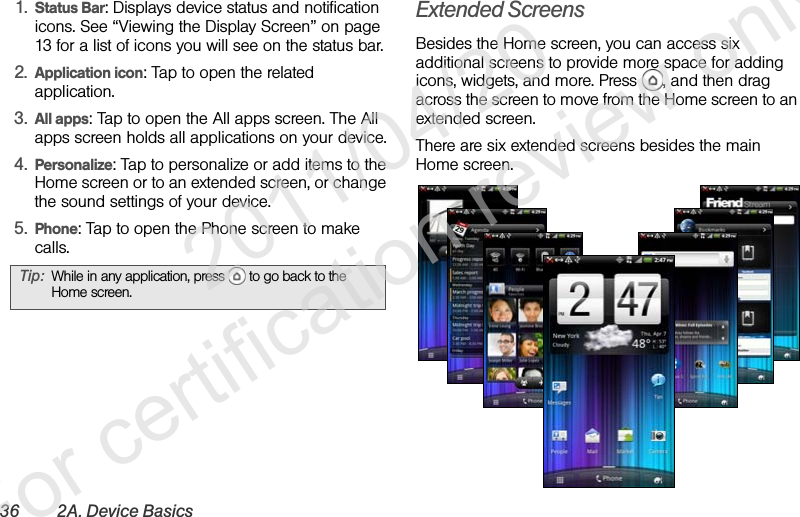
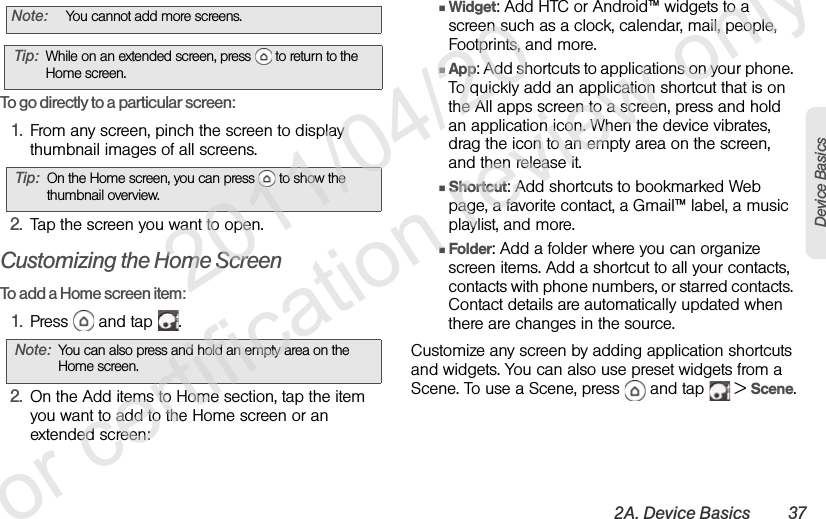
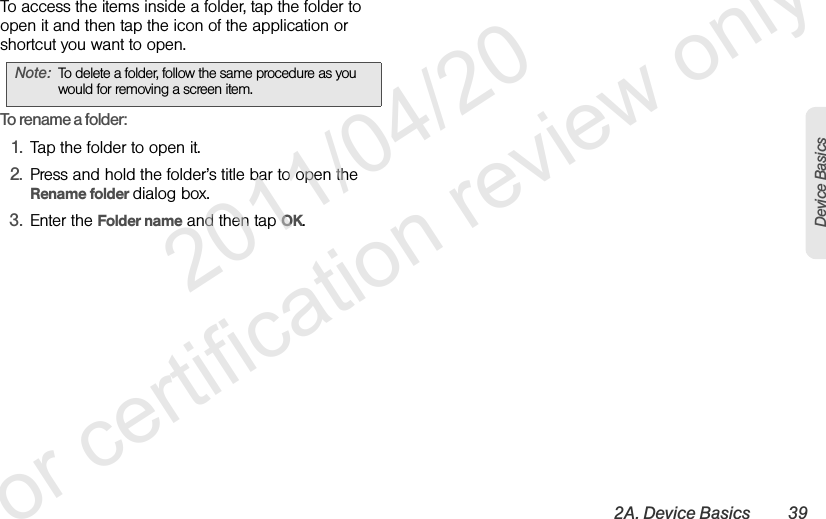
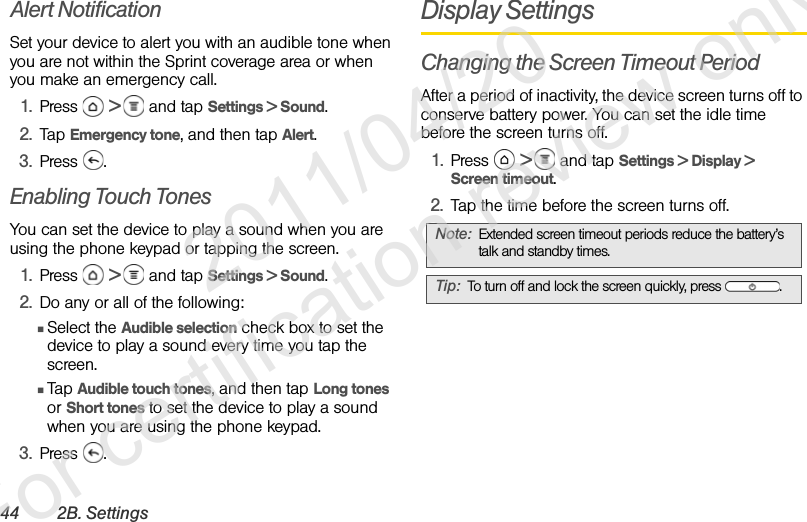
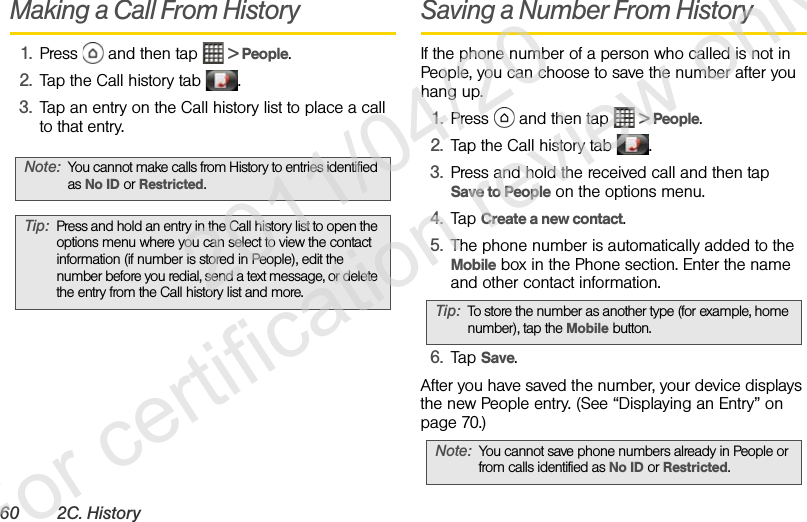
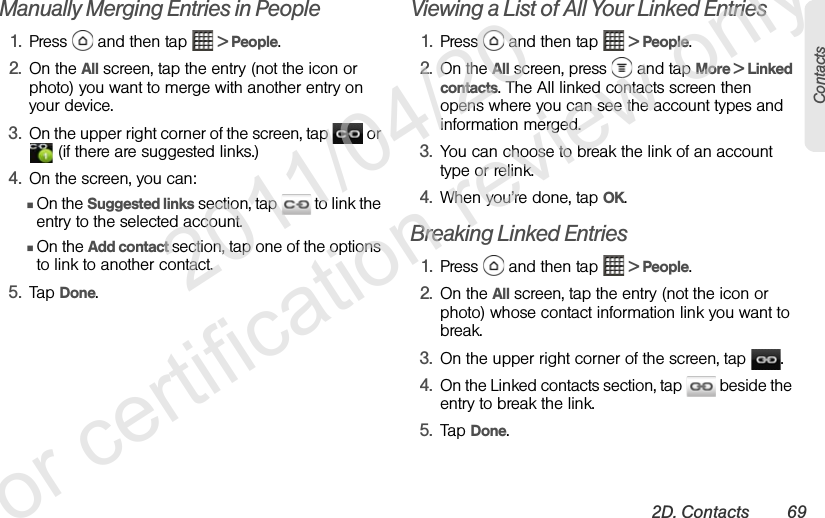
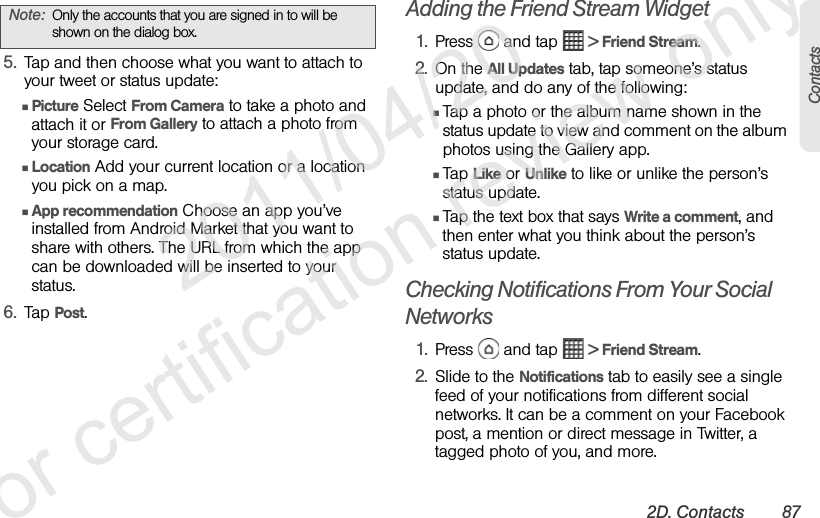
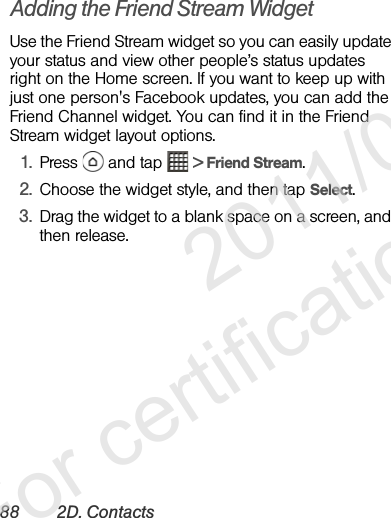
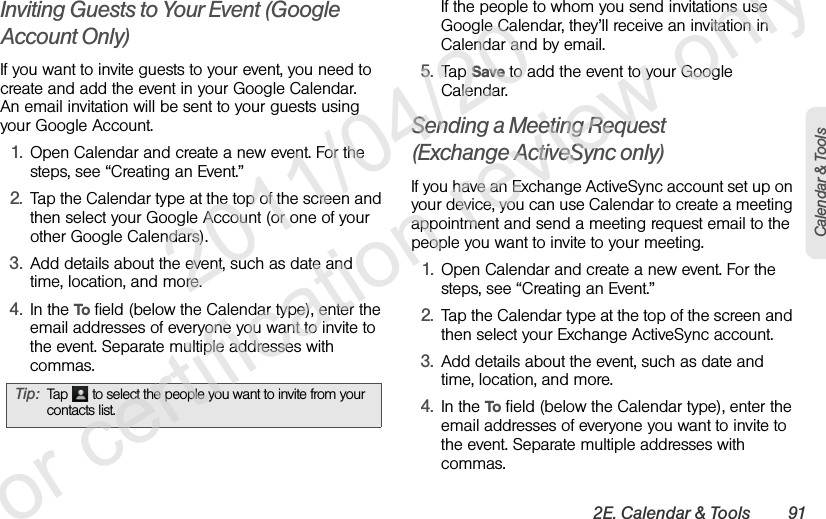
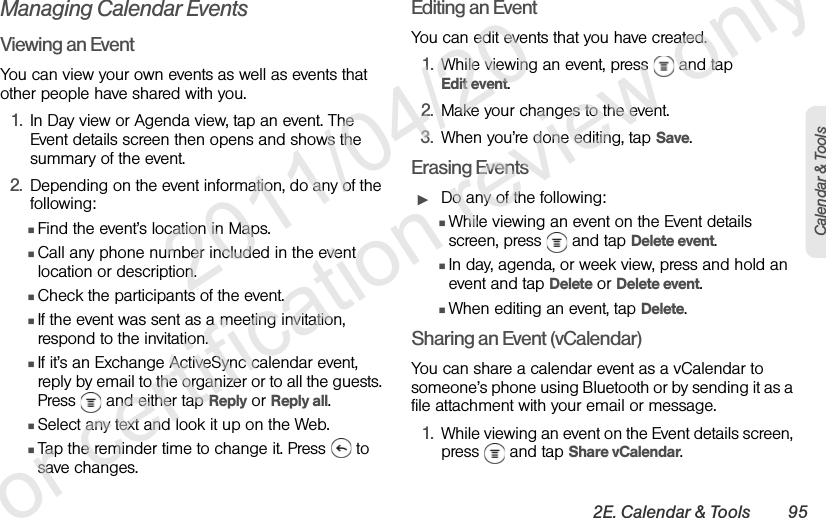
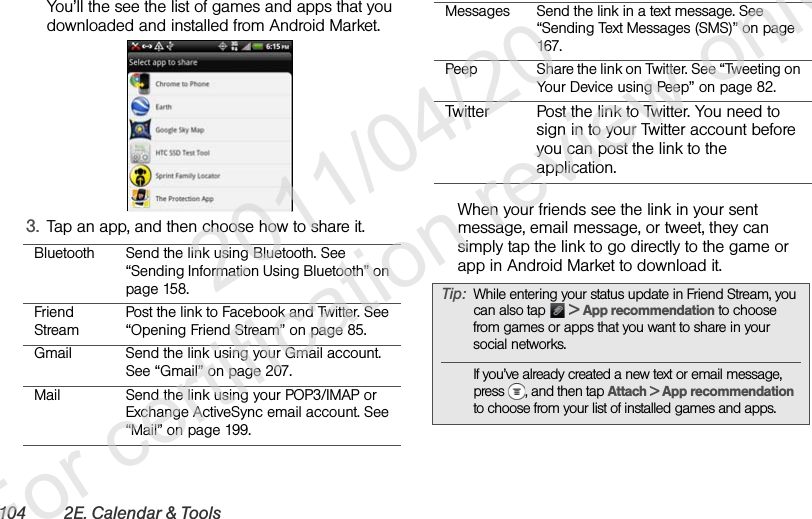
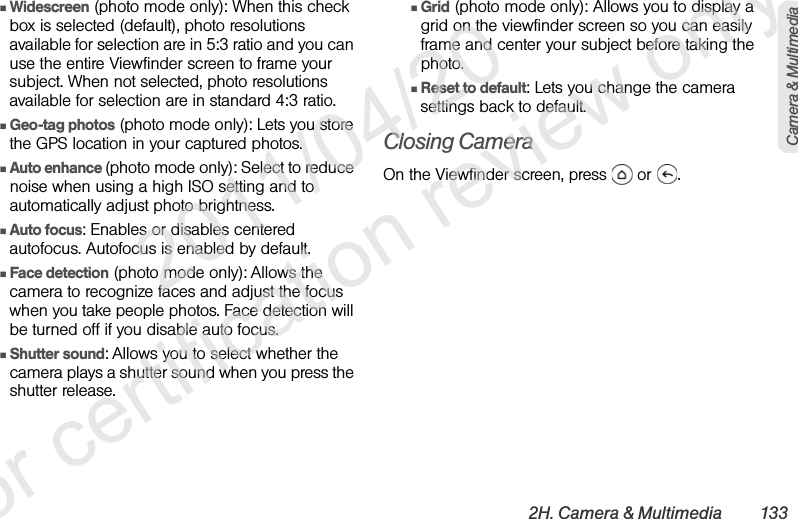
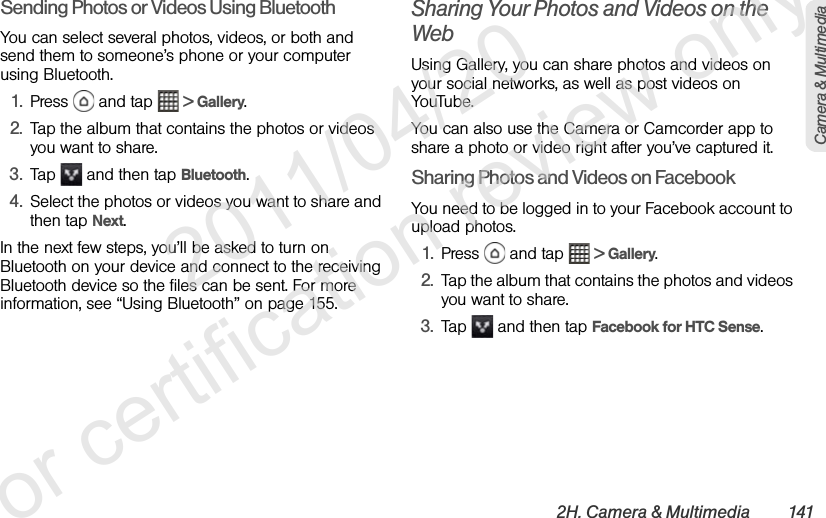
![28 2A. Device Basics4. Tap Create new contact or Save to existing contact.5. Use the keyboard to enter the new contact name and tap Save to save the new entry.– or –Tap an existing contact name and tap Save to save the new number.Finding a Phone NumberYou can search People for entries by name.1. Press and tap > People.2. Press , tap the Search people bar and enter the first letter or letters of an entry. (The more letters you enter, the more specific the search.)3. Tap the contact to display the contact’s phone number(s).Dialing From the People List1. Press and tap > People.2. Tap the entry you want to call.3. Tap Call [Type of Number]. (For example, Call mobile.)Speed DialingYour device can store up to nine phone numbers in speed dial locations.To assign a speed dial number to a People entry:1. Press and tap > People, and then tap an entry in People.2. Press and tap Set speed dial.3. Tap the list menu under Number to select a number from the contact to assign to speed dial.4. Tap the list menu under Location to assign the number to a speed dial location.5. Tap Save. Note: If you assign a number to an already in-use speed dial location, the new phone number will automatically replace the previous speed dial assignment. 2011/04/20 For certification review only](https://usermanual.wiki/HTC/PG86100.User-Manual-Part-1/User-Guide-1475356-Page-34.png)
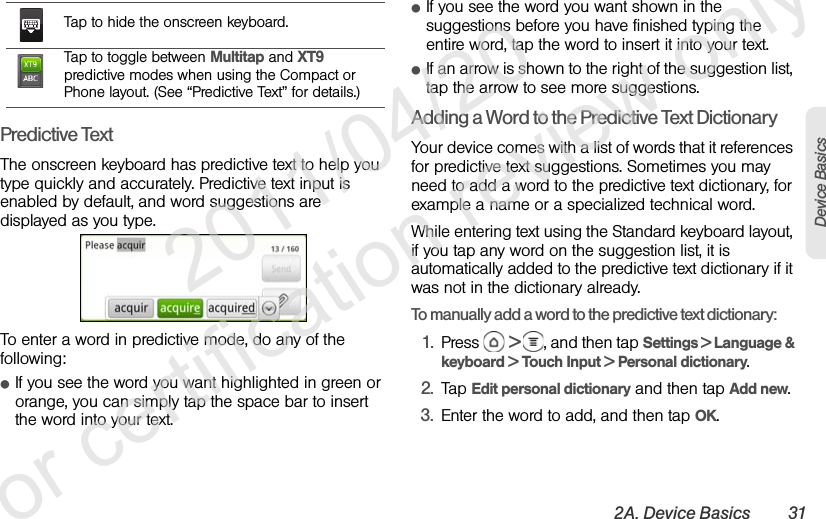


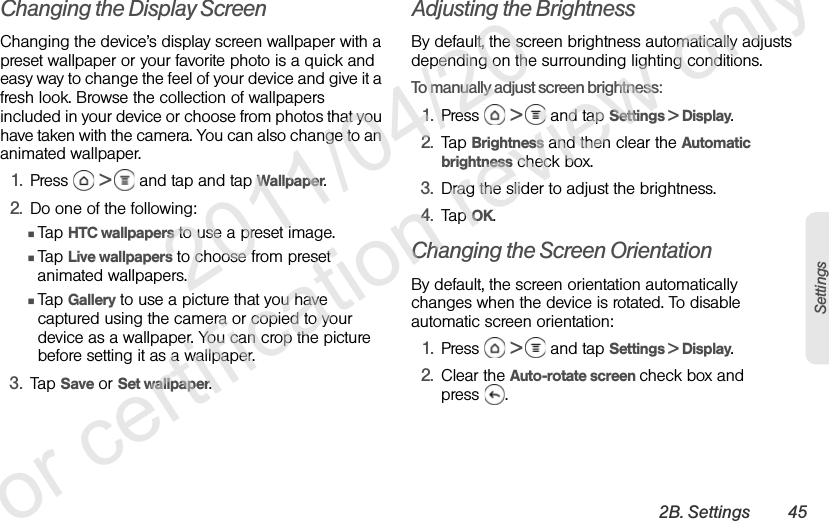
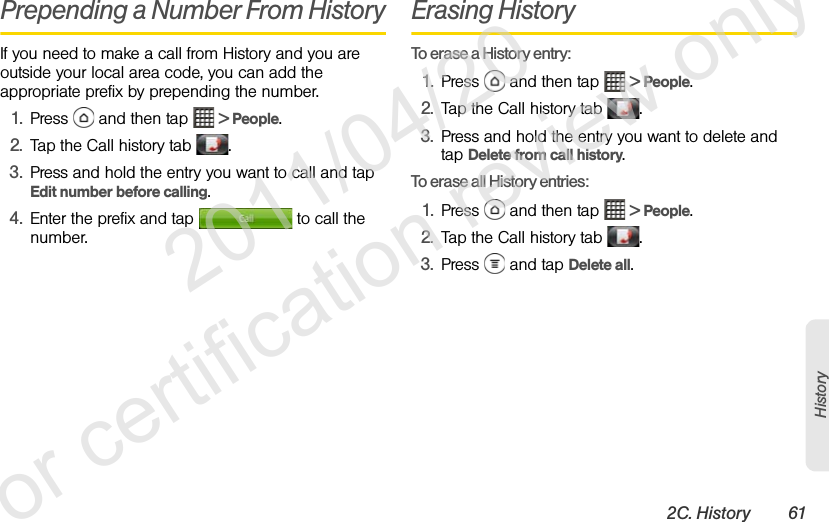

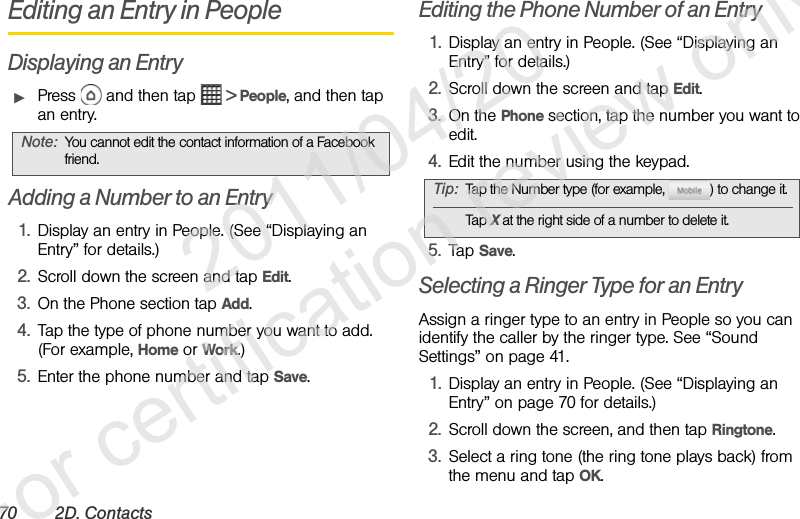
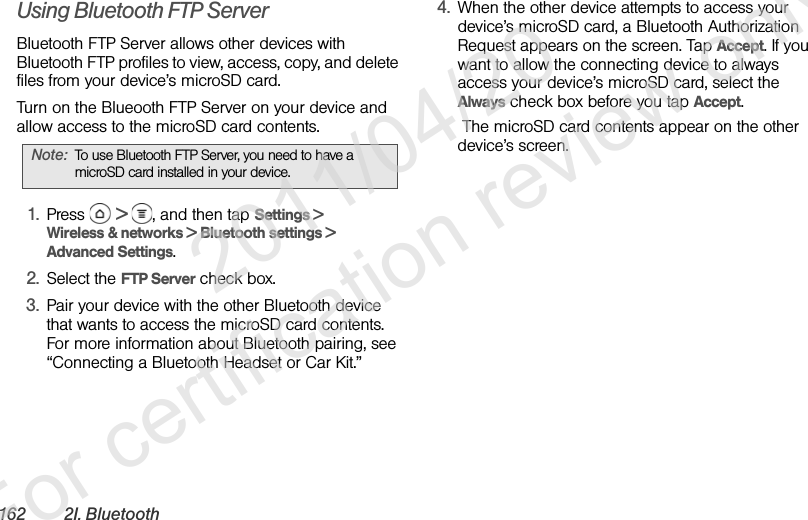
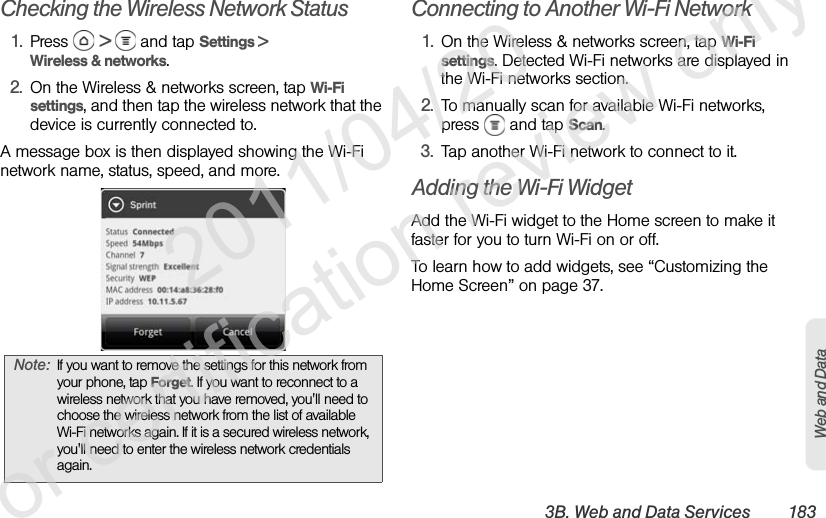
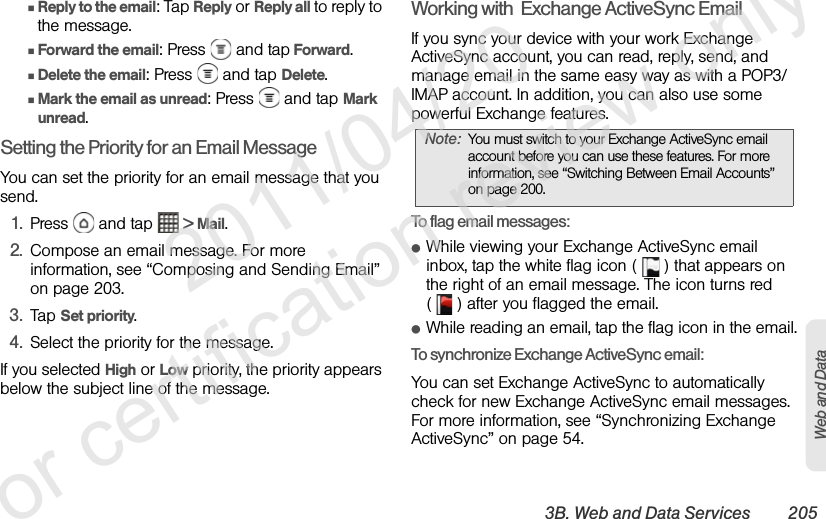
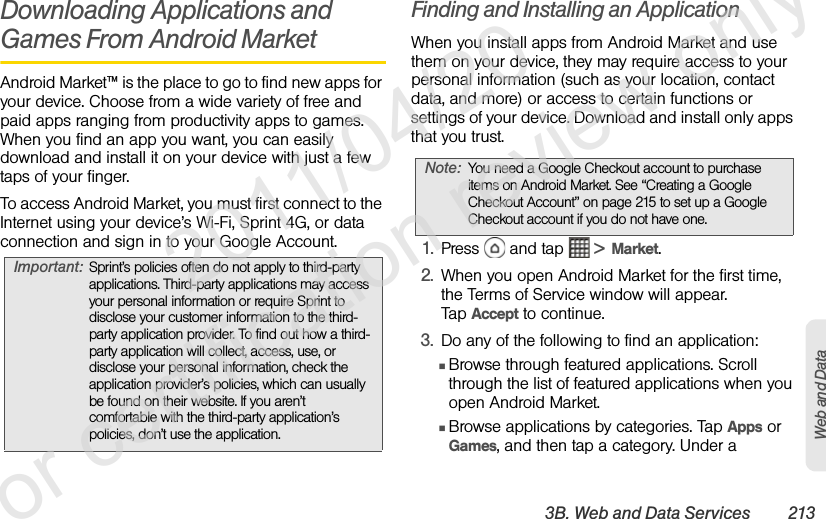
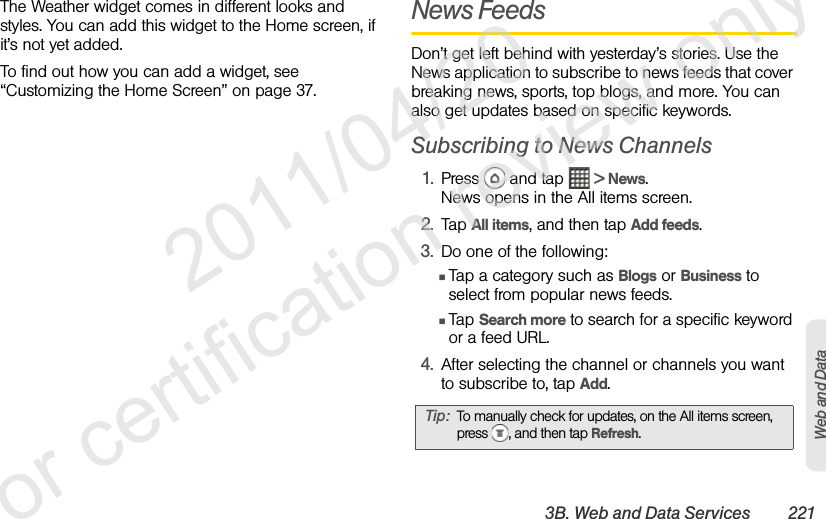
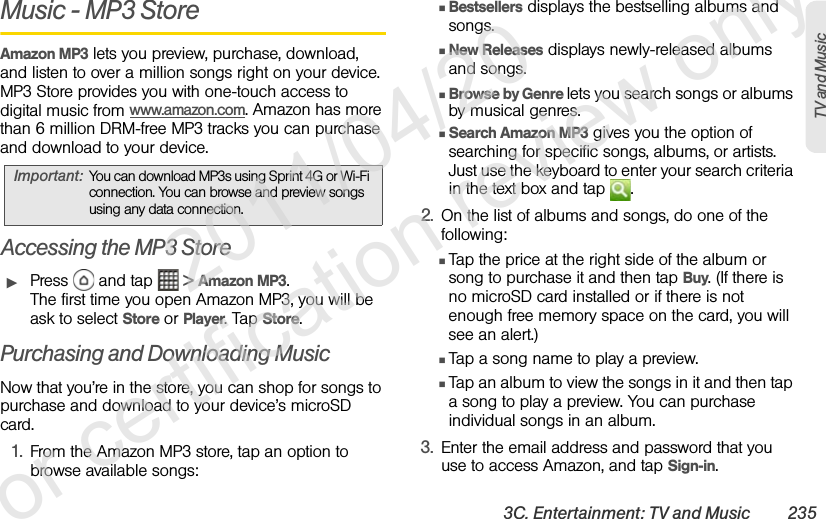
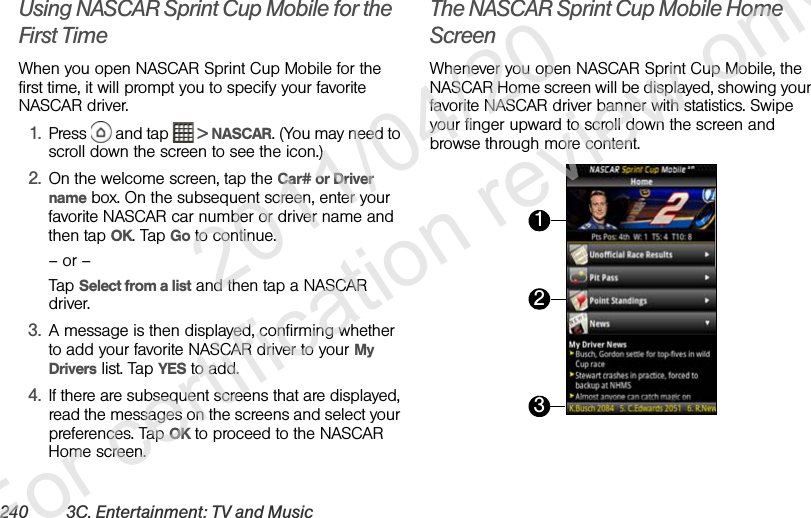
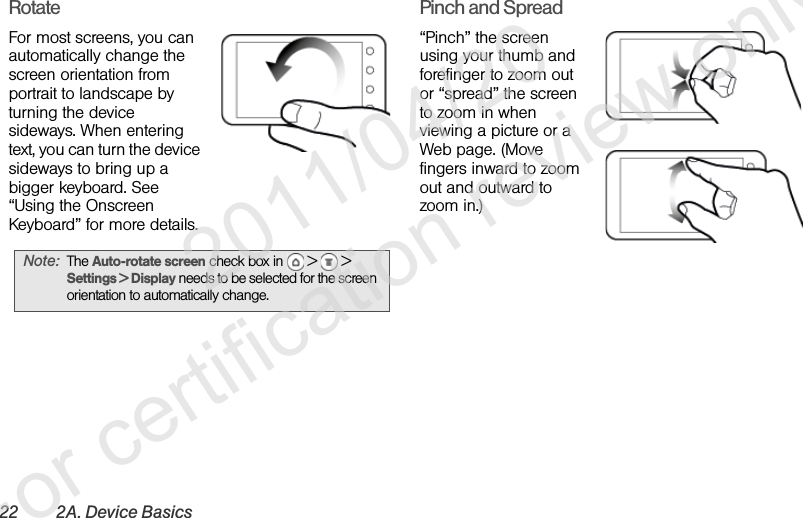
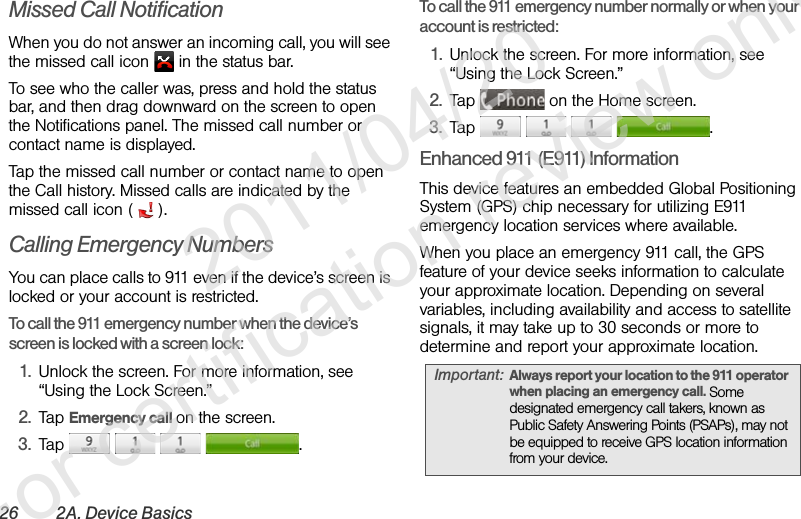
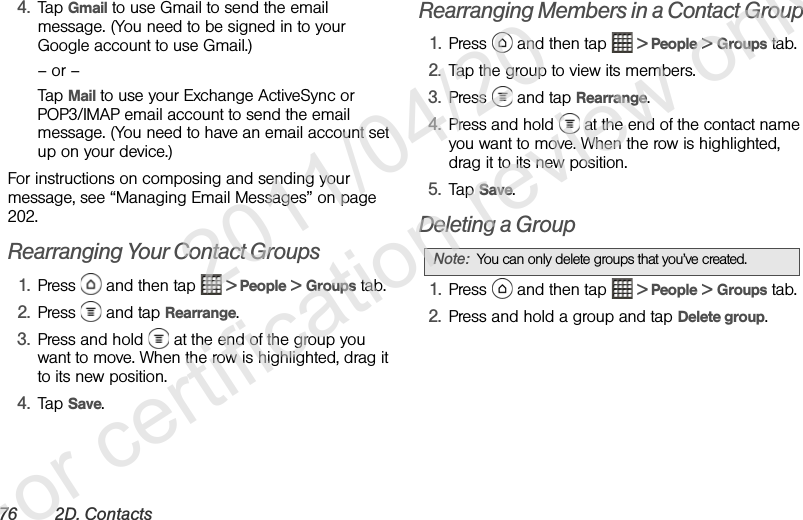
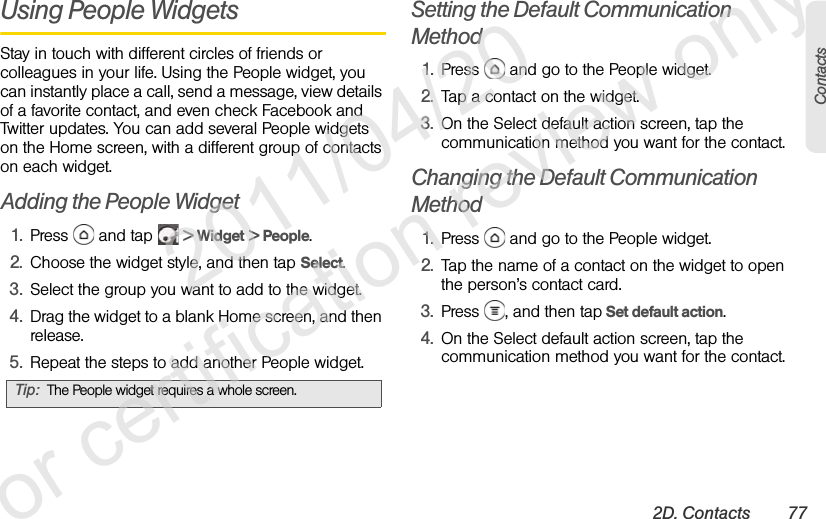
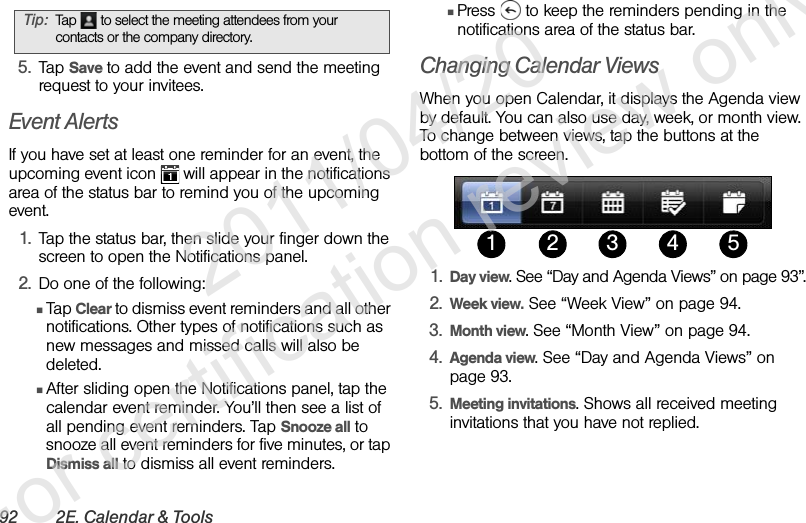
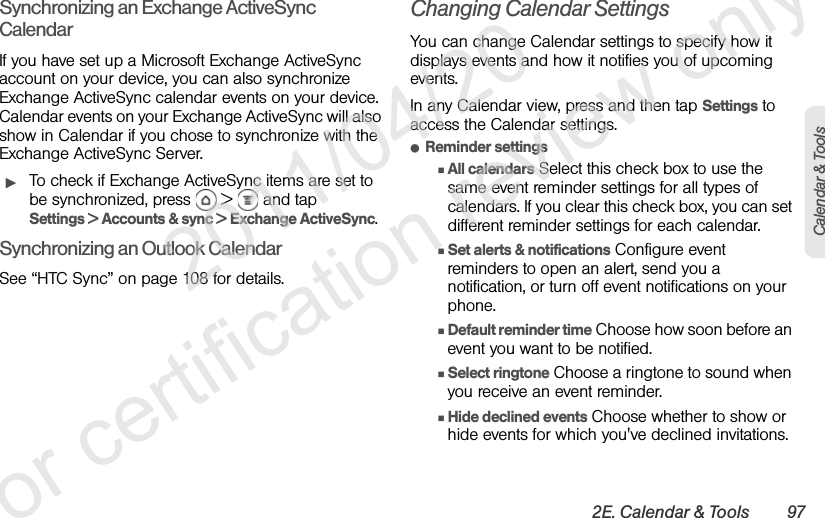
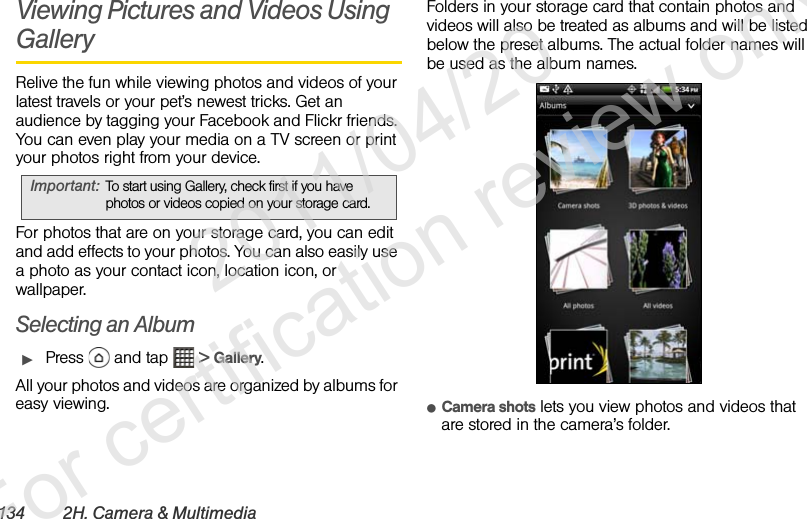
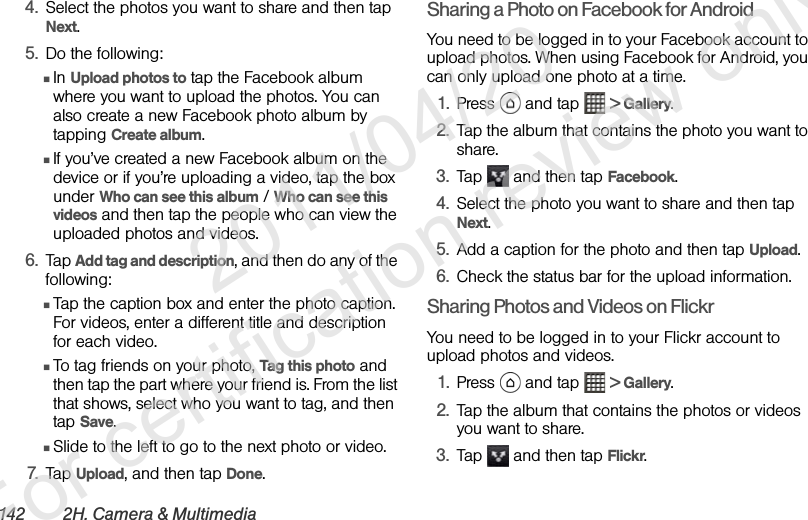
![2D. Contacts 71ContactsAssigning a Picture to an EntryAssign a picture to a contact entry to display it when that contact calls you.1. Display an entry in People. (See “Displaying an Entry” for details.)2. Scroll down the screen and tap Edit.3. Tap at the top-left corner of the screen.4. Tap Gallery or Camera.ⅢIf you selected Gallery, select an album to find the picture, tap the picture you want to use, crop the picture, and tap Save.ⅢIf you selected Camera, the camera will launch and you will use it to take a new picture. (See “Taking Pictures and Shooting Videos” on page 126.)5. Tap Save.Adding an Email Address to an Entry1. Display an entry in People. (See “Displaying an Entry” for details.)2. Scroll down the screen and tap Edit.3. On the Email section, tap Add.4. Enter the email address and tap Save.Sending Contact Information as a vCard1. Press and then tap > People.2. On the All screen, do the following:ⅢTo send a contact’s information, press and hold the name of the contact (not the icon or photo) and then tap Send contact as vCard.ⅢTo send your contact information, press and hold [Your name] My profile and then tap Send my profile.3. Tap the box under the contact name or your name, to select how you want to send it.4. Select the type of information you want to send, and then tap Send. 2011/04/20 For certification review only](https://usermanual.wiki/HTC/PG86100.User-Manual-Part-1/User-Guide-1475356-Page-77.png)
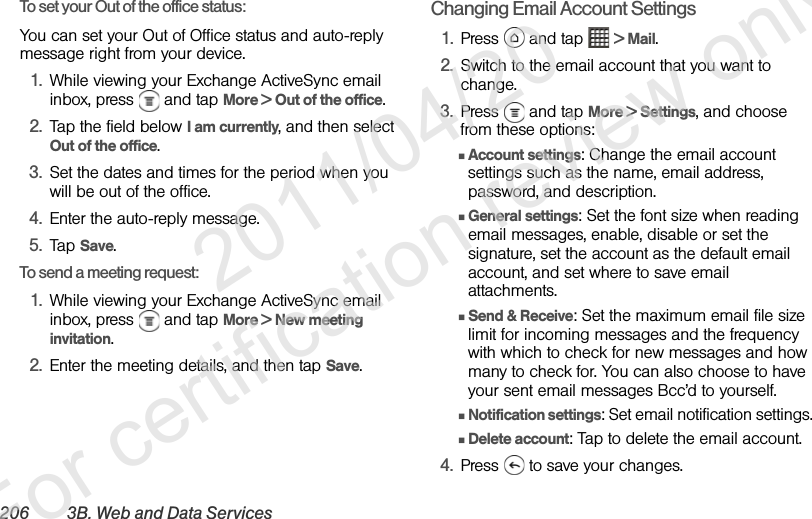
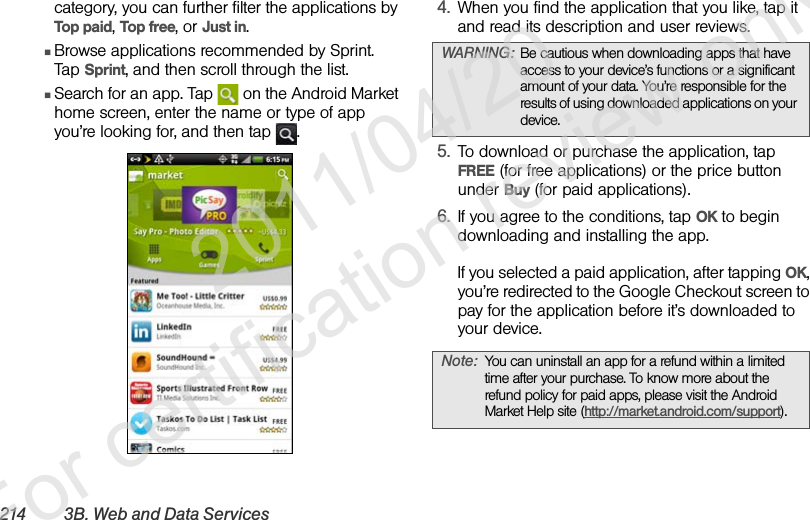
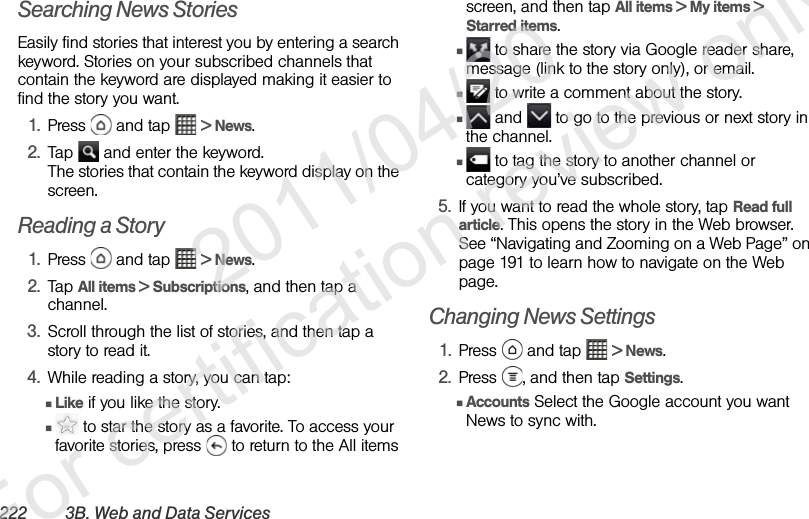
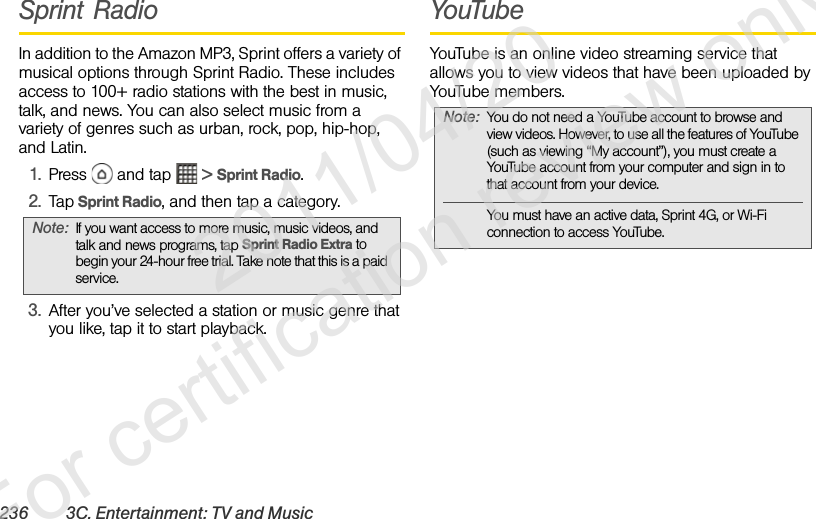
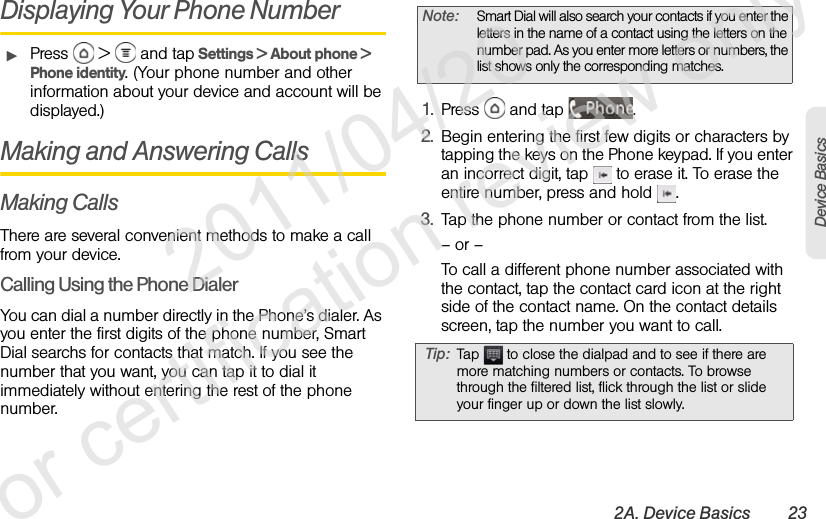
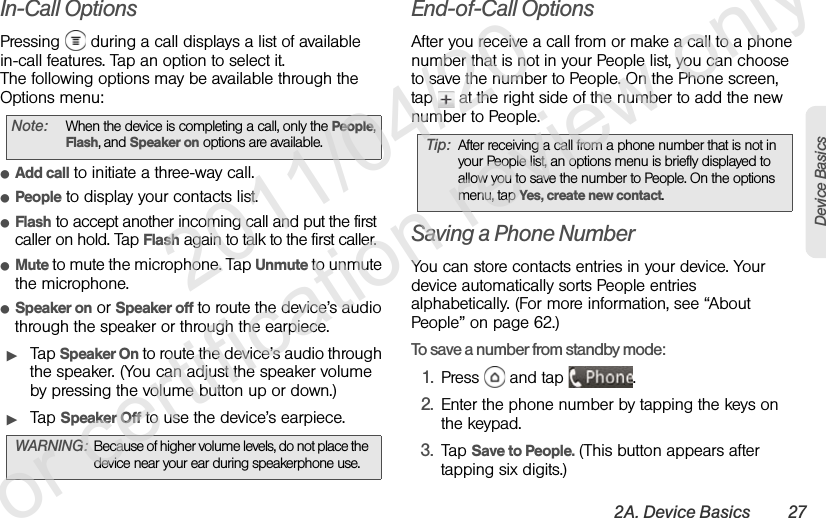
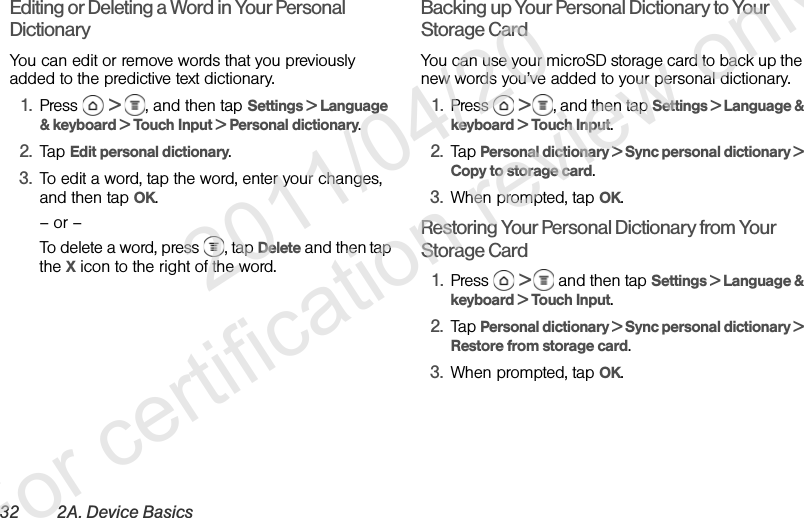
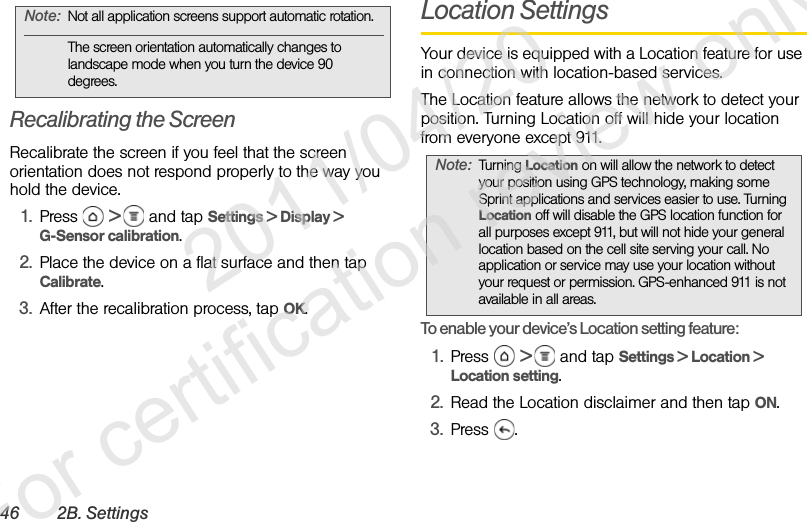
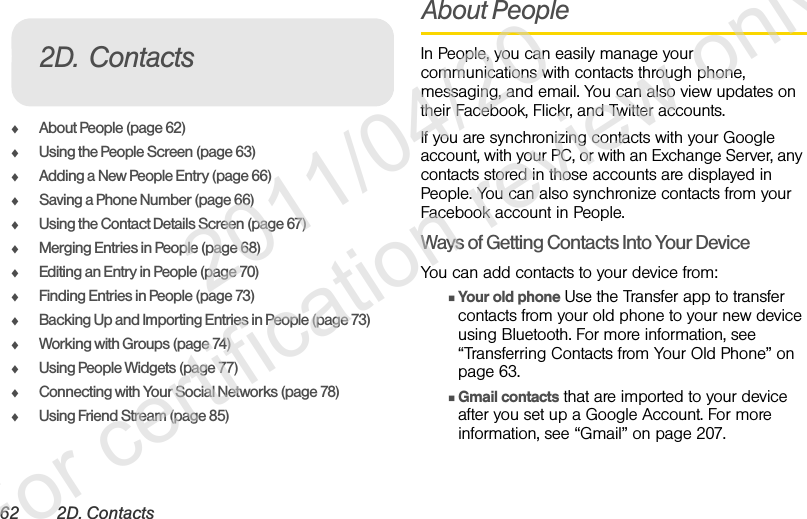
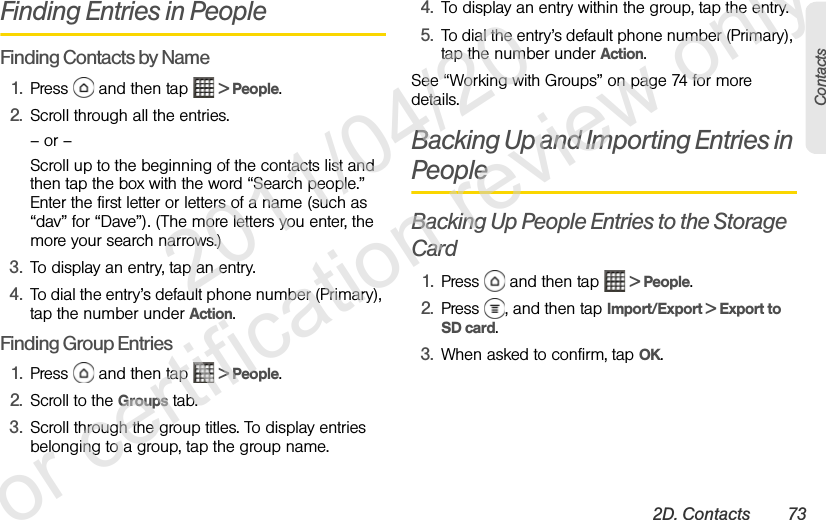
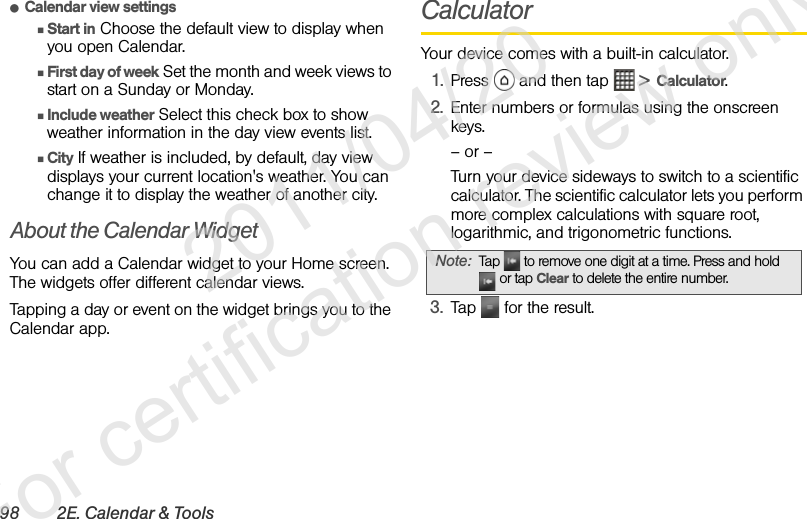
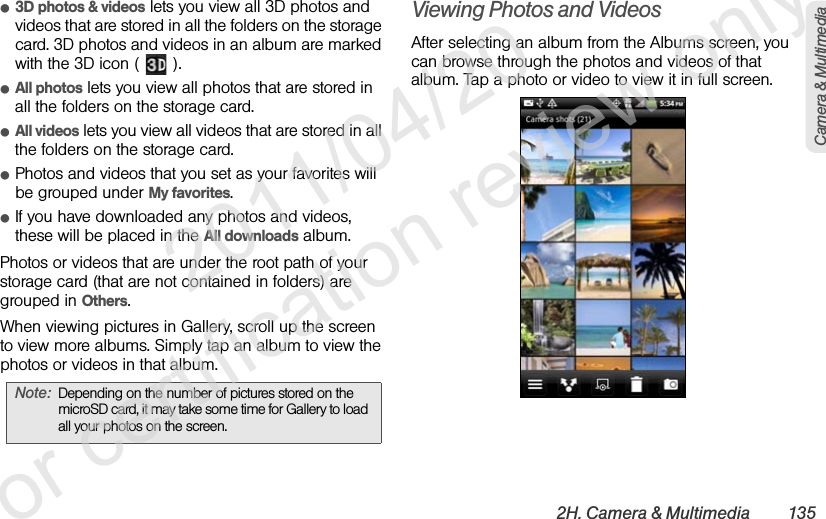
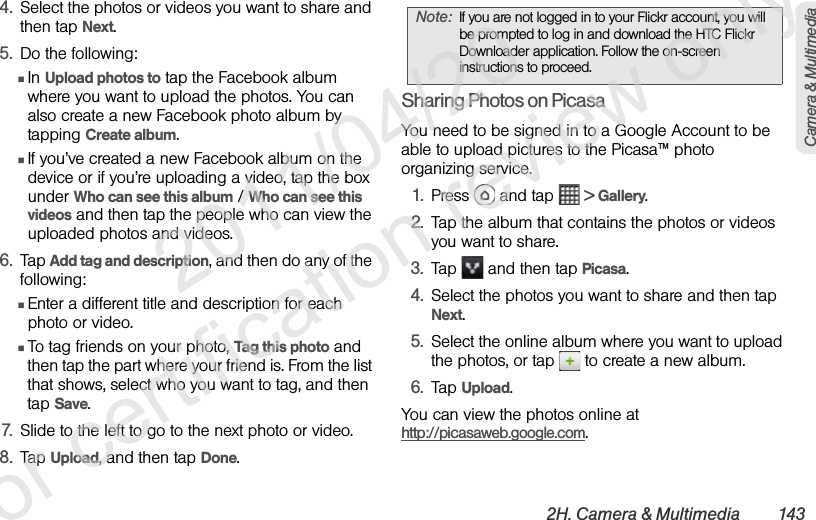
![72 2D. Contacts5. Enter the recipient’s number or email address, and then tap Send.You can also send the vCard using Bluetooth. To learn how to send files through Bluetooth, see “Using Bluetooth” on page 155.Sending an Entry as a vCardEasily share your own contact information or any contact on your device.1. Press and then tap > People.2. On the All screen, do the following:ⅢTo send a contact’s information, press and hold the name of the contact (not the icon or photo) whose contact information you want to send, and then tap Send contact as vCard.ⅢTo send your contact information, tap [Your name] My profile, tap Share my contact card, and then choose how you want to send it.3. Select the type of information you want to send, and then tap Send.Deleting an Entry1. Press and then tap > People.2. Tap a contact you wish to delete.3. Press and then tap Delete.4. Tap OK to confirm the deletion.Deleting Multiple Entries1. Press and then tap > People.2. On the All screen, and then tap Delete.3. Select the entries you want to delete, and then tap Delete.4. Tap OK to confirm the deletions. 2011/04/20 For certification review only](https://usermanual.wiki/HTC/PG86100.User-Manual-Part-1/User-Guide-1475356-Page-78.png)
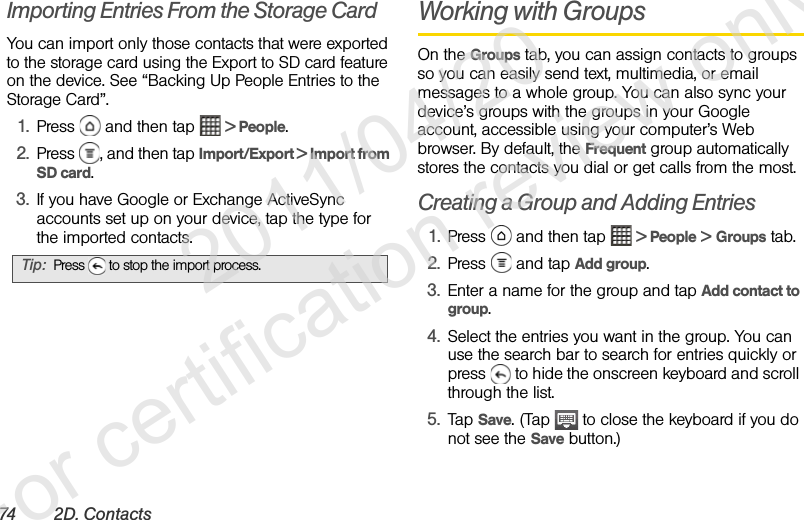

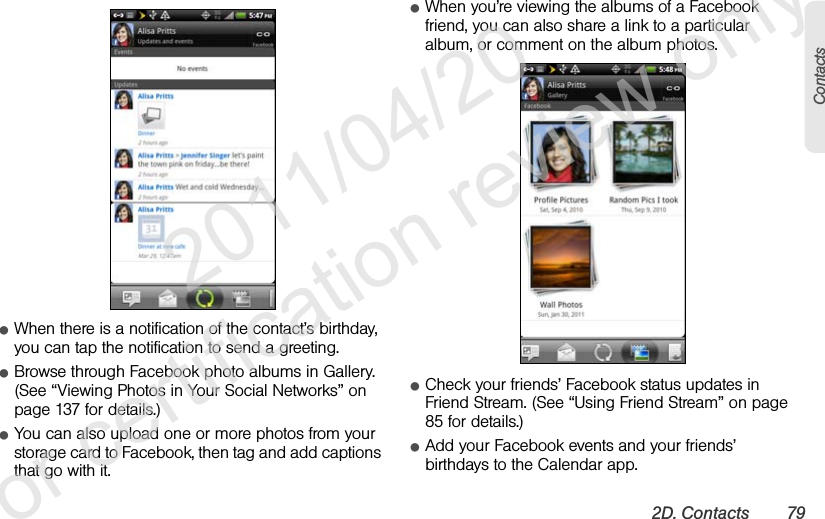
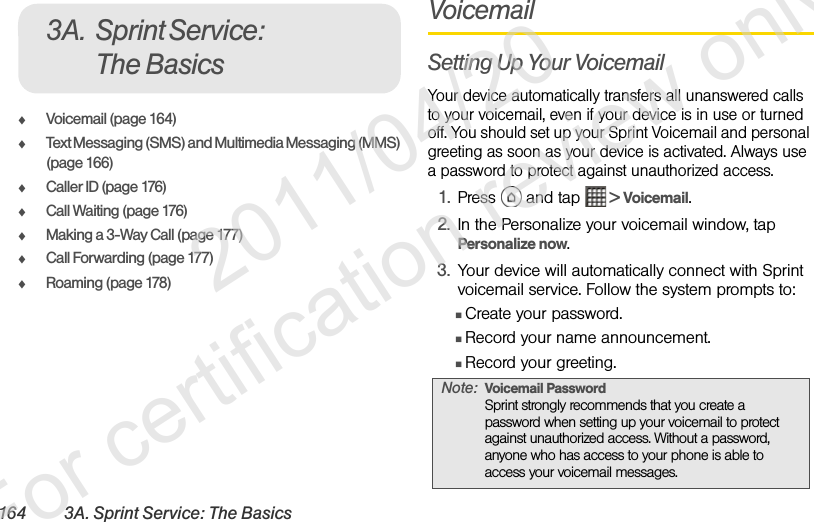
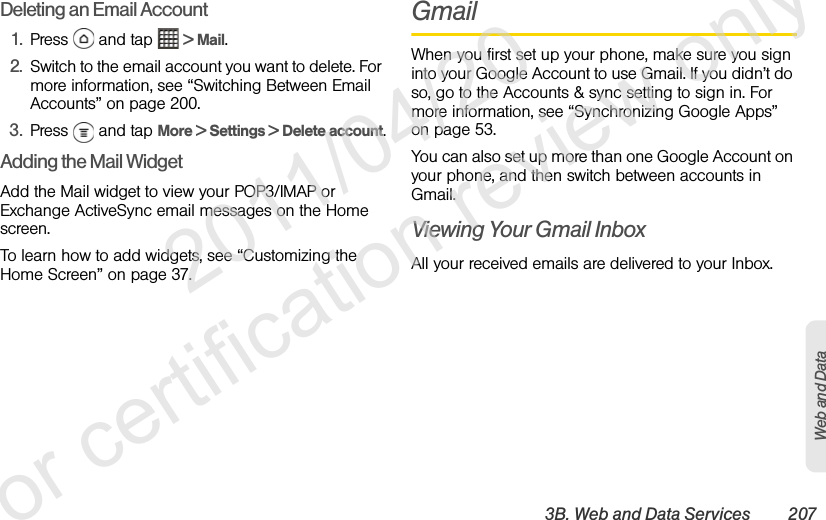
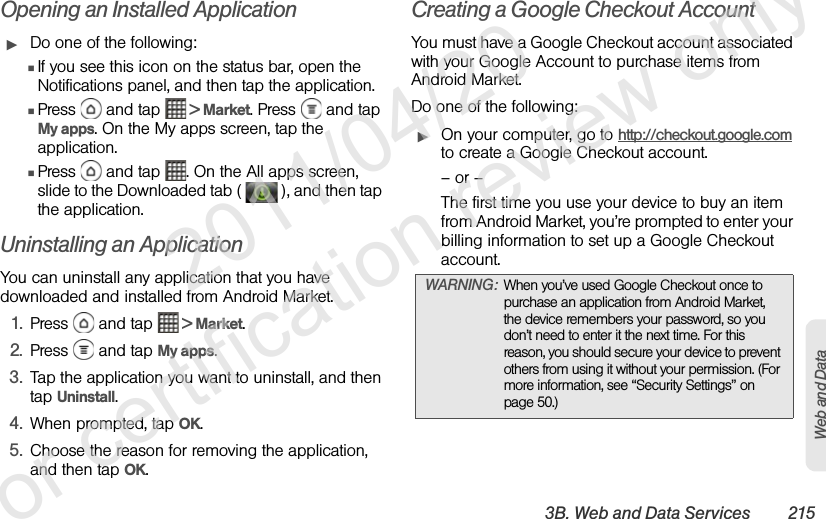
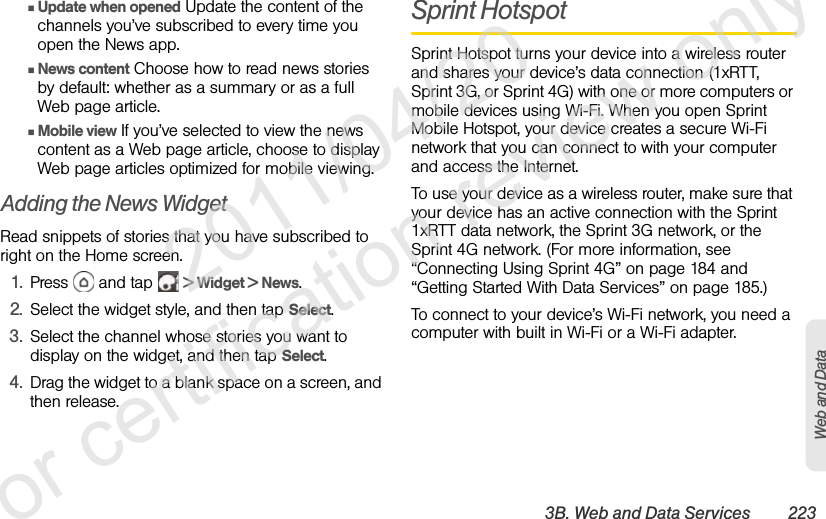
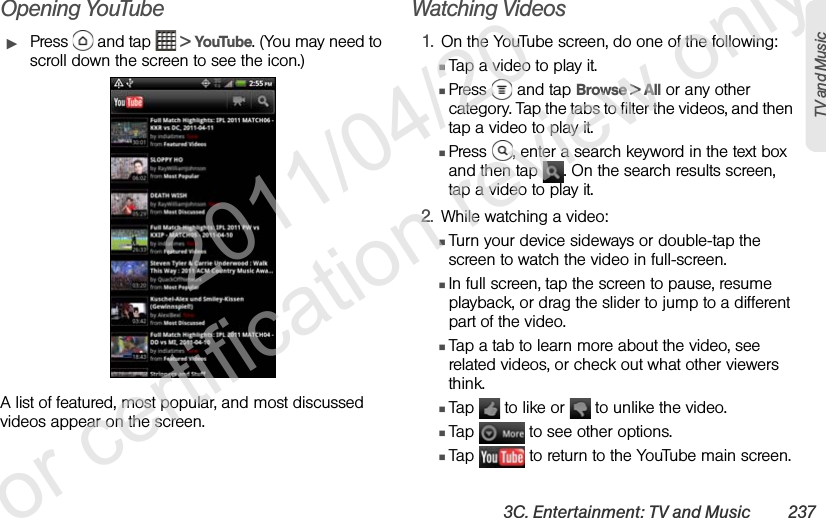
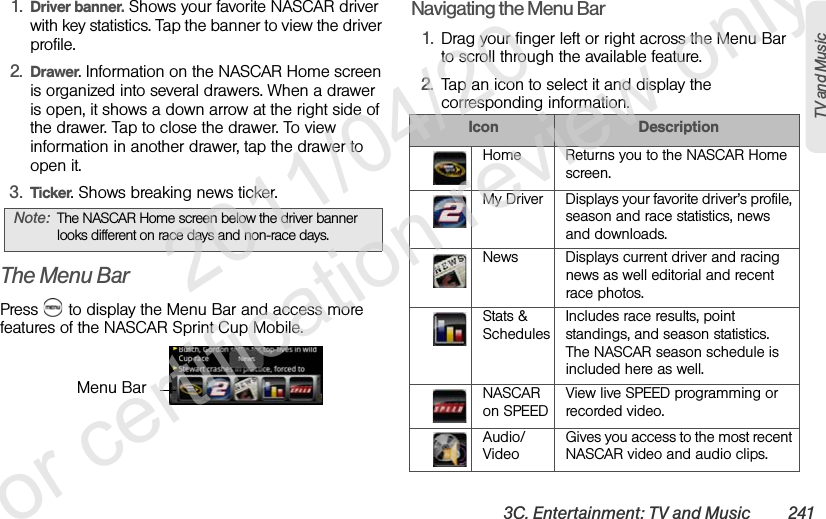
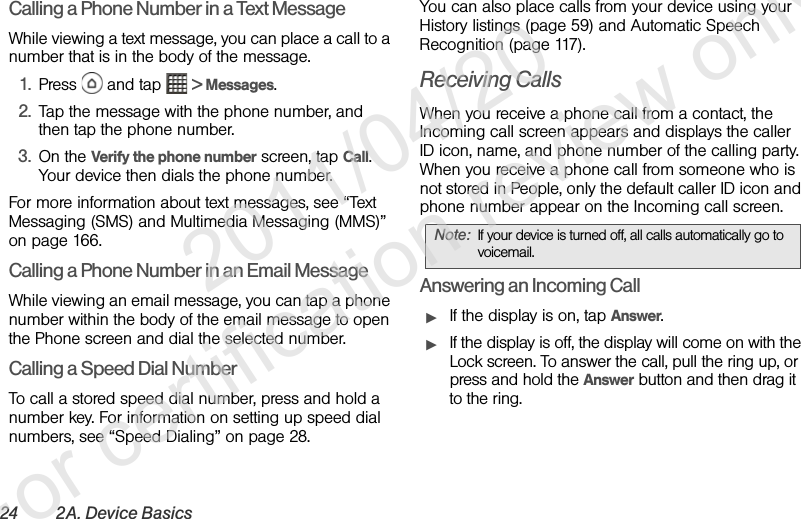
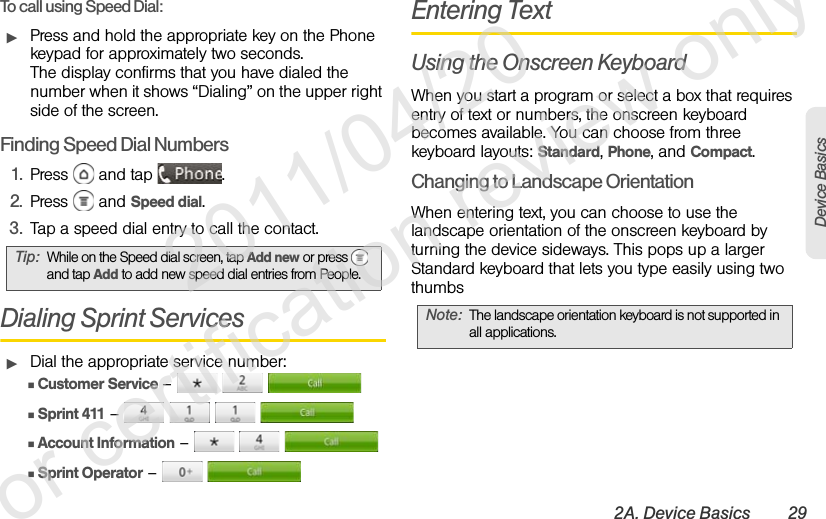
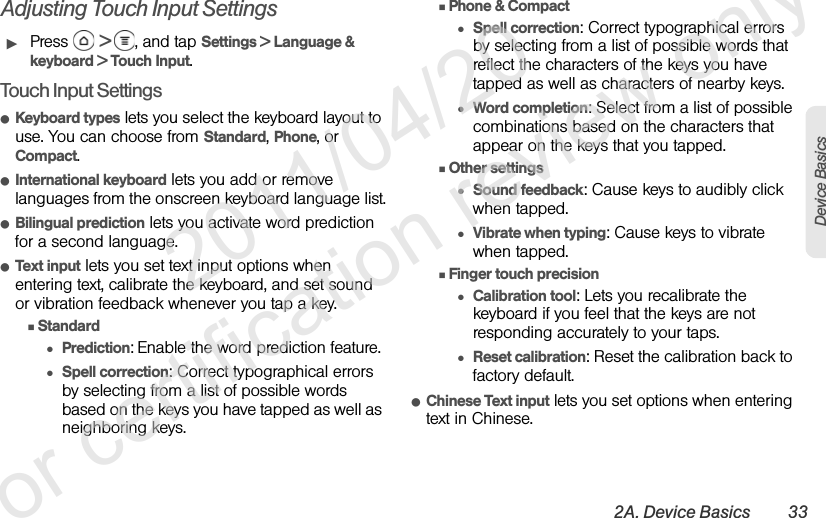
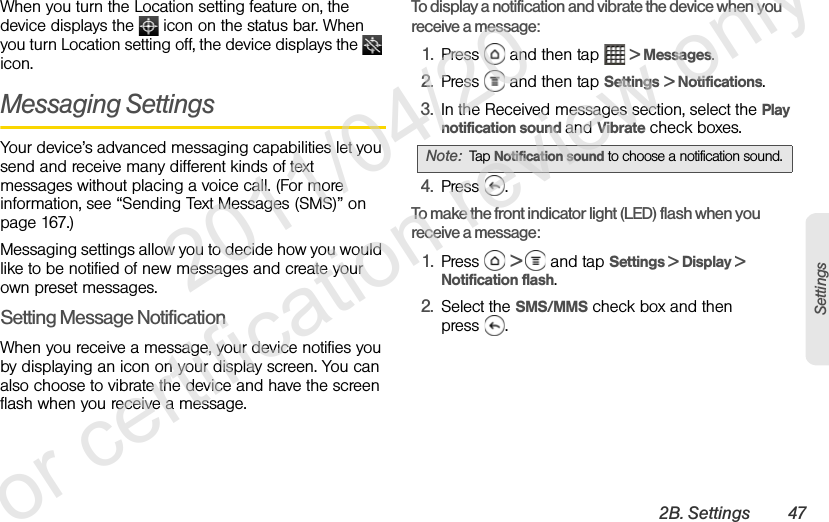
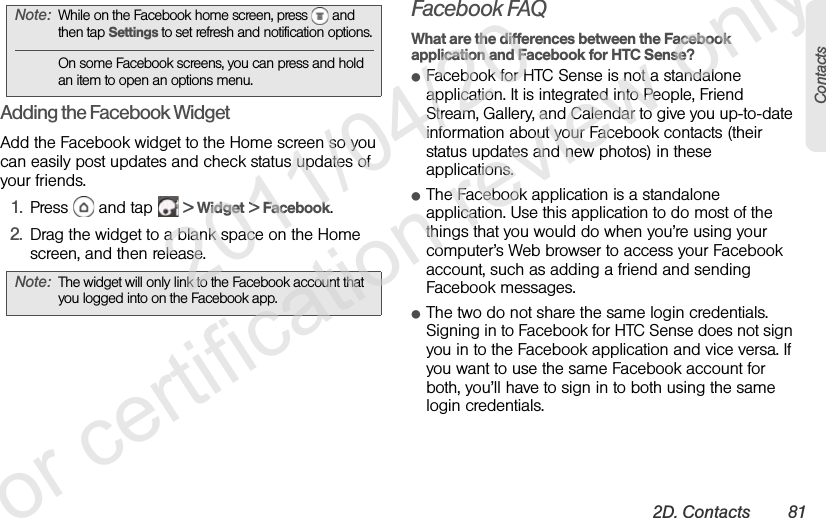
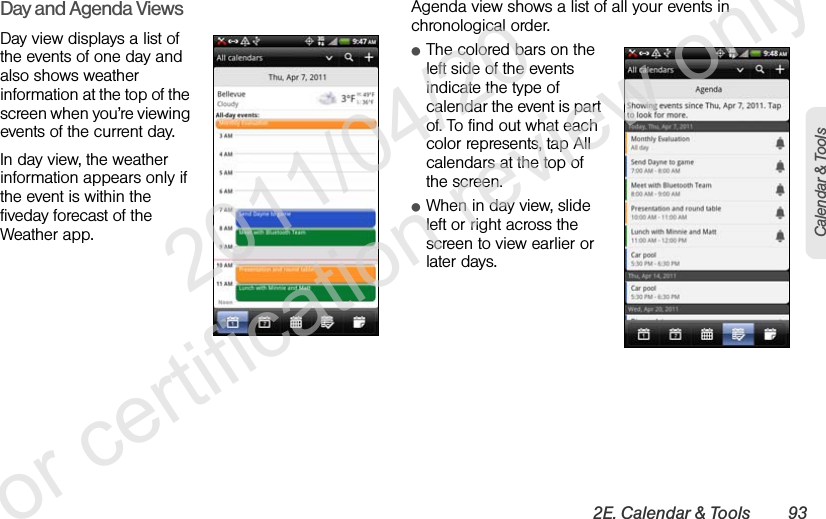
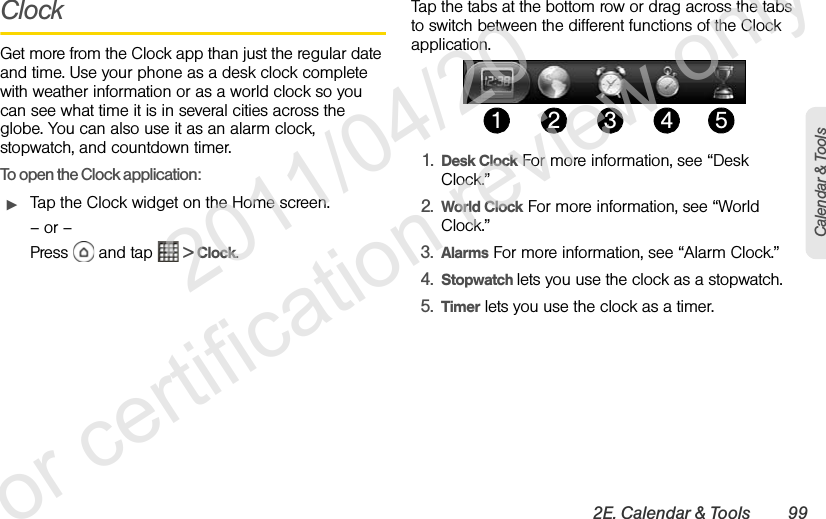
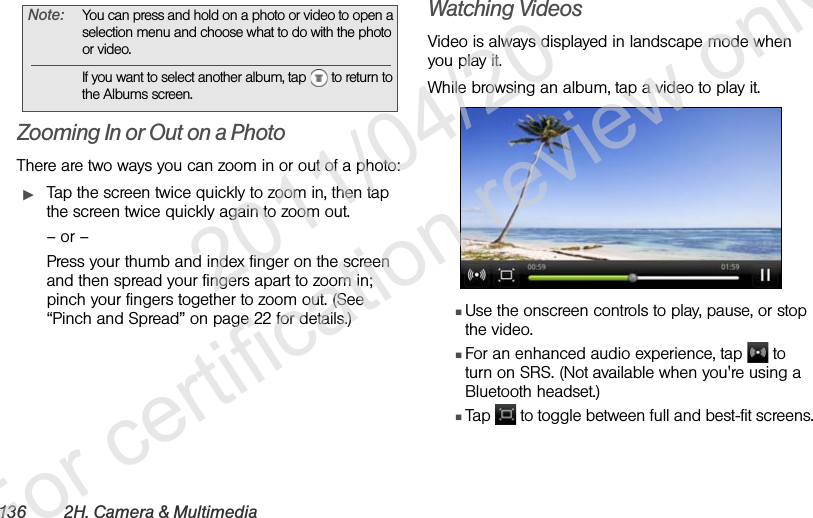
![80 2D. ContactsUpdating Your Facebook Status1. Press and then tap > People > All screen.2. Tap [Your Name] My profile > Facebook.3. Enter your status in the “What’s on your mind” text box and tap Share.Synchronizing Facebook for HTC SenseSee “Social Network Settings” on page 55.Changing Facebook for HTC Sense Update Settings1. Press > and tap Settings > Accounts & sync.2. Tap Facebook for HTC Sense.3. Tap Update schedule, and then select the time interval.Facebook for AndroidThe Facebook app on your device lets you keep up and stay close with your friends in Facebook. It offers most of the features that you are familiar with when using Facebook on your computer.With the Facebook app, you can:ⅢShare your thoughts and check other people’s status updates.ⅢView your friends list and write on someone’s wall.ⅢComment on and like a friend’s post.ⅢView someone’s personal information, including photo albums.ⅢCheck your Facebook notifications.ⅢTake a photo and upload it straight to your Facebook account.Opening Facebook1. Press and then tap > Facebook.2. If this is your first time to use Facebook, follow the onscreen instructions to sign into your Facebook account.3. On the News Feed screen, tap to access the other functions.Press to go to the Facebook home screen and access other functions. 2011/04/20 For certification review only](https://usermanual.wiki/HTC/PG86100.User-Manual-Part-1/User-Guide-1475356-Page-86.png)
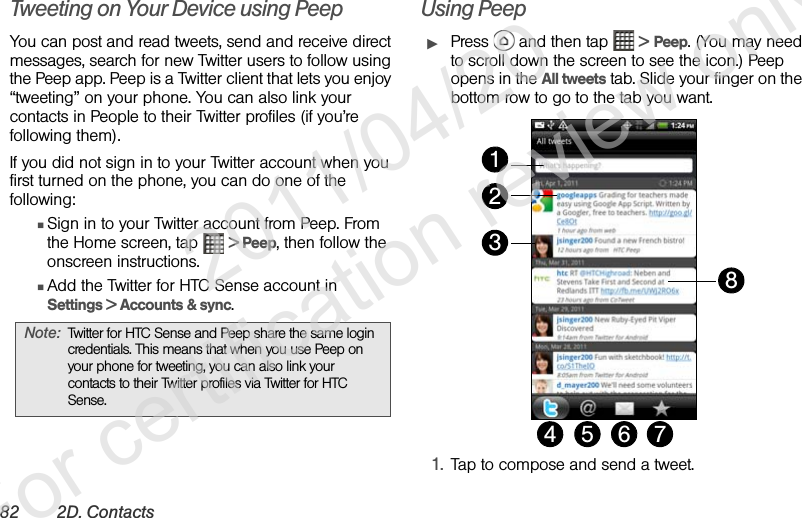
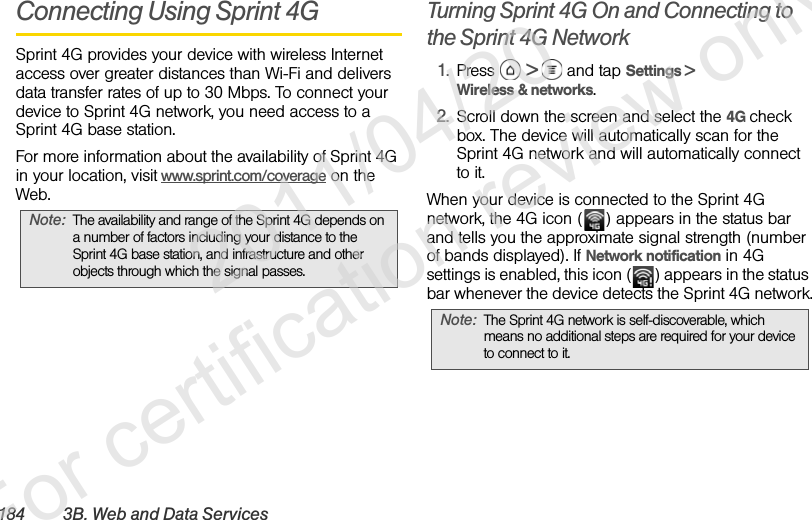
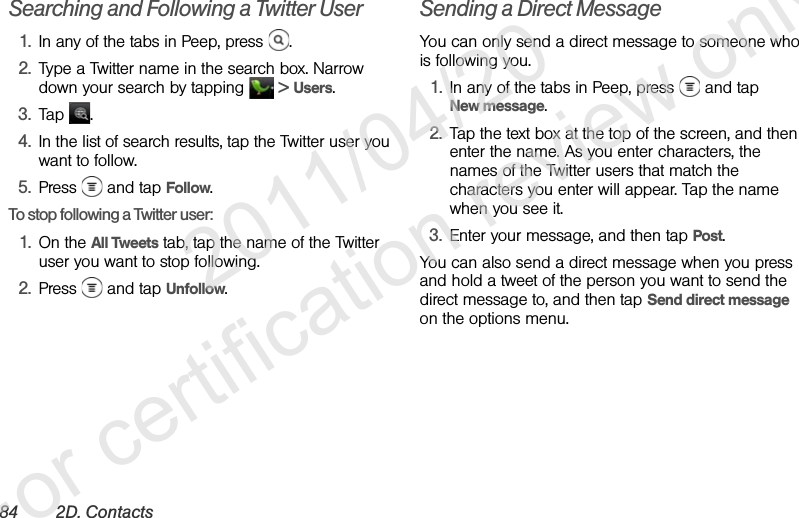
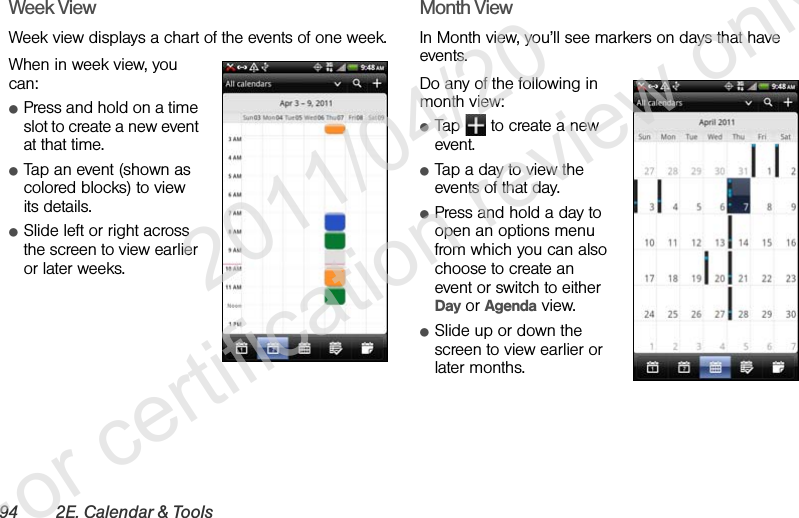
![2D. Contacts 83Contacts2. Tap a person’s name to check profile details and all of his or her tweets.3. If you have linked the contact in People, tap the photo or icon to open a menu where you can quickly choose how to communicate with the contact.4. Shows all the tweets from people you follow and tweets that you have sent out.5. Shows all tweets that mentions your user name using the “@[your username]” convention.6. Shows all private and direct messages that you have received or sent out.7. Shows tweets that were marked as favorites.8. Press and hold a tweet to open an options menu to reply, send a direct message, retweet, and more.Sending a Tweet1. On the All tweets tab, tap the “What’s happening?” text box.2. Enter your tweet.3. Add a picture or location to your tweet:ⅢTap to post a picture from Camera or Gallery to your default photo hosting site and add the link to the picture in your tweet.ⅢTap to insert your location into the tweet.4. Tap Post.Note: On the Peep screen, press and tap More > Settings > Services to check or change your photo hosting site, location options, and URL shortening host. 2011/04/20 For certification review only](https://usermanual.wiki/HTC/PG86100.User-Manual-Part-1/User-Guide-1475356-Page-89.png)
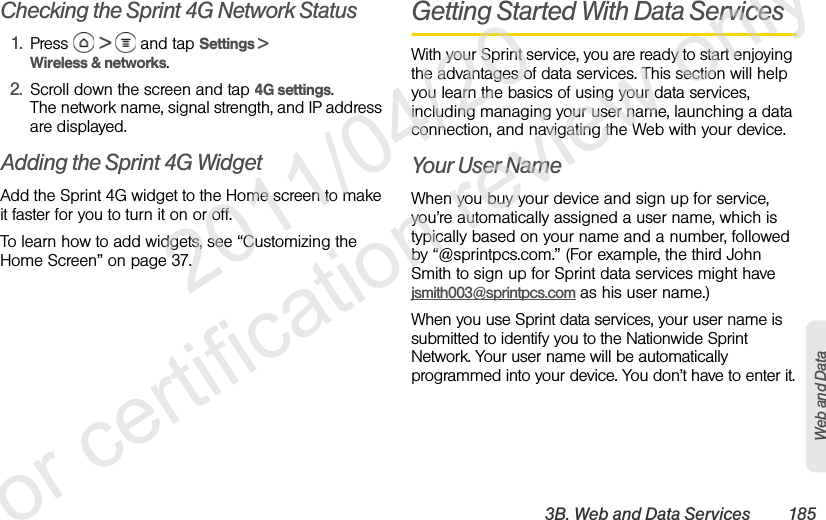
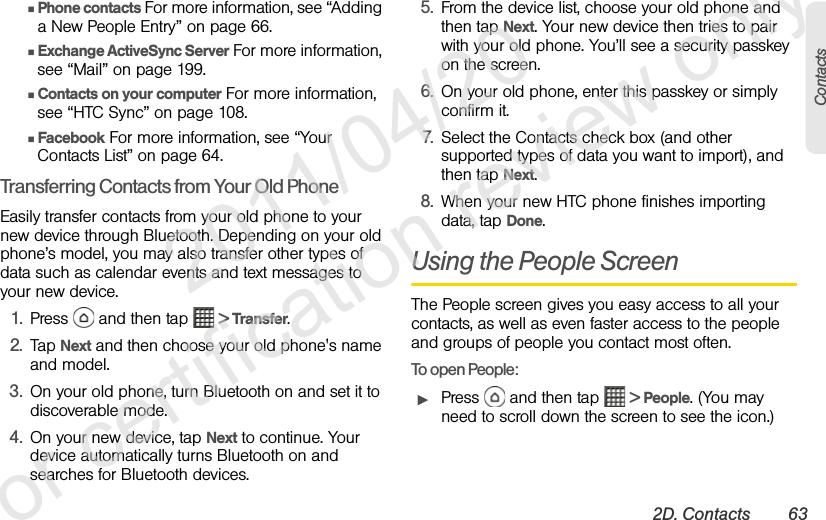
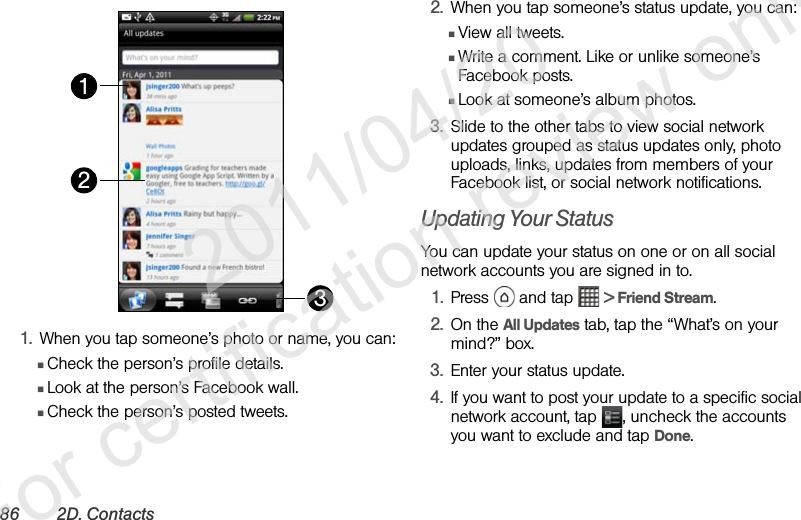
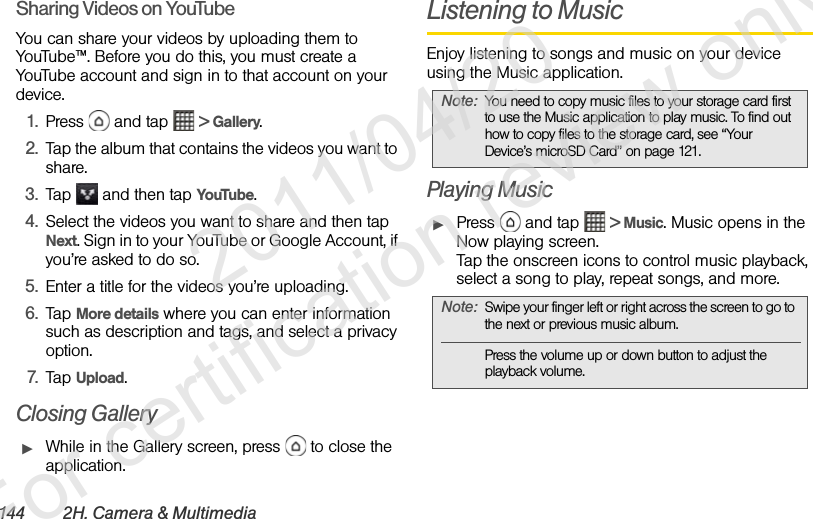
![2D. Contacts 85ContactsSetting Peep OptionsᮣIn any of the tabs in Peep, press , and then tap More > Settings. You can set these options:ⅢAccount settings: Sign out of your Twitter account.ⅢGeneral settings: Choose whether to show the screen name or the real name of the people you follow.ⅢSend & receive: Set the frequency to check for new tweets and set the number of tweets to download.ⅢServices: Set your photo hosting site, photo quality, location options, and URL shortening host.ⅢNotification settings: Select when and how you want to be notified.Adding the Twitter WidgetAdd the Twitter widget to let you send and follow your tweets right on the Home screen.1. Press and tap > Widget > Twitter [HTC].2. Choose the widget style, and then tap Select.3. Drag the widget to a blank space on a screen, and then release.Using Friend StreamFriend Stream connects you to your social networks. Share and get updates from friends in popular networks like Facebook and Twitter in a single feed. With Friend Stream, you can easily track your friends’ status messages, photo uploads, notifications, and more — or comment and post your own.Opening Friend StreamᮣPress and tap > Friend Stream. Friend Stream opens in the All updates tab. Slide your finger on the bottom row to go to the tab you want.Note: You must be signed in to at least one social network account to use Friend Stream.To use your Facebook account on Friend Stream, you need to be signed in via Facebook for HTC Sense. 2011/04/20 For certification review only](https://usermanual.wiki/HTC/PG86100.User-Manual-Part-1/User-Guide-1475356-Page-91.png)


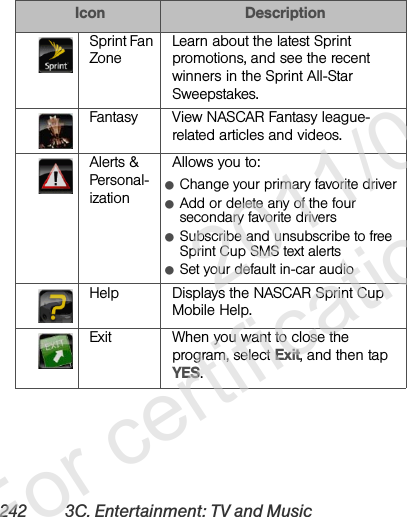
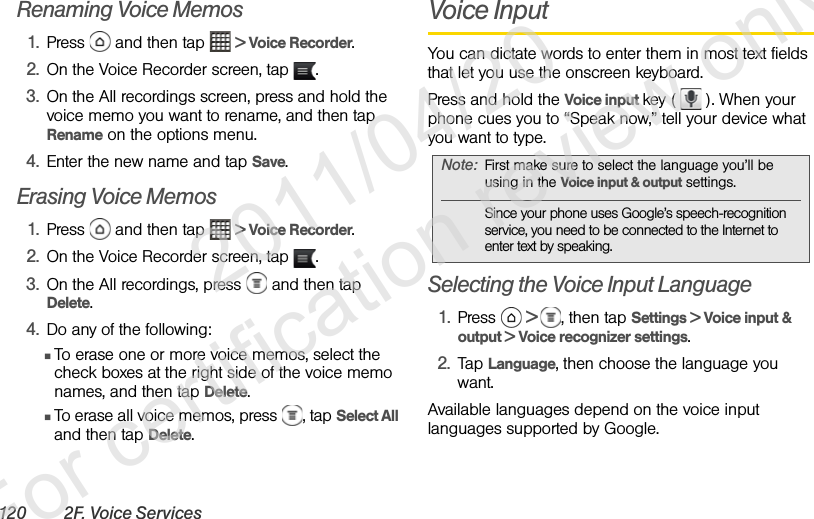
![118 2F. Voice ServicesⅷOpen <Application Name> to open an application in your device. (See “Opening Applications With ASR” on page 118.) Making a Voice Call With ASR1. Press and then tap > Voice Dialer.2. Wait until you hear a tone and the word “Listening...” appears on the screen.3. Say “Call [contact name]” to call a person stored in your contacts list.– or –Say “Dial [contact number]” to dial a spoken phone number.4. Tap YES to confirm or CANCEL to cancel the command; or choose from a menu if ASR is not sure what you would like to do.Opening Applications With ASRYou can jump directly to many applications by saying “Open” followed by the application name.1. Press and then tap > Voice Dialer.2. Wait until you hear a tone and the word “Listening...” appears on the screen.3. Say “Open [application name]” to open an application in your device. 4. Tap YES to confirm or CANCEL to cancel the command; or choose from a menu if ASR is not sure what you would like to do.Tip: Use ASR in a quiet environment so it can accurately recognize your commands.Note: Regardless of which command you use, you will be asked to confirm your choice, or choose from a menu if ASR is not sure what you would like to do.Note: When dialing a phone number, numbers can be three digits (for example, 911), seven digits (for example, 555-1234), or ten digits (for example, 222-555-1234). 2011/04/20 For certification review only](https://usermanual.wiki/HTC/PG86100.User-Manual-Part-1/User-Guide-1475356-Page-124.png)


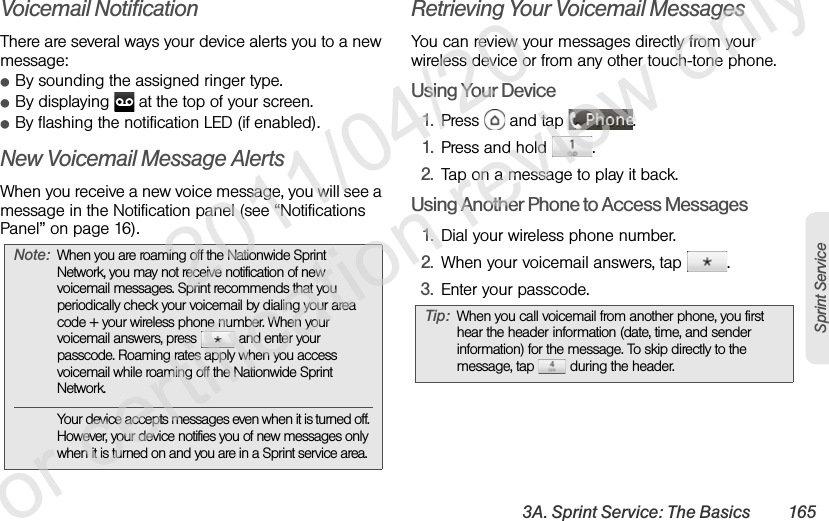
![160 2I. BluetoothⅷOn Windows XP, the path may be:C:\Documents and Settings\[your username]\My Documents\Bluetooth ExchangeⅷOn Windows Vista, the path may be:C:\Users\[your username]\DocumentsⅷOn Windows 7, the path may be:C:\Users\[your username]\My Documents\Bluetooth Exchange FolderIf you send a file to another device, the saved location may depend on the file type. For example, if you send an image file to another mobile phone, it may be saved in a folder named “Images”.Receiving Information From Another DeviceYour device is capable of receiving a wide variety of file types with Bluetooth, including photos, music tracks, and documents such as PDFs.To receive files from another device, you need to have a microSD card installed on your device.The first time you transfer information between your device and another device, you need to enter or confirm a security passcode.After that, your device and the other device are paired, and you will not need to exchange passcodes to transfer information in the future.1. Press > , and then tap Settings > Wireless & networks > Bluetooth settings.2. If the Bluetooth check box is not selected, select it to turn Bluetooth on.3. Select the Discoverable check box.4. On the sending device, send one or more files to your device. Refer to the device’s documentation for instructions on sending information over Bluetooth.5. If asked, accept the pairing request on your device and the receiving device.Also enter the same passcode on both your device and the other device, or confirm the auto-generated passcode.A Bluetooth authorization request is then displayed on your phone.6. If you want to automatically receive files from the sending device in future, select the Always check box. 2011/04/20 For certification review only](https://usermanual.wiki/HTC/PG86100.User-Manual-Part-1/User-Guide-1475356-Page-166.png)