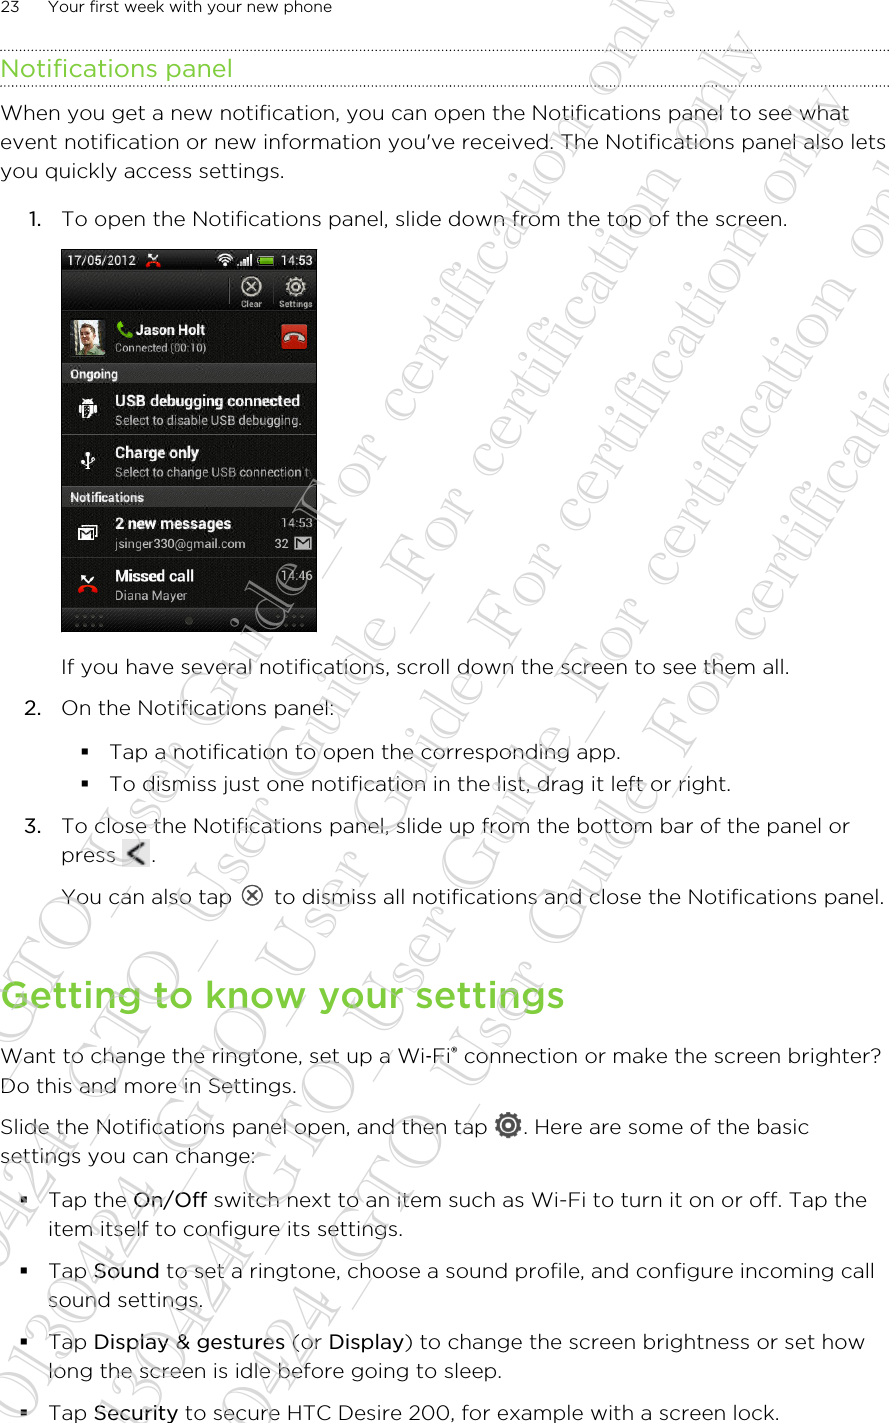
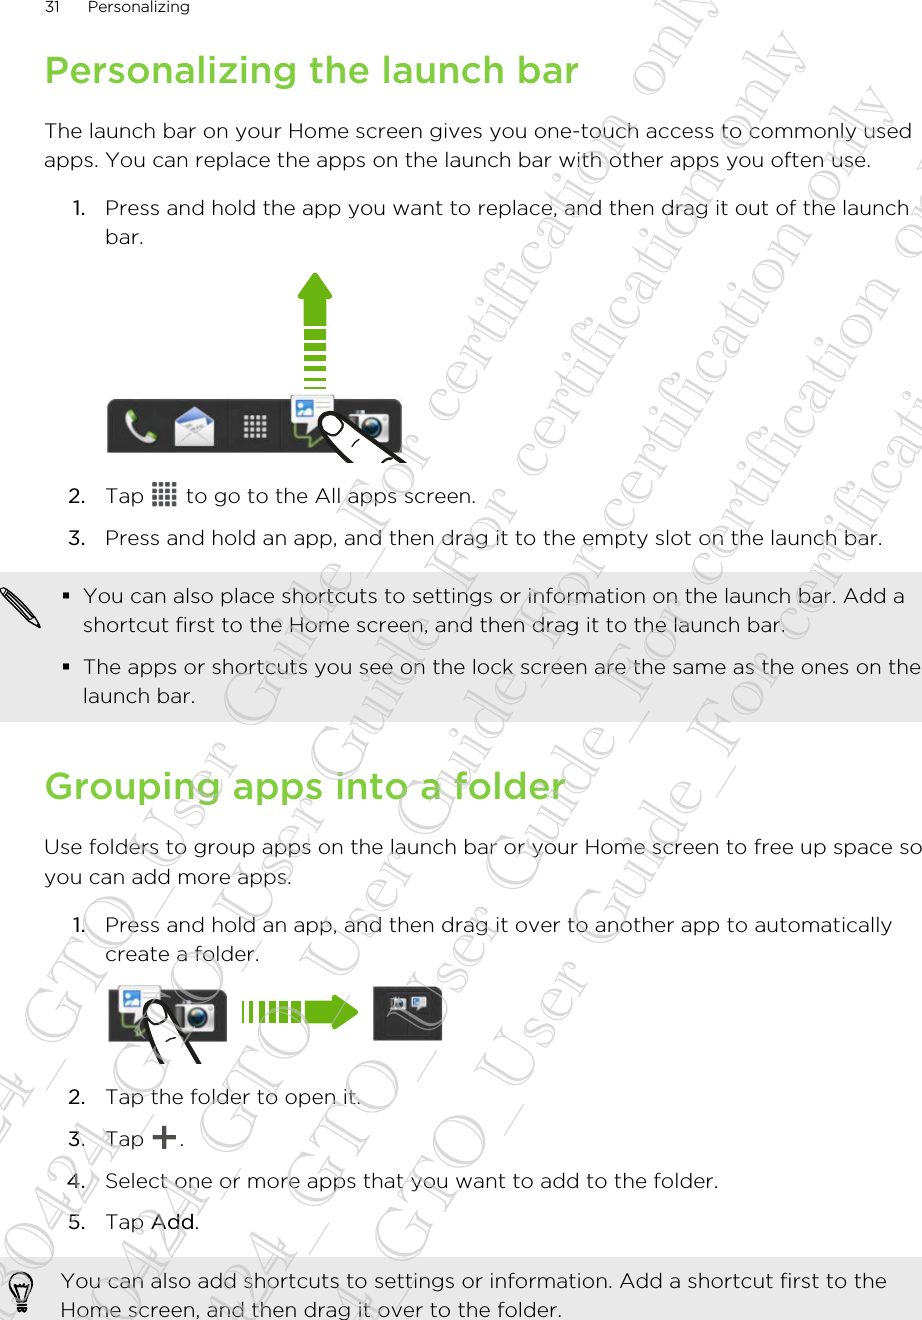
HTC PO60100 Smartphone User Manual Your HTC Desire 200
HTC Corporation Smartphone Your HTC Desire 200
UserManual.wiki
>
HTC
>
PO60100 User Manual
>
User Manual
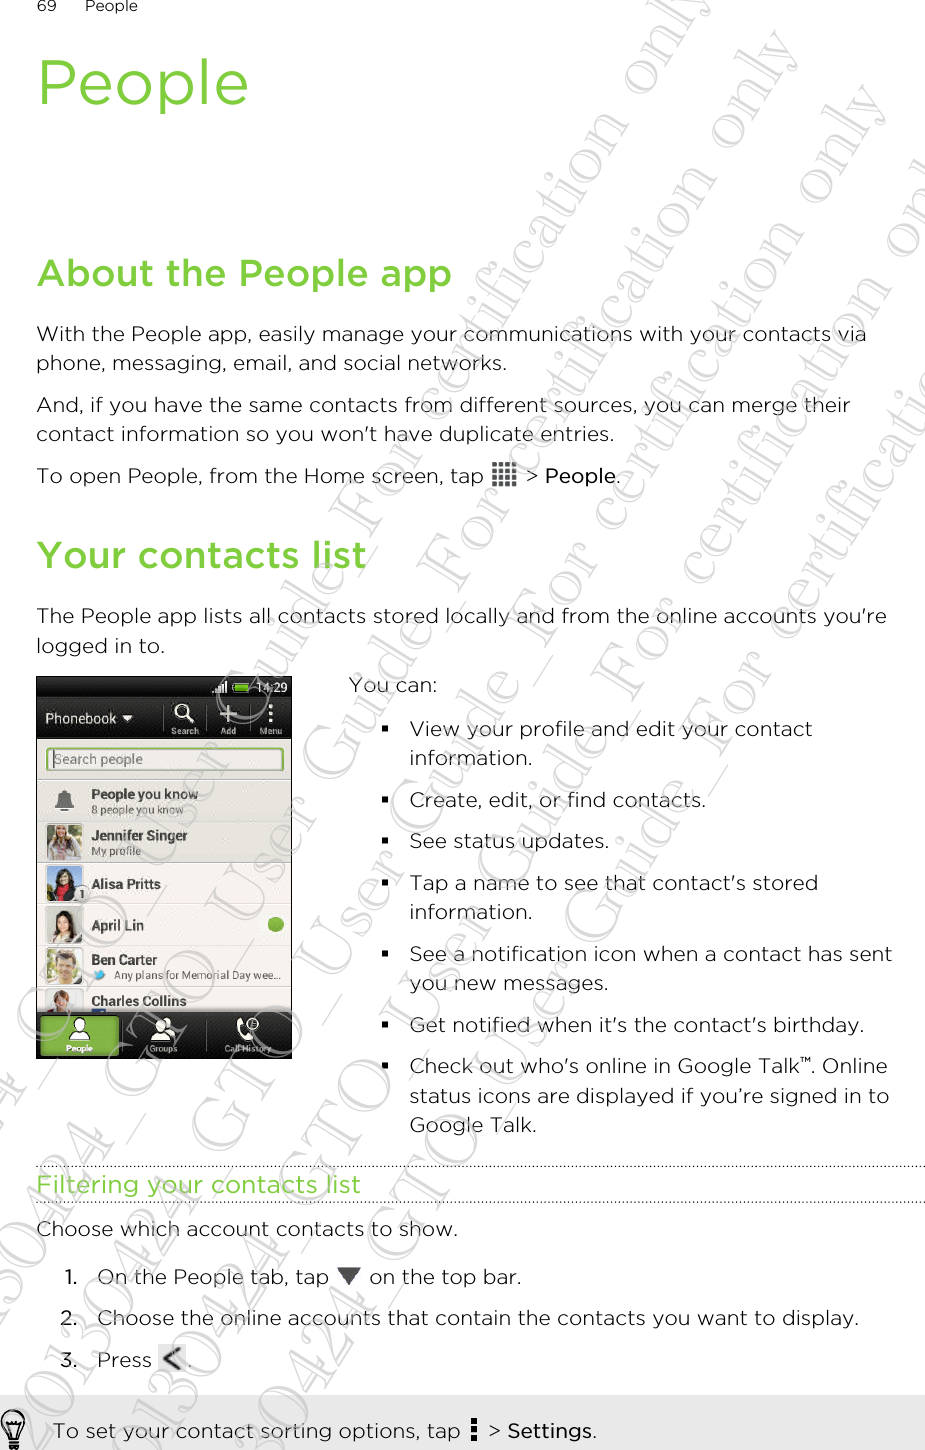
Contents
1.
User Manual Statement
2.
User Manual
User Manual
Navigation menu
Upload a User Manual
Namespaces
Wiki Guide
HTML
PDF
Info
Views
User Manual
Discussion / Help
Navigation


![Photos or videos 1. In the Gallery app, choose an album.2. Tap Share > Bluetooth.Captured photo orvideoAfter capturing, on the Camera preview screen, tap >Bluetooth. (Note that you must have first set a reviewduration in Camera settings.)Music track With the track displayed on the Music app’s Now playingscreen, tap > Share > Share file > Bluetooth.Voice recording In Voice Recorder list view, press and hold a voice clip, andthen tap Share > Bluetooth.Browser §On a webpage you want to share, tap > Share >Bluetooth.§While viewing a webpage in Read mode, tap >Bluetooth.3. Turn Bluetooth on and pair with the receiving device, if you’re asked to do so.4. On the receiving device, accept the file.Where sent information is savedWhen you send information using Bluetooth, the location where it's saved depends onthe type of information and the receiving device.If you send a calendar event or contact, it is normally added directly to thecorresponding application on the receiving device.If you send another file type to a Windows computer, it is normally saved in theBluetooth Exchange folder within your personal document folders.§On Windows XP, the path may be: C:\Documents and Settings\[yourusername]\My Documents\Bluetooth Exchange§On Windows Vista, the path may be: C:\Users\[your username]\Documents§On Windows 7, the path may be: C:\Users\[your username]\Documents\Bluetooth Exchange Folder§On Windows 8, the path may be: C:\Users\[your username]\DocumentsIf you send a file to another device, the saved location may depend on the file type.For example, if you send an image file to another mobile phone, it may be saved in afolder named “Images”.135 Bluetooth20130424_GTO_User Guide_For certification only 20130424_GTO_User Guide_For certification only 20130424_GTO_User Guide_For certification only 20130424_GTO_User Guide_For certification only 20130424_GTO_User Guide_For certification only](https://usermanual.wiki/HTC/PO60100.User-Manual/User-Guide-2091836-Page-135.png)