HTC PO88100 Windows Phone User Manual
HTC Corporation Windows Phone
UserManual.wiki
>
HTC
>
PO88100 User Manual
>
User Manual
Contents
1.
User Manual Statement
2.
User Manual
User Manual
Navigation menu
Upload a User Manual
Namespaces
Wiki Guide
HTML
PDF
Info
Views
User Manual
Discussion / Help
Navigation


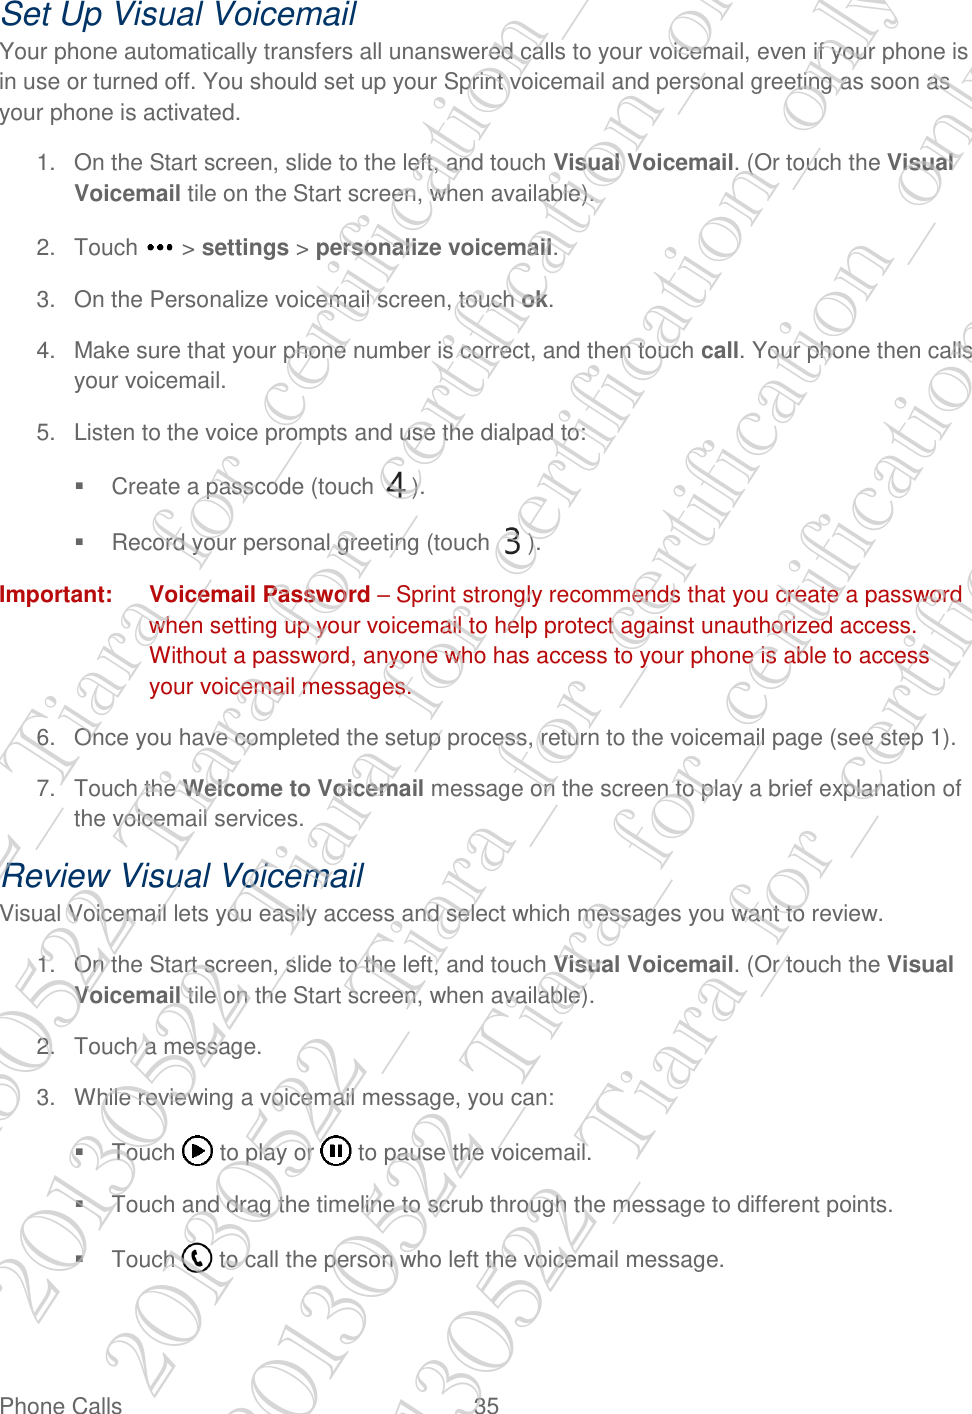


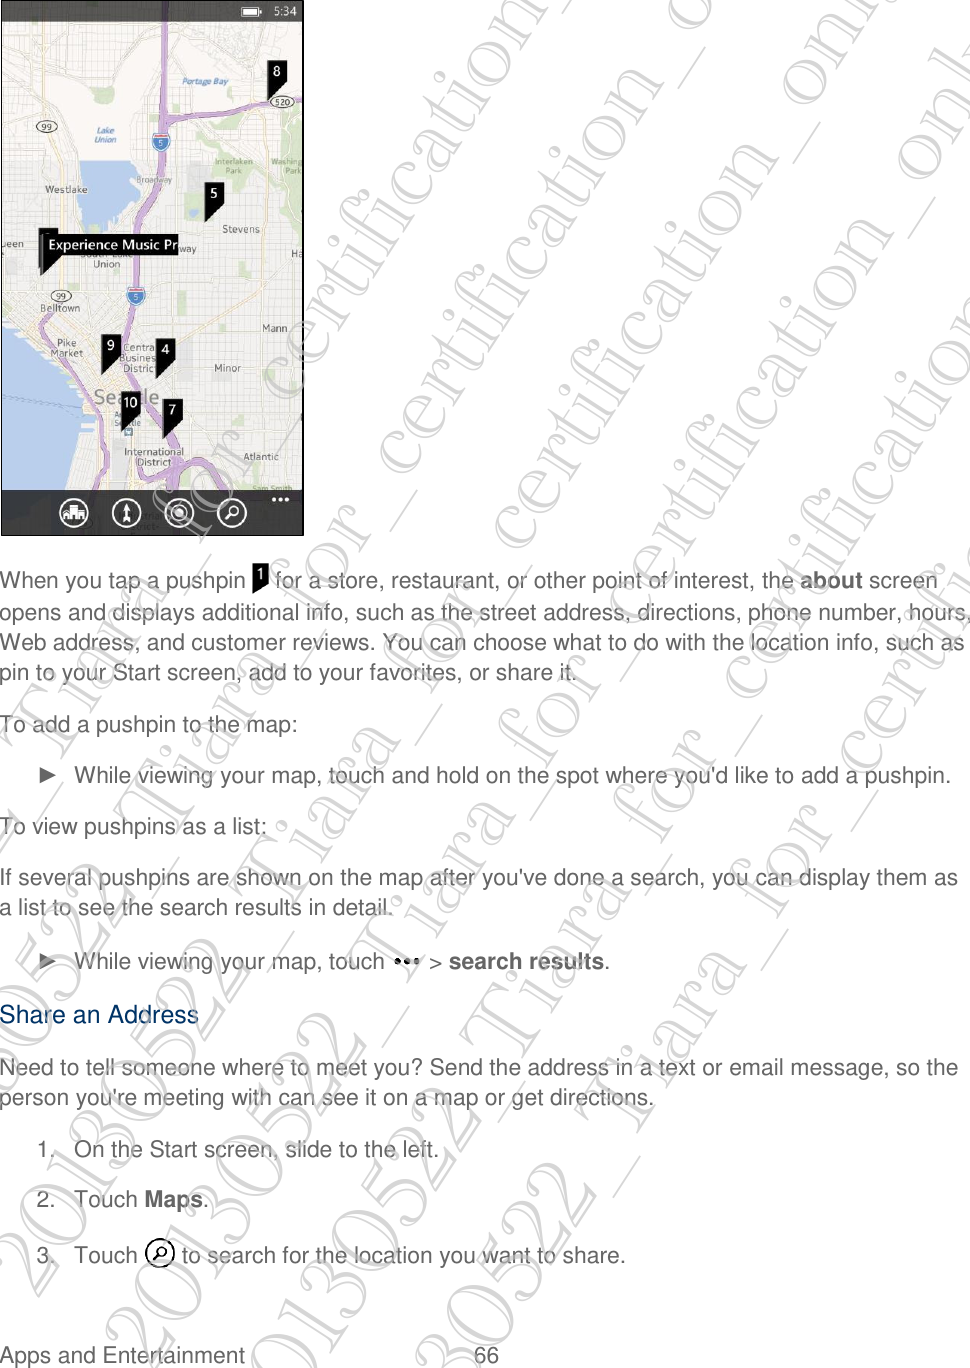
![Accounts and Messaging 51 2. In the all email list, scroll up or down to skim through your email messages. Email messages are neatly grouped into conversations. If there were back and forth replies to an email, touching that email expands and shows its series of messages. 3. Touch an email message to open and read it. Tip: If you have a long email list, you can also slide left or right to skim through unread, flagged, or urgent email only. Link Your Email Inboxes To check your email from all your accounts just in one place without having to switch to different accounts, you can link your inboxes as one. 1. Open an email account. 2. Touch > link inboxes. 3. Under other inboxes, touch one or more email accounts that you want to combine to your unified inbox. The default name for your unified inbox is Linked inbox. Tip: Touch rename linked inbox if you want to change the name of your unified inbox. Enter a new name and touch ] to save. 4. Touch to return to your inbox. You'll now see just one inbox containing all your email from your different accounts. Next time you want to check your email, touch on the Start screen or in the apps list. Unlink an Inbox 1. Open an email account. 2. Touch > linked inboxes. 3. Under this inbox, touch the email account you want to remove from the unified inbox. 4. Touch unlink. Send an Email Message Send an email message to your contacts using an email account in Mail. 1. Open the email account that you want to use for sending your email. 2. Touch . 3. Fill in one or more recipients. In the To field, you can: Touch to choose a contact. Touch it again to add more. 20130522_Tiara_for_certification_only 20130522_Tiara_for_certification_only 20130522_Tiara_for_certification_only 20130522_Tiara_for_certification_only 20130522_Tiara_for_certification_only 20130522_Tiara_for_certification_only](https://usermanual.wiki/HTC/PO88100.User-Manual/User-Guide-1983458-Page-60.png)