HTC TANAGER Triband GSM/GPRS Smart Phone User Manual manual v1 1
HTC Corporation Triband GSM/GPRS Smart Phone manual v1 1
UserManual.wiki
>
HTC
>
TANAGER User Manual
User Manual
Navigation menu
Upload a User Manual
Namespaces
Wiki Guide
HTML
PDF
Info
Views
User Manual
Discussion / Help
Navigation

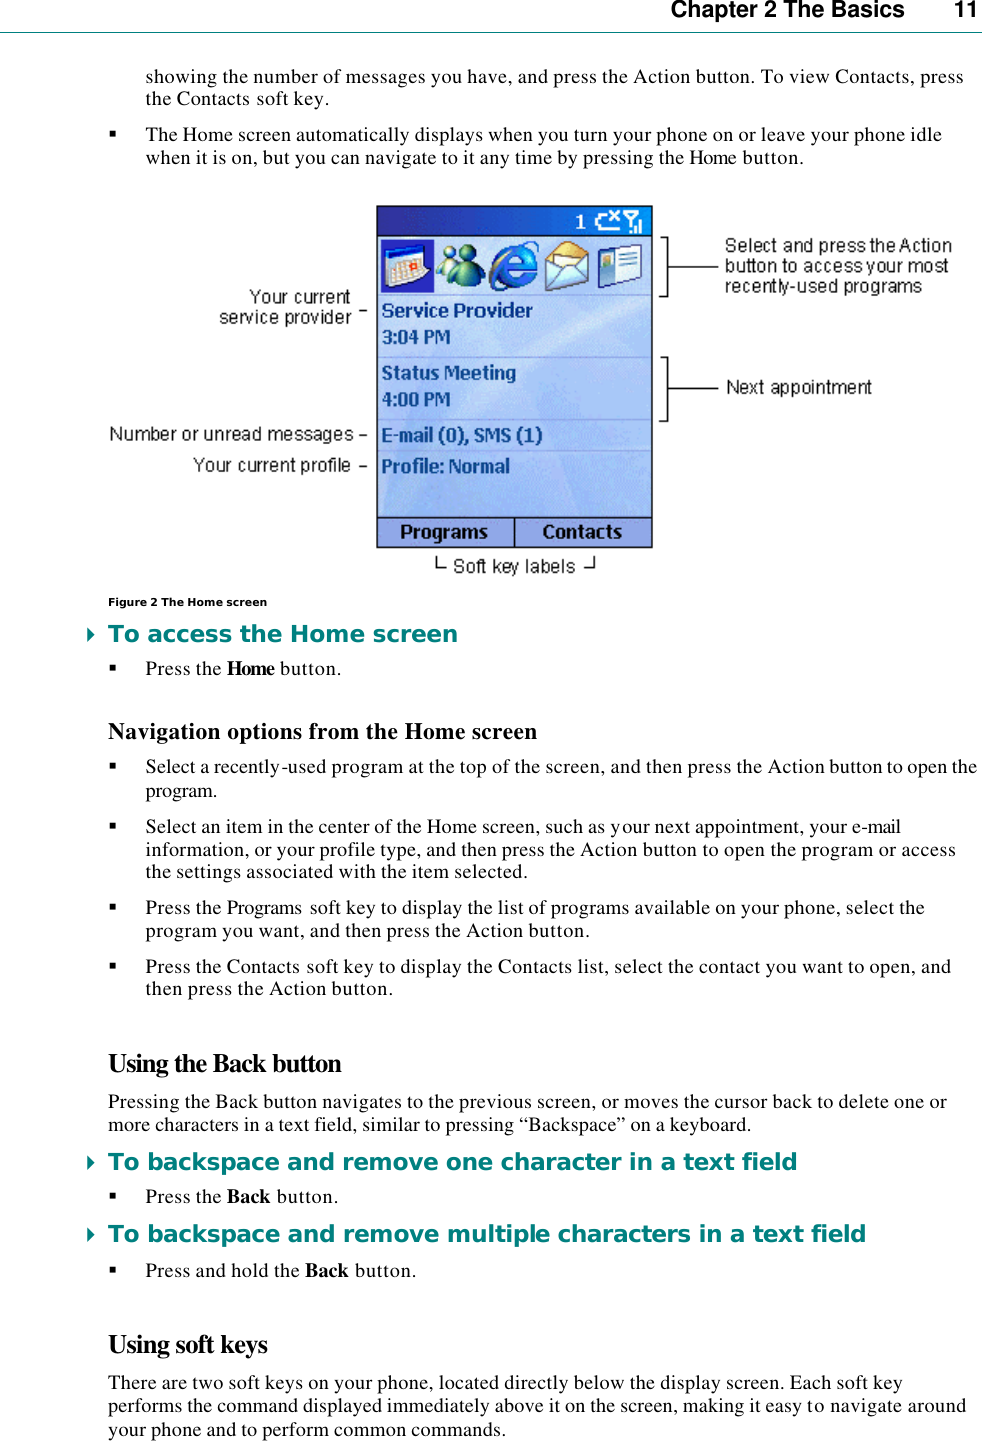

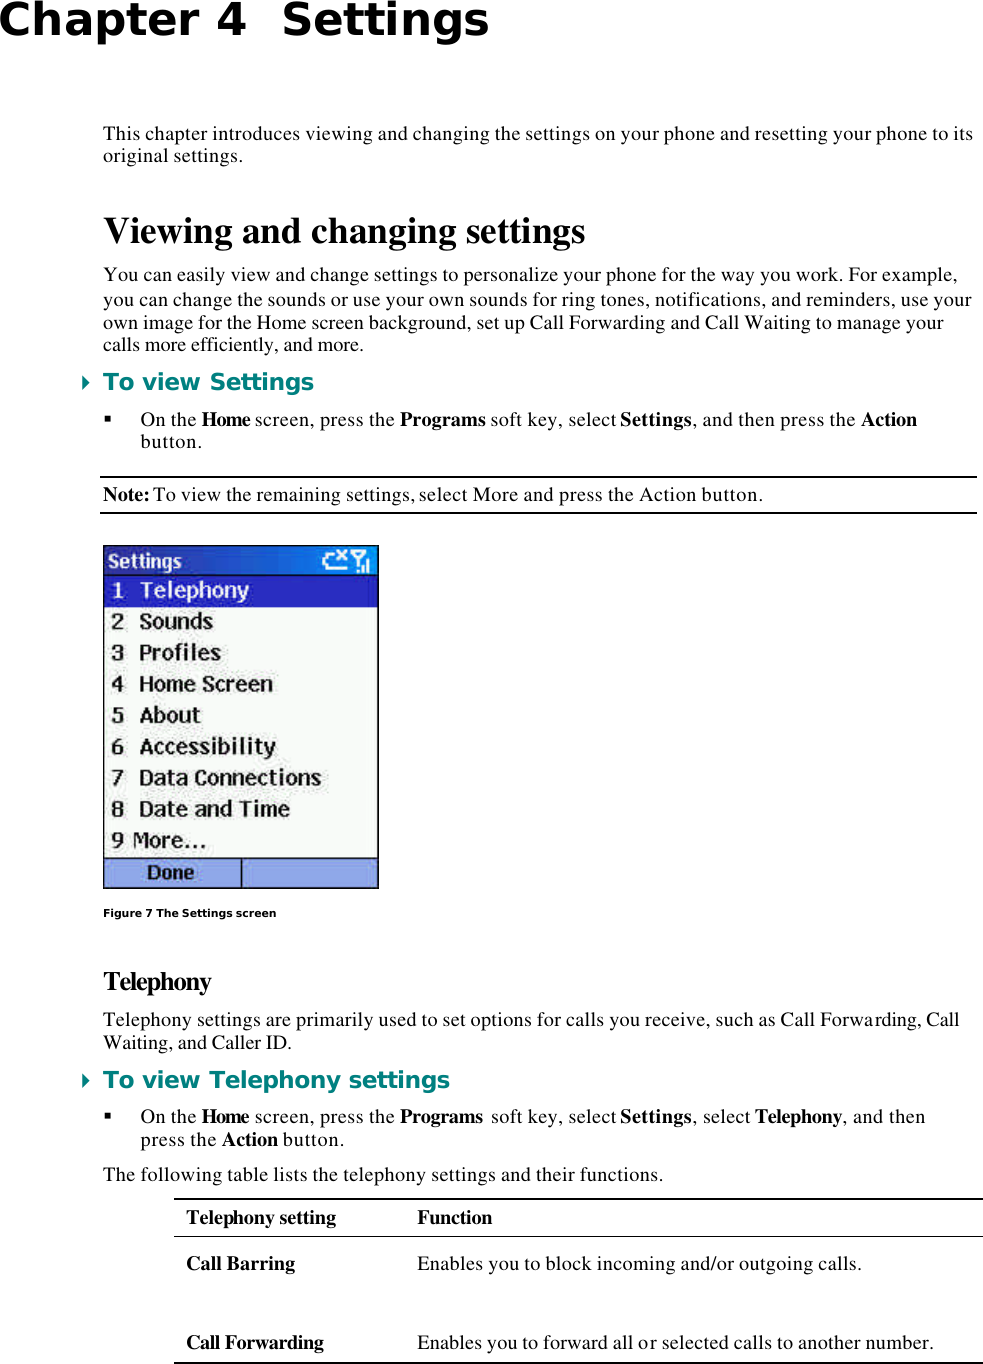
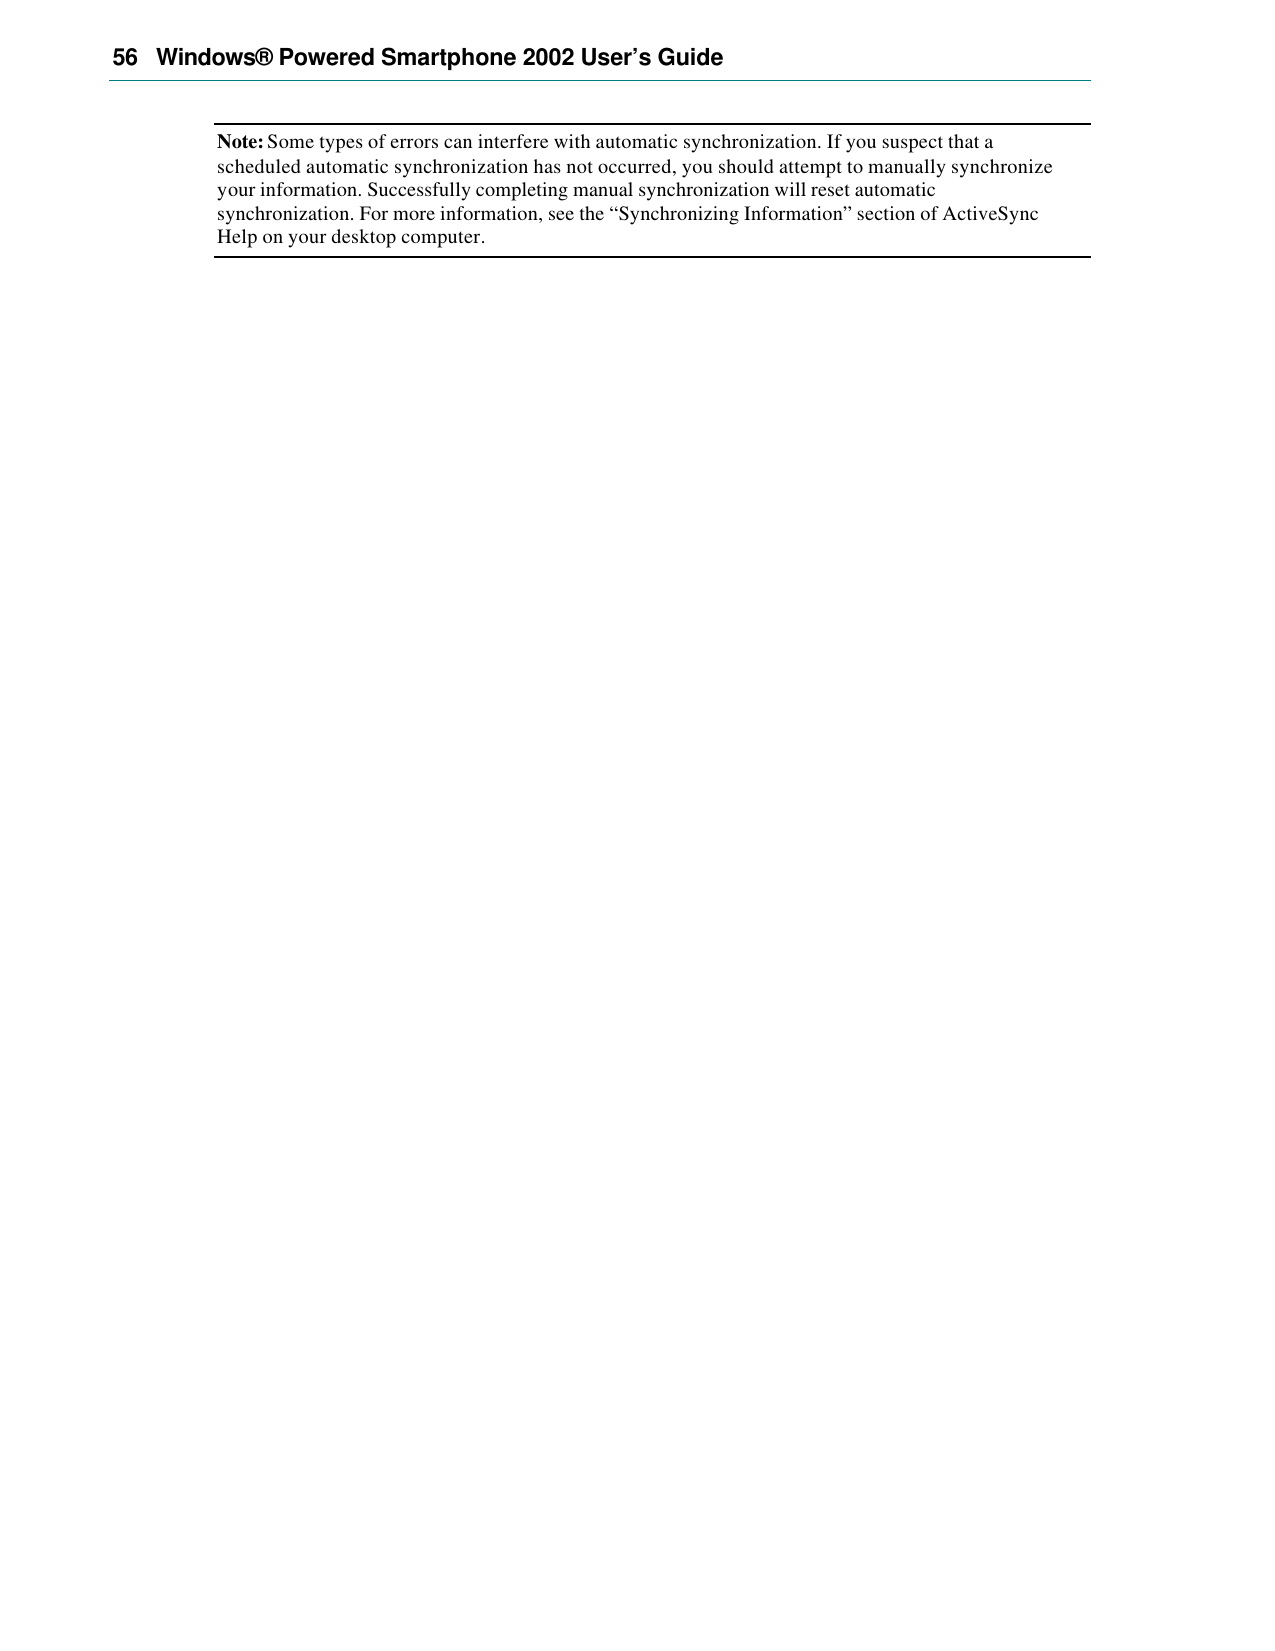
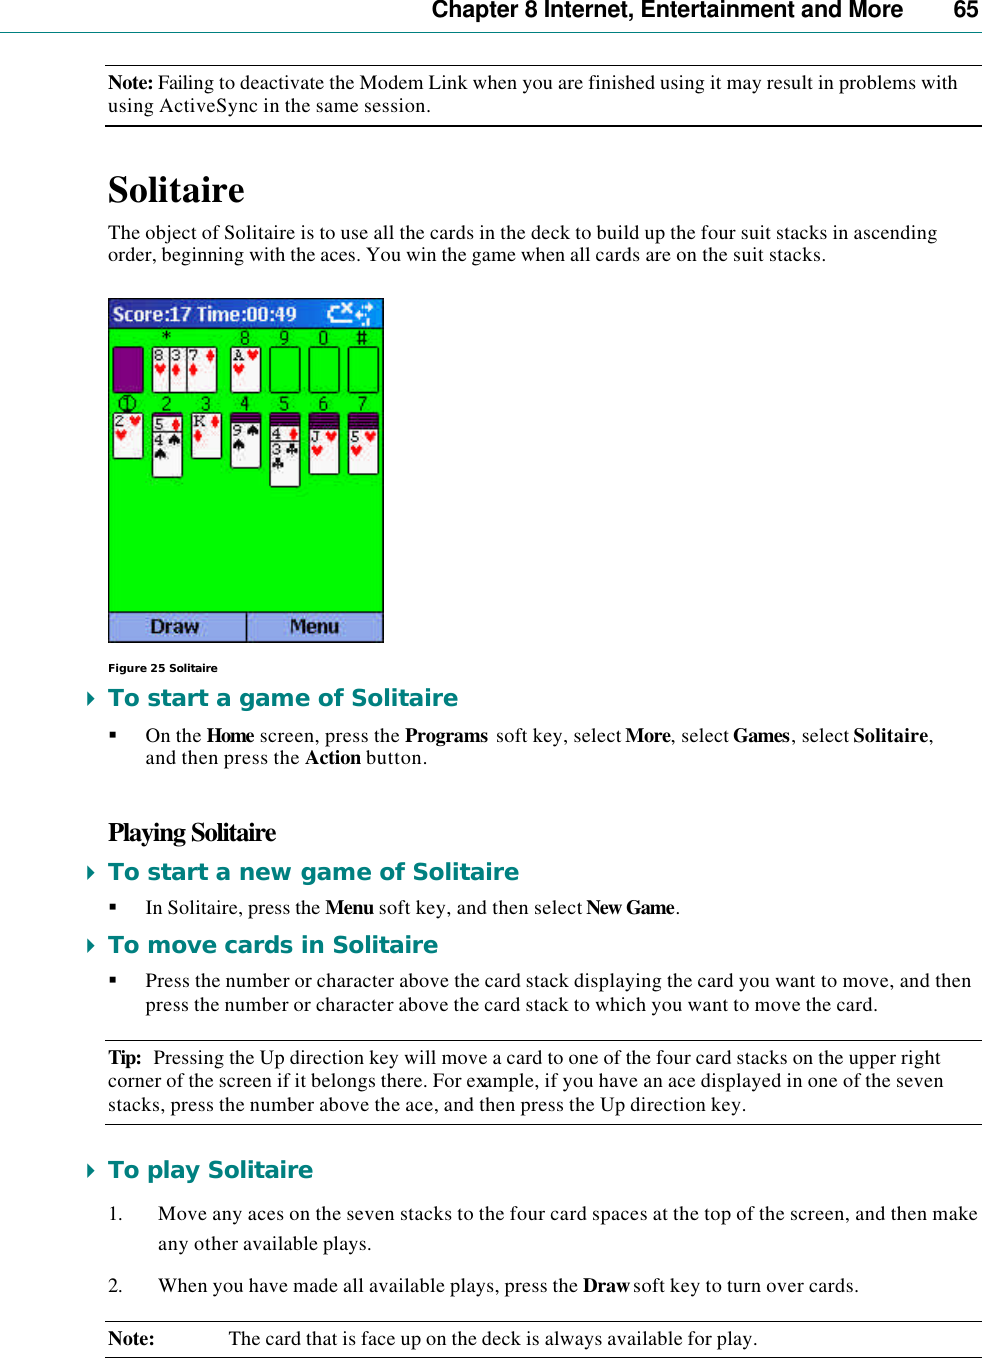
![26 Windows® Powered Smartphone 2002 User’s Guide Tip: You can also get to Profiles settings directly from the Home screen. Figure 8 Profiles Preset profiles The following table shows the list of profiles that come with your phone and their attributes. Profile Name Ring Type Ring Volume Notification Type Notification Volume Feedback Volume Normal Ring 3 Play sound 3 3 Silent Vibrate Off Vibrate Off Off Meeting Vibrate 1 Sound 1 Off Loud Ring Loud Sound Loud Loud Automatic Toggles between Normal and Meeting, based on your calendar. Headset Ring 3 Sound 3 3 Car Ring 4 Sound 4 4 Speaker-phone Ring Loud Sound Loud Loud 4 To use profiles 1. On the Home screen, press Down to select Profile: [Type], and press the Action button. 2. Select the profile, press the Action button to set the profile, and then press the Done soft key. Tip: You can also select a different profile using the Quick List. Press the Power button, select the profile, and then press the Action button. 4 To modify a profile on the Settings menu 1. On the Home screen, press the Programs soft key, select Settings, select Profiles, and then press the Action button. 2. Select the profile to modify, press the Menu soft key, and then select Edit.](https://usermanual.wiki/HTC/TANAGER/User-Guide-289089-Page-30.png)
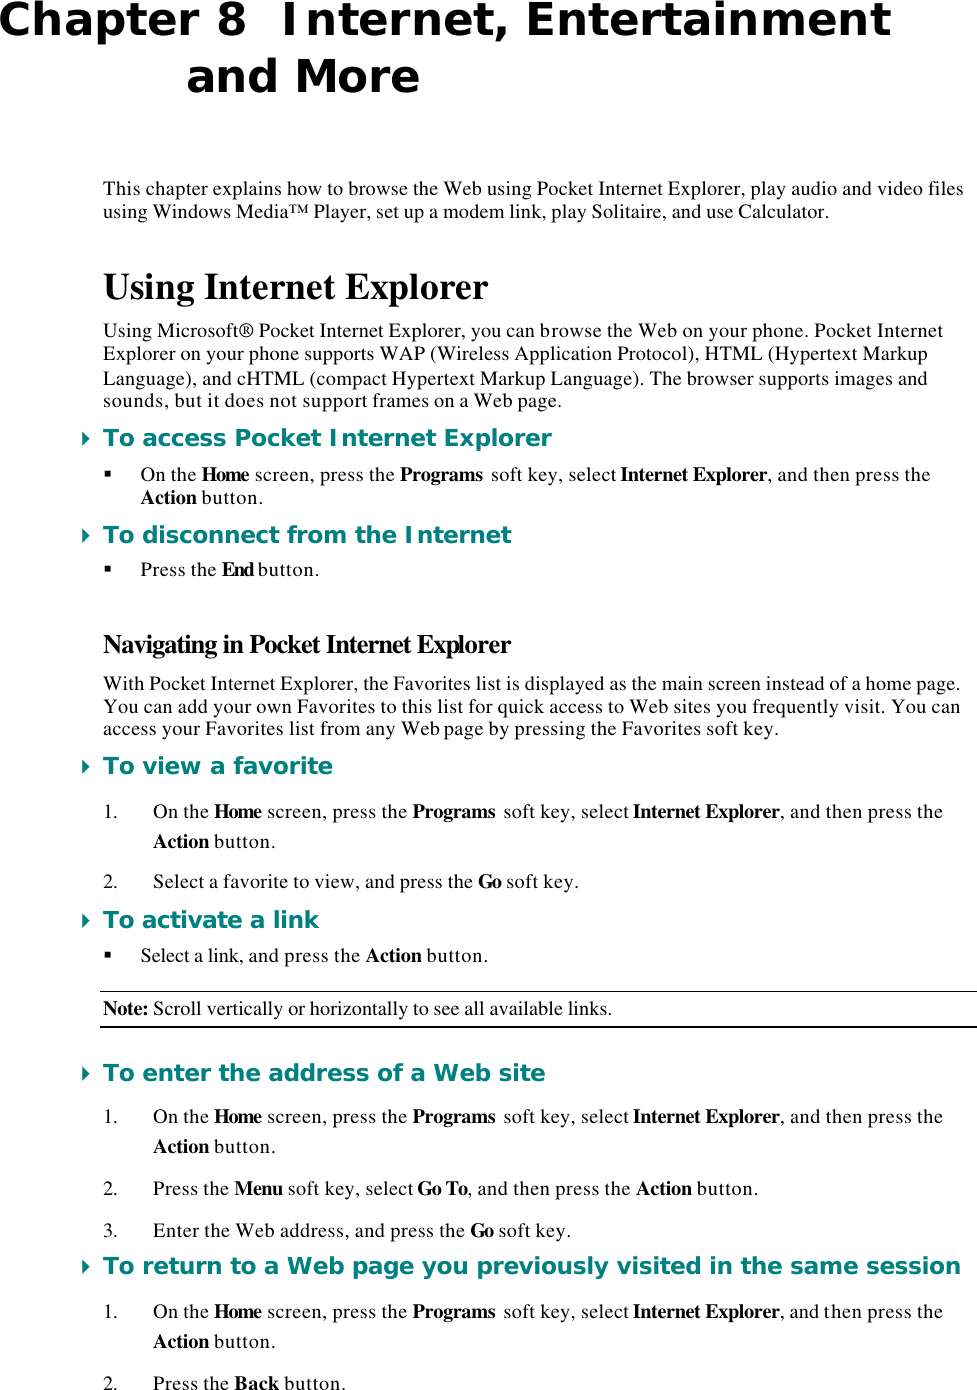
![Chapter 7 Synchronizing Information 53 Figure 21 Active Sync Status screen 4 To stop synchronizing with a server You can stop synchronizing an information type with a server on your phone. However, to switch to synchronizing that information type with your desktop computer instead, you will need to change the synchronization settings on the desktop computer. For more information about synchronization, see ActiveSync Help on the desktop computer. 1. On the Home screen, press the Programs soft key, select ActiveSync, and then press the Action button. 2. Press the Menu soft key, select Options, and then select the information type that you no longer want to synchronize with a server, such as Calendar, Contacts, or Inbox. 3. Clear the check box next to the information type that you no longer want to synchronize with a server, and press the Done soft key. Synchronizing Remotely You can synchronize remotely with your desktop computer or with a server if you have set up Server ActiveSync. 4 To synchronize remotely with a desktop computer 1. On the Home screen, press the Programs soft key, select ActiveSync, and then press the Action button. 2. Press the Menu soft key, select Options, and then press the Action button. 3. Select PC Settings, and then press the Action button. 4. Select Include PC sync remotely when synchronizing, and then press the Action button. 5. Under Connect To, select the appropriate computer name, and press the Done soft key. 6. To start synchronization, press the Sync soft key. 4 To synchronize remotely with a server 1. On the Home screen, press the Programs soft key, select ActiveSync, and then press the Action button. 2. Press the Menu soft key, select Options, and then press the Action button. 3. Select the information type to synchronize with the server, press the Action button, select the Synchronize [Information type] check box, and then press the Done key.](https://usermanual.wiki/HTC/TANAGER/User-Guide-289089-Page-57.png)