HUIZHOU FORYOU GENERAL ELECTRONICS VM9725BT Mobile DVD Player With FM/AM Tuner User Manual
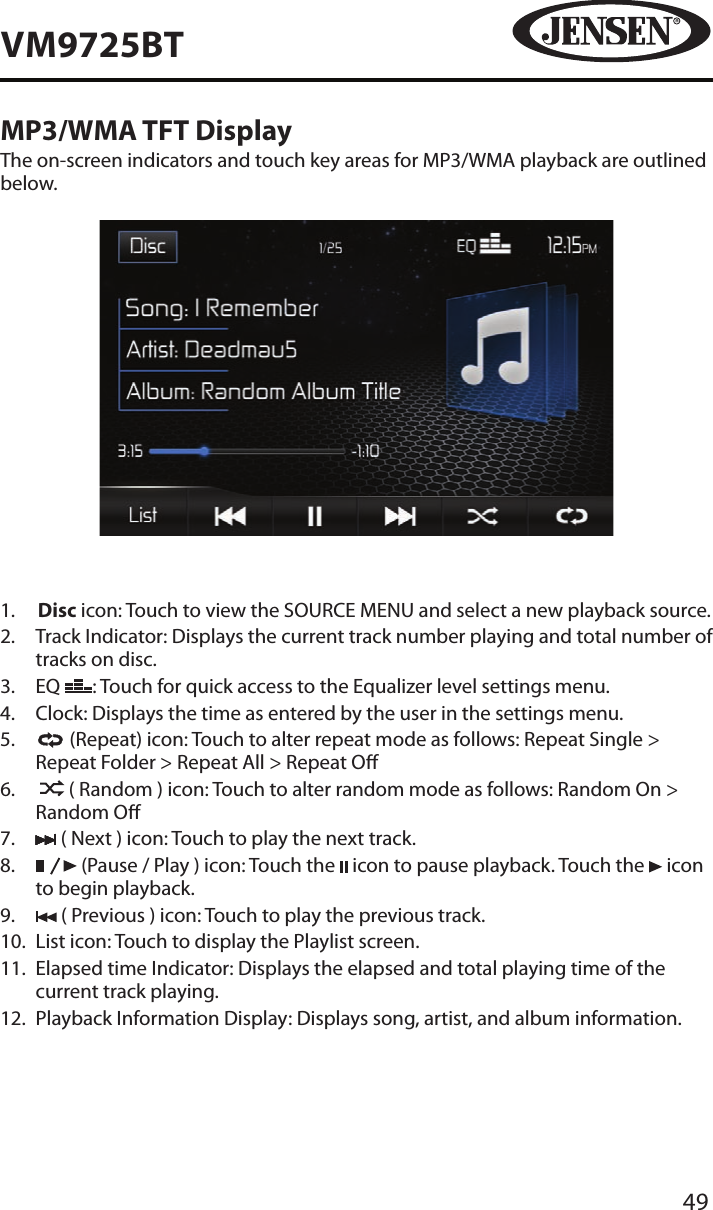
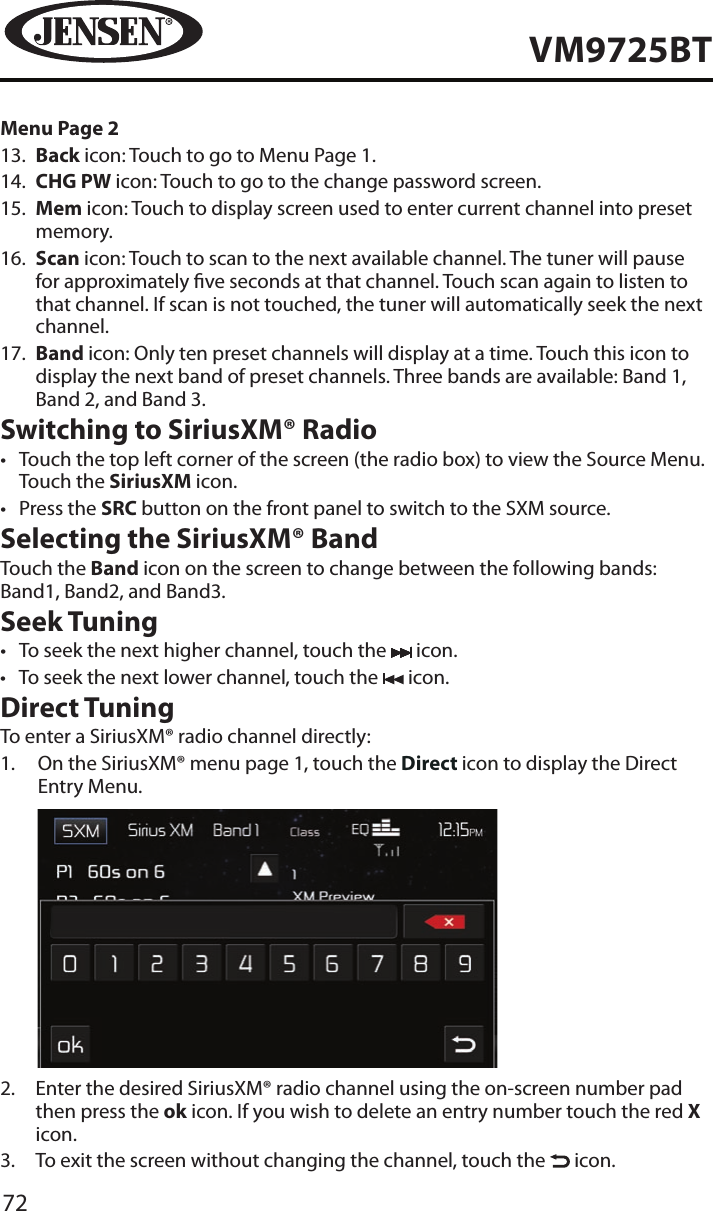
HUIZHOU FORYOU GENERAL ELECTRONICS CO.,LTD. Mobile DVD Player With FM/AM Tuner
UserManual.wiki
>
HUIZHOU FORYOU GENERAL ELECTRONICS
>
VM9725BT User Manual
User Manual
Navigation menu
Upload a User Manual
Namespaces
Wiki Guide
HTML
PDF
Info
Views
User Manual
Discussion / Help
Navigation

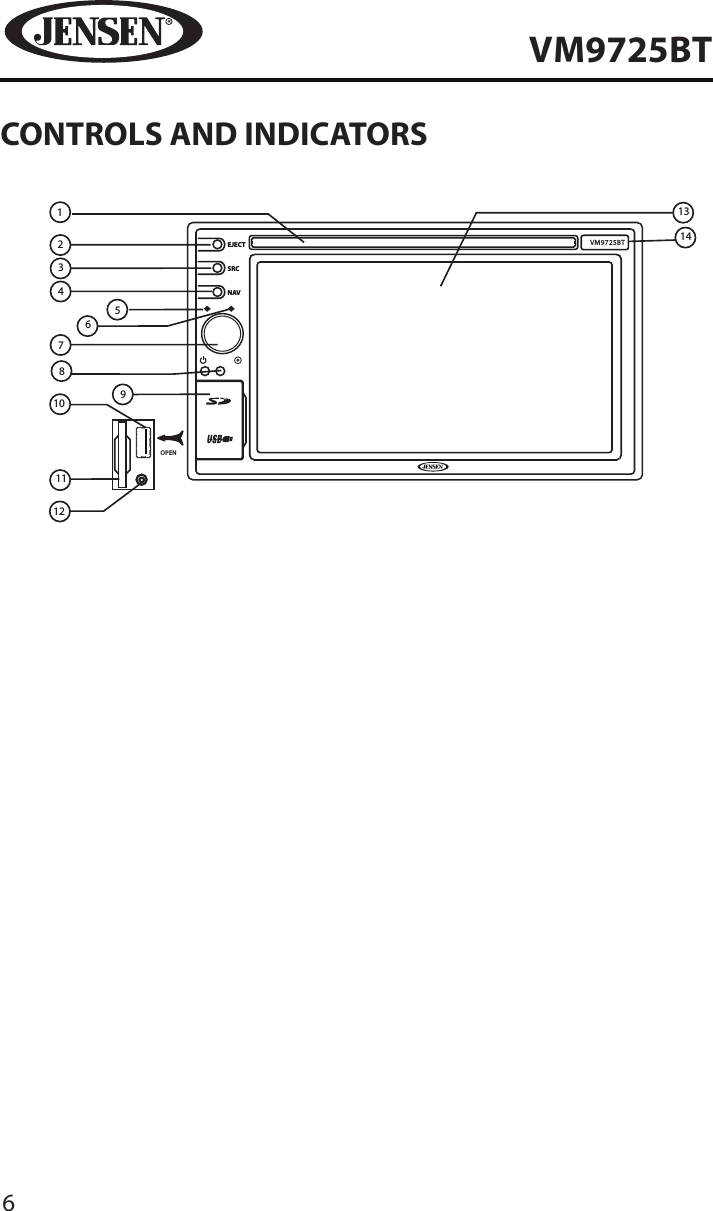

![21VM9725BTSystem ResetTo correct a system halt or other illegal operation, use the tip of a pen to press the reset button located over the rotary encoder. After a system reset, the unit restores all factory default settings.NOTE: If the unit is reset while a DVD is playing, the DVD resumes play once the reset is complete.Image/Display SettingsVideo Output ModesTable 3 shows the video output mode for each playing source.Table 3: Video Output ModesPlaying Source Video Output ModesAM/FM TUNER RGB ModeDVD YCbCr Mode AUX IN CVBS* Mode*CVBS – Composite Video Baseband SignalParking Brake Inhibit• When the pink “Parking” wire is connected to the vehicle Parking Brake circuit, the front TFT monitor will display video when the Parking Brake is engaged. (When the pink wire is grounded via the Parking Brake circuit, video will be displayed.)[RESET] Button](https://usermanual.wiki/HUIZHOU-FORYOU-GENERAL-ELECTRONICS/VM9725BT/User-Guide-1783628-Page-21.png)