HYT Science and Technology Co TC-600V Two Way Radio User Manual TC 600V
Shenzhen HYT Science &Technology; Co Ltd Two Way Radio TC 600V
UserManual.wiki
>
HYT Science and Technology Co
>
TC 600V User Manual
user manual
Navigation menu
Upload a User Manual
Namespaces
Wiki Guide
HTML
PDF
Info
Views
User Manual
Discussion / Help
Navigation
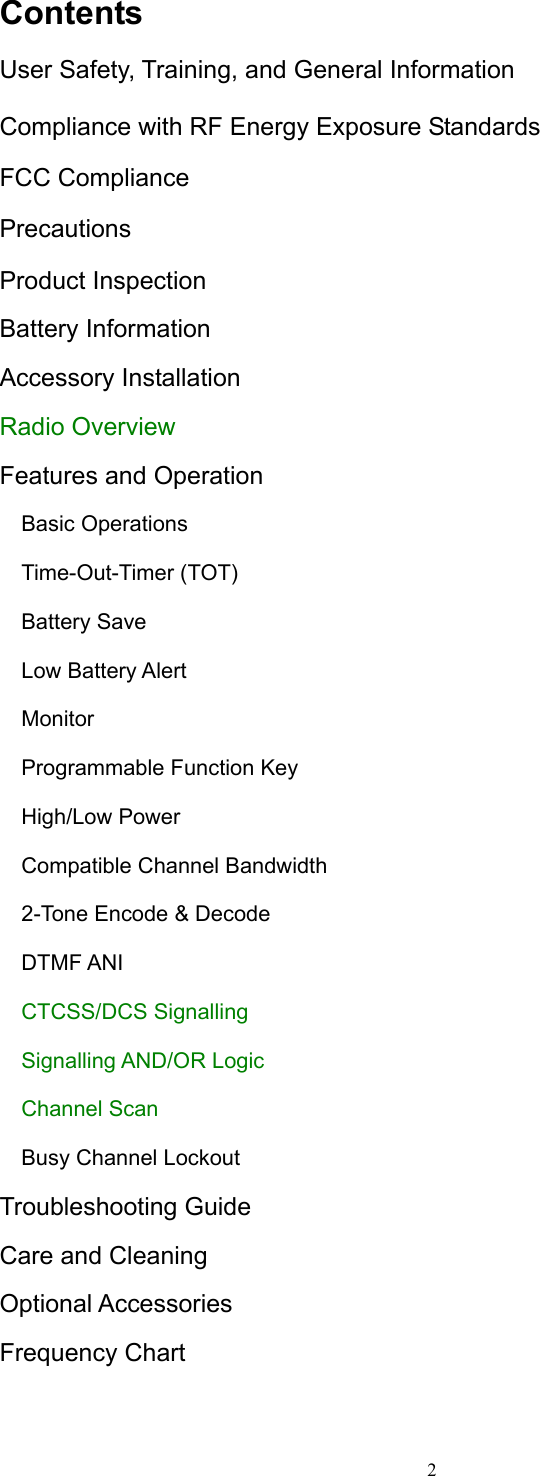
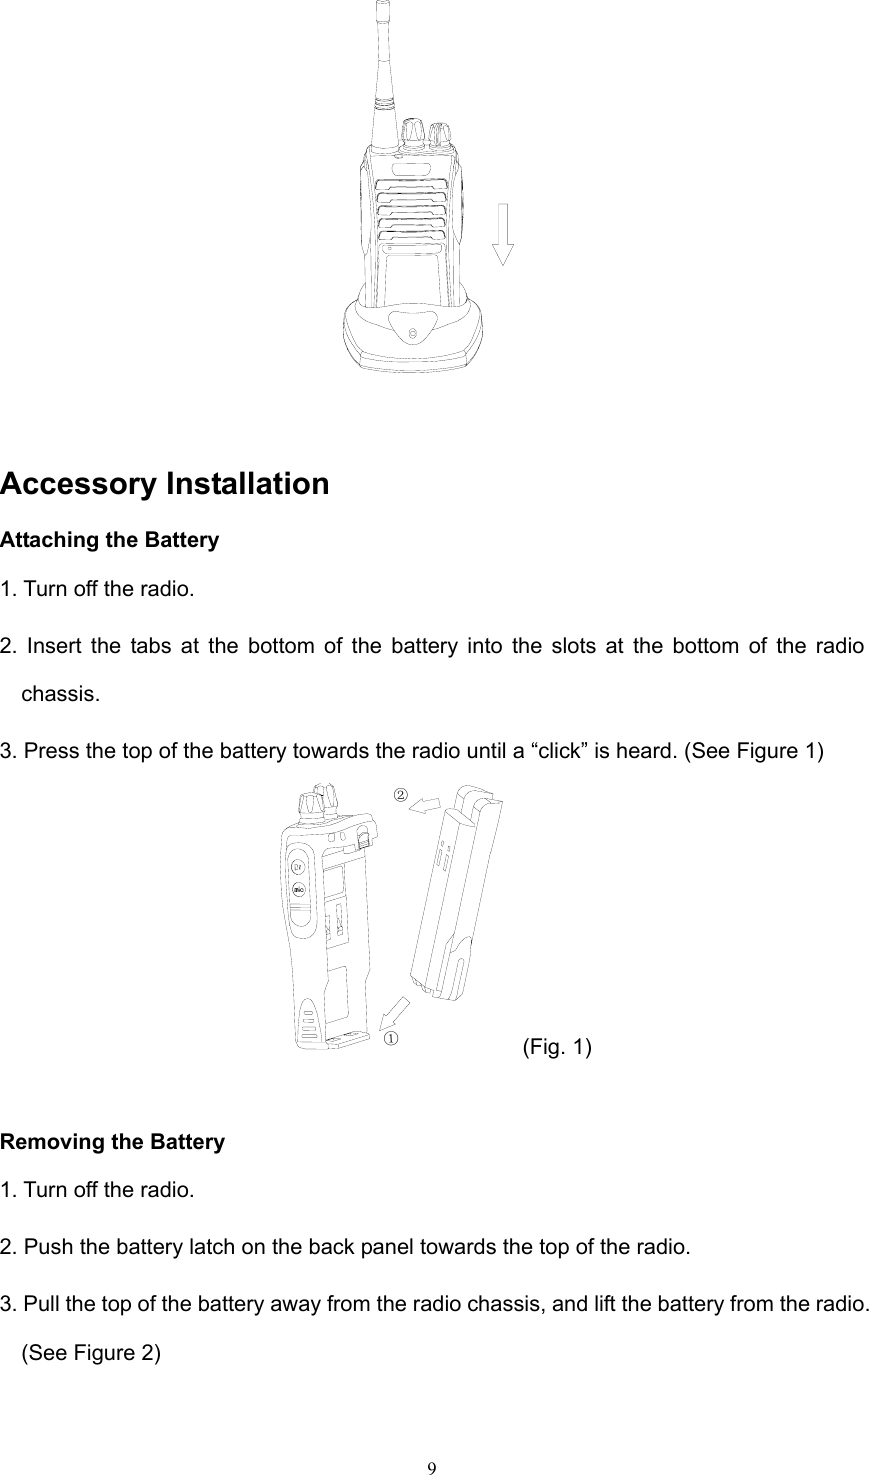
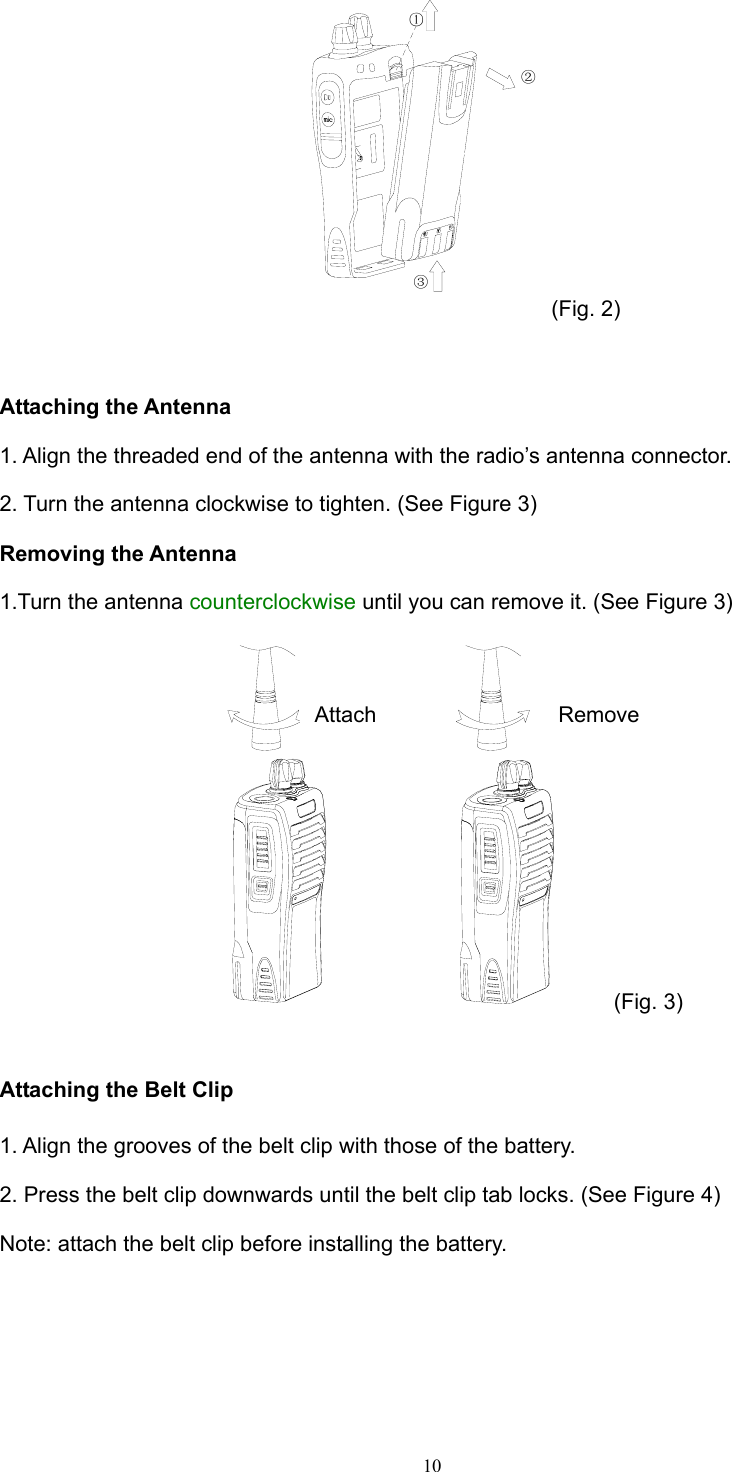
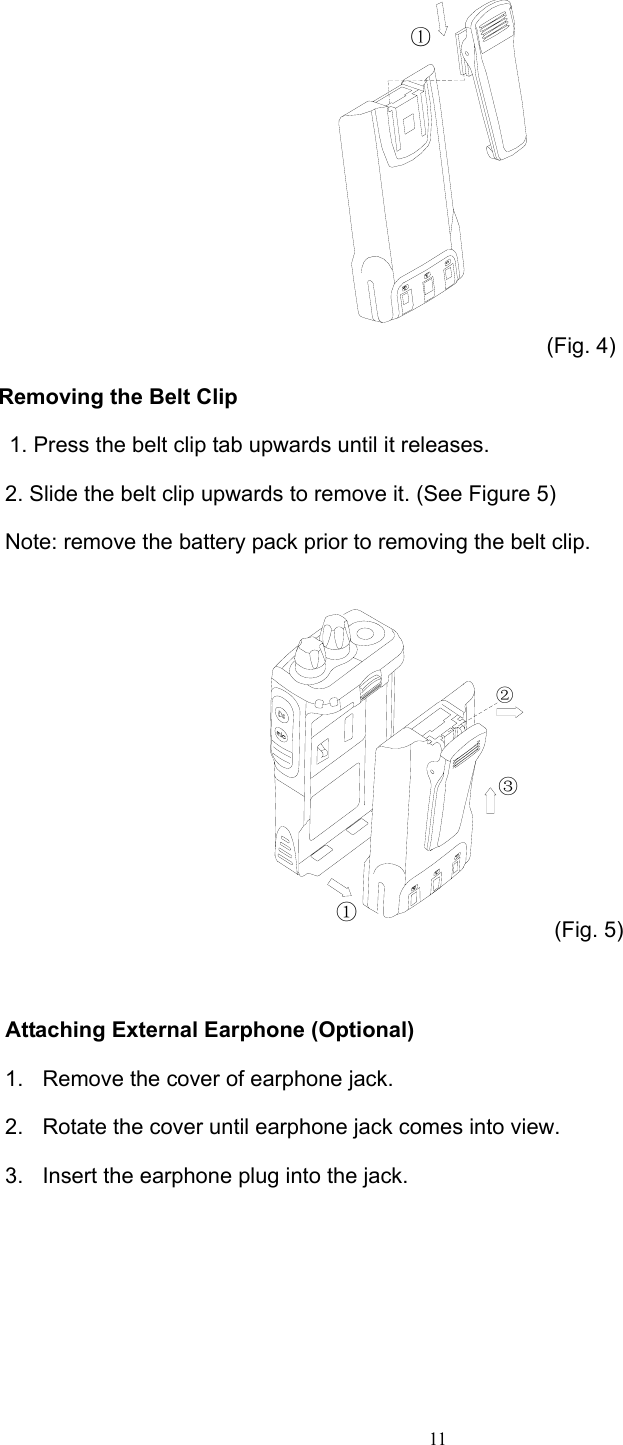
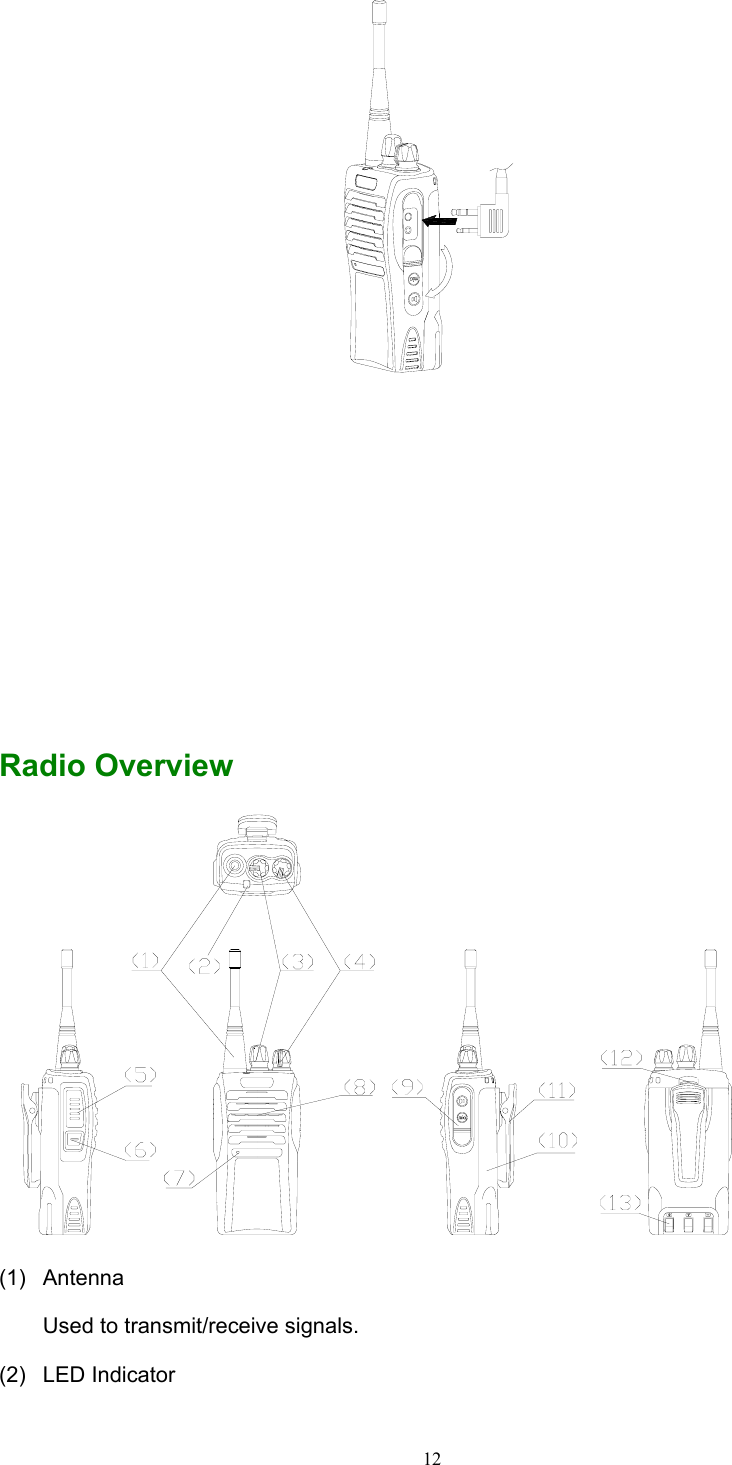
![13The radio LED glows red during transmission and green during reception; The LED flashes red when battery voltage is low. (3) Channel Selector Knob (4) Power/Volume Control Knob Rotate the knob clockwise until a “click” is heard to turn the radio on, fully counter clockwise until a “click” is heard to turn the radio off. When the radio is on, turn the knob to adjust volume. (5) PTT Key Hold down the [PTT] key to transmit, release it to receive. (6) Function Key The key can be programmed to access the radio features with the preset type of key pressing through the programming software. (7) Microphone Used to input sounds. (8) Speaker Used to output sounds. (9) External Jack (for external earphone or radio programming) Rotate the jack cover and insert accessory plug or insert programming cable into the jack to program the radio via programming software. (10) Battery (11) Belt Clip Used to clip radio on your belt. (12) Battery Latch Used to fasten and remove the battery. (13) Charging Connector Insert the battery into the charger; connect the charging connectors with those on the charger to begin charging.](https://usermanual.wiki/HYT-Science-and-Technology-Co/TC-600V/User-Guide-616335-Page-13.png)
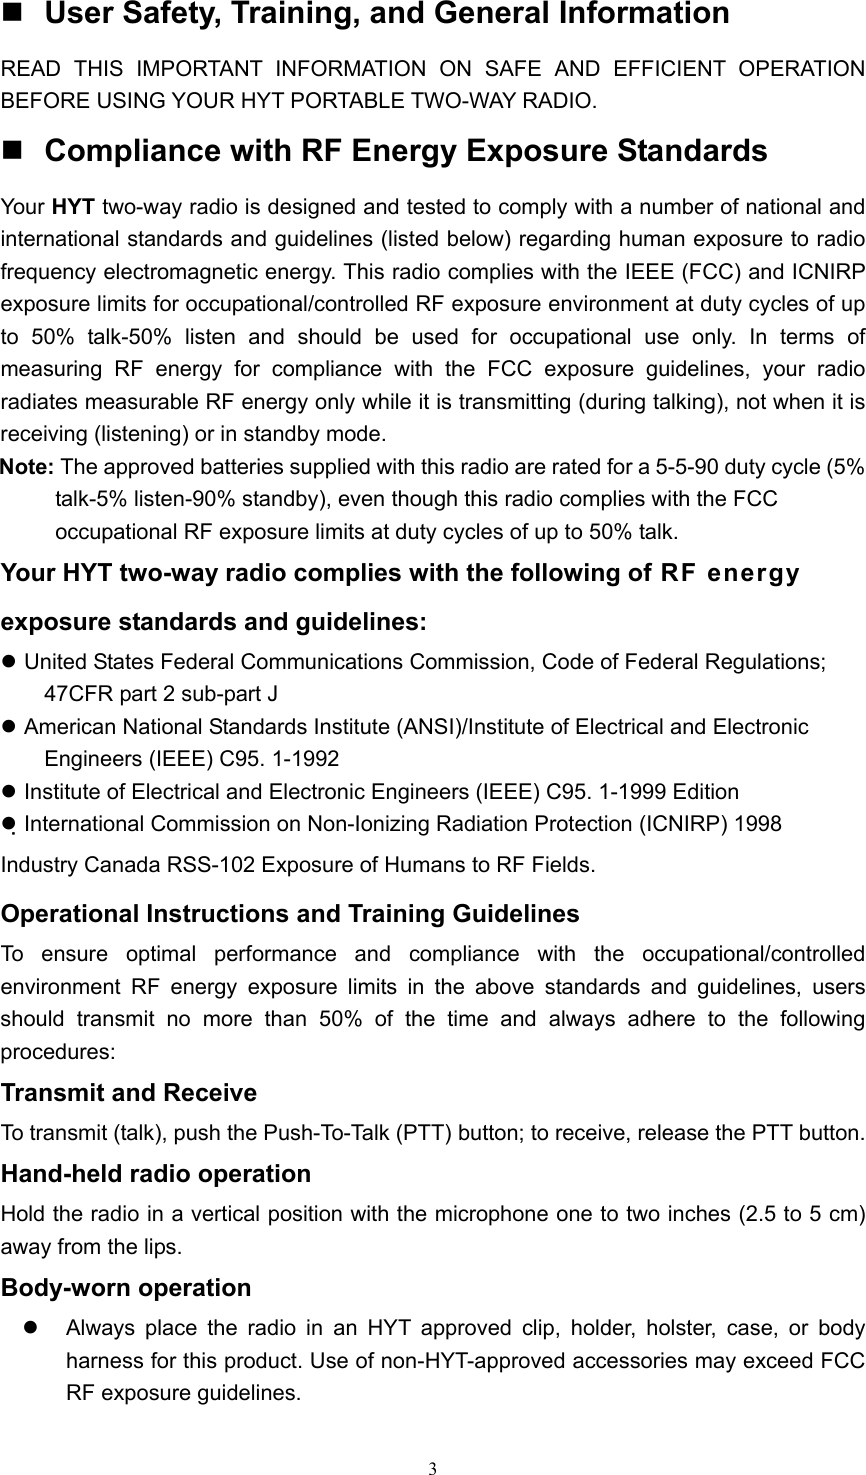
![14 Features and Operation Basic Operations 1. Turn on the radio: Turn the Power/Volume Control Knob clockwise until a “click” is heard. 2. Adjust the volume: Turn the Power/Volume Control Knob to adjust the volume. When function key is programmed with monitor feature, turn the knob while holding down the function key to adjust the volume to a comfortable level. 3. Select a Channel: Rotate Channel Selector knob to select your desired channel. 4. Transmit: Hold down the [PTT] key, speak into the microphone with normal voice. Keep microphone about 5cm away from your mouth. 5. Receive: Release the [PTT] key, the radio returns to receive mode. Note: when battery voltage becomes too low, transmission will stop and radio LED flashes red. Please refer to “Low Battery Alert” for more details. Time-Out-Timer (TOT)](https://usermanual.wiki/HYT-Science-and-Technology-Co/TC-600V/User-Guide-616335-Page-14.png)
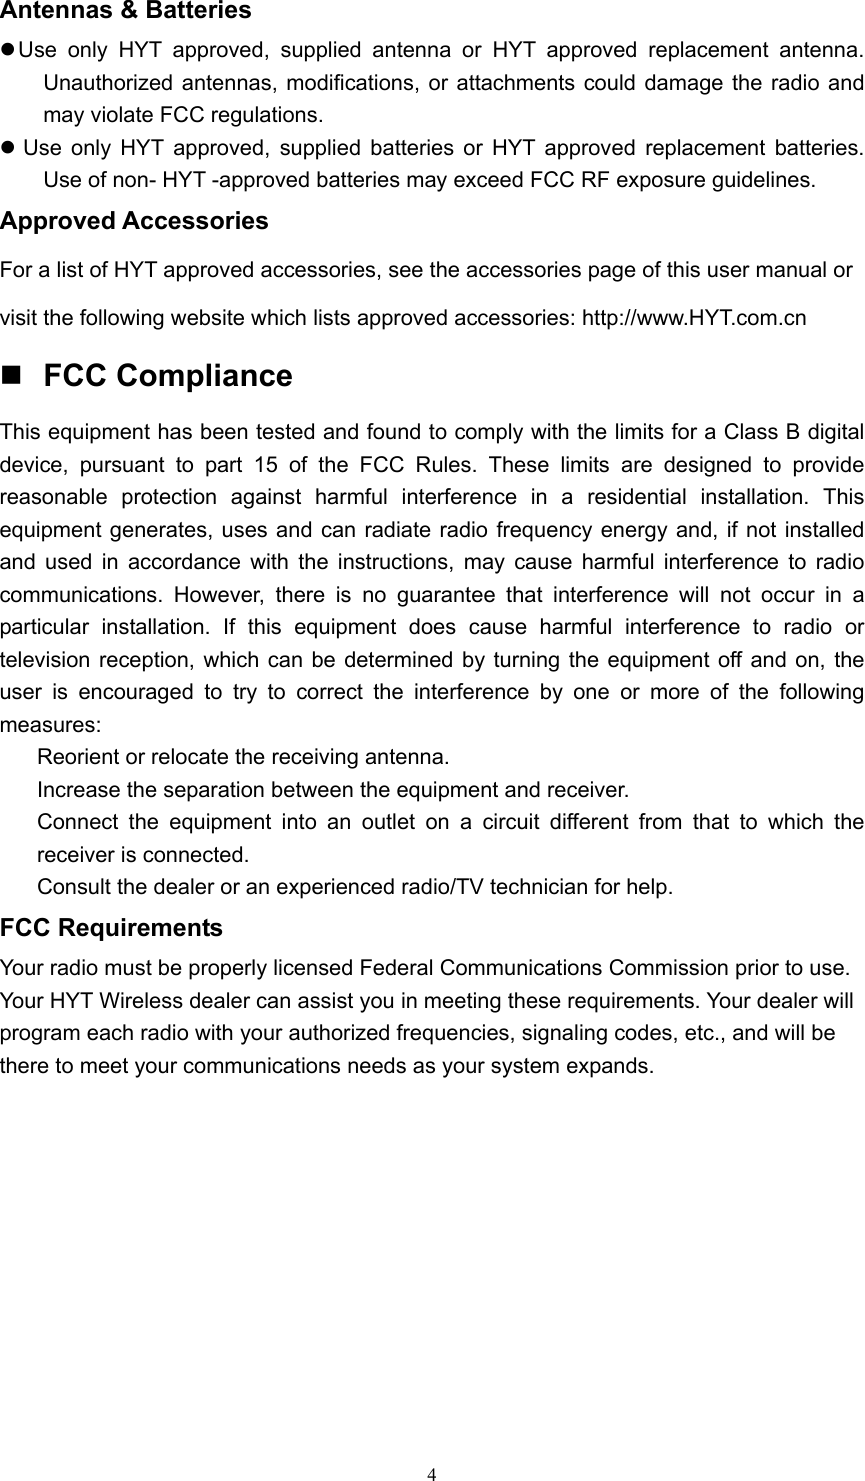
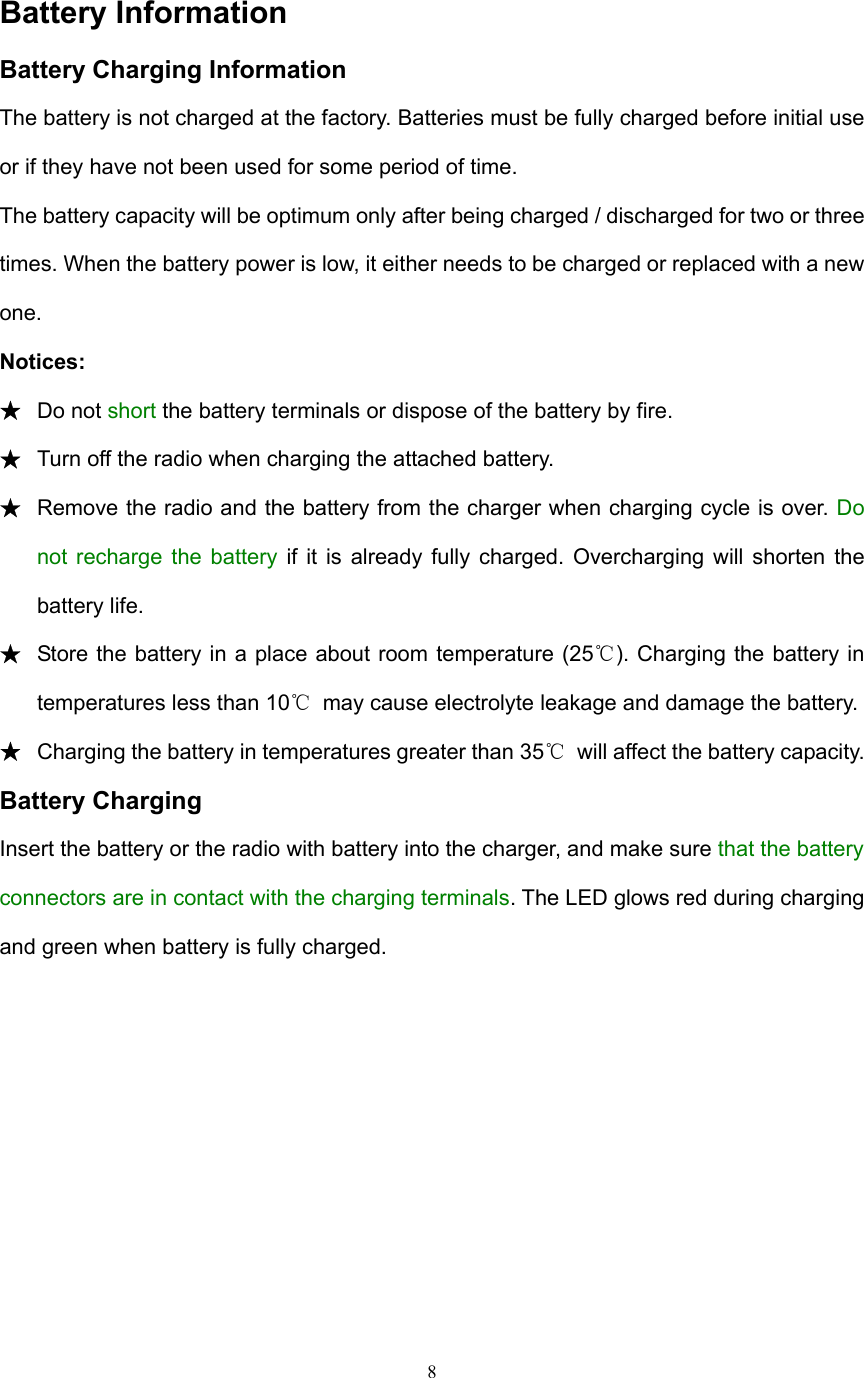
![15The Time-Out-Timer (TOT) is used to prevent someone from using the same channel for a long time and to prevent the radio from damage due to continuous transmission. If the transmission exceeds the preset time (it’s set by your dealer), transmission will be inhibited and a beep tone will sound. To stop the beep tone, release the [PTT] key. Press the [PTT] key again to resume transmitting. ■ TOT Reset Time When this feature is activated, TOT won’t reset until the preset TOT Reset Time (it’s set by your dealer) expires, even if you have released the [PTT] key. ■ TOT Rekey Time TOT Rekey Time is the duration that transmission is resumed after being inhibited by TOT. When this feature is activated, transmission will remain inhibited until the preset TOT Rekey Time (it’s set by your dealer) expires, even if you have pressed the [PTT] key. ■ TOT Pre-Alert Your dealer can program a TOT Pre-Alert feature to alert you just before the TOT expires. When this feature is activated, the radio will sound an alert tone at the preset TOT Pre-Alert time (1-255s before the TOT expires). Transmission will be inhibited by TOT after this time. Battery Save The Battery Save feature is enabled by your dealer to minimize the power consumption. When there is no activity on the channel and no operation is performed for 10 seconds, the Battery Save feature is automatically activated. When a signal is received or an operation is performed, the Battery Save feature is automatically deactivated. Low Battery Alert Low Battery Alert alerts you to recharge or replace the battery. During transmission, when the battery voltage goes below a preset value, the LED indicator will flash red. When the alert tone sounds, the radio stops transmitting. Please recharge or replace the battery.](https://usermanual.wiki/HYT-Science-and-Technology-Co/TC-600V/User-Guide-616335-Page-15.png)
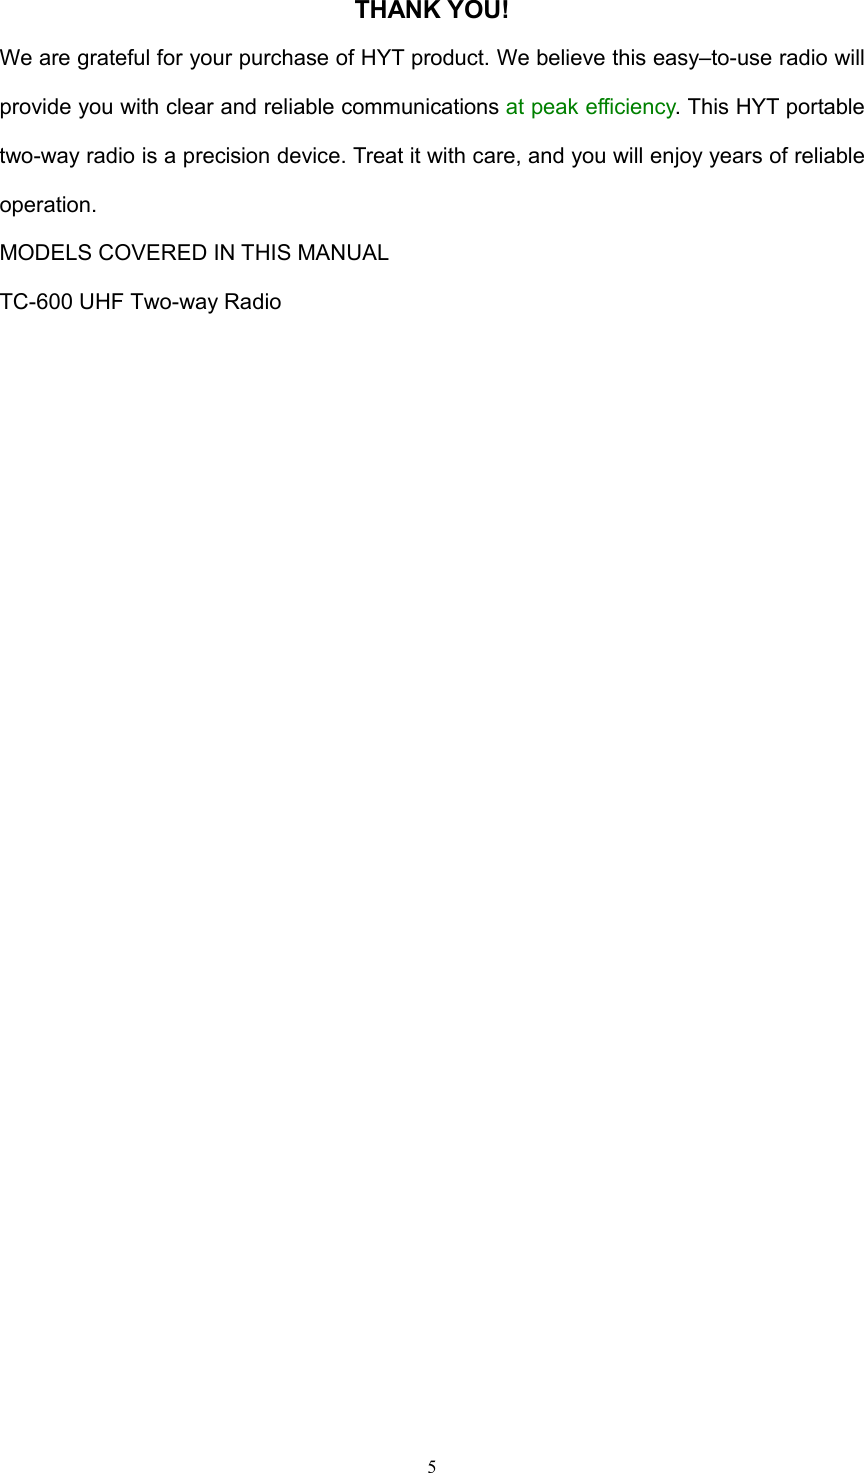
![16Monitor This feature is enabled/disabled by your dealer. In receive mode, press the preprogrammed MONI key to monitor activities on the current channel. This operation is especially useful for adjusting volume level or receiving a weak signal. The LED indicator glows green in monitor mode. Programmable Function Key This key can be programmed as a shortcut to Monitor or High/Low Power feature, or set inactive through the programming software. 3 types of key pressing can be defined: ● Short Press—quickly press and release the key within 1 second ● Long Press—press and hold the key for more than 1 second ● Press—press the key in any manner High/Low Power This feature is enabled/disabled by your dealer. In receive mode, press the preprogrammed High/Low Power key to toggle between high and low power. Three beeps alternating from high tone to low tone indicate that the transmit power is switched from high to low; and three beeps alternating from low tone to high tone indicate that the transmit power is switched from low to high. Compatible Channel Bandwidth The dealer can select wideband or narrowband channel bandwidth via PC programming software. 2-Tone Encode & Decode When 2-Tone signalling is set, press the function key while holding down the [PTT] key to transmit the 2-Tone code. 2-Tone decode and CTCSS/DCS decode can be set to one of the two signalling logics (“AND”/ “OR”) to achieve Selective Call feature (set by your dealer). Parameter settings are made through PC programming software.](https://usermanual.wiki/HYT-Science-and-Technology-Co/TC-600V/User-Guide-616335-Page-16.png)
![18priority channel periodically while stopping on a non-priority channel. When there is any activity on the priority channel, the radio will automatically switch to the priority channel for communications. ■ Scan Revert Channel If the radio is scanning and you press the [PTT] key, it will transmit on the preprogrammed revert channel. The revert channel can be programmed by your dealer. Busy Channel Lockout If the Busy Channel Lockout feature is enabled by your dealer, it will prevent you from talking on a channel that is already in use. When you press the [PTT] key, the radio will sound a beep tone and will not transmit. Release the [PTT] key to stop the beep tone. Wait until the channel is not in use before you again try to transmit. Troubleshooting Guide Trouble Solution No power ●Battery is low. Recharge or replace the battery. ●The battery may not be properly installed. Remove the battery and attach it again. Power doesn't last long even if fully charged ●Battery has lost its capacity, replace it with a new one. Can't talk to or hear group members ●Make sure you are using the same frequency, same CTCSS/DCS and same 2-Tone as your group members. ●Your group members may be out of the communication range. Other voice (non-group members) are present on the channel ●Change CTCSS/DCS tone. Make sure your group members all change to the same tone.](https://usermanual.wiki/HYT-Science-and-Technology-Co/TC-600V/User-Guide-616335-Page-18.png)