HYT Science and Technology Co TC3000V0 FM Handheld Transceiver User Manual
Shenzhen HYT Science &Technology; Co Ltd FM Handheld Transceiver Users Manual
UserManual.wiki
>
HYT Science and Technology Co
>
TC3000V0 User Manual
Users Manual
Navigation menu
Upload a User Manual
Namespaces
Wiki Guide
HTML
PDF
Info
Views
User Manual
Discussion / Help
Navigation

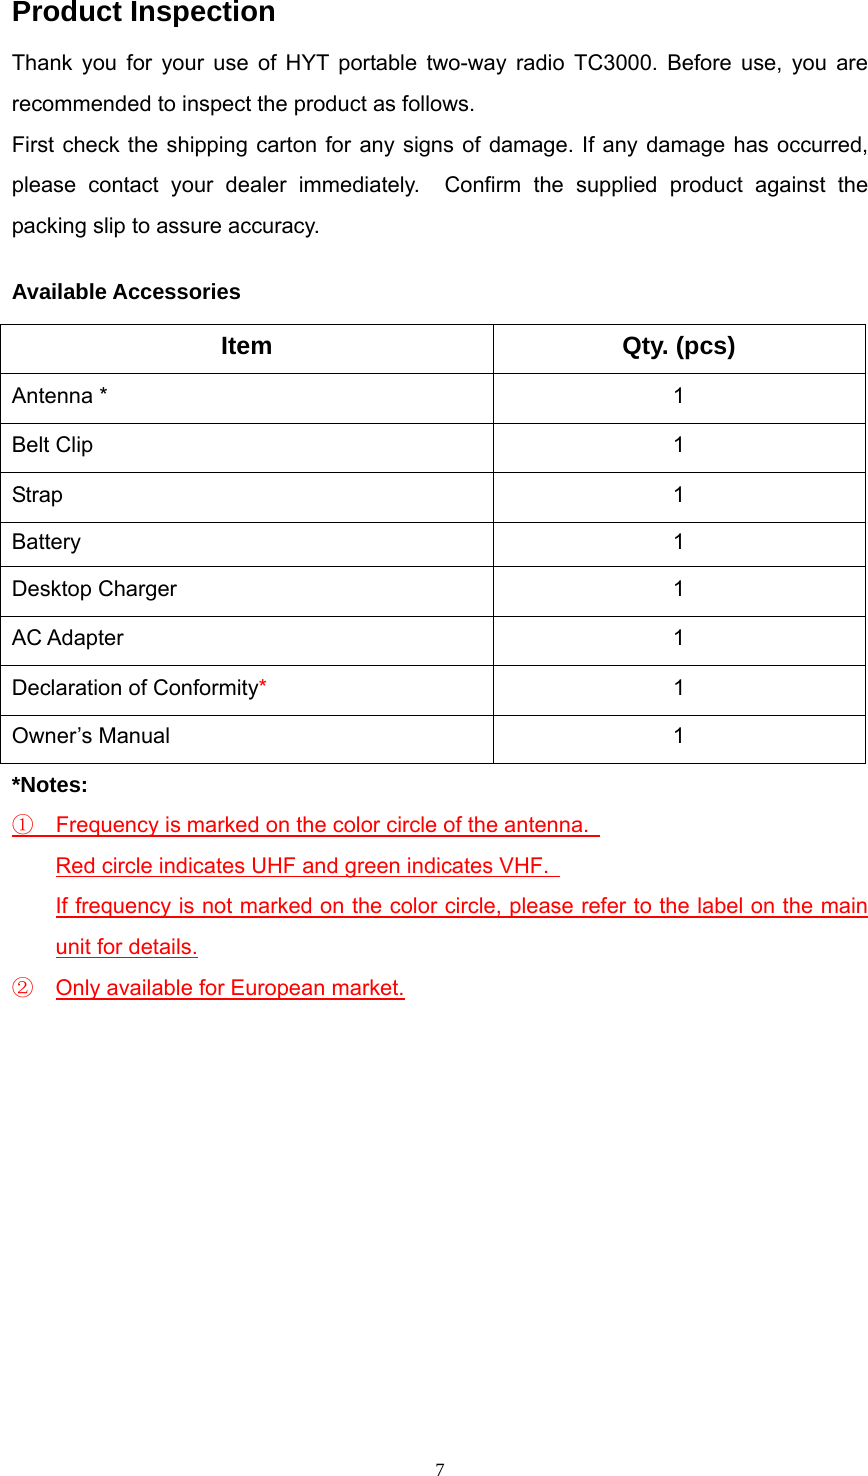
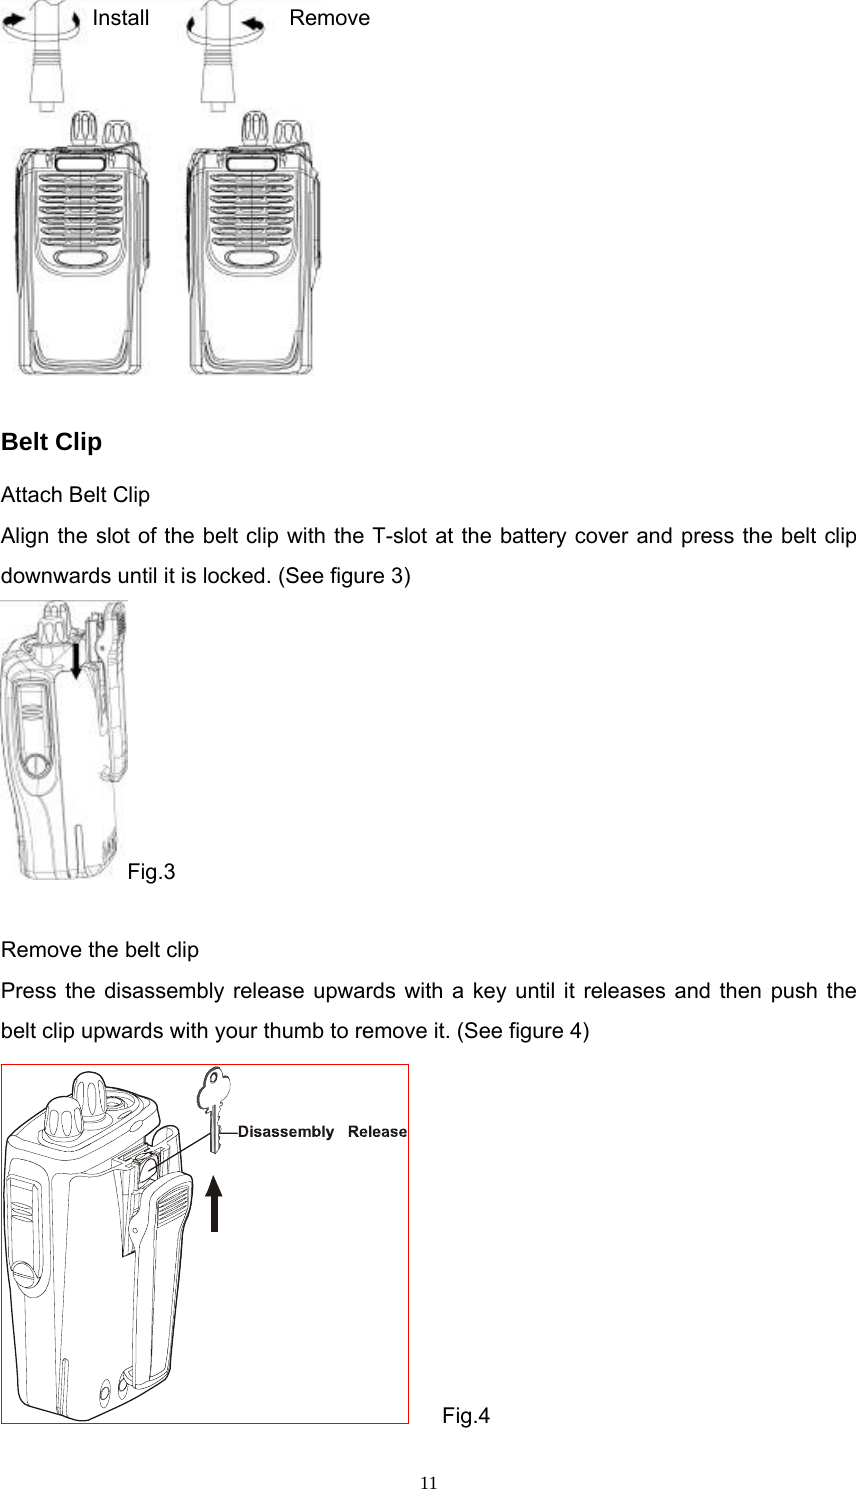
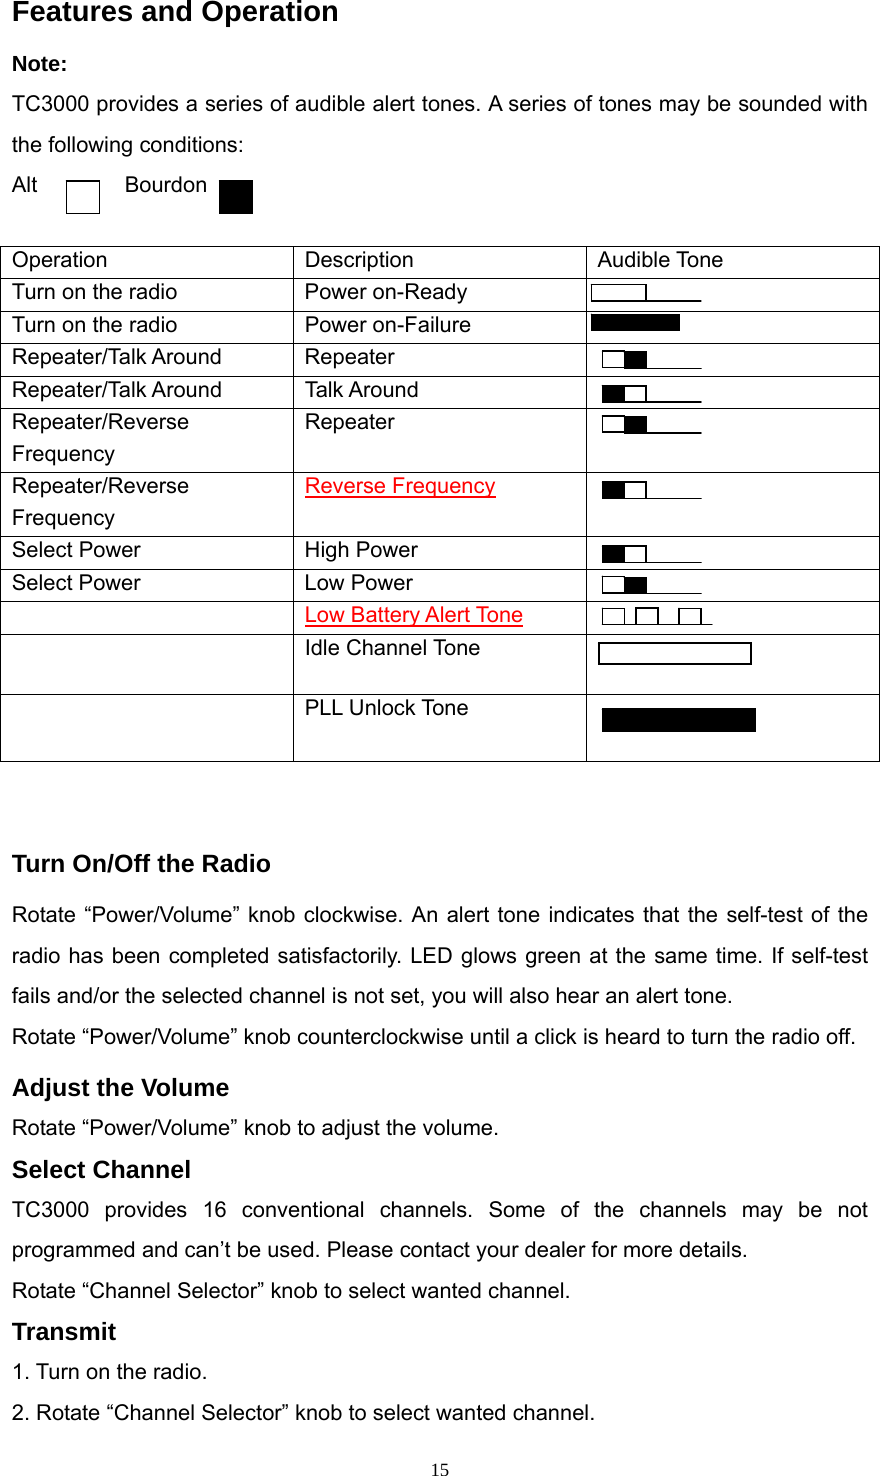
![13Getting Started (1) Antenna Used to transmit/receive signals. (2) LED Following table indicates LED indication and corresponding radio status. LED Status No display Standby Green Receive Red Transmit Flashing green Scan Flashing red Low battery voltage Flashing orange Call waiting (3) Channel Selector Used to select wanted channel. (4) Programmable key [A] (5) Power/Volume Control Knob Rotate the Power/Volume Knob clockwise until a “click” is heard to turn the radio on, fully counter clockwise to turn the radio off. When the radio is on, turn the knob to adjust volume. (6) Battery Latch Used to fasten the battery. (7) Speaker Used to output sounds.](https://usermanual.wiki/HYT-Science-and-Technology-Co/TC3000V0/User-Guide-791543-Page-13.png)
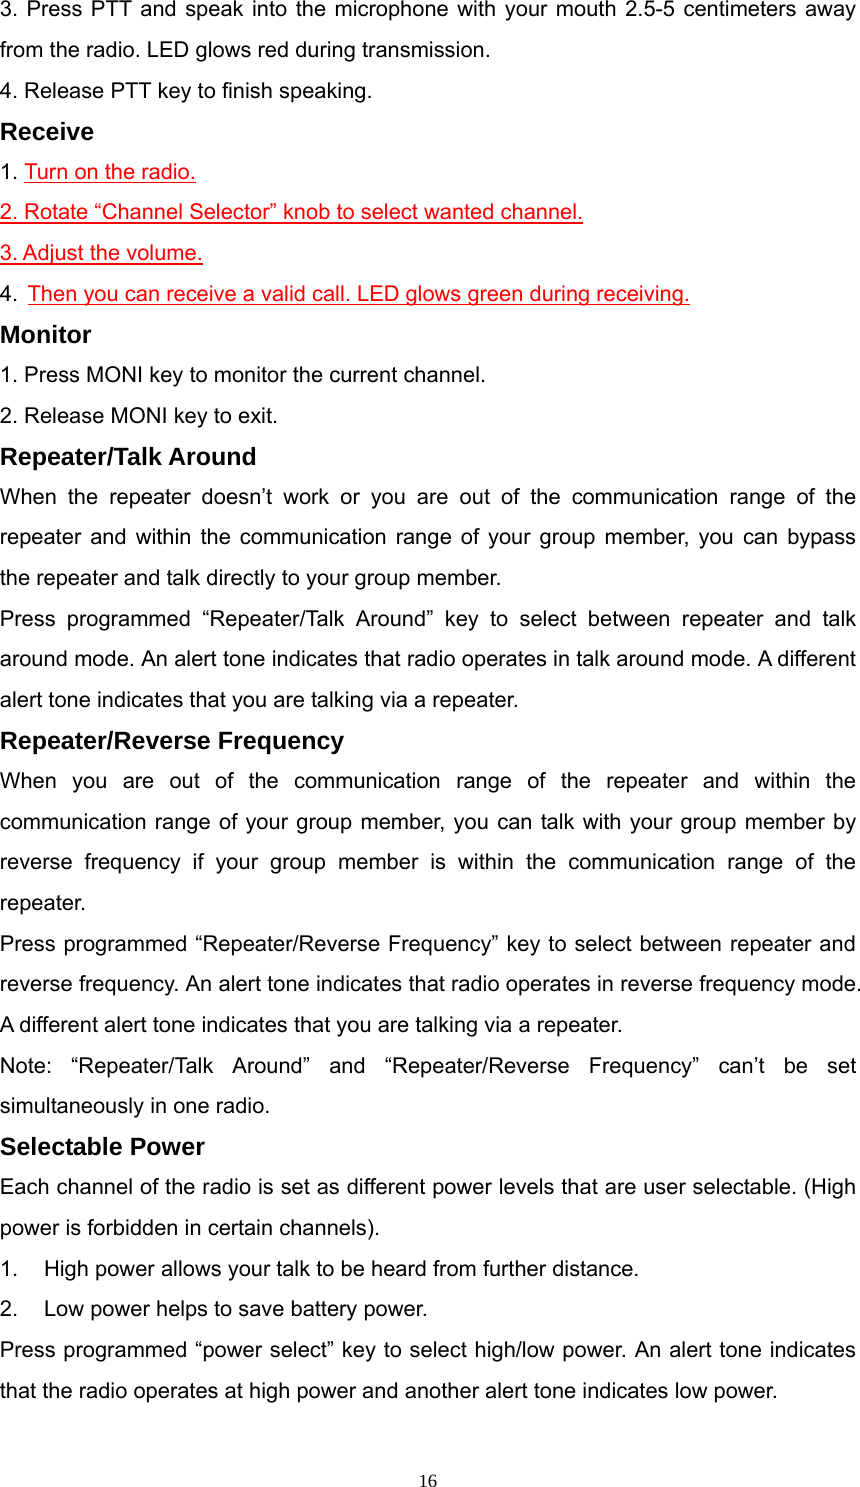
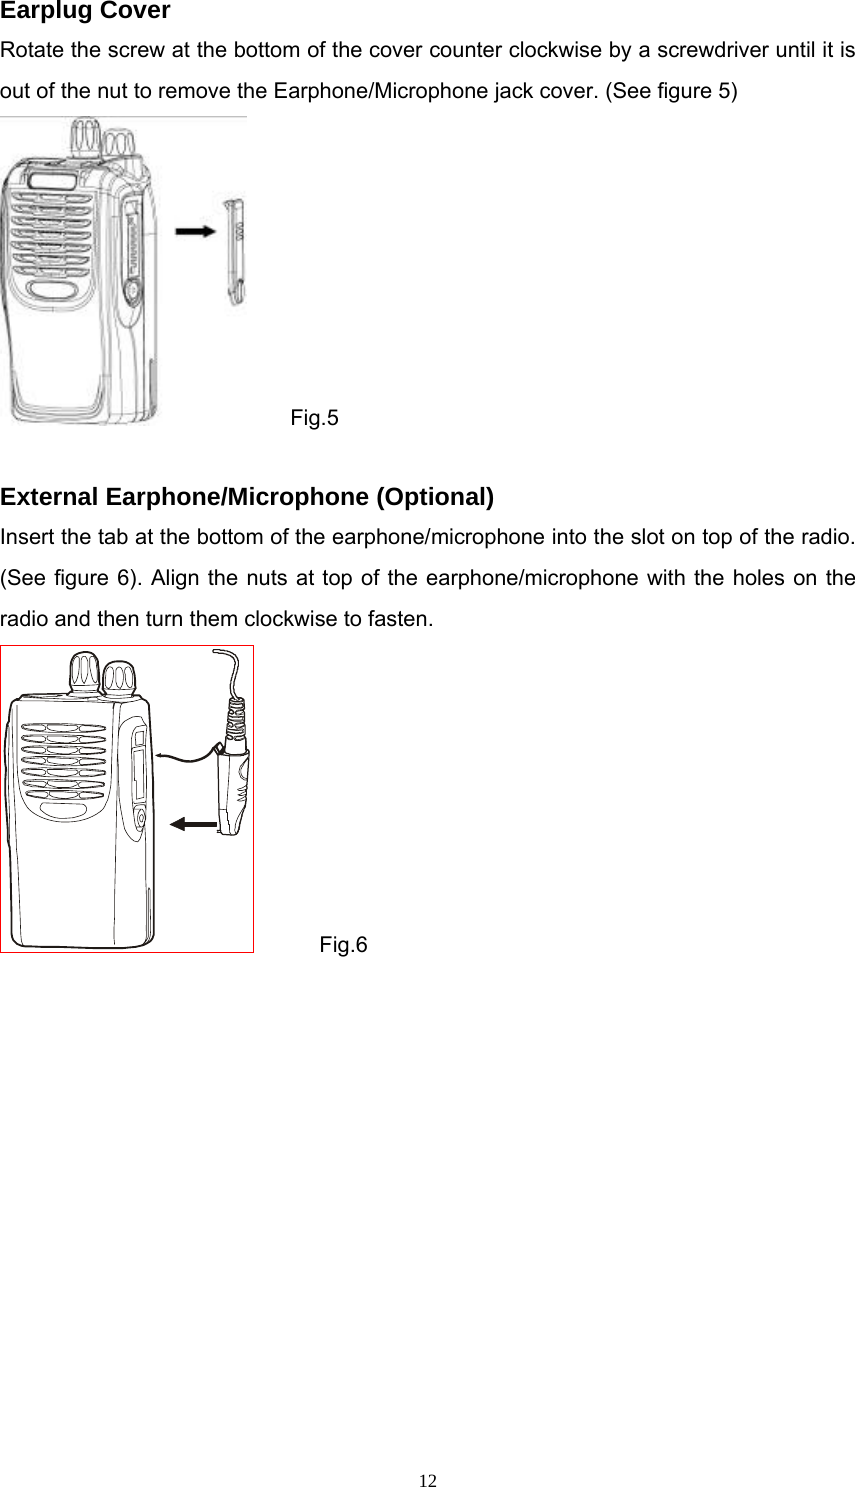
![14(8) Microphone Used to input sounds. (9) External Jack Used to connect with external earphone or programming cable. (10) Belt Clip Used to clip the radio on your belt. (11) Battery Pack (12) PTT key Press and hold PTT, radio operates in transmit mode. Release PTT, radio returns to receive mode. (13) Programmable Key [B] (14) Programmable Key [C] The following table shows the key function when 1. Short press; 2. Long press; 3. Hold down and monitor. Key function Key Function Short Press Long press Hold DownEmergency Siren Enable emergency siren Disable emergency siren - Monitor - - Monitor Scan Enable/Disable scan Enable/Disable scan - Nuisance Delete Delete nuisance channel in scan Delete nuisance channel in scan - Select High/Low Power Select High/Low Power Select High/Low Power - Repeater/Talk Around Select Repeater or Talk Around Mode Select Repeater or Talk Around Mode - Repeater/Reverse Frequency Select Repeater or Reverse Frequency ModeSelect Repeater or Reverse Frequency Mode - Music Call Transmit a Music Call Transmit a Music Call - Call 1 Transmit selective call signalling (2-Tone, HDC, DTMF) Transmit selective call signalling (2-Tone, HDC, DTMF) - Call 2 Transmit selective call signalling (2-Tone, HDC, DTMF) Transmit selective call signalling (2-Tone, HDC, DTMF) - Vibration Toggle vibration on/off Toggle vibration on/off - Please contact your dealer for more details about programmable key. Functions are subject to addition without prior notice.](https://usermanual.wiki/HYT-Science-and-Technology-Co/TC3000V0/User-Guide-791543-Page-14.png)