HYUNDAI MOBIS ACBB0B0AN DISPLAY CAR SYSTEM User Manual
HYUNDAI MOBIS CO., LTD. DISPLAY CAR SYSTEM
UserManual.wiki
>
HYUNDAI MOBIS
>
ACBB0B0AN User Manual
User Manual
Navigation menu
Upload a User Manual
Namespaces
Wiki Guide
HTML
PDF
Info
Views
User Manual
Discussion / Help
Navigation


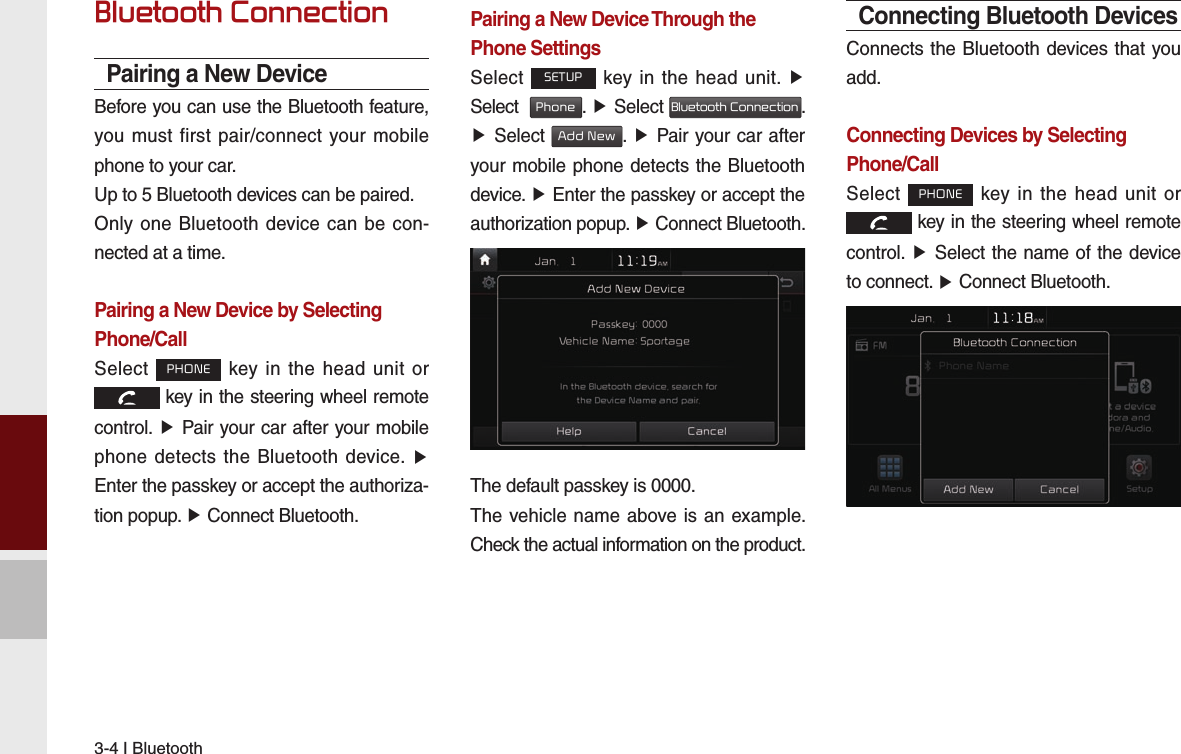
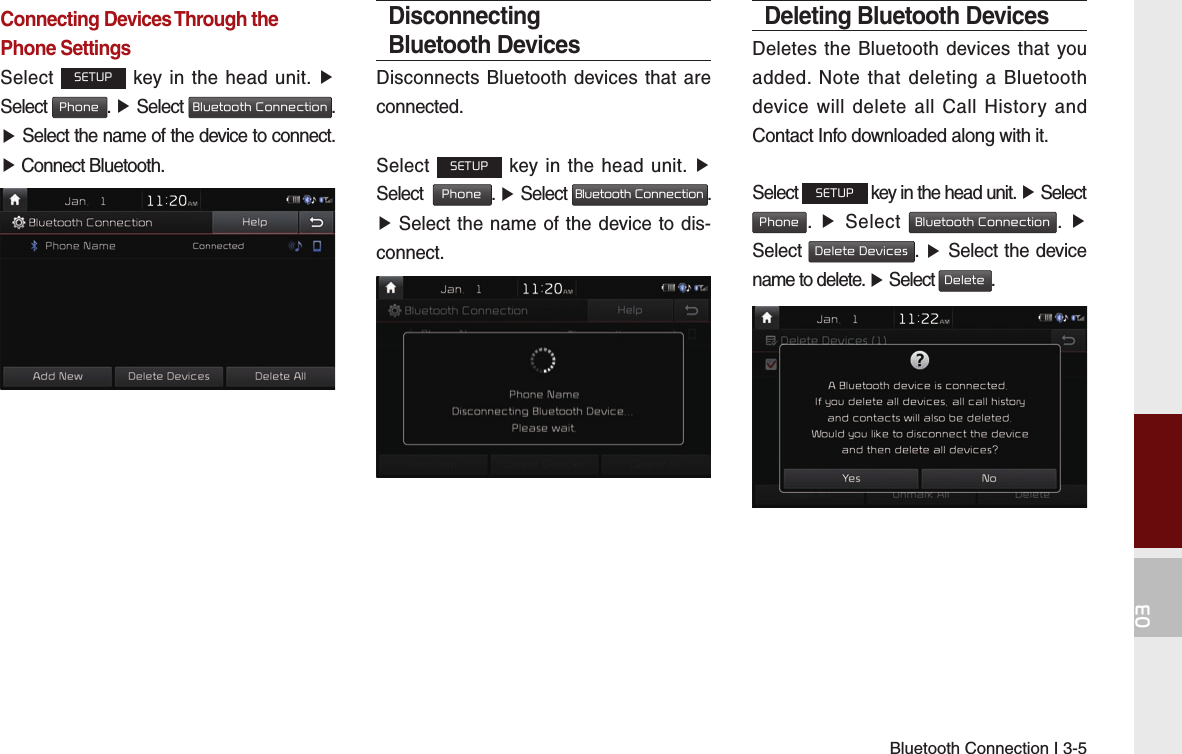
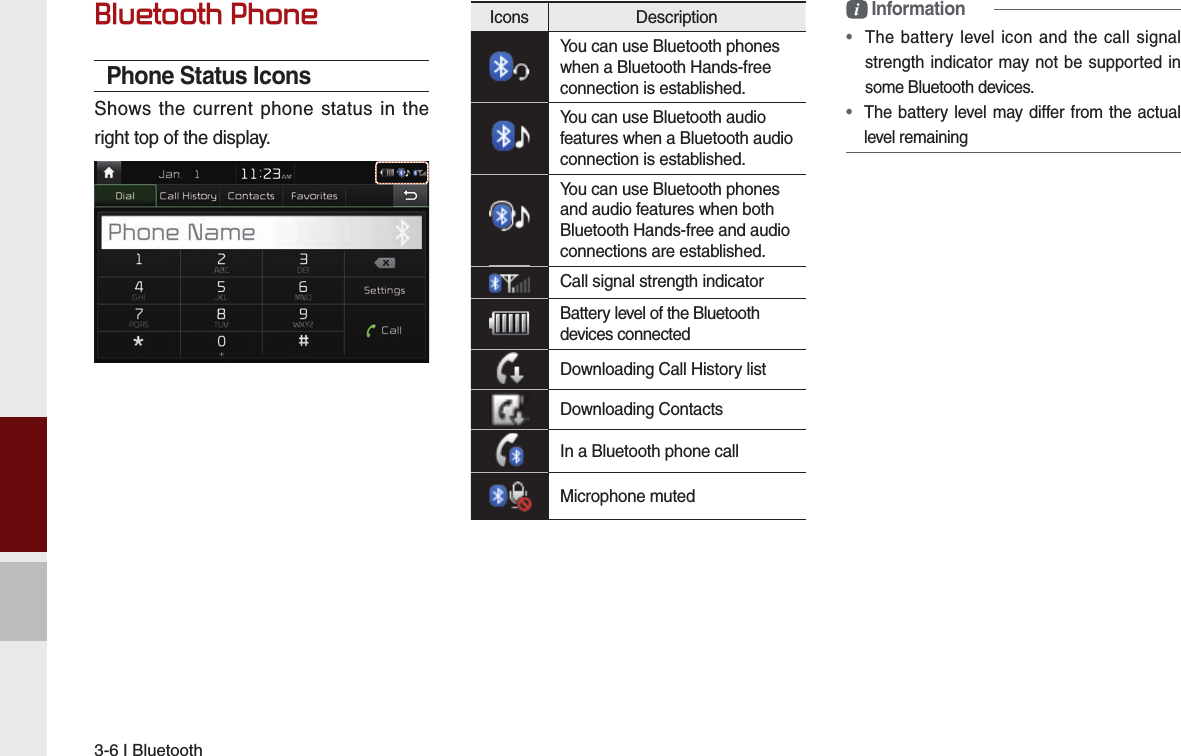
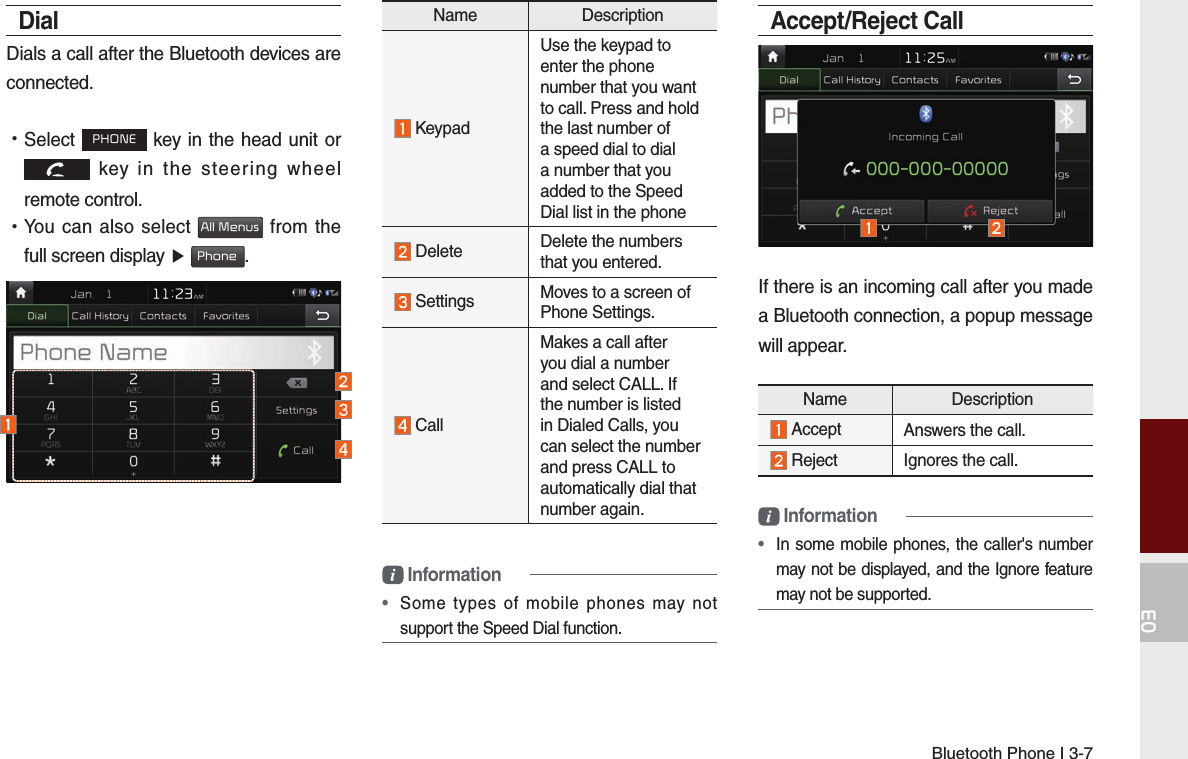


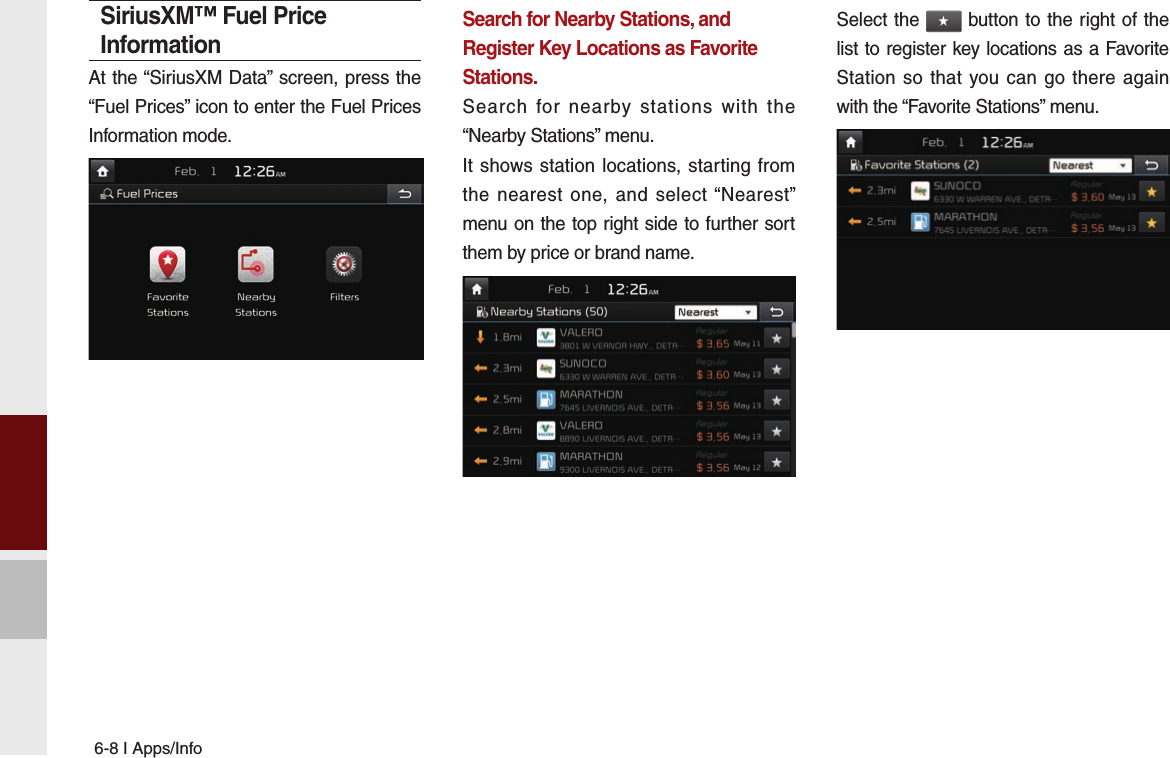
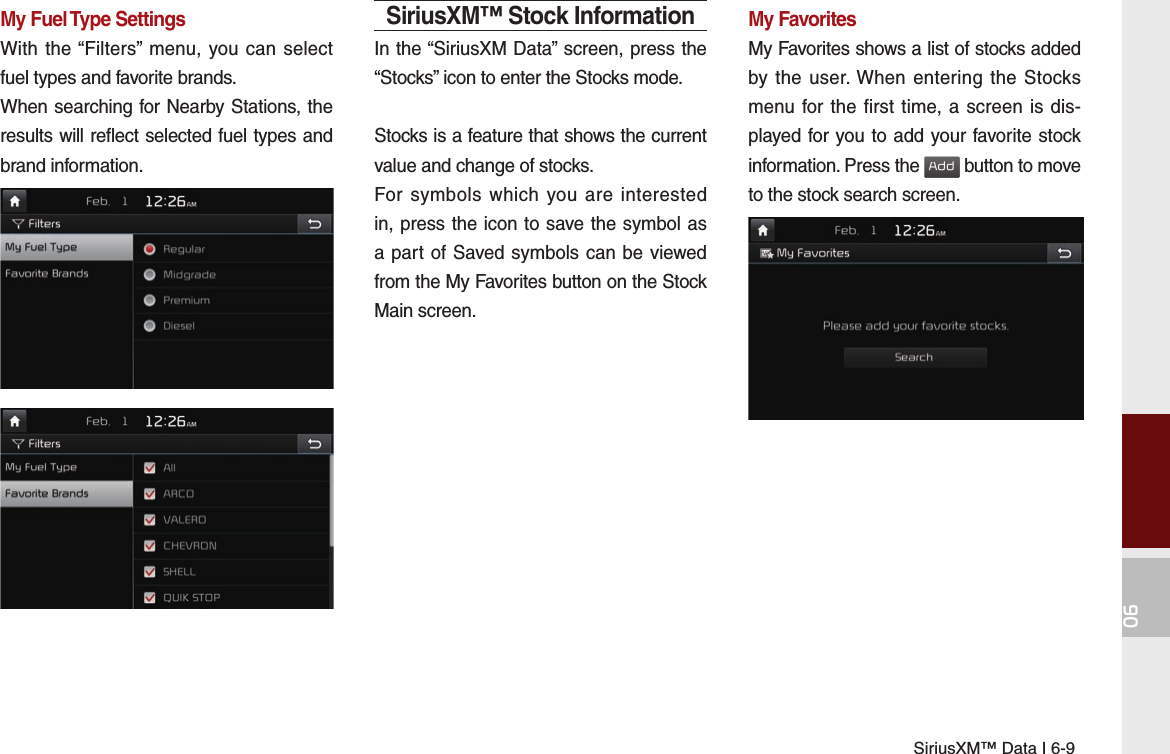
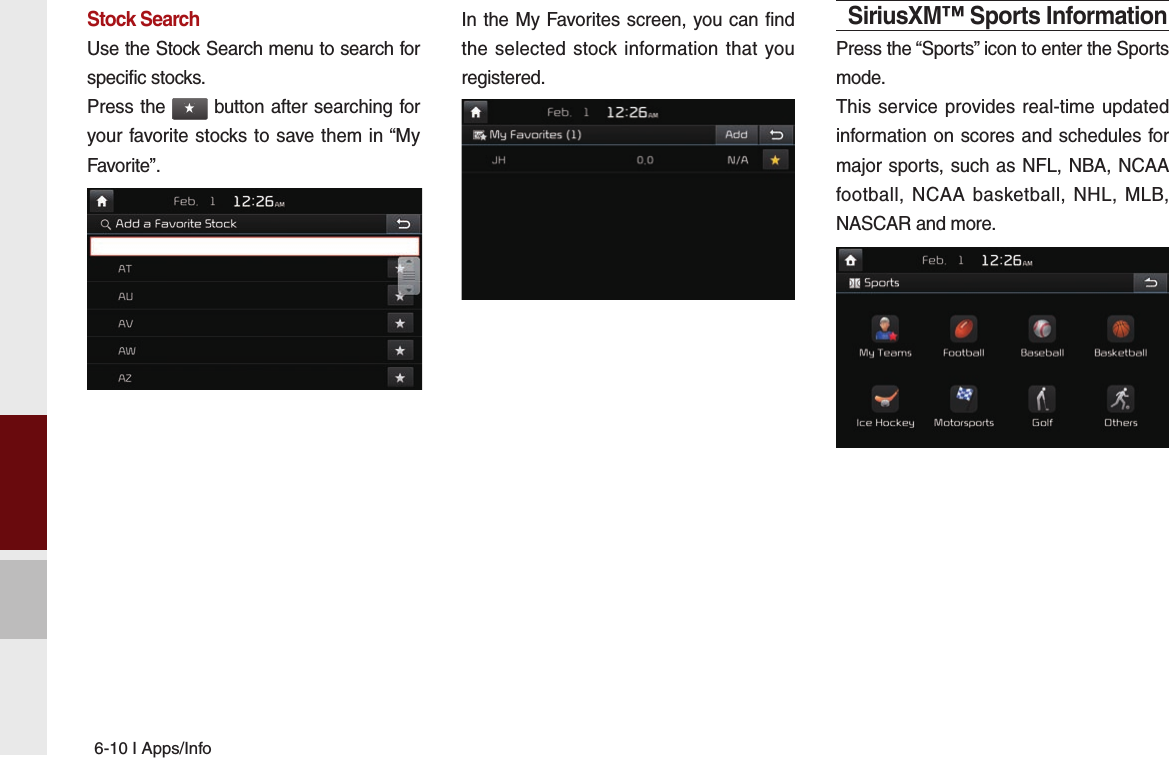
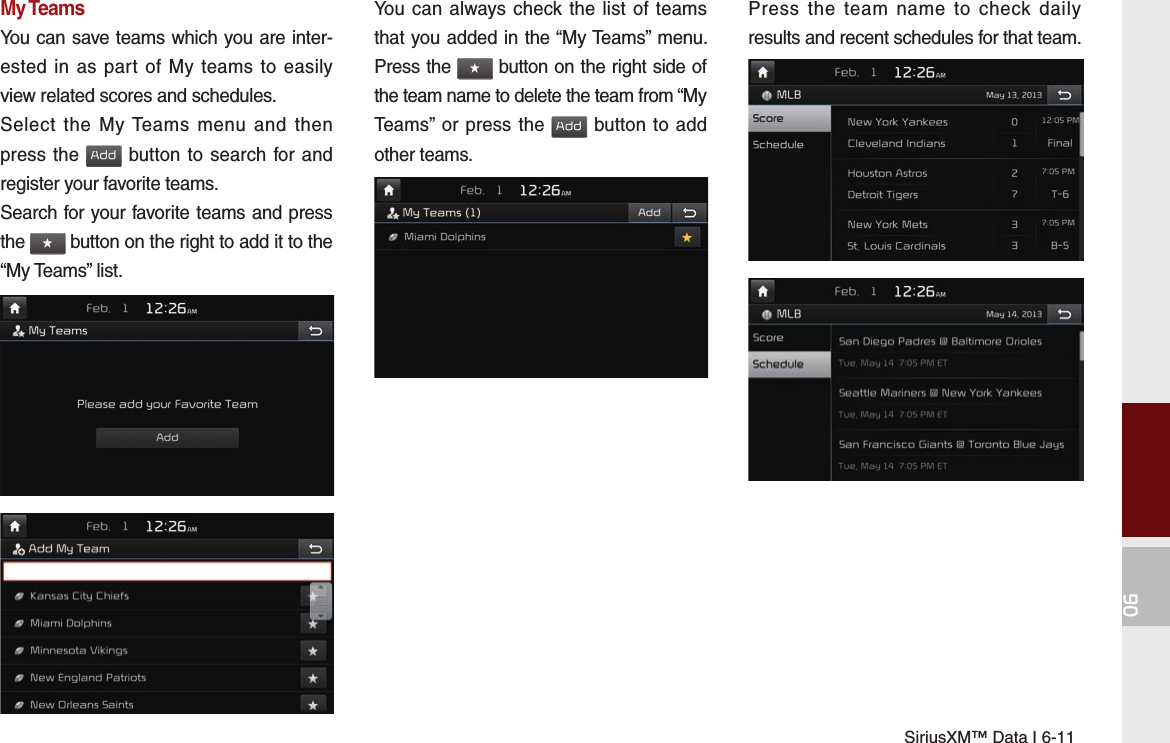


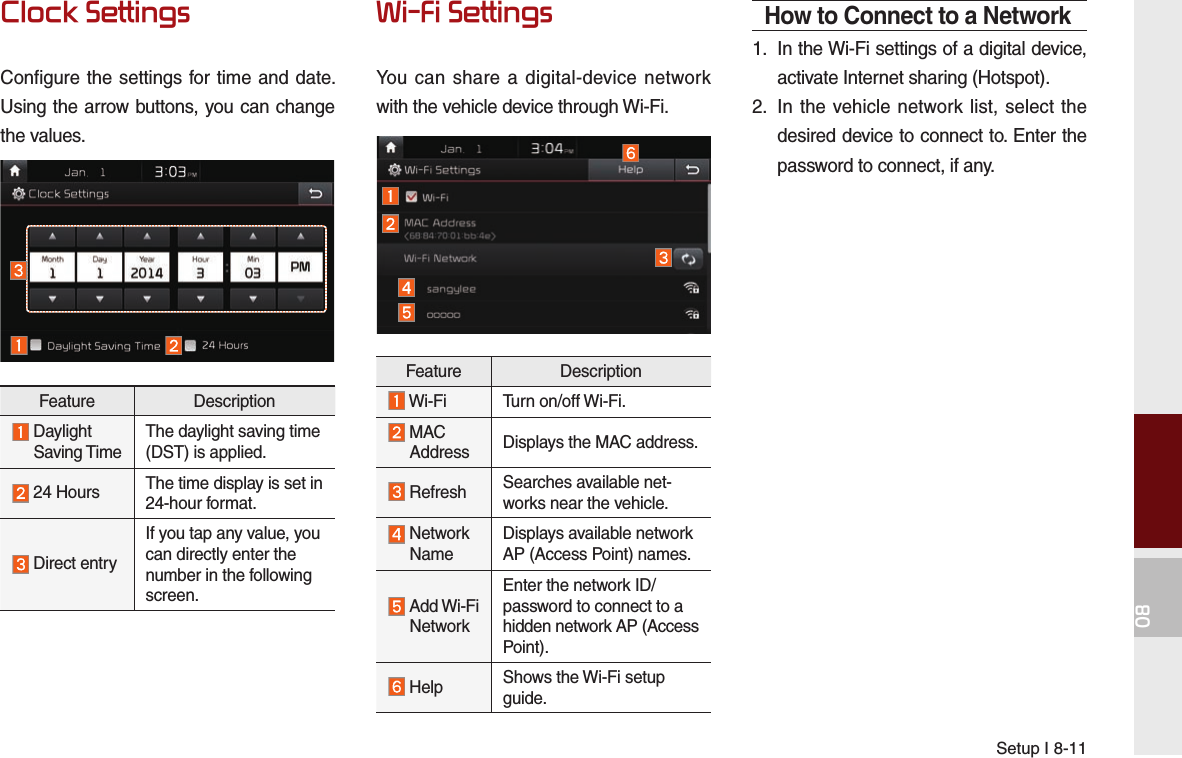
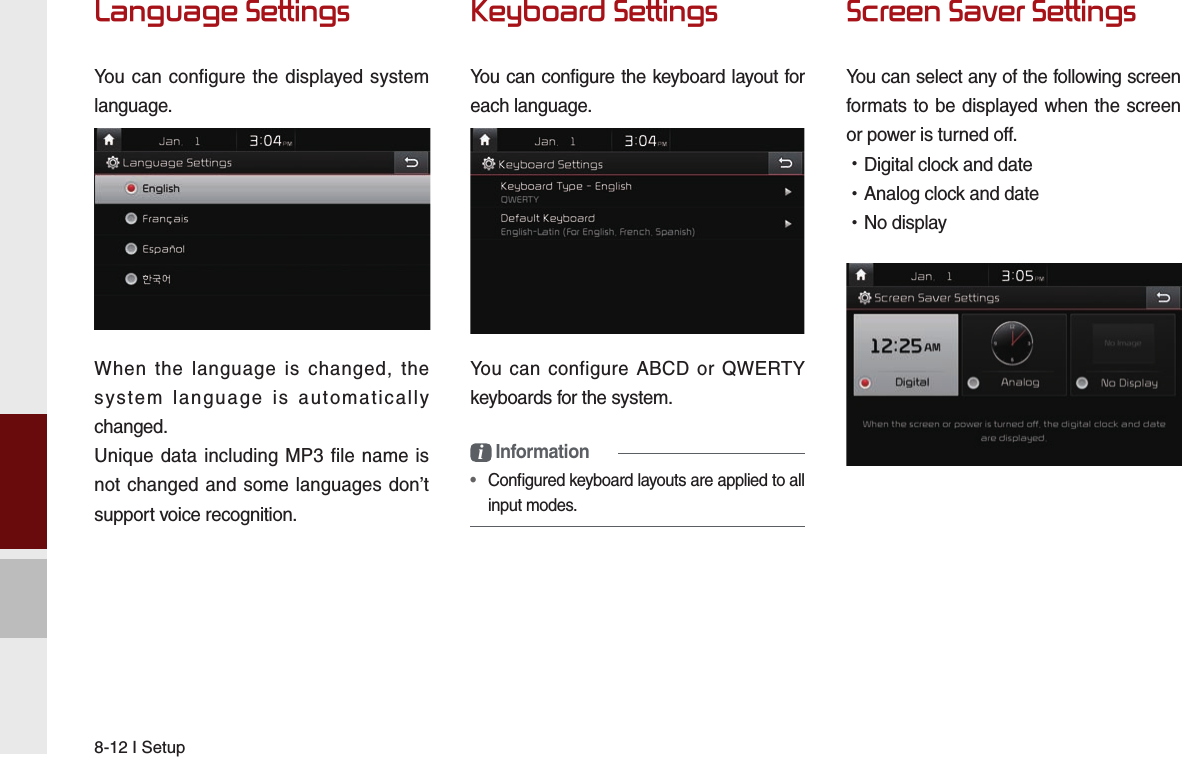
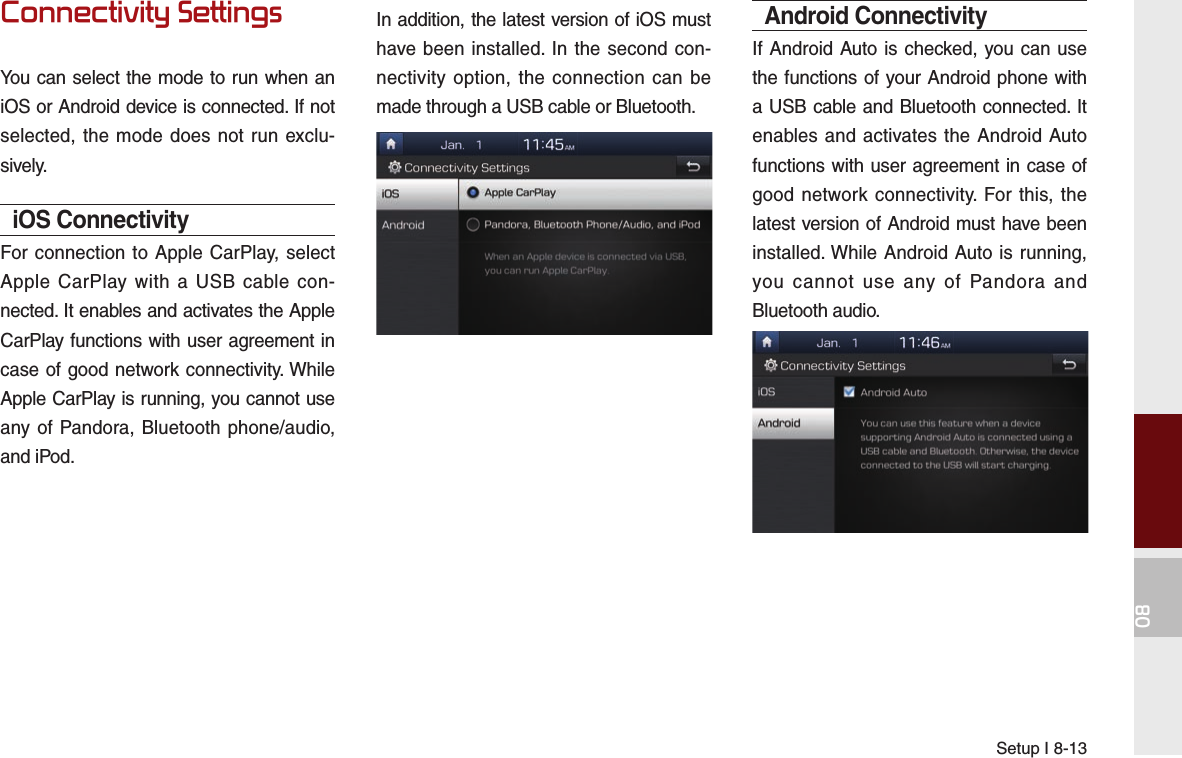
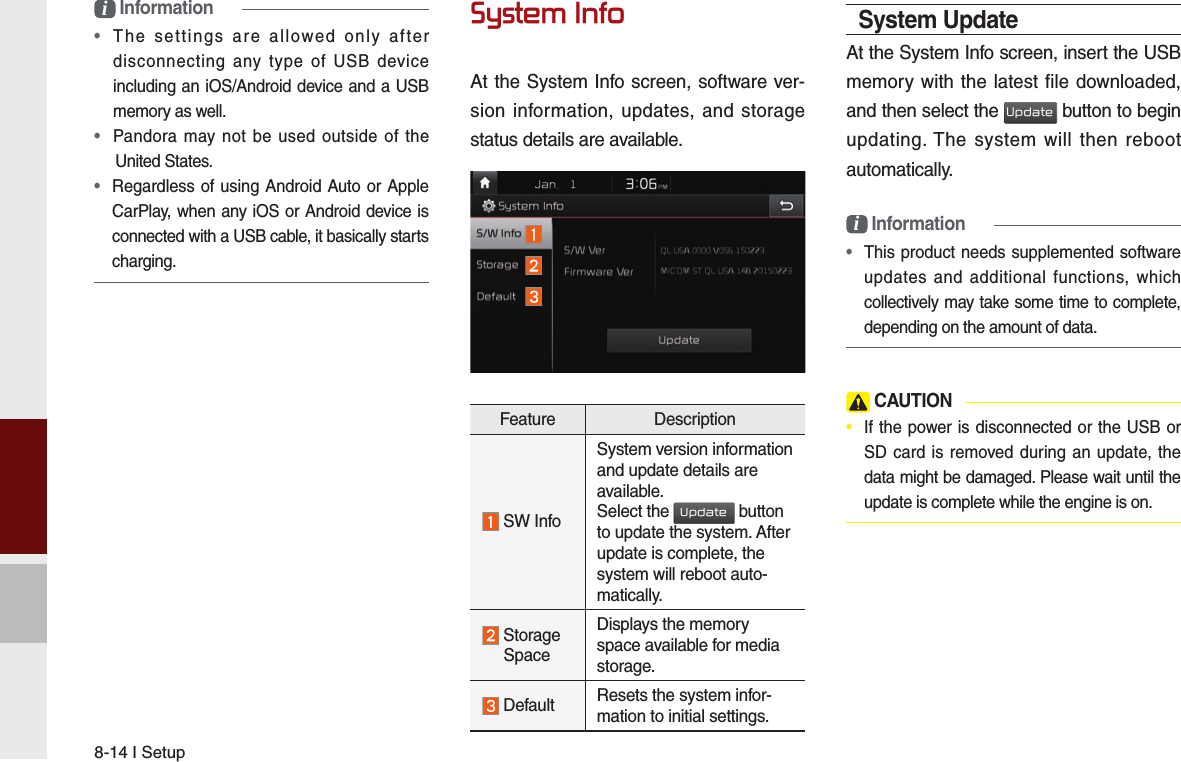
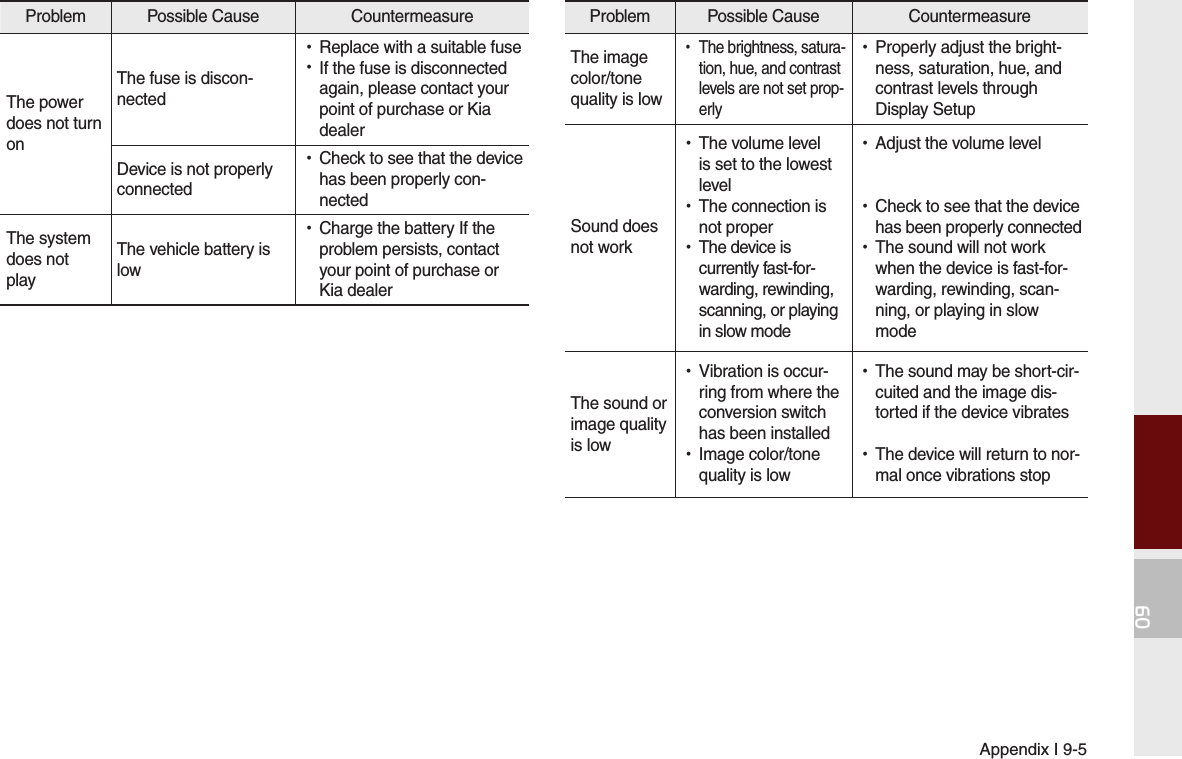
![9-4 I AppendixTroubleshooting1. Errors which occur during the operation or installation of the device may be mistaken as a malfunction of the actual device.2. If you are having problems with the device, try the suggestions listed below.3. If the problems persist, contact your Kia dealer.Problem Possible CauseThere are small red, blue, or green dots on the screen •Because the LCD is manufactured with technology requiring high point density, a pixel or lighting deficiency may occur within 0.01% of total pixelsThe sound or image is not working •Has the Switch for the vehicle been turned to [ACC] or [ON]? •Has the SYSTEM been turned OFF?The screen is being dis-played but sound is not working •Has the volume been set to a low level? •Has the volume been muted?When the power is turned on, the corners of the screen are dark •The display appearing somewhat dark after prolonged periods of use is normal with LCD panels. It is not a malfunction •If the screen is very dark, contact your nearest Kia dealer for assistanceSound is working from only one speaker •Are the positions of Fader or Balance sound controls adjusted to only one side?Problem Possible CauseSound does not work in AUX mode •Are the audio connector jacks fully inserted into the AUX terminal?The external device is not working •Is the external device connected with a standard connector cable?Upon turning power on, the most recent mode screen is not displayedWithin modes that play files by reading external sources, such as discs, USB, iPod, or Bluetooth® streaming mode, the most recently played mode screen prior to turning off power may not properly load •If there is no disc or the corresponding device is not connected, the mode oper-ated prior to the most recent mode will operate •If the previous mode still cannot be prop-erly played, the mode operated prior to that will operate](https://usermanual.wiki/HYUNDAI-MOBIS/ACBB0B0AN/User-Guide-2751907-Page-138.png)