Haier Telecom Z3000B GSM/GPRS 1900 MHz Mobile Phone User Manual Z3000B
Haier Telecom (Qingdao) Co., Ltd. GSM/GPRS 1900 MHz Mobile Phone Z3000B
UserManual.wiki
>
Haier Telecom
>
Z3000B User Manual
Users Manual
Navigation menu
Upload a User Manual
Namespaces
Wiki Guide
HTML
PDF
Info
Views
User Manual
Discussion / Help
Navigation
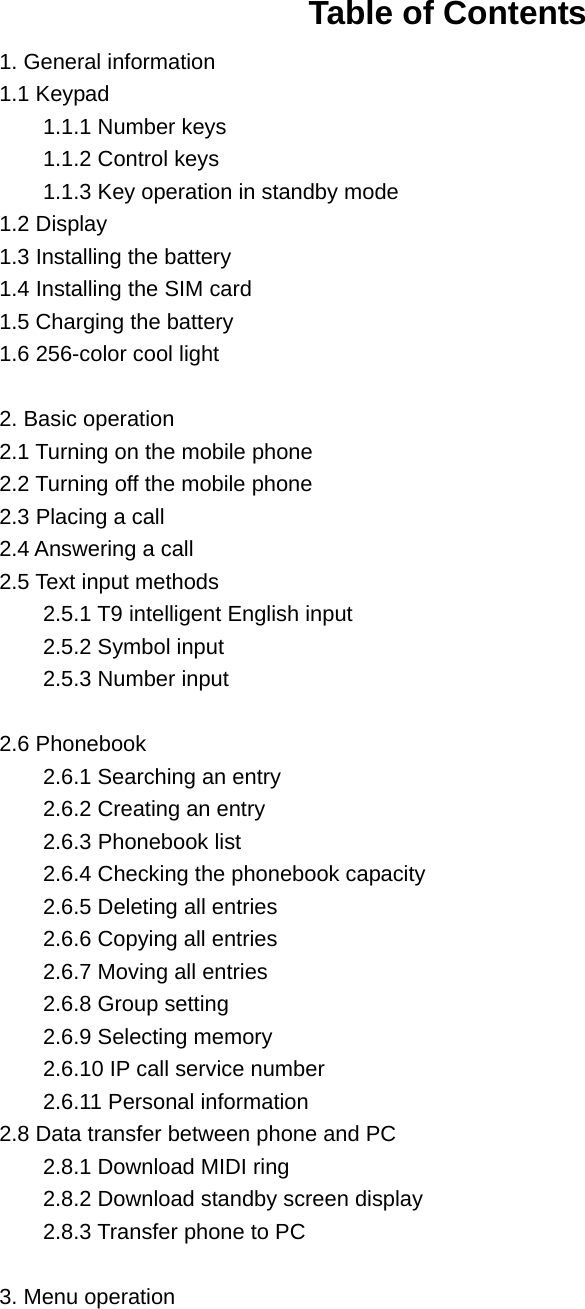
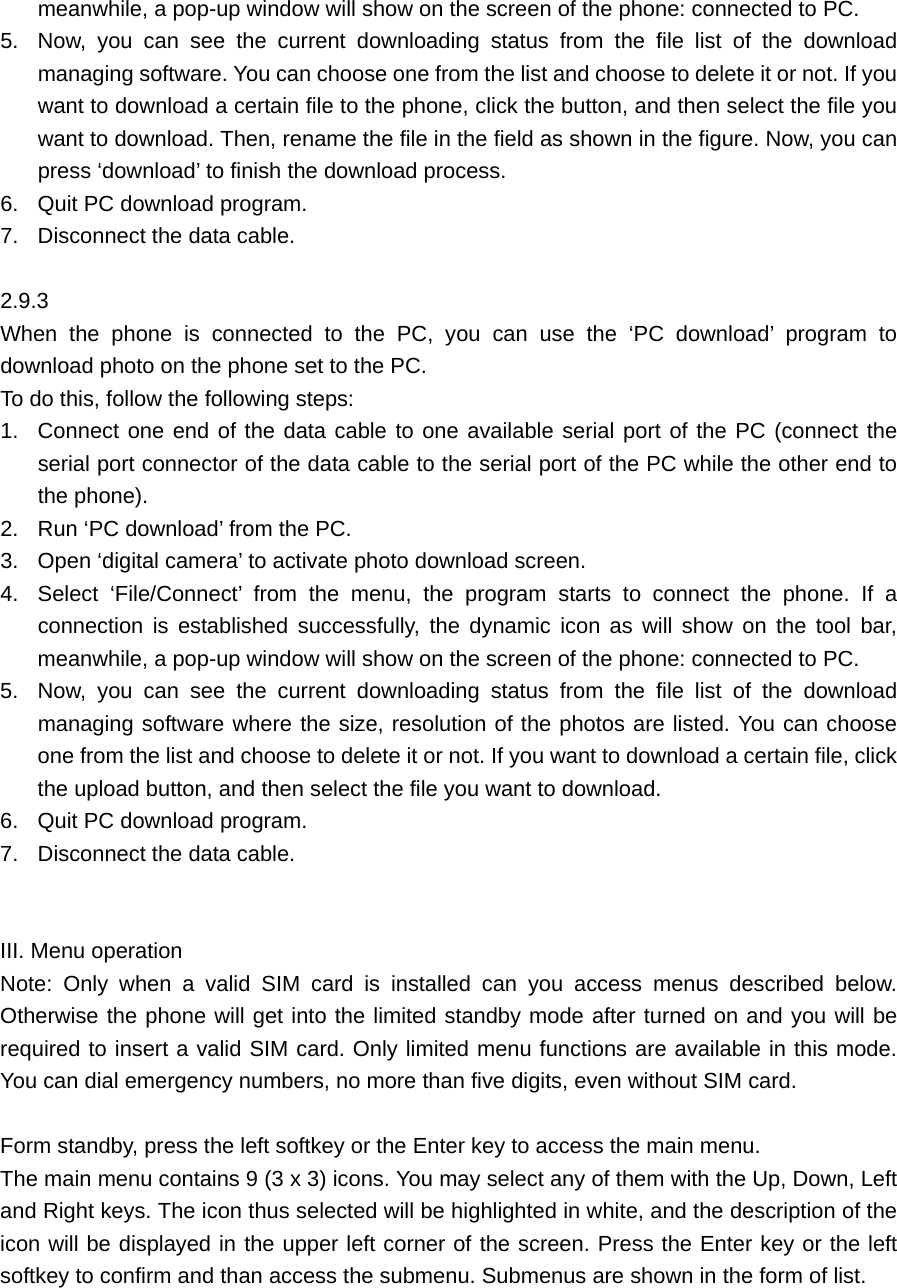
![PC download.zip. Then, uncompress the file and install the program on your PC. When ready, you can connect the phone to the PC by means of the data cable, then run the program ‘PD download’. From here, you can download MIDI rings and background images to your phone, or transfer the photo taken with the external camera from the phone to PC. 2.8.1 Download MIDI ring When the phone is connected to the PC, you can use the ‘PC download’ program to download MIDI format ring to the phone as standard ring file. To do this, follow the following steps: 1. Connect one end of the data cable to one available serial port of the PC (connect the serial port connector of the data cable to the serial port of the PC while the other end to the phone). 2. Run ‘PC download’ from the PC. 3. Open ‘View/MIDI download’ to activate MIDI download screen. 4. Select ‘File/Connect’ from the menu, the program starts to connect the phone. If a connection is established successfully, the dynamic icon as will show on the tool bar, meanwhile, a pop-up window will show on the screen of the phone: connected to PC. 5. Now, you can see the current downloading status from the ring list of the download managing software. You can choose one from the list and choose to delete it or not. If you want to download a certain file to the phone, click the button [“下载文件”那个图标放在这里], and then select the file you want to download (Max. size 16384 bytes). Then, rename the file in the field as shown in the figure. Now, you can either press ‘preview’ to check whether you need this file or not, or press ‘download’ to finish the download process. 6. Quit PC download program. 7. Disconnect the data cable. Note: When the above processes are finished, you can check the downloaded files from menu ‘settingsphone settingsgroup ringgroupdownloaded rings’. 2.9.2 Download background images When the phone is connected to the PC, you can use the ‘PC download’ program to download images on the PC to the phone as standard image file. To do this, follow the following steps: 1. Connect one end of the data cable to one available serial port of the PC (connect the serial port connector of the data cable to the serial port of the PC while the other end to the phone). 2. Run ‘PC download’ from the PC. 3. Open ‘View/image download’ to activate image download screen. 4. Select ‘File/Connect’ from the menu, the program starts to connect the phone. If a connection is established successfully, the dynamic icon as will show on the tool bar,](https://usermanual.wiki/Haier-Telecom/Z3000B/User-Guide-485167-Page-19.png)


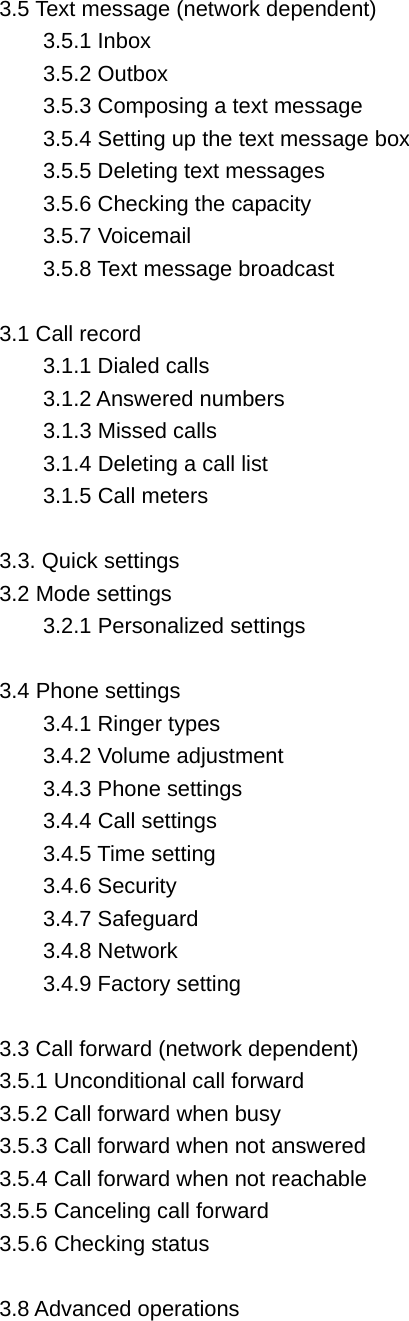
![3.7.2 Bookmark This feature allows you to store five frequently visited websites and view, edit and reset these websites. 3.7.3 Webpage visited last time This feature allows you to access the webpage you visited last time. 3.7.4 Navigation This feature allows you to input the address of webpage you want to visit and then start browsing. 3.7.5 Settings 3.7.5.1 Mode Three settings are available. Note: Data in the square brackets are parameters of China Mobile. The parameters in your mobile phone are provided by your network operator. GSM You can set the following items: Display: to display current settings Gateway: - IP address: IP address of the gateway server. Please note that the IP address should be in the form of four 3-digit numbers. [010.000.000.172] - IP port: IP port of the gateway server [9201] Data call type: ISDN (digital) or analog. Phone number: to input the number to dial and the phone will dial this number when connecting the Internet. [17266] User name: user name required to log on a WAP server [wap] User password: password required to log on a WAP server [wap] GPRS You can set the following items: Display: to display current settings Gateway: - IP address: IP address of the gateway server. Please note that the IP address should be in the form of four 3-digit numbers. [010.000.000.172] - IP port: IP port of the gateway server [9201] APN: to set the name of access point [cmwap] User name: user name required to log on a WAP server [wap] User password: password required to log on a WAP server [wap]](https://usermanual.wiki/Haier-Telecom/Z3000B/User-Guide-485167-Page-42.png)
![* [ ]: indicating batteries should not be mixed with domestic waste. Packaging * [ ]: indicating that the packaging materials are recyclable. * [ ]: indicating that the plastic materials are recyclable.](https://usermanual.wiki/Haier-Telecom/Z3000B/User-Guide-485167-Page-51.png)
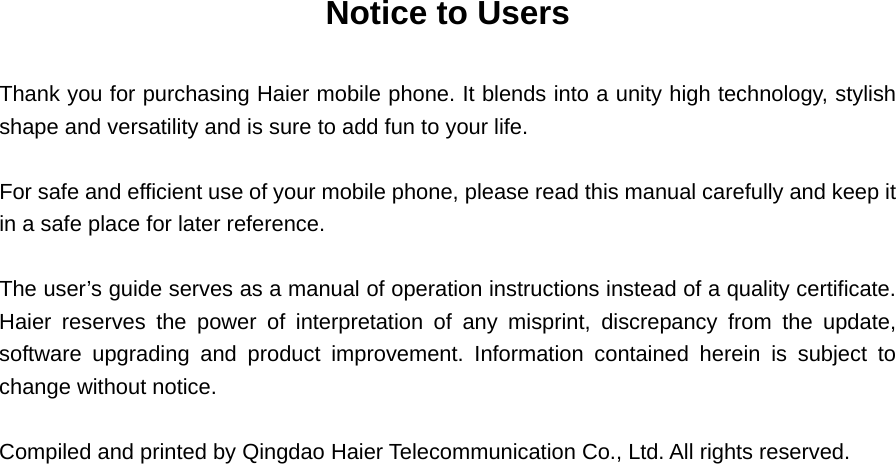
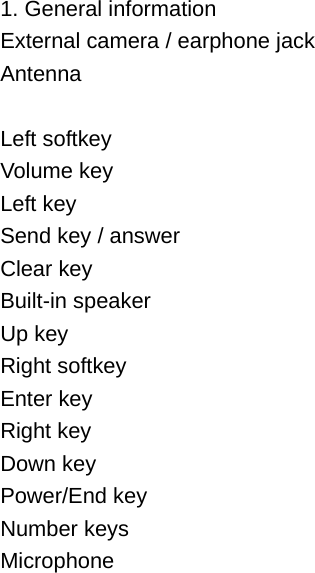
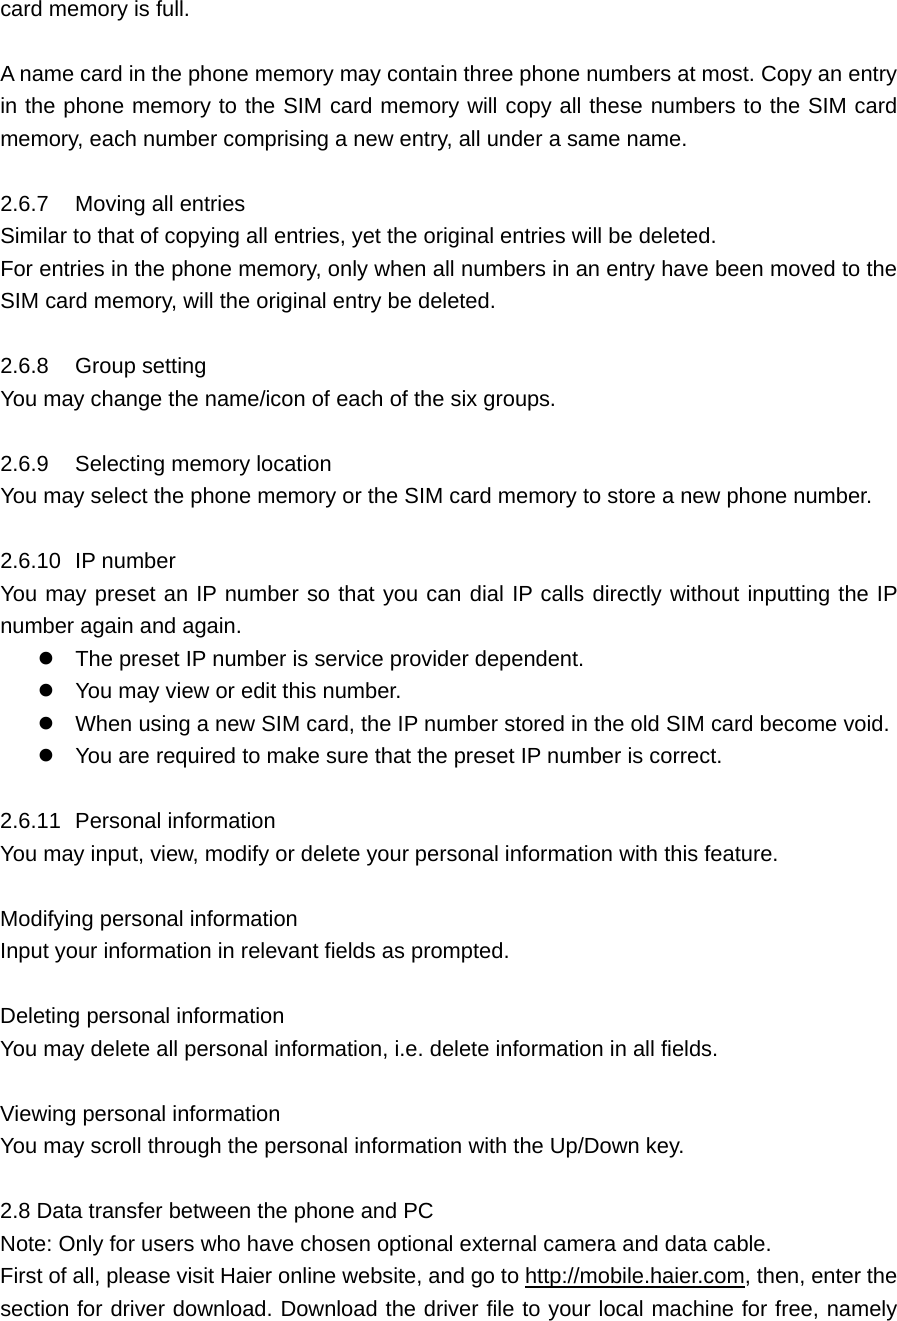
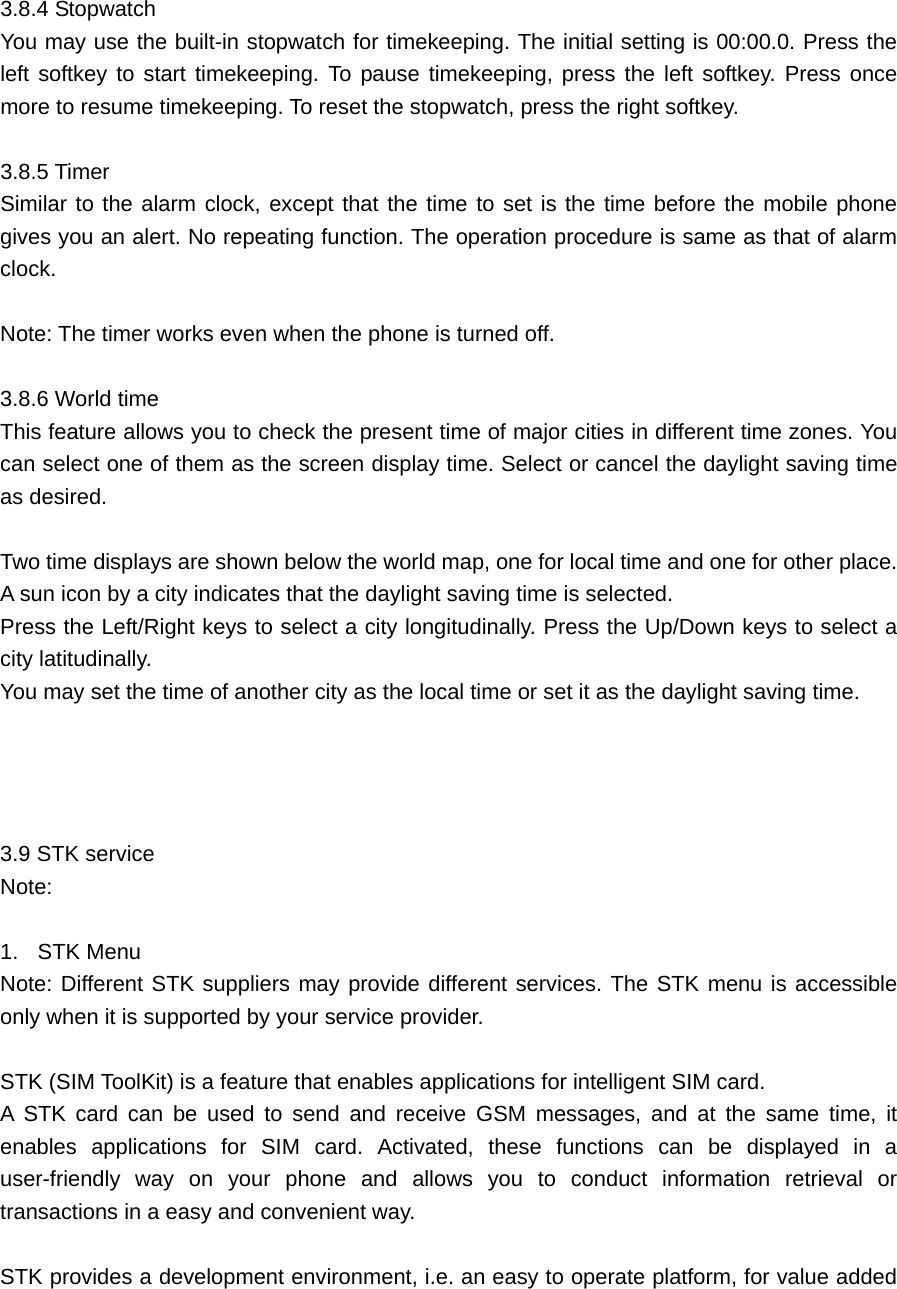
![Troubleshooting Problem Remedy The display indicates that the phone is locked. You need PIN code and PUK code to unlock the phone. Contact you service provider. No signal You lose connection with your network. You location may be a blind area (like in a tunnel or between high-rises) or not covered by the network. Change you location and try again. Or contact the service center for advice. Slow (or no) keypad response It is extremely cold. Move to a warmer place and try again. No standby display * Press the Clear key. * Turn the phone off and then check if the SIM card and the battery are properly installed. Turn on the phone and try again. Battery icon flashing during charging without battery level indicating bars The battery level is extremely low or the ambient temperature is out of the acceptable range (0~45 Celsius degree). Move the battery to a warmer place and wait some minutes before starting charging. Flashing backlight and battery icon, prolonged beep and prompt “wrong accessory” Detach the charger from the phone and replace with a genuine one. You cannot use the phone in a car. A car may contain some metal parts that absorb electromagnetic wave and thus have an adverse effect on phone performance. Purchase a car kit to allow hand-free answer. Consult the local authorities about use of phones while driving. What is the difference between pressing and pressing and holding a number key Press a number key and the number is displayed. When pressing and holding (one second at least) a number key, you can activate a hotkey (refer to Setting Up a Hotkey) or a special symbol (e.g. “+” when pressing and hold the [T9+*] key)](https://usermanual.wiki/Haier-Telecom/Z3000B/User-Guide-485167-Page-53.png)