Handheld Group 0112070926724 Rugged Tablet PC User Manual Tablet PC
Handheld Group AB Rugged Tablet PC Tablet PC
UserManual.wiki
>
Handheld Group
>
0112070926724 User Manual
>
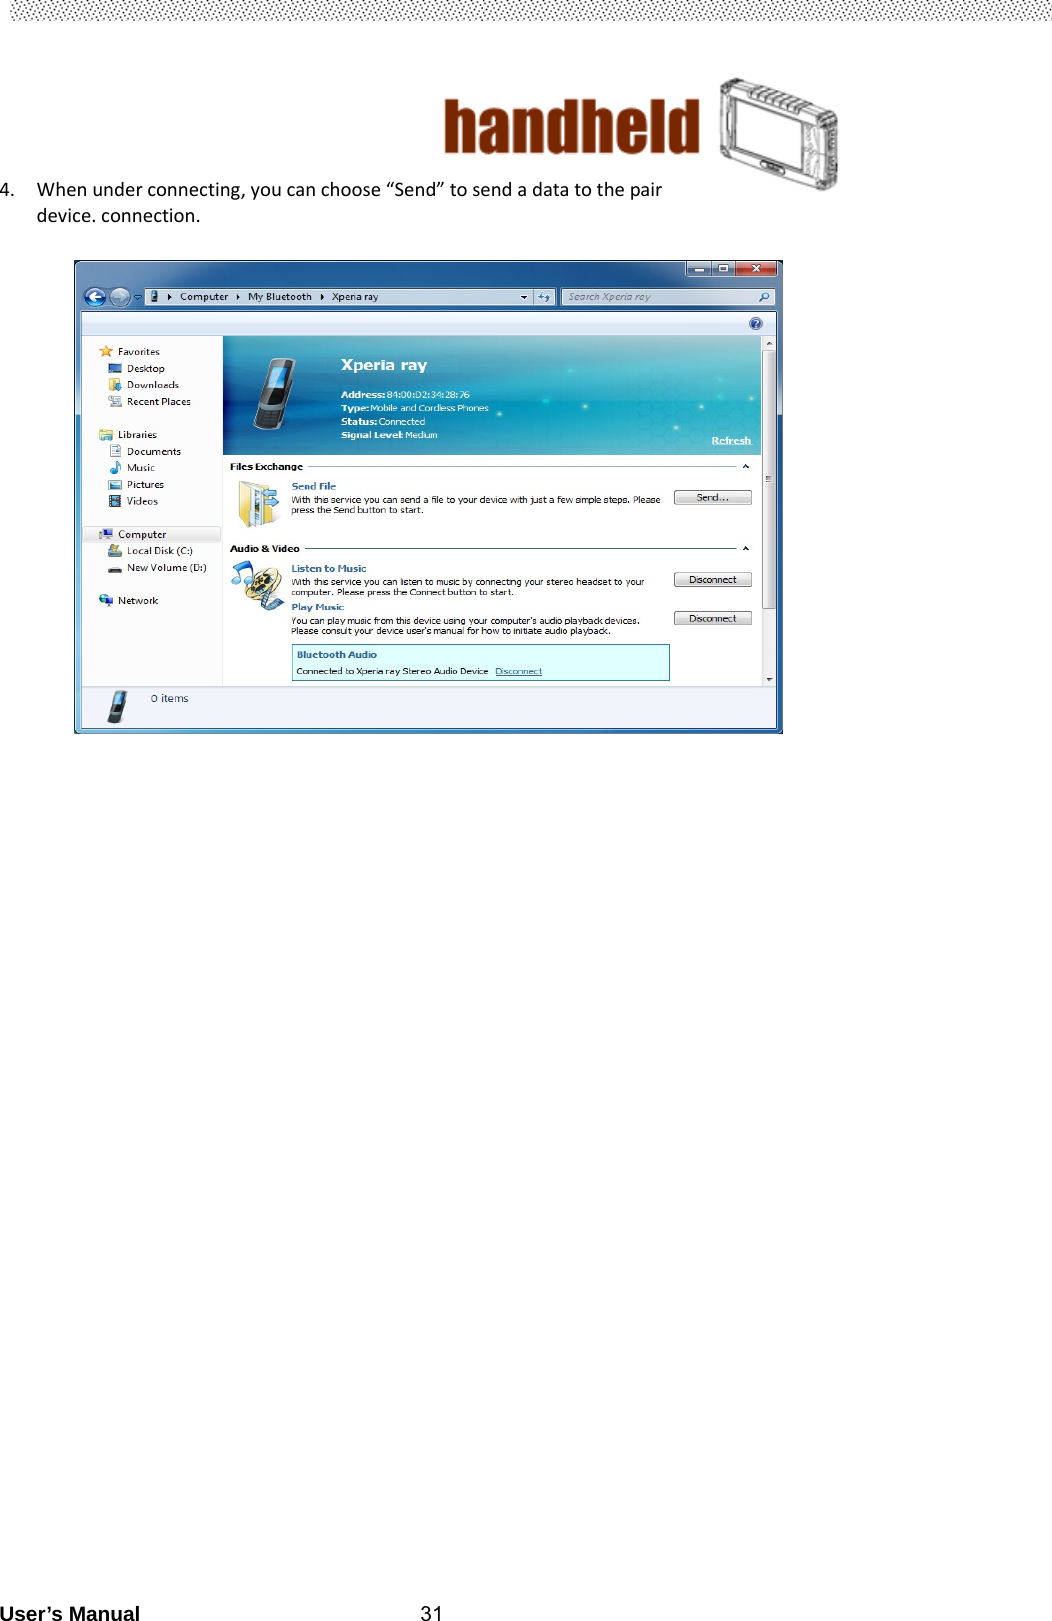
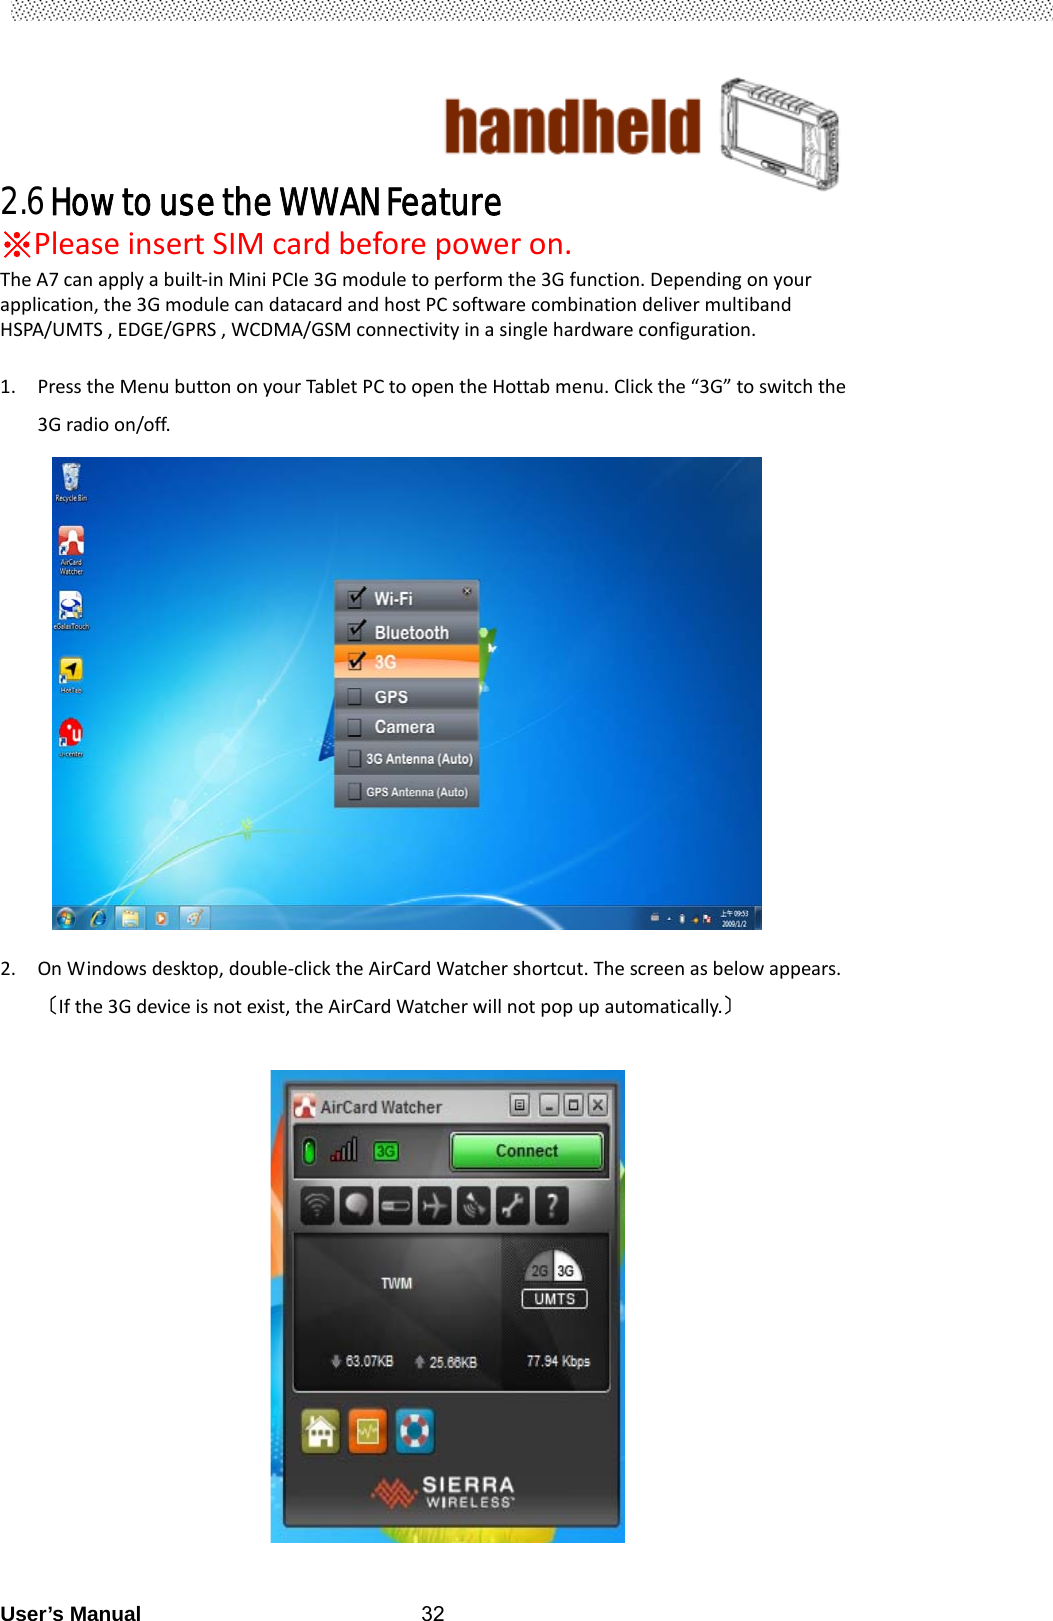
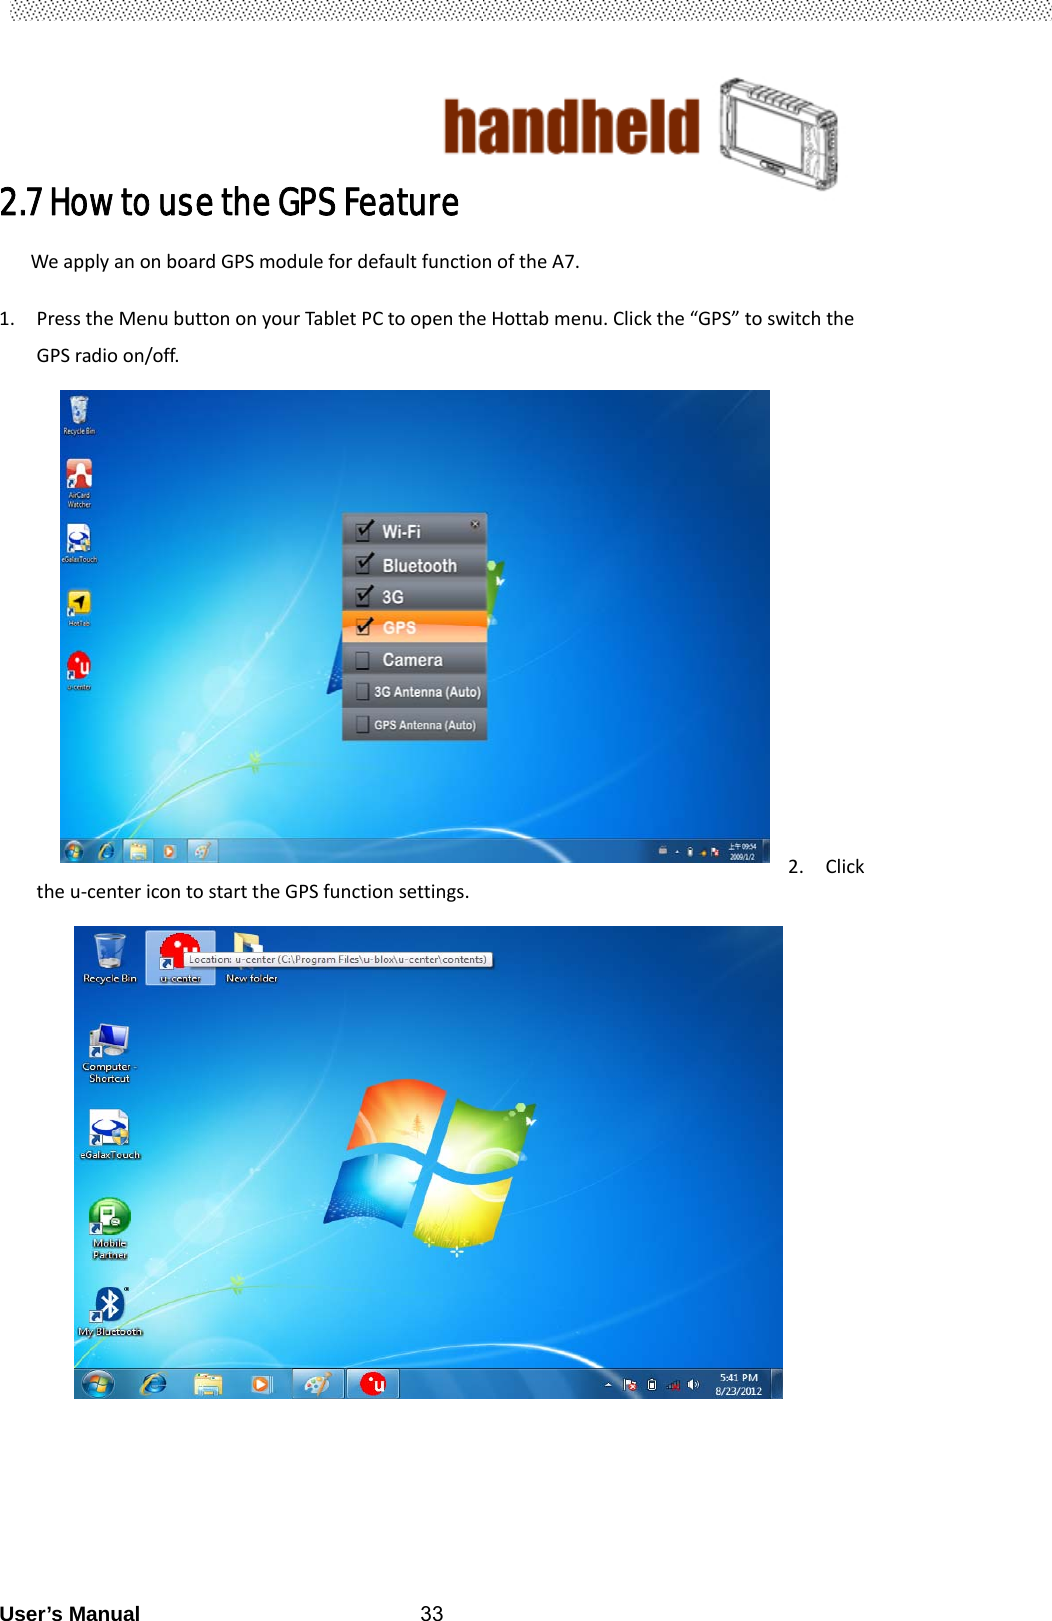
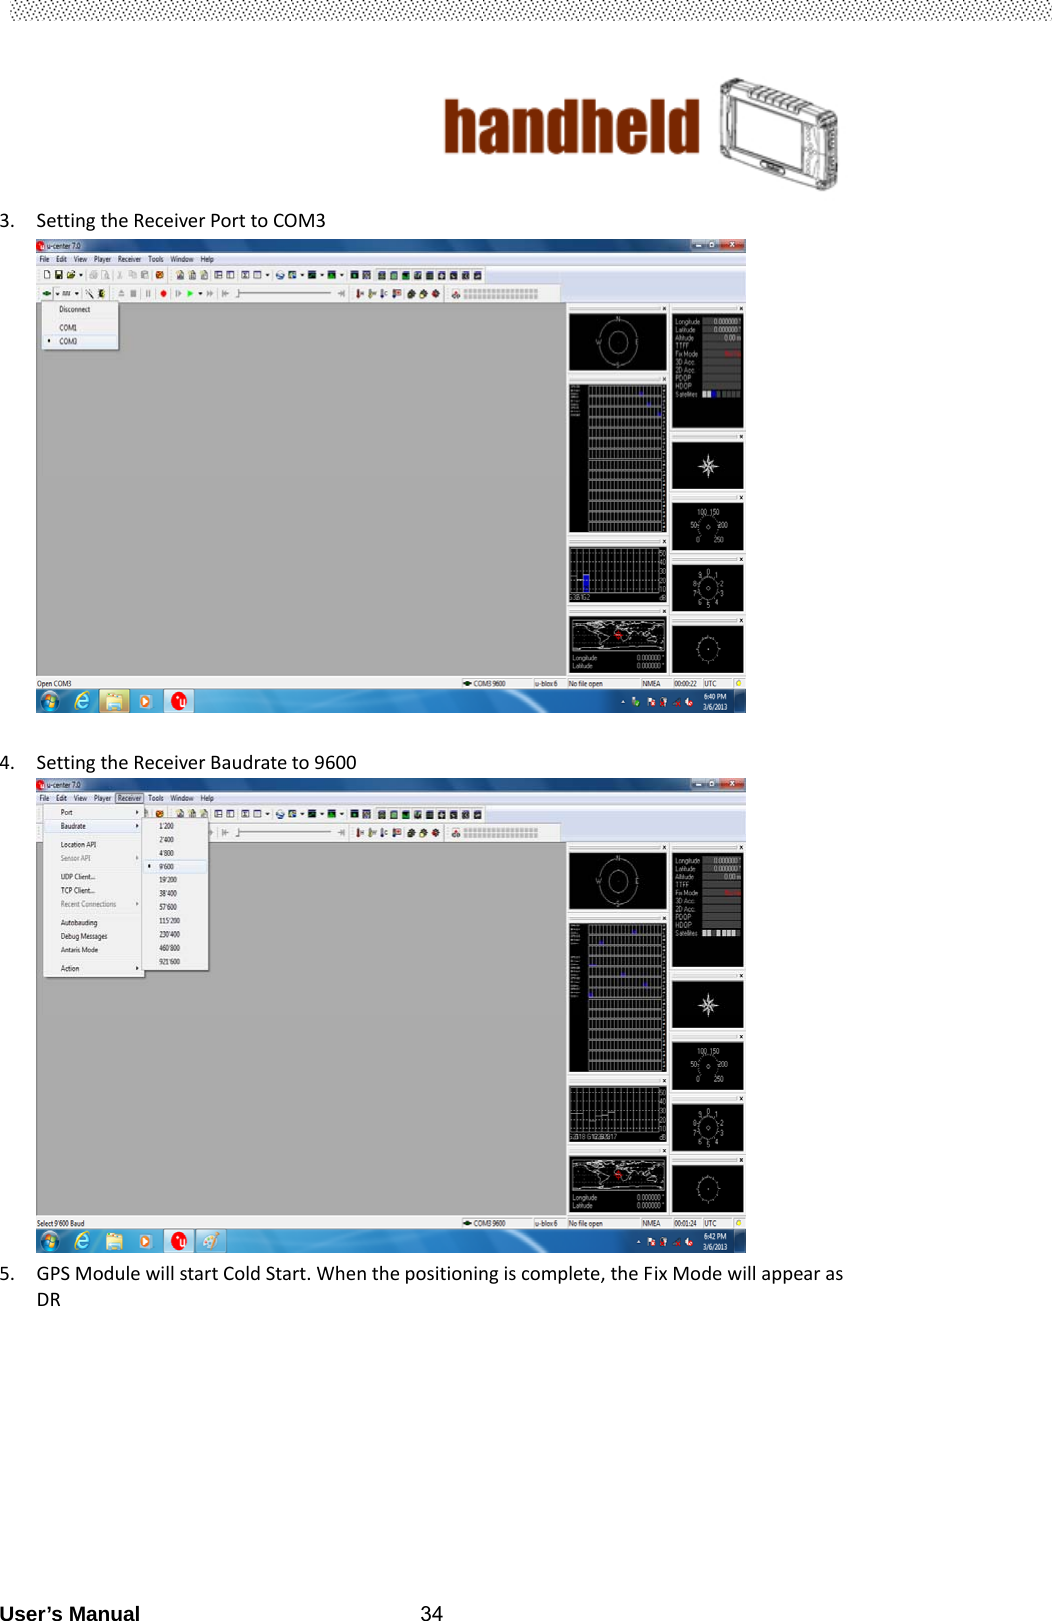
User manual part 1
Contents
1.
User manual part 1
2.
User manual part 2
User manual part 1
Navigation menu
Upload a User Manual
Namespaces
Wiki Guide
HTML
PDF
Info
Views
User Manual
Discussion / Help
Navigation
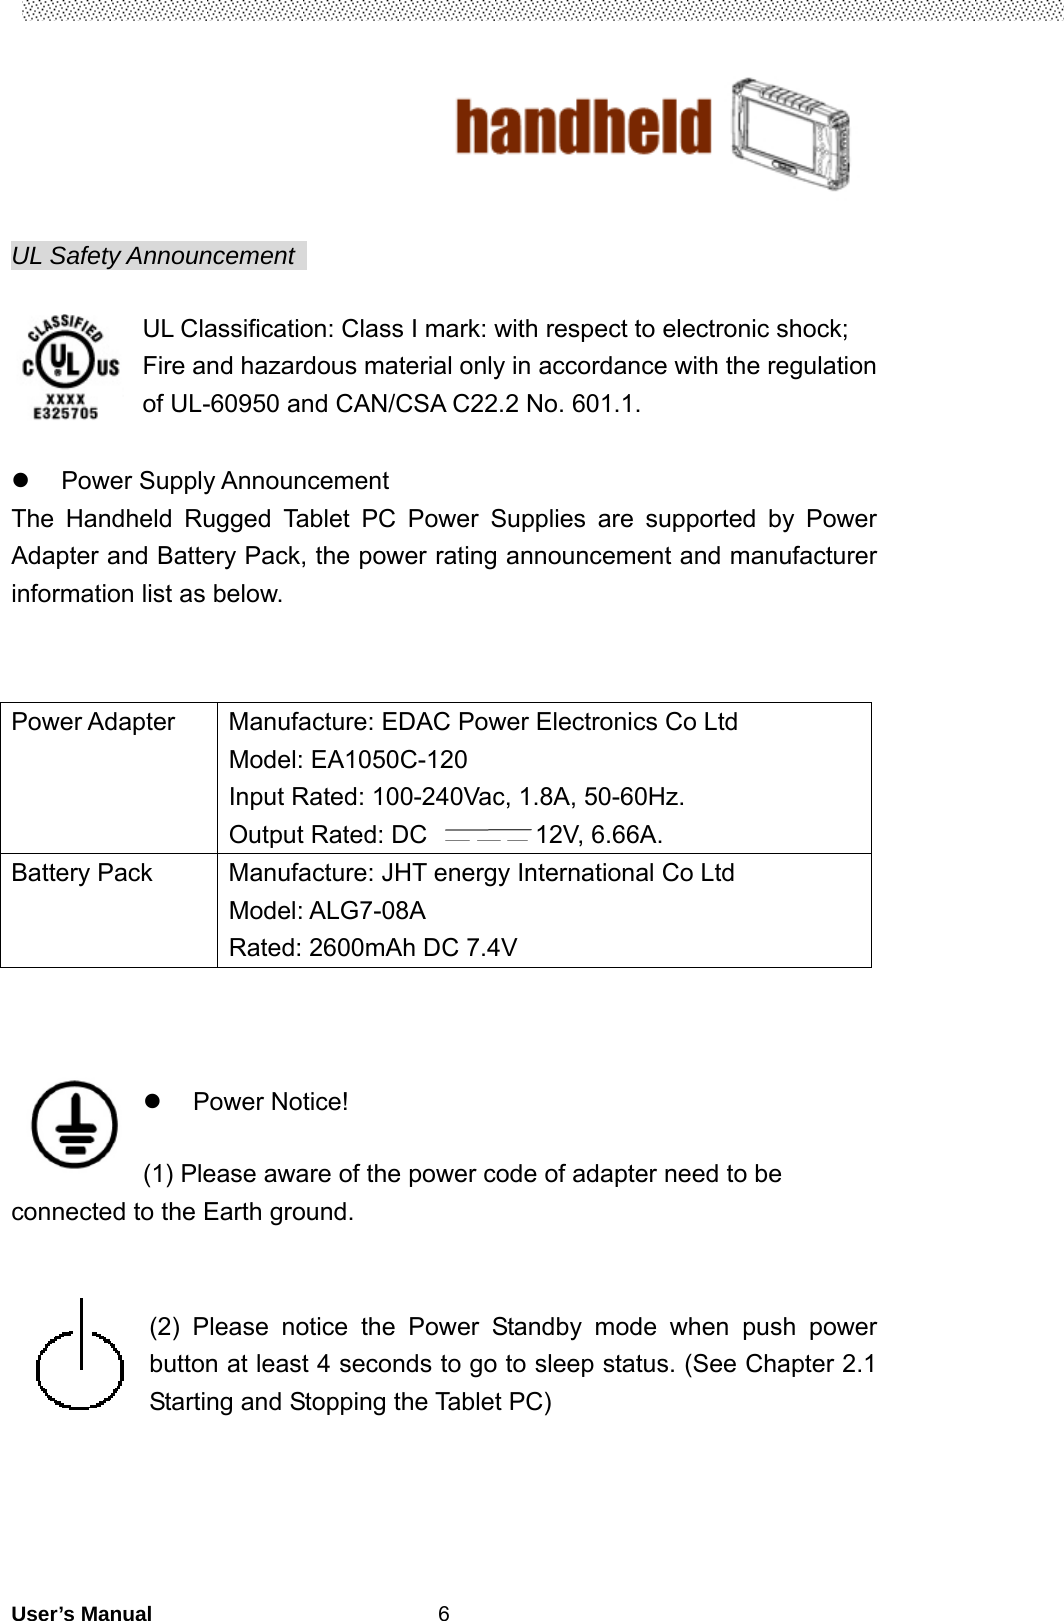
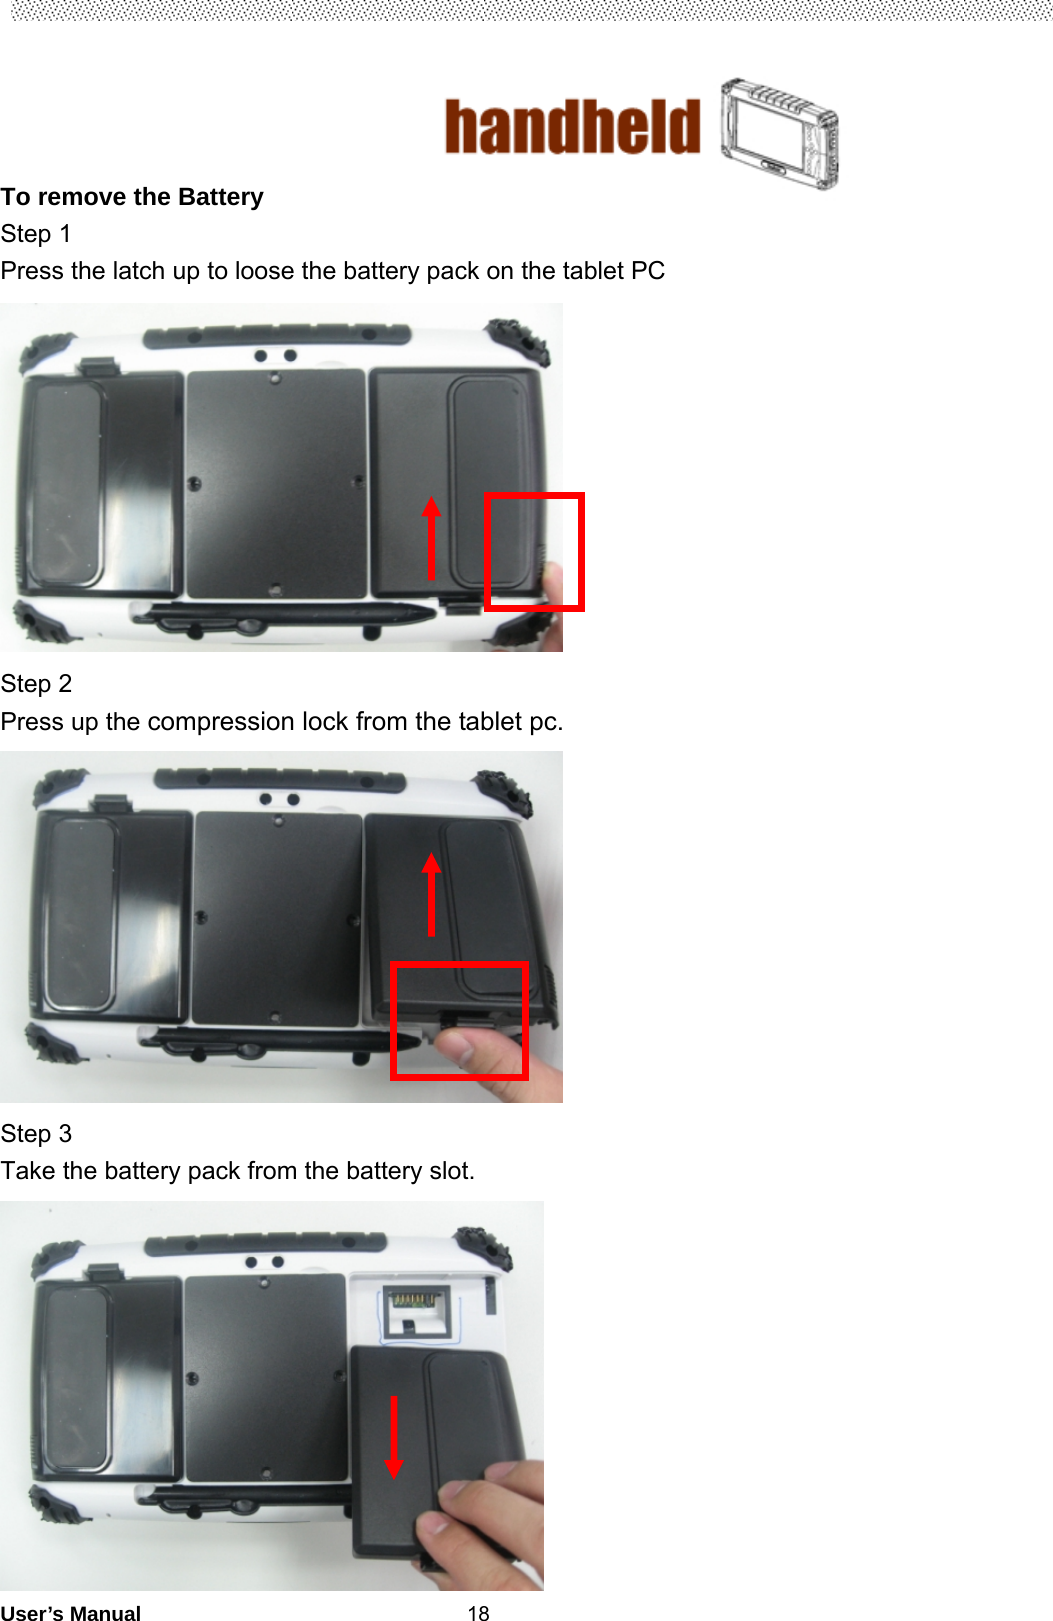
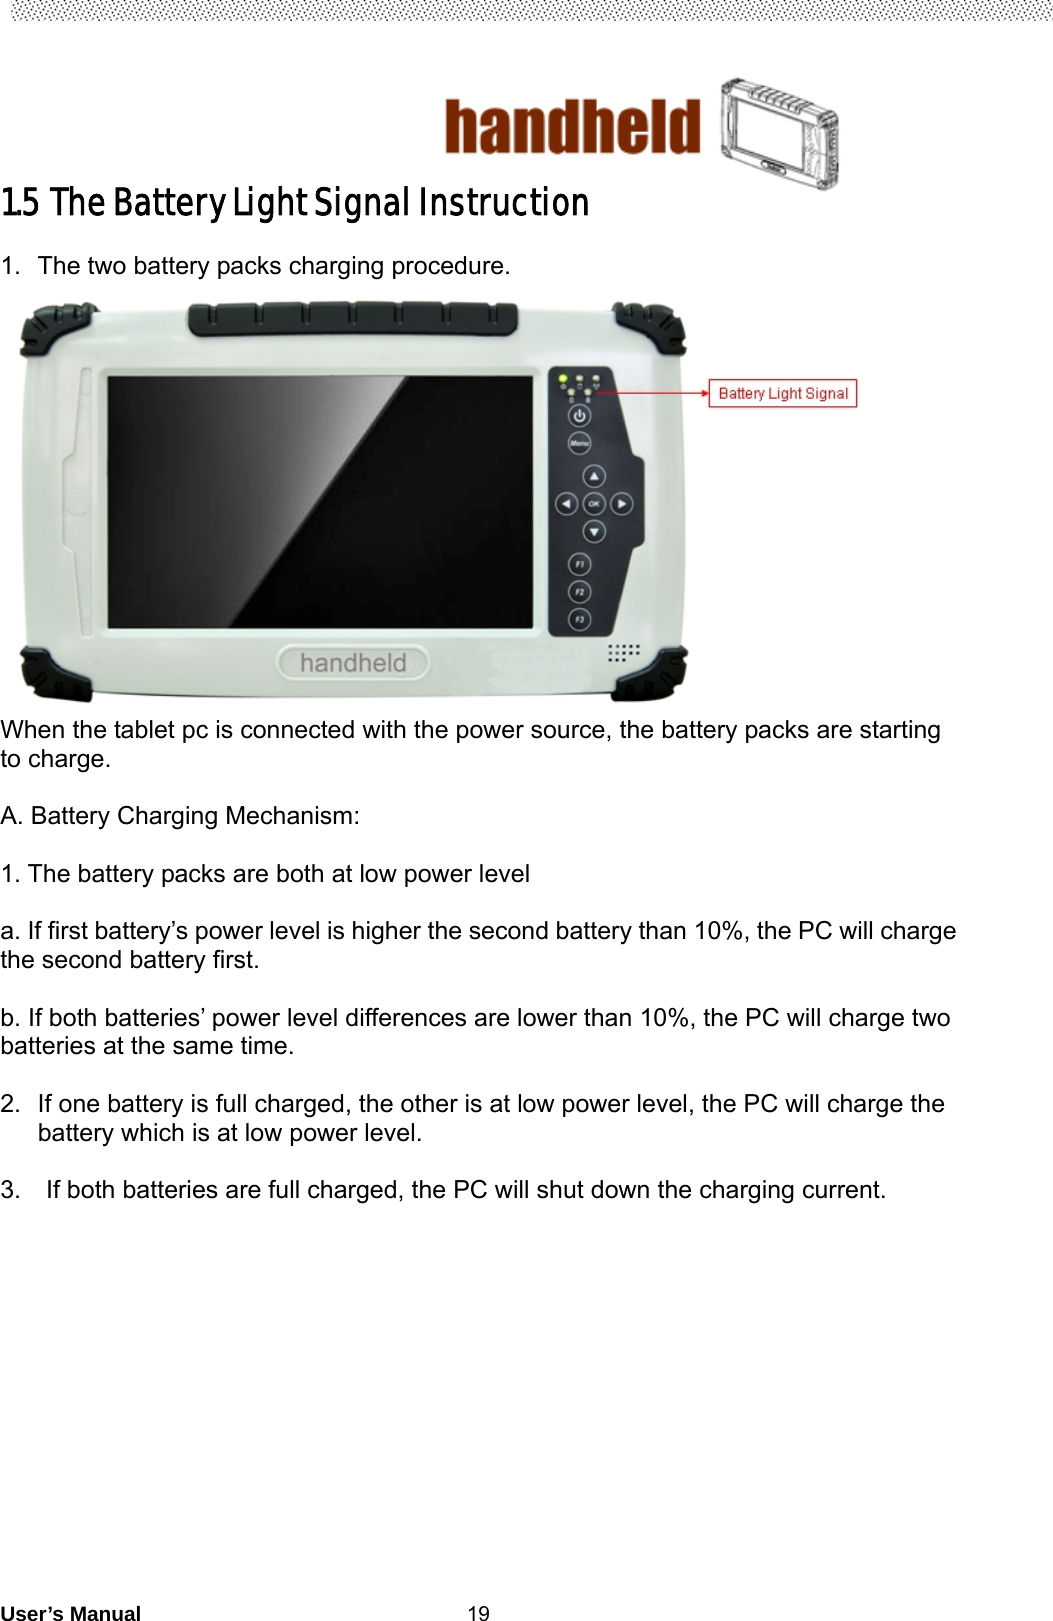
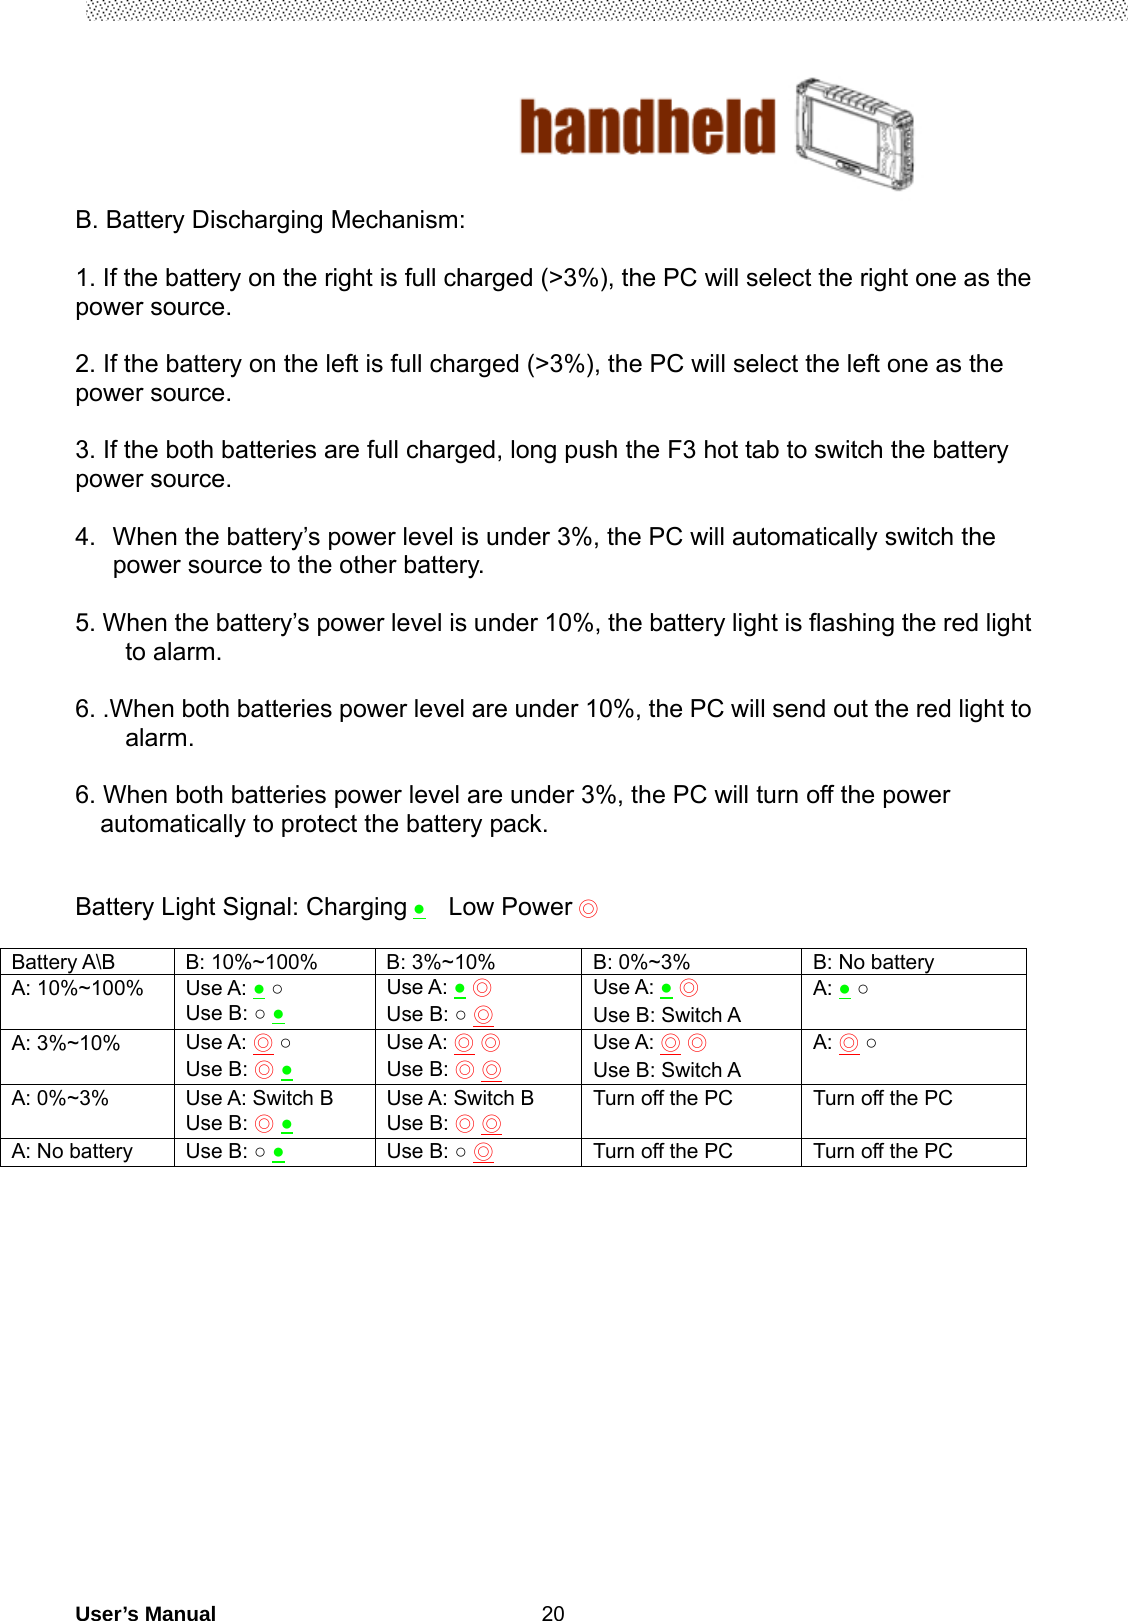
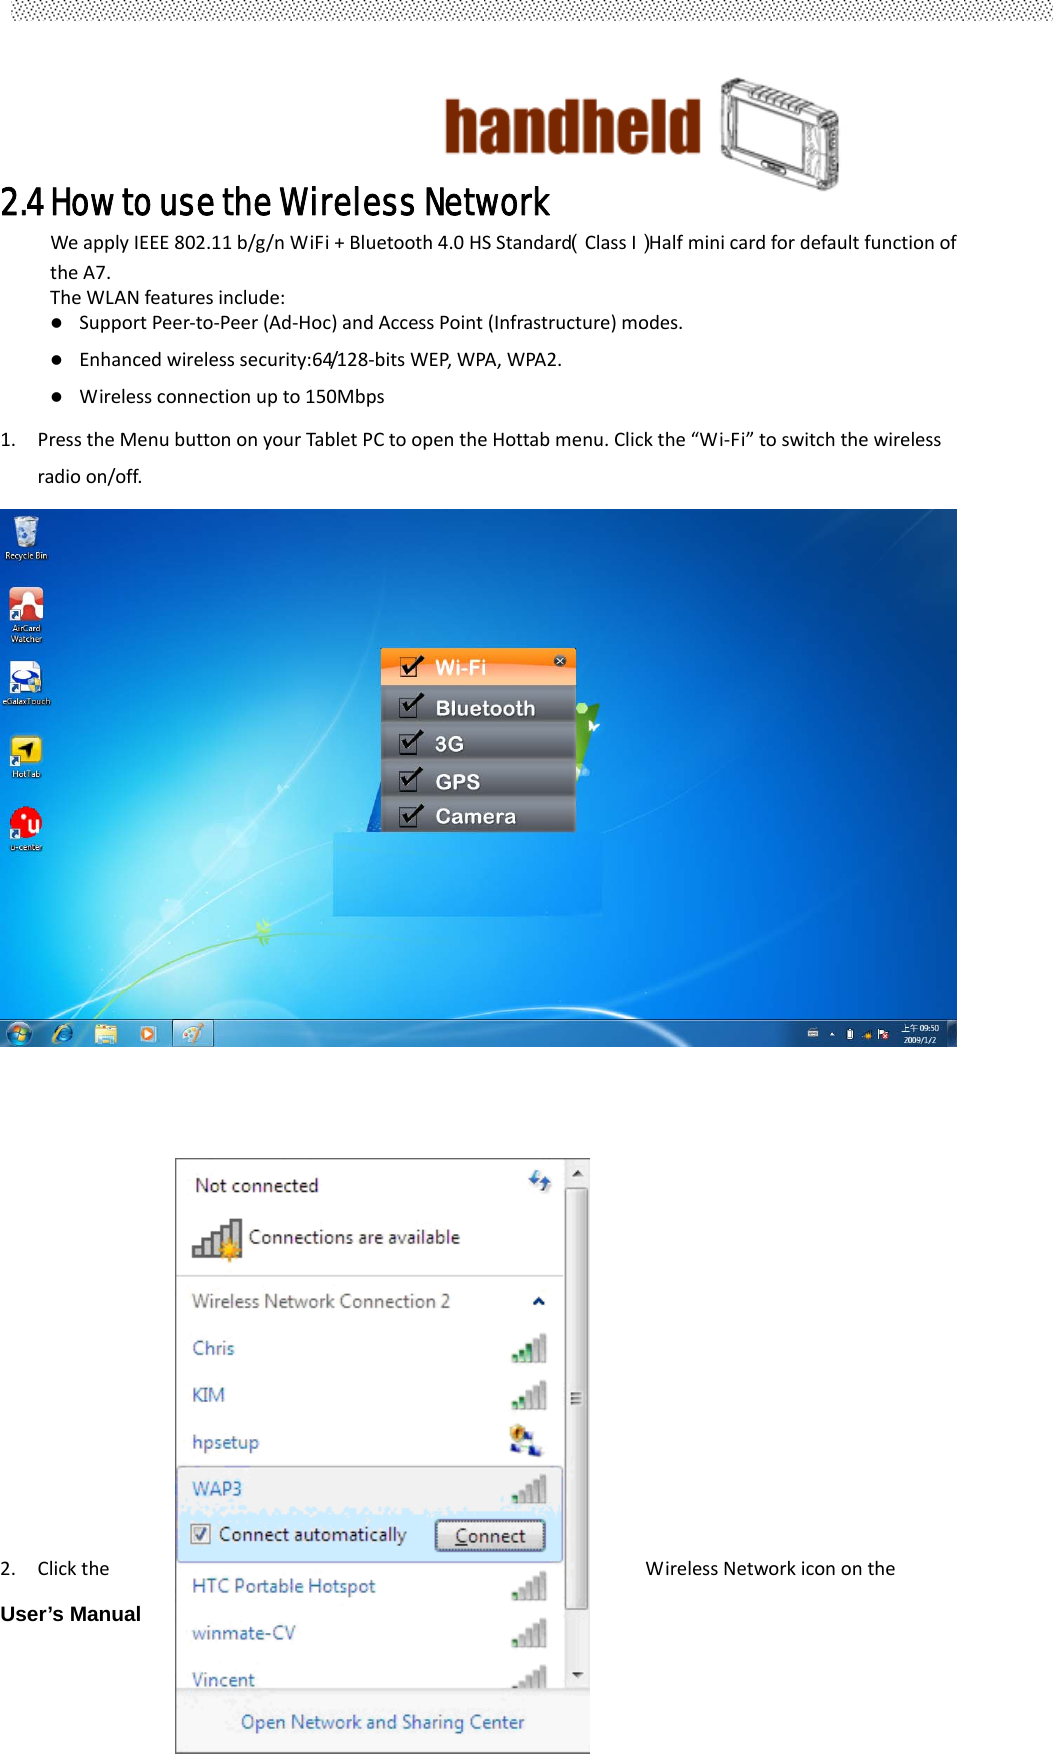
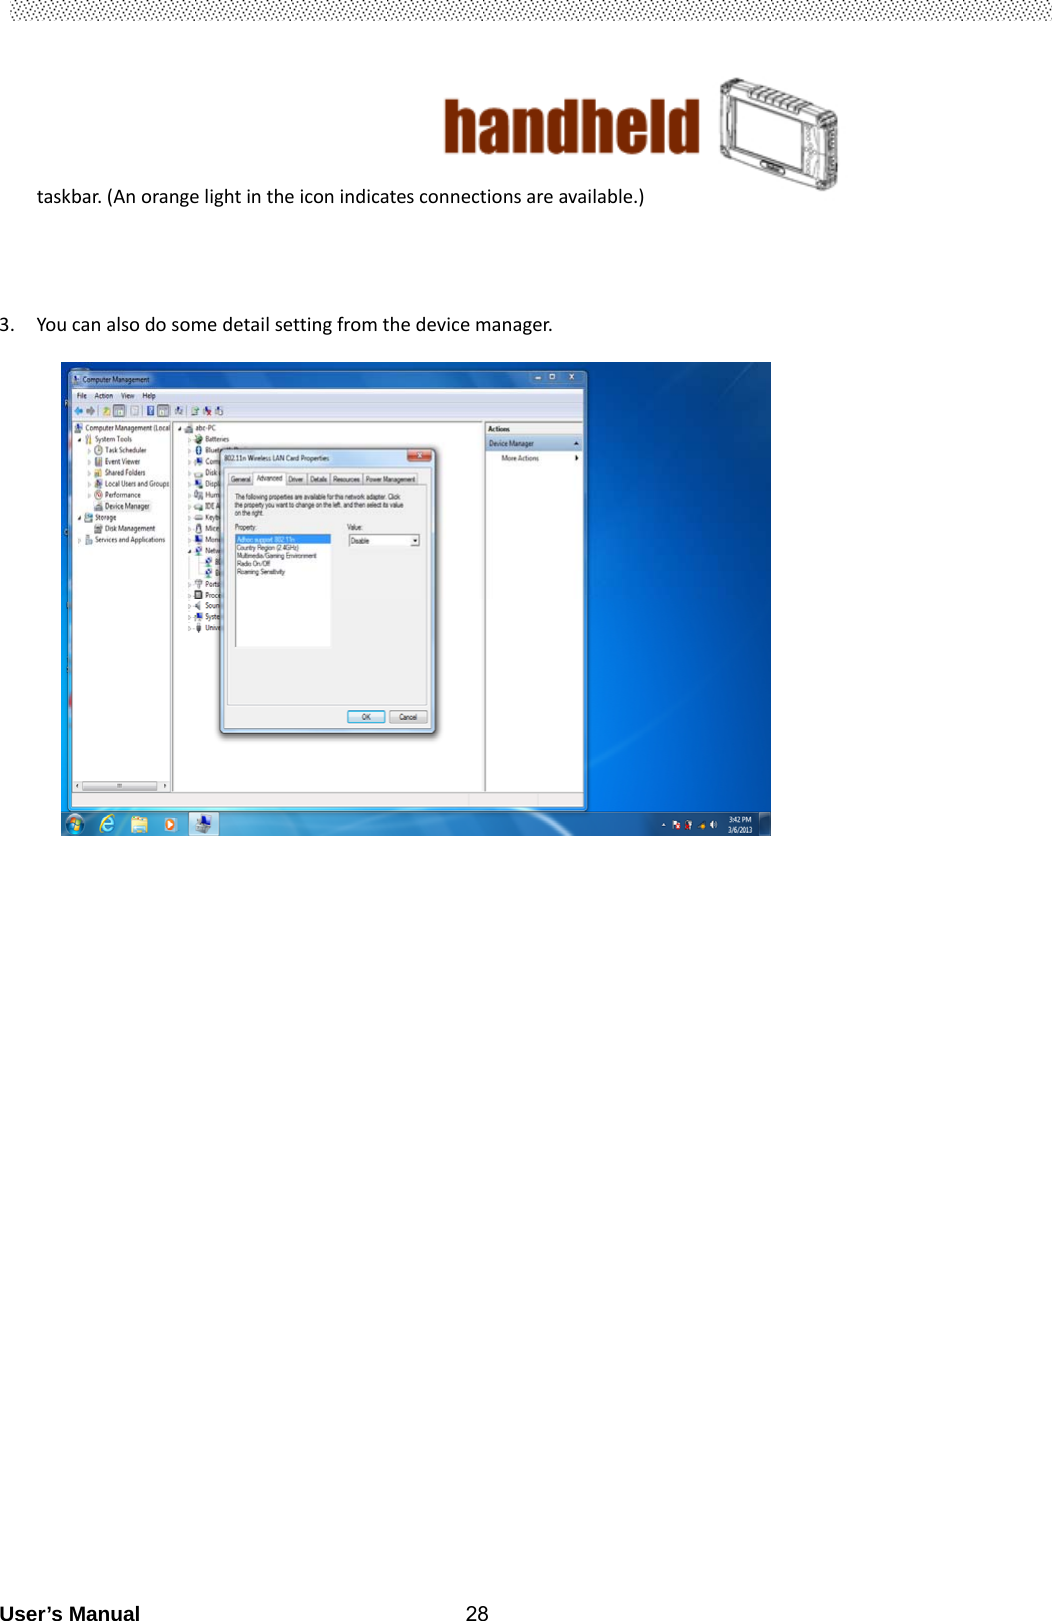
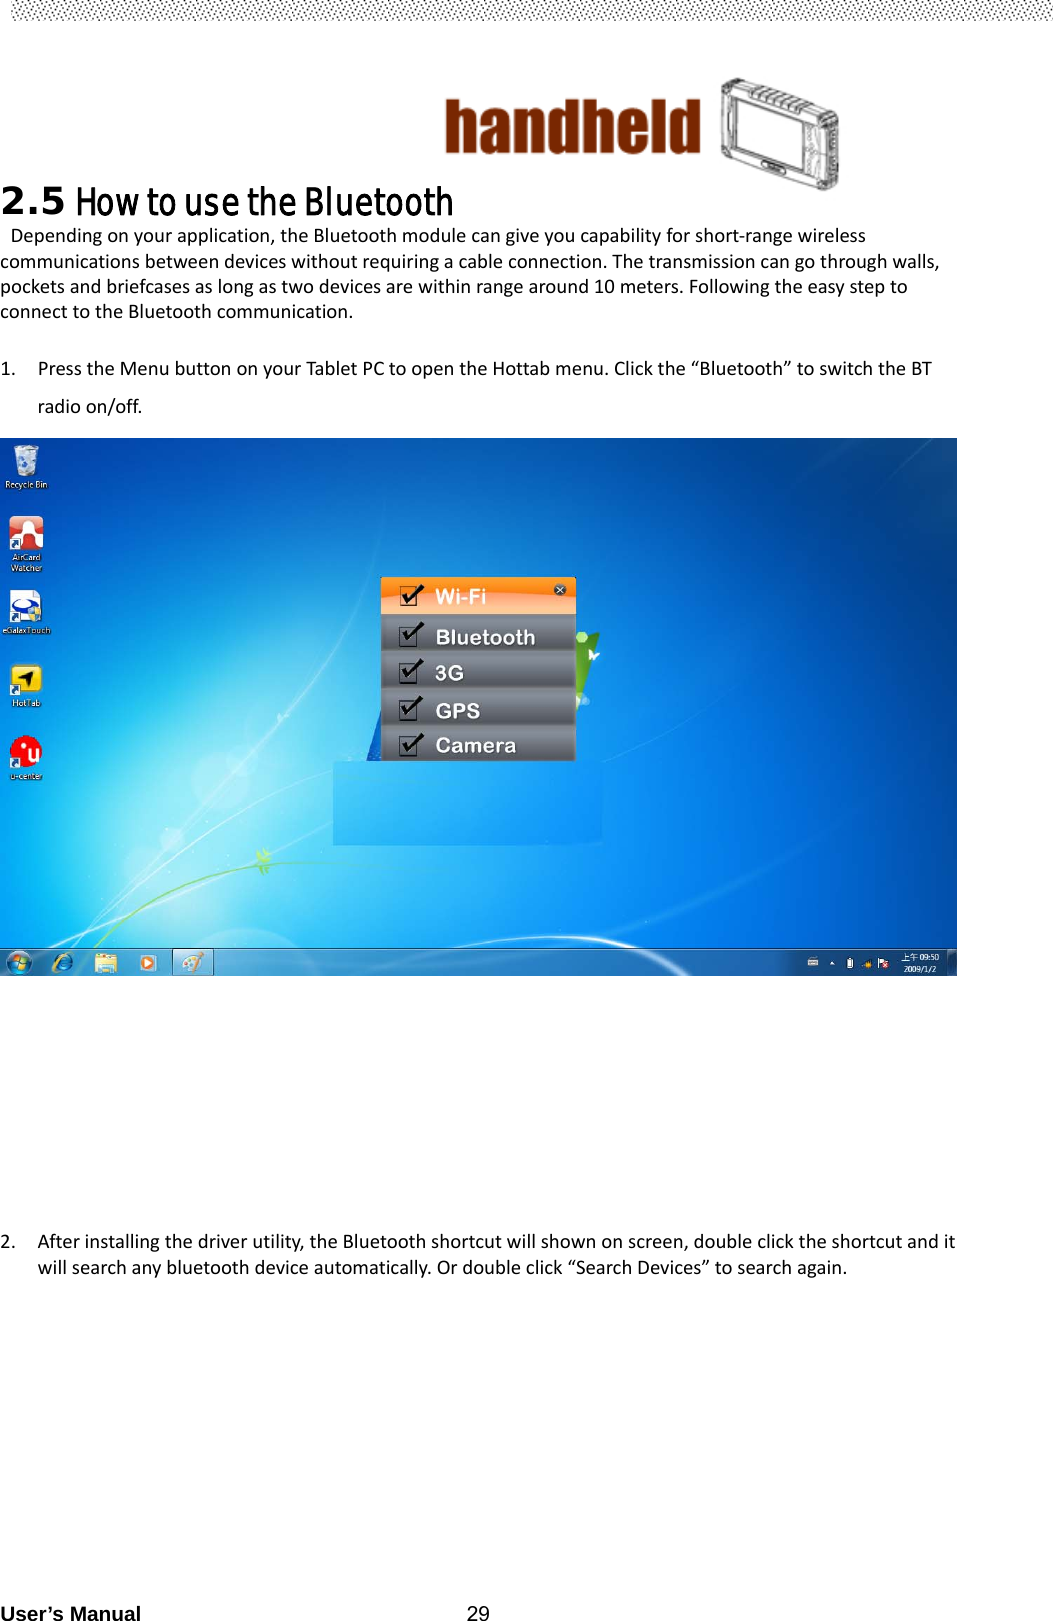
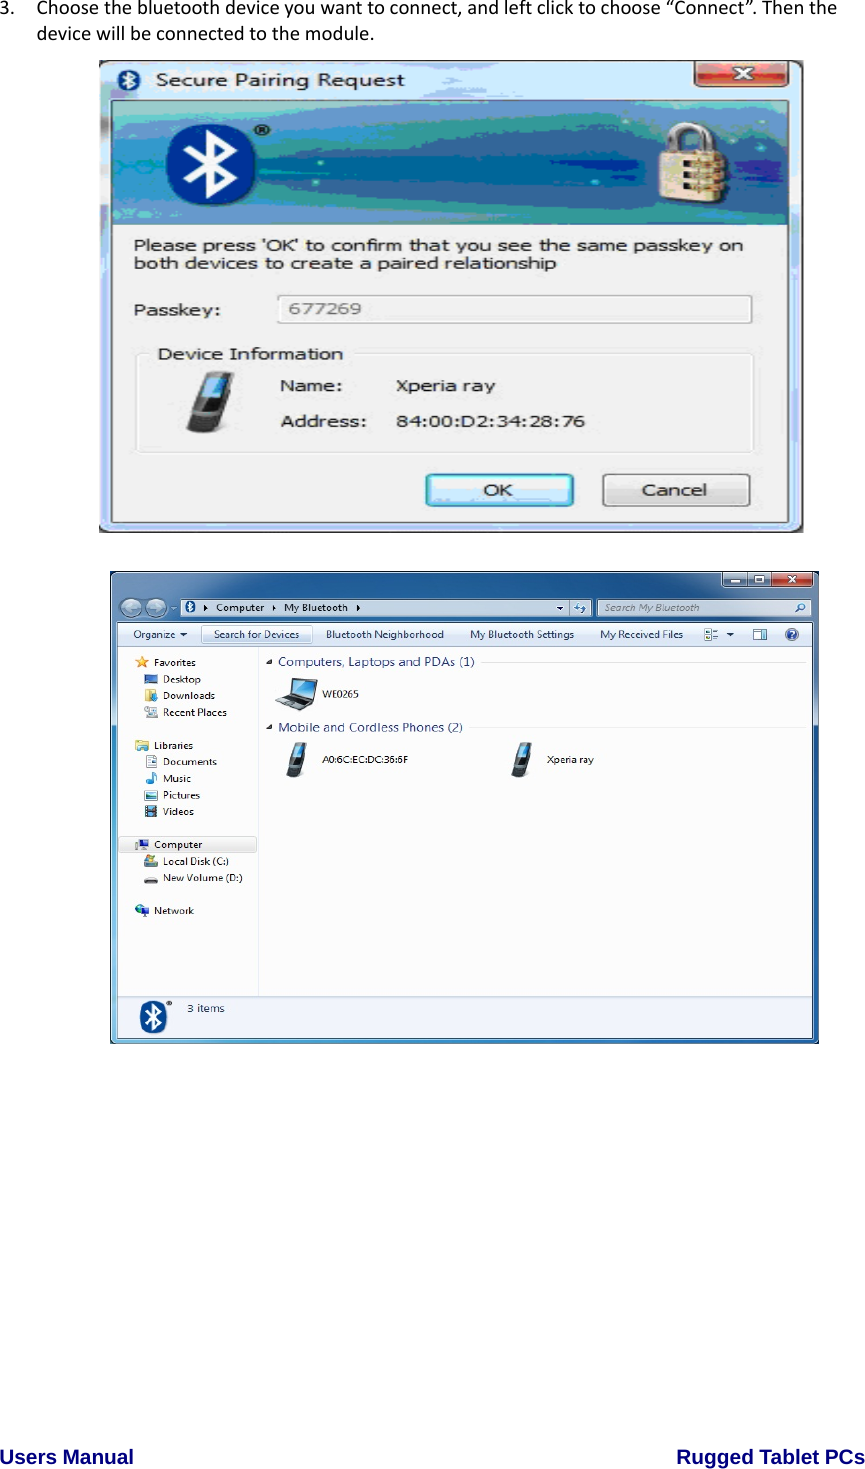
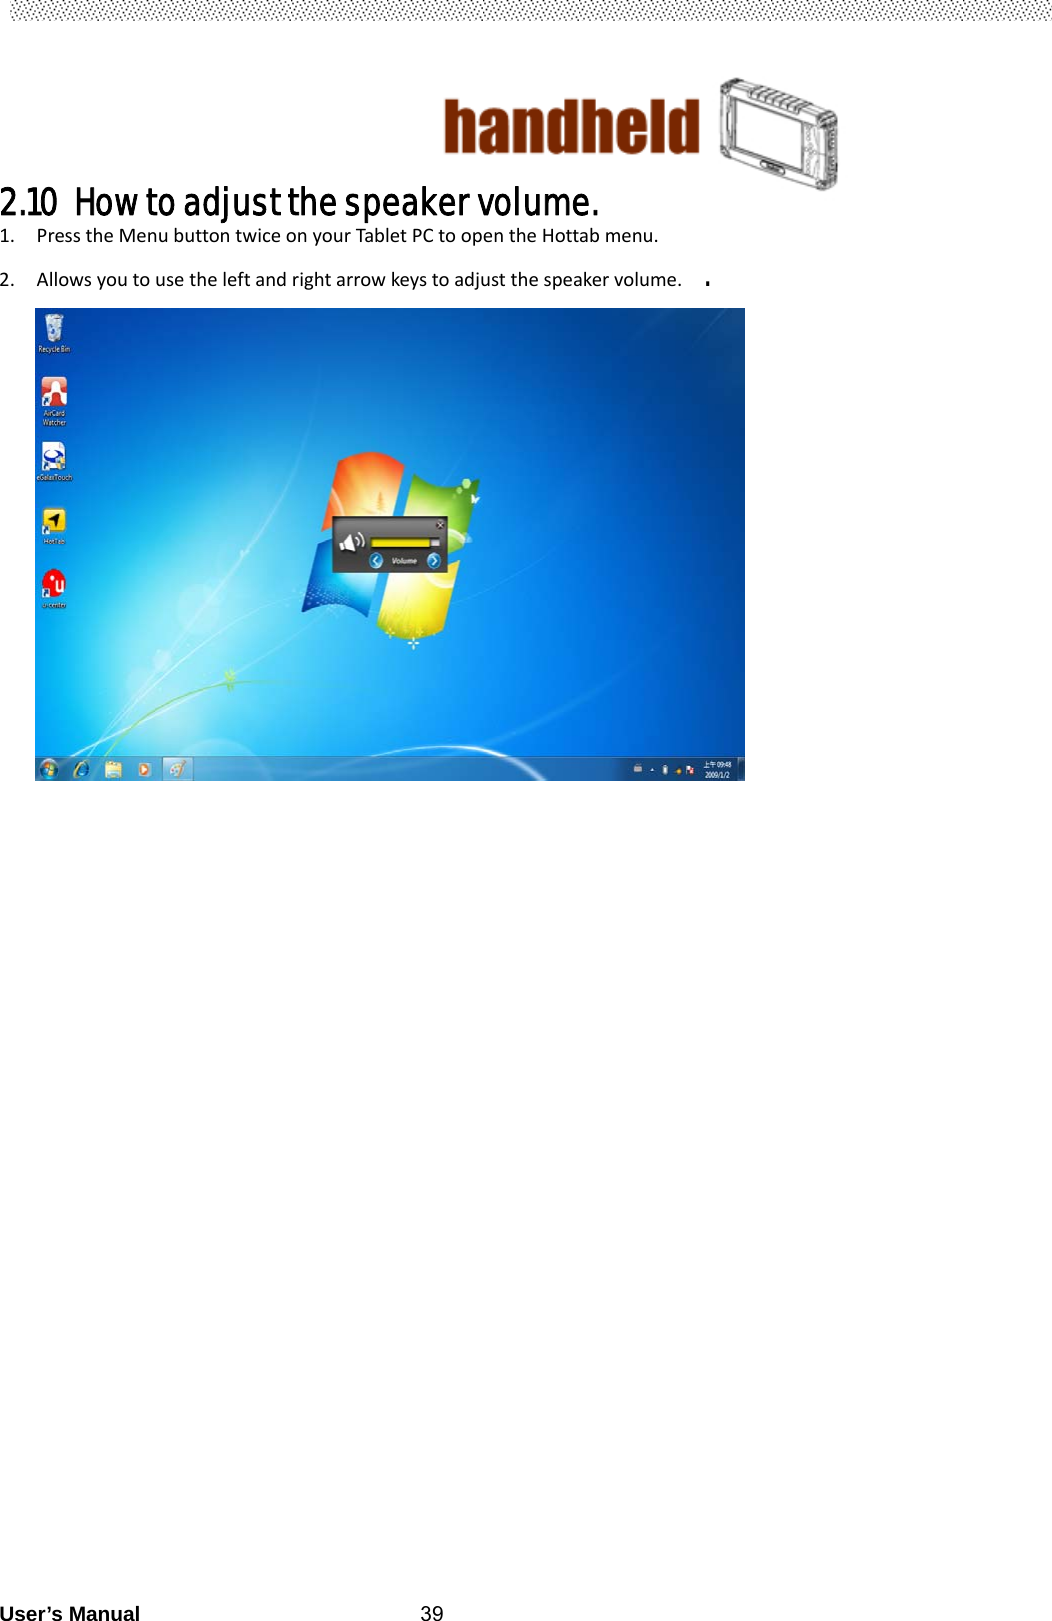
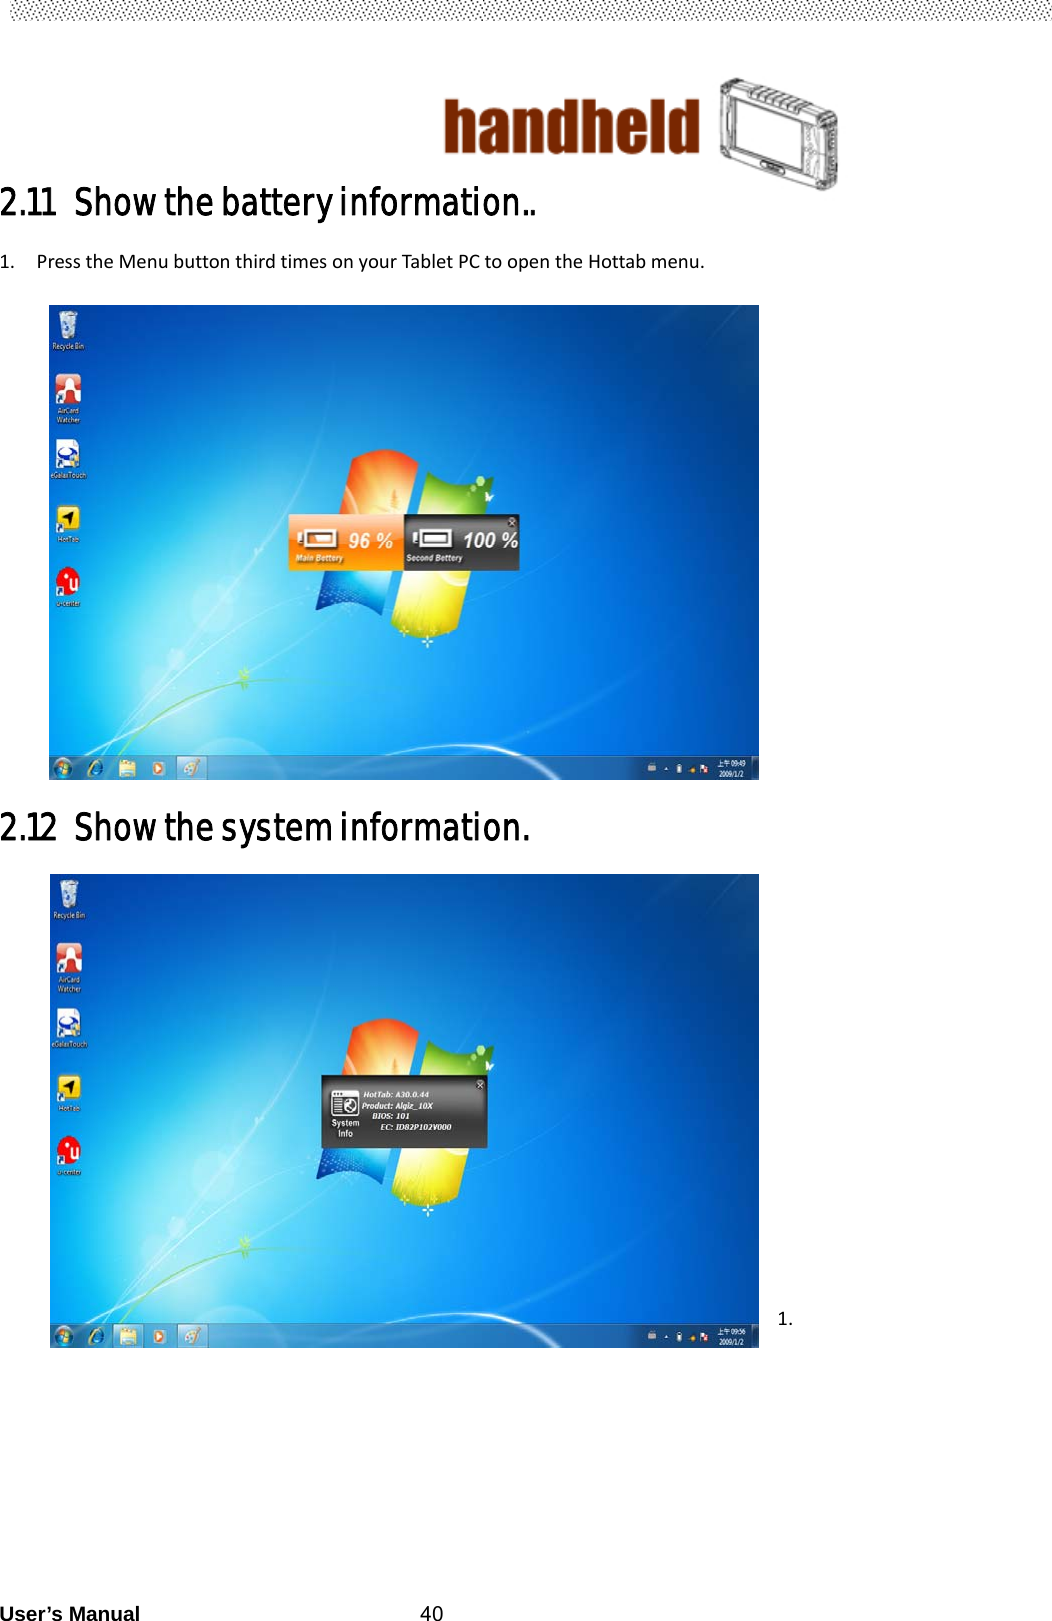
![User’s Manual 8RF exposure information (SAR) This Rugged Tablet PC meets the government's requirements for exposure to radio waves. This Rugged Tablet PC is designed and manufactured not to exceed the emission limits for exposure to radio frequency (RF) energy set by the Federal Communications Commission of the U.S. Government. The exposure standard for wireless Rugged Tablet PC employs a unit of measurement known as the Specific Absorption Rate, or SAR. The SAR limit set by the FCC is 1.6 W/kg. Tests for SAR are conducted using standard operating positions accepted by the FCC with the Rugged Tablet PC transmitting at its highest certified power level in all tested frequency bands. Although the SAR is determined at the highest certified power level, the actual SAR level of the Rugged Tablet PC while operating can be well below the maximum value. This is because the Rugged Tablet PC is designed to operate at multiple power levels so as to use only the poser required to reach the network. In general, the closer you are to a wireless base station antenna, the lower the power output. The highest SAR value for US model Rugged Tablet PC as reported to the FCC when tested for use at the body, as described in this user guide, is 1.339 W/kg. Industry Canada Class B Statement This Class [B] digital apparatus complies with Canadian ICES-003. Cet appareil numérique de la classe [B] est conforme à la norme NMB-003 du Canada. This device complies with Industry Canada licence-exempt RSS standard(s).Operation is subject to the following two conditions: (1) this device may not cause interference, and (2) this device must accept any interference, including interference that may cause undesired operation of the device. IEEE 802.11b or 802.11g operation of this product in the Canada is firmware-limited to channels 1 through 11. Déclarations d'exposition aux RF liéesAvertissement d'exposition RF: L'équipement est conforme aux limites d'exposition aux RF établies pour un environnement non contrôlé. L'antenne (s) utilisée pour ce transmetteur ne doit pas être co-localisés ou fonctionnant en conjonction avec une autre antenne ou transmetteur. Ce dispositif est conforme à la norme de l'industrie Candada exempts de licence RSS (s). L'opération est soumise aux deux conditions suivantes: (1) Cet appareil ne peut causer d'interférences nuisibles, et (2) cet appareil doit accepter toute interférence reçue, y compris les interférences qui peuvent causer un mauvais fonctionnement de l'appareil.](https://usermanual.wiki/Handheld-Group/0112070926724.User-manual-part-1/User-Guide-2140588-Page-8.png)