Harman Becker Automotive Systems B140 Car Head Unit NBT EVO HU User Manual Manual
Harman Becker Automotive Systems Car Head Unit NBT EVO HU Manual
UserManual.wiki
>
Harman Becker Automotive Systems
>
B140 User Manual
>
Manual
Contents
1.
Manual
2.
License Texts and Certifications
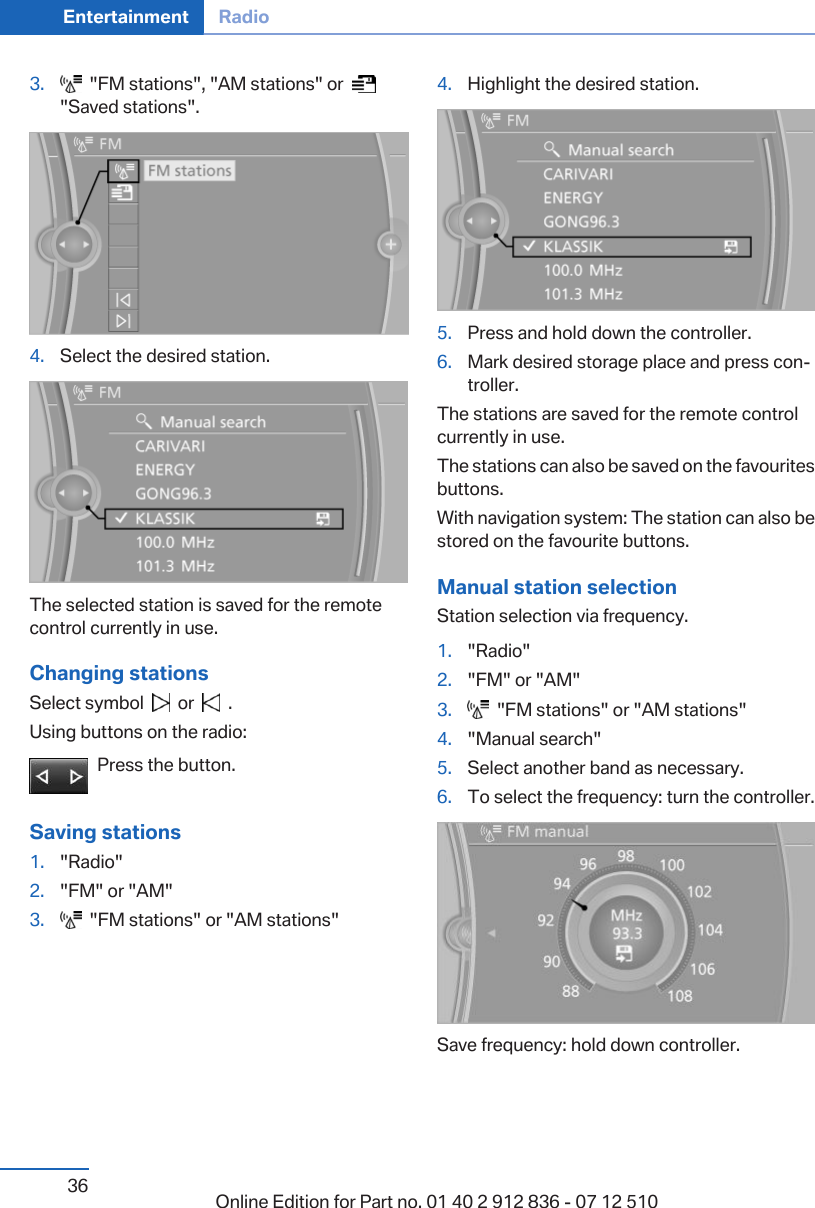
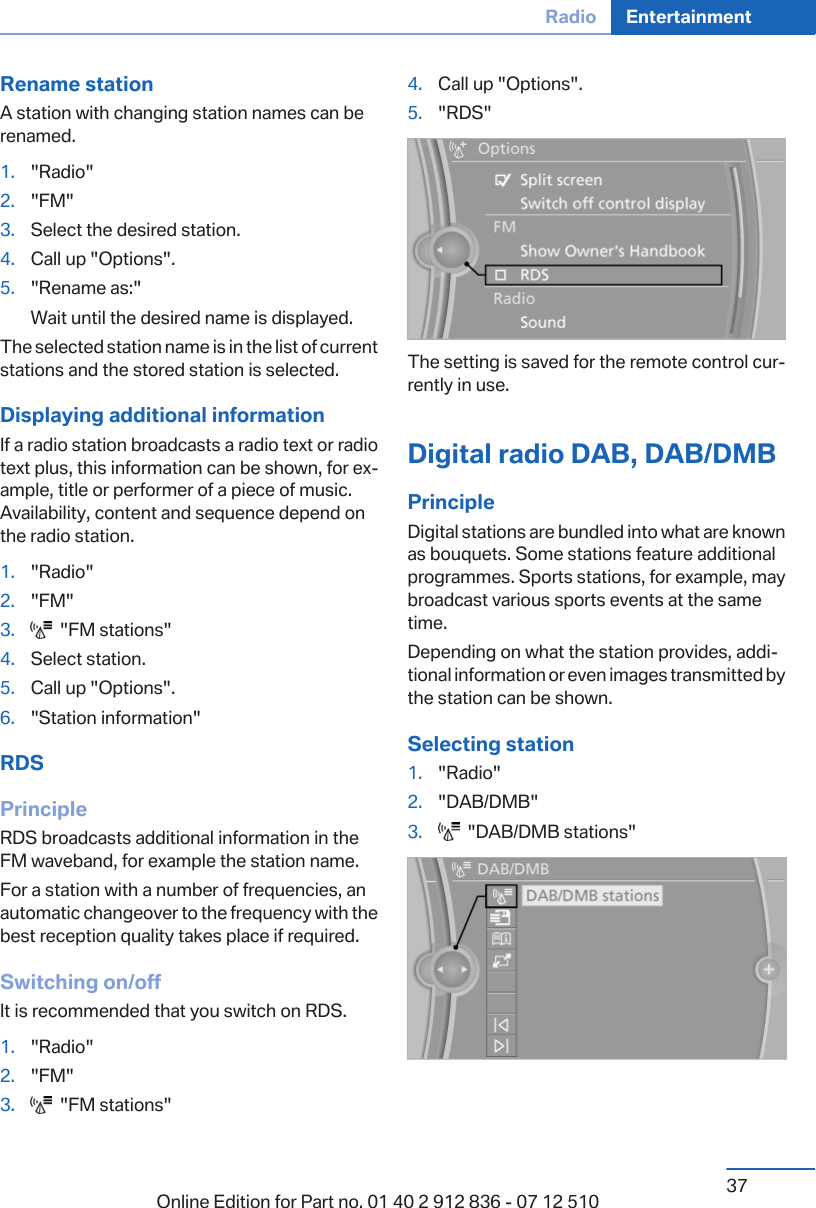
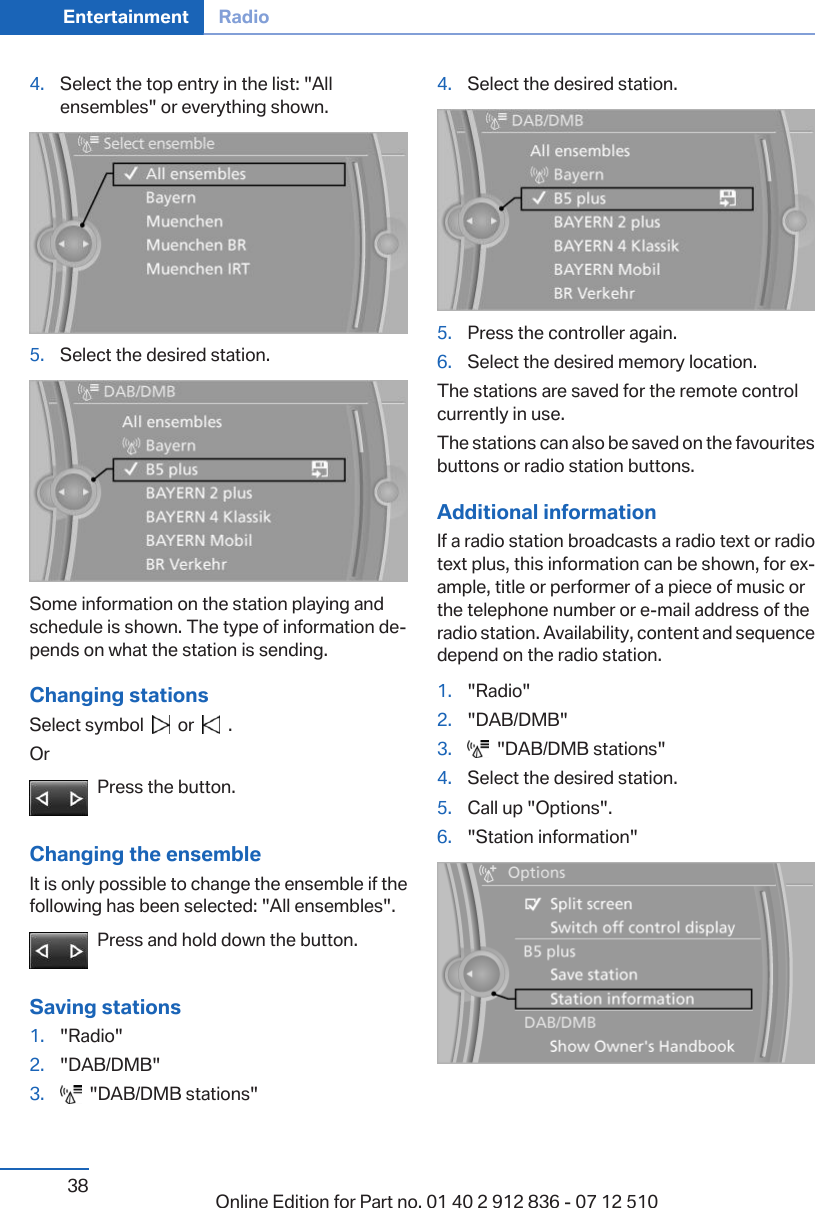
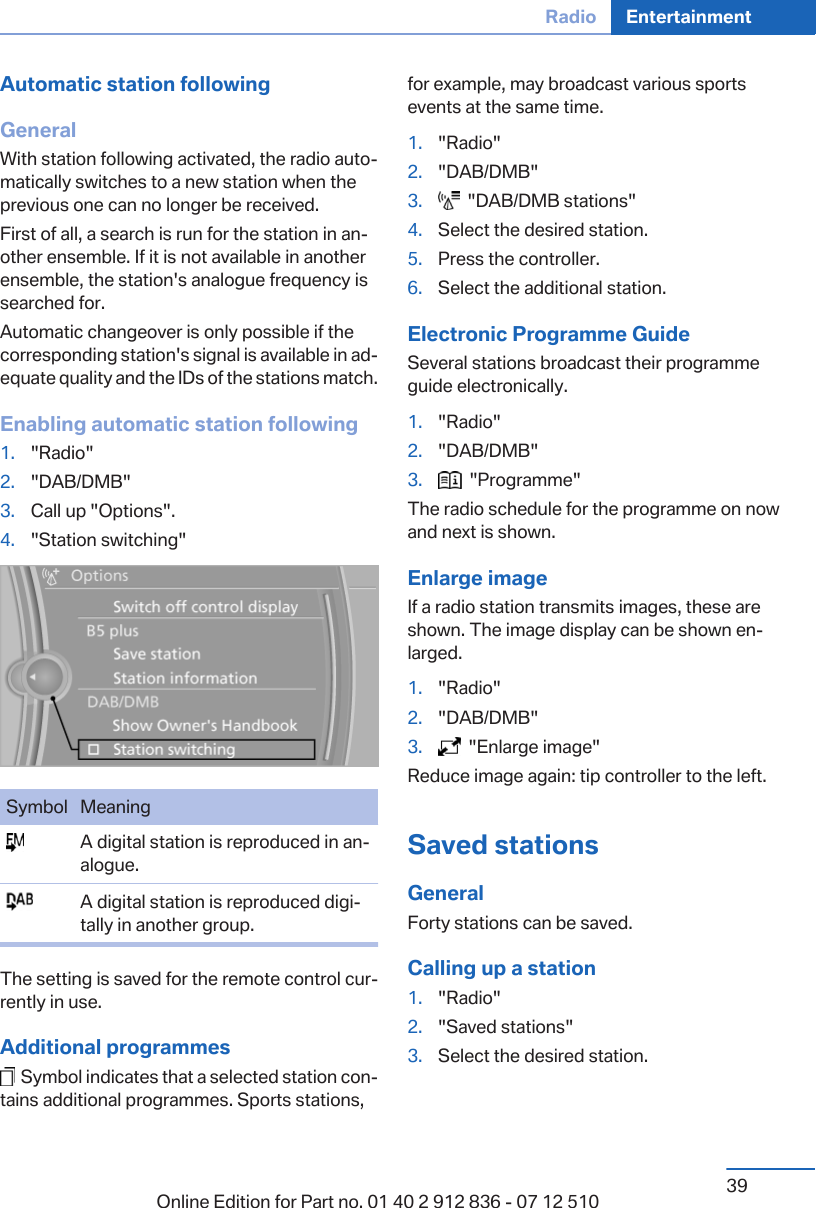
Manual
Navigation menu
Upload a User Manual
Namespaces
Wiki Guide
HTML
PDF
Info
Views
User Manual
Discussion / Help
Navigation