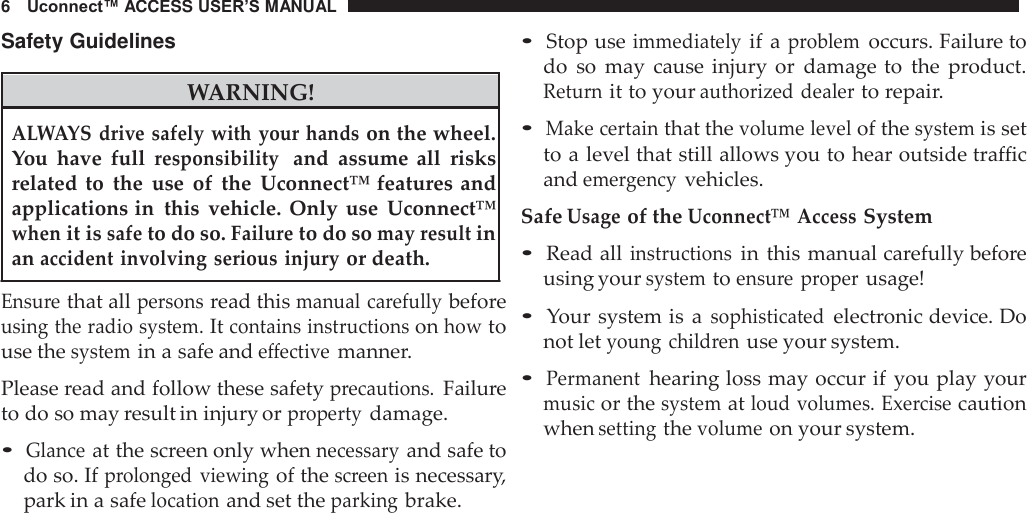
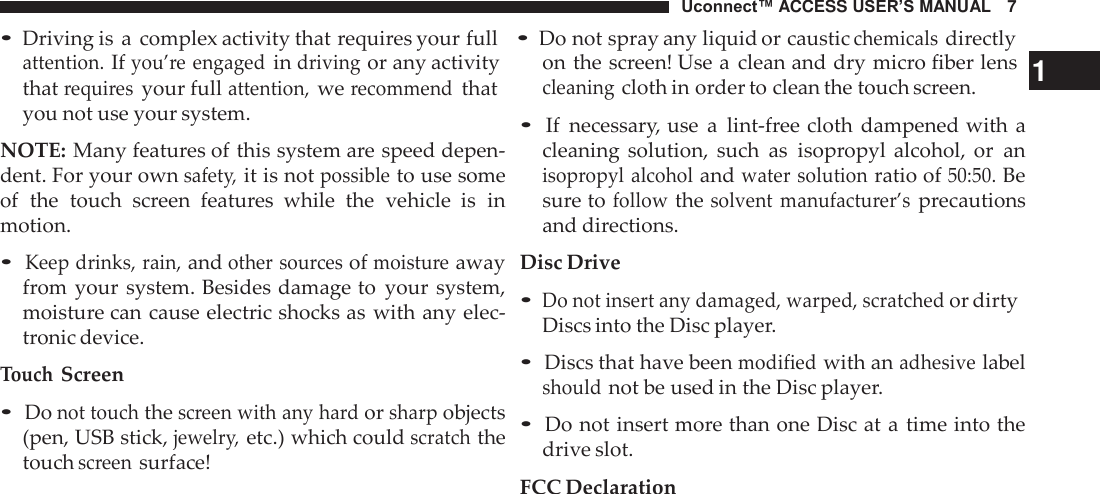
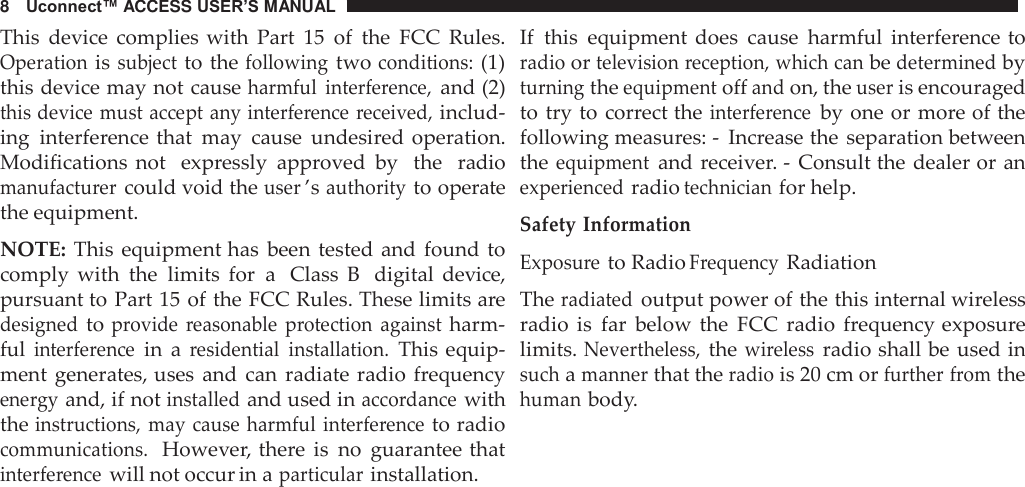
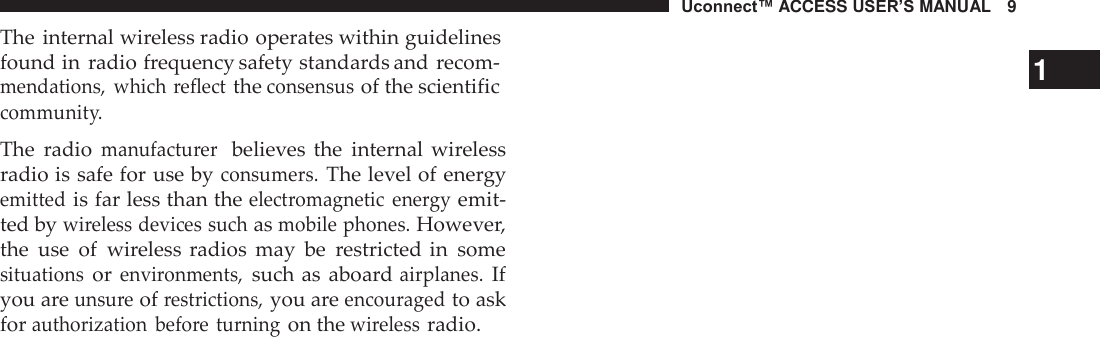
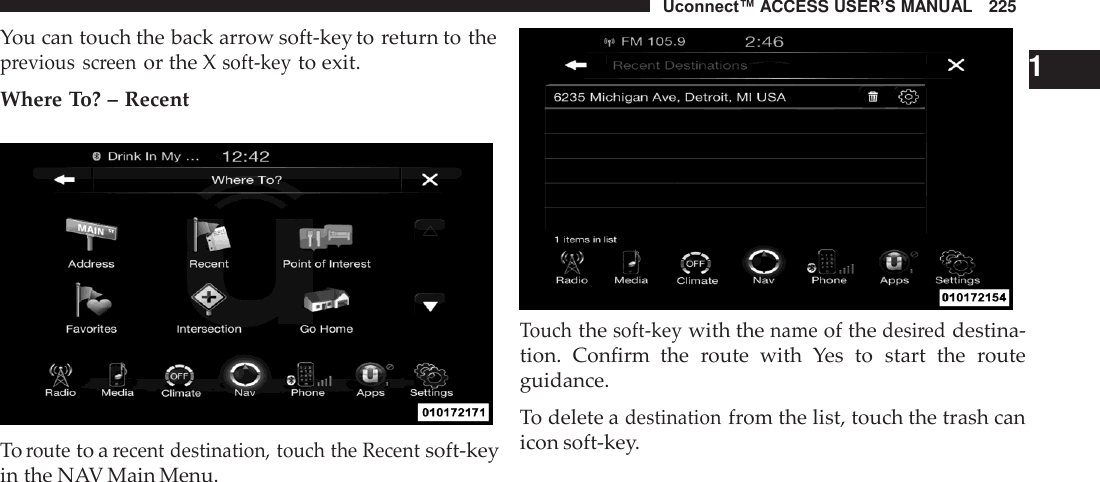
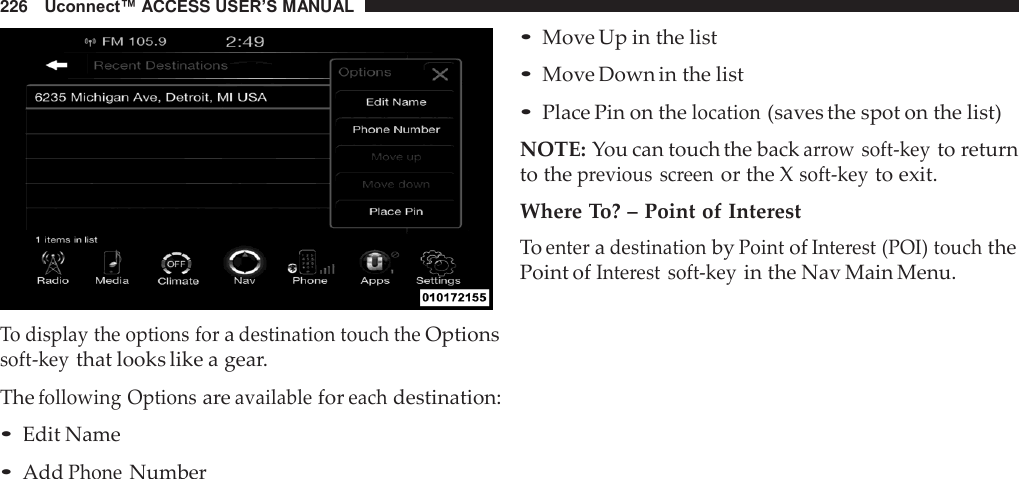
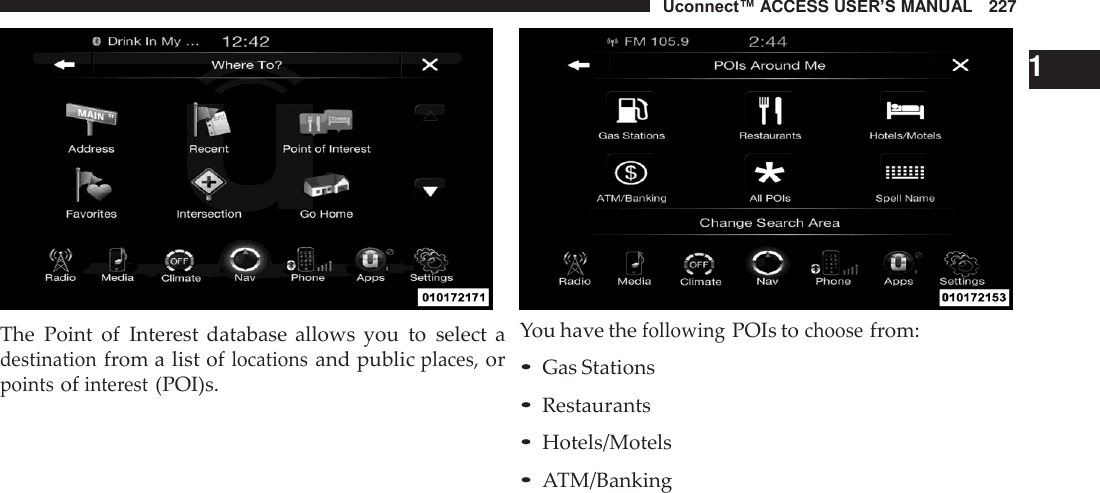
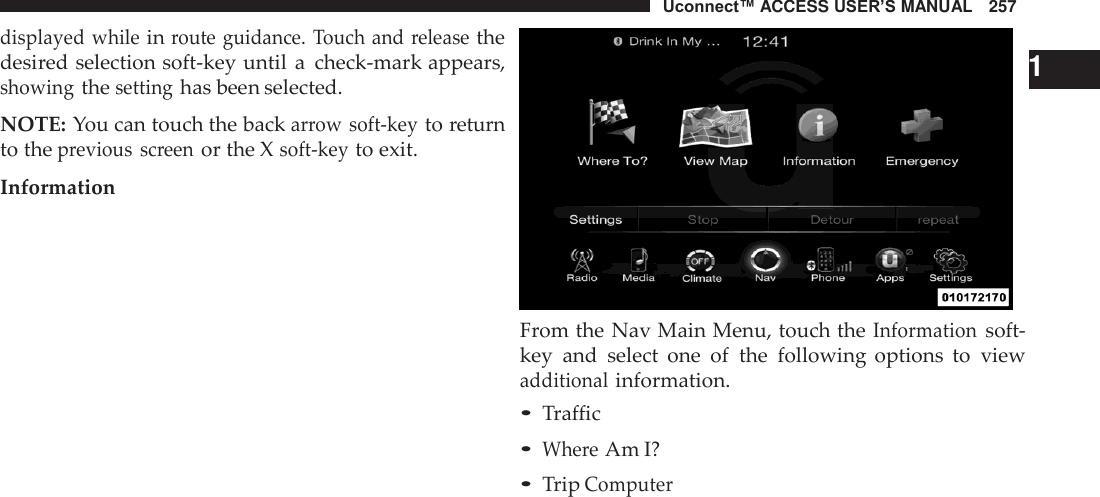
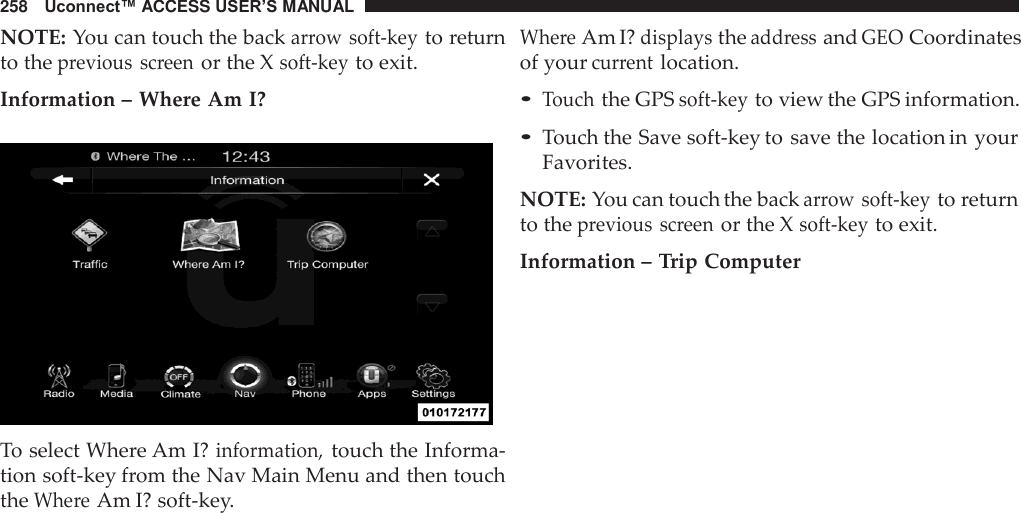
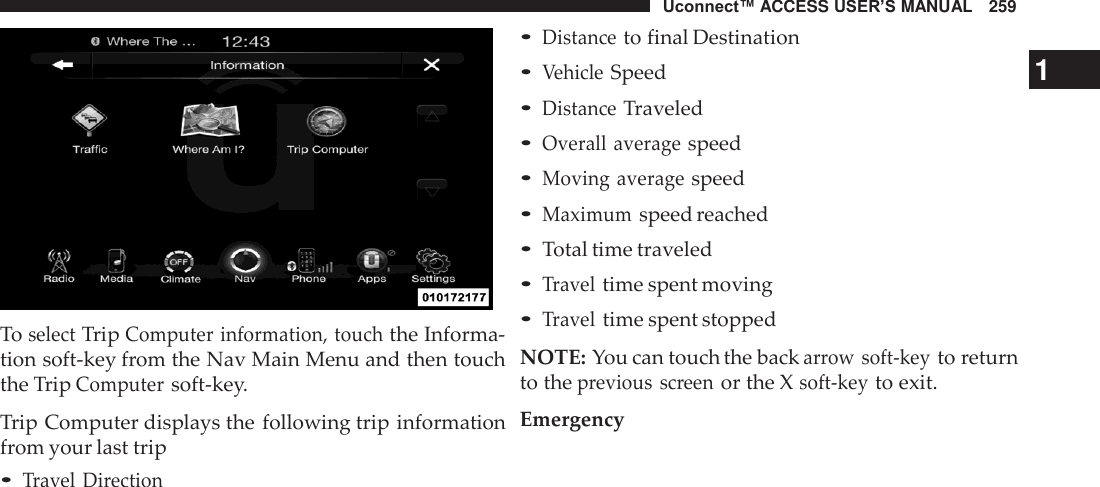
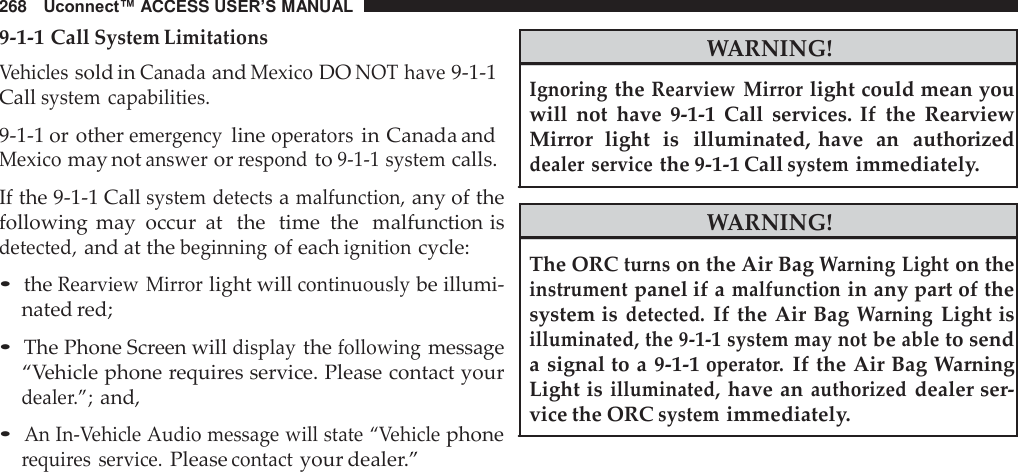
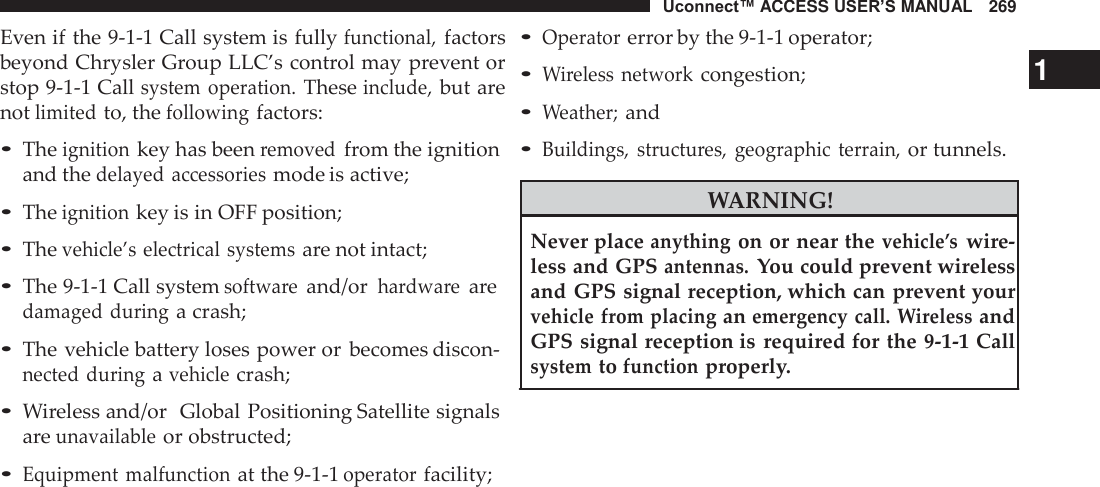
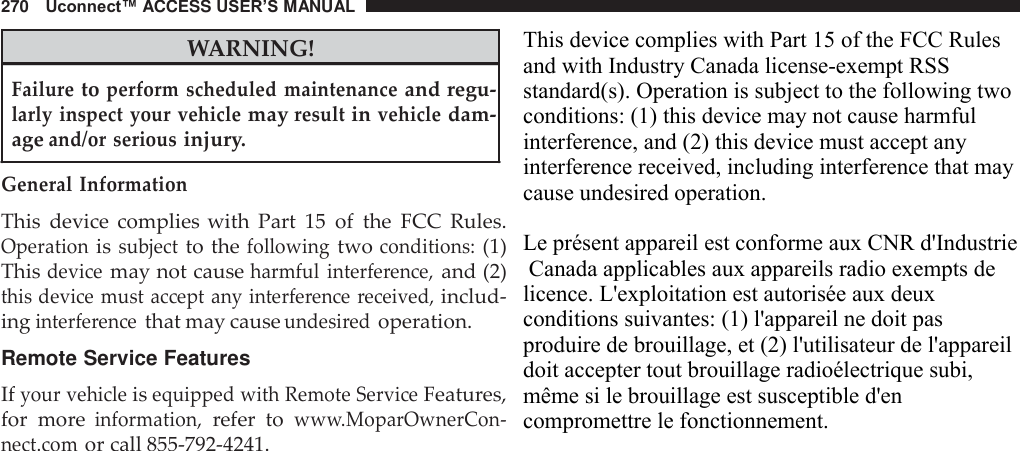
Harman Becker Automotive Systems BE2813 WLAN, BT and GPS entertainment system for passenger vehicles User Manual zz000000
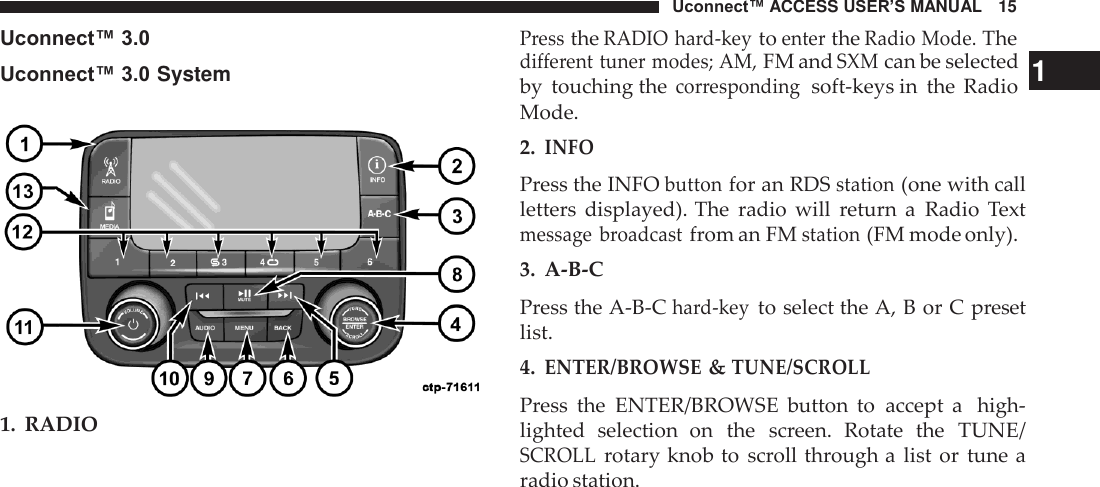
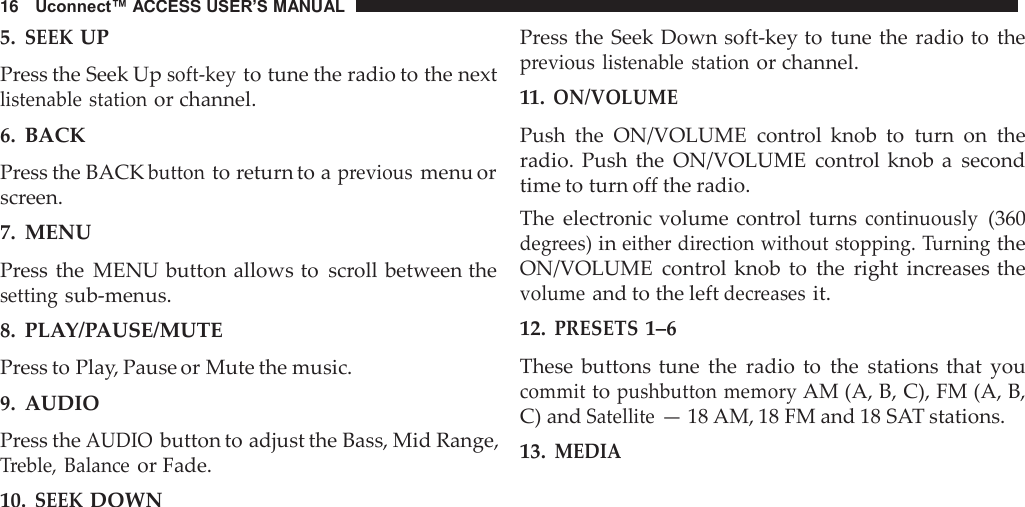
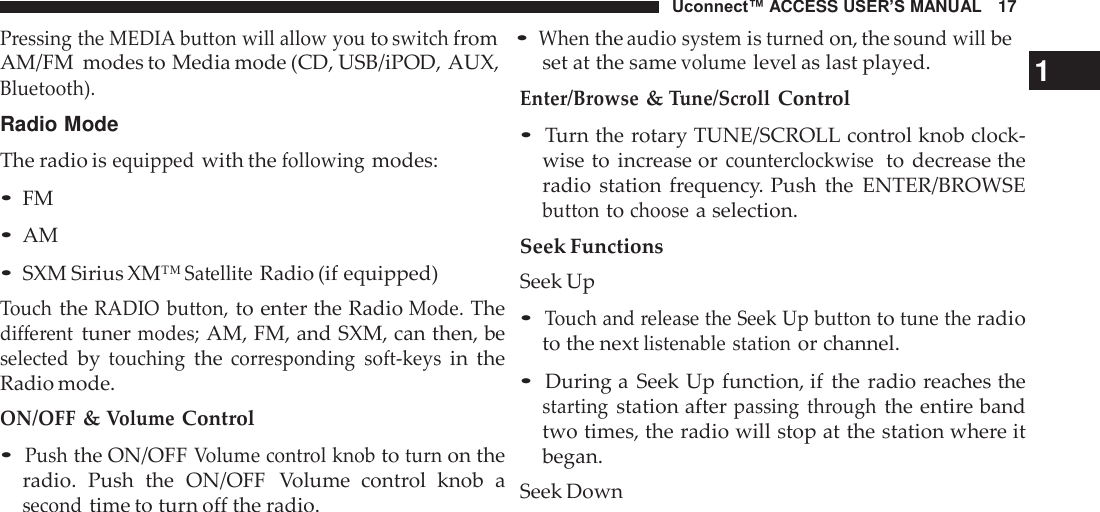
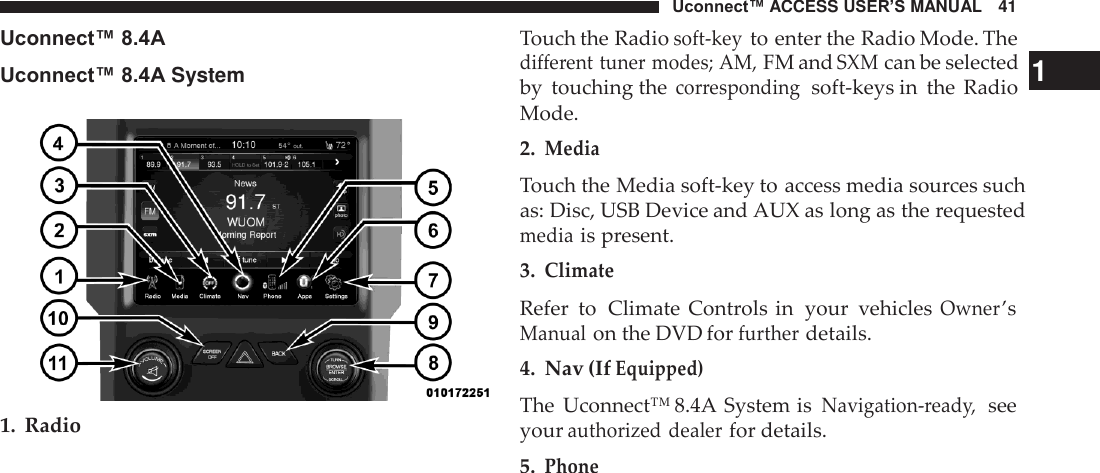
Harman Becker Automotive Systems, Inc. WLAN, BT and GPS entertainment system for passenger vehicles zz000000
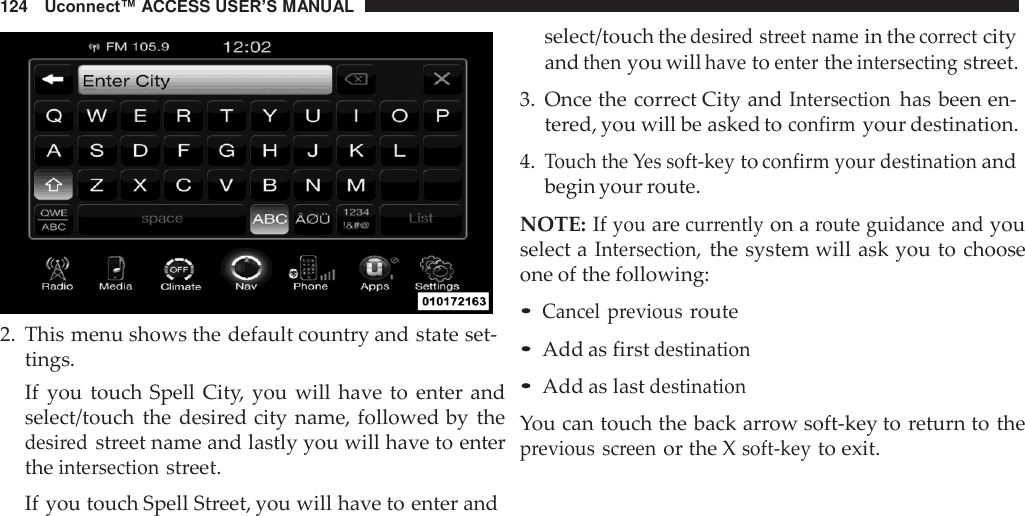
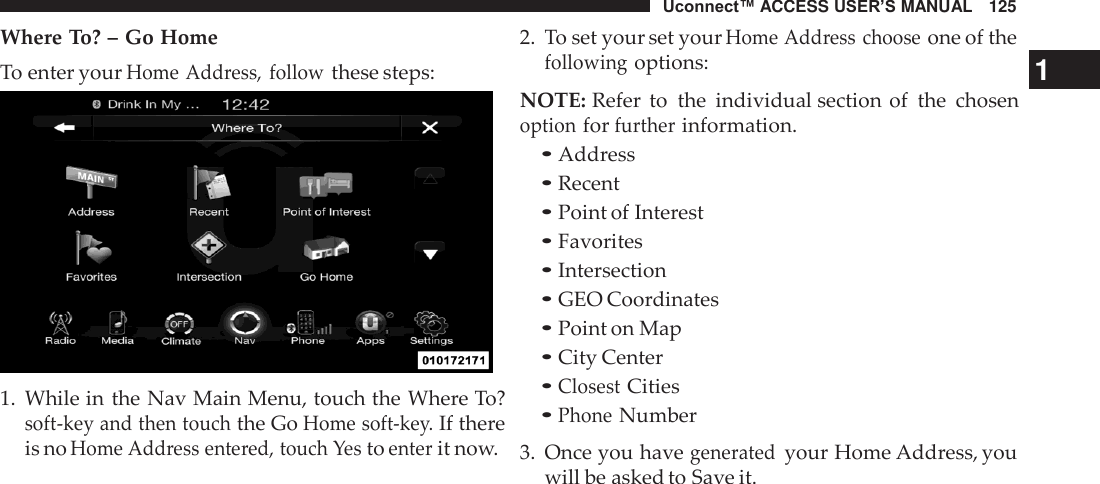
UserManual.wiki
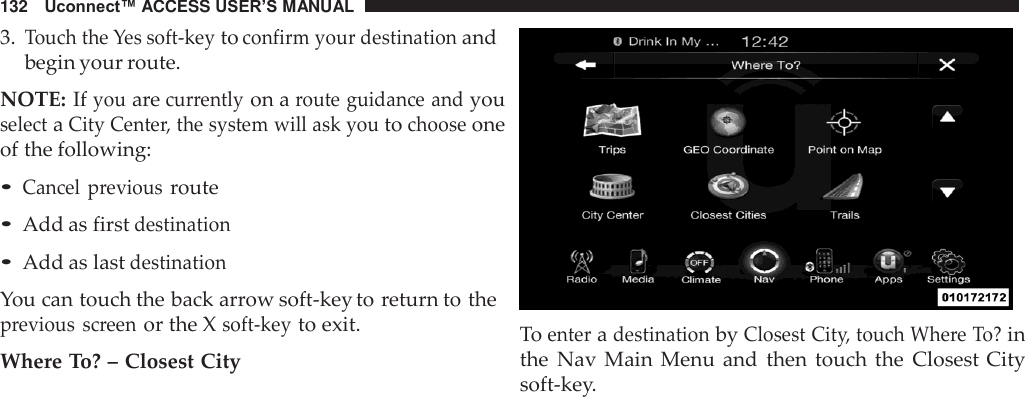
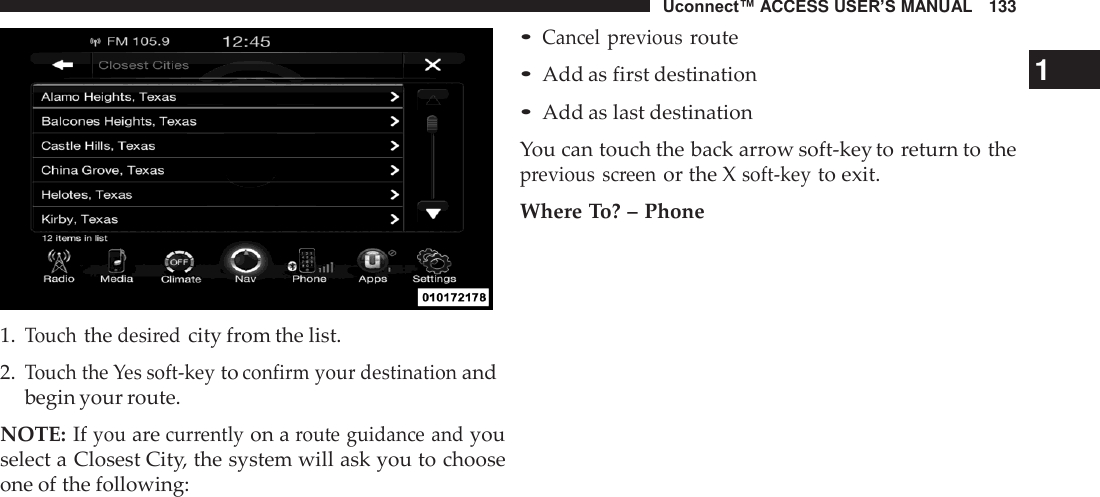
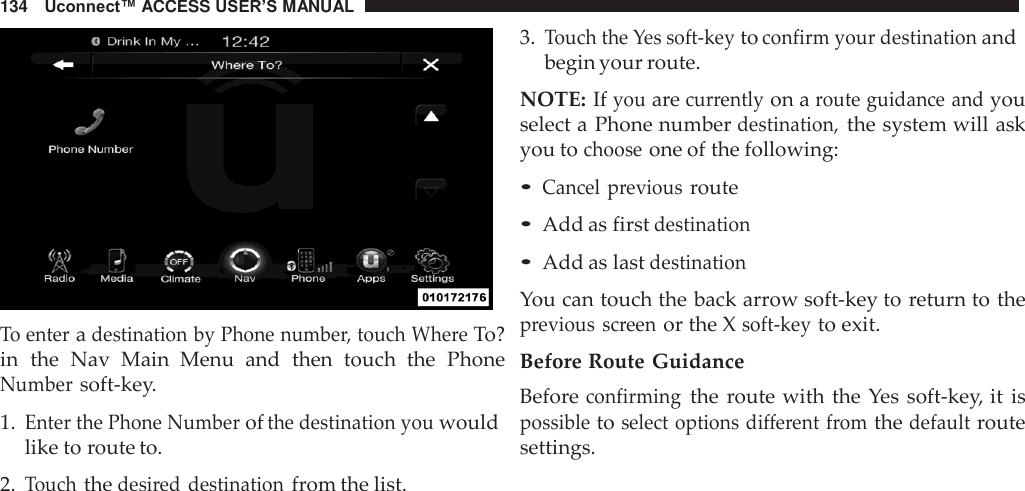
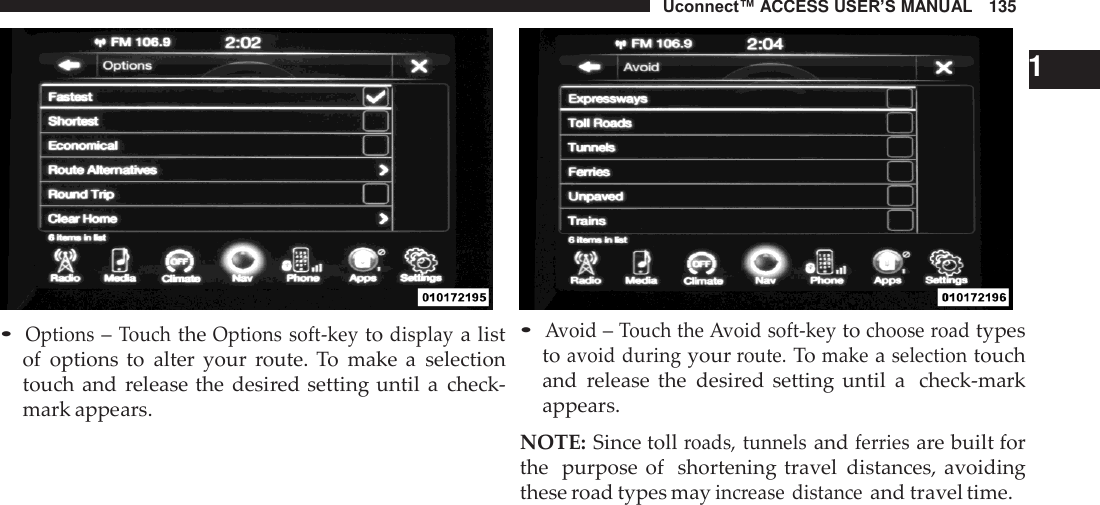
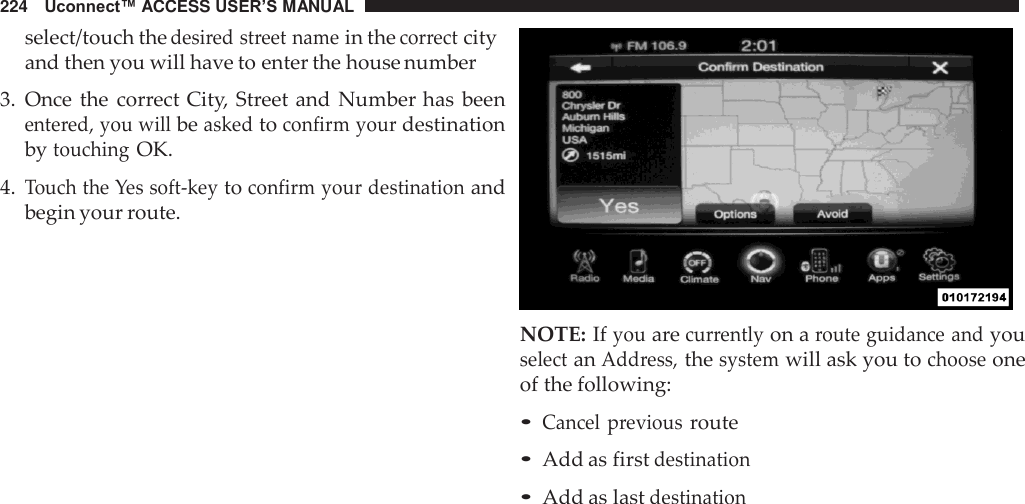
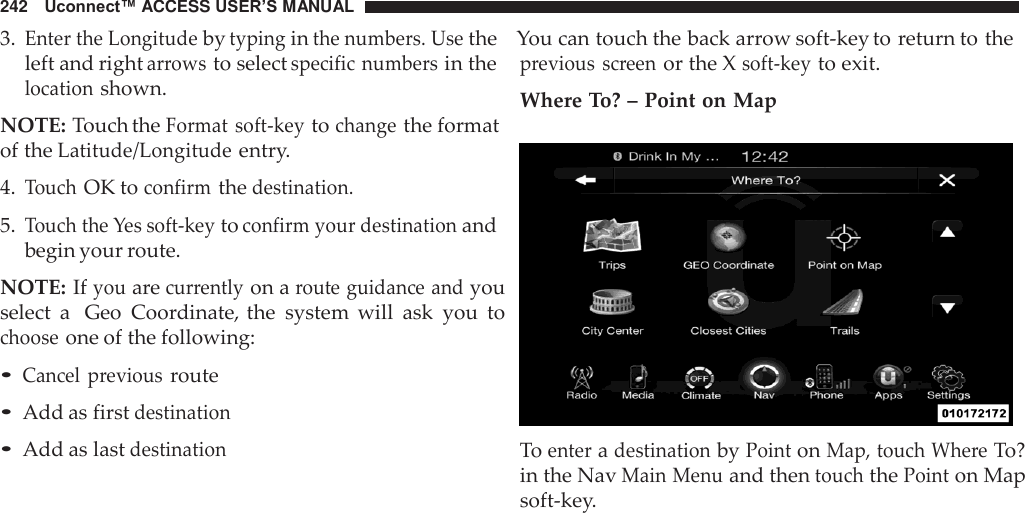
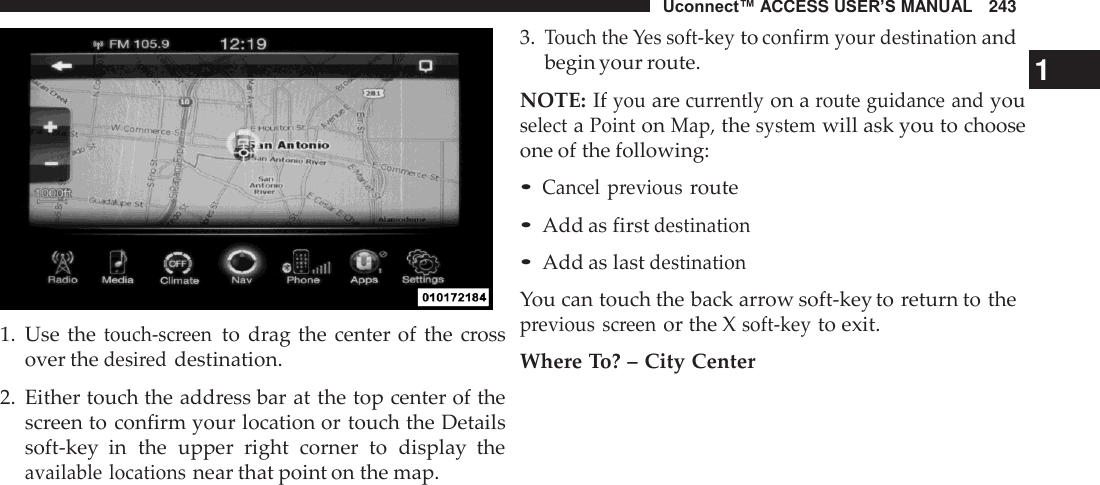
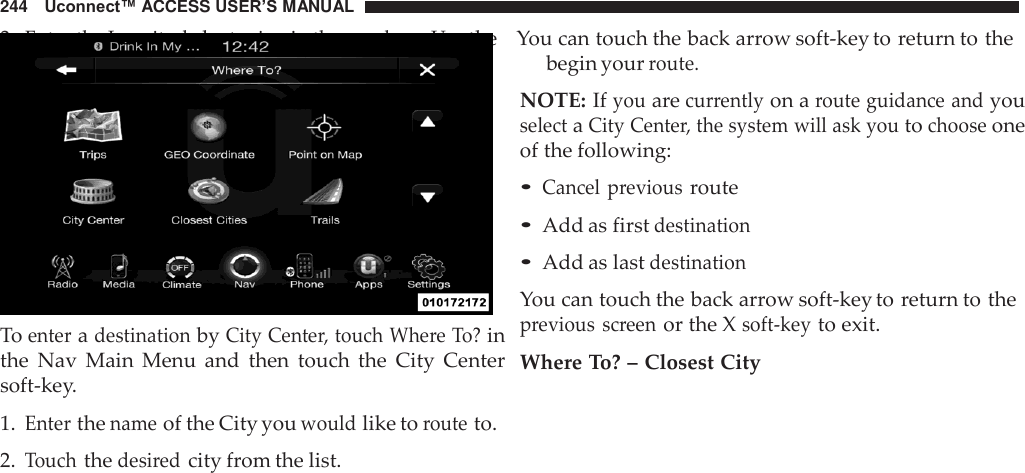
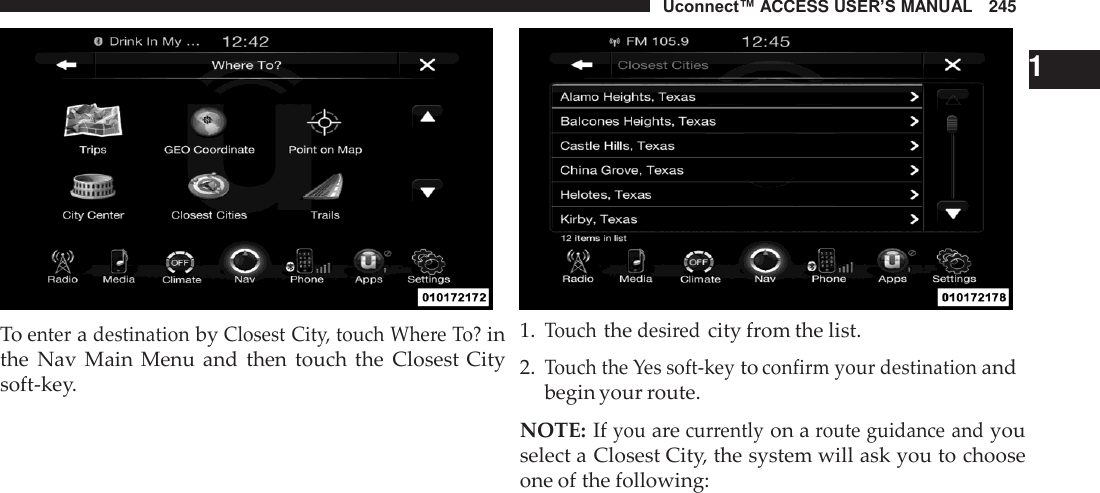
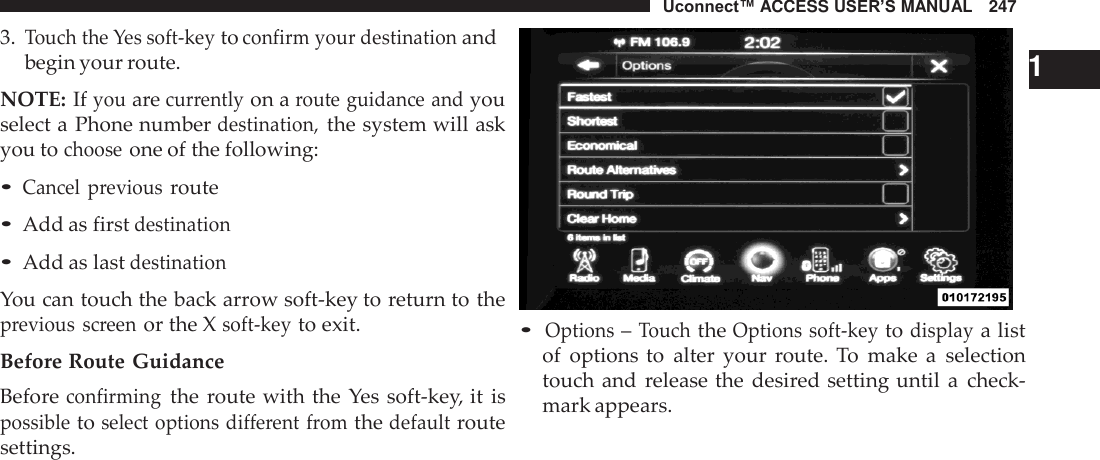
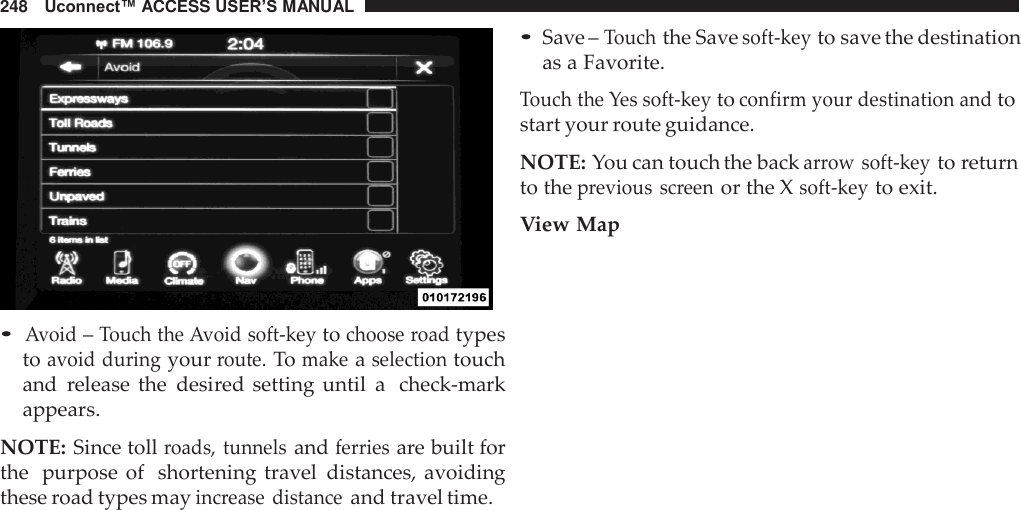
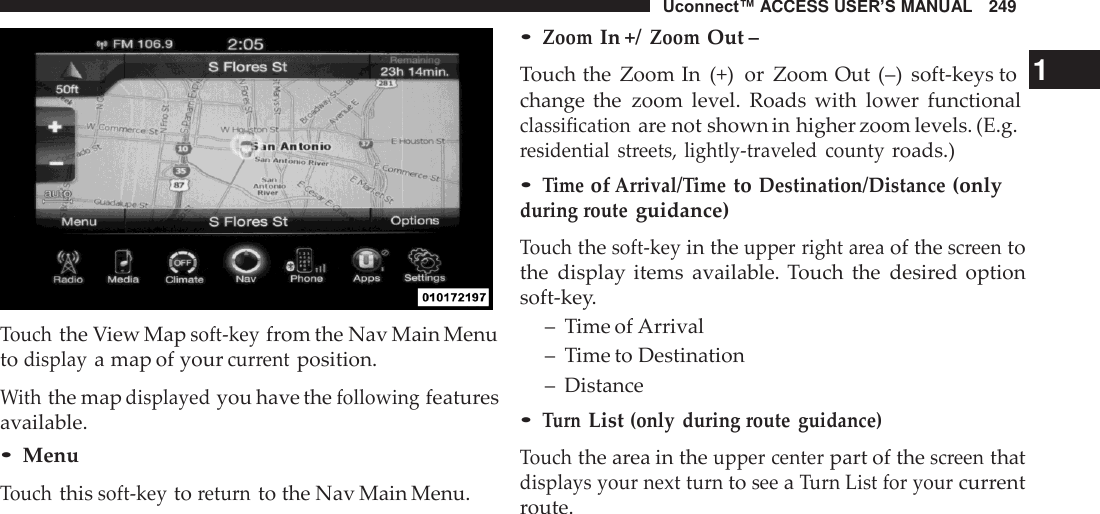
>
Harman Becker Automotive Systems
>
BE2813 User Manual
User Manual
Navigation menu
Upload a User Manual
Namespaces
Wiki Guide
HTML
PDF
Info
Views
User Manual
Discussion / Help
Navigation