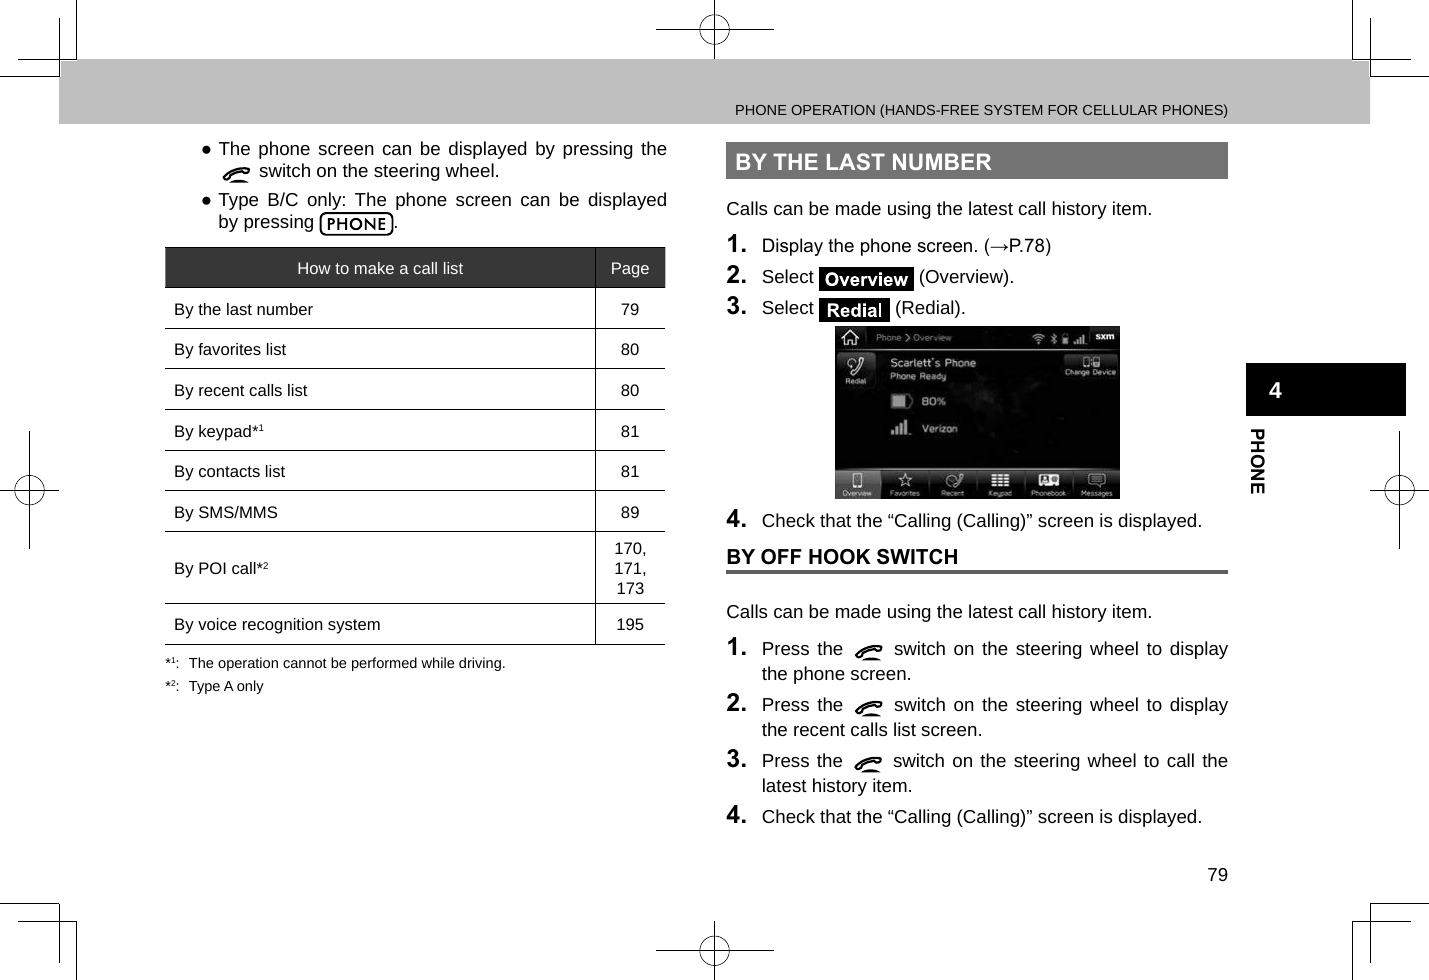
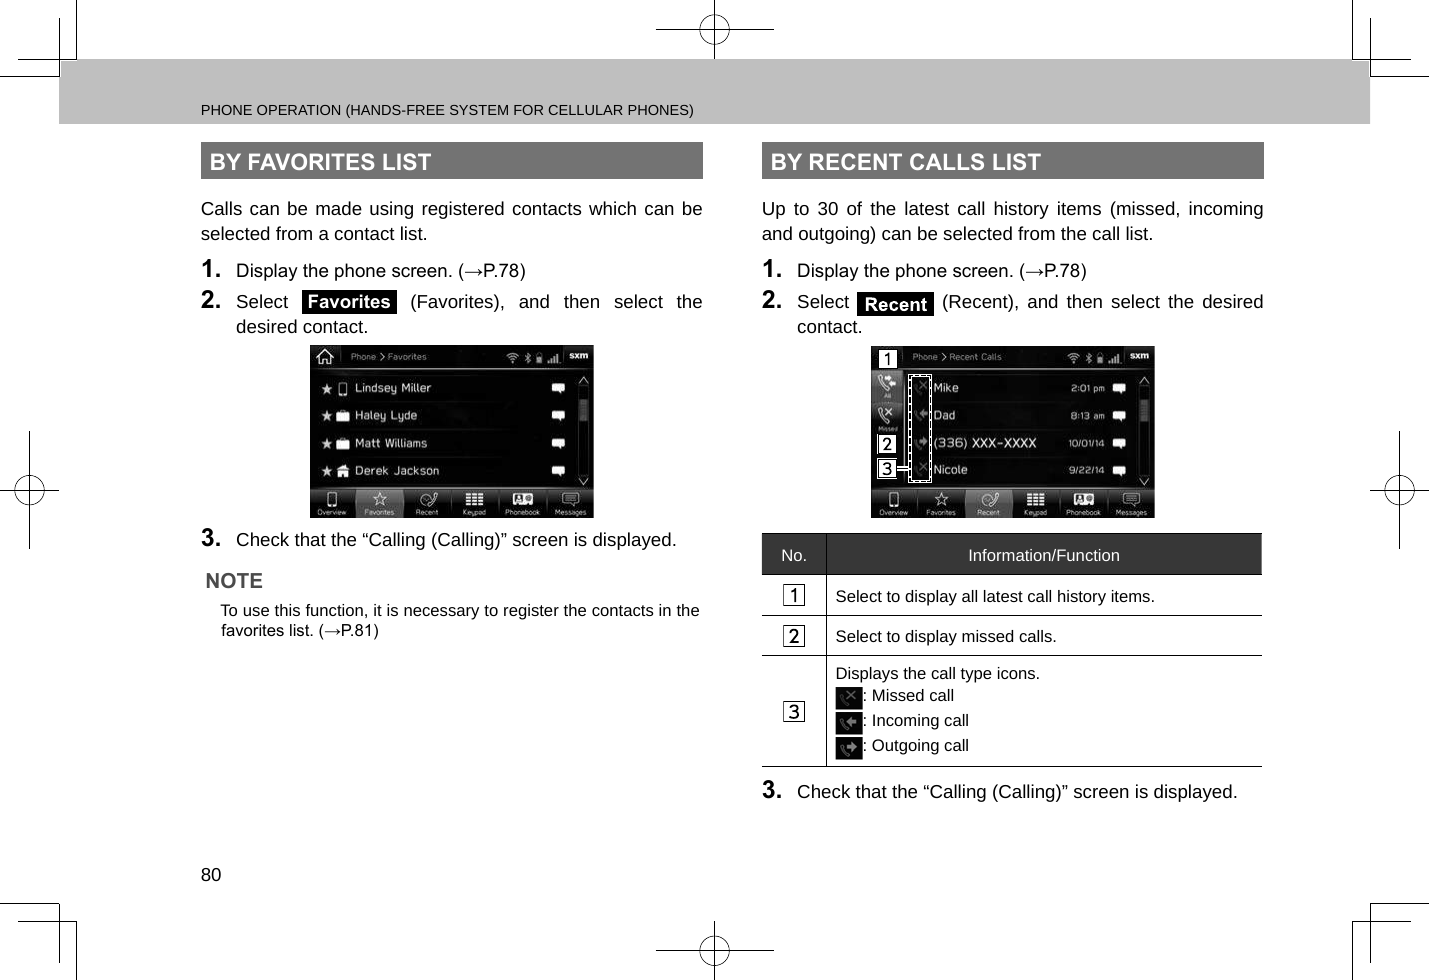
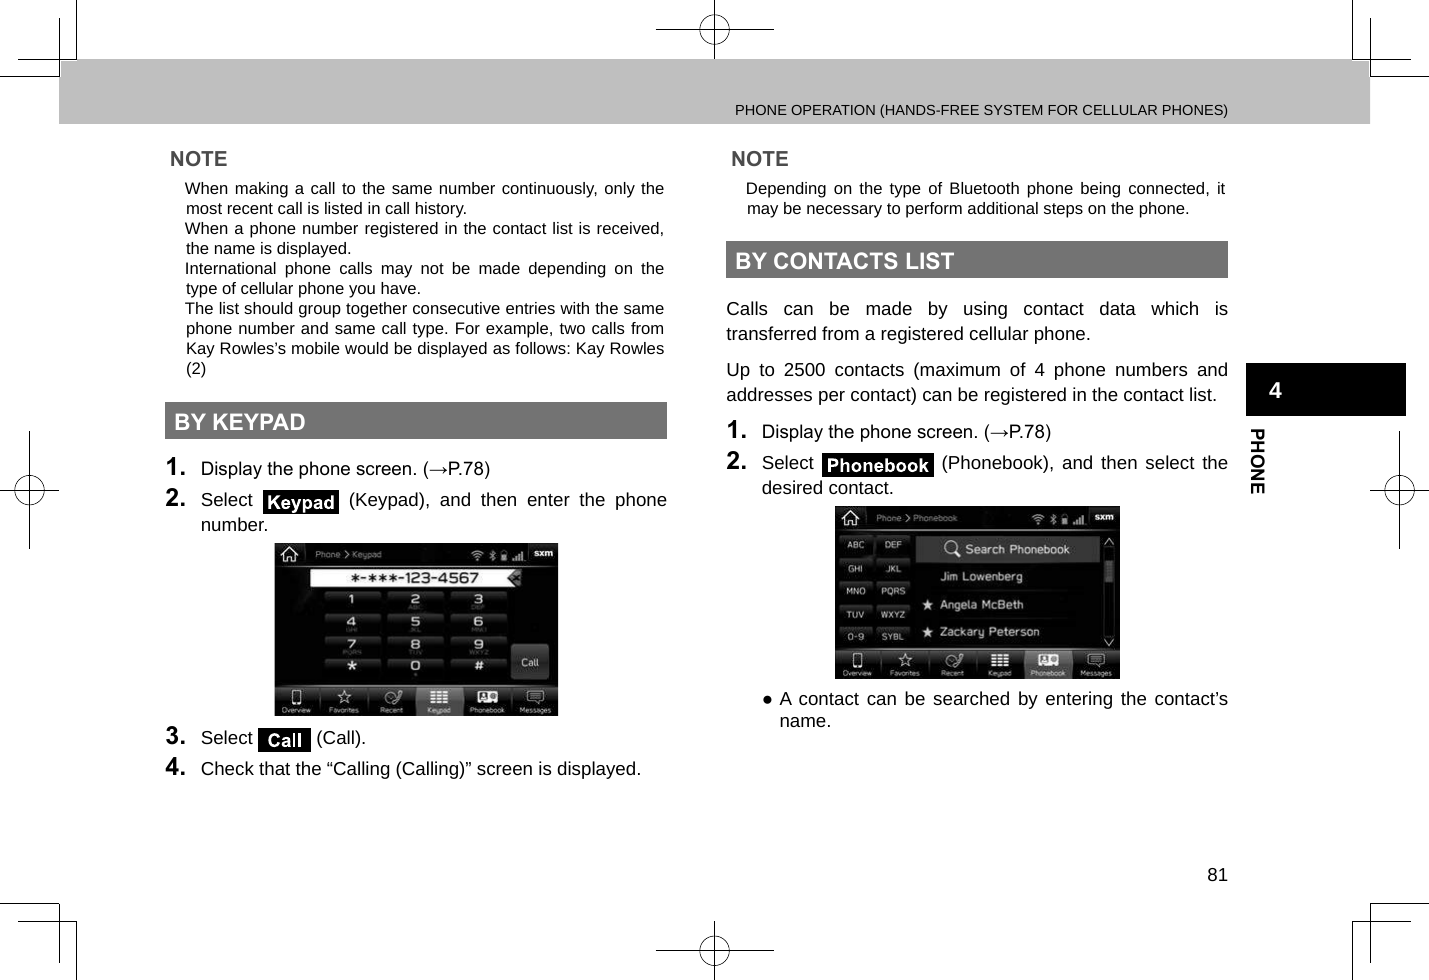
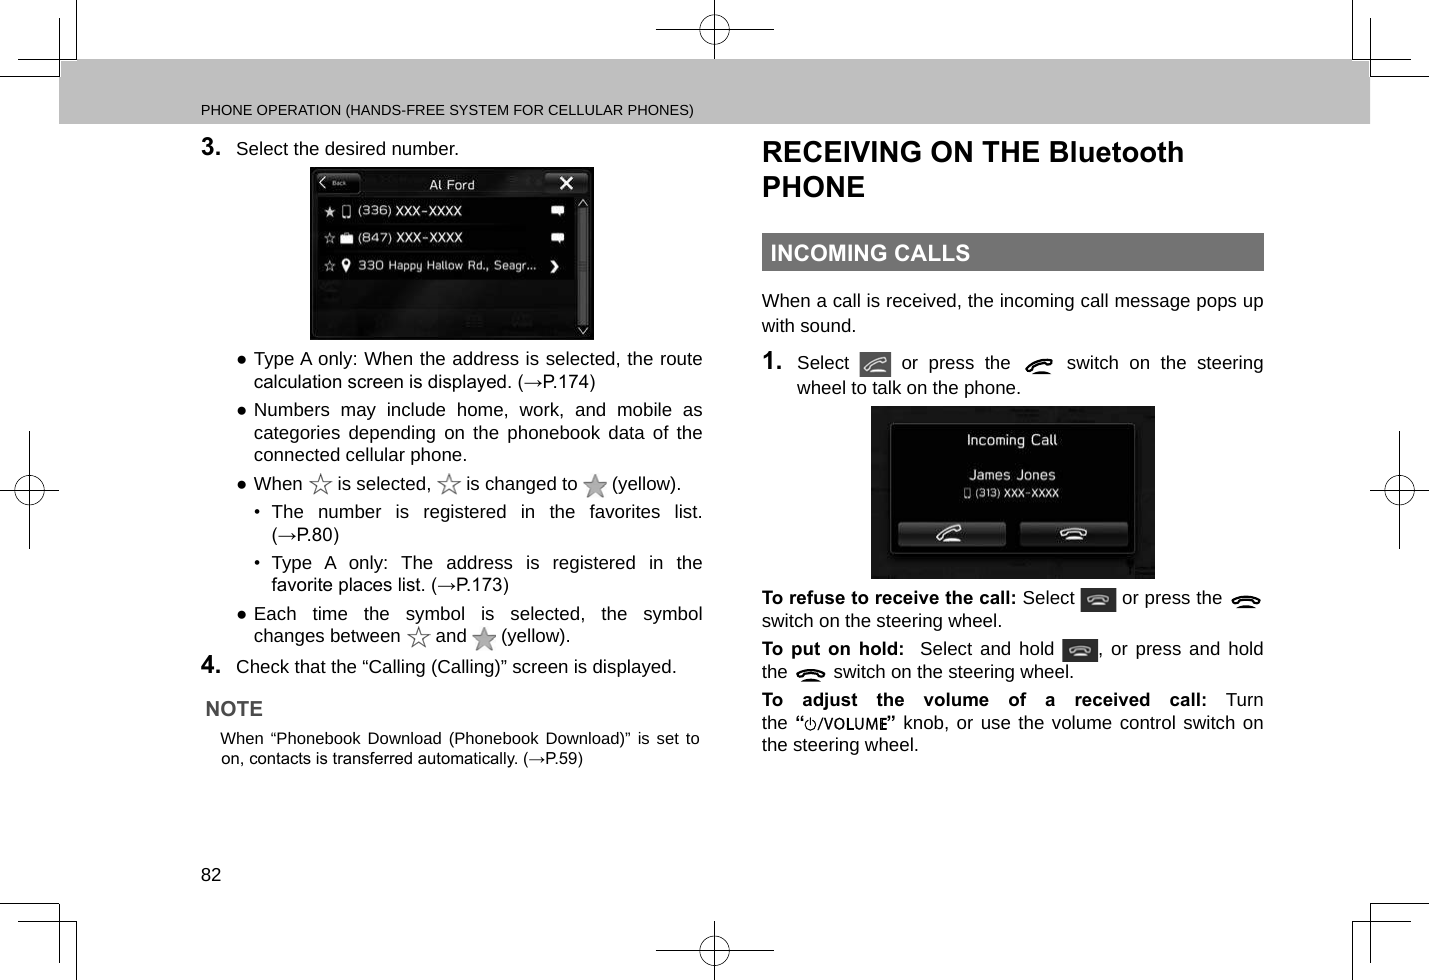
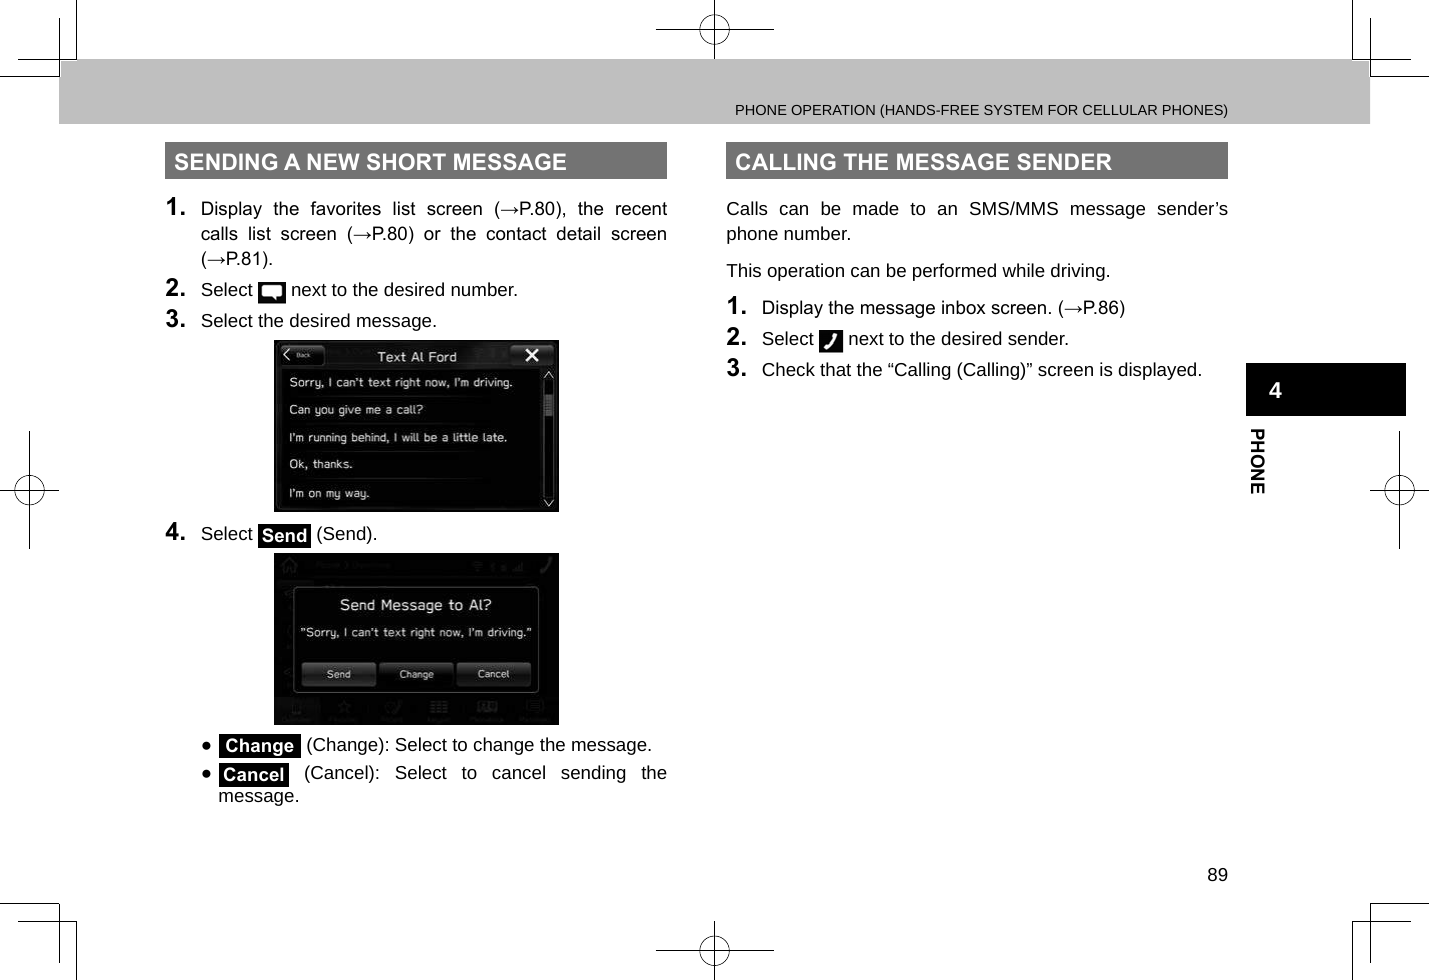
Harman BE2819 Automotive Infotainment Unit w/ Bluetooth and WLAN User Manual Part 1
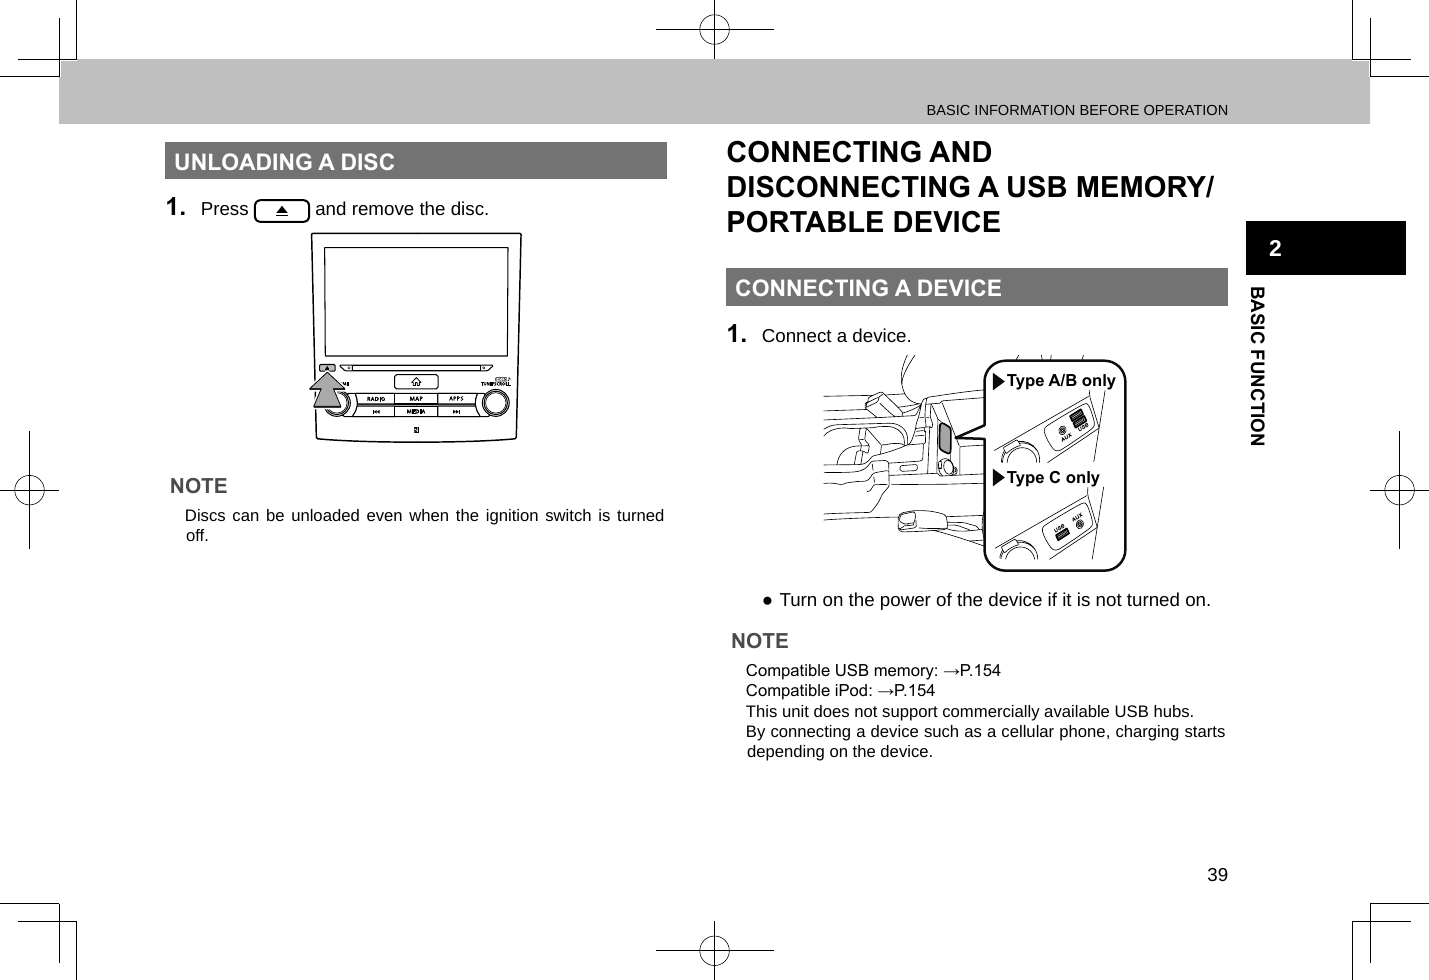
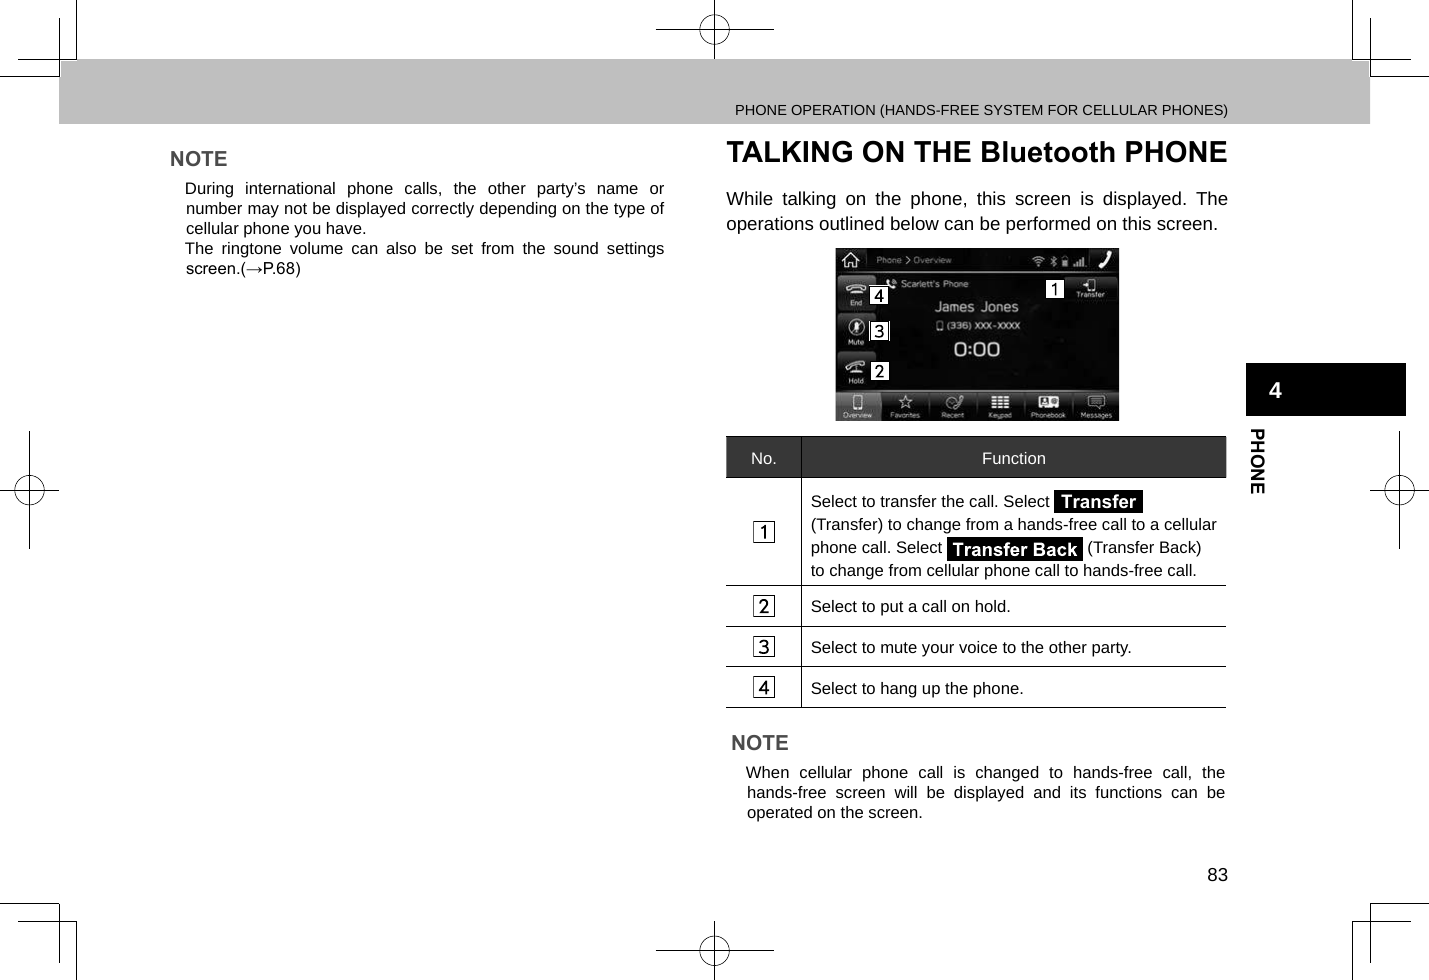
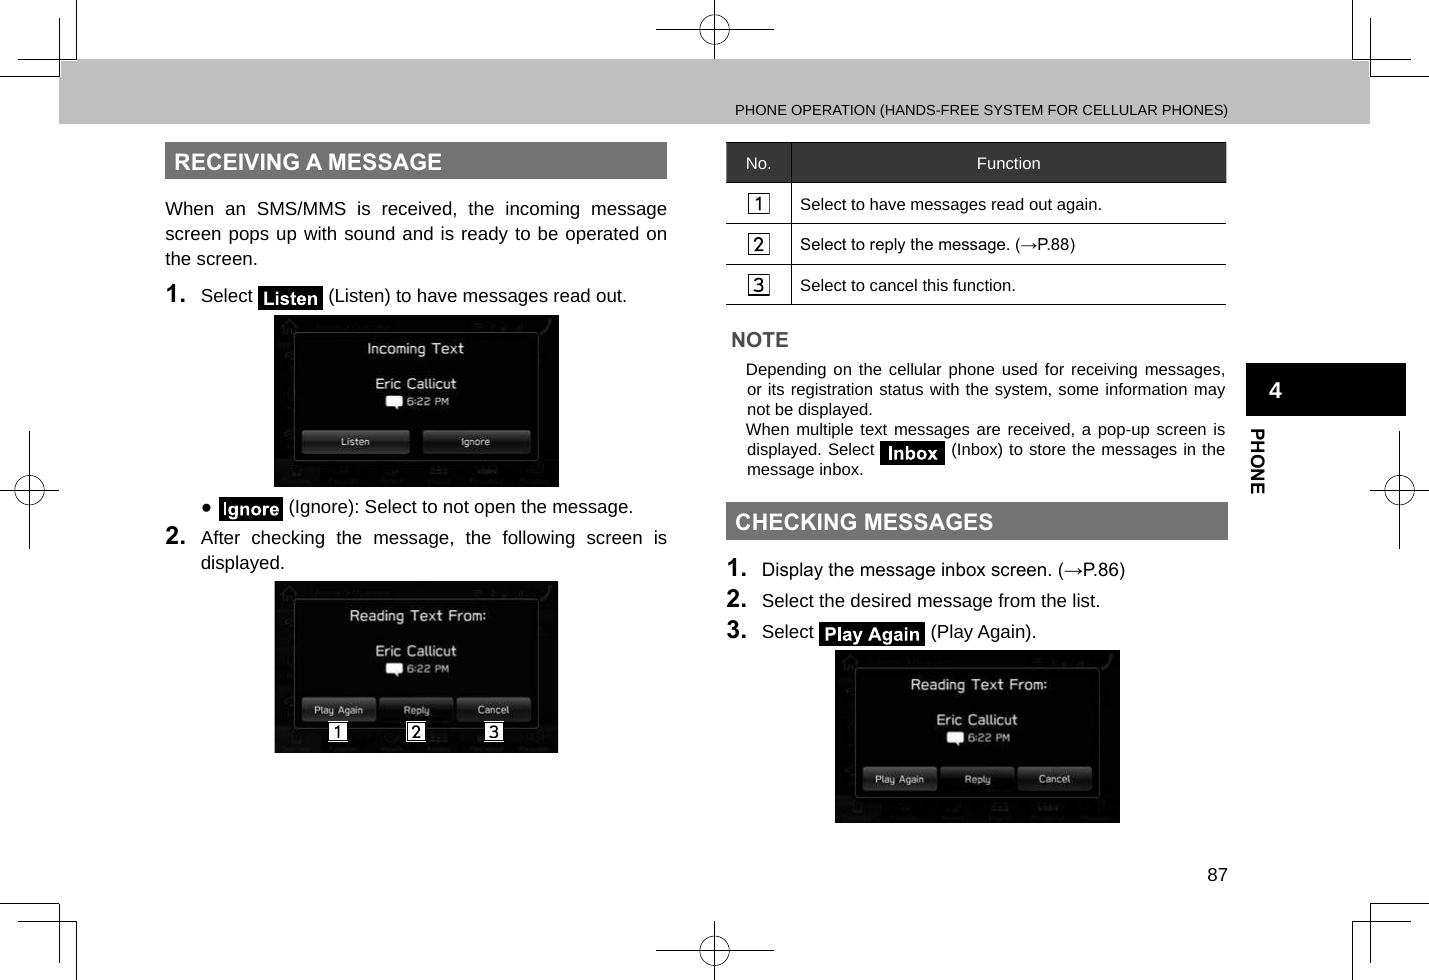
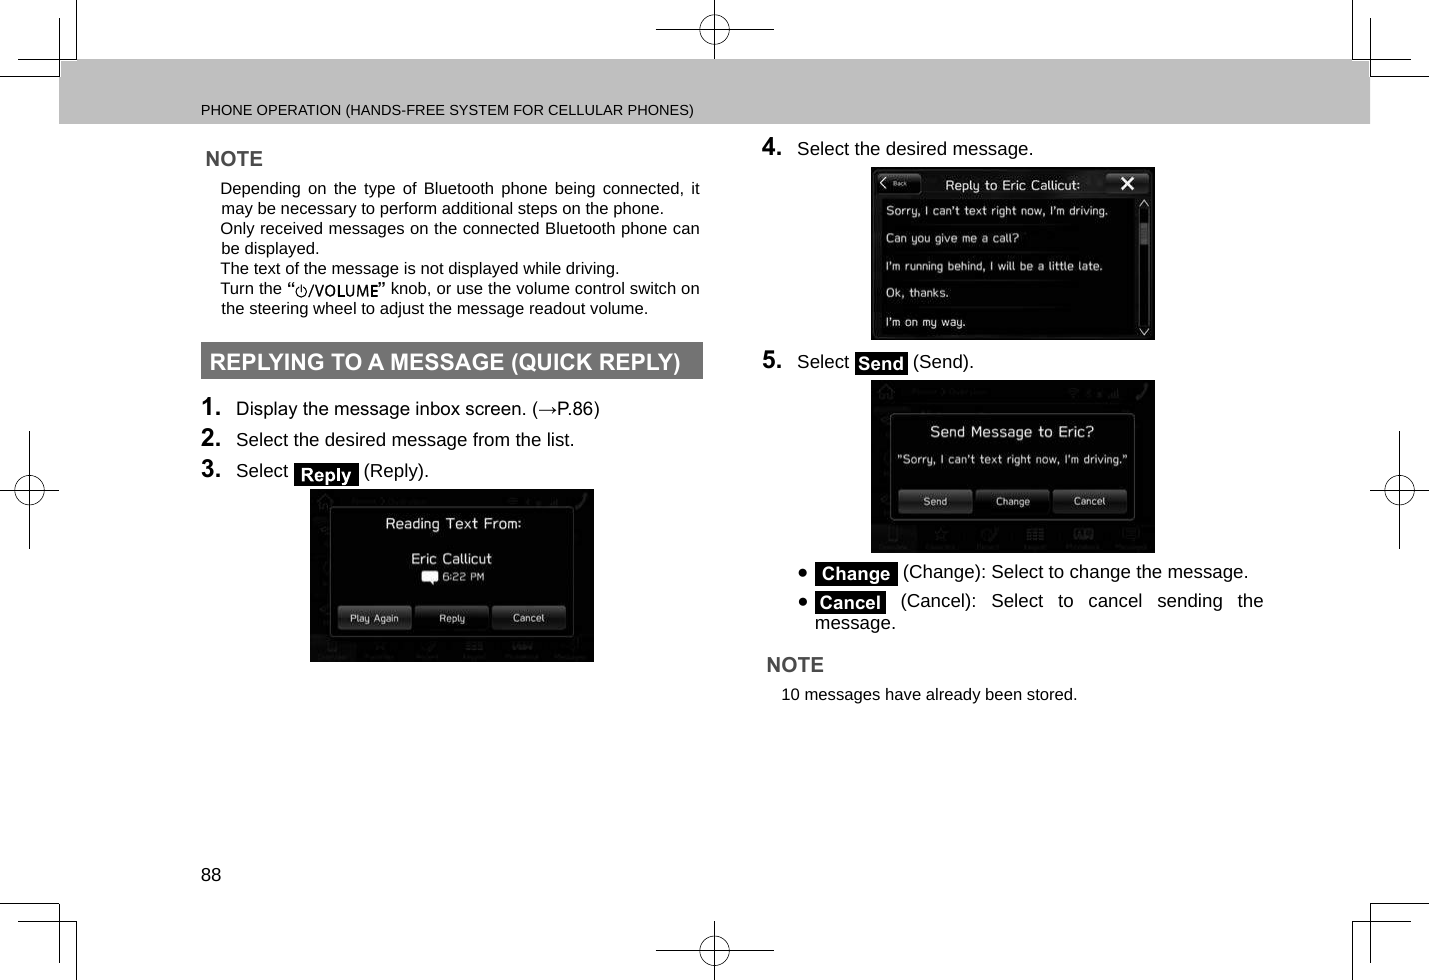
Harman International Industries, Inc. Automotive Infotainment Unit w/ Bluetooth and WLAN Users Manual Part 1
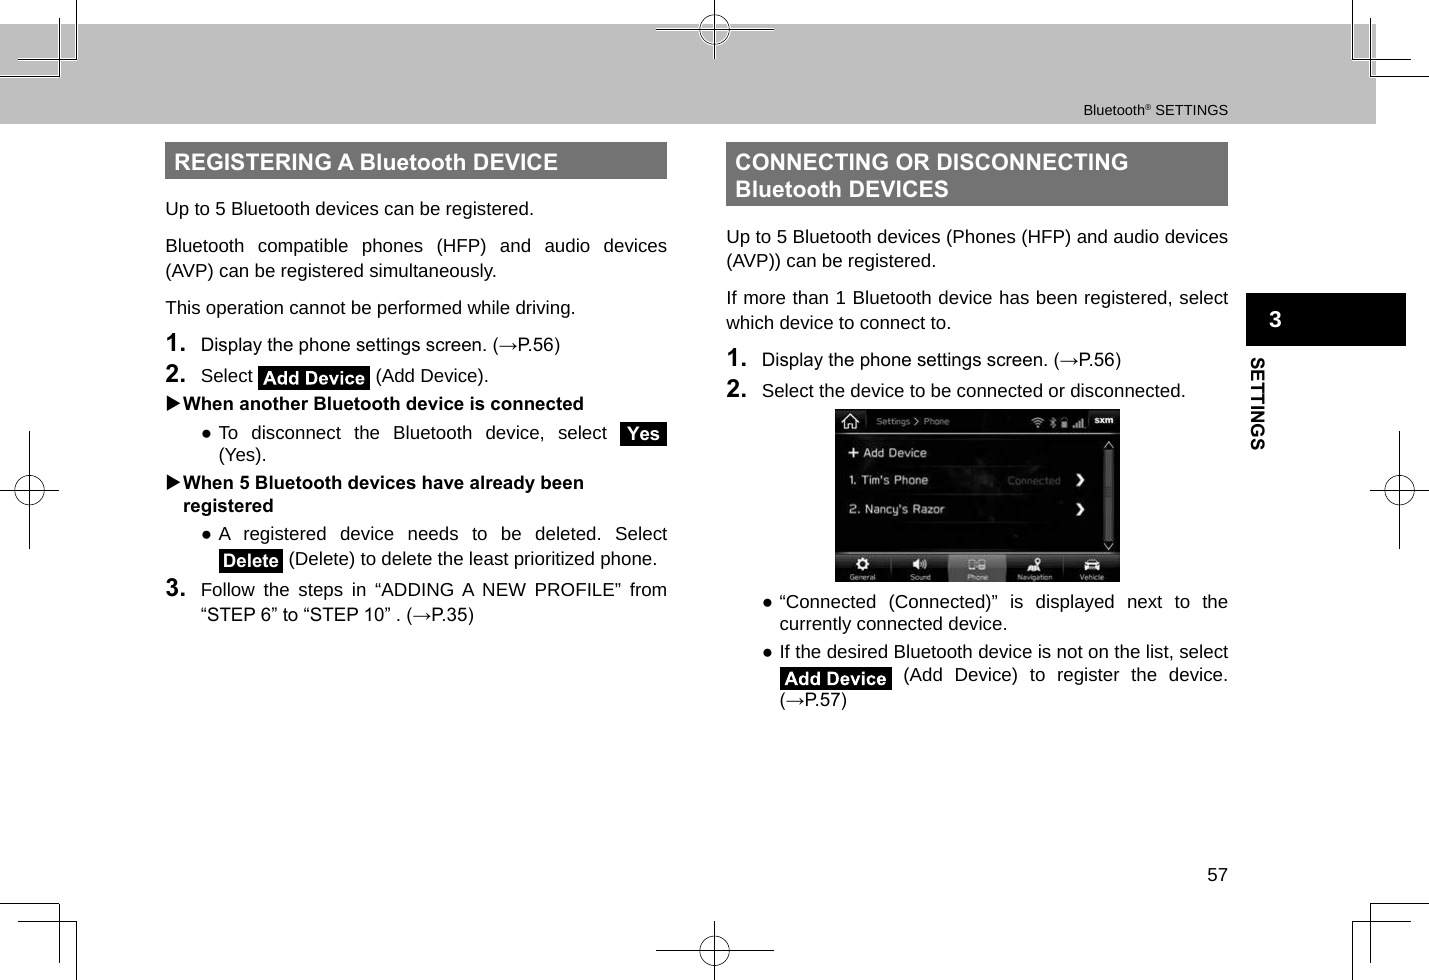
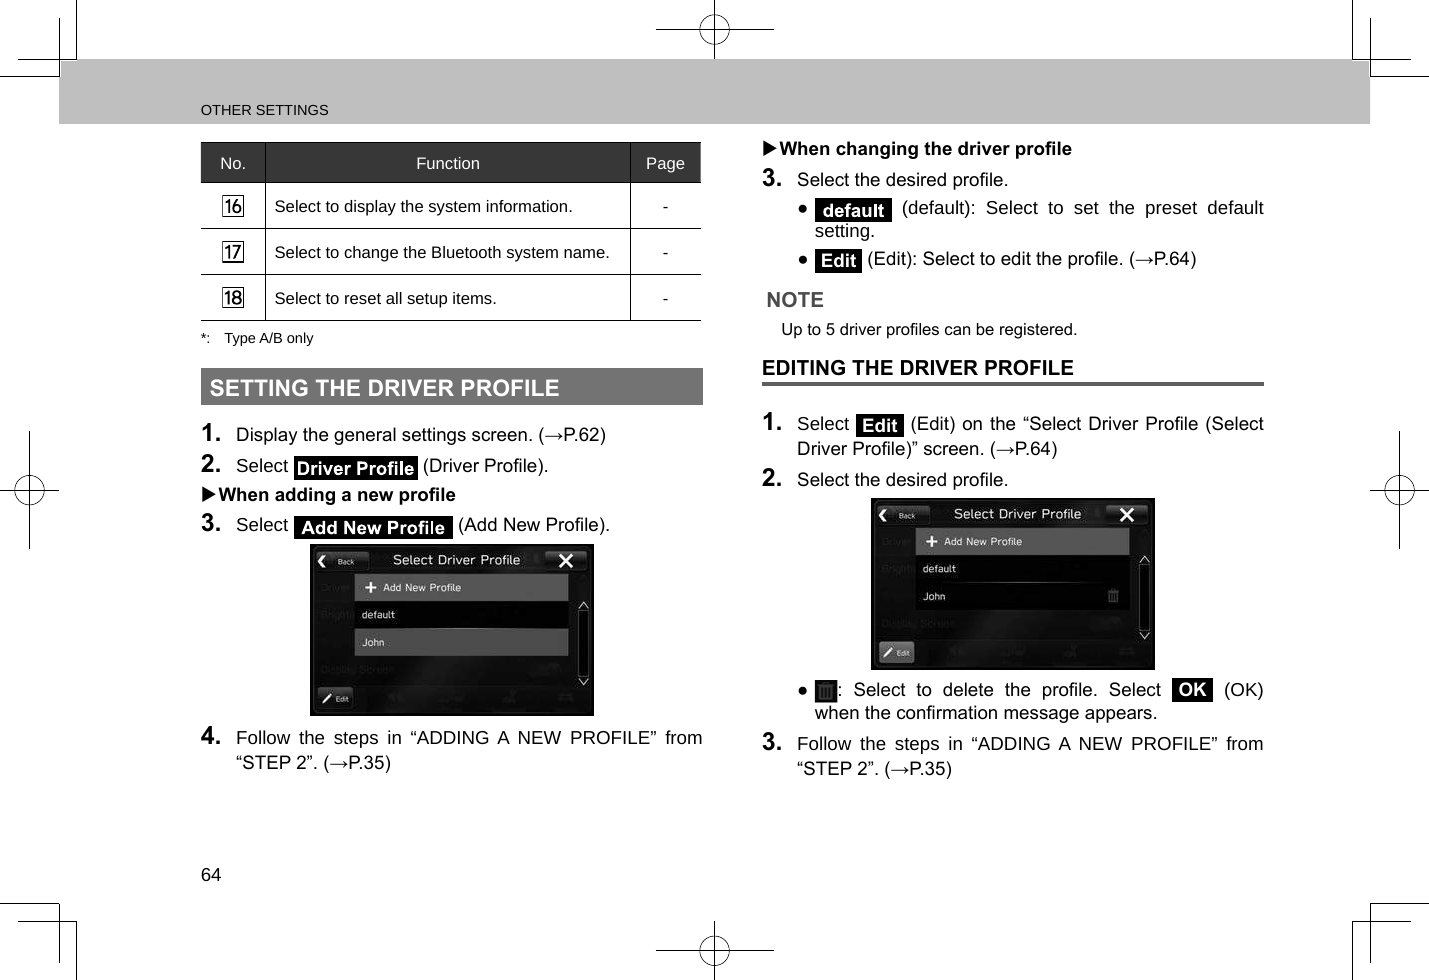
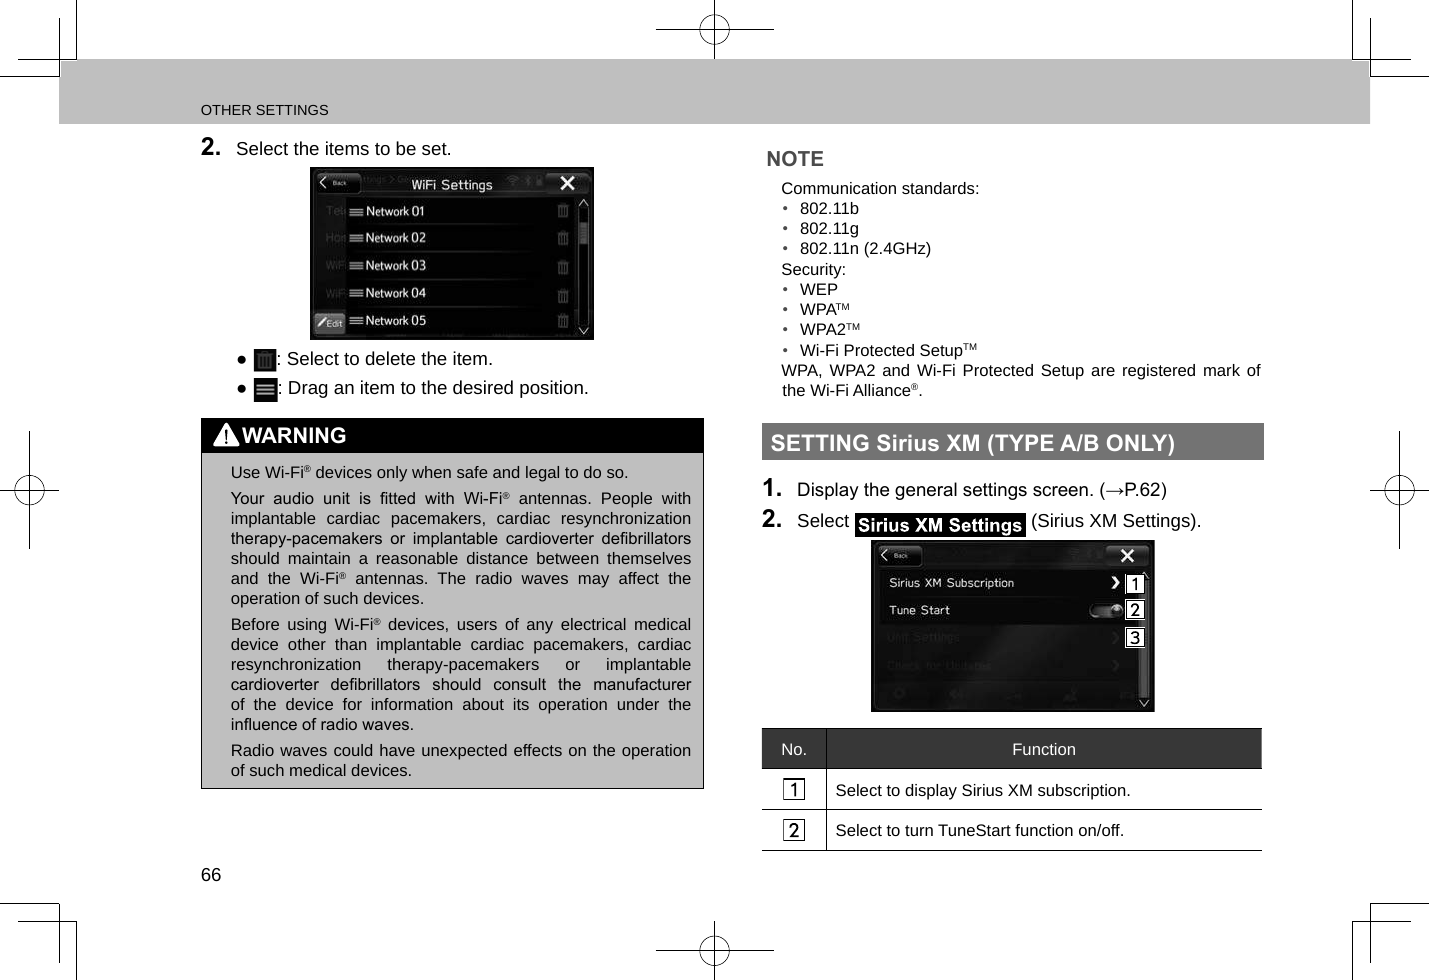
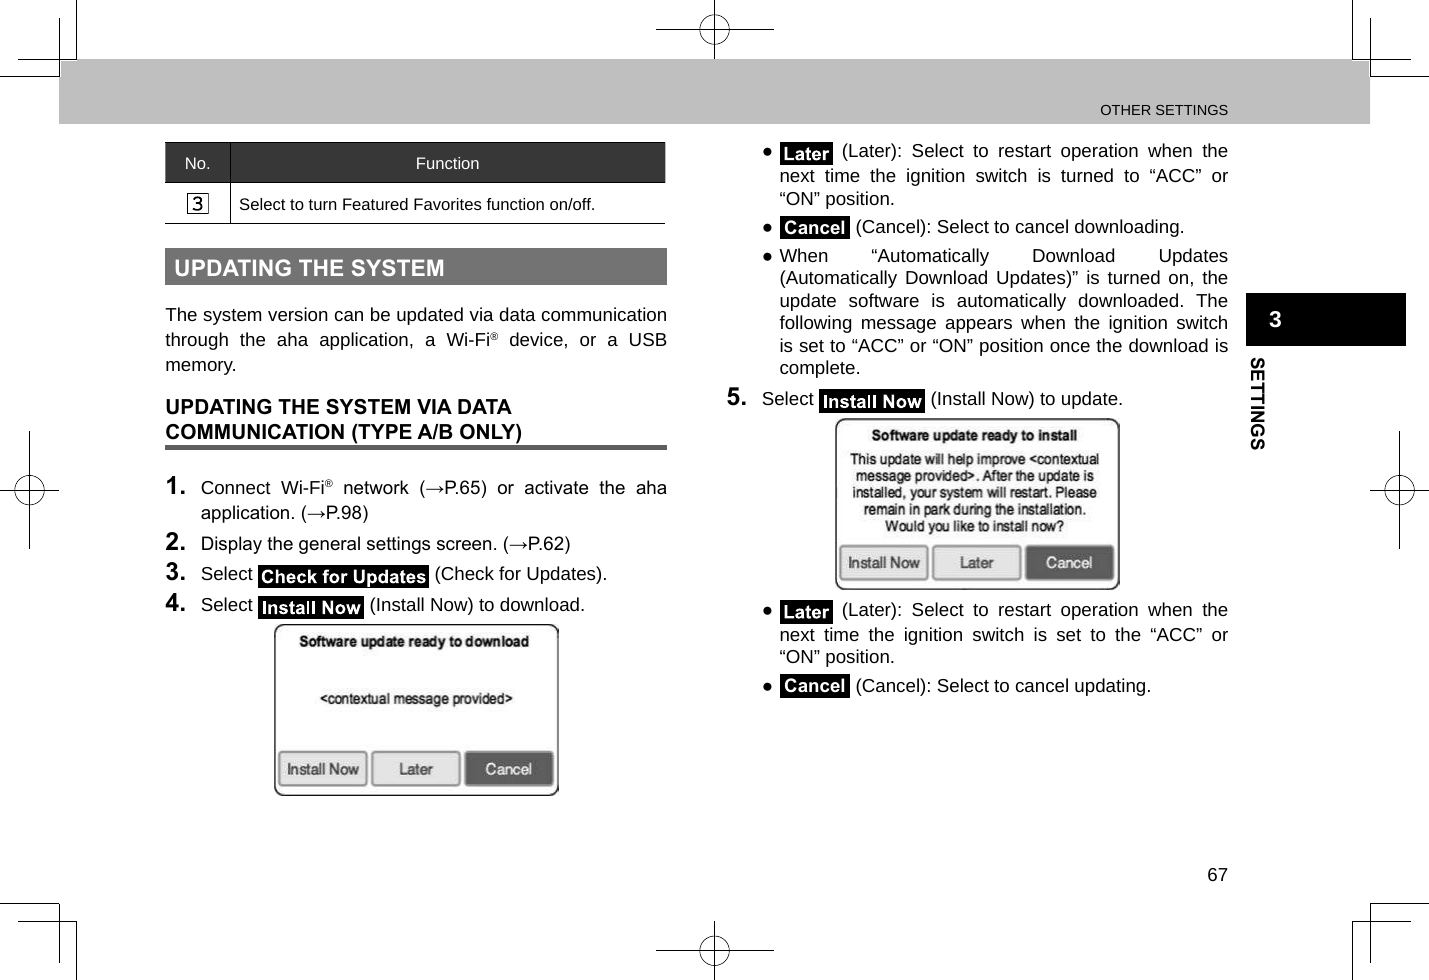
Harman >
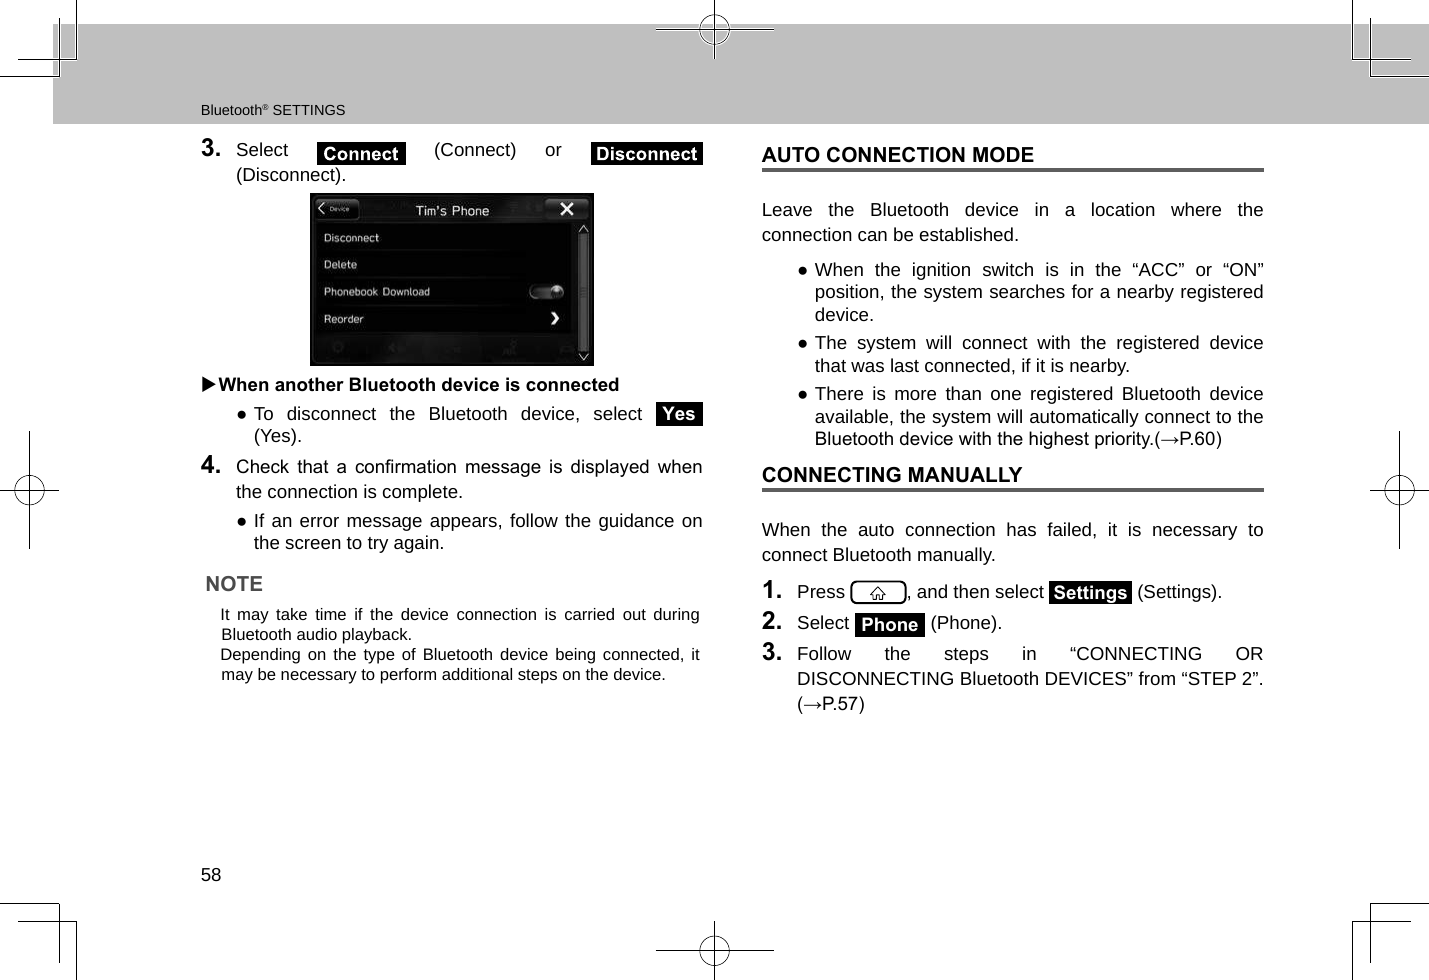
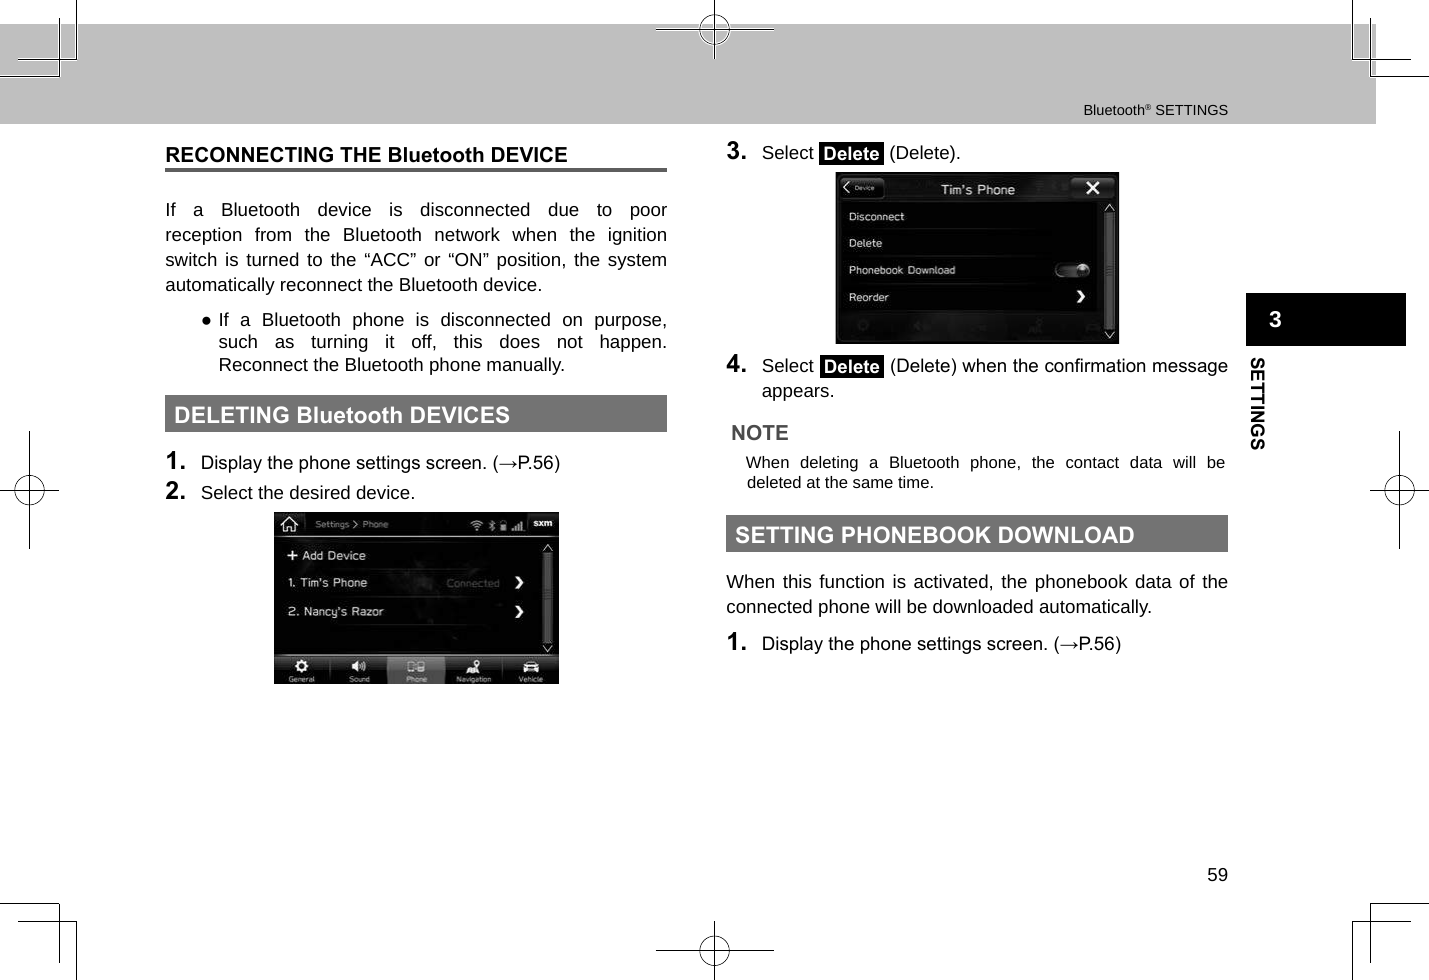
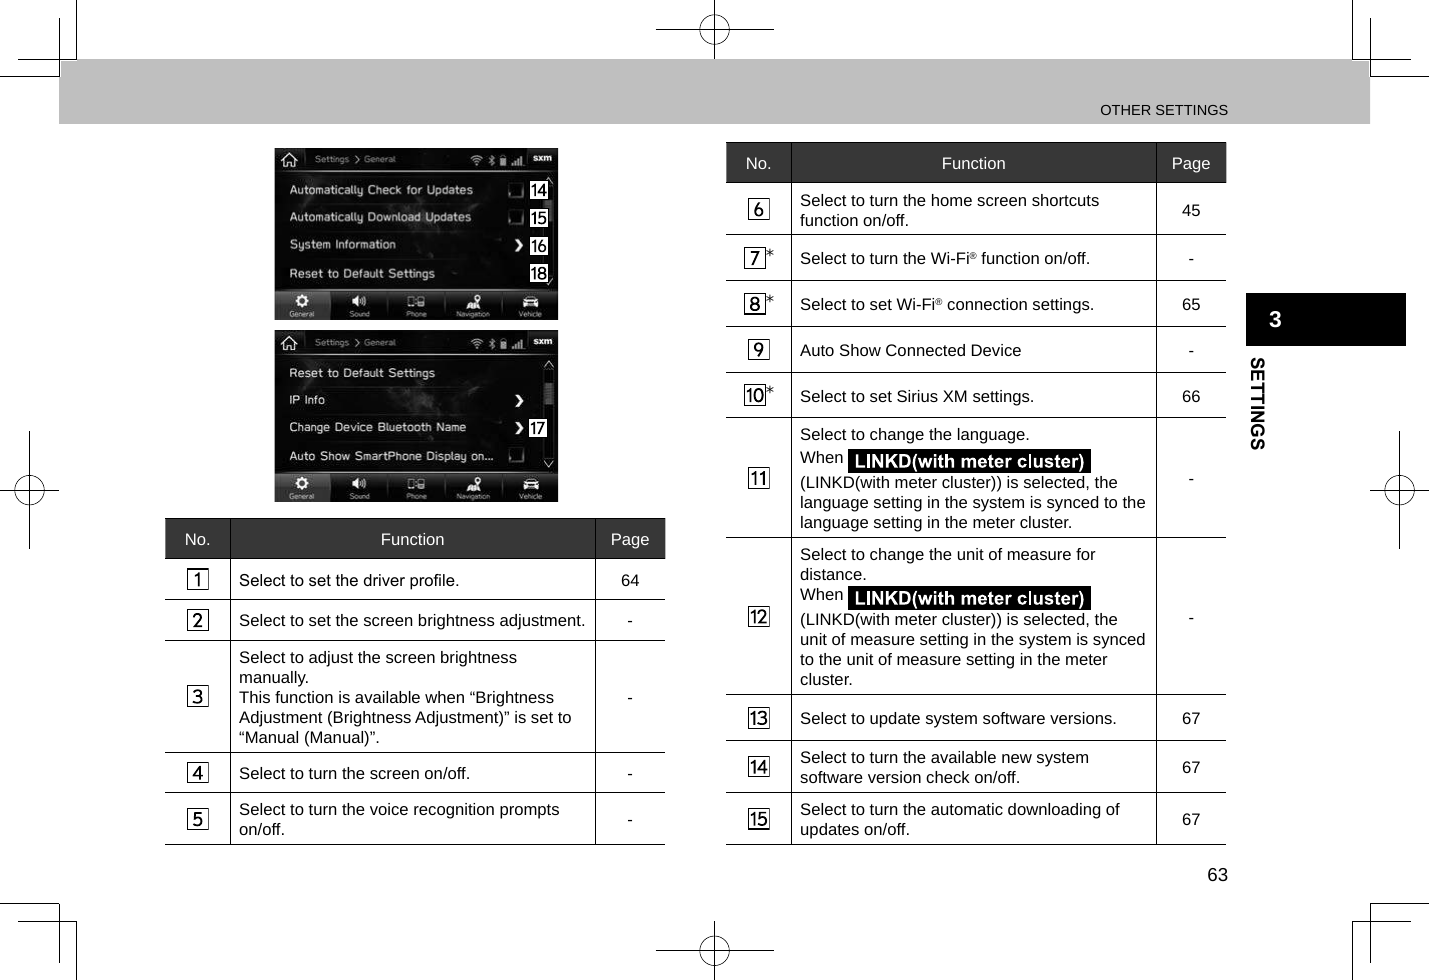
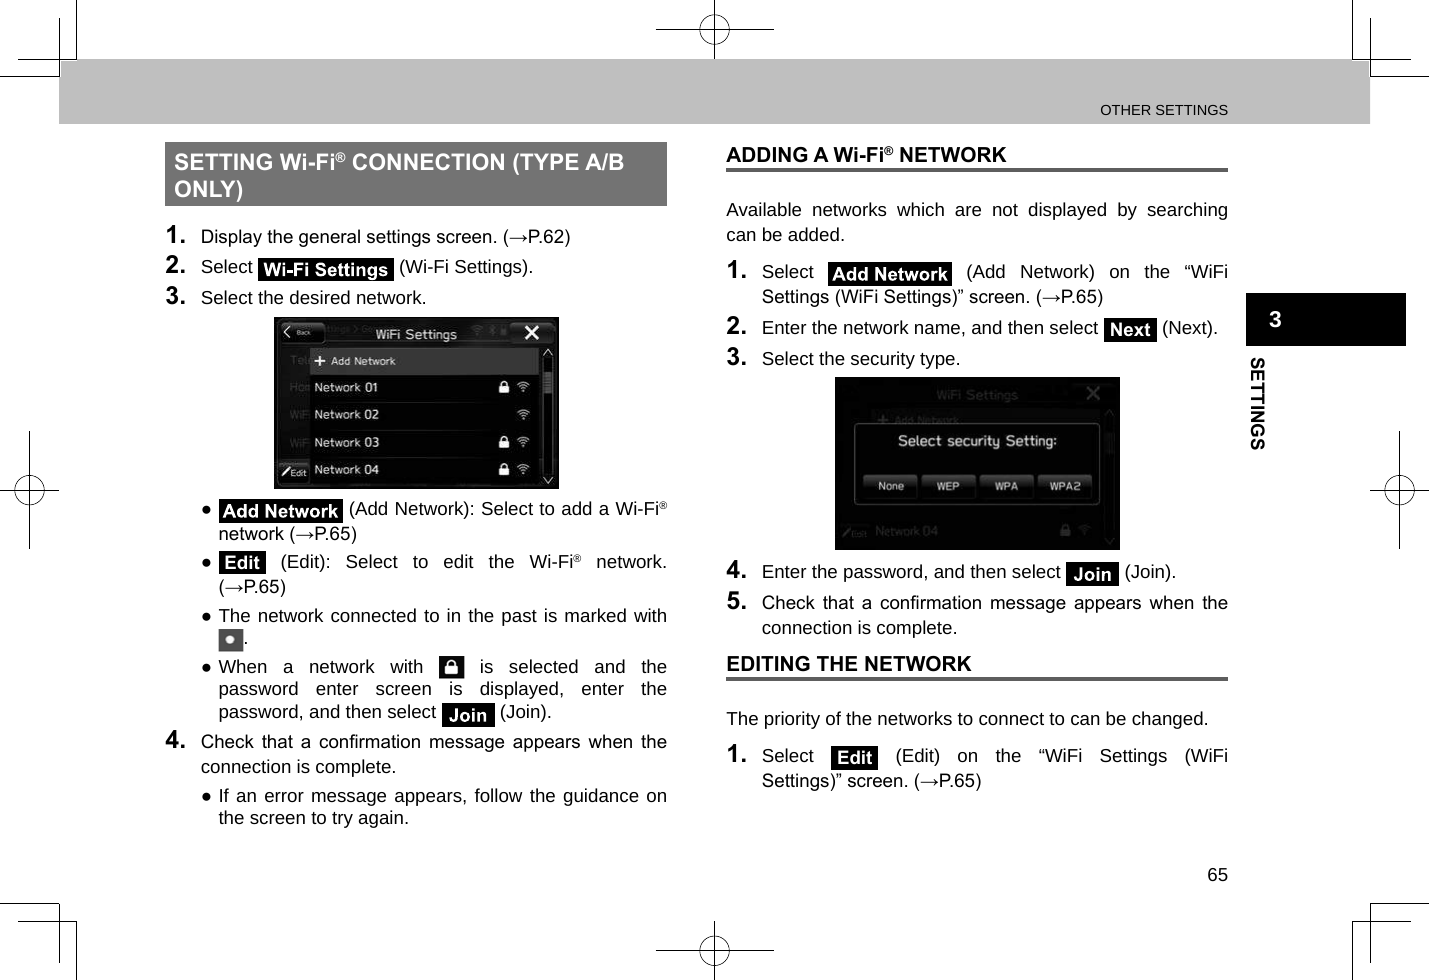
Contents
- 1. Users Manual_Regulation
- 2. User manual_Regulation
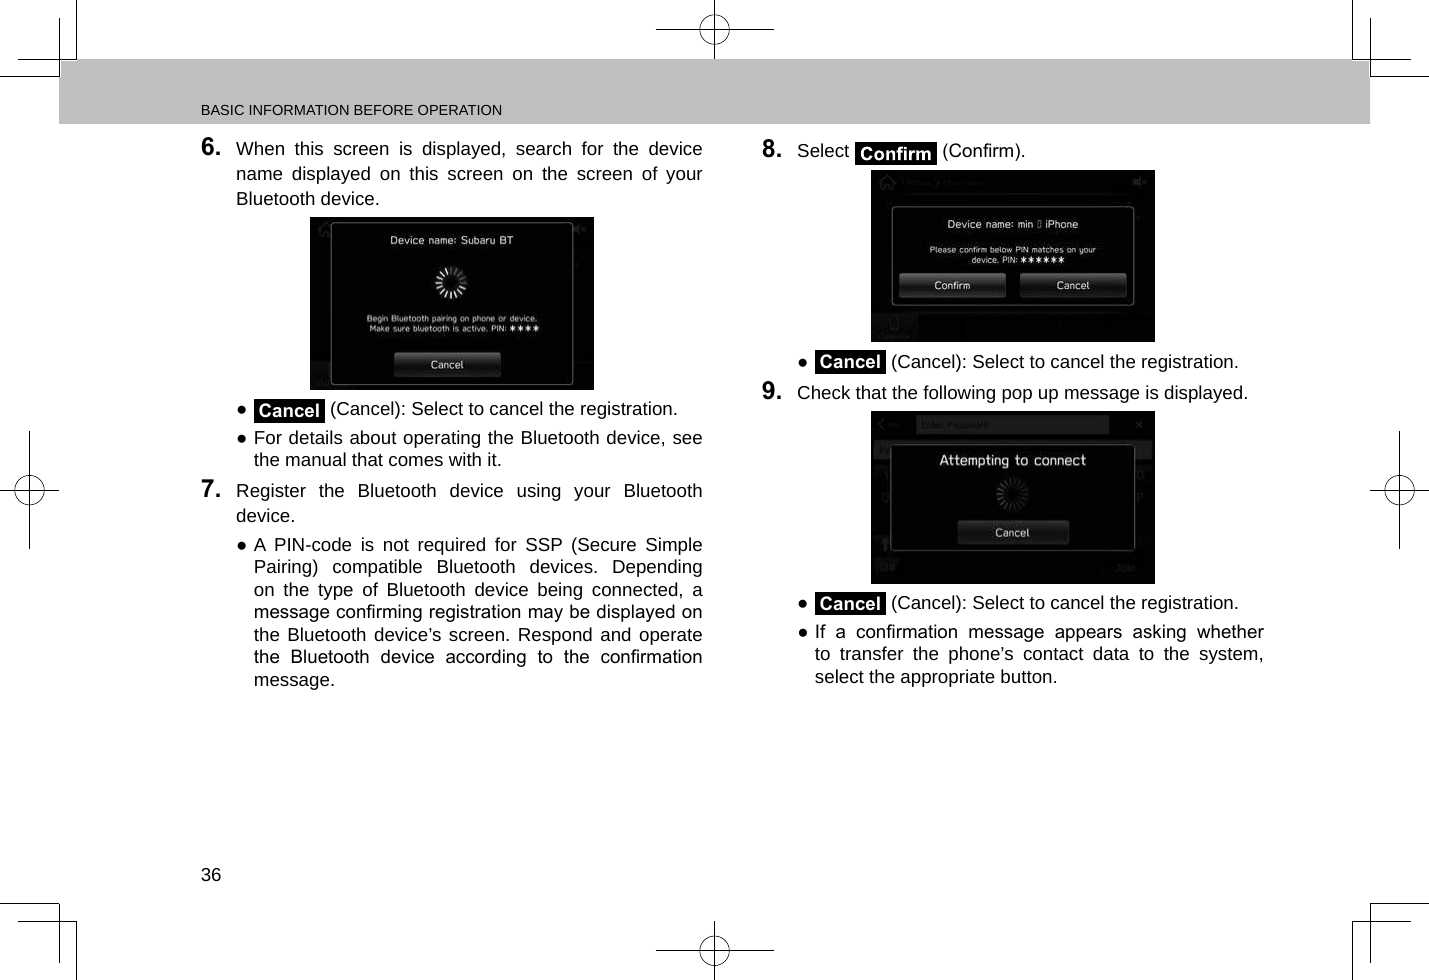
- 3. Users Manual_Part 1
- 4. Users Manual_Part 2
Users Manual_Part 1