Hasbro Far East HB001 Two Way Radio with FRS and Messaging User Manual id 75028 ChatNow Comm
Hasbro Far East Ltd. Two Way Radio with FRS and Messaging id 75028 ChatNow Comm
UserManual.wiki
>
Hasbro Far East
>
HB001 User Manual
User Manual
Navigation menu
Upload a User Manual
Namespaces
Wiki Guide
HTML
PDF
Info
Views
User Manual
Discussion / Help
Navigation
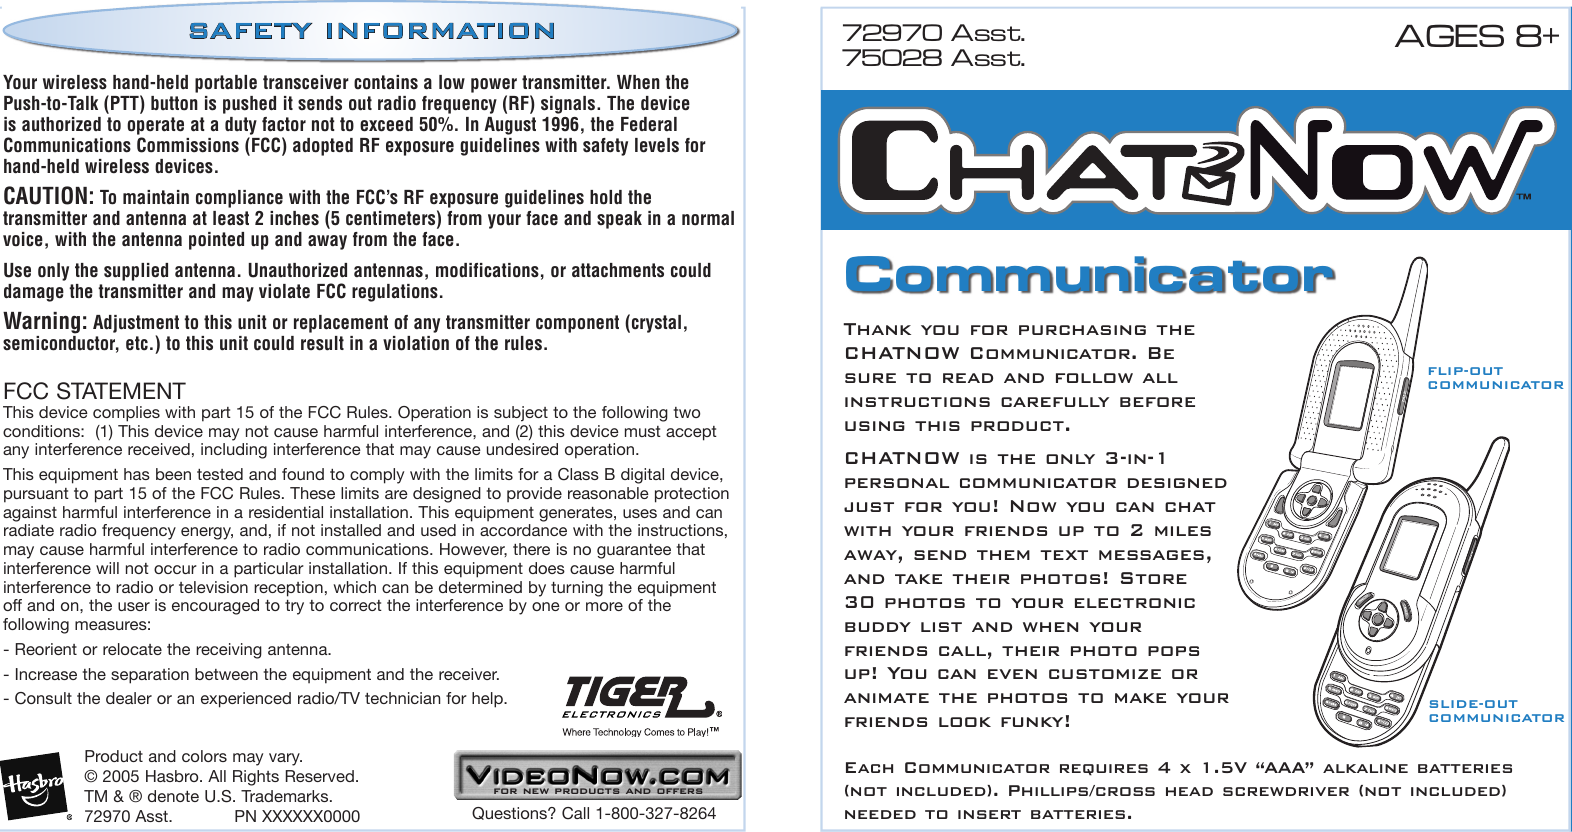
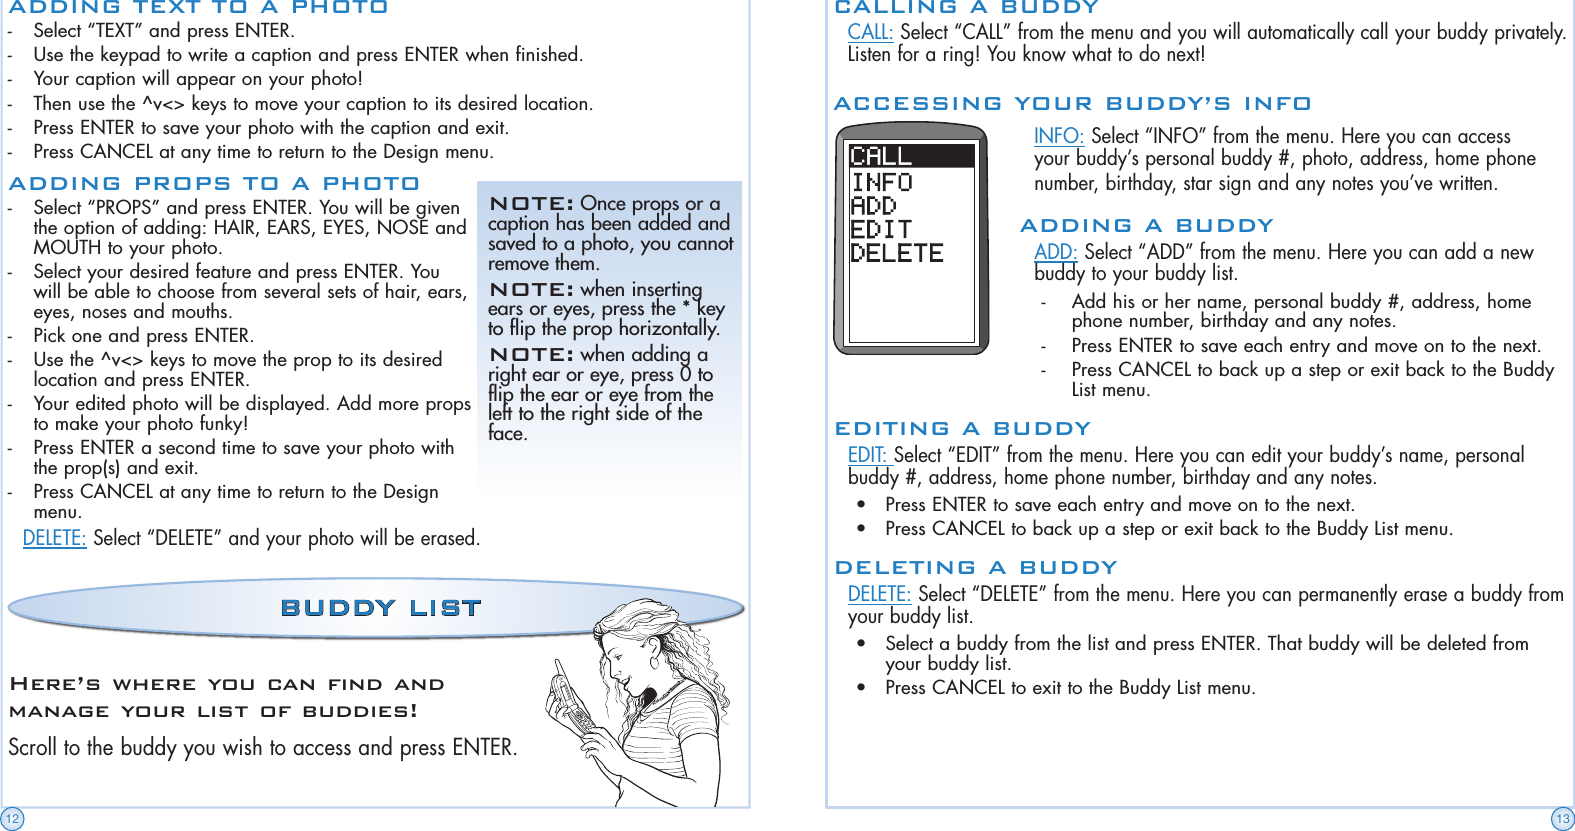
![FOR BEST USE:When using your CHATNOW Communicator to talk to your friends, hold it in a vertical position with the microphone 1 to 2 inches away from your mouth.Product Features & Control Keys ........Page 1Installing the Batteries..........................Page 2Low Battery Indicator ...........................Page 3Important Tips .......................................Page 4Personal Buddy #................................Page 4Selecting a Channel ............................Page 4Compatibility with other FRS 2-way radios ................................Page 4Chat Zone™ Communication Range ..Page 4Getting Started ......................................Page 5Turning On/Off.....................................Page 5Resetting .............................................Page 5Basic Navigation .................................Page 5Main Menu ..........................................Page 6Tips......................................................Page 6Chat Mode..............................................Page 6Selecting a Channel ............................Page 6How to Talk .........................................Page 6How To Listen......................................Page 6Call Mode ...............................................Page 7Calling a New Number ........................Page 7Calling a Buddy ...................................Page 7Text Messaging......................................Page 8How to use the keypad .......................Page 8Writing a new text message................Page 8Using a preset text message ..............Page 8Sending a text message .....................Page 8Saving a text message........................Page 8Editing a text message........................Page 8Viewing your Inbox..............................Page 9Viewing your Outbox...........................Page 9Viewing your Sent mail........................Page 9Inserting a Symbol ..............................Page 9Receiving a text message ...................Page 9Saving a received text message .........Page 10Deleting a text message......................Page 10Forwarding a text message.................Page 10TABLE OF CONTENTSReplying to a text message ................Page 10Digital Camera .......................................Page 10Taking a photo.....................................Page 10Saving a photo to your album.............Page 11Saving a photo to your buddy list.......Page 11Deleting a photo..................................Page 11Animating a photo ...............................Page 11Adding text to a photo ........................Page 12Adding props to a photo .....................Page 12Buddy List ..............................................Page 12Calling a buddy ...................................Page 13Accessing your buddy’s info ...............Page 13Adding a buddy...................................Page 13Editing a buddy ...................................Page 13Deleting a buddy .................................Page 13Personal Settings ..................................Page 14Setting your name ...............................Page 14Viewing your personal buddy #................................................Page 14Setting your birthday...........................Page 14Customized Settings.............................Page 15Selecting a Ring Tone .........................Page 15Selecting a Screen Saver ....................Page 15Selecting a Text Message Alert...........Page 15Controlling the Contrast ......................Page 15Setting the Time ..................................Page 16Setting the Date ..................................Page 16Checking the Battery Level .................Page 16Muting the Sound................................Page 16Volume Setting.......................................Page 16Accessories ...........................................Page 17Carry Case/Faceplates........................Page 17Earpiece ..............................................Page 17Troubleshooting Guide..........................Page 17Safety InformationFCC StatementProduct Features & Control KeysWRITE YOUR PERSONAL BUDDY # HERE: ___________________________________________________AntennaSpeakerKeypadCancelPush To Talk [PTT] ButtonLCD ScreenEnterReset Button Earpiece Jack (Earpiece sold separately.)Control Pad (Left, Right, Up, Down)Indicator LightOn/Off ButtonMicrophoneDigital CameraRelease1(slide-out communicator only.)](https://usermanual.wiki/Hasbro-Far-East/HB001/User-Guide-535772-Page-2.png)
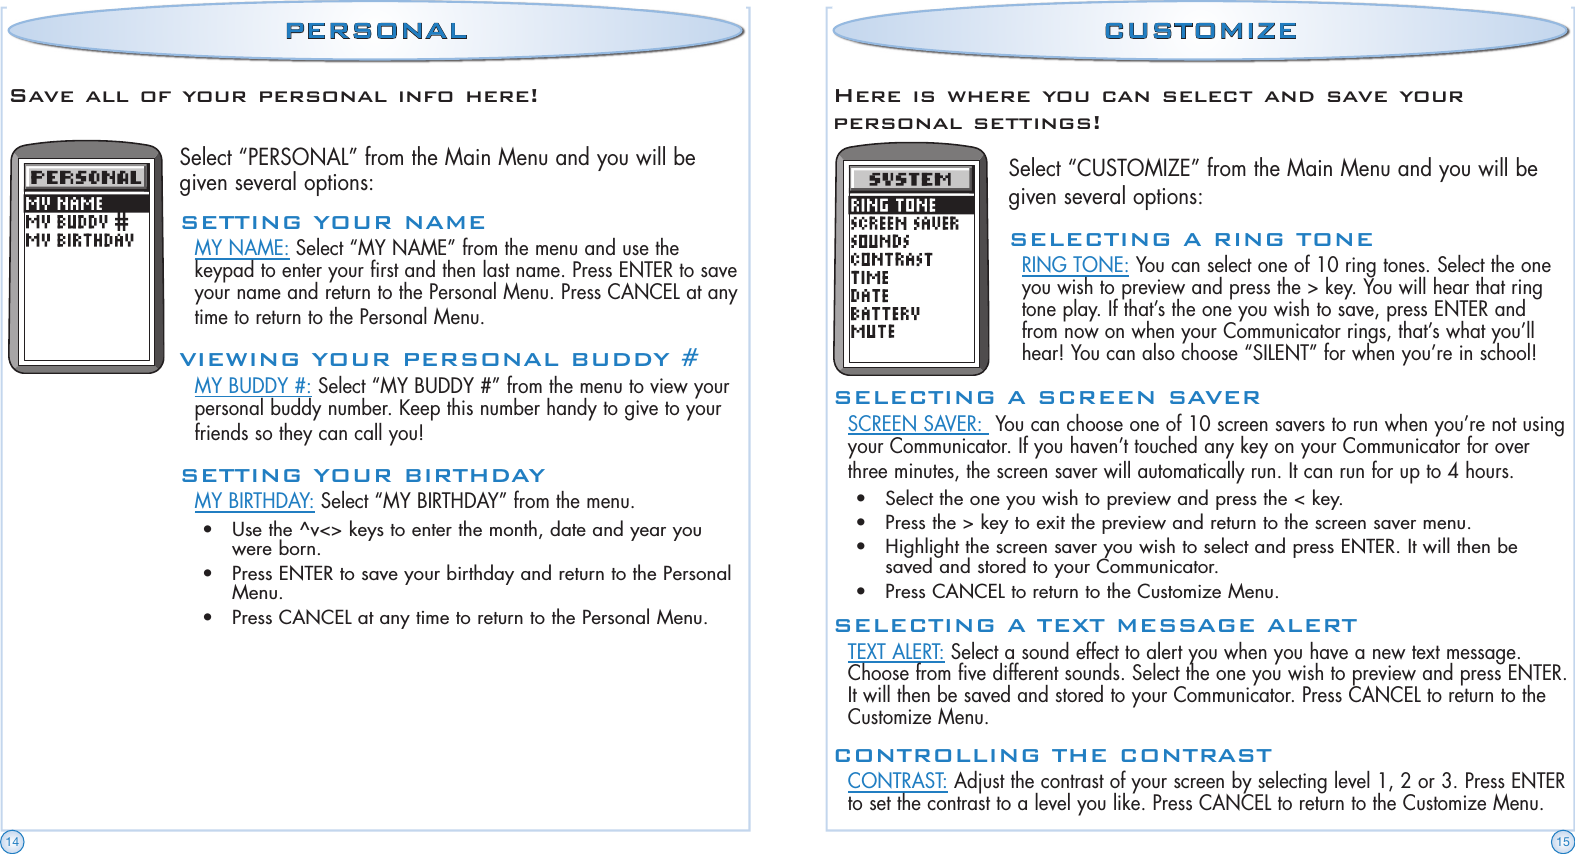
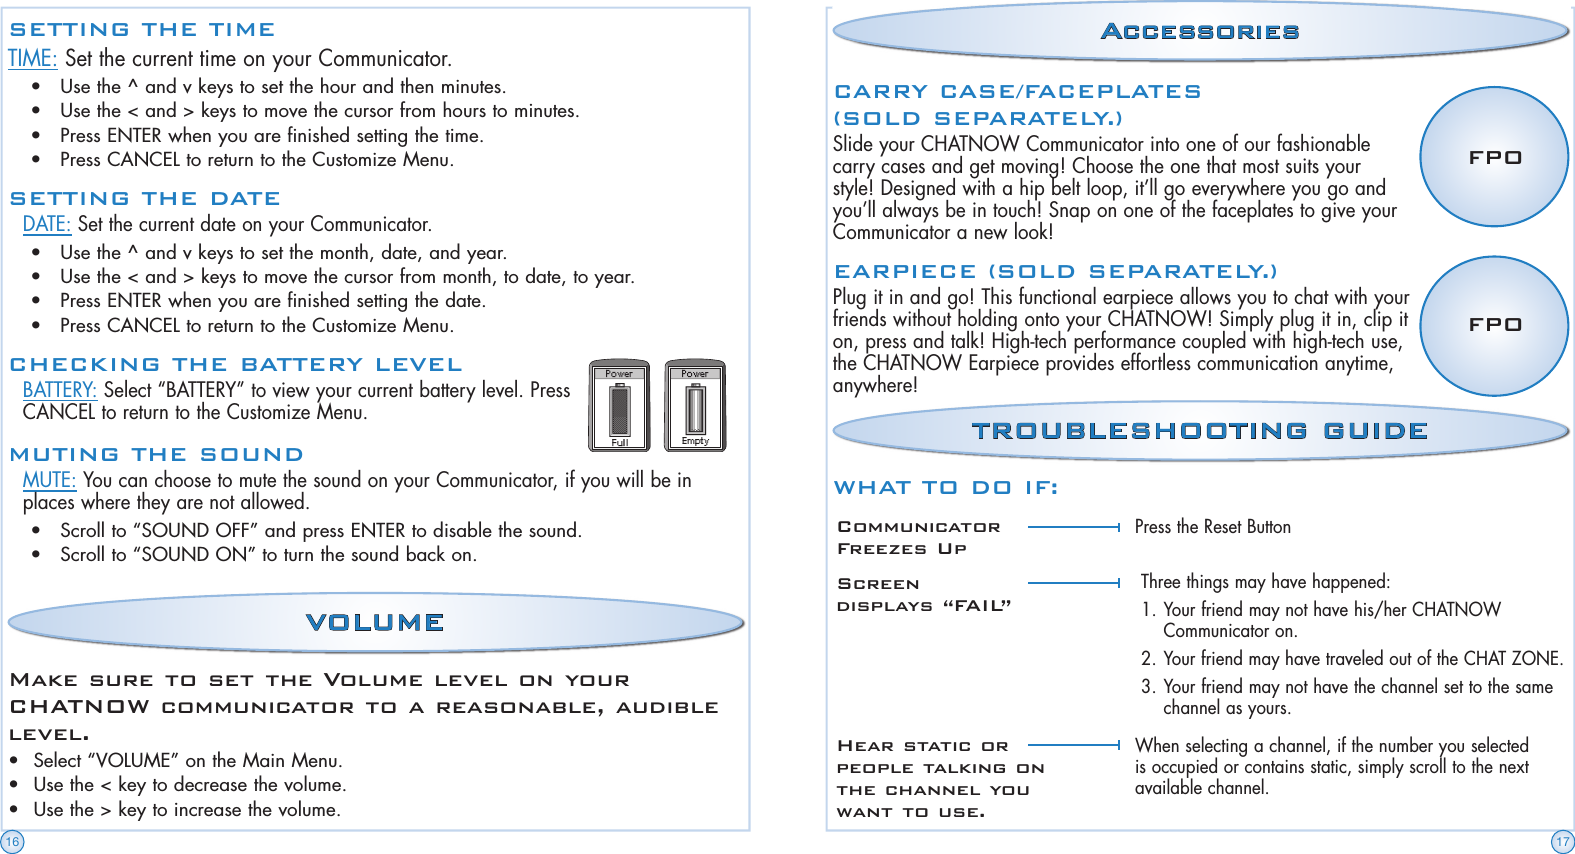
![PERSONAL BUDDY #Each CHATNOW Communicator has its own private, personal, 10-digit buddy ID number. To find out what yours is, scroll to “PERSONAL” in the Main Menu and then “MY BUDDY #”. Your personal buddy number will appear. Keep this handy and exchange your number with your friends so that you can receive calls and call friends directly.SELECTING A CHANNELYour CHATNOW Communicator has 14 channels. Everyone you’re communicating with has to be on the same channel. (So pick a number that you’ll remember!)COMPATIBILITY WITH OTHER FRS 2-WAY RADIOSYour CHATNOW Communicator may also be compatible with some other FRS [Family Band Radio Service] 2-way radios (walkie talkies) for Chat Mode only. To use your CHATNOW communicator with another FRS 2-way radio simply make sure both units are set to the same channel (1 –14).CHAT ZONE COMMUNICATION RANGEYour CHATNOW Communicator has a range of up to 2 miles. This is called the CHAT ZONE. This means you can chat, call, and text message your friends from up to 2 miles away based on an unobstructed line of sight, terrain and conditions. Make sure to stay within the CHAT ZONE so your calls and messages go through!IMPORTANT TIPS GETTING STARTEDEnter On/Off Button• Use the Control Pad [^v<> keys] to scroll to and select an item.• Press ENTER to confirm your selection.• Press CANCEL to exit from your selection.Control PadCancelRESETTING YOUR CHATNOW COMMUNICATORIn the event that your Communicator freezes up, press the Reset Button once to reset it. You will begin at the Main Menu.TURNING YOUR CHATNOW COMMUNICATOR ON AND OFF• Press the On/Off Button to turn the CHATNOW Communicator ON.• Press the On/Off Button to turn the CHATNOW Communicator OFF.BASIC NAVIGATIONRESET4 5FPO](https://usermanual.wiki/Hasbro-Far-East/HB001/User-Guide-535772-Page-4.png)
![SELECTING A CHANNEL / HOW TO TALK / HOW TO LISTEN1. Scroll to “CHAT” on the Main Menu and press ENTER.2. Select a channel by pressing the ^ or v keys and press ENTER.3. Press and hold the Push To Talk [PTT] button and start chatting!4. Release the [PTT] button to listen to what your friends are saying.5. Press CANCEL to exit your Chat and return to the Main Menu.TIP: Your group of friends must all be on the same channel in order to chat.CALLCHATBEFORE YOU BEGIN USING YOUR COMMUNICATOR, MAKE SURE TO FOLLOW THE TIPS BELOW.TIPSMAKE SURE:1. ALL THE COMMUNICATORS ARE TURNED ON.2. ALL THE COMMUNICATORS ARE ON THE SAME CHANNEL.3. EVERYONE IS WITHIN THE CHAT ZONE (2 MILE RANGE).NOTE: If the screen displays “FAIL” try again. Three things may have happened: 1– Your friend may not have his/her CHATNOW Communicator on.2– Your friend may have traveled out of the 2-mile range.3– Your friend may not have the channel set to the same channel as yours.6 7Start chatting with your friends! Use your CHATNOW Communicator like a walkie talkie!Main MenuCall one of your friends privately!1. Scroll to “CALL” on the Main Menu and press ENTER.2. Scroll to either “New Buddy?” if you wish to call a new buddy, or “Buddy List” to select an existing buddy from your buddy list.CALLING A NEW NUMBERNew Buddy: - Enter your buddy’s 10-digit personal buddy number and press ENTER. - The screen will display “Calling…” and then “Connecting…” - You will hear a ring. - Once connected, press and hold the [PTT] button and start talking!- Release the [PTT] button to listen to what your friends are saying.CALLING A BUDDYBuddy List: - Select a buddy and press ENTER. - The screen will display “Calling…” and then “Connecting…” - You will hear a ring. - Once connected, your buddy’s photo will pop up (if you have it saved). See Page 13 for how to save a buddy’s # to your buddy list.- Press and hold the [PTT] button and start talking! - Release the [PTT] button to listen to what your friends are saying.](https://usermanual.wiki/Hasbro-Far-East/HB001/User-Guide-535772-Page-5.png)
![ANIMATION SETUP: After you have assigned a photo to a buddy you have the option to animate that photo. This will make your buddy look like he or she is talking to you! - Select “YES” to make your friend look funky or “NO” to leave the photo as is. - A cursor will appear on the photo [ + ], as shown. - Use the ^v<> keys to move the cursor to the area of your buddy’s face that the prompt at the bottom of the screen is telling you (ex. left eye: right, or mouth: left). - Press ENTER when you’ve finished and watch the animation!- Now every time your buddy calls you, that photo will pop up and animate while your buddy is talking! - Press CANCEL to exit.DESIGN: Design mode lets you add text and props to your photos! SAVING A RECEIVED TEXT MESSAGESAVE: To save your message, select “SAVE” and press ENTER. Your message will be saved to your inbox.DELETING A TEXT MESSAGEDELETE: To delete your message, select “DELETE” and you will be asked “R U SURE?” Press ENTER and your message will be deleted, or CANCEL to exit.FORWARDING A TEXT MESSAGESEND ON: To forward your message to one of your friends, select “SEND ON” and your buddy list will appear. Select the buddy you wish to forward your message to and press ENTER.REPLYING TO A TEXT MESSAGEREPLY: To reply to your buddy’s message, select “REPLY” and using the keypad, enter a message. Select “SEND” and your message will be sent to your buddy.DIGITAL CAMERATake pictures of your friends and store them to your buddy list or album! Watch your friend’s photo appear when he or she is calling. You can even animate the photo to make it look like your friend’s talking to you!Select “PHOTO” from the Main Menu. Then choose either “SHOOT” or “ALBUM” and press ENTER.TAKING A PHOTOSelect “SHOOT” to take a photo.SHOOT: Use the screen to view your friend. Make sure your friend’s head is within the frame of your screen. Press ENTER and check out your photo!10 11Press ENTER again and now you can save your photo to your ALBUM, BUDDY LIST or DELETE it.SAVING A PHOTO TO YOUR ALBUMALBUM: Select “ALBUM” to save your photo to your personal photo album. You can always pull a photo out of the album and save it to your buddy list later.SAVING A PHOTO TO YOUR BUDDY LISTBUDDY LIST: Select “BUDDY LIST” to assign a photo to one of your buddy’s numbers. Select the appropriate buddy from the buddy list and press ENTER. Now when your buddy calls you, his or her photo will pop up!DELETING A PHOTODELETE: Erase a photo. Be careful! Once you do this it’s gone forever!ALBUM: Use the < and > keys to scroll through your saved photos. Select a photo by pressing ENTER. You will be given three options: “2 BUDDY,” “DESIGN” or “DELETE.”2 BUDDY: Select “2 BUDDY” and press ENTER. Scroll to a buddy and press ENTER to assign that photo. When this buddy calls you, his or her photo will pop up! ANIMATING A PHOTO](https://usermanual.wiki/Hasbro-Far-East/HB001/User-Guide-535772-Page-7.png)