Hawking Technologies HWU54DM Wireless-G USB Adapter User Manual HWU54DM manual
Hawking Technologies, Inc. Wireless-G USB Adapter HWU54DM manual
UserManual.wiki
>
Hawking Technologies
>
HWU54DM User Manual
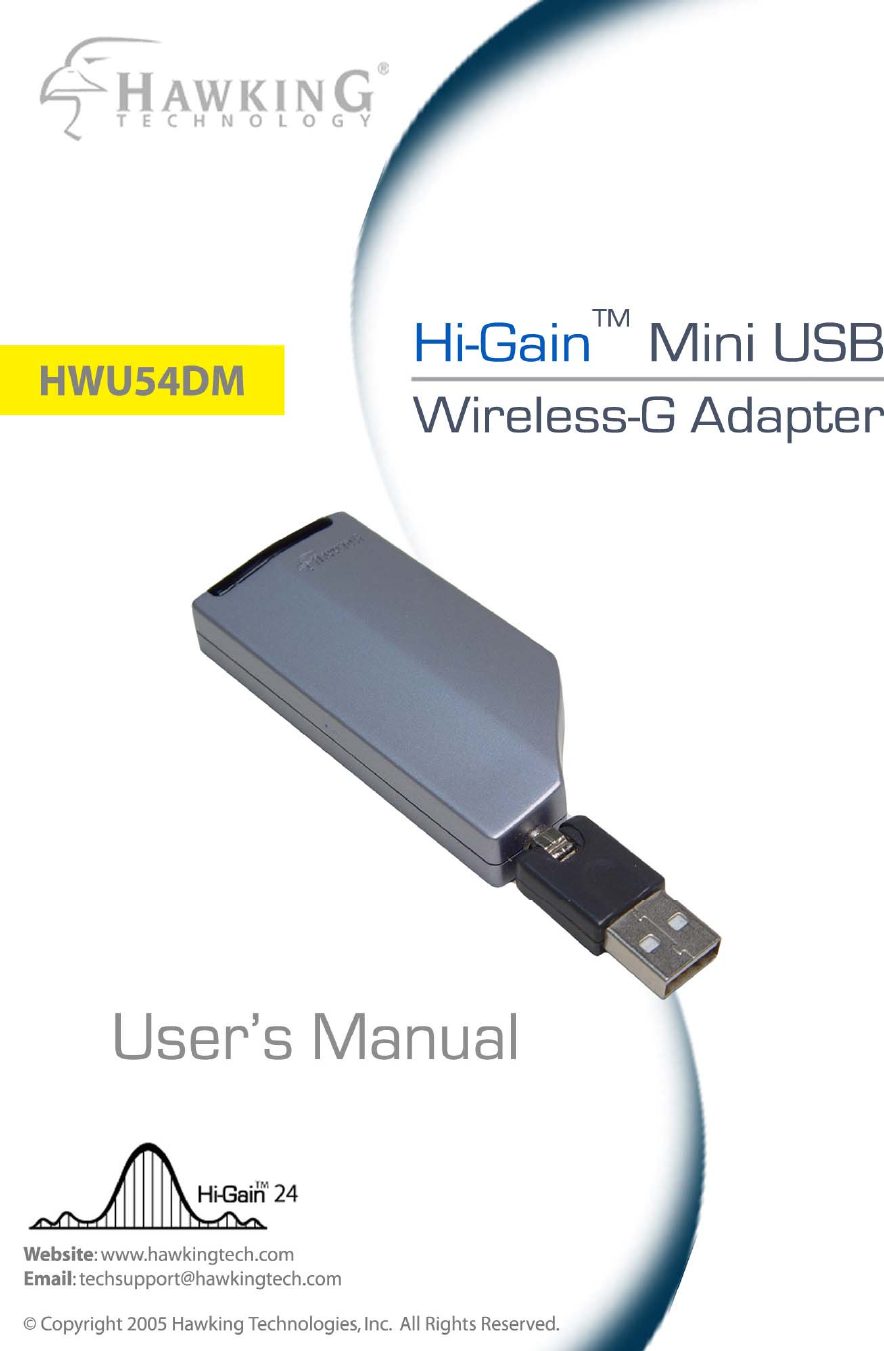
Users Manual
Navigation menu
Upload a User Manual
Namespaces
Wiki Guide
HTML
PDF
Info
Views
User Manual
Discussion / Help
Navigation
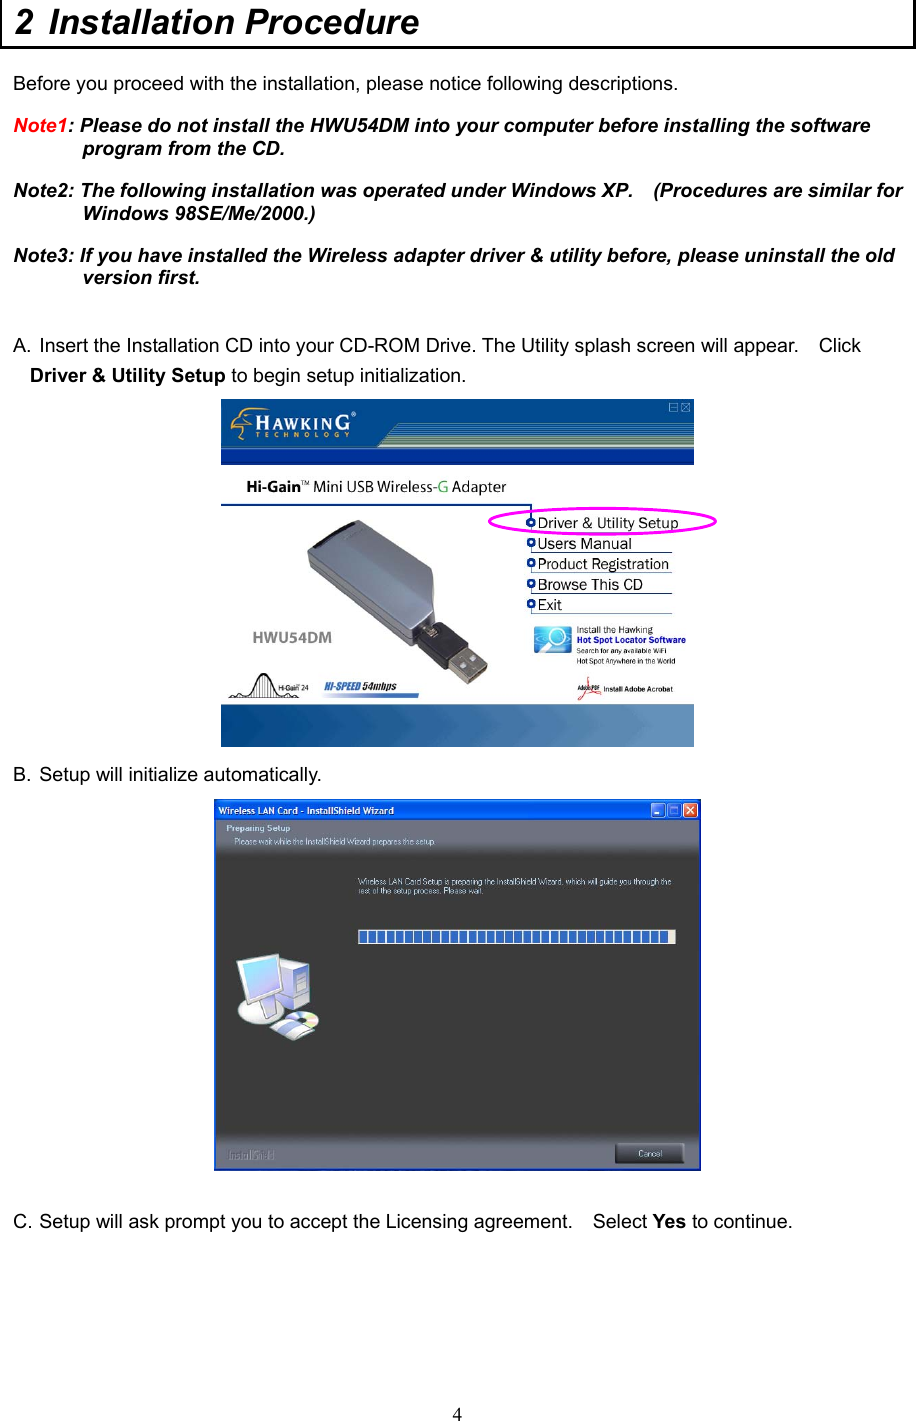

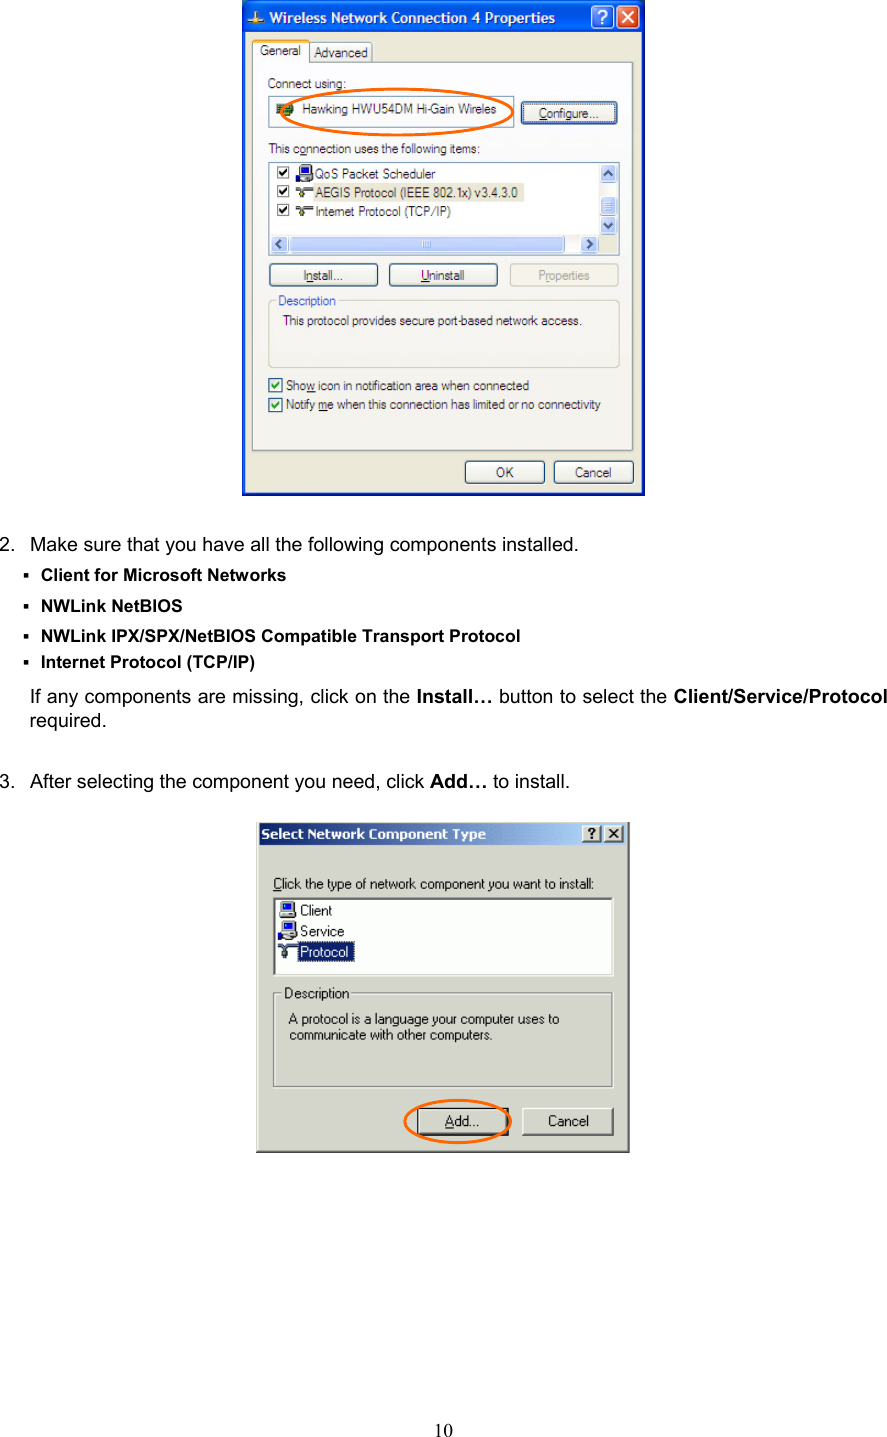
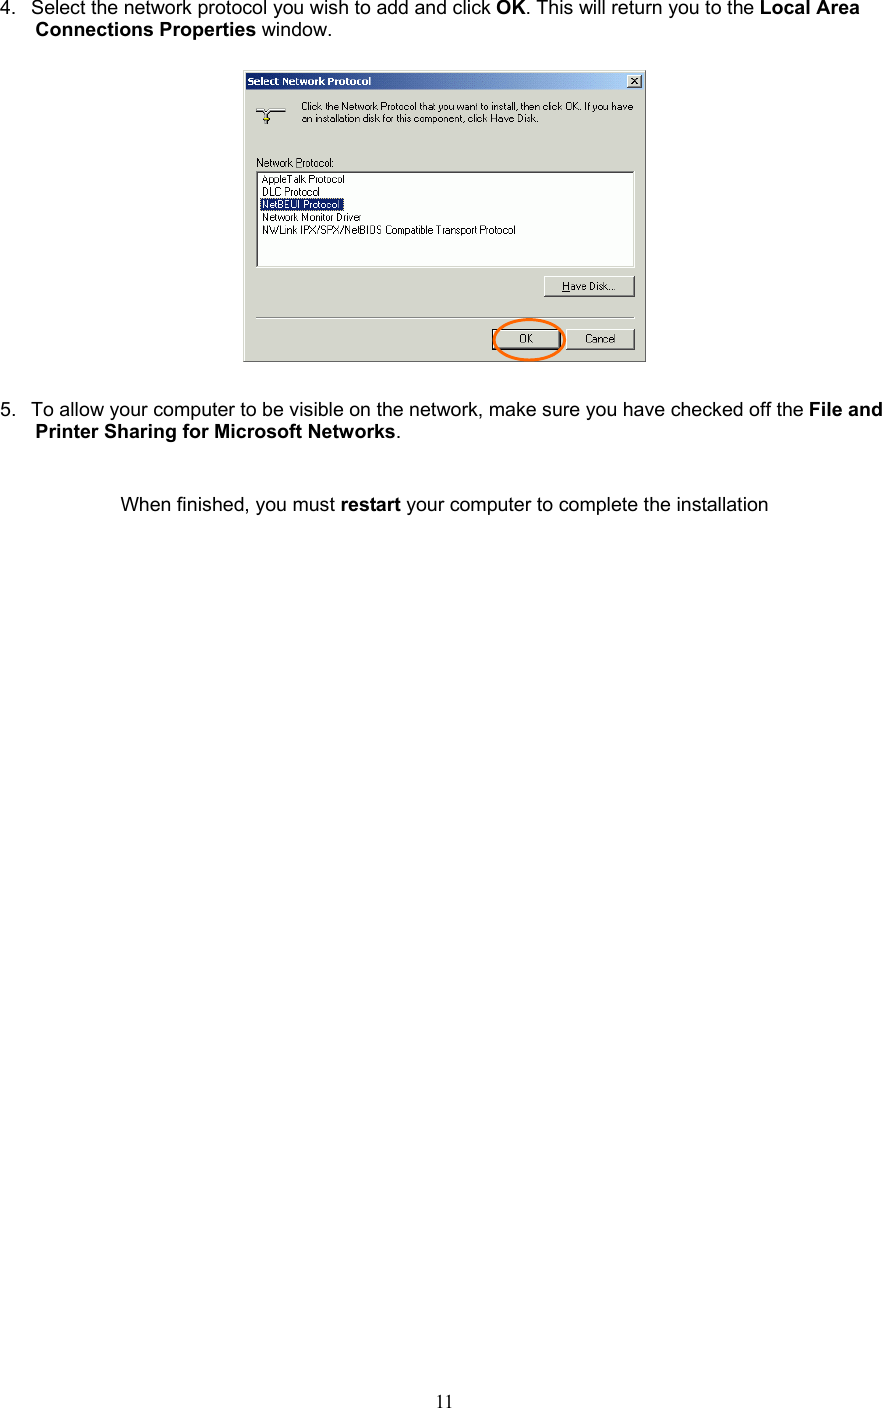
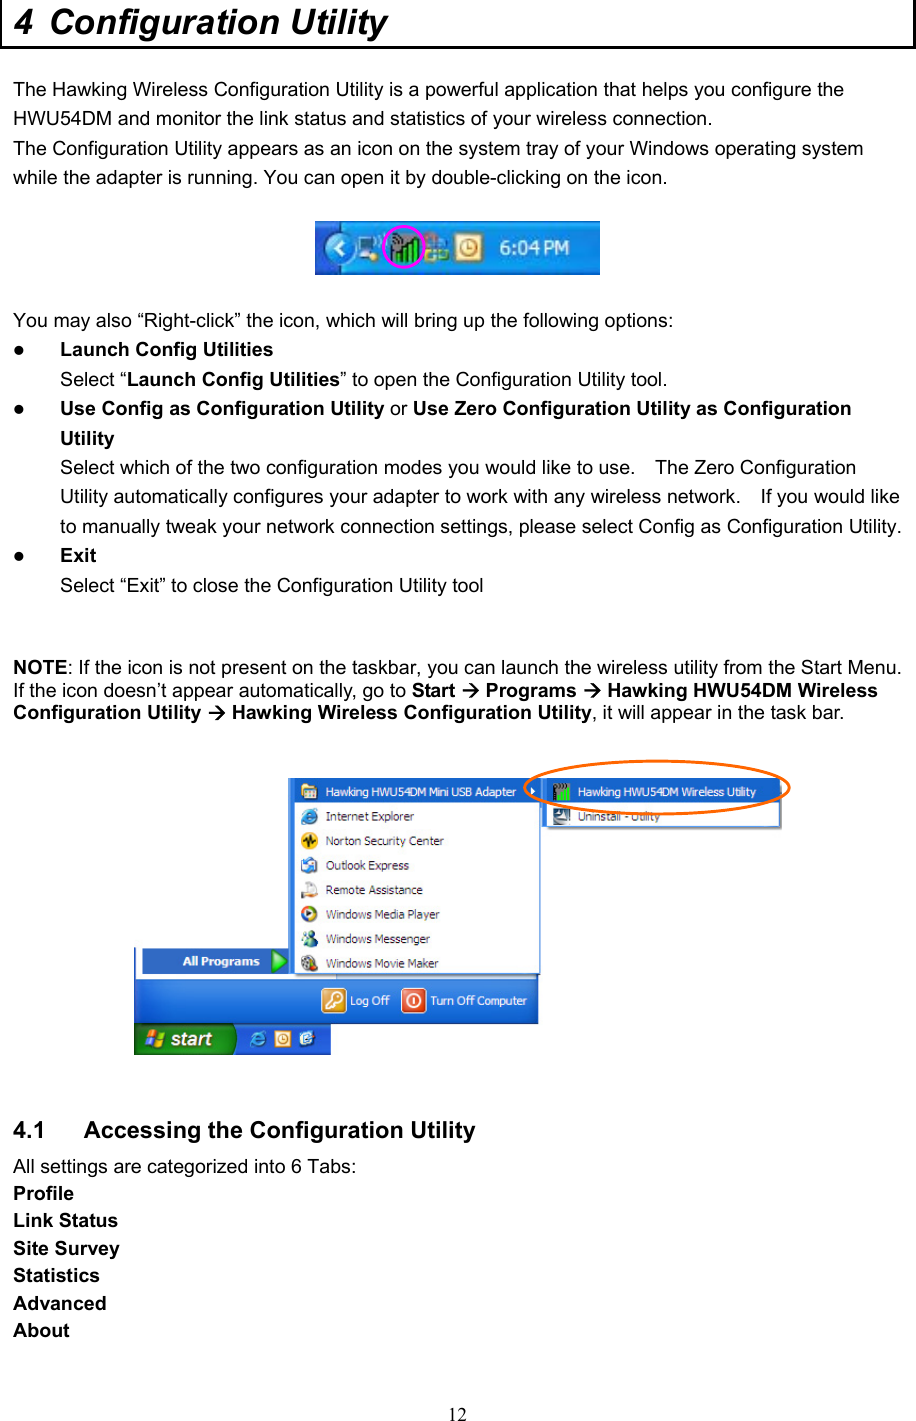
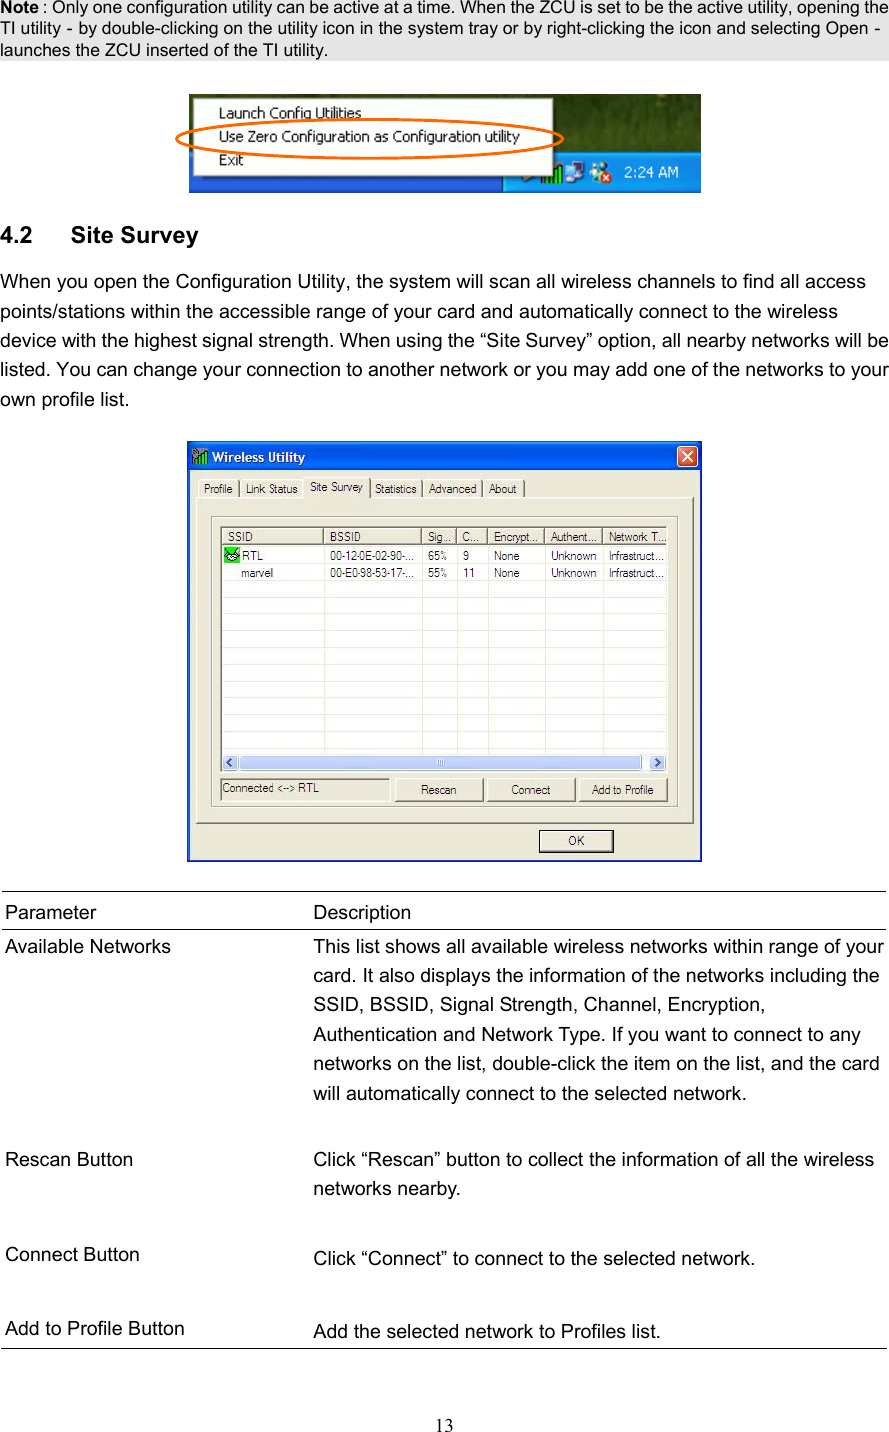
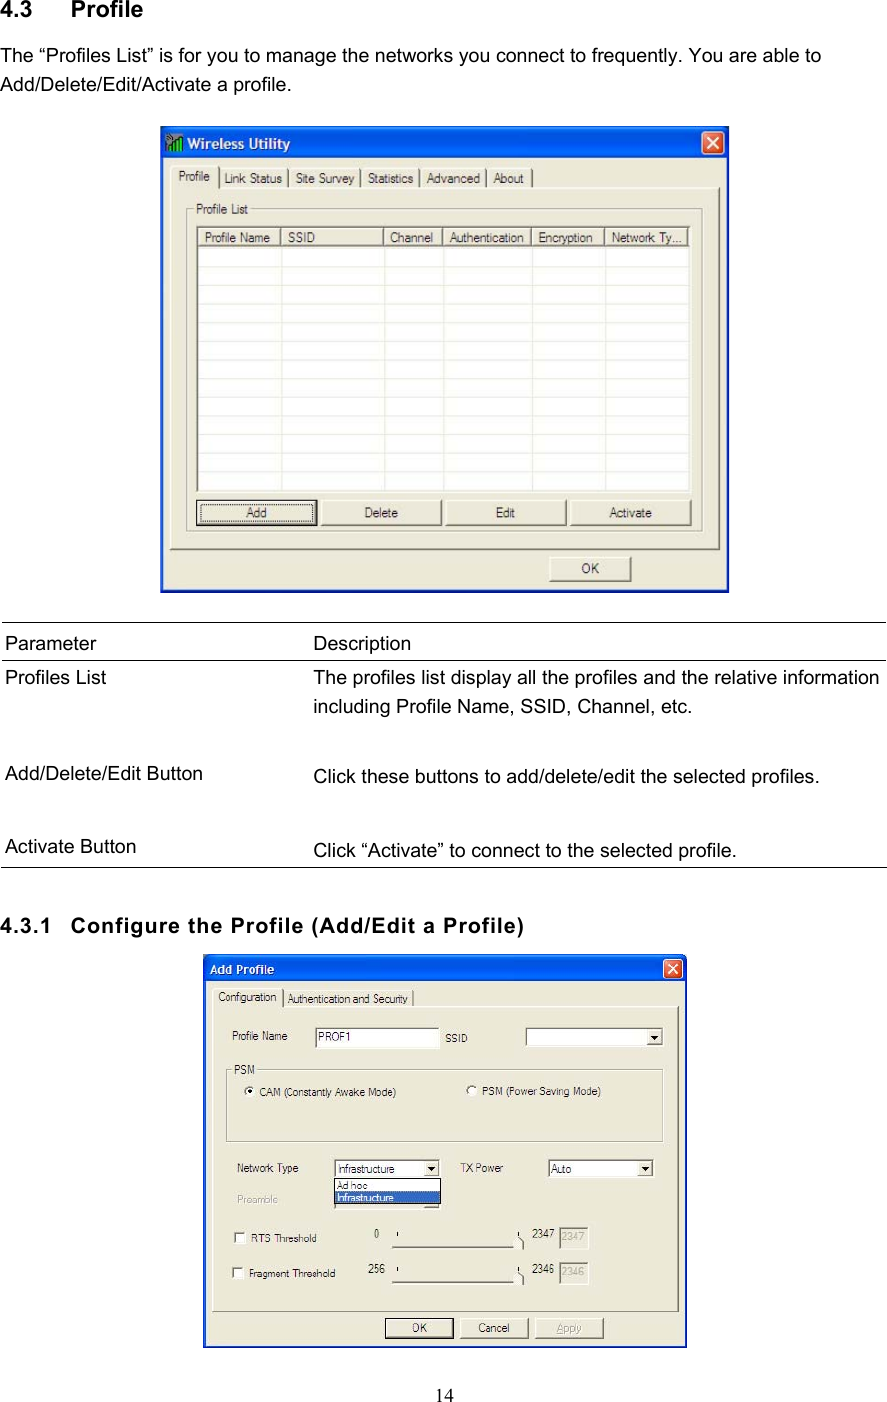
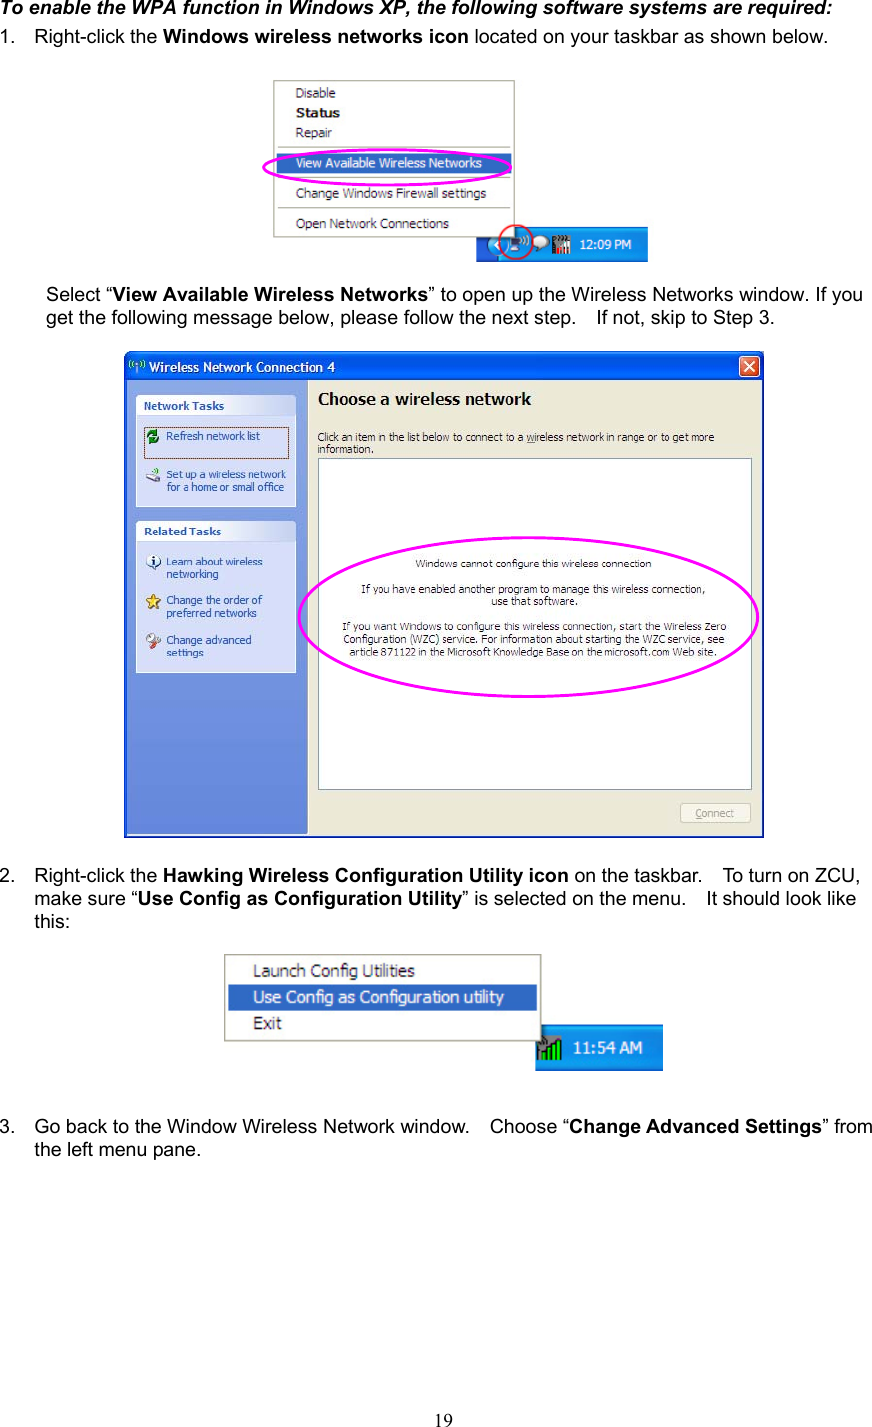
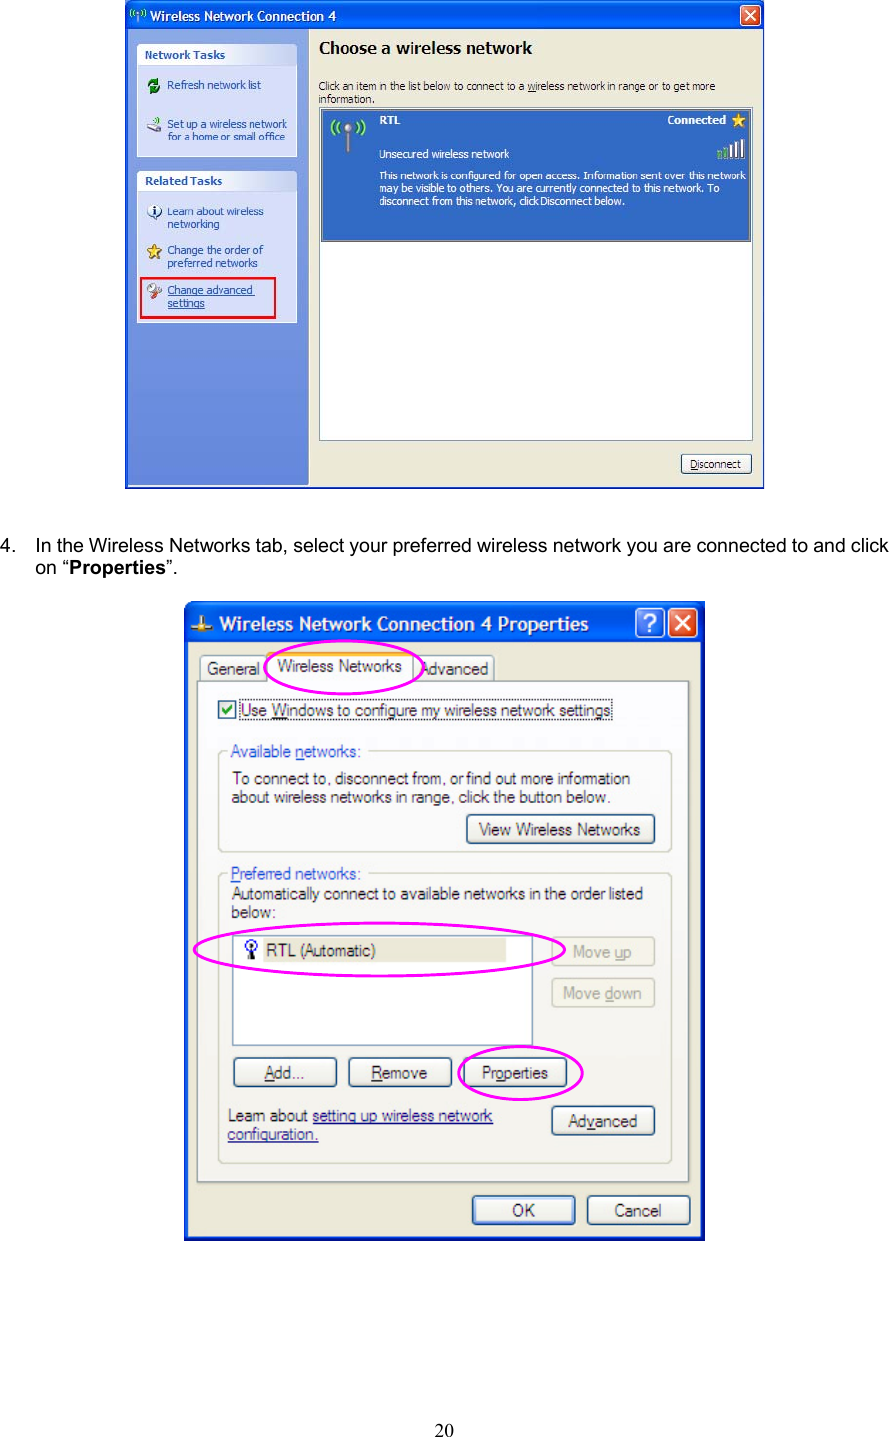
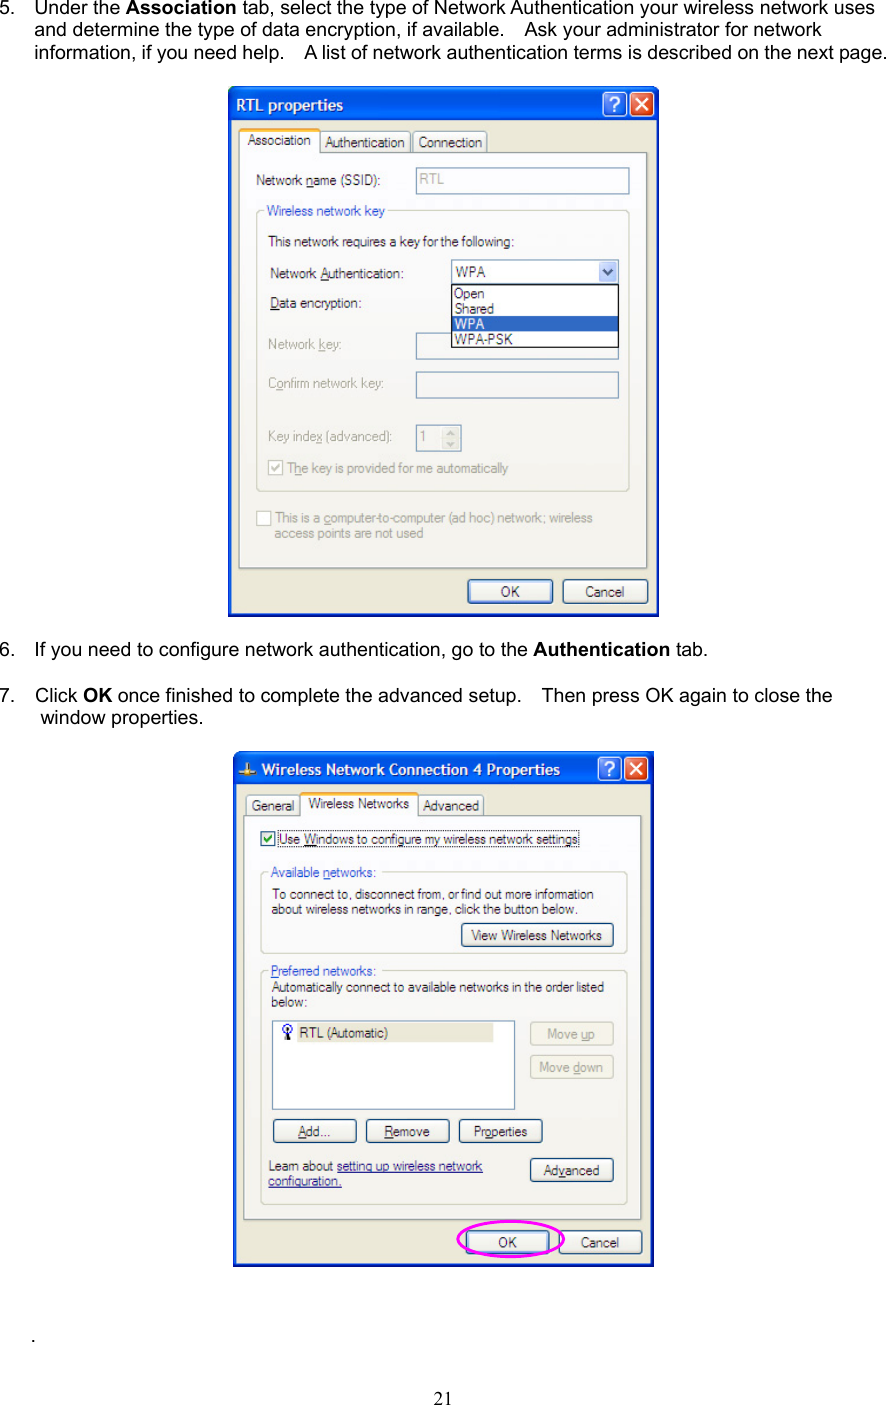
![9 7. When finished, restart your computer to activate the new device. 8. Once the computer has been rebooted, a Logon window will appear and will require you to enter a username and password. Enter a username and password and click OK. Do not click the Cancel button, or you won’t be able to log onto the network. 9. Double-click the Network Neighborhood icon on the windows desktop, and you should see the names of the other PCs on the network. In Windows 2000/XP 1. [In Windows 2000] Go to StartÆ Settings Æ Control Panel Æ Network and Dial-up Connections Æ Local Area Connection Æ Properties. [In Windows XP] Go to Start Æ Control Panel Æ Network Connections Æ Wireless Network Connection Æ Properties.](https://usermanual.wiki/Hawking-Technologies/HWU54DM/User-Guide-601534-Page-12.png)