Hetronic TX-TC1 2.4GHz Transceiver that receives remote control signals to operate machinery User Manual TC1 Rev02x

Hetronic International Inc 2.4GHz Transceiver that receives remote control signals to operate machinery TC1 Rev02x

User Manual

  User’s Manual  TC1
  1. PROJECT DESCRIPTION TC1 is a MFS 2.4GHz transmitter with 7 toggle switch inputs, 4 push-button inputs, a 4-step gray code trigger input and 2 analog-inputs. It can control any MFS 2.4GHz receiver using a 32DK packet. It transmits with an on-board PCB inverted-F antenna. It is powered by a 3.3V lithium-iron battery or optional Cable Control backup. TC1 also has an external docking station connection for local battery charging. Power is enabled by attaching the removable E-STOP cap. It has an optional Hetronic LCD module and can display MFS LCD feedback. The LCD and push button inputs also function as an interactive user menu system. TC1 also has an optional vibration motor output for alerting users to warning situations.  TC1 is H-Link configurable via 2.4GHz wireless link or on-board USB connection. The firmware is also upgradeable via on-board USB connection. All H-Link settings and menu options are saved to an on-board external EEPROM.  TC1 uses the MFS 2.4GHz communication protocol. The coder continually sends control packets at a 1%-10% duty cycle to the receiver and receives one feedback packet for every control packet. The control packets are sent on one of the sixteen IEEE 802.15.4 ISM-band channels, ranging from 2.405-2.480GHz. The channels and duty cycle are configured with the H-Link software. The packets are DSSS O-QPSK modulated using an on-board surface-mount transceiver and then amplified through an on-board surface-mount bi-directional RF Front End.  Note: Operation is subject to the following two conditions: (1) this device may not cause interference, and (2) this device must accept any interference, including interference that may cause undesired operation of the device.  Note: The TC1 is shipped with the FCC/IC ID label attached. The FCC/IC ID label must not be removed. See Figure 3 for additional labeling information.  FCC ID Number: LW9-TX-TC1 IC ID Number: 2119B-TXTC1  This device complies with Industry Canada licence-exempt RSS standard(s). Operation is subject to the following two conditions: (1) this device may not cause interference, and (2) this device must accept any interference, including interference that may cause undesired operation of the device.  Under Industry Canada regulations, this radio transmitter may only operate using an antenna of a type and maximum (or lesser) gain approved for the transmitter by Industry Canada. To reduce potential radio interference to other users, the antenna type and its gain should be so chosen that the equivalent isotropically radiated power (e.i.r.p.) is not more than that necessary for successful communication.
  Conformément à la réglementation d'Industrie Canada, le présent émetteur radio peut fonctionner avec une antenne d'un type et d'un gain maximal (ou inférieur) approuvé pour l'émetteur par Industrie Canada. Dans le but de réduire les risques de brouillage radioélectrique à l'intention des autres utilisateurs, il faut choisir le type d'antenne et son gain de sorte que la puissance isotrope rayonnée équivalente (p.i.r.e.) ne dépasse pas l'intensité nécessaire à l'établissement d'une communication satisfaisante.  Le présent appareil est conforme aux CNR d'Industrie Canada applicables aux appareils radio exempts de licence. L'exploitation est autorisée aux deux conditions suivantes : (1) l'appareil ne doit pas produire de brouillage, et (2) l'appareil doit accepter tout brouillage radioélectrique subi, même si le brouillage est susceptible d'en compromettre le fonctionnement.  Note: The user is cautioned that changes or modifications not expressly approved by the party responsible for compliance could void the user’s authority to operate the equipment.   RF link is Direct Sequence Spread Spectrum, using OQPSK modulation.  It operates on the 16 Zigbee channels ranging from 2405 to 2480 MHz.  The antenna is an etched inverted F style antenna embedded in the circuit board.  Antenna Gain: 3 dB
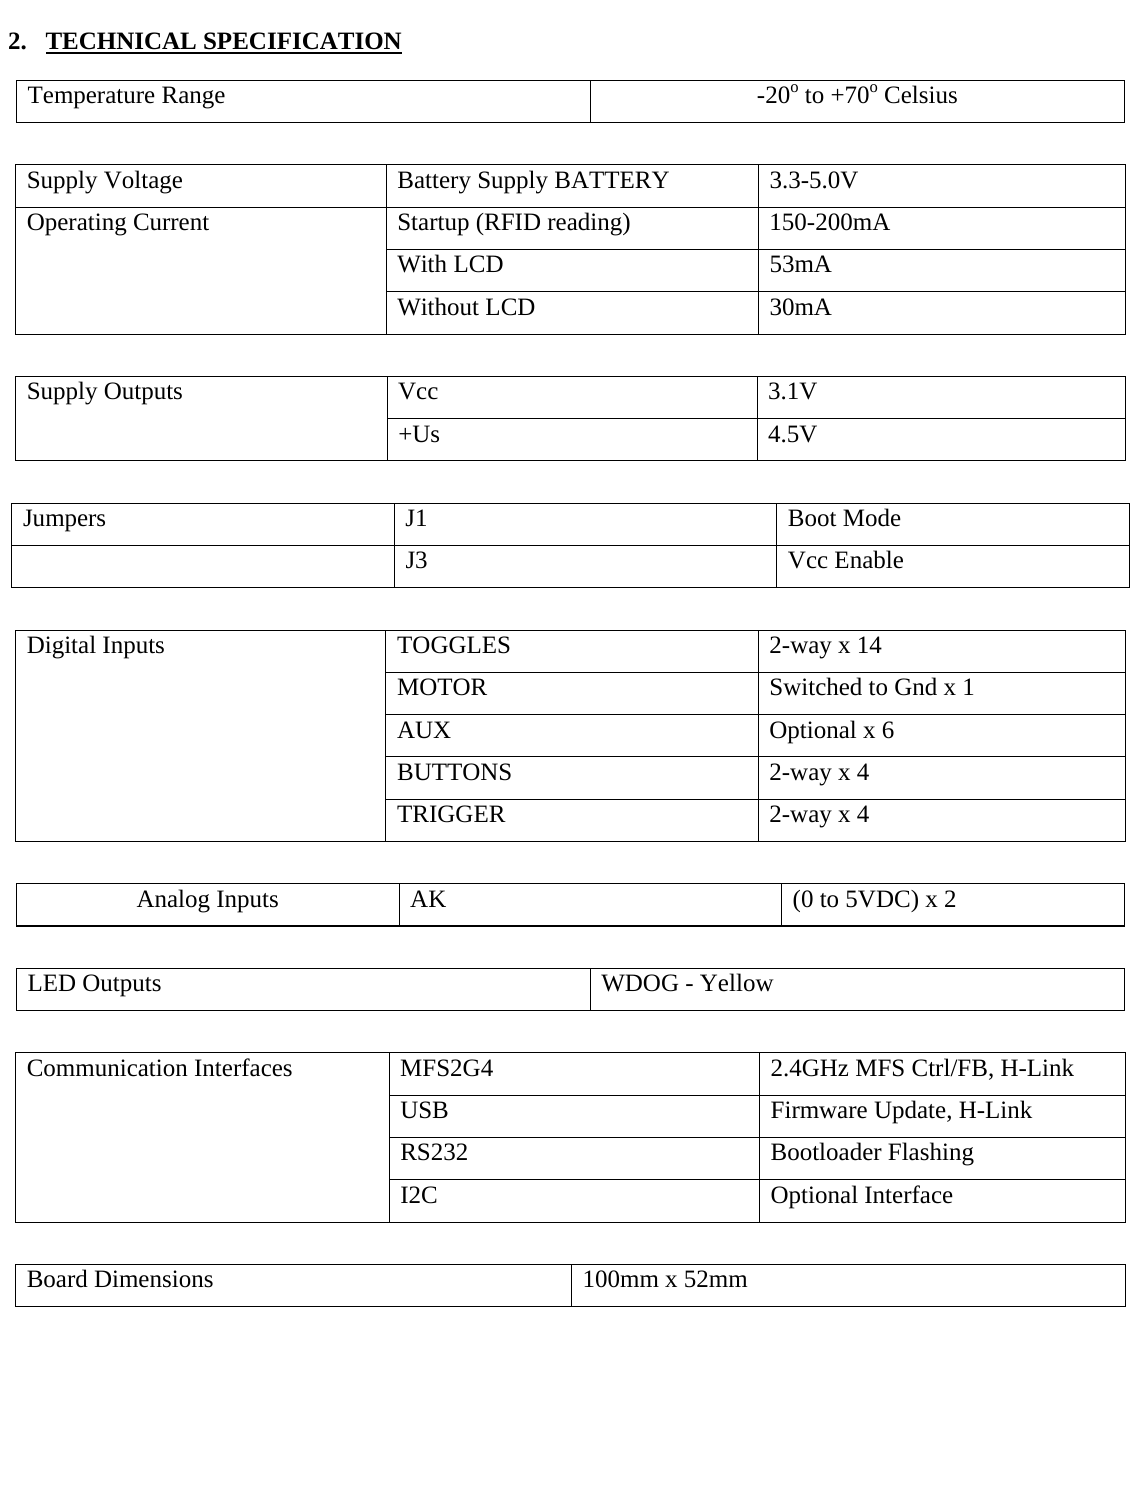
  2. TECHNICAL SPECIFICATION Temperature Range  -20o to +70o Celsius  Supply Voltage  Battery Supply BATTERY  3.3-5.0V Operating Current  Startup (RFID reading)  150-200mA With LCD  53mA Without LCD  30mA  Supply Outputs  Vcc  3.1V +Us 4.5V  Jumpers J1  Boot Mode  J3 Vcc Enable  Digital Inputs  TOGGLES  2-way x 14 MOTOR  Switched to Gnd x 1 AUX  Optional x 6 BUTTONS  2-way x 4 TRIGGER  2-way x 4  Analog Inputs  AK  (0 to 5VDC) x 2  LED Outputs  WDOG - Yellow  Communication Interfaces  MFS2G4  2.4GHz MFS Ctrl/FB, H-Link USB  Firmware Update, H-Link RS232 Bootloader Flashing I2C Optional Interface  Board Dimensions  100mm x 52mm
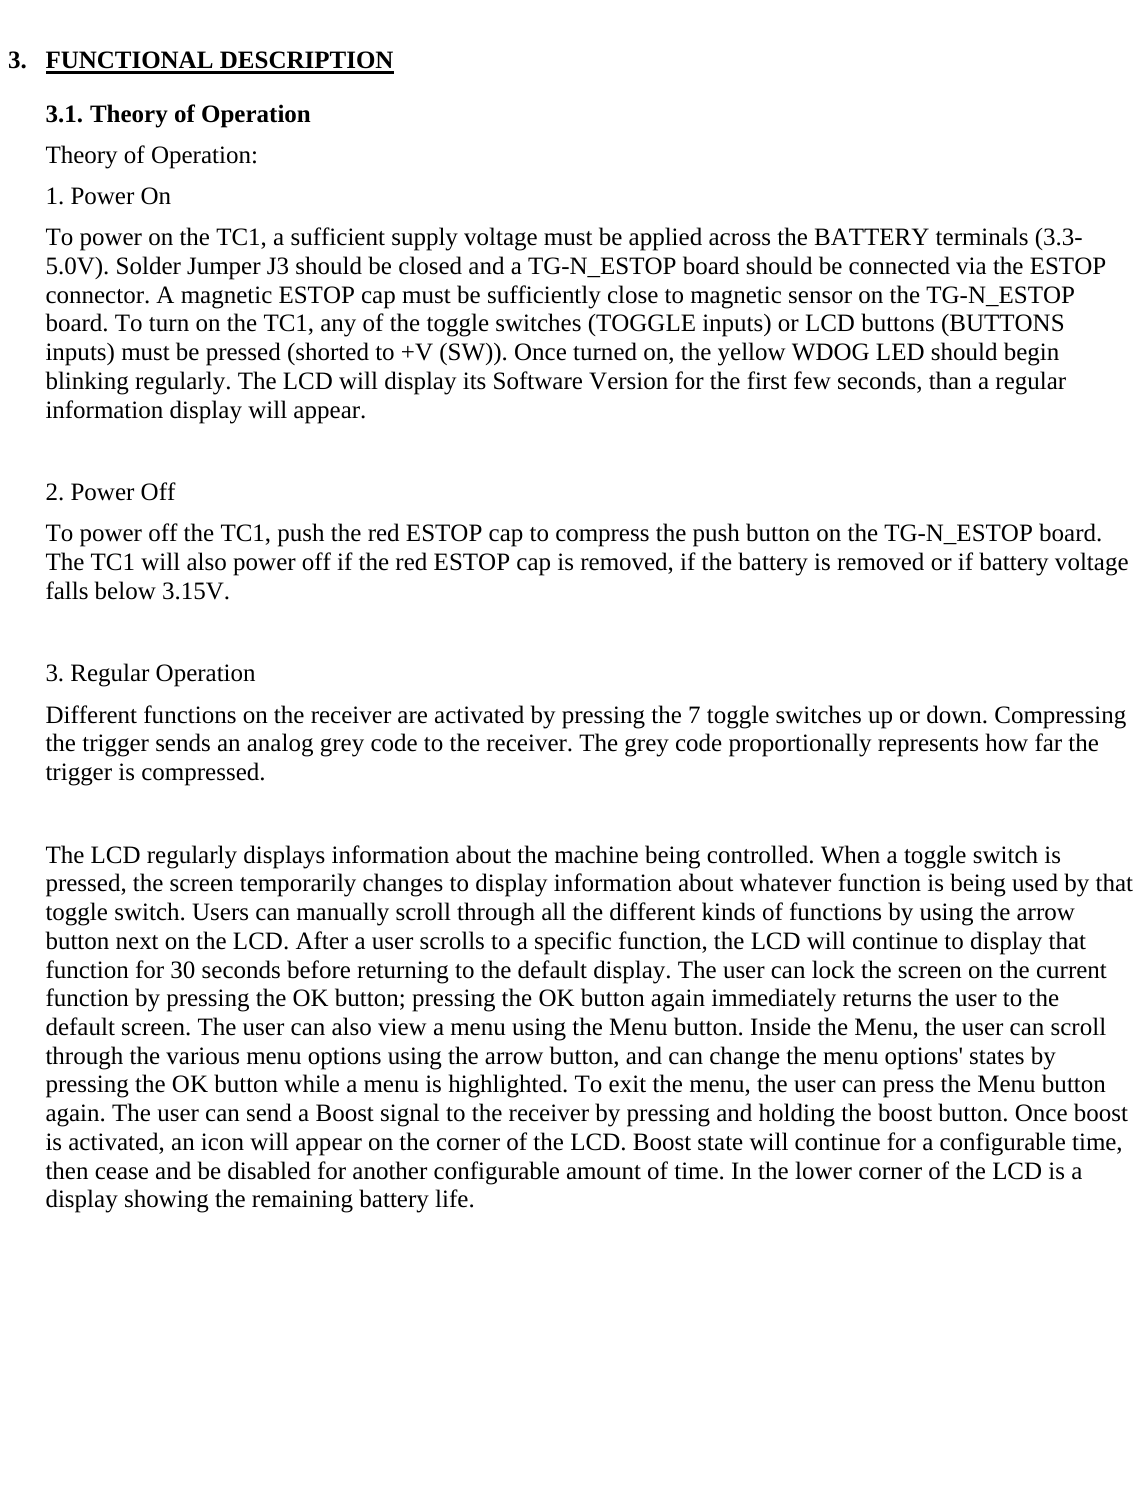
             3. FUNCTIONAL DESCRIPTION 3.1. Theory of Operation Theory of Operation: 1. Power On To power on the TC1, a sufficient supply voltage must be applied across the BATTERY terminals (3.3-5.0V). Solder Jumper J3 should be closed and a TG-N_ESTOP board should be connected via the ESTOP connector. A magnetic ESTOP cap must be sufficiently close to magnetic sensor on the TG-N_ESTOP board. To turn on the TC1, any of the toggle switches (TOGGLE inputs) or LCD buttons (BUTTONS inputs) must be pressed (shorted to +V (SW)). Once turned on, the yellow WDOG LED should begin blinking regularly. The LCD will display its Software Version for the first few seconds, than a regular information display will appear.  2. Power Off To power off the TC1, push the red ESTOP cap to compress the push button on the TG-N_ESTOP board. The TC1 will also power off if the red ESTOP cap is removed, if the battery is removed or if battery voltage falls below 3.15V.  3. Regular Operation Different functions on the receiver are activated by pressing the 7 toggle switches up or down. Compressing the trigger sends an analog grey code to the receiver. The grey code proportionally represents how far the trigger is compressed.  The LCD regularly displays information about the machine being controlled. When a toggle switch is pressed, the screen temporarily changes to display information about whatever function is being used by that toggle switch. Users can manually scroll through all the different kinds of functions by using the arrow button next on the LCD. After a user scrolls to a specific function, the LCD will continue to display that function for 30 seconds before returning to the default display. The user can lock the screen on the current function by pressing the OK button; pressing the OK button again immediately returns the user to the default screen. The user can also view a menu using the Menu button. Inside the Menu, the user can scroll through the various menu options using the arrow button, and can change the menu options' states by pressing the OK button while a menu is highlighted. To exit the menu, the user can press the Menu button again. The user can send a Boost signal to the receiver by pressing and holding the boost button. Once boost is activated, an icon will appear on the corner of the LCD. Boost state will continue for a configurable time, then cease and be disabled for another configurable amount of time. In the lower corner of the LCD is a display showing the remaining battery life.
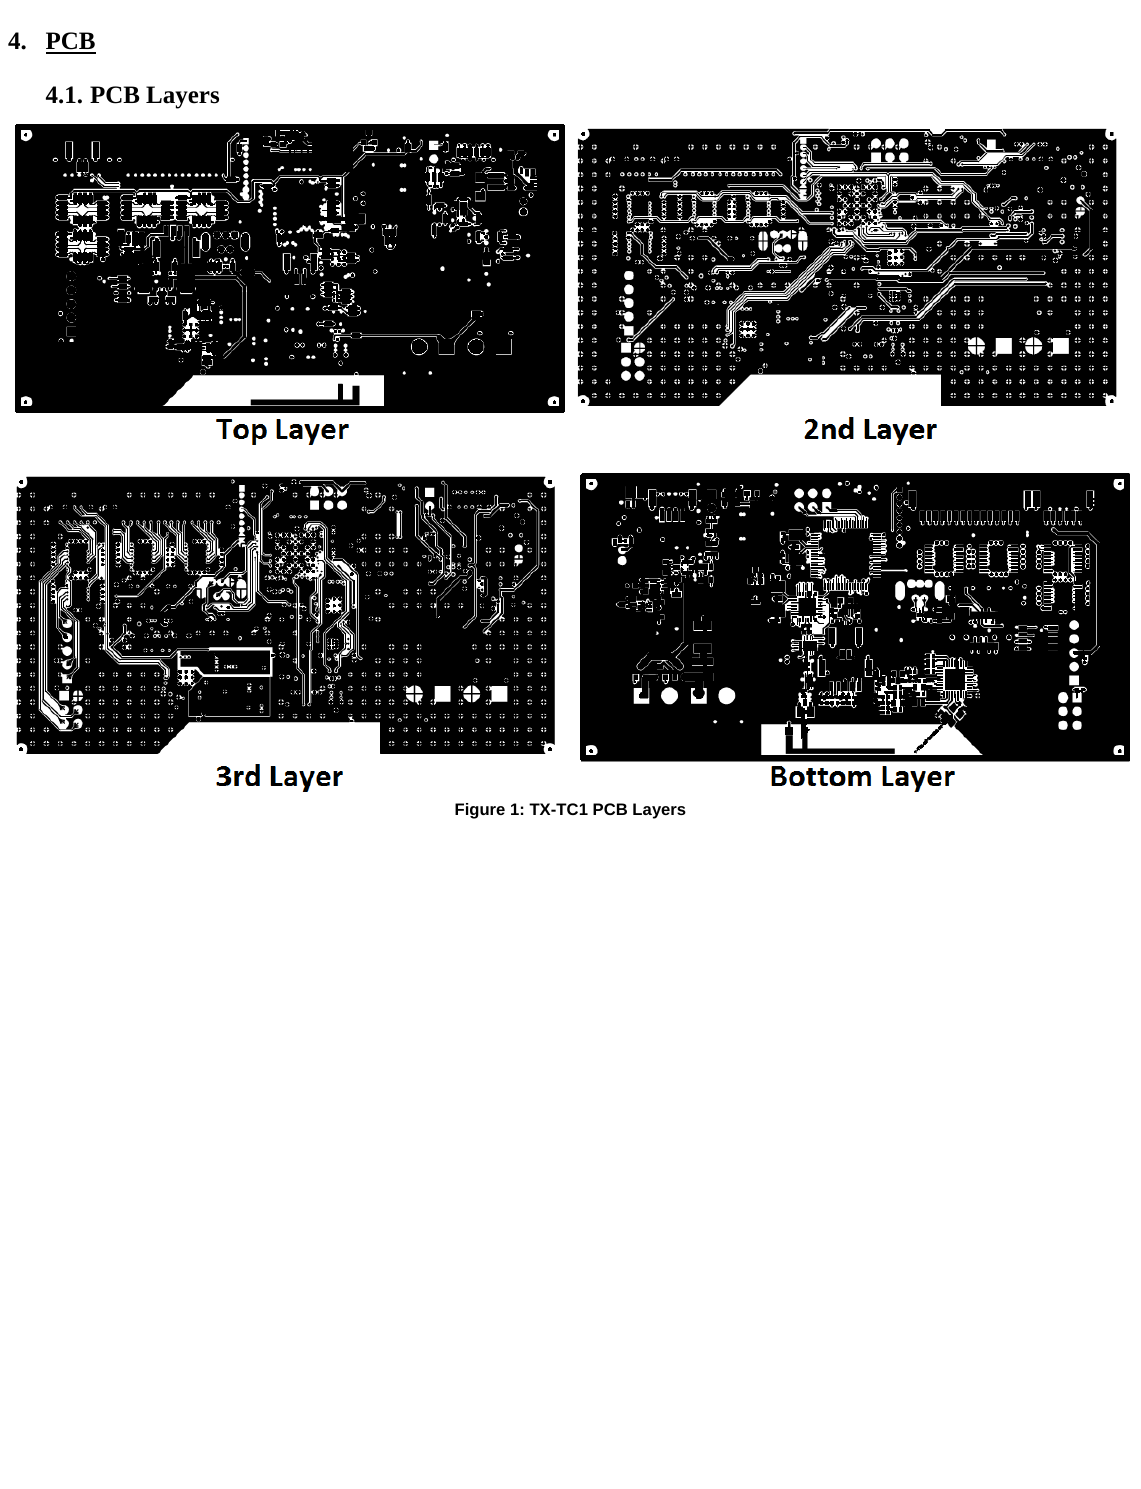
  4. PCB 4.1. PCB Layers  Figure 1: TX-TC1 PCB Layers
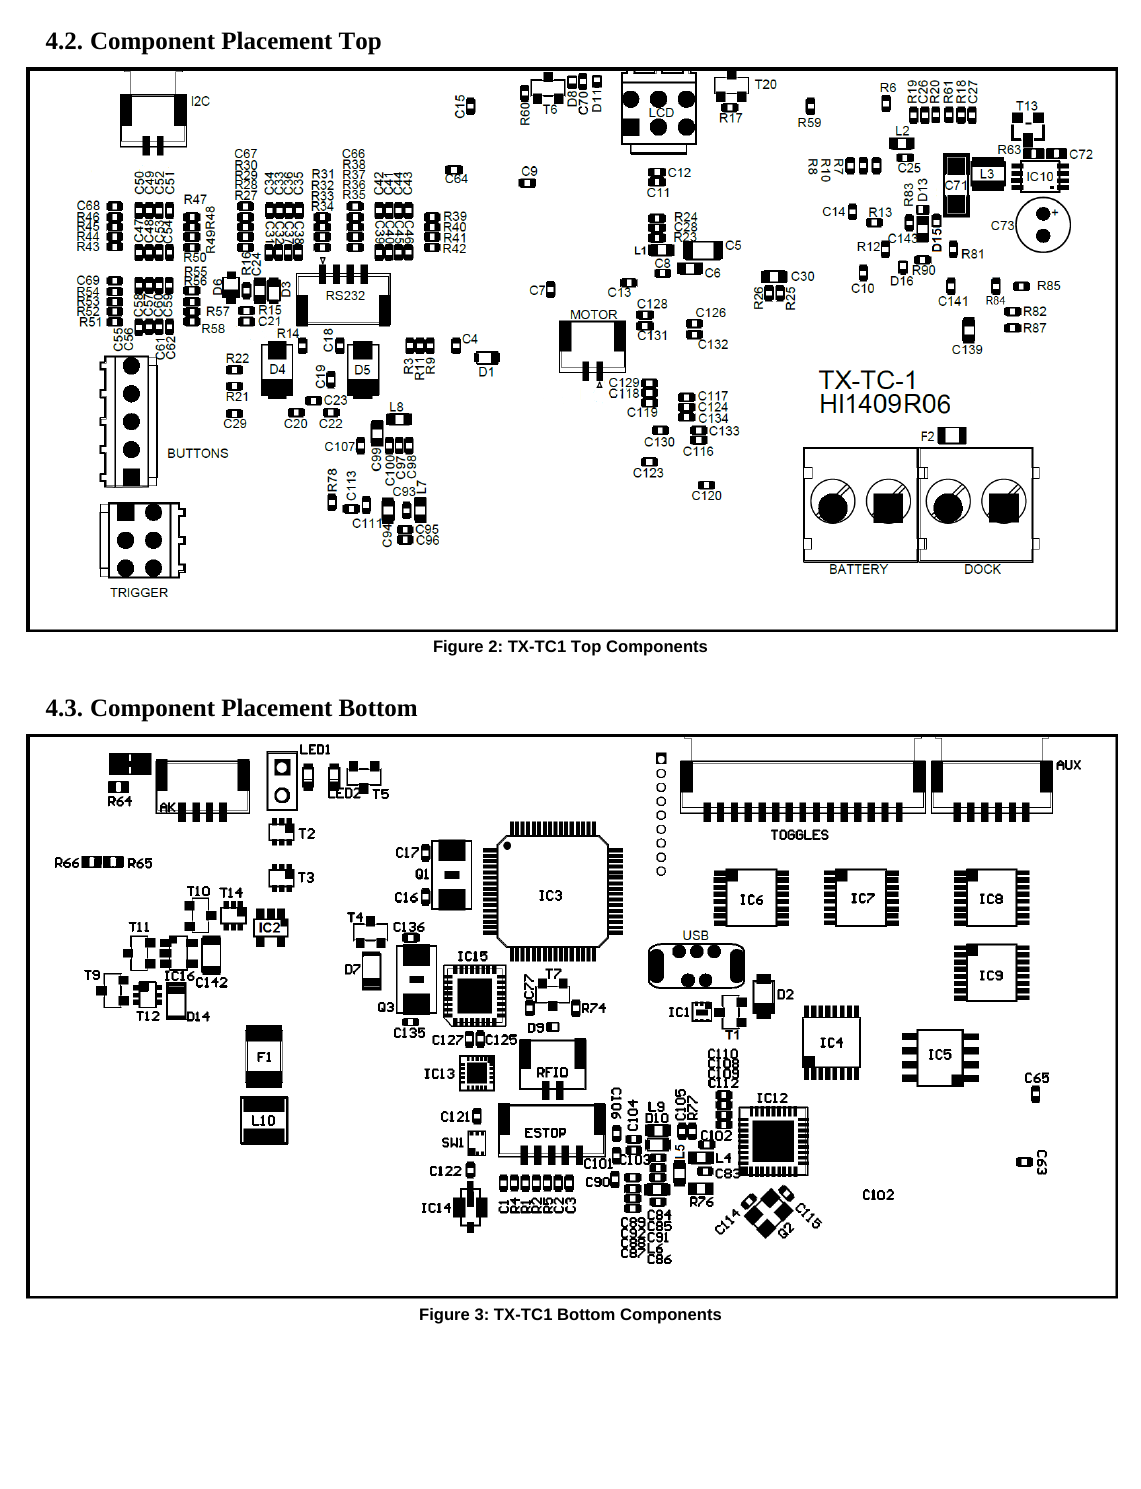
  4.2. Component Placement Top  Figure 2: TX-TC1 Top Components  4.3. Component Placement Bottom    Figure 3: TX-TC1 Bottom Components

Navigation menu